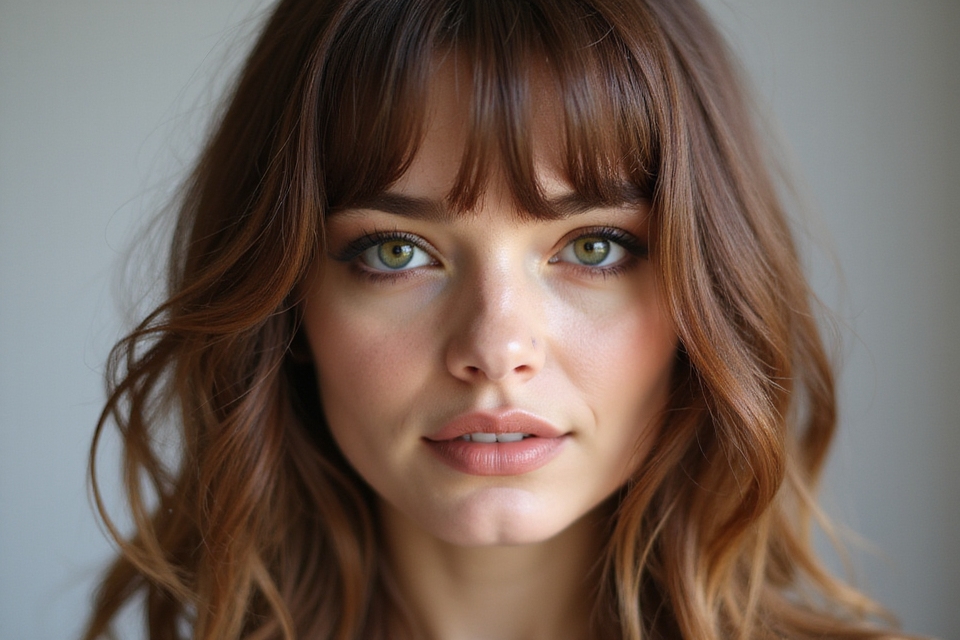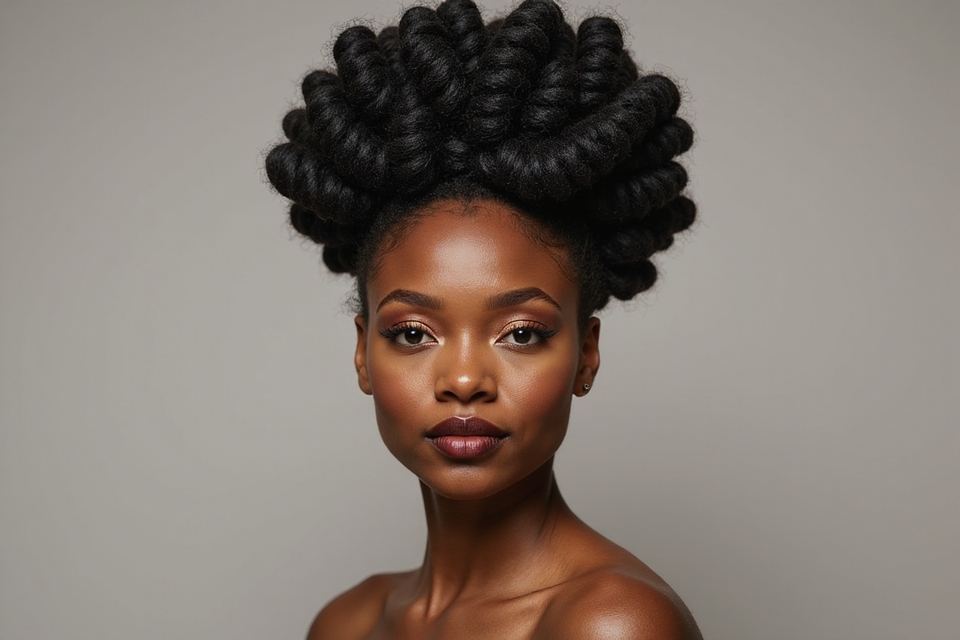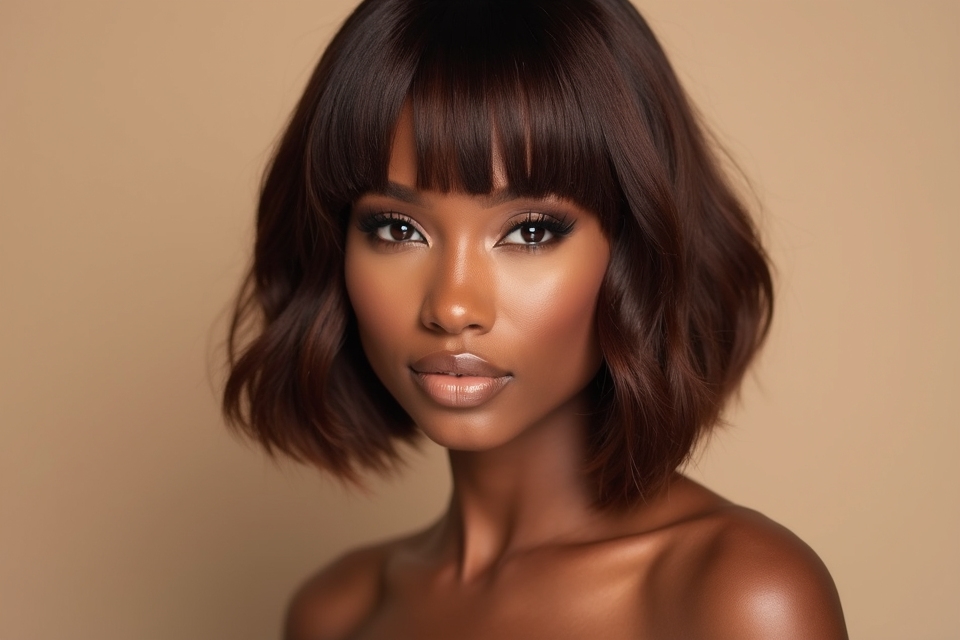
The first time a client turned up wanting a whole new look before a wedding the next morning, with no time for a sew-in, I reached for a quick weave. Two hours later she had a sleek, glossy bob that looked like she had grown it overnight. That is the magic of a quick weave: a full transformation in a fraction of the time and cost of a sew-in.
A quick weave bonds hair wefts onto a protective cap worn over your own hair, so it goes in fast and comes out easily, all while giving your natural hair a rest. This guide covers how it works, every style you can wear, and, most importantly, how to do it without damaging the hair underneath.
What a Quick Weave Actually Is
A quick weave is a protective style where hair wefts are glued onto a wig cap placed over your braided-down or wrapped natural hair, never onto your hair or scalp directly. That protective cap is the whole point: it means a quick weave goes in within a couple of hours, costs far less than a sew-in, and comes off without stress when you are done.
It lasts anywhere from one to four weeks, shorter than a sew-in but far quicker to install. Done right, with a cap protecting your hair and gentle removal at the end, it is a low-tension way to switch up your look while your own hair rests and grows underneath.
Choosing the Right Hair Texture

The first decision is the hair itself: the texture, length, and color of the bundles or wefts you choose. Match the texture to your natural hair if you want a natural leave-out, or go for a completely different look, straight, wavy, curly, since the cap means you are not committed to your own texture.
Human hair bundles look the most natural and can be heat-styled and colored, while synthetic is cheaper but more limited. For a first quick weave, a mid-length straight or body-wave bundle in a color close to your own is the most forgiving.
- Human hair styles and colors like your own; synthetic is budget-friendly.
- Match the texture for a natural leave-out, or switch it up entirely.
- Start with a versatile straight or body-wave for your first try.

The Tools You Need

A quick weave needs surprisingly few supplies, and most are reusable. The non-negotiable is a protective wig cap, which keeps the glue off your natural hair, along with a bottle of bonding glue made for weaves, your hair wefts, sharp scissors, and a flat iron or curling tool for styling.
- A protective wig cap, the single most important item.
- Weave bonding glue and a glue remover for later.
- Hair wefts, scissors, a flat iron, and edge control.
Good to Know
The protective cap is what makes a quick weave safe. Because the bonding glue only touches the cap and never your natural hair or scalp, there is no glue in your hair to damage it, and no braiding tension on your edges. Skip the cap, or let glue touch your hair, and that safety disappears entirely.
How a Quick Weave Goes In
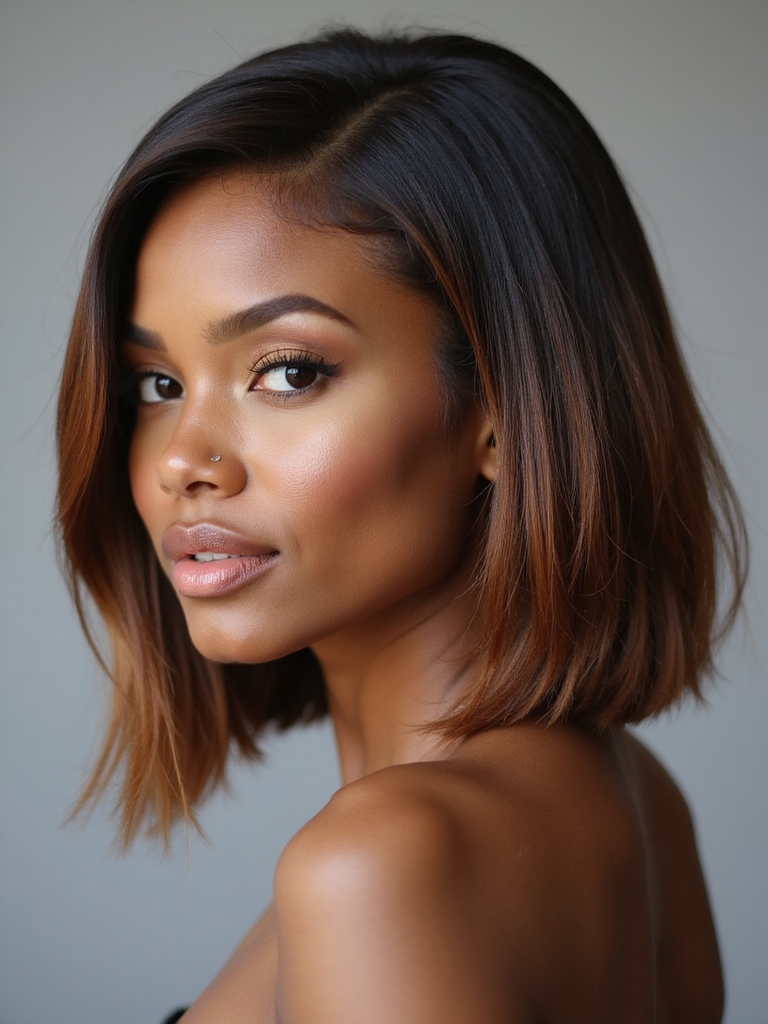
The install is simpler than it looks. Your natural hair is braided down flat or wrapped, then covered completely with the protective cap. Thin lines of bonding glue are applied to the cap, and the wefts are laid on from the nape upward, row by row, until the cap is covered.
The glue only ever touches the cap, never your hair or scalp, which is the rule that keeps a quick weave safe. Once the wefts are on, the hair is cut, shaped, and styled like your own. The whole thing takes one to two hours.
- Braid or wrap your natural hair flat, then cover it with the cap.
- Glue the wefts to the cap only, working from the nape up.
- Cut and style once the cap is fully covered. See sew-in hairstyles.
Day-to-Day Maintenance

Living with a quick weave is low-effort, but a few habits keep it fresh. I tell clients the satin scarf is non-negotiable: wrap it at night or sleep in a satin bonnet to stop friction and frizz, moisturize any leave-out and your edges with a light oil, and avoid heavy products that build up and loosen the bond.
- Wrap it in satin at night to prevent frizz.
- Lightly oil your edges and leave-out, not the wefts.
- Keep products light so the bond stays put.
Two myths about quick weaves:
❌ Myth: Quick weaves damage your hair.
✅ Reality: Only when they are done wrong. The danger comes from gluing wefts directly to your natural hair or scalp, or wearing one too long. With the protective cap keeping glue off your hair, no braiding tension, and gentle removal, a quick weave is a low-stress protective style.
❌ Myth: You have to glue it to your scalp.
✅ Reality: Never. Glue should only ever touch the protective cap, not your scalp or natural hair. Any stylist or tutorial that glues wefts straight to your head is doing it unsafely; the cap is non-negotiable.
Sleek, Straight Styles

A sleek, straight quick weave is the classic, a smooth, glossy curtain of straight hair, often in a blunt bob or a long, flat-ironed length. It is polished, professional, and the easiest to install since straight wefts lie flat.
Use straight human-hair wefts and flat-iron the finished weave for a mirror-smooth finish, sealing the ends and adding a drop of shine serum. A middle or deep side part with a small leave-out makes the hairline look natural.
It is the look I install most for clients who want a clean, grown-up change with zero fuss.
Voluminous Curls

For full, bouncy volume, a curly quick weave delivers, deep waves, spiral curls, or a soft, voluminous blowout that frames the face. I love a curly weave for beginners, since curly textures hide the cap and wefts more easily than straight ones do.
- Choose a curly or deep-wave bundle for built-in volume.
- Fluff and separate the curls with fingers, not a brush.
- Refresh with a water-and-leave-in mist between days. See curly hairstyles.
📋A Safe Quick-Weave Checklist
- ✓Always wear the protective cap; never glue to your natural hair.
- ✓Keep glue off your hairline and edges.
- ✓Remove with glue remover or oil, never by ripping.
The Quick-Weave Bob

The bob is the quick weave’s signature look, a sharp, blunt, or layered bob that you can install and cut in an afternoon. It is the fastest way to try short hair without cutting your own, and it suits almost every face shape.
Cut the bob after the wefts are on
Lay the wefts, then cut the bob to your desired length and shape, blunt for drama, layered for softness. A center part with a small leave-out keeps the front looking natural.
It is the look clients ask me for most, since it is dramatic, low-commitment, and over in two hours. See bob hairstyles for black women.
Ombré and Balayage

One of the best things about a quick weave is wearing bold color with zero processing on your own hair. An ombré or balayage weave, dark roots melting into lighter ends, gives you dimensional color for a few weeks with none of the commitment or damage of bleaching your natural hair.
- Buy pre-colored ombré or balayage bundles, no bleach needed.
- Match the root color to your own for a natural blend.
- Switch the color out whenever you reinstall.
| Quick Weave | Sew-In |
|---|---|
| Install: 1-2 hours | Install: 3-5 hours |
| Lasts 1-4 weeks | Lasts 6-8 weeks |
| Lower cost, fewer bundles | Higher cost, more bundles |
Bold Pastel Colors

Always wanted lavender or rose-gold hair but not the upkeep or the damage? A pastel quick weave is the answer, a fantasy color you can wear for a few weeks and remove with no regret. It is the lowest-risk way to test a bold shade.
Choose a pre-colored pastel bundle, since pre-dyed hair is more even than bleaching at home, and keep your leave-out minimal so you do not have to color your own hair to match. Wash in cool water to keep pastels from fading.
- Use pre-colored pastel bundles for an even shade.
- Keep the leave-out small so you skip coloring your own hair.
- Wash cool to protect the color.
Short Quick-Weave Styles

A quick weave is not just for length, it makes a brilliant short style too, a pixie, a tapered crop, or a short, sculpted cut. Short weaves use less hair, install faster, and let you try a dramatic short look without touching your own length.
Short weaves use less hair and install fast
Use shorter wefts and cut the style close after installing, blending the leave-out into the crop. A short quick weave shows off the face and is the most editorial of the bunch.
It is proof that a weave can be about shape and edge, not just adding inches.
Layered Quick Weaves

Layering a quick weave gives it movement and stops it looking like a flat curtain. Cutting layers into the wefts once they are installed creates dimension, frames the face, and makes the hair look more like your own.
Cut layers in after installing
Install the wefts, then point-cut layers throughout for softness, concentrating face-framing layers at the front. Layers also help blend the leave-out into the rest of the weave.
It is a small extra step that makes a budget weave look custom and expensive.
Evening and Event Looks

A quick weave dresses up beautifully for an event, since the added length and volume give you so much to work with. Hollywood waves, a sleek high ponytail, or a glamorous updo all look incredible on a weave and last the whole night.
- Set big curls and brush them out for glamour waves.
- Sweep it into a sleek pony or updo for a formal look.
- Finish with shine spray so it photographs glossy.
Everyday Wear

Most quick weaves are worn day to day, and the appeal is mornings that take minutes. Once it is installed, you wake up with the style done; a quick fluff or a flat-iron touch-up on the leave-out, and you are out the door.
The style is done while you sleep
Keep an everyday weave in a versatile cut and natural color so it goes with everything, and refresh it with dry shampoo at the roots and a little oil on the ends. The less you fuss, the longer the bond lasts.
It is the closest thing to wash-and-go that styled hair gets, which is the whole reason people love it.
Adding Bangs

Bangs transform a quick weave and are easy to add, since you simply cut them into the front wefts. A curtain fringe, blunt bangs, or soft side-swept pieces change the whole shape of the style and can flatter your face shape in a way length alone cannot.
- Leave extra length at the front to cut into bangs.
- Cut them dry, a little at a time, so you do not overdo it.
- Blend the bang into the leave-out for a natural front.
A Protective Style for Your Curls

Worn correctly, a quick weave is a real protective style. Your natural hair is braided down and tucked safely under the cap, shielded from heat, manipulation, and weather while it rests and retains length underneath. The lack of braiding tension is a genuine advantage over some other protective styles.
- Braid your natural hair down neatly and moisturize it first.
- Keep the cap and glue off your hairline to protect your edges.
- Take a break between installs to let your scalp breathe. See knotless braids.
Textured and Natural-Looking Weaves

If you want a weave that looks like your own hair on a great day, choose a bundle that matches your natural texture, a kinky-straight, coily, or afro-textured weave blends naturally with a leave-out and reads as your real hair grown out and styled.
Match the curl pattern and the color to your own, leave out a small section at the part and hairline, and blend it into the weave with a little heat or product. Done well, no one can tell where your hair ends and the weave begins.
It is the most natural way to wear a weave, and a favorite for anyone who wants length and fullness without an obvious change. See braided hairstyles for black women.
A Fast Hair Solution

The whole reason quick weaves earned their name is speed. When you have an event tomorrow, a bad cut to grow out, or simply want a change tonight, a quick weave delivers a full new look in an afternoon, no appointment weeks out, no all-day install.
That speed is also why it is the go-to for a hair emergency, a thinning patch to cover, a color mistake to hide, a special occasion that snuck up. It buys you a great hair day on almost no notice.
Celebrity-Inspired Looks

Plenty of celebrities switch up their hair constantly with weaves and wigs, and their looks are great inspiration to bring to your install. A long, glossy length, a sharp bob, a bold color, almost any famous style is recreatable with the right bundles.
Bring a clear photo to your stylist or use it as your own guide, and match the length, texture, and color as closely as your bundles allow.
- Use a celebrity photo as a clear reference for length and color.
- Match the texture of the bundle to the look.
- Recreate bold changes that would damage your own hair.
Weaves for Special Occasions

For a wedding, a birthday, a reunion, or any big day, a quick weave is a reliable way to guarantee great hair. It gives you length, fullness, and a style that holds all day and photographs beautifully, installed just before so it is at its freshest.
Book or do the install a day or two before the event so it is fresh but settled, and choose a style you have worn before so there are no surprises on the day.
- Install a day or two before the big day for fresh, settled hair.
- Choose a tried look so there are no surprises.
- Pick a style that holds, like waves or a sleek pony. See wig hairstyles.
Doing It Yourself
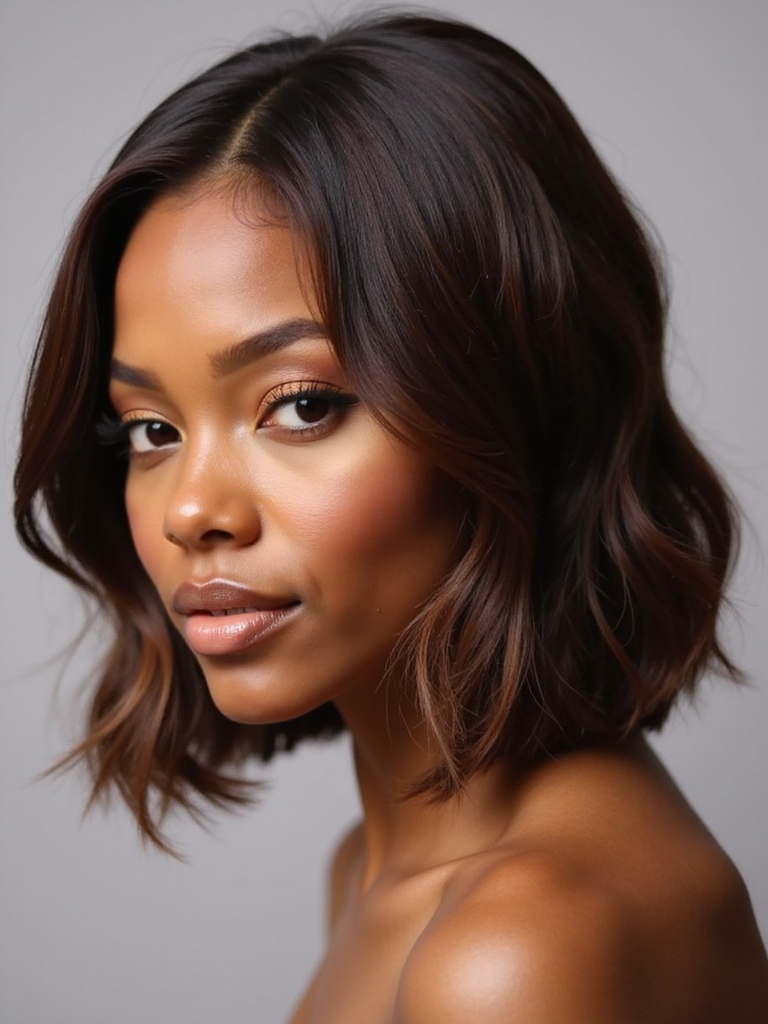
A quick weave is one of the more DIY-friendly install methods, which is a big reason it caught on. With the protective cap, bonding glue, and a little patience, plenty of people install their own at home for a fraction of the salon cost.
- Braid your natural hair flat and cap it fully before you start.
- Glue the wefts to the cap in thin rows from the nape up.
- Go slow on the first try; speed comes with practice.
An Affordable Upgrade

Cost is one of the quick weave’s biggest draws. Compared with a sew-in or a lace wig, a quick weave uses less hair, takes less time, and can be done at home, which makes a full transformation truly affordable.
- It uses fewer bundles than a full sew-in.
- The install is fast, so salon labor costs less.
- Doing it yourself brings the cost down further still.
Why It’s Budget-Friendly

The savings stack up across the board: a quick weave needs only one to two bundles where a sew-in might need three, the install is an hour or two rather than half a day of labor, and synthetic or affordable human hair keeps the bundle cost low. For anyone who likes to change their look often, it is the most economical way to do it.
- One or two bundles instead of three or more.
- A short install means lower salon labor.
- Affordable bundles let you change looks often.
Caring for Your Weave
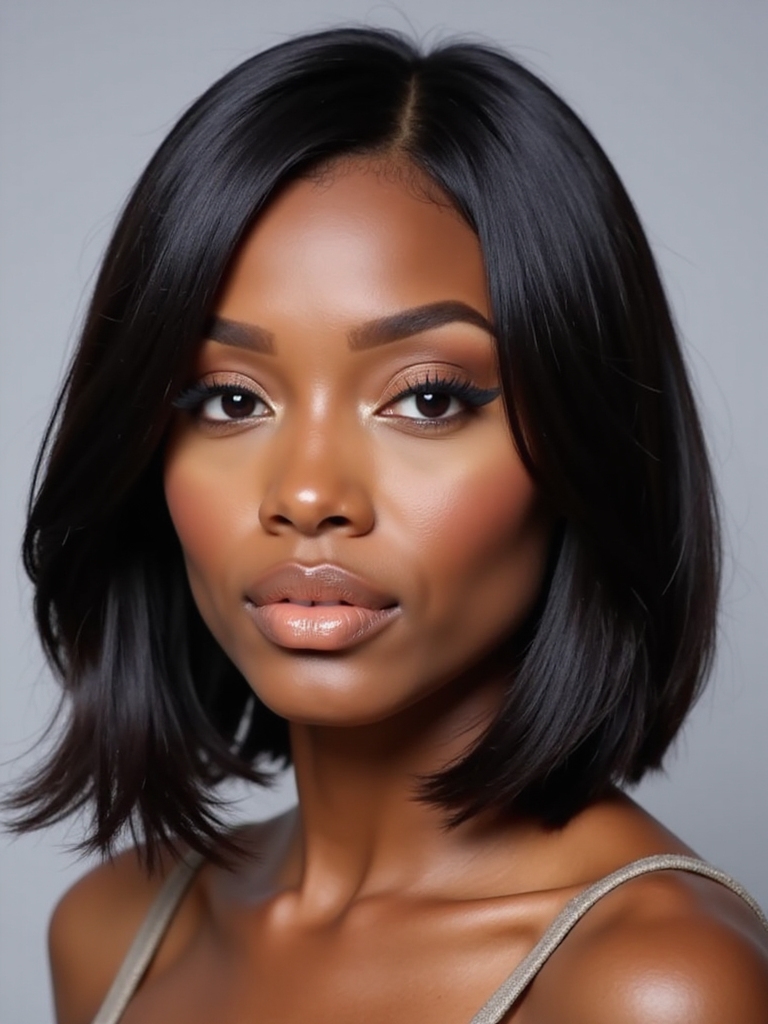
A quick weave lasts longest with gentle care. Wash it sparingly with a sulfate-free shampoo, focusing on the wefts and avoiding soaking the bonded base, and air-dry rather than scrubbing. Wrap it at night and keep heavy oils away from the glue line.
Dissolve the bond, never rip it off
When it is time to take it out, never rip it. Use a bonding glue remover or oil to dissolve the bond on the cap, then gently lift the whole cap off your braided hair in one piece. Your natural hair underneath comes out untouched.
Then deep-condition and rest your hair before the next install. Treating the removal as gently as the install is what keeps a weave a protective style rather than a damaging one.
Accessorizing Your Weave

A quick weave takes accessories beautifully, since the extra hair gives you more to work with. A silk scarf tied as a headband, statement clips, beads, or a pinned-up section with a cuff all dress up a weave and let you change the look without reinstalling.
- Tie a silk scarf as a headband for an instant change.
- Add clips, cuffs, or beads to a braided section.
- Pin part of it up to switch the shape day to day.
A Style for Everyone

The reason quick weaves are so beloved is their range: long or short, straight or curly, natural or bold, there is a quick weave for every taste, budget, and occasion. Whether you want to protect your natural hair, try a dramatic change, or just have great hair fast, the method bends to fit.
- Any length, texture, or color is on the table.
- It works for protective styling, experiments, and events alike.
- Fast, affordable, and removable, it suits almost everyone. See natural braided hairstyles.
Quick Weave Questions, Answered
?How long does a quick weave last?
Usually one to four weeks. It is shorter-lived than a sew-in because the bond loosens over time, but it is far quicker and cheaper to install. Take it out at the first signs of lifting rather than pushing it too long, which protects your natural hair.
?Does a quick weave damage your hair?
Not when it is done correctly. The protective cap keeps the bonding glue off your natural hair and scalp, and there is no braiding tension on your edges. Damage only happens when glue touches your hair, the weave is worn too long, or it is ripped out instead of dissolved.
?How do I remove a quick weave safely?
Use a bonding glue remover or a generous amount of oil to dissolve the bond on the cap, give it time to break down, then gently lift the whole cap off your braided hair in one piece. Never pull or rip the wefts, and deep-condition your hair afterward.
?Can I wash a quick weave?
Yes, but sparingly and gently. Use a sulfate-free shampoo on the wefts, avoid soaking the glued base, and air-dry rather than scrubbing. Too much washing loosens the bond, so a light refresh is better than a full wash.
?Is a quick weave cheaper than a sew-in?
Considerably. It uses fewer bundles, takes one to two hours instead of half a day, and can be installed at home, all of which make it one of the most affordable ways to wear a full weave. That low cost is a big part of its popularity.
Fast, Affordable, and Kind to Your Hair
A quick weave earns its popularity honestly: it gives you a complete, customizable new look in an afternoon, for a fraction of a sew-in’s cost, while protecting and resting your natural hair underneath. The one rule that makes all of that true is the protective cap, keep the glue off your own hair and edges, remove it gently, and a quick weave is one of the kindest ways to switch up your style.
So what would you do with a brand-new look by tomorrow, a sleek bob, a head of bouncy curls, a pastel you have always wanted to try? Pick the style, protect your hair the right way, and enjoy the fastest transformation in beauty.
Worth a Look