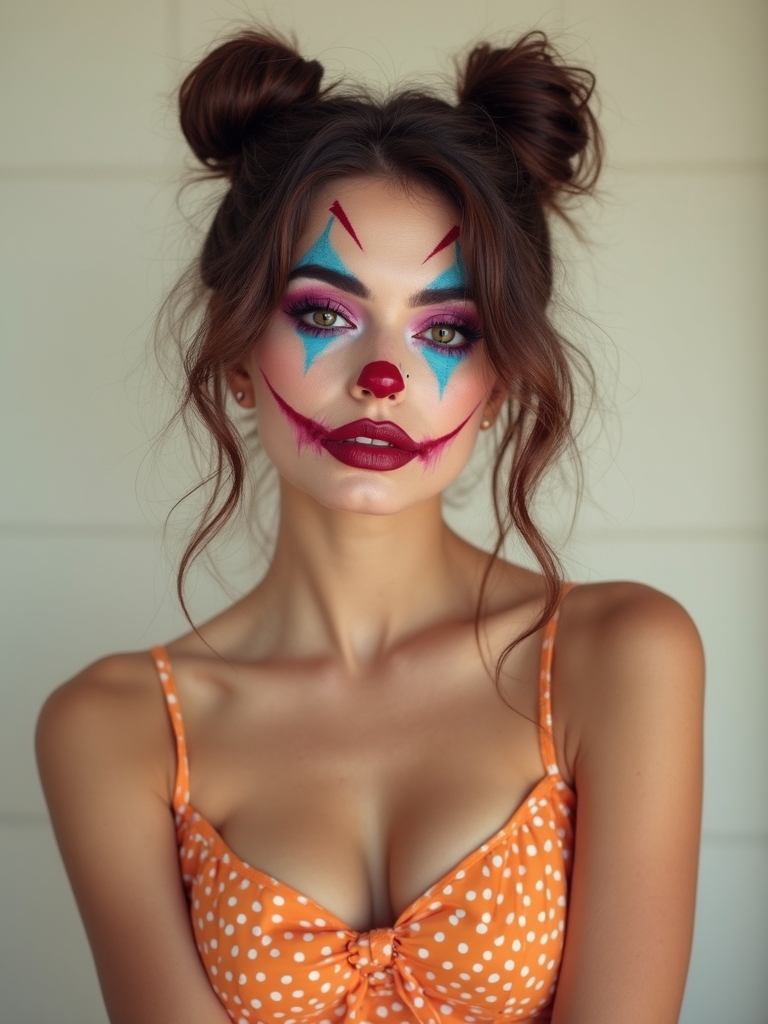
I’m mapping out 16 cosplay makeup looks that turn a reference photo into a performance. Think cel-shaded anime eyes, gritty game grime, ethereal elf light, and glossy-magical complexions that survive a full con day.
I’ll talk tools that matter, textures that tell stories, and color choices that shift a character’s mood on camera. If you’ve wanted sharper cheekbones, seamless android panels, or scales that catch low light, I’ve got you—and the lineup only gets bolder from here.
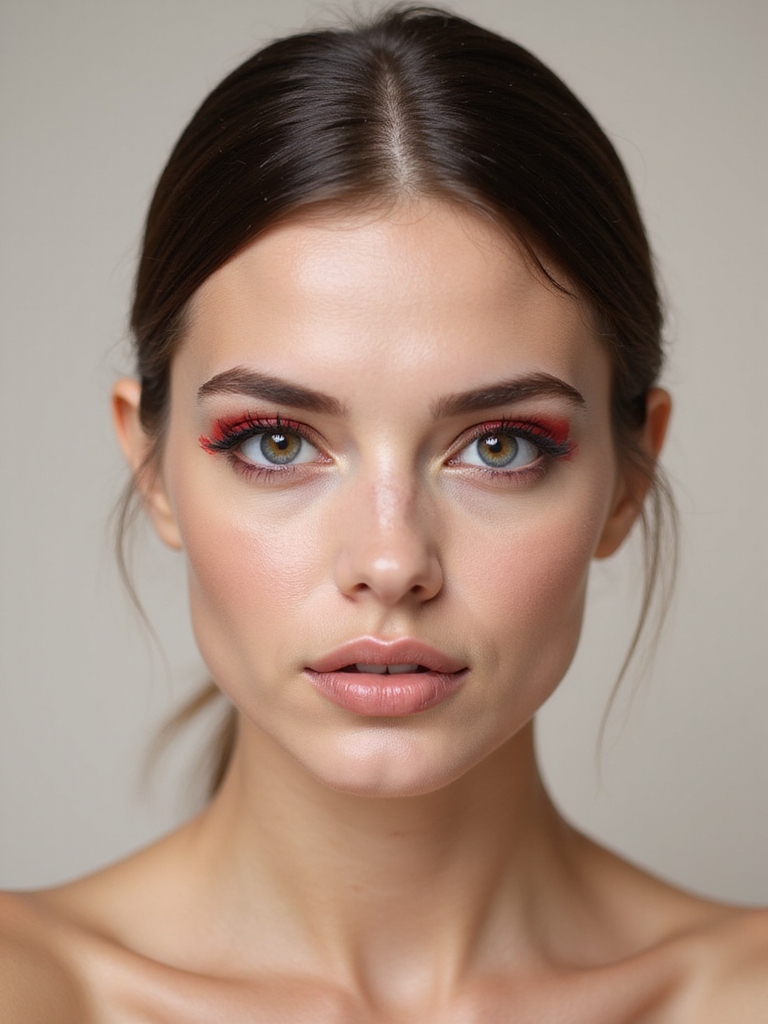
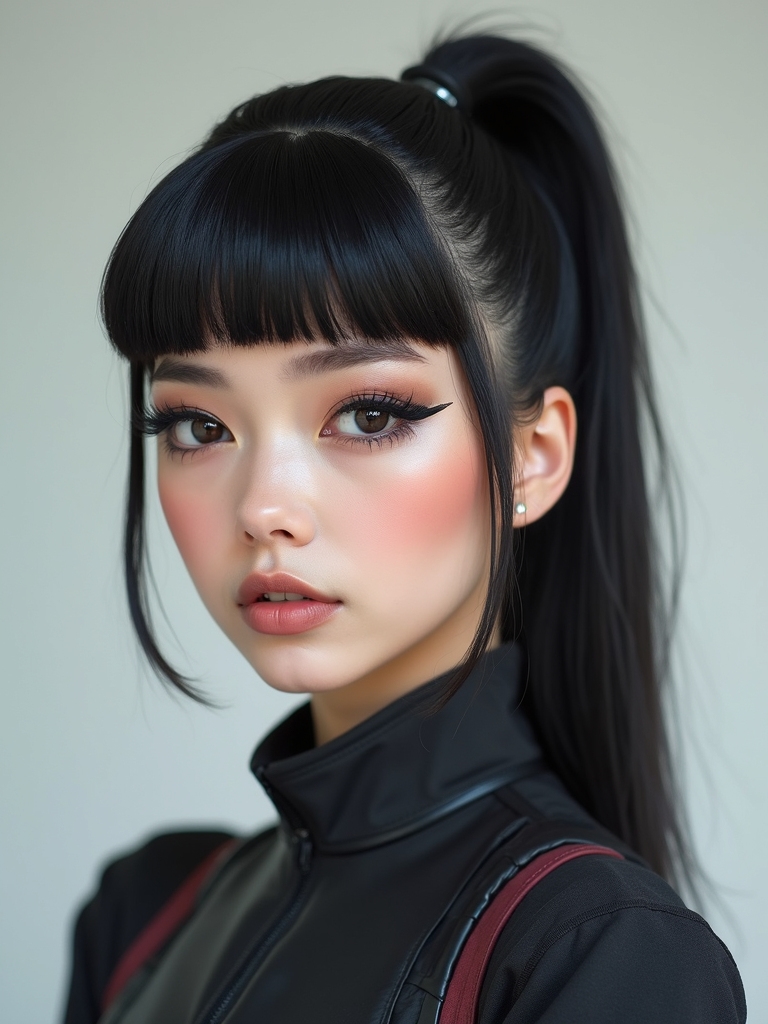
Anime Eyes and Cel-Shaded Contours
Ever wonder how cosplayers get those wide, animated eyes and crisp, comic-book shadows? I map big, oval eye shapes with white liner, then stack lashes—top and bottom—for that open, doll look. I draw a floating lower lash line and highlight the inner corners.
For cel-shaded contours, I place sharp, graphic shadows, add bright block highlights, and outline features lightly. It reads bold, clean, and instantly iconic.
Practical techniques for precise lining include using fine-tipped brushes and steadying supports for controlled application of doll-eye makeup.
Gritty Game Protagonist Grunge
Let’s switch gears to gritty game protagonist grunge—I’m talking smudged, lived-in liner that looks like I’ve been through a boss fight.
I’ll show you quick weathered scar effects that read rugged, not cheesy.
Then we’ll add sooty contour shading to hollow the cheeks and build that tough, road-worn energy.
For finishing touches, I’ll recommend distressed textures to deepen the grunge aesthetic.
Smudged, Lived-In Liner
Sometimes the cleanest way to look tough is to mess it up on purpose. I sketch black pencil along the lash line, then blur it with a fingertip for that slept-in edge.
I tuck shadow into the outer corners, smudge lower lashes, and tap concealer sparingly so it stays gritty. Add tightlining, a touch of taupe, and set with a mist. Instant protagonist energy. The key is mastering a smoky eye technique to keep the look sultry without appearing unkempt.
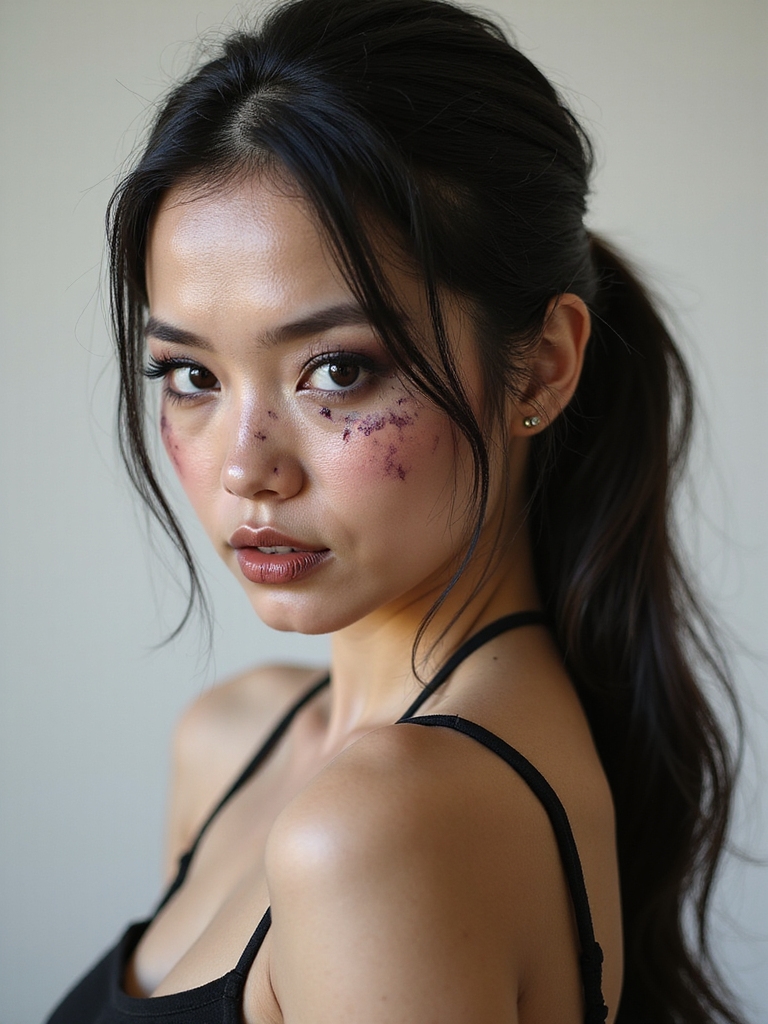
Weathered Scar Effects
Though the rest of my glam can shine, I keep scars matte, textured, and lived-in so they read like hard-earned lore.
I map the path with a pale pencil, then press wax or latex for raised edges. I stipple mauve, brick, and taupe for depth, blur the borders, and tap translucent powder. A whisper of gloss in the center sells “healed,” not fresh. For an extra eerie touch, I layer frayed fabric textures inspired by scarecrow makeup into the surrounding skin.
Sooty Contour Shading
Smoke defines the jawline like a story burned in.
I sweep charcoal-grey along hollows, then tap soot-brown at temples for that gritty protagonist edge. I blur with a damp sponge, keeping edges smoky, not muddy.
A whisper of taupe under the lip deepens the scowl.
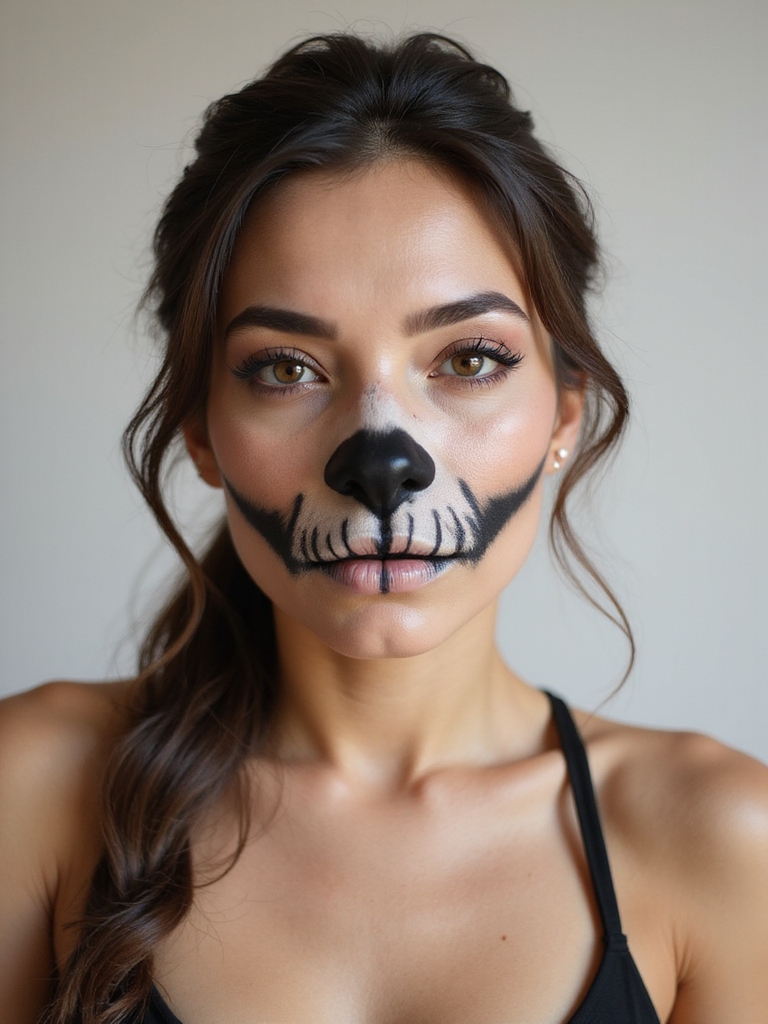
Set with translucent powder, then mist. Add grime flecks near hairline. You’ll look battle-worn, camera-ready. For quick looks that still read well on camera, consider simple Halloween makeup techniques from Spooky and Simple.
Elven Ethereal Glow and Sharp Ears Illusion
Let’s glow up your elf look with a luminous porcelain base that reads moonlit, not chalky. I’ll show you how to balance that brightness with whisper-soft highlights so your skin looks lit from within.
Then we’ll fake sharp ears using contoured ear illusion tricks that reshape your lobes and tips without prosthetics.
Luminous Porcelain Base
Starting with a glassy canvas, I even out my skin with a sheer, brightening primer, then press in a lightweight porcelain foundation where I need coverage.
I blur pores with a soft-focus powder, tapping just the T-zone to keep radiance. A cool-toned concealer lifts shadows under eyes and around the nose.
Finally, a mist seals everything, leaving that lit-from-within, moonlit sheen elves wear like second skin.
Contoured Ear Illusion
Trace the ear’s natural ridges with a cool taupe contour, then flick the shade upward at the helix to fake that sleek, elven point. I blur edges with a tiny brush, then tap champagne highlight along the antihelix and lobe for that ethereal glow.
A matte taupe liner sharpens the tip. Seal with setting spray. Tuck hair behind ears—instant fantasy profile.
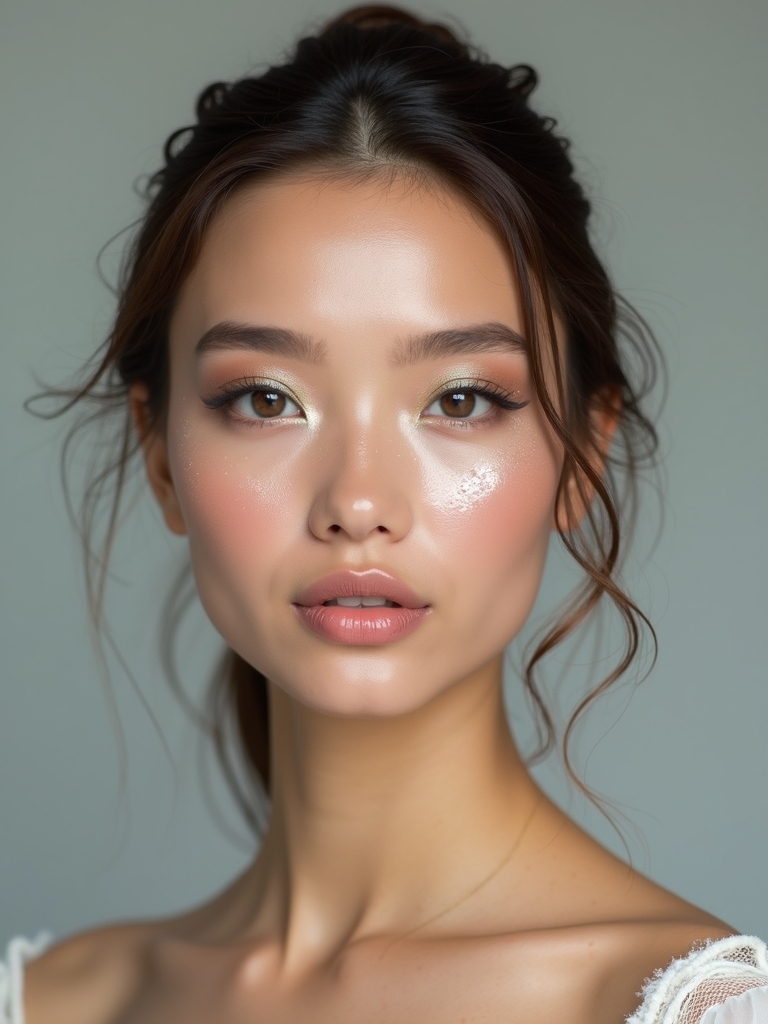
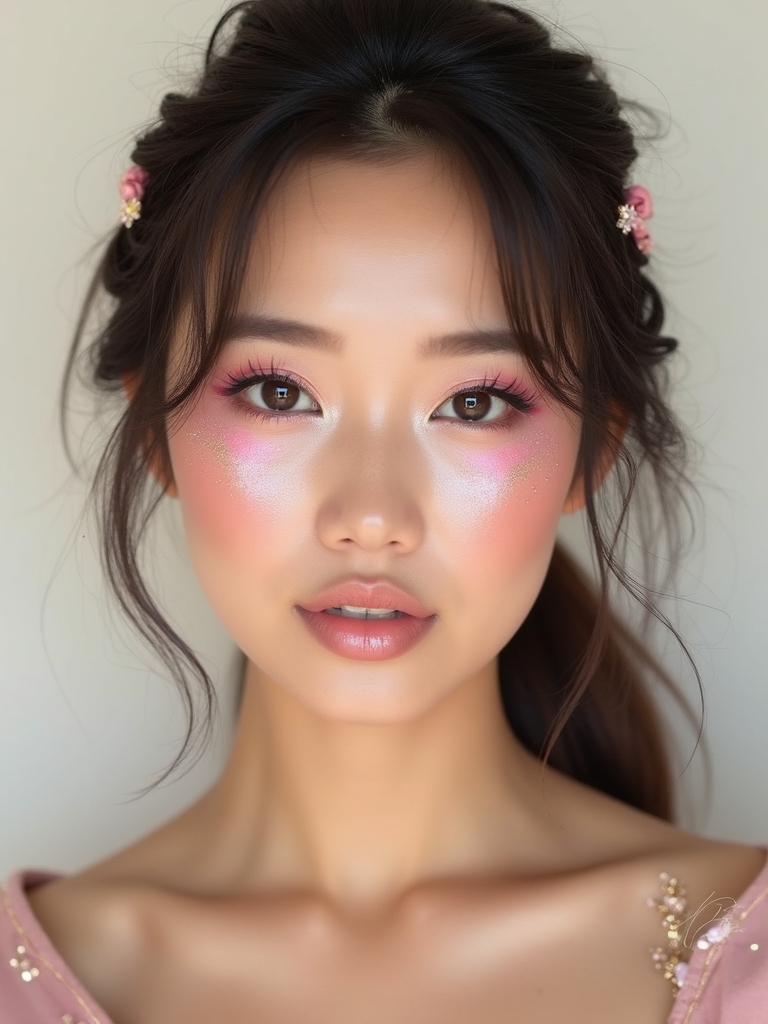
Doll-Like BJD Face With Soft Gradient Blush
Think of this BJD-inspired look as sculpting porcelain: I focus on glassy skin, wide-set eyes, and a soft, airbrushed flush that fades like watercolor.
I sheer a luminous base, spot-conceal, then blur edges. I place blush high on the apples, drifting to temples, layering peach and pink. I tightline, add circle-lens lashes, highlight the nose tip, and finish with ombré lips and powder-soft brows.
Villainous Sharp Cheekbones and Shadow Play
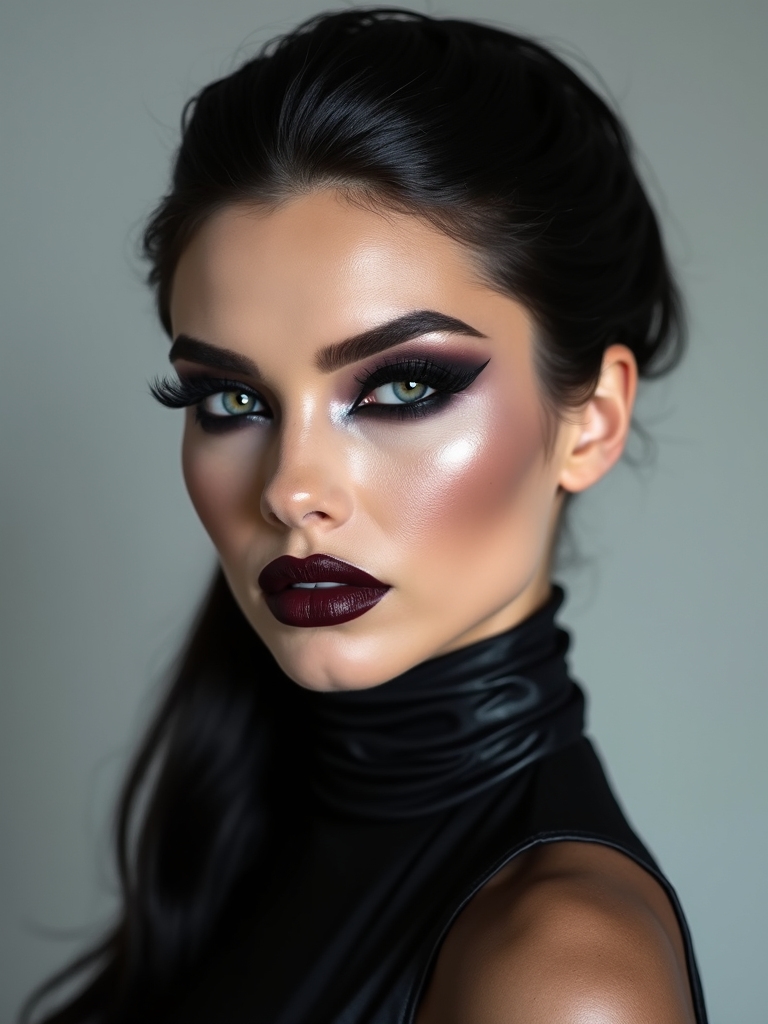
Soft porcelain has its moment, but now I’m carving power. I map a razor contour from ear to mouth, stopping mid-cheek for that wicked lift.
A cool taupe shadow deepens hollows; a touch under the jaw tightens everything. I sharpen the nose bridge, keep highlight icy and precise.
Smoky temples, lifted brows, and a thin, inky liner seal the ruthless silhouette.
Mecha Pilot Sweatproof Minimalism
Usually I’m all about drama, but a mech cockpit demands sleek, sweatproof minimalism.
I lock down skin with a gripping primer, then tap on a thin, matte tint—no slip, no shine.
Cream contour is subtle, tight, and set.
Brows are structured, not heavy.
Waterproof liner hugs the lash line; tubing mascara won’t smudge.
Finish with a flexible setting spray and a soft, transfer-proof stain.
Magical Girl Sparkle and Pastel Harmony
While stardust swirls in my compact, I build a pastel dream that gleams without looking chalky. I wash lids with frosted lilac, pop inner corners with opal, and tap biodegradable glitter over a glossy blush drape. Soft-focus powder only where shine misbehaves.
You’ll read my magic from across the con floor.
- Mirror light with intention
- Layer sheer, never heavy
- Balance glow and grip
- Let color tell the story
Beastkin Muzzle Shading and Faux Fur Blends
Glitter fades, claws come out—time to sketch a believable muzzle and melt faux fur into skin. I map soft shadows from nose tip to philtrum, then flick highlight along the bridge to lift.
I contour the jaw’s curve, blur edges with a dry sponge, then stipple freckles. For fur, I glue wefts sparingly, backcomb, snip irregularly, and tap cream pigment through fibers for seamless depth.
Cyberpunk Neon Freckles and Chrome Highlights

Let’s light up your look with UV-reactive freckle patterns that pulse under blacklight and still pop in daylight. I’ll map specks across the cheekbones and nose, then fuse them with razor-sharp metallic chrome accents on the temples and inner corners.
You’ll get a slick, futuristic glow that reads cyberpunk from every angle.
Uv-Reactive Freckle Patterns
Sometimes I want freckles that look subtle in daylight and electric under UV, so I map neon dots across the cheekbones and nose bridge, then pop chrome highlights on the high points.
I blend micro-specks in clusters, vary sizes, and keep negative space so the pattern breathes. Under blacklight, the freckles pulse like city gridlines—instant futurism with a wink.
- Precision sells the illusion.
- Color choice shapes mood.
- Placement guides storytelling.
- Light transforms everything.
Metallic Chrome Accents
Daylight freckles already whisper sci‑fi, but chrome turns the volume up. I tap metallic liquid onto cheekbones, nose bridge, and inner corners, then scatter neon freckle dots like city lights. The chrome catches every blink; the UV pops after dark.
Use a fine brush, seal with setting spray, and keep skin dewy. Pair with slick liner and gloss. You’ll look beautifully engineered.
Historical Warrior Scars and Weathering
Although I love a flawless finish, warrior looks come alive with scars, grit, and lived-in wear.
I stipple taupe and brown along cheekbones, tap red-brown for healed cuts, then blur edges with a dry sponge.
A thin gloss line sells fresh tissue; soot shadows add campaign fatigue.
Seal it lightly so texture stays raw, not plastic.
- Honor resilience
- Suggest history
- Balance brutality
- Celebrate survival
Vampire Marble Skin and Vein Mapping
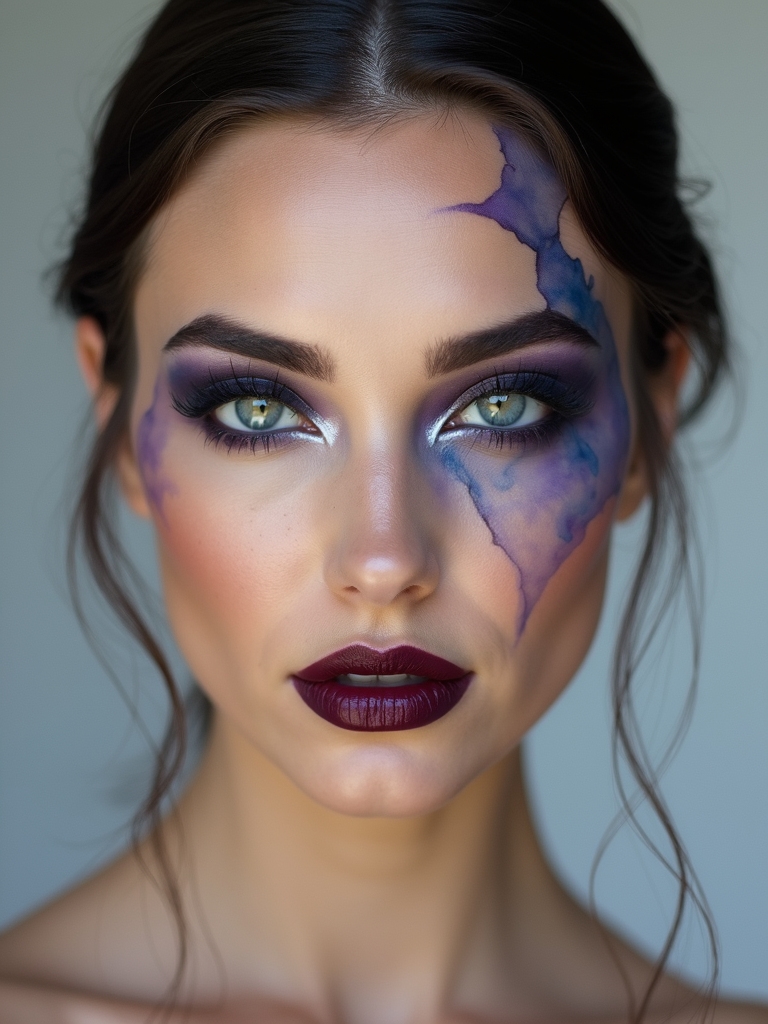
Let’s create that marbleized pallor—think porcelain skin with a cool, moonlit sheen. I’ll show you where to map whisper-thin veins so they read eerie, not cartoonish.
Then we’ll lock it down with a long-wear undead finish that stays crisp under stage lights and late-night photos.
Achieving Marbleized Pallor
Because marbleized pallor is more about illusion than opacity, I start by neutralizing warmth and dialing in translucency so skin reads like cool stone.
I sheer a cool-toned base over moisturized skin, then press in fine-setting powder for a diffused, alabaster cast.
I tap highlights where marble would catch light—temples, bridge, chin—and mute redness with diluted gray-lavender corrector.
- Quiet the heat
- Honor subtle shifts
- Let light sculpt
- Edit, don’t erase
Subtle Vein Placement
With that cool, alabaster base set, I map veins like whispers under stone—never like ink on skin. I squint, smile, then trace faint blue-lilac lines along temples, jaw hinge, and inner eye corners.
I use a detail brush, feather strokes, and tap with a sponge to blur. I cluster tiny branches near hollows, leave gaps, then soften with translucent powder for that haunted, elegant translucence.
Long-Wear Undead Finish
Although the pallor steals the show, longevity makes it legendary: I lock in that marble-skin sheen and whisper-thin veins so they survive heat, photos, and late-night bites.
I prime with gripping serum, stipple translucent cream, then map veins with alcohol-activated pigments. A soft-focus powder blurs, while setting spray seals the hush.
- Pressure points guide placement
- Texture reads as story
- Light reveals depth
- Patience builds permanence
Shonen Hero Sweat-Sheen and Bold Brows
Sometimes the fastest way to read “main character energy” is through a slick sweat-sheen and fearless, bold brows.
I tap dewy balm along temples, nose bridge, and collarbones for that anime sprint glow. Then I sketch upward strokes with a firm pencil, set with tinted gel, and sharpen the tails. I balance shine with soft-matte cheeks, dab lip tint, and lock everything with flexible setting spray.
Witchy Smoky Lids and Celestial Liner
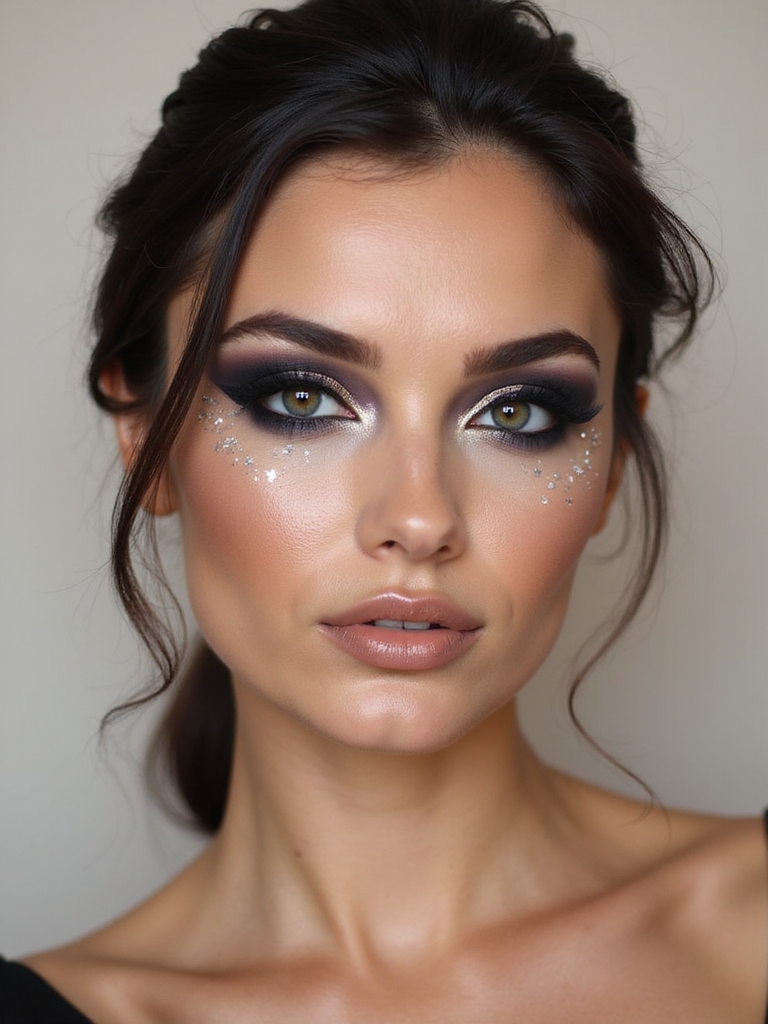
Even before I blend a stitch of shadow, I map the mood: sultry, spellbound, a little celestial mischief.
I smoke charcoal at the outer corners, slip plum in the crease, and tap silver shimmer on the lid’s center.
Then I sketch a razor wing, dot tiny stars along the flick, and tightline for depth.
- Cast shadows with intention
- Let highlights breathe
- Balance mystery and clarity
- Tell stories in strokes
Android Seam Lines and Panel Shading
Before I pick up a brush, I plot the blueprint: where joints would flex, where panels would meet, where light would catch a beveled edge. I sketch seams with a cool-toned pencil, then soften with a smudge brush.
I shade one side, highlight the opposite, and crisp edges with concealer. Tiny bolts? Dot liner. Finish with gloss on “metal” planes for slick, machined depth.
Mermaid Iridescence and Scale Stippling
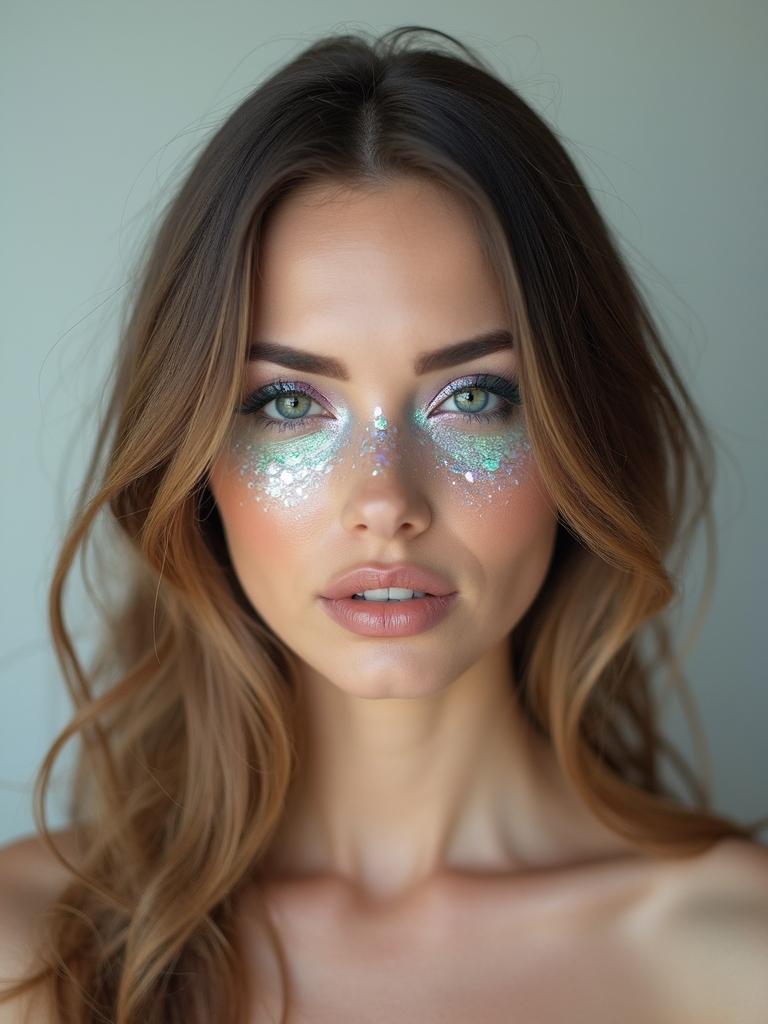
From chrome joints to ocean shimmer, I swap hard lines for pearly glow and scale-kissed skin. I mist setting spray, tap teal-violet duochrome on high points, then stipple scales with a mesh stencil and cream paints.
I blend edges with seafoam to keep it soft. Finish with glassy lips and wet-look highlight.
- Craft fantasy through texture
- Let light tell the story
- Blend for believable magic
- Protect skin’s comfort
When I map light, texture, and tiny details, characters stop being flat references and start breathing on my skin. If it’s neon anime eyes, gritty game grime, or glassy magical-girl glow, I’m chasing story first, products second.
Grab your fine brushes, mist that flexible setting spray, and don’t be precious—blend, blot, and exaggerate. Try a seam line, a scale, a star-flecked wing. Then step into the frame. You’re not just wearing the character—you’re performing them.