Black is the most powerful color in any makeup bag, and also the easiest to overdo. Done right, a black eye is the single most dramatic thing you can do to a face, sultry, confident, and endlessly versatile. Done heavy-handed, it slips into muddy or harsh fast.
These are fifteen black eye makeup looks, from a barely-smudged everyday kohl to a full glittery cut crease, each with the technique that keeps the black intentional instead of overwhelming. For every look I will tell you who it suits, how to build it, and the blending trick that separates smoky from smudgy.
Black Eye Essentials
- Blend in thin layers and build slowly; black is far easier to add than to fix.
- Tightlining the waterline with black instantly deepens any look and makes lashes look fuller.
- A smudgy, diffused edge reads sultry, while a sharp, clean edge reads graphic. Decide which before you start.
- Black flatters every eye color and skin tone; the finish (matte, glossy, glittery) sets the mood.
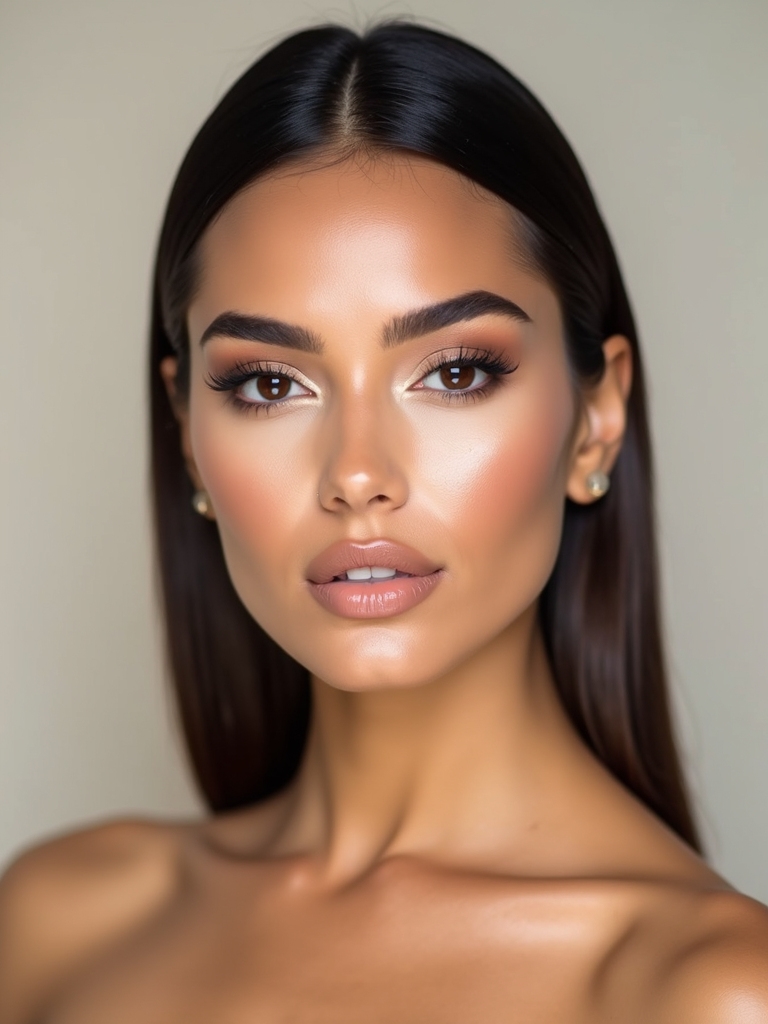
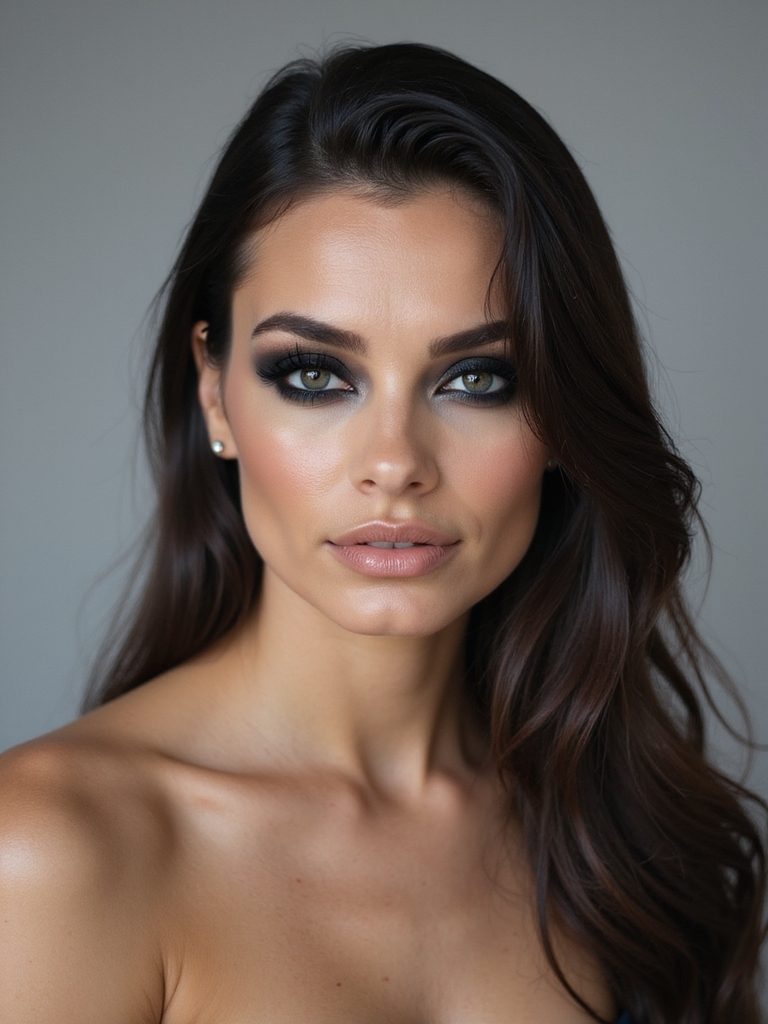
Bold Charcoal Smoky Eye

The definitive black eye, and the one everyone pictures. A diffused charcoal-to-black gradient across the lid, darkest at the lash line and softening up toward the crease, is sultry, classic, and works for any evening out. When a client wants drama that still feels timeless, this is where I start.
- Start with a transition shade, then build black at the lash line and blend up.
- Smoke a little along the lower lash line to connect and intensify it.
- Keep the blend soft so there are no harsh edges.
- Tightline the waterline to deepen it. The smokey eye makeup guide has the full method.

Inky Winged Smudged Edges

A wing with smudged, smoked-out edges is the cooler, more worn-in cousin of a sharp cat-eye. The soft, blurred wing feels easy and modern, sexy more than precise, and it forgives a less-than-perfect line beautifully.
- Draw a loose wing with a black pencil, then smudge the edge with a brush.
- Pack a little black shadow over the liner to set and soften it.
- Keep the inner eye lighter so the smoke stays at the outer corner.
- It is far more forgiving than a crisp wing, so it suits beginners too.
Pro Tip
Do your eye makeup first, before foundation, when working with black. Black shadow and glitter fall onto the cheeks as you blend, and it is far easier to wipe away fallout and then do your base than to clean it off finished skin.
Glossy Black Gel Lids

High-fashion and editorial, a glossy black lid is the look that turns heads on a runway and in photos. A wash of black gel or a gloss topper over black shadow gives the lid a wet, patent-leather shine that is bold and ultra-modern.
It is a statement look, best for a night out, a shoot, or anyone who loves a fashion moment. The gloss does fade, so it is more art than all-night wear.
Press black cream or shadow on first, then tap a clear or black gloss over the center of the lid. Keep the rest of the face clean so the wet lid stays the focus.
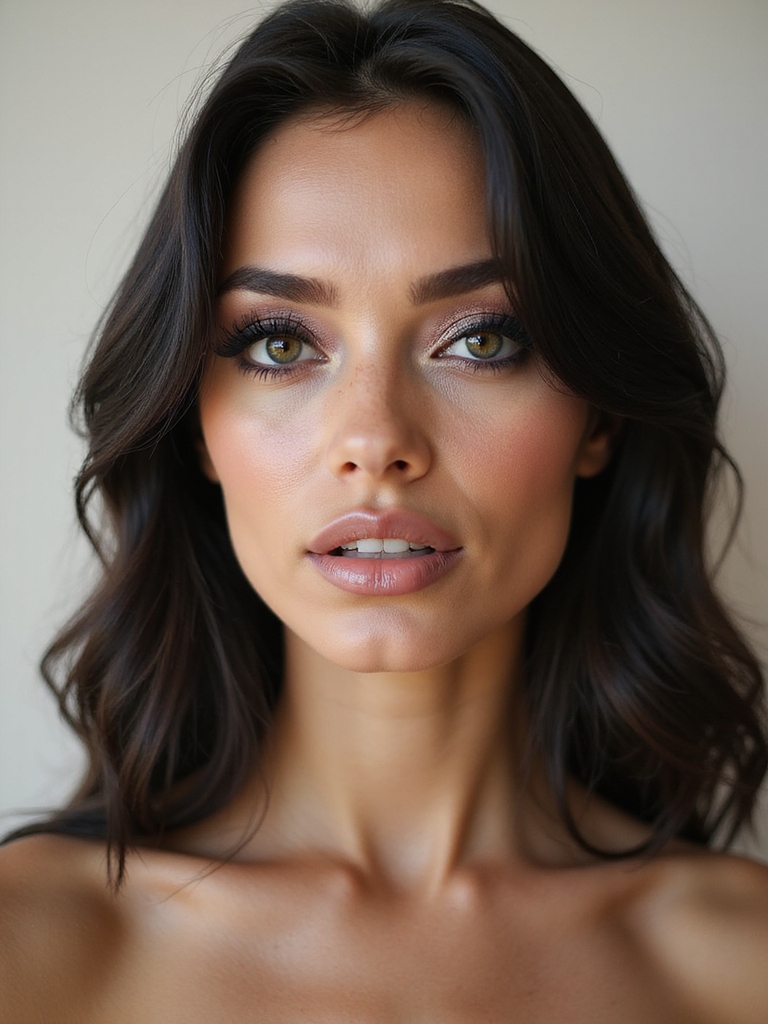
Soft Smudged Kohl Haze

The most wearable black eye there is, and my everyday recommendation. A soft, smudgy haze of black kohl around the lashes gives that just-rolled-out-of-bed, rock-and-roll softness without any precision required. It is sultry, quick, and undone.
The five-minute version
The whole look is one pencil and your finger, smudged until it looks like a soft shadow rather than a line.
It suits absolutely everyone and every eye shape, and it only gets better as it wears and softens through the day.
A black-eye myth worth busting:
❌ Myth: Black eye makeup makes small eyes look smaller.
✅ Reality: Placement is what matters, not the color. A halo eye with black in the corners and shimmer in the center, or a tightline with a light lid, actually makes small eyes look bigger. It is a heavy, all-over flat black that closes them in.
Floating Negative-Space Liner

For the artistic, trend-forward crowd, a floating black liner that traces above the crease and leaves bare lid below is sharp, graphic, and editorial. The negative space makes the black line pop and feels distinctly modern.
- Map a clean line in the crease with liquid liner, keeping the lid bare beneath.
- Use a cotton swab dipped in remover to sharpen the edges crisp.
- Keep the rest of the eye minimal so the graphic line stays the centerpiece.
- A little highlighter on the bare lid makes the negative space glow.
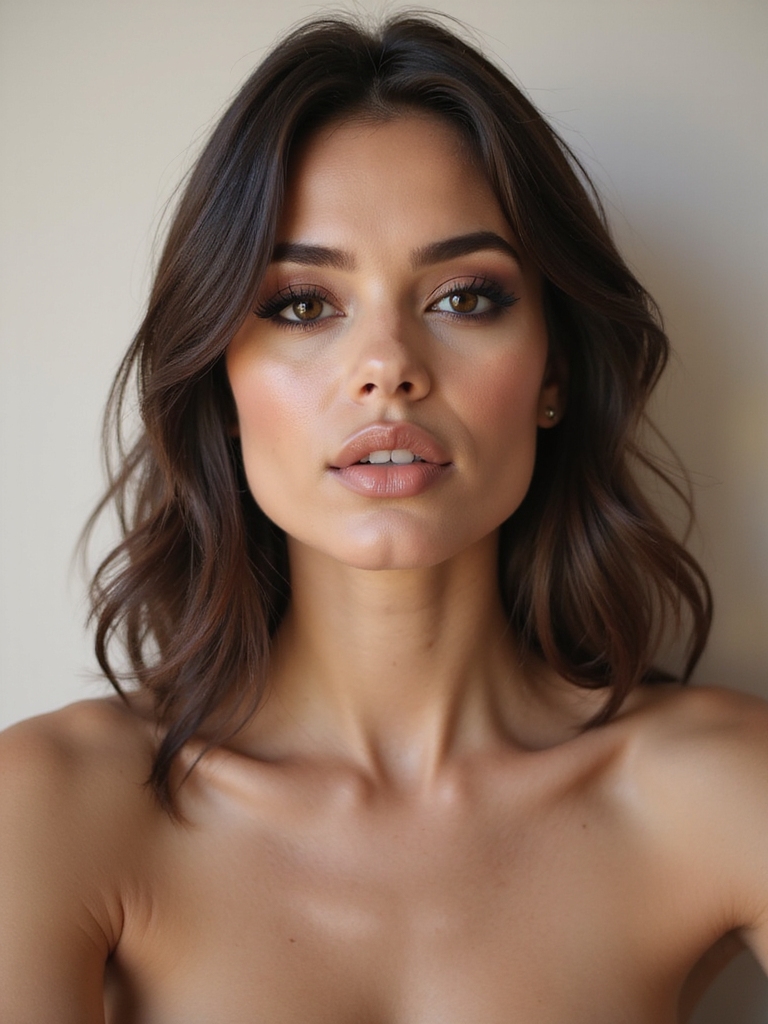
Creamy Black-to-Bronze
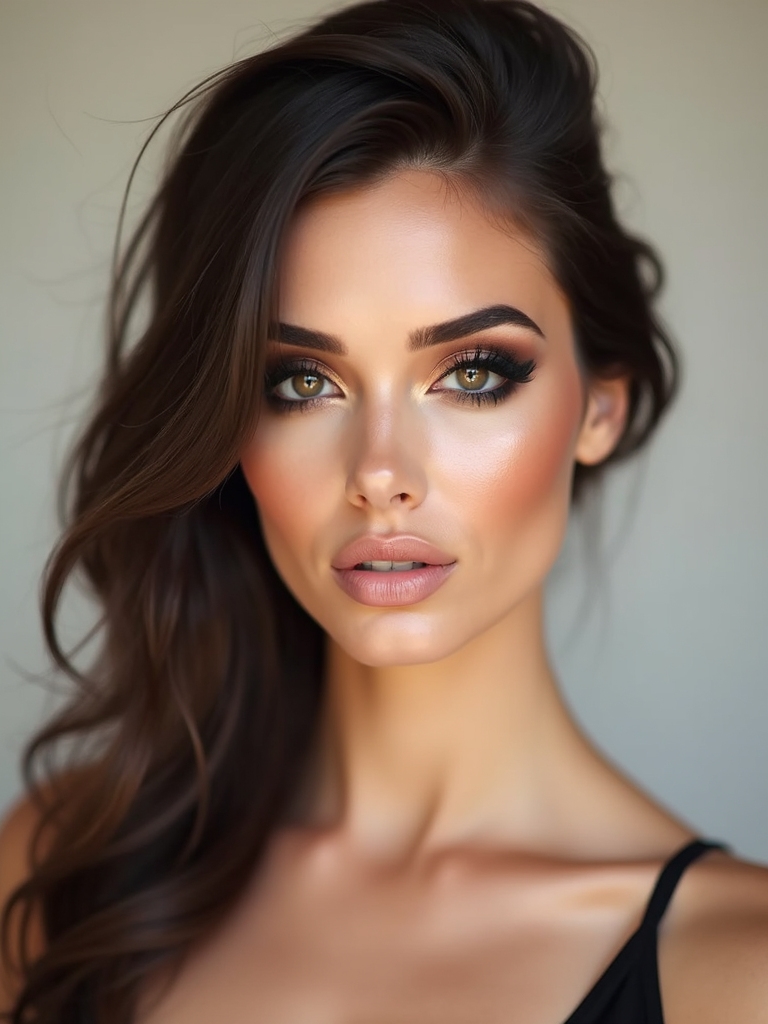
Warming a black eye with bronze is the trick that makes it glow rather than feel cold. A creamy black at the lash line melting up into a warm bronze gives all the drama of black with a flattering, lit-from-within warmth.
Bronze and copper especially light up deep and olive skin, and they soften black so it never looks severe. Pack the black low and blend bronze through the crease and up, letting the two melt together with no hard line. A touch of the bronze on the lower lash line ties it together.
Pick your black eye by occasion:
🎯Everyday or office
A smudged kohl haze or a sheer-smoke tightline gives definition without going full drama.
🎯Night out or event
A charcoal smoky eye, glittery onyx, or a cut crease brings the full intensity.
Round Halo With Jet-Black Center
A halo eye places the darkest black at the inner and outer corners and a lighter shimmer in the center, which makes the eyes look bigger and rounder. With a jet-black surround and a sparkling center, it is dramatic and eye-opening at once, a favorite for parties and photos.
- Pack black at the inner and outer thirds of the lid.
- Press a shimmer or metallic shade in the very center to catch the light.
- Blend where the black meets the shimmer so there is no harsh seam.
- It makes round and almond eyes look especially wide and bright.
Smudged Tightline for Depth
The subtlest, most powerful black eye trick: tightlining. Pressing black into the upper waterline and the roots of the lashes makes them look thicker and the eyes more defined, with no visible makeup at all.
It is the secret weapon I use on nearly every client, because it deepens the eye without reading as a full smoky look.
Use a waterproof black pencil or gel and gently press it into the upper lash line. Smudge a little along the lower waterline too for extra depth, and your lashes will look twice as full.
📋Black Eye Toolkit
- ✓A creamy black kohl and a waterproof gel or pencil for tightlining
- ✓A matte black and a shimmer or metallic black shadow
- ✓A fluffy blending brush and a small smudger
- ✓A flat brush for packing and foiling pigment
- ✓Setting spray, powder, and an oil-based remover
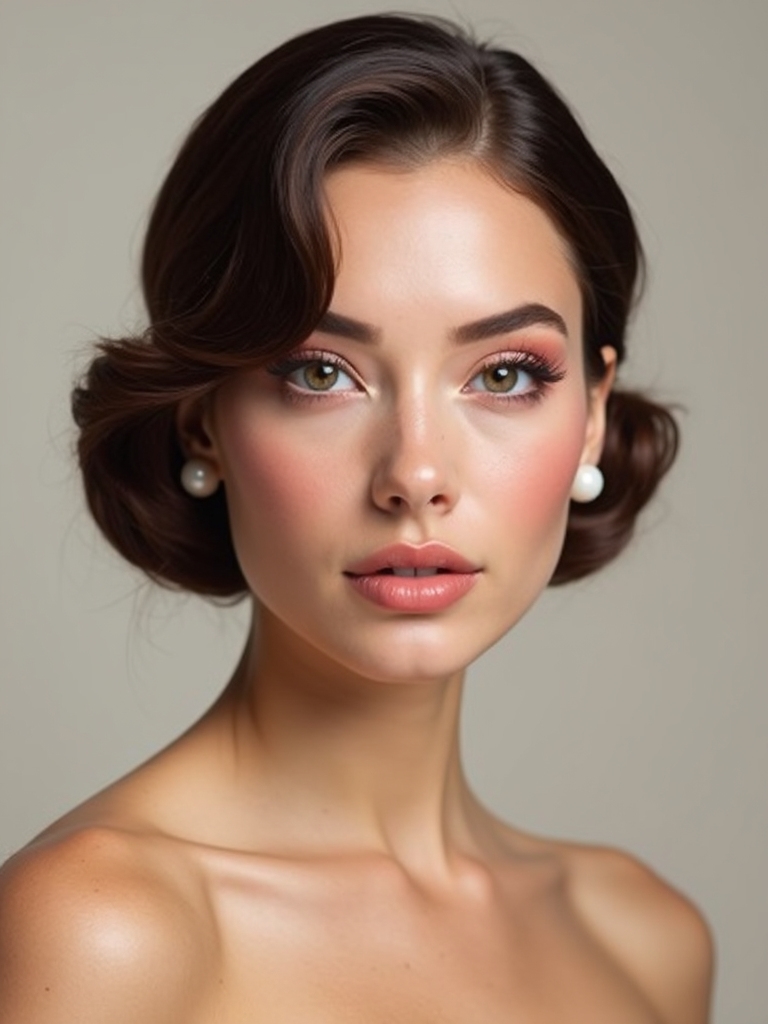
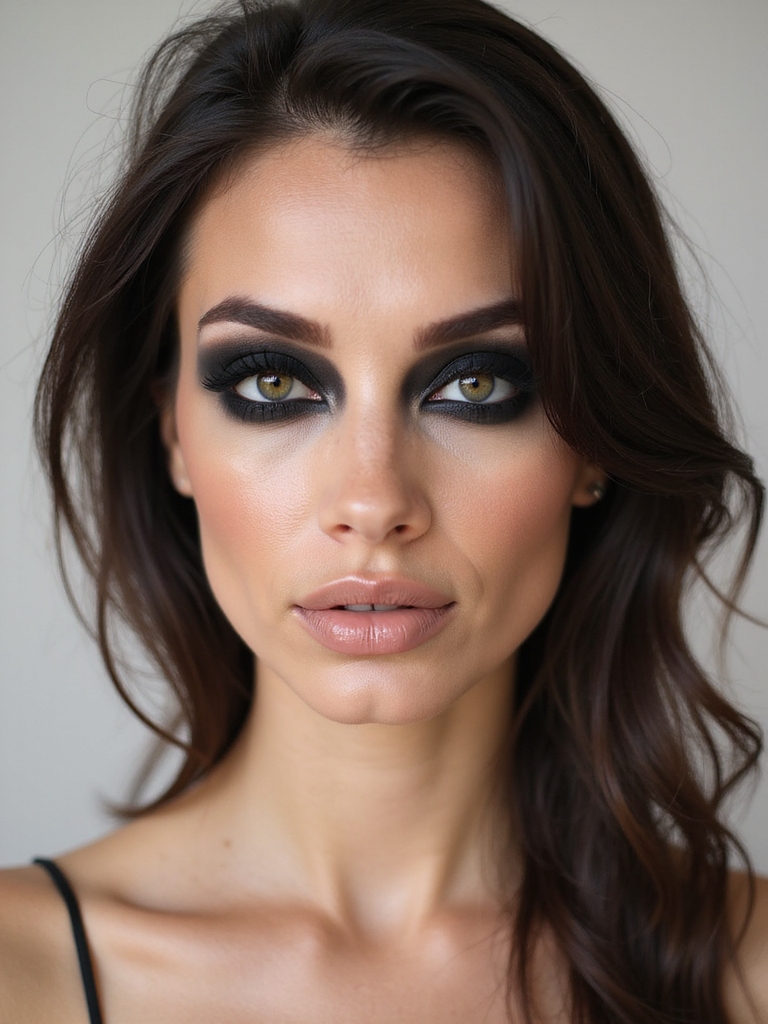
Velvet Matte Monochrome Eye

A fully matte black eye is the most intense, high-impact version, and no shine softens it. A velvety, flat black packed across the lid reads goth-glam and powerful, perfect for a bold night or an edgy theme.
Matte black shows every uneven patch, so smooth blending is everything here.
- Use a matte black shadow over a black cream base for the most opaque finish.
- Build in thin layers and buff the edges so it stays velvety, not patchy.
- Keep skin matte and lips nude so the eye dominates. The goth makeup guide leans into this mood.
- Set with a little powder so the matte black does not crease.
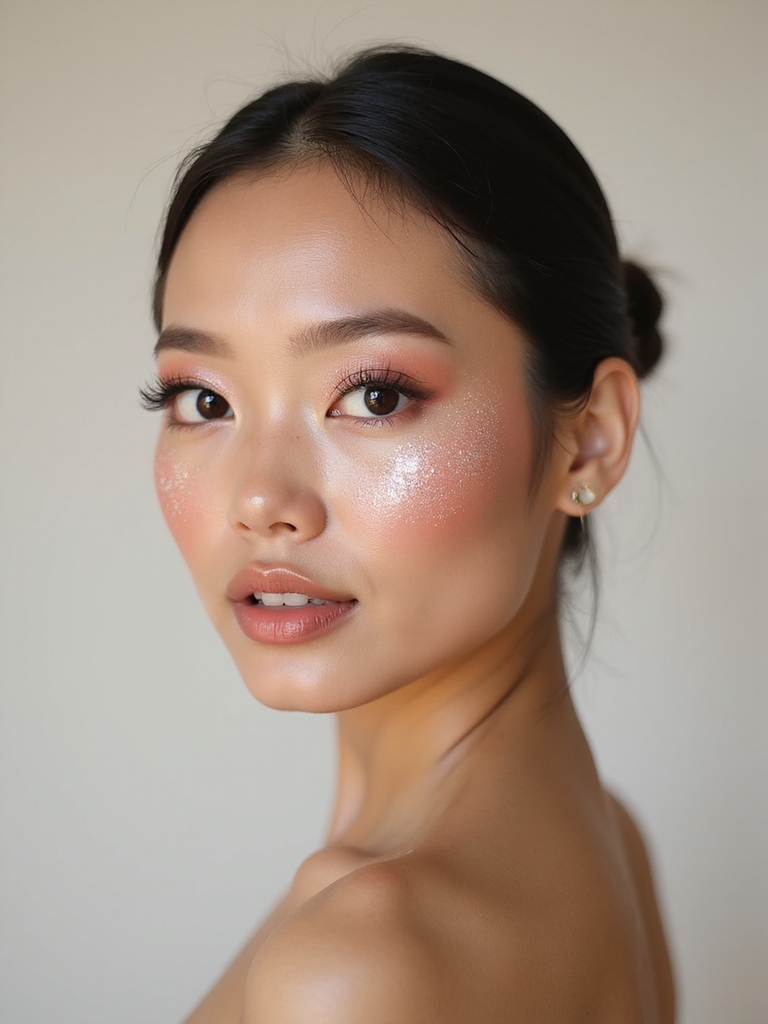
Glittery Onyx Smoke
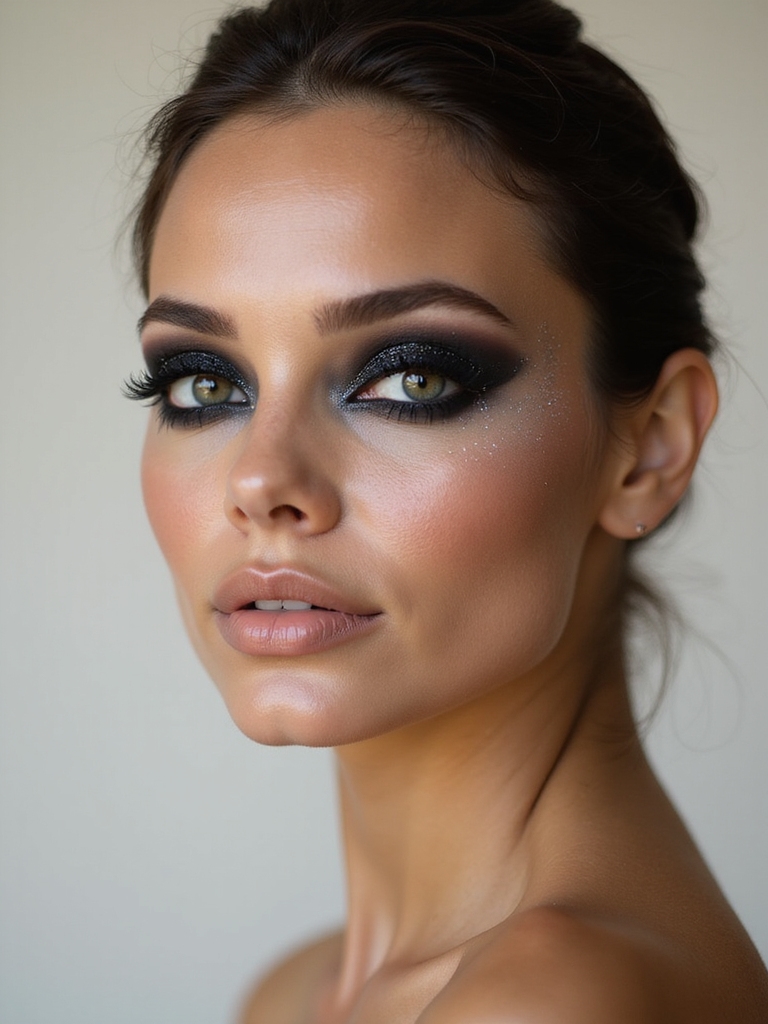
When a black eye needs to sparkle, black glitter over a smoky base is the ultimate party look. Fine black or silver glitter pressed over a charcoal smoky eye catches every light while keeping the dark, sultry intensity.
Glitter that stays
The glitter adds dimension and glamour without lightening the drama, which makes it ideal for New Year, a birthday, or a night of dancing.
Press the glitter on with a flat brush over a sticky base or setting spray so it stays put. A black or silver glitter both work; silver adds the most sparkle against the black.
Smoky Black Cut Crease

A cut crease with black gives a sharp, sculpted, high-glam result that makes the lid look bigger and the eye more dramatic. The crisp line of black above a clean lid is a showstopper for an event or a glam shoot.
Sharpening the cut
It takes patience and a steady hand, but the payoff is a striking, defined eye that photographs beautifully.
Carve the crease with black, keep the lid clean or shimmery for contrast, and sharpen the line with concealer on a small brush. The glam makeup guide covers the polished base underneath.
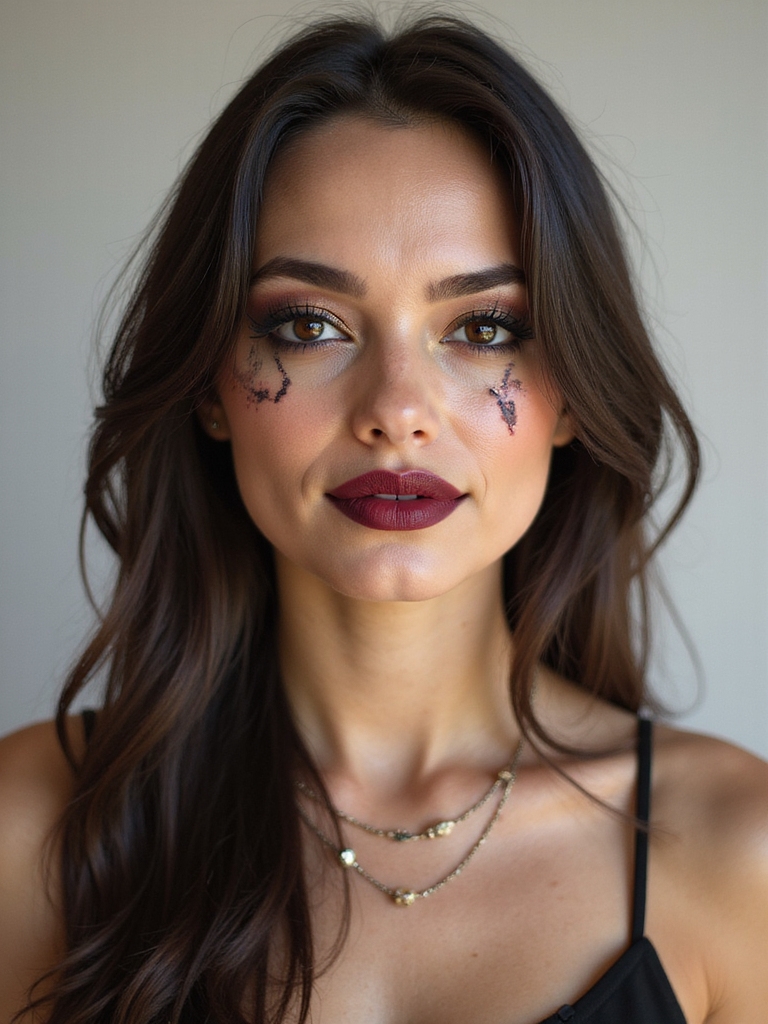
Smudged Winged Siren Gaze

Siren eyes, the elongated, pulled-out, feline shape, are pure seduction in black. The liner extends long toward the temple and the inner corner, smudged into a smoky haze, for a sultry, lifted, almost hypnotic gaze.
- Draw the liner long and pulled toward the temple, and extend it into the inner corner.
- Smudge a smoky black along the shape to soften and intensify the lift.
- Keep the lid otherwise bare so the elongated shape stays the focus.
- Curl lashes and add mascara to complete the wide-awake siren effect.
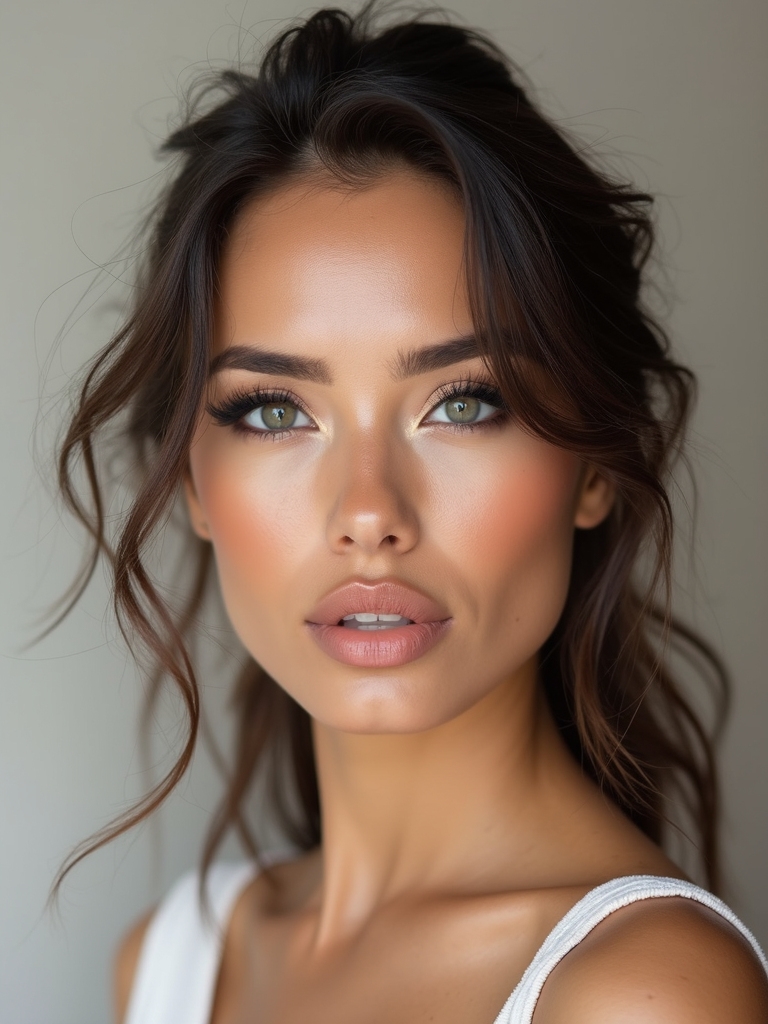
Inky Sheer-Smoke Tightline
The everyday-glam middle ground: a tightlined waterline with just a sheer wash of black smoke above it. It gives definition and a hint of drama without committing to a full smoky eye, ideal for the office or a daytime event.
It is what I suggest for anyone who wants their eyes to pop but finds a full black lid too much.
- Tightline the upper waterline, then sweep a sheer black or gray over the lash line.
- Keep the wash light and diffused so it stays soft and wearable.
- Add mascara and skip the lower lid for a fresh, open finish.
- It works for every eye shape and any time of day.
Liquid Metallic Black Shine

A metallic black, foiled and sculpted to a liquid-metal shine, is futuristic and bold, like polished gunmetal on the lid. It catches light with a cool, hard-edged glamour that feels distinctly modern and high-fashion.
Foiling a metallic black over a damp base or setting spray makes it go on bright, smooth, and reflective. Press it on with a flat brush or fingertip for the most intense payoff.
Keep the shape sculpted and the rest of the face minimal so the metallic lid reads like a statement. It photographs incredibly under flash and party lights.
Under-Eye Smudged Drama
Flipping the focus to a smudged black under the lower lashes is an unexpected, editorial way to wear black. A smoked-out lower line with a softer upper lash line creates a sultry, slightly undone, French-girl-gone-rock-star effect.
- Smudge black pencil or shadow under the lower lashes and blend downward softly.
- Keep the upper lid lighter so the drama sits below the eye.
- Use a waterproof formula so it does not transfer or migrate.
- Pair it with a bare lip and glowy skin for that undone, cool-girl finish.
Common Mistakes to Avoid
Black makeup tends to fail in a handful of predictable ways, and each one has a simple fix. The biggest is applying too much too fast: black builds quickly and is hard to remove, so always start with a light hand and a transition shade, then deepen slowly.
The second is skipping the blend; an unblended black edge looks harsh and aging, while a diffused one looks sultry, so a clean blending brush is your most important tool. Setting matters too, since black creams and pencils crease and migrate without a dusting of powder and a setting spray.
A few more fixes save a look: tightline before you decide you need a full smoky eye, because often that alone is enough. Always do your eye makeup before your base, or set a folded tissue under your eye, so the inevitable black fallout does not ruin your foundation.
And take black off gently with an oil-based or micellar remover instead of scrubbing, since the eye area is delicate. The gothic makeup and soft glam makeup guides show how far the same black can stretch, from edgy to soft.
Black Eye Makeup Questions, Answered
?How do I stop my black eye makeup from looking muddy or harsh?
Build in thin layers with a transition shade first, and blend every edge with a clean fluffy brush. Muddiness comes from too much product applied too fast, and harshness from skipping the blend. Start light, deepen slowly, and diffuse the edges as you go.
?How do I keep black eye makeup from smudging under my eyes?
Use waterproof formulas, set creams and pencils with a matching powder, and finish with a setting spray. A little translucent powder under the eye catches fallout and stops migration. For tightlining, a waterproof gel lasts longest on the waterline.
?Does black eye makeup suit all eye colors?
Yes, black is universally flattering and makes every eye color pop, especially bright eyes against the dark contrast. It also works on every skin tone; the finish you choose, soft matte, glossy, or glittery, sets the mood more than your coloring does.
?What is the easiest black eye look for beginners?
A smudged kohl haze. Line your top and bottom lash lines with a creamy black pencil, smudge both with a fingertip or small brush until soft, and add mascara. There is no precision required, and it looks intentionally undone, so small mistakes only help.
?How do I make small eyes look bigger with black?
Avoid packing flat black over the whole lid. Instead, try a halo eye with black in the inner and outer corners and shimmer in the center, or simply tightline the upper waterline and keep the lid light. Both add definition while keeping the eye open.
Start Soft, Build Bold
The secret to black eye makeup is not skill so much as restraint: start with a light hand, blend as you go, and build the drama only as far as you want it. From a five-minute smudge to a full glittery cut crease, the same black pencil can take you anywhere.
Pick one look that matches your night, practice the blend on a quiet evening, and you will have a go-to that makes your eyes the most striking thing in the room. Try the soft kohl haze first; it is the easiest place to fall in love with black.