Most people reach for more eyeshadow when they want their eyes to stand out, but the real difference comes from a handful of small techniques. Brightening, lifting, and defining in the right places makes eyes look bigger and more awake without a heavy lid. These are the moves I lean on at the makeup chair when someone says their eyes look tired or small.
These eye makeup techniques work as a toolkit rather than a single look. Use one or stack several, and adapt the placement to your own eye shape, which we cover at the end. Each comes with the how and the why so you know what is actually doing the work.
What Makes Eyes Pop
- Brightening the inner corner and waterline opens the eye instantly.
- Lifting liner and shadow up at the outer corner counteracts a tired, downward look.
- Defining the lash line with tightlining adds density without a heavy line.
- Placement beats product; the same shadow lands differently on each eye shape.
Nude Waterline Brightener

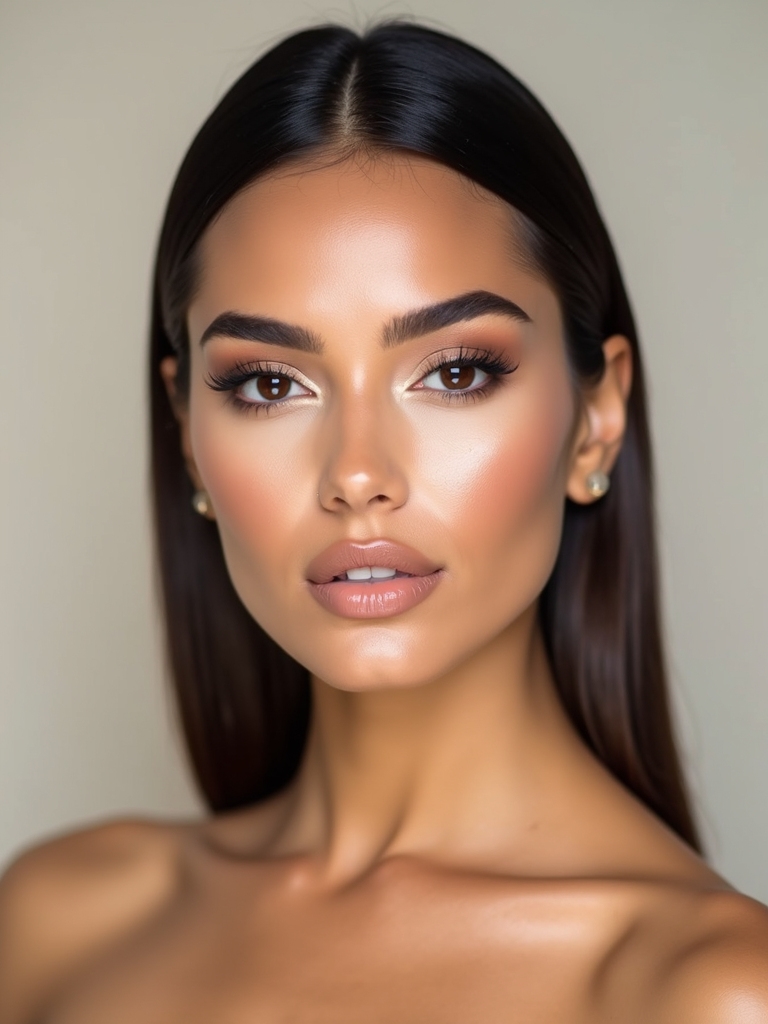
The single fastest way to look more awake is a nude or soft pink pencil on the lower waterline. It cancels the redness that makes eyes look tired and visually widens them in one swipe. It is the first thing I do when a client says they look exhausted. One pencil, wide-awake eyes.
- Choose a soft nude or peachy-pink, not stark white, which can look harsh.
- Line the lower waterline in one smooth pass.
- Pair with a curled lash so the brightness reads as wide-awake.
- On deeper skin, a warm peach or terracotta nude looks more natural than a pale beige.

Soft Lifted Winged Shadow

You can wing an eye with shadow instead of liner for a softer, more forgiving lift. A smudge of deeper shadow flicked up at the outer corner pulls the whole eye up and out.
Angling the Lift
Press a medium shade into the outer corner and drag it diagonally toward the brow tail, then blend the edge so there is no hard line. A small angled brush gives the most control.
I reach for this on anyone who finds liquid liner fiddly, and it is especially flattering on downturned or hooded eyes since the lift fights the natural droop. Keep the angle pointing up, never down.
📋Your Eye-Pop Toolkit
- ✓A nude or peach waterline pencil
- ✓A waterproof gel or pencil for tightlining
- ✓A champagne or gold inner-corner shimmer
- ✓A lash curler and a lengthening mascara
- ✓An eyeshadow primer for all-day hold
Upper Waterline Tightline
Tightlining presses dark pencil into the roots of the upper lashes, so they look twice as dense with no visible line on the lid. It is the most natural way to define the eye and my favorite trick for a no-makeup look.
Lift the lid gently and press the pencil into the lash base from underneath.
- Use a waterproof gel or pencil, since the area is damp.
- Press, do not drag, right at the lash roots.
- Black for the most density, brown for a softer effect.
Champagne Inner Corner

A dab of champagne shimmer in the inner corner bounces light and makes eyes look brighter and further apart. Light does the work. It is a five-second step with an outsized payoff, which is why every makeup artist relies on it.
Tap a small amount into the inner corner and blend it slightly onto the center of the lid for extra light. Press with a fingertip or flat brush so the shimmer stays dense rather than scattering.
Champagne suits almost everyone, but on deeper skin a warm gold reads brighter than a cool pearl. Keep it to the inner third so it stays an accent, not a full shimmer lid.
One thing worth clearing up.
❌ Myth: More eyeshadow makes eyes pop.
✅ Reality: Brightening and lifting in the right spots does far more than a darker lid. Placement, not pigment, is what opens the eye.
Softly Sculpted Crease

A soft shadow in the crease creates depth that makes the eye look more sculpted and lifted. Kept diffused, it adds dimension without reading as a full eyeshadow look.
- Sweep a transition shade through the crease with a fluffy brush.
- Place it slightly above your natural crease to lift hooded eyes.
- Blend in windshield-wiper motions until there is no hard edge.
- Choose a shade only a little deeper than your skin for a natural sculpt.
Warmed Curl, Lengthening Mascara
Curled lashes do as much to open the eye as any shadow, and warming the curler slightly makes the curl hold far longer. A quick blast of the hairdryer on the curler, checked on your wrist first, sets it like a heated tool.
Making a Curl Last
Curl at the base, the middle, and the tips for a rounded lift, then apply a lengthening mascara from root to tip. Comb through with a clean spoolie so nothing clumps.
Lengthening formulas open the eye more than thick volumizing ones for everyday wear. Clients ask me which mascara is best, but honestly the curl matters more than the tube. A good lengthening mascara runs about $12 to $28 and lasts three to four months, so one or two thin coats keeps the lashes feathery rather than spidery.
A few terms that come up a lot.
📖Tightlining
Pressing liner into the upper lash roots so lashes look denser with no visible line.
📖Transition shade
A soft, mid-tone shadow blended through the crease to add depth between lid and brow.
📖Cut crease
A sharp line of color carved across the lid with concealer for a defined, graphic eye.
Smoked Lower Lash Definition

A soft smudge of shadow along the lower lash line balances the eye and adds quiet depth. Done right, it makes the eye look bigger; done heavy, it can close it in, so a light hand matters.
How Far to Take It
Smudge a medium shadow along the outer two-thirds of the lower lash line with a small brush, leaving the inner corner clean and bright. Connecting it to the outer corner ties the look together.
I see people drag this all the way to the inner corner, which shrinks the eye. Keeping the inner third bright is what keeps the whole eye looking open.
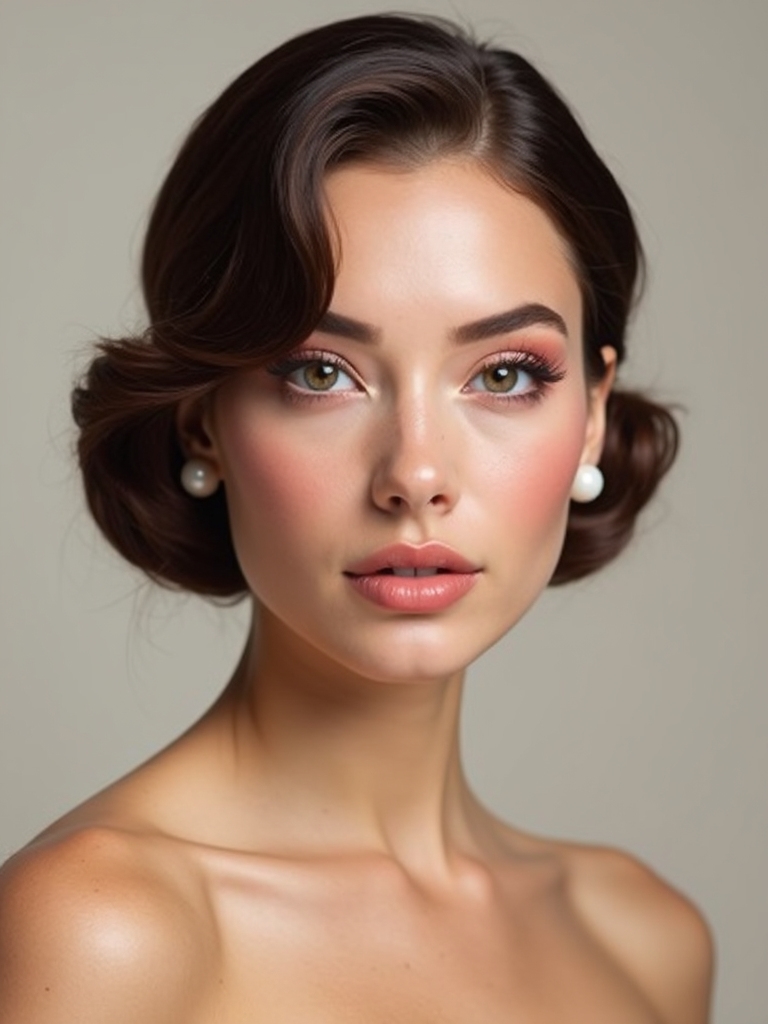
Under-Brow Highlight

A satin highlight just under the brow bone lifts the brow and opens the space above the eye. It is a classic technique that instantly makes the eye look more lifted and the brow more defined.
Keep it satin rather than glittery so it stays subtle and daytime-friendly.
- Tap a satin cream or soft shadow right under the arch of the brow.
- Blend the edge so it fades into the skin.
- Choose a tone close to your skin, a shade lighter, for a natural lift.
Pick the technique that fixes your concern.
🎯Eyes look tired
Brighten the waterline and inner corner, then curl the lashes.
🎯Eyes look small or droopy
Lift the crease and liner up at the outer corner and skip heavy lower liner.
Complementary Shadows for Your Eye Color
Choosing a shadow opposite your eye color on the color wheel makes the iris look more vivid. Opposites attract here. It is the easiest way to make your natural eye color the star without any bold technique.
The contrast does the work, so even a soft wash of the right tone has an effect.
- Blue eyes pop against warm coppers, peaches, and bronzes.
- Green and hazel eyes glow with plums, mauves, and burgundies.
- Brown eyes suit almost everything; navy and deep teal make them striking.
Thin-to-Thick Winged Liner

A winged liner that starts thin at the inner corner and thickens toward the outer flick is the most flattering shape for almost every eye. The gradual build keeps it from looking heavy or harsh.
Finding Your Wing Angle
Start with a thin line at the inner lash line, build thickness as you move outward, then flick up toward the brow tail along the line from your lower lash. Clean any wobble with a flat brush and concealer.
The angle of the flick changes the effect: steeper for more lift, flatter for a softer look. Map the wing with a few dots first if a continuous line feels hard.
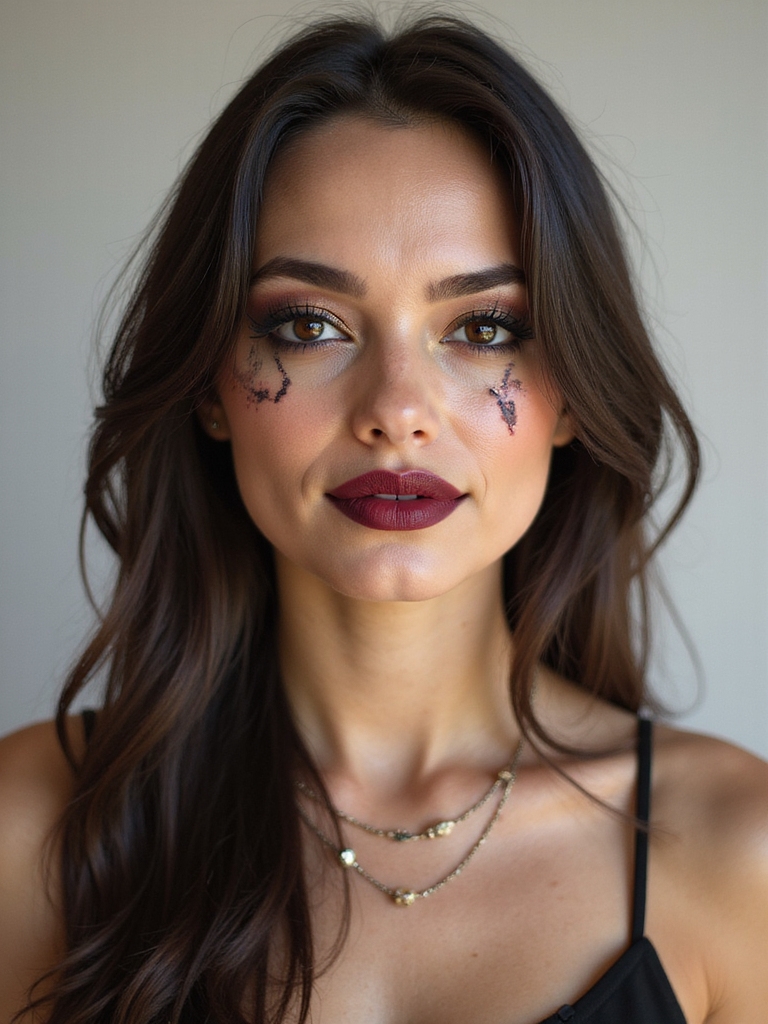
Crisp Black or Soft Brown Lines

The color of your liner changes the whole mood of the eye, and choosing well matters more than most people think. Black is graphic and defined; brown is soft and natural.
- Reach for black when you want drama, definition, or a sharp wing.
- Choose brown for daytime, softer features, or lighter coloring.
- Try deep plum or navy as a flattering middle ground.
- Match the intensity to the occasion, not just your preference.
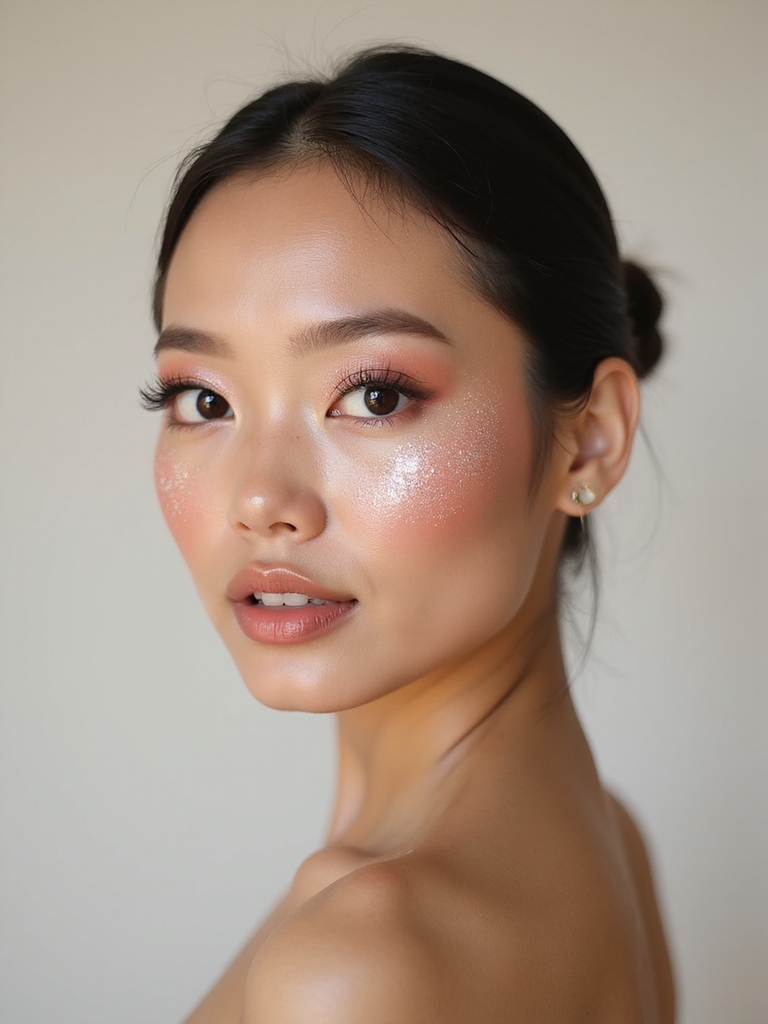
Metallic Fingertip Shimmer
Pressing a metallic shadow onto the center of the lid with your fingertip gives instant, foiled glamour in one move. Fingers deposit more pigment than a brush, so the shimmer comes out brighter and more intense.
It turns a plain lid into an evening eye in seconds.
- Tap a metallic shade onto the center of the lid with a clean finger.
- Press, do not rub, for maximum payoff.
- Work it over a tacky primer so the pigment grabs and holds.
Outer-Corner Half Lashes

Half lashes applied only on the outer corner lift and elongate the eye without the commitment of a full strip. They are the most natural way into false lashes and far easier to apply than a full set.
- Apply a half lash to the outer third of the lash line.
- Angle it slightly up and out for a lifted, cat-eye effect.
- Blend your natural lashes into them with a coat of mascara.
Balance Top and Bottom Liner
How you balance liner on the top and bottom changes the size of the eye. Open beats closed. Heavy on top with a soft, partial lower line keeps the eye looking wide, while lining solidly all the way around tends to shrink it and box it in, especially on smaller or deep-set eyes that already read as closed.
- Weight the liner on the upper lash line for an open look.
- Keep lower liner soft and limited to the outer half.
- Leave the inner lower corner bare to keep the eye bright.
- Save full all-around liner for a deliberate smoky effect.
Fine Mist to Set

A light setting mist keeps eye makeup from fading or creasing through the day. Eye looks built with cream and powder hold far longer once everything is melted together with a fine mist.
Close your eyes and mist in an X and a T from arm’s length, then let it dry without touching. For a real all-day hold, a thin layer of eyeshadow primer under the shadow does the heavy lifting before you ever start. The whole eye, start to finish, takes about five minutes once these moves become second nature.
Adapting These to Your Eye Shape
The same technique lands differently depending on your eye shape, which is why placement matters more than product. On hooded eyes, lift the crease shade and wing above the natural fold so it shows when your eyes are open; check everything with your eyes open, not closed. On round eyes, elongate with outer-corner shadow and liner. On downturned eyes, keep every angle pointing up and skip heavy lower liner that drags the eye down.
Monolids look striking with a smoked, gradient liner built slightly higher than the lash line so it is visible head-on, while deep-set eyes benefit from lighter, brighter lids that bring the eye forward. For more by shape and color, see our hooded eye makeup, natural eye makeup, cat eye makeup, makeup for brown eyes, and tips for deeper skin tones.
Build Your Own Eye Toolkit
Eyes that pop are rarely about more makeup; they are about a few smart techniques placed where they count. Brighten, lift, and define, then adapt the angles to your own eye shape, and even a quick look will open and lift the eye.
Start with the waterline and inner corner, since those give the biggest payoff for the least effort, and add the rest as you get comfortable. Practice on the techniques, not just the look, and every eye look you do will get better.