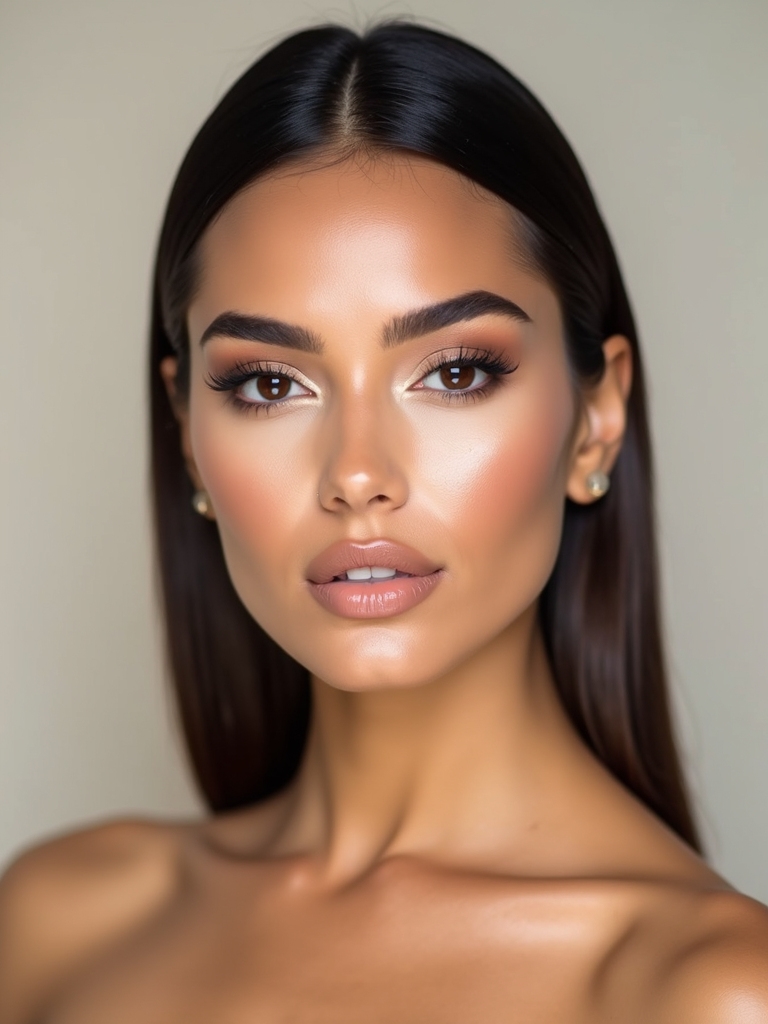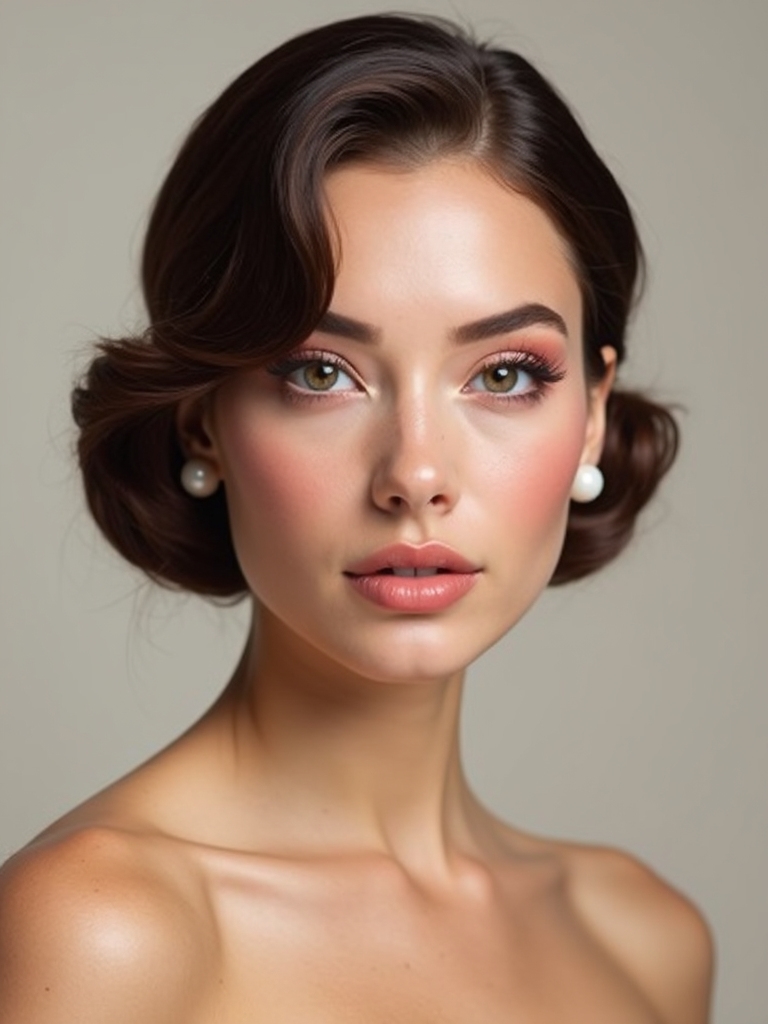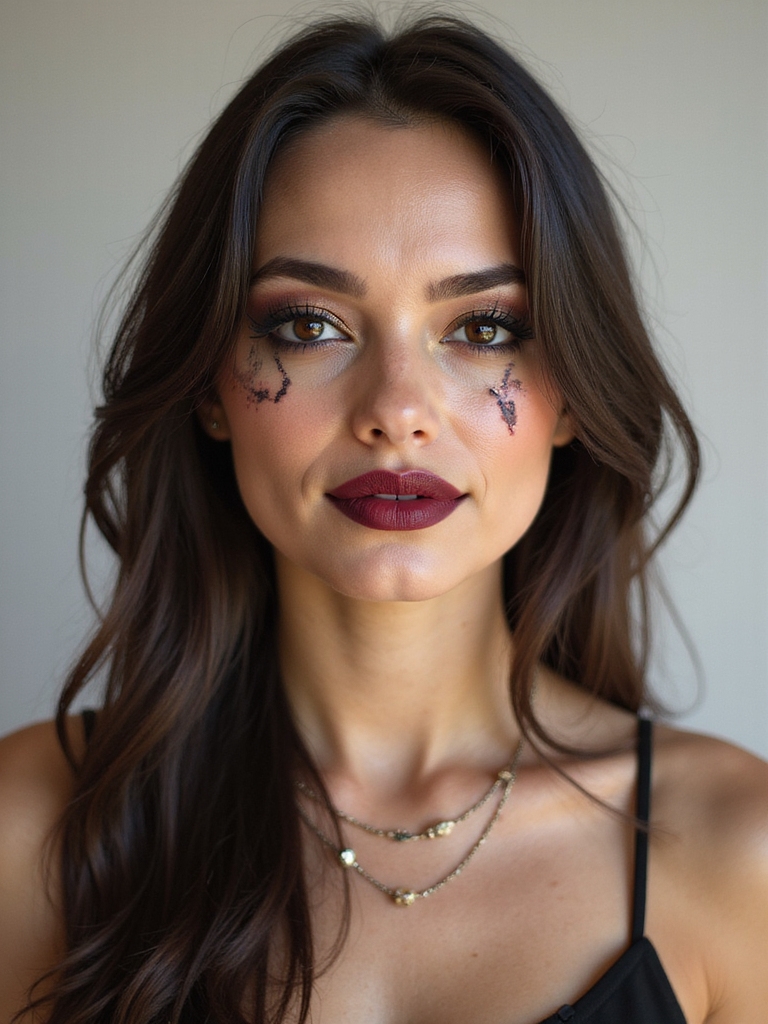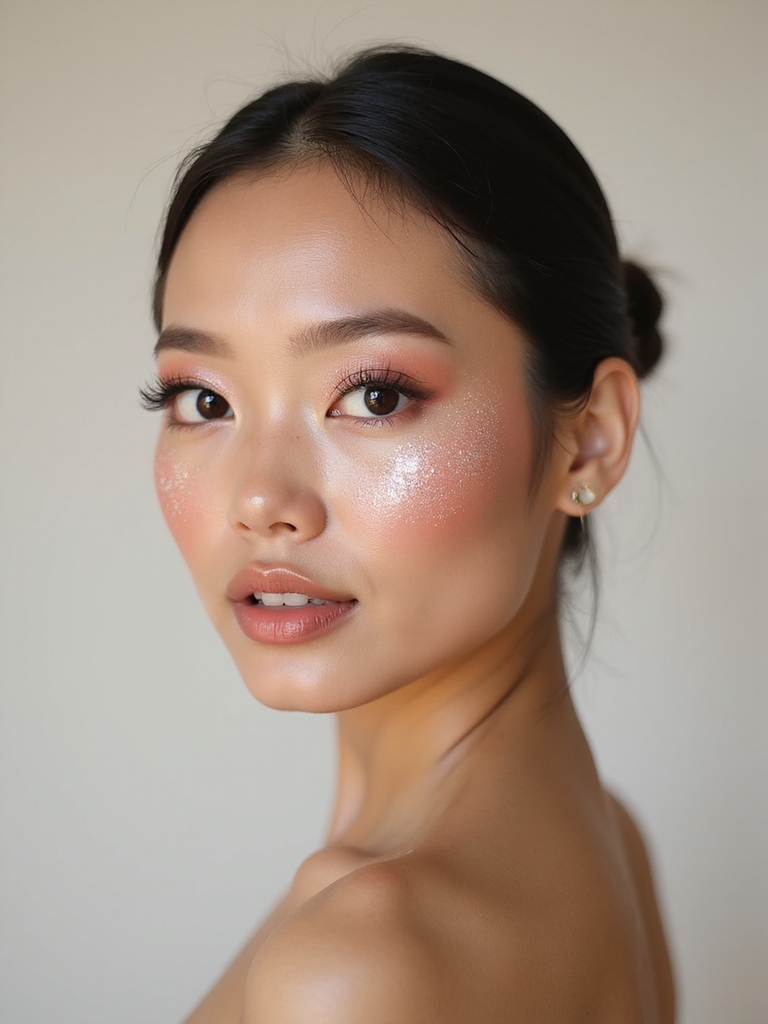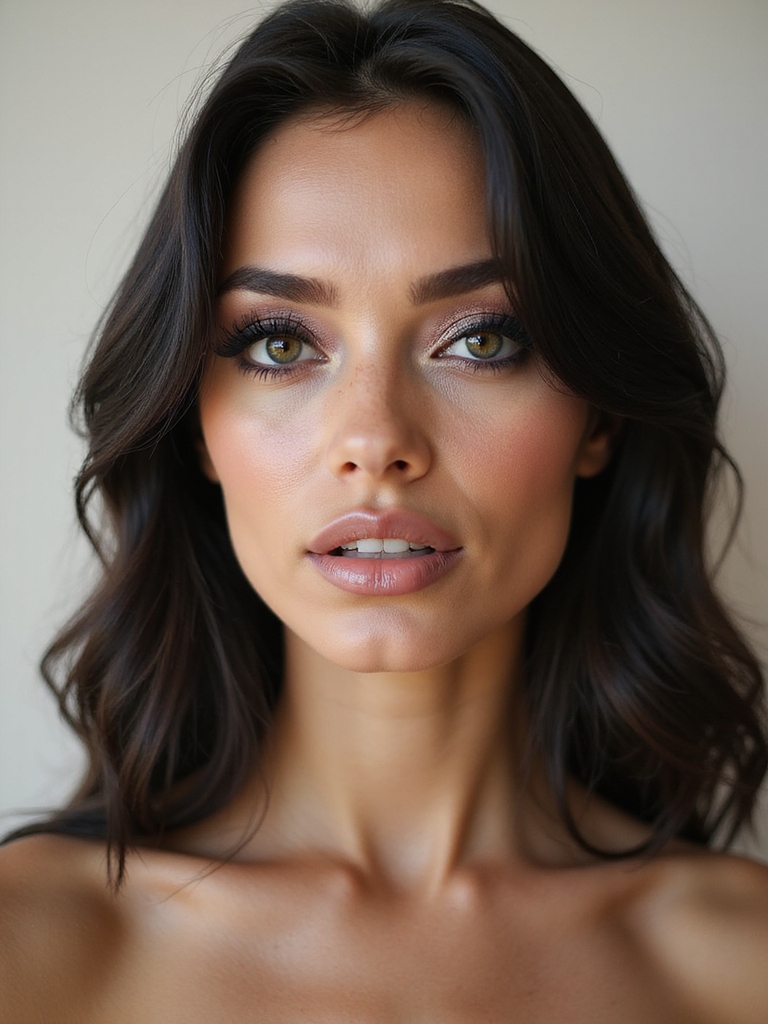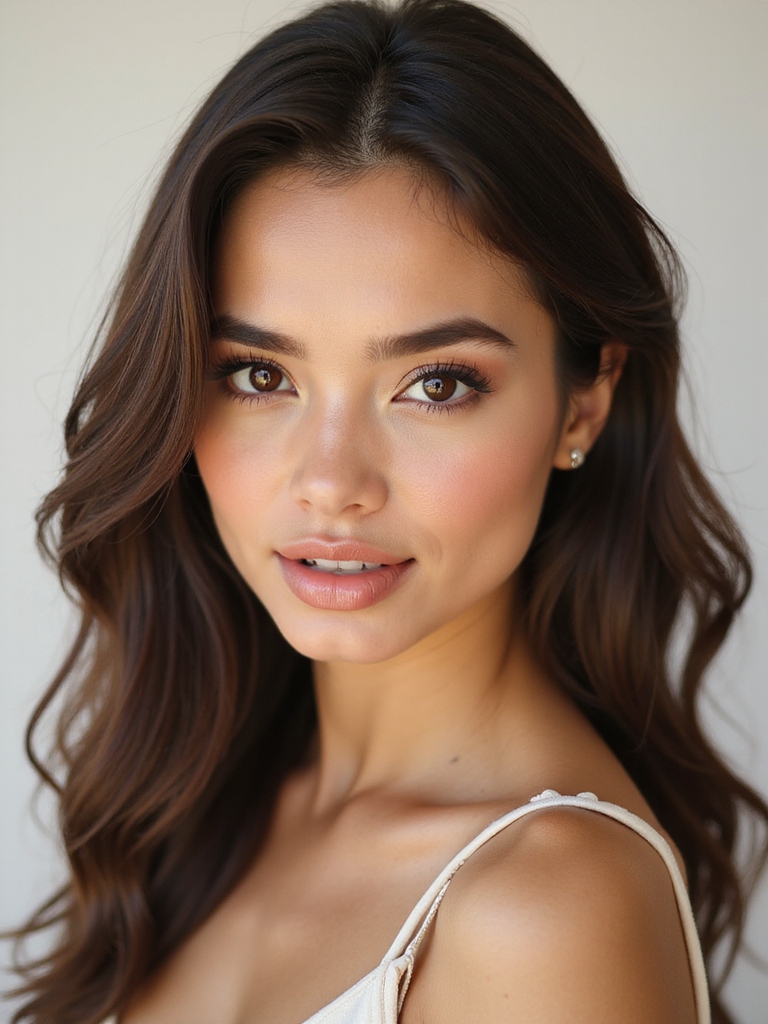
The first time I drew a thin lavender line just under a client’s brow instead of across her lid, she laughed out loud, then booked the same look for a wedding three weeks later. That is the quiet thrill of creative makeup: one small, unexpected choice that still leaves you completely wearable.
The looks gathered here sit in the sweet spot between artistic and truly wearable. Graphic liner you could take to brunch, gem placement subtle enough for a dinner, prismatic strobing that catches the light without shouting for it. Each one comes with the technique behind it, a rough sense of how long it takes, and an honest read on who it tends to suit, so you can borrow only the parts that speak to you.
Creative Looks at a Glance
| Look Type | Best For | Effort |
|---|---|---|
| Graphic liner | A modern twist on everyday eyes | Medium |
| Gem and shimmer placement | Events and nights out | Low |
| Color-blocked or prismatic | When you want to experiment | Higher |
| Blurred and diffused color | Soft, forgiving creativity | Low |
Neon Graphic Winged Liner

A graphic wing in a punchy neon takes the most familiar eye look and gives it a jolt of color. The shape stays recognizable, so it stays polished, while the shade does all the talking. It is the gateway drug of creative makeup for good reason.
- Sketch your usual wing in a soft pencil first, then trace over it with a neon liquid or gel liner for a clean, saturated line.
- Extend the flick a touch longer and sharper than your daily version to lean into the graphic feel.
- Keep the rest of the eye bare, just mascara and groomed brows, so the color stays the whole story.

Bold Color-Blocked Geometric Eyes

Color blocking borrows a trick from fashion and applies it to the lid: two distinct shades sitting side by side in clean, blocky shapes. The contrast between them is what makes the look feel designed instead of merely colorful. A little color theory goes a long way here.
Pick two shades with real difference between them, a warm against a cool or a light against a deep, and keep each one in its own clearly defined zone. The border where they meet should stay crisp, since the geometry is the entire point of this style.
- Map your two zones with a light pencil before laying down any color.
- Use a small flat brush to keep each block of shadow sharp-edged.
- Echo one of the shades on the lower lash line to tie the look together.
👍Why Try Creative Makeup
- +It turns a routine into genuine play and self-expression.
- +Many looks are wearable enough for real life, well beyond the camera.
- +You build real skills, like blending and precision, that improve all your makeup.
👎Worth Knowing First
- –The bolder looks have a learning curve and need practice.
- –Some styles want specialty products like pigments, gems, or glitter glue.
- –Application takes longer than a five-minute everyday face.
Sculpted Spiked Lashes

Lashes are an underrated creative tool. Sculpted and spiked lashes gather into deliberate clusters and points, framing the eye with a graphic, almost spiky rhythm. The effect is striking yet still wearable for a night out.
The trick is in the grouping. Pinch sections of your lashes together while the mascara is still wet, or place spaced clusters of false lashes for that staggered look. A clear lash gel holds the spikes in place, and a tightline along the upper lash root makes the whole frame look intentional rather than clumpy.
Thin Mirrored Metallic Lidwash

A metallic lidwash is the refined, daytime answer to full chrome. You sweep a thin, sheer layer of liquid metal across the lid so it catches light when you blink while staying refined. It is the creative touch I add when a client wants something special that still works at the office.
Reach for a liquid or cream metallic and apply it with a fingertip in a single thin layer, concentrating the shine on the center of the lid. On deep and melanin-rich skin, warm metallics like bronze, copper, and gold look especially rich, so let your undertone guide the shade before you reach for silver. A dab on the inner corner brightens the whole eye.
A few terms that come up across creative tutorials.
📖Duochrome
A pigment that flashes two different colors depending on the angle of the light, which is what gives prismatic strobing its color shift.
📖Negative space
A design that uses the bare, unpainted skin as part of the shape, as in floating liner where the gap is the point.
Negative-Space Glossy Crease

This look plays with what you leave out. A defined crease of color sits above a deliberately bare, glossy lid, so the clean skin becomes part of the design and the gloss adds a wet, modern sheen. It feels editorial but takes less skill than it looks.
Keeping the Gloss From Migrating
Define your crease first with a single clean shade, blended along the socket line and nowhere else. Leave the mobile lid completely bare, then once the powder work is done, tap a clear or tinted gloss onto that lid for a glassy finish.
The contrast of matte crease and shiny lid is the magic. Keep a cotton swab handy to tidy the border, since the bare gap has to stay clean for the effect to land. This one photographs beautifully in good light.
One-Shade High-Shine Statement

Sometimes restraint is the creative choice, and this is the look I default to on a no-time morning. Taking one glossy shade and using it across the lids, cheeks, and lips creates a monochrome look that feels intentional and quietly bold. The shine ties it all together into something cohesive.
Cream and liquid formulas are your friends here, since they share that natural sheen. Choose a flattering shade for your coloring, then place it in sheer, buildable layers so the look stays fresh and glassy rather than heavy. For a softer take on this idea, the soft glam makeup approach blends it down even further.
- Pick a cream blush, a sheer lid tint, and a gloss in the same color family.
- Build each area in light layers to control the intensity.
- Add a clear highlighter on top for an extra wet, dewy finish.
| Finish | Best Formula | Tip |
|---|---|---|
| Crisp graphic | Gel or liquid liner | Map with pencil first |
| High shine | Cream or liquid metallic | Apply with a fingertip |
| Soft and blurred | Powder shadow | Over-blend the edges |
| Sparkle | Cosmetic glitter plus glue | Press, do not sweep |
Airy Layered Shimmer Swoops

Plenty of creativity is soft-edged. Airy shimmer swoops use soft, sweeping arcs of light-reflecting color that follow the natural curve of the eye, building dimension through layers rather than precision. It is romantic and forgiving, ideal if crisp graphics intimidate you.
Work in sheer washes, layering a soft shimmer up and out from the lid in a gentle swoop, letting each pass blend into the last. Because everything is diffused, small mistakes simply melt away, which makes this a relaxing look to lose an afternoon to.
- Choose two or three shimmer shades in the same tonal family for depth.
- Sweep them in arcs with a fluffy blending brush, building slowly.
- Finish with a single brighter shimmer on the high point of the lid.
Deep-to-Bright Ombre Lips

An ombre lip turns a simple pout into something with real depth. Darker shades hug the outer edges and fade into a brighter center, creating a fuller, dimensional look with depth a flat color cannot give. It is a small detail that lifts the whole face.
Choose two shades in the same family for a smooth blend, or two contrasting ones for drama. Line and shade the corners with the deeper color, dab the brighter shade in the center, then press your lips together and blend the seam with a fingertip while everything is still soft.
- Use a lip brush for control where the two shades meet.
- A touch of gloss in the very center pushes the fullness further.
- Blot and reapply the center color for staying power.
📋Creative Makeup Starter Kit
- ✓A sticky eye primer to make color and glitter grip
- ✓One bright or neon liner for graphic looks
- ✓A cream metallic for instant shine
- ✓Cosmetic glitter and proper glitter glue
- ✓Flat concealer brushes and cotton swabs for clean edges
Glamorous Gem Placement

Face gems can tip into costume territory fast, so the creative challenge is placing them with restraint, jewelry rather than a festival pile-on. A few well-positioned rhinestones at the inner corner or along the brow bone look glamorous and grown-up, catching light every time you move. I always start a client with three gems and make myself stop there.
Pick up each gem with a dab of lash glue on a tweezer tip, place it precisely, and let a couple of well-chosen pieces do the work. A jar of flat-back gems costs about $8 to $12 and lasts dozens of looks, which makes this one of the cheapest ways to dress up an eye. The euphoria makeup look leans harder into gems if you want full sparkle.
- Cluster three or four gems rather than scattering many.
- Anchor them near the inner corner or the arch of the brow.
- Use lash adhesive so they lift off cleanly later.
Sherbet Blurred Dreamy Eyes

Sherbet shades, those soft peachy, lemony, and pink pastels, create a dreamy, blurred eye that feels like spring in makeup form. The look is hazy and diffused on purpose, with no sharp edges anywhere, which gives it a gentle, romantic quality. It suits a soft, low-key kind of creativity.
Making Pastels Show Up
Apply pastel shades with a fluffy brush and over-blend them until the edges disappear into your skin. The goal is a soft cloud of color, so a light hand and patient buffing matter more than any single product. Layer two sherbet tones for a subtle gradient.
Because pastels can fade on the lid, a thin layer of eye primer keeps the colors true through the day. Keep the rest of the face fresh and skin-like so the blurred eyes stay the focus.
Neon Tear-Duct Inner Glow

The inner corner is a tiny canvas with an outsized payoff. A flick of neon or bright color in the tear duct opens the eye and adds an unexpected pop that feels modern and a little futuristic. It is one of the smallest tweaks on this list with the biggest impact.
Picking a Color That Pops
Use a fine brush to place a bright shade right in the inner corner, then carry it just slightly along the lower lash line for a subtle glow. Neon and electric brights work best because they catch the eye against your skin, no matter your complexion.
Keep it precise, since the whole charm is in that concentrated little burst of color. Pair it with a clean, simple eye so the inner glow stays the surprise element.
Bleached Editorial Brow Look
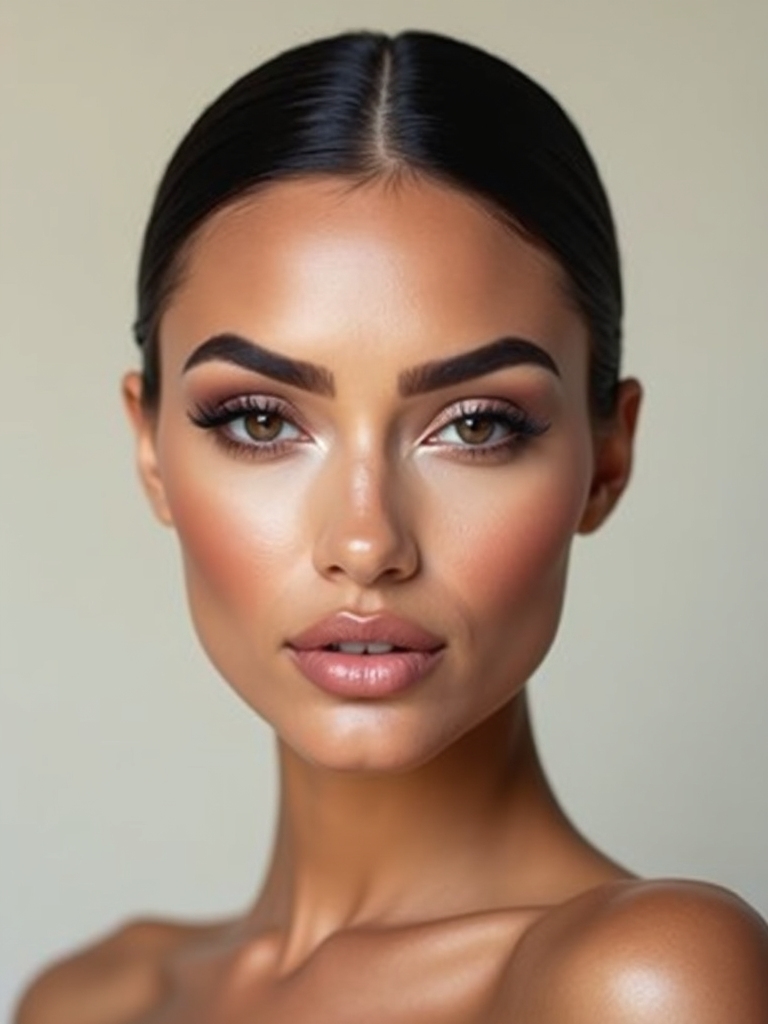
Few things shift a face as dramatically as toning down the brows. The bleached or neutralized brow, a staple of editorial and runway makeup, opens up the upper face and lets the eyes and skin take over. You can fake it convincingly without any actual bleach.
- Lay a clear soap brow gel or a glue stick over the brows, comb flat, and let it dry to flatten the hairs.
- Pat a layer of full-coverage concealer or foundation over the top, blending into the skin to mute the color.
- Set with powder, then add the rest of your look so the faded brows frame a clean, open face.
Charred Smoky Glitter Lid

This is the creative upgrade to a classic smoky eye. A deep, charred-looking base of black or espresso shadow gets topped with glitter, so the darkness turns moody while the sparkle keeps it party-ready. The combination feels rich and a little dangerous in the best way.
- Build a deep smoky base and smudge it soft along the lash line and into the crease.
- Press glitter over the center of the lid on a dab of glitter glue for that flash of light.
- Tightline the upper and lower lash lines to deepen the smoke. For the base technique, the smokey eye makeup guide breaks it down step by step.
Painted Asymmetrical Freckle Clusters

Faux freckles have gone creative, scattered in asymmetrical clusters that play with placement for an artful twist on the real thing. Drifting a cluster across one cheekbone and up toward the temple turns a sweet detail into an artful one. It is playful, fresh, and quick to do.
- Use a fine brow pencil or a freckle pen in a shade close to your natural tone for believable dots.
- Vary the size and spacing, and let one side carry more than the other for that asymmetrical feel.
- Set lightly and tap a sheer blush over the top so the freckles look embedded in the skin.
Prismatic Lavender-Blue Strobing

Strobing usually means a golden glow, but the prismatic version swaps in cool, iridescent lavender and blue for a highlight that shifts color as you move. The result is dewy, futuristic, and surprisingly flattering, like catching light off the inside of a shell.
- Choose a duochrome or prismatic highlighter in a cool lavender-blue tone.
- Apply it to the high points, cheekbones, brow bones, nose bridge, and cupid’s bow, with a damp brush for extra wattage.
- Keep the base skin dewy so the prismatic shift blends into a lit-from-within glow on any skin tone.
Who It Suits Best
People always ask me where to begin, and my answer depends entirely on their patience, not their face. If you tense up at the thought of a wobble, start with the forgiving looks: the sherbet eyes, the airy swoops, the painted freckles all blur their own mistakes, so they build confidence fast.
Once a cotton swab feels like a friend rather than a rescue, the crisp graphic liner and color blocking are within reach, and those suit anyone who quietly enjoys precision work.
Skin tone steers your choices while ruling nothing out. I lean clients with deep and olive complexions toward warm metallics and bronze strobing, point cool prismatic tones at almost everyone, and dial neon brights up or down until they sing against the skin in front of me. The honest deciding factor is your mood and your free time on a given day, and that is the whole freedom of it.
Find Your Creative Signature
What ties these fifteen looks together is permission to play within your own comfort zone. You do not have to attempt a full prismatic face on a Monday; you can borrow a single idea, a flick of neon in the inner corner or a sheer metallic wash, and fold it into the makeup you already wear. That is how a creative signature forms, one small experiment at a time.
Bookmark the looks that made you want to open your palette, gather a few of the starter products, and give yourself an unhurried hour to try one. When you are ready for more polish, a douyin makeup look brings the same creativity to a softer, glossier finish.
You Might Also Like