Most makeup advice tells you to blend until no one can tell you tried. These unique makeup looks do the opposite. Each one leans on a single bold detail, a neon arc, a chrome lid, a draped blush, and lets that detail carry the whole face.
I pulled fifteen of them from the looks clients screenshot and bring to the chair, the ones that photograph like a magazine page but still work on a real face. For each, I will show you the technique that makes it land, the product that does the heavy lifting, and how to keep it bold without tipping into costume.
How These Looks Work
Every look here is built on one statement and a quiet rest of the face, because two bold elements fight each other. Pick the eye, the cheek, or the lip to lead, then keep the others bare. Most of these are technique, not expensive kit: a neon felt liner runs $8-12, a chrome topper $15-25, and the rest you likely own.
Bold does not mean messy. The difference between editorial and costume is clean edges, symmetry between both sides, and a setting spray to lock it down. Build slowly, mirror each side as you go, and stop one step before you think you are done.
Neon Negative-Space Liner

Neon negative-space liner is the look that photographs like a spotlight. You leave the center of the lid bare and trace crisp neon arcs above the crease, so the empty space becomes the design. The contrast is what makes it land.
Map the shape first with a nude pencil, then go over it with a waterproof neon felt tip for a clean edge. Keep the middle of the lid clear so the color frames it. Pair it with tightlined lashes, brushed-up brows, and a satin base, then lock the whole thing with setting spray so the neon survives a long night out.
- Reach for a felt-tip neon liner to get the sharpest, cleanest arc
- Keep both arcs mirrored; uneven negative space reads as a mistake
- Set with spray, since bright pigments fade and smudge first

Chrome Glossy Lids With Mirror Finish

Chrome lids are the wet, mirror-bright eye everyone screenshots. The whole game is the formula, so I steer clients to liquid chrome toppers, gel paints, or high-shine balms, which loose pigment simply cannot match for liquid-metal gleam.
Layering is how you build the shine without creasing. Press thin coats over a flexible primer, let each set, then dust a little powder just in the crease to stop it from sliding. Thick coats crack; thin ones stay glassy.
It wears best for an event more than a full workday, since chrome shows every blink line by hour eight. For a softer take on metallic, a douyin-style lid keeps the shine but adds blur.
Neon negative-space liner, step by step:
1Map the shape
Sketch your arcs lightly with a nude or skin-tone pencil first, leaving the center of the lid bare. Fixing the shape now is far easier than over wet neon.
2Trace and seal
Go over the map with a waterproof neon felt tip in one confident pass per arc, then set the whole eye with spray so the bright pigment holds all night.
Sculpted Temple-to-Cheek Blush
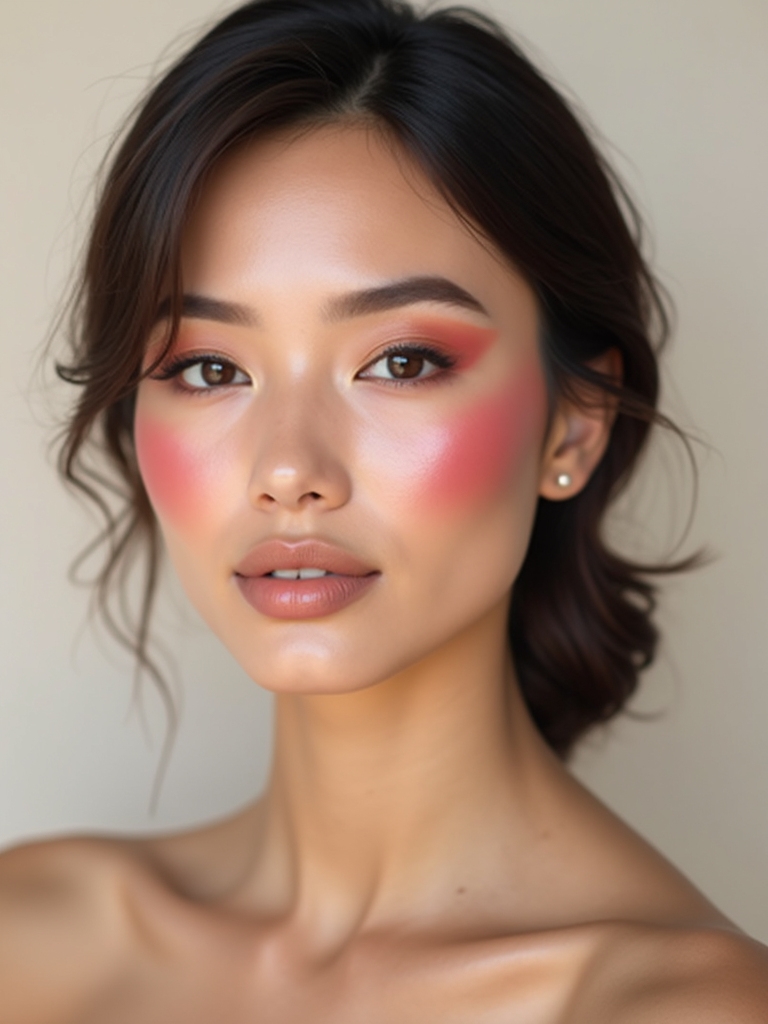
Draped blush treats color like a contour, sweeping it from the temple down across the cheek in a balanced arc that lifts the whole face. Done right, it sculpts. Done fast, it streaks.
Build a gradient: the lightest tint at the high points, deeper saturation up near the hairline, so the color carves the cheek and lifts it. Tap, blend, and mirror each side as you go, checking both cheeks straight-on in the mirror.
When a client wants drama without a heavy eye, this is where I take her, because draped blush carries the face by itself. Keep the rest quiet and let the arc do the talking, the way a good soft glam base lets one feature lead.
Dreamy Pastel Eyewash
The prettiest statement can start soft, and a watercolor pastel wash proves it. You float sheer lilac, mint, and peach across the lids so the edges look clouded, like color bleeding into wet paper. The fuzzy edge is the whole point.
Cream pigments are the easiest route here. Tap them on, mist the brush lightly, and blend while everything is still dewy so the colors fade into each other. Work fast, because pastels grab once they dry.
- Start with a translucent eye primer so the pastels stay true
- Layer wet-to-dry, blending each shade before it sets
- Anchor the soft wash with a whisper-thin brown wing so it does not float
| Face shape | Start the arc | Effect |
|---|---|---|
| Round | High on the cheekbone, sweeping up to the temple | Adds length and lift |
| Long or oval | Lower and more horizontal across the cheek | Adds width and softness |
| Square | Rounded arc from apple toward the temple | Softens the jaw and angles |
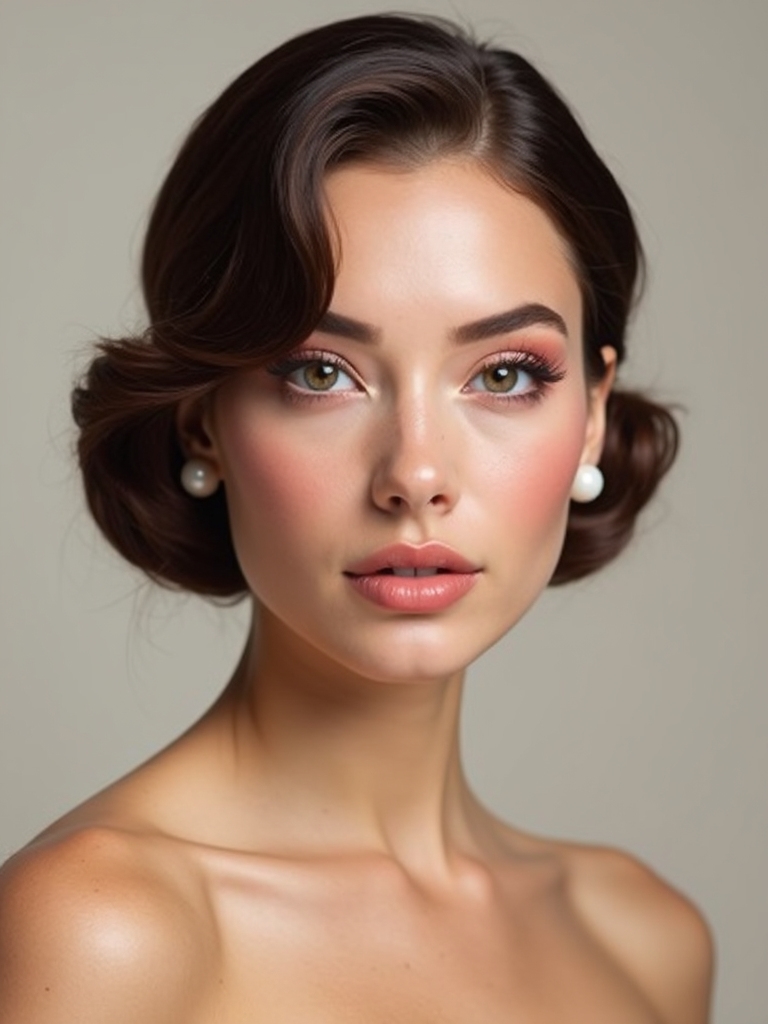
A Monochrome Berry Flush

Monochrome berry is one shade carried across cheeks, lips, and eyes for a face that reads as a single, deliberate story. The cohesion is what makes it look styled head to toe.
One Undertone, Three Places
Pick one undertone and commit, cool mulberry or warm plum, then hold to it. Start with a sheer berry cream on the cheeks, draped from the apples up toward the temples, then tap the same shade on the lids and lips.
Adjust intensity by zone: a whisper on the eyes, a bolder press on the lips, so the face gains real depth. The matching is the magic.
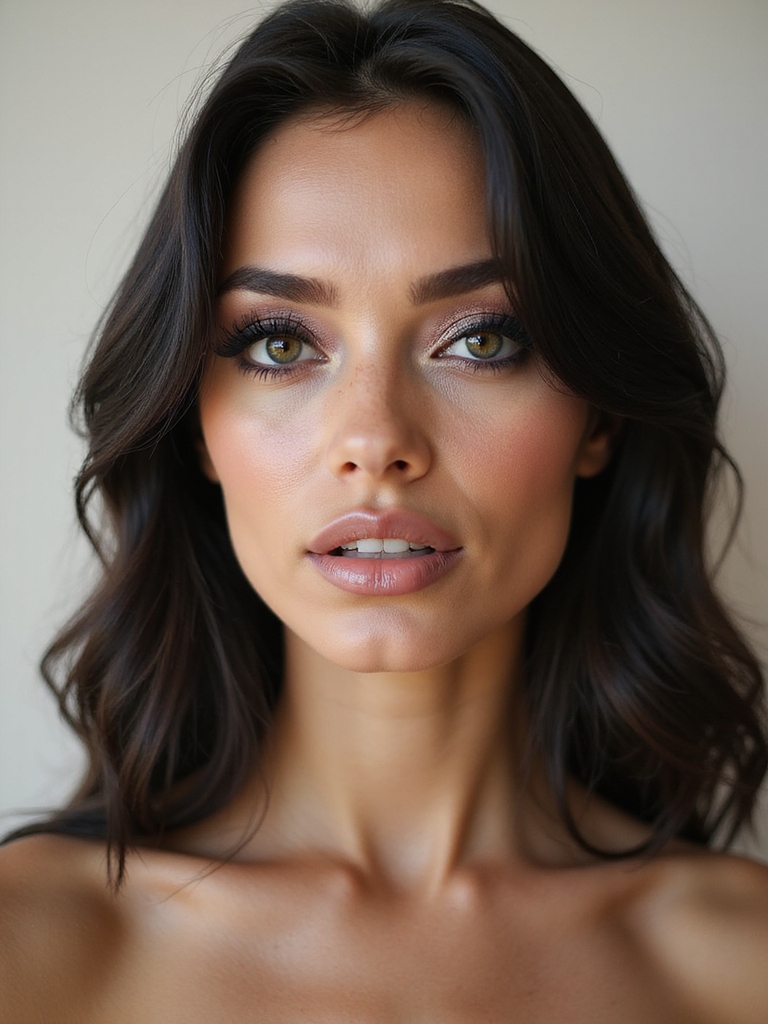
Velvet Matte Lip With Blurred Edges

A velvet matte lip is drama with discipline: a plush, flat finish with edges softened just enough to look modern and a little undone. It carries a whole face on its own.
Blur the Edge to Modernize It
Prep is half the battle. Exfoliate, press on a thin balm, and blot, so the matte grips smooth skin. Outline with a sharp pencil, overlining a touch only where you want fullness, then fill.
Swipe a true matte bullet, press, blot, and reapply for saturation that survives coffee. Blur the very edge with a fingertip so the line looks soft. A good matte lip holds four to six hours before it needs a touch-up.
📋For a Clean Monochrome Face
- ✓Pick one undertone and use it on cheeks, lips, and lids
- ✓Go sheerest on the eyes and boldest on the lips for depth
- ✓Drape the cheek color up toward the temple, not just on the apple
Floating Crease Graphic Lines

A floating crease line carves shape above the eye without packing on shadow, so it looks graphic and clean. You draw a crisp arc that hovers over the natural crease, leaving an airy gap beneath it. Here is the order that keeps it sharp:
- Map the arc lightly with a taupe pencil so you can fix the shape first
- Trace over it with a waterproof liner in white, cobalt, or chrome
- Keep the gap below the line airy and bare for contrast
- Mirror the angle on both eyes, then finish with curled lashes and a micro flick
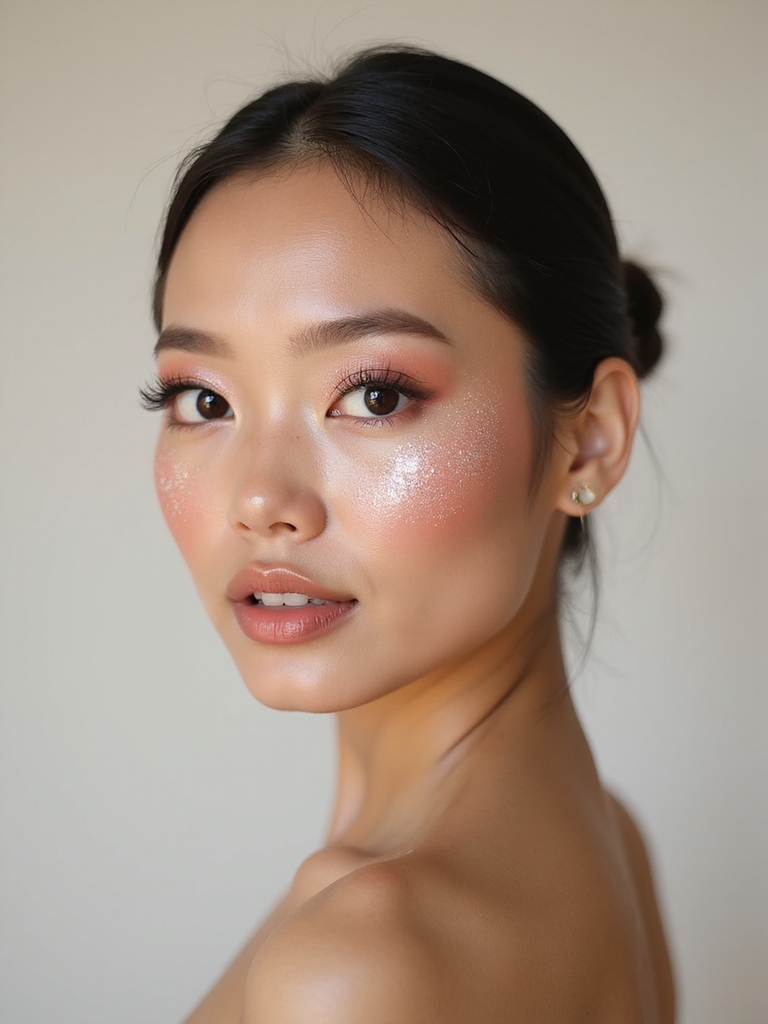
Iridescent Inner-Corner Highlight

A holographic pop in the inner corner is the fastest way to look wide-awake and editorial at once. Think prism: a sheer, high-reflect base that throws color as you move.
Dab liquid chrome at the tear duct, then set it with an iridescent powder so it does not slide. Blend the edge into the skin so there is no hard dot, and anchor the eye with mascara so the shimmer has something to balance against. It melts into a satin base beautifully.
- Use a prism shade, icy lilac, mint, or peach, over silver glitter
- Blend the inner edge so the shimmer fades into skin
- Pair with brushed brows and satin skin so the eye stays the star
Steady-Hand Tip
For any floating or graphic line, brace your elbow on a hard surface and pull the line in one breath instead of short strokes. Stops and starts leave a wobbly edge. If your hand still shakes, lay a strip of tape as a guide and lift it while the liner is wet, then clean the underside with a flat concealer brush.
A Smoky Siren Wing

A siren wing sharpens the eye and hints at drama without a full blackout lid. You map a lifted triangle from the outer corner up toward the tail, then smudge matte charcoal along the edge for that hazy, pulled-up shape.
Keep the Inner Lid Clean
Keep the inner third of the lid clean so the smoke looks like intentional shading. Tightline the waterline to anchor the base, then diffuse the top seam with a soft taupe so nothing turns into a hard stripe.
Finish with curled lashes and a glossy nude lip to balance the eye. It is sultry without trying too hard, and I recommend it to anyone testing out a bolder eye for the first time.
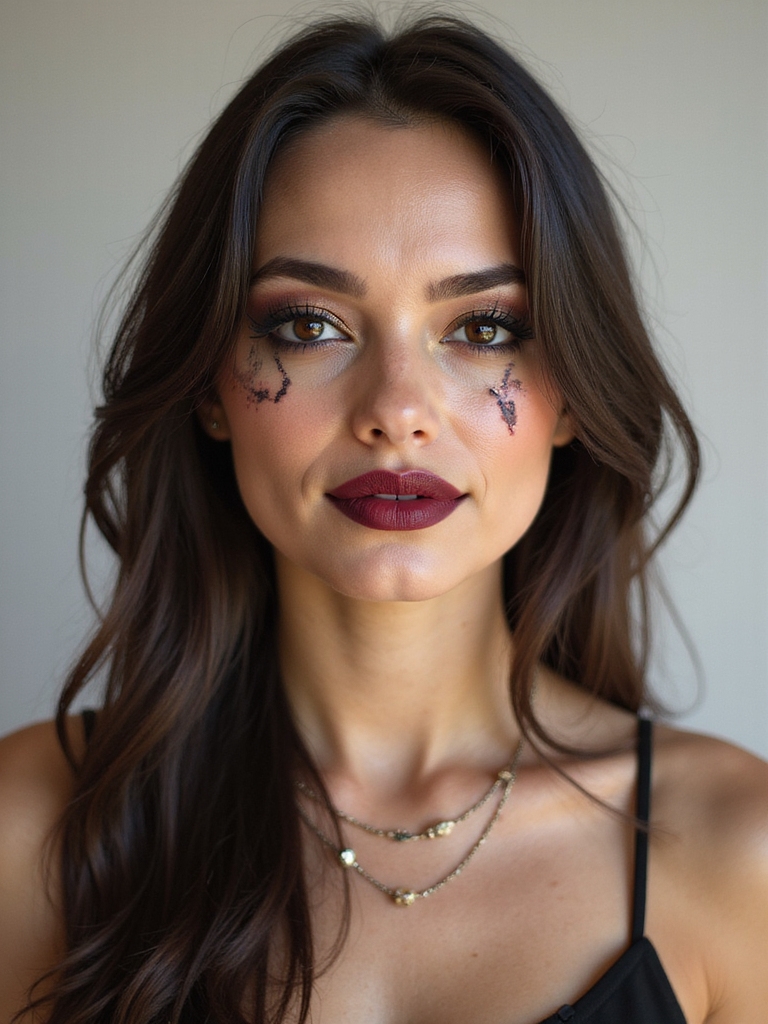
Glitter-Flecked Faux Freckles
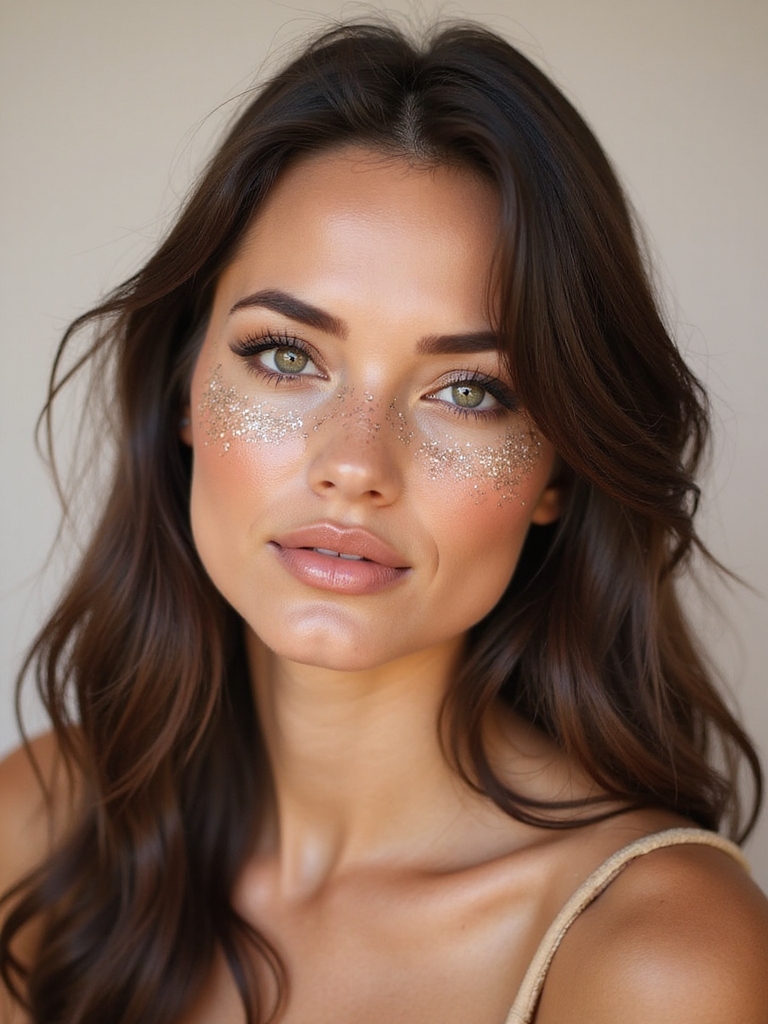
Faux freckles add personality, and flecking them with micro-glitter turns a sweet idea into a festival-ready one. You tap clear gel over the nose bridge and cheeks, then press tiny glitter clusters where the sun would naturally hit.
Random spacing is what sells it. Real freckles are uneven, so scatter them loosely across the skin, then lock everything with a mist so nothing migrates. This one photographs far better than it looks in the mirror, which makes it a fun event trick.
- Use cosmetic-grade glitter only, never craft glitter, near the eyes
- Mix sizes, fine and pin and ultra-fine, for a believable sprinkle
- Match the glitter tone to your jewelry and liner so it looks planned
Cool Under-Eye Ombré Shading

Flipping the gaze downward is the editorial move most people skip. You shade under the lash line in a soft ombré that pulls the eye down for a cool, slightly undone effect that looks straight off a runway.
Map a soft pencil near the waterline, smudge it out, then gradient into a diffused shadow that fades into the skin. Pick two tones, deep at the lashes melting to a mid-tone below. Clean the bottom edge with concealer for a crisp finish, and keep the lids minimal so the drama stays under the eye.
- Choose two analogous tones so the fade stays smooth, never a hard band
- Anchor with mascara so the lower shading has balance
- Keep the upper lid bare so the look stays editorial and light
Metallic Lip Liner Contrast

Metallic lip contrast is the chic clash: a cool-toned liner against a warm reflective lipstick, like icy silver edging cherry, or bronze framing mauve. The deliberate mismatch is what gives it dimension.
Map and feather the liner with a precision pencil first, then blend a creamy metallic lipstick over it with a flat brush for crisp edges and a reflective center. For all-night wear, exfoliate, prime, blot between layers, and lock it with a touch of translucent powder so the metal does not travel.
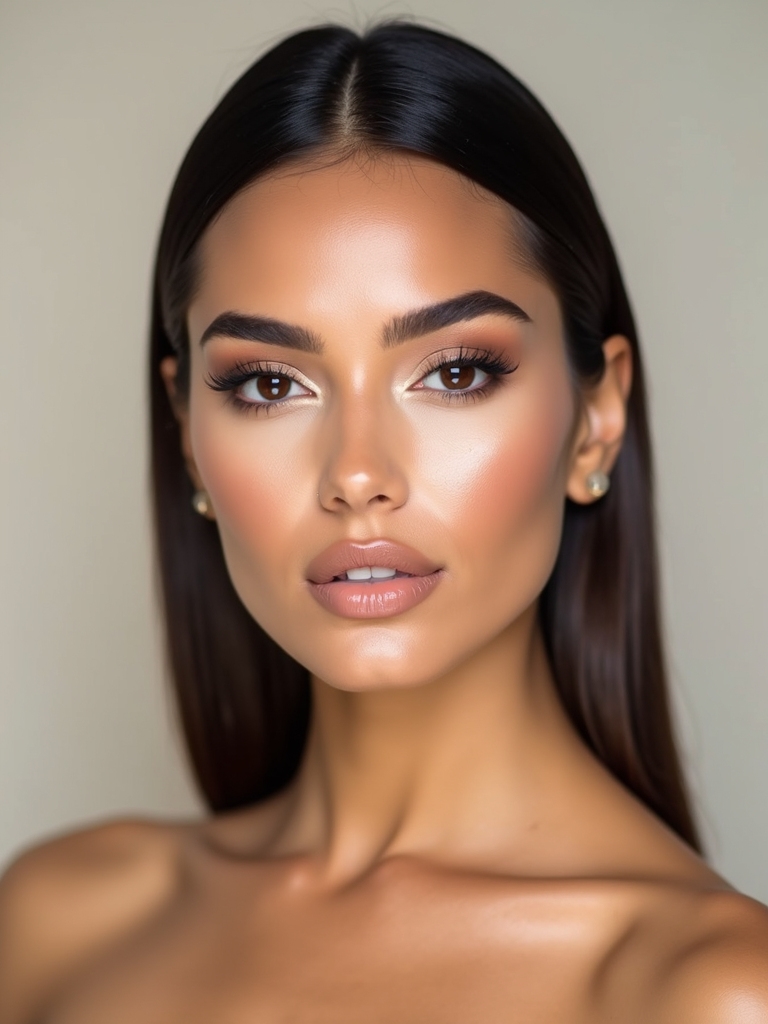
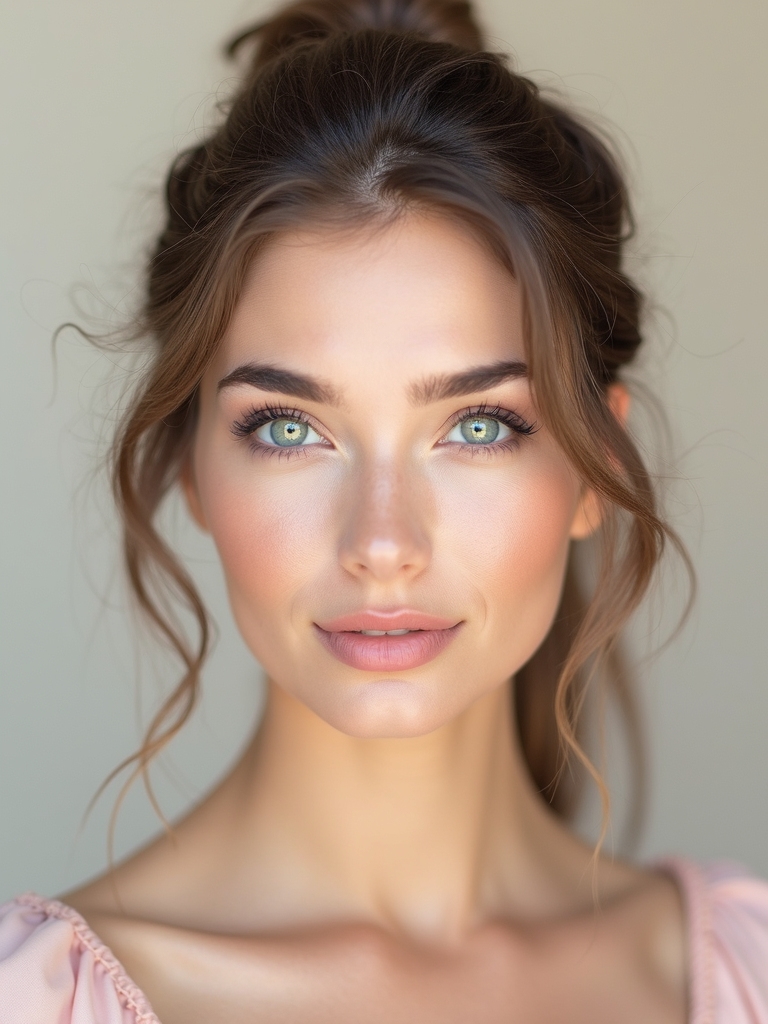
Dewy, Glossy Skin With Gel Highlights

Glossy skin is the look that makes everything else look expensive. You build a dewy base, then stack wet-look highlight only where light naturally hits: cheekbones, brow bones, the bridge of the nose, the cupid’s bow.
Tap, Don’t Swipe
Sheer a gel highlighter over hydrated skin and seal the edges with a mist so it fuses into the skin. Tap, do not swipe, so you keep the glow concentrated where you want it.
Control the T-zone with a little blurring powder so the shine looks intentional, then add clear balm accents for spotlight points. It is the base I tell clients to master first, since nearly every bold look here sits best on it.
Cobalt-to-Tangerine Layered Lashes

Color-blocked mascara makes the lashes the headline. You layer two bright mascaras, one shade at the roots and a different one on the tips, for instant dimension that catches every blink. Cobalt roots melting into tangerine ends is the combo that stops a scroll.
Clean, decisive strokes are what keep it from clumping into mud where the colors meet. Coat the roots first, let them set a beat, then drag the second color from the mid-lash out to the tips.
Balance the loud lash with neutral lids and groomed brows so the eye does not get crowded. A micro wand helps you color the lower lashes too, and a clear gel seal stops the brights from transferring.
Fairycore Iridescent Opal Lashes

Fairycore lashes turn each lash into a tiny prism that catches light when you blink, soft and a little otherworldly. The goal is opal: a quiet glow rather than a hard sparkle. Build it like this:
- Tightline and curl, then comb on a clear tubing mascara as the base
- While it is still tacky, tap ultra-fine iridescent mica along the tips
- Seal with a second clear coat so the mica stays put and does not flake
- Finish with a wispy half-lash, blushy cheeks, and a glassy balm for a soft glow
What to Expect
These looks photograph better than they feel in the moment, which trips people up. A neon arc or a chrome lid can look like a lot up close in your bathroom mirror, then read perfectly balanced in a photo or under party lighting. Trust the camera more than the mirror, and remember most of these were built for an occasion, not a school run.
Give yourself time and a steady surface, because clean edges are what separate bold from messy. Mirror each side as you go, build the statement slowly, and keep the rest of the face quiet. Start with one look that excites you, master the edge work, and the rest of these get easier fast. None of them require a pro; they require patience and a good setting spray.
Bold Makeup, Answered
?How do I keep bold makeup from looking like a costume?
Pick one statement and keep the rest of the face quiet, then focus on clean edges and symmetry. Costume happens when several bold elements compete or the edges are sloppy. A neon eye with bare cheeks and a nude lip reads editorial; a neon eye plus chrome lip plus glitter cheeks reads Halloween.
?Do these bold looks work on deeper skin tones?
Yes, and many look even better. Saturated brights, neon, cobalt, tangerine, and true metallics pop beautifully against deep skin, often more than on fair skin where they can wash out. Reach for jewel-toned and warm metallics, choose pigment-rich formulas that show up in one pass, and skip chalky pastels, which can go ashy. The technique stays identical.
?What products do I actually need to start?
Less than you think. A waterproof felt liner, one chrome or metallic topper, a cream blush, and a setting spray cover most of these. The looks are technique-driven, so a steady hand and good edges matter more than an expensive kit. Build your collection one statement product at a time.
?How long do bold looks last through an event?
With a flexible primer and a setting spray, most hold a full evening, four to six hours, before the brightest pieces fade first. Chrome and matte lips need the most upkeep, so carry the one product you used for touch-ups. Powdering lightly over cream layers also buys you extra hours.
?Where should a beginner start?
Begin with a look that has forgiving edges, like the dreamy pastel wash or draped blush, where soft blending hides small mistakes. Save the razor-edge graphic liner and floating crease for once your line work is steady. Compare these against softer everyday [[makeup looks|makeup-looks]] to see how much edge control changes the result.
Start With One Bold Detail
The thread through all fifteen is the same: one statement, a quiet face around it, and edges clean enough that the boldness looks chosen. You do not need to wear neon liner and chrome lids and a metallic mouth all at once. The looks that work pick a single hero and commit.
So choose the one detail that made you stop scrolling, set aside a slow evening, and practice the edge work until it feels like yours. Save the photo, bring it to your mirror, and build from there. Bold makeup is a skill like any other, and it gets easier every time you mirror both sides and trust the camera over the moment.