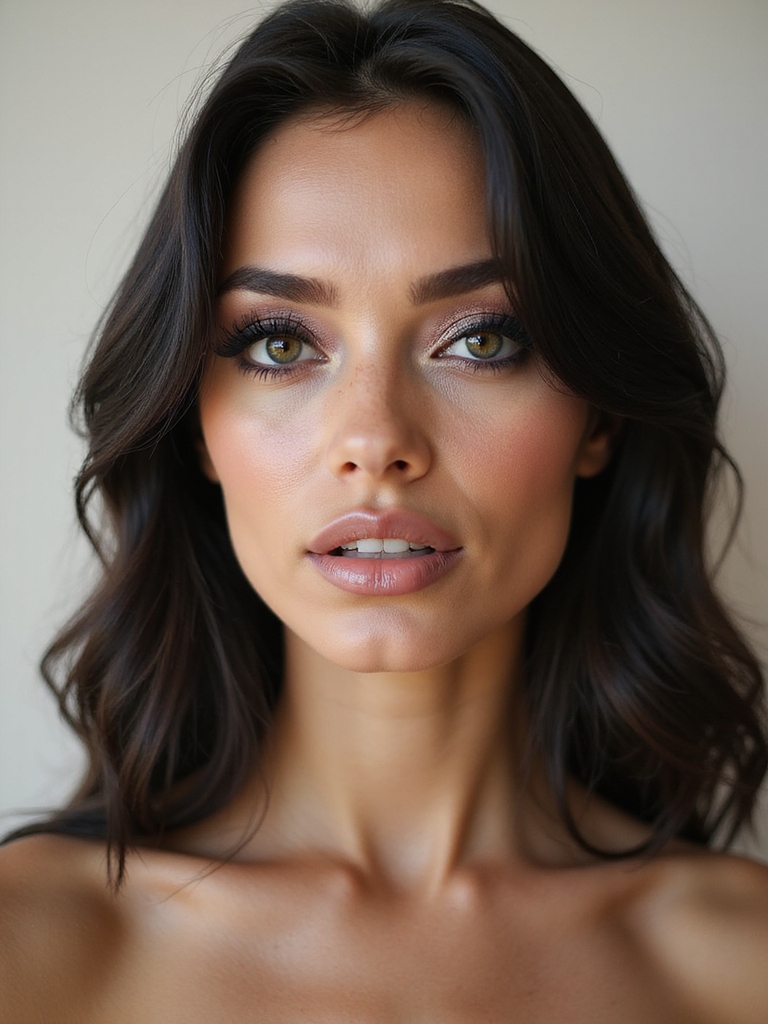
The biggest myth about glowy makeup is that it comes from a highlighter. It doesn’t. If your face looks flat by noon, no amount of shimmer on top will fix it, because real glow is built from underneath, in the skincare and the order you layer it. Glitter sits on skin; glow comes through it.
Below is that build in order, from the exfoliation that smooths the canvas to the midday mist that revives it. For each step I’ve noted the formula to reach for, where exactly to place it, and how to keep the glow looking like skin on every tone.
Glowy Skin, The Short Version
- Glow that lasts starts with skincare: exfoliate, hydrate, and use an illuminating SPF before any makeup goes on.
- Reach for sheer, dewy formulas and set only where you crease, so light reflects off skin instead of pooling on powder.
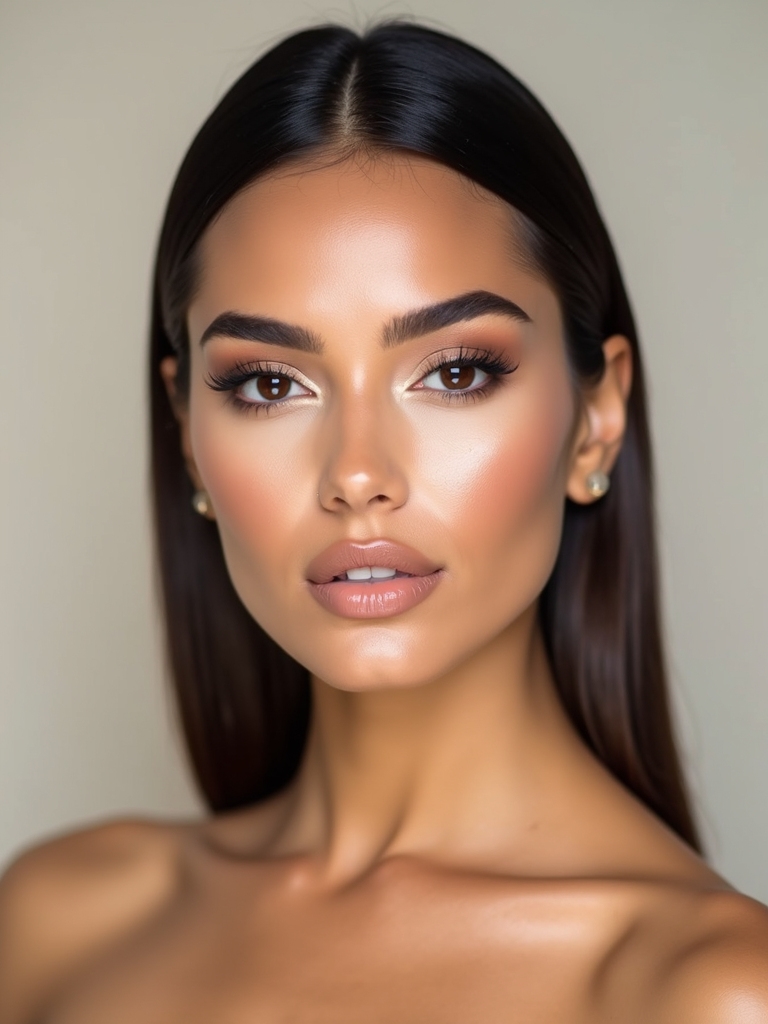
- Keep highlight on the high planes only and match bronzer and blush to your undertone; on deep skin, lean into warm golds and rich berries.
Start With Gentle Exfoliation

Glow starts before makeup, on smooth skin that reflects light evenly. I exfoliate gently two to three times a week with a mild chemical exfoliant, lactic or PHA, and skip gritty scrubs that rough up the surface. Here’s the reset I use:
- Use a lactic or PHA exfoliant two to three times weekly, then rinse and pat dry.
- Skip harsh physical scrubs that scratch and inflame the skin.
- Follow with hydration; smooth skin makes foundation glide and highlight pop.
Layer Essence, Then Moisturizer

Hydration is what makes skin look plump and lit, so I stack it thin to thick before makeup. A watery essence floods the skin first; while it’s still damp, a gel-cream moisturizer seals it in. Do it in this order:
- Pat a watery essence into damp skin with your palms until it sinks in.
- Seal it with a gel-cream moisturizer on the cheeks and under-eyes.
- Let it absorb a minute so makeup grips instead of pilling.
📋Before You Start
- ✓Exfoliate the night before, not right before makeup
- ✓Patch-test any new acid on your jaw first
- ✓Always pair exfoliation with SPF the next day
Use An Illuminating SPF

An illuminating SPF does double duty: broad-spectrum protection plus a built-in sheen, which means less base makeup piled on top. I smooth it on, let it set, then layer a sheer tint so the radiance shows through. A good one runs about $15 to $40.
This is the step people skip, then wonder why their glow looks painted on. Protected, glowing skin looks healthier than any highlighter can fake. Choose a formula without a white cast, which matters most on deep skin.
- Apply a generous, even layer and let it set before foundation.
- Pick a no-white-cast formula; many sheer tinted SPFs suit deep skin now.
- Reapply over makeup with a mist or stick at midday.
Blur With A Radiant Primer

A radiant primer sets the stage for lit-from-within skin: a soft-focus blur with a subtle sheen that peeks through foundation. I smooth a pea-sized amount over moisturized skin, concentrating on the cheeks, center forehead, and chin where light naturally hits.
It diffuses texture and grips makeup at the same time, so the glow lasts past noon. Let it set for a minute before the base goes on.
Match the primer’s tone to your undertone: pearl for cool skin, golden for warm and deep skin, so the sheen looks natural rather than ashy or chalky.
“If your SPF leaves a gray cast, look for a tinted mineral or a chemical formula labeled no white cast. On deep skin, a sheer tinted SPF can double as your base, so you skip foundation entirely.”
Choose A Sheer, Dewy Base

A little goes a long way with a sheer, dewy base. It evens tone, lets skin breathe, and keeps the glow looking real and natural. I reach for a skin tint or a luminizing fluid, then press it in with fingers or a damp sponge for a thin, even veil. Match by undertone first of all. For an even lighter finish, light makeup keeps coverage minimal.
- Reach for a skin tint or luminous fluid for sheer, breathable coverage.
- Press it in with a damp sponge for a skin-like finish.
- Match undertone first; the right warmth matters most for a real look.
Spot-Conceal Strategically

With a fresh, sheer base, I only conceal where it counts: redness around the nose, a blemish, or a dark spot. Full coverage everywhere kills the glow, so concealer is a spot tool here.
I tap a tiny amount with a fingertip or small brush, then feather the edges so it melts in. Match it to your skin exactly, and set only where it might crease.
- Conceal redness, blemishes, and dark spots, just where they show.
- Feather the edges so it disappears into the base.
- Set only the under-eye and any creasing with a whisper of powder.
Sheer base, in order:
1Prep
Moisturize and let it fully absorb
2Apply
Dot the tint on the center of the face
3Press
Blend outward with a damp sponge
4Set
Powder only the T-zone if needed
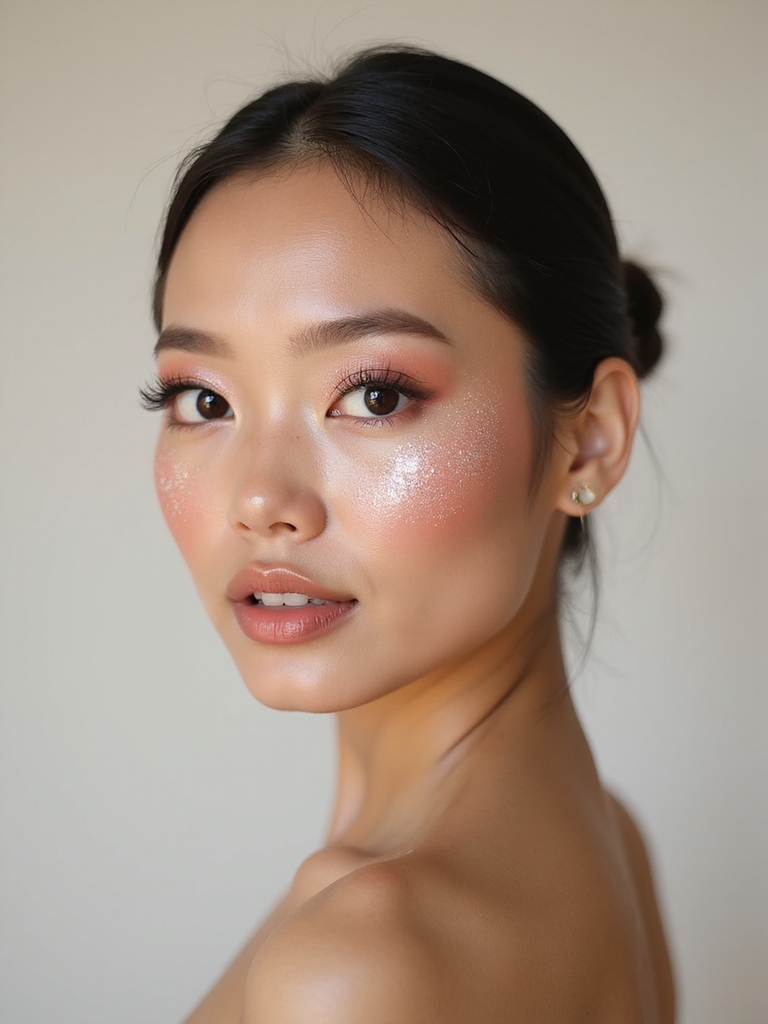
Mix In A Subtle Dewy Glow

For glow that looks like skin and not sparkles, I mix a few drops of liquid highlighter into the base itself. Done this way, the light comes from inside the foundation. The catch is compatibility: water-based with water-based, silicone with silicone, or they pill.
A drop or two is plenty; more turns disco. Blend it with hands, a brush, or a sponge, and sheer it toward the high points so the light lands where the sun would hit.
- Mix two or three drops of liquid highlighter into your tint or foundation.
- Match the bases, water with water, silicone with silicone, so it doesn’t pill.
- Concentrate it on the cheeks and bridge of the nose, sheer elsewhere.
Cheek Sculpting With Cream Blush

Cream blush on the high points fakes a fresh, lifted flush better than powder, because it melts into skin and catches light. I tap it just above the apples and toward the temples with fingertips, then bounce a damp sponge to melt the edges.
Placing Blush For Lift
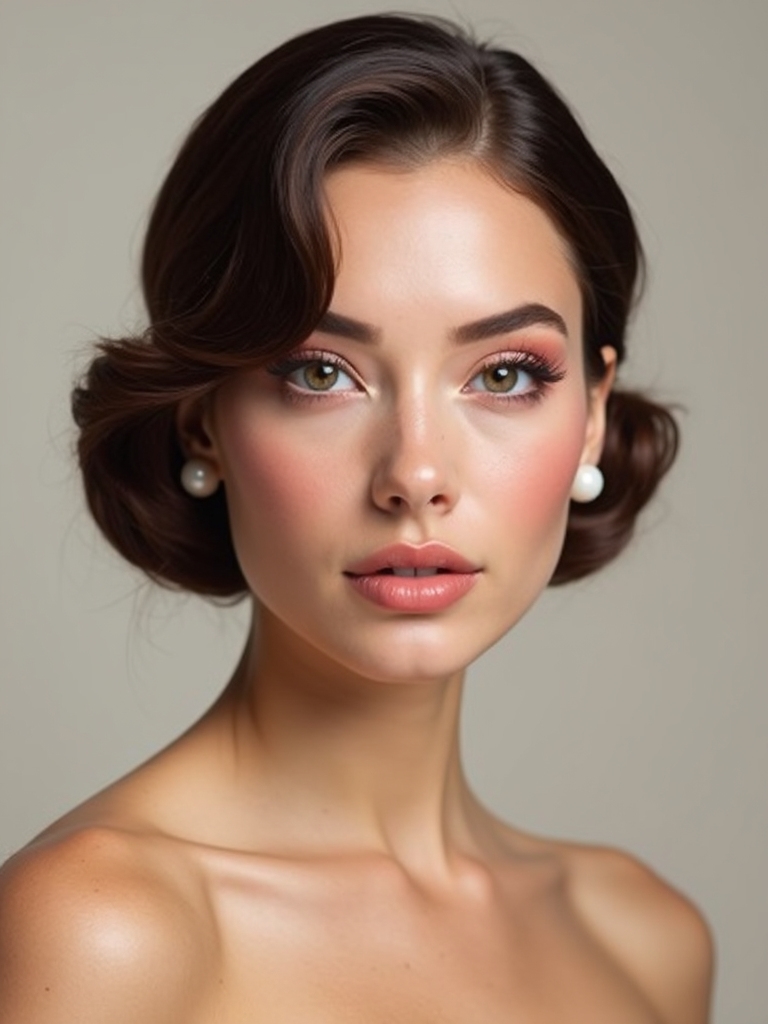
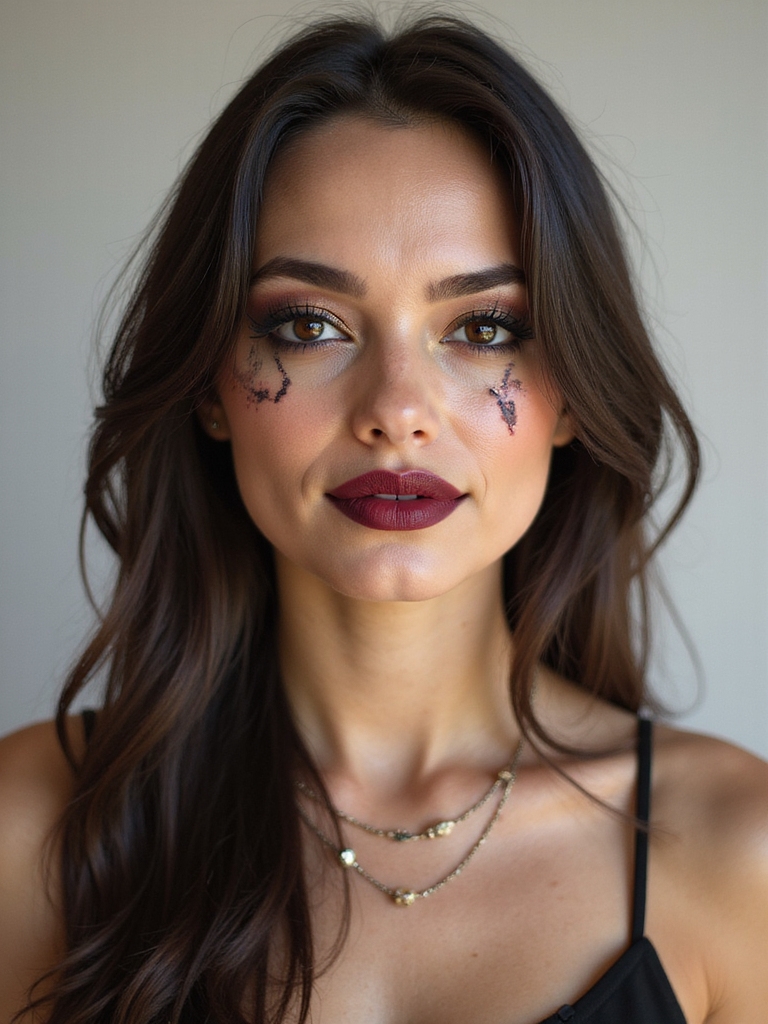
Match the shade to your natural flush: peach warms, rose brightens, berry deepens, coral energizes. On deep skin, rich berries and bricks read more naturally than pale pinks.
Keeping the color lifted toward the temple subtly sculpts the face and keeps it youthful. Build it in thin, sheer layers. For a fuller flushed look, igari makeup takes the draped-blush idea further.
Pro Tip
Check the ingredient label: aqua near the top means water-based. Mixing a water-based highlighter into a silicone foundation is what causes the patchy, pilling mess people blame on the products.
Set Selectively With Translucent Powder

The fastest way to kill glow is to powder the whole face, so I set only where I need control: the T-zone, under-eyes, and smile lines. Everywhere else stays dewy.
I press, never swipe, a translucent powder with a small brush, hitting the creases first, then the center of the forehead and sides of the nose. The tiniest amount does it; you can always add more.
This blurs pores and curbs shine where it pools while leaving the radiance on the cheeks. Pressing keeps the base undisturbed underneath.
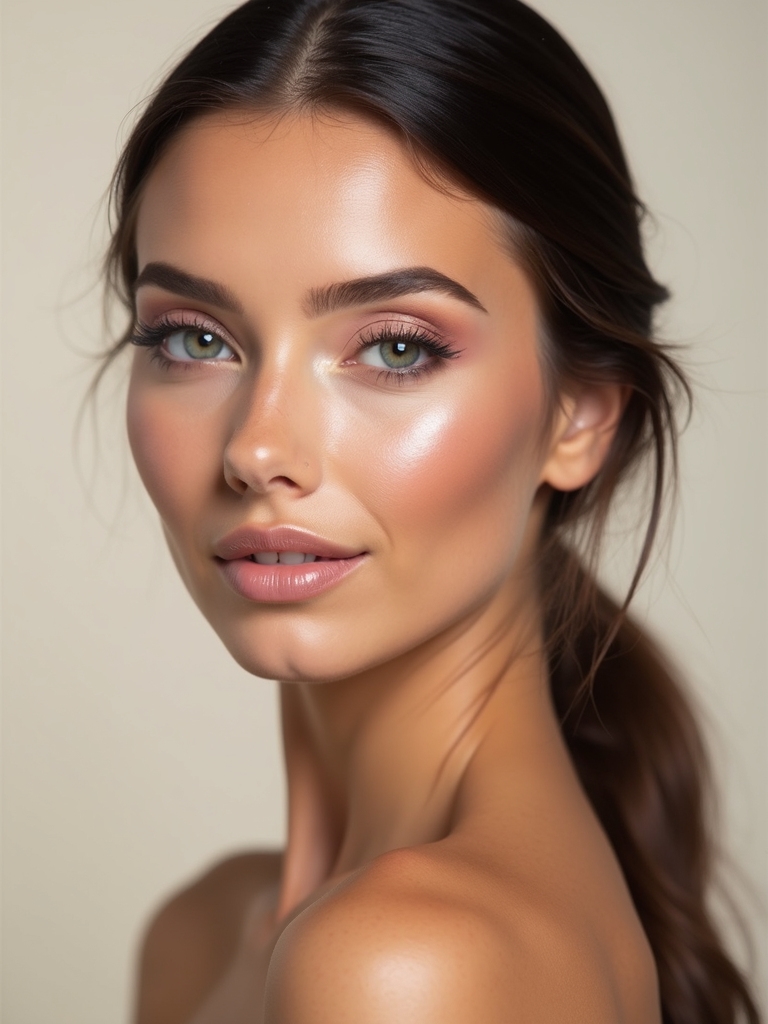
Layered Balmy Highlight Glow

Balm highlighters give the most skin-like light because they’re non-sticky, translucent, and melt right into the skin. I tap them on the high planes only: the tops of the cheekbones, the bridge of the nose, brow bones, and the cupid’s bow. For staying power, I layer a thin cream or liquid highlight first, set it lightly, then press the balm on top. A good cream or balm highlight runs about $18 to $40.
- Choose cushiony, non-sticky balms that give a glassy, skin-like sheen.
- Place on high planes only: cheekbone tops, nose bridge, brow bone, cupid’s bow.
- Layer cream then balm so the sheen lasts through the day.
Sheer Perimeter Bronzer Warmth

A sheer bronzer around the perimeter of the face brings warmth without a heavy contour. I sweep it on the temples, hairline, and just under the cheekbones with a fluffy brush and barely-there pressure, in soft circular motions.
Keep it tonal with your undertone: golden for warm skin, rose or neutral for cool. Blend it into the jaw and ears so nothing looks stamped on.
The result is believable, sun-kissed dimension that supports the glow. On deep skin, choose a bronzer with a true warm depth so it actually shows up on the skin.
Glossy Lids For Light Catch

Glossy lids let light cling to the eyes for instant dimension, and the only catch is a non-sticky formula that holds its place. I press a clear gloss or balmy gel onto the lid over a sheer sheen shadow. Do it like this:
- Choose a lightweight, non-sticky gloss, balmy stick, or cream shimmer.
- Tap it onto the center of the lid over a sheer shadow for depth.
- Set the edges lightly so it wears the day without migrating.
Mist Between Layers To Melt

A fine face mist between layers melts powders and creams into skin for that lit-from-within finish. I mist lightly after primer, foundation, and cream products, then press with a sponge so the micro-hydration softens edges and prevents cakiness. Aim for a gentle, even veil and let it set before the next step. For the full routine in order, makeup routine lays it all out.
- Choose an alcohol-free, hydrating mist so it doesn’t dry skin out.
- Spritz a fine, even veil, then press with a sponge.
- Use it to revive and melt makeup in a light, even veil.
Sheer Glossy Nourishing Lips

Shiny, nourishing lips balance the glow up top so the whole face looks lit. I use a tinted balm or sheer gloss that conditions while it shines. A soft, cushiony finish keeps the focus on healthy skin. Pick a shade close to your natural lip, dialed up a touch. For the barest version, no makeup makeup keeps every step minimal.
- Choose a tinted balm or sheer gloss for shine and conditioning.
- Pick a my-lips-but-better tone so it reads fresh.
- Reapply through the day; sheer formulas fade softly without a hard line.
Targeted Midday Glow Revival

By afternoon, even great glow flattens, so I revive it rather than rebuild it. A spritz of hydrating mist pressed in with fingers wakes the skin back up in seconds. Where the glow has gone matte, a tiny tap of cream or balm highlight on the cheekbones brings it back.
A 60-Second Midday Reset
The mistake is piling on more powder, which only deadens the radiance further. Hydration revives, powder buries.
Press a mist into the high points, tap a dot of balm highlight on the cheekbones, and blot only the T-zone if it’s shiny. That’s the whole reset. For an all-day soft finish, natural makeup keeps the base low-key from the start.
Glow Is Built, Not Dusted On
If there’s one thread through all fifteen steps, it’s that glow is a base, not a topcoat. Smooth, hydrated, protected skin under sheer, dewy formulas will out-glow any highlighter sitting on a dry, powdered face. Place light on the high planes, match your warmth to your undertone, and set only where you must.
The real shift comes when you stop adding shimmer and start subtracting the things that flatten skin: harsh scrubs, heavy foundation, all-over powder. Build the routine once, learn the three or four steps your skin actually needs, and the glow stops being a lucky day and becomes a default.