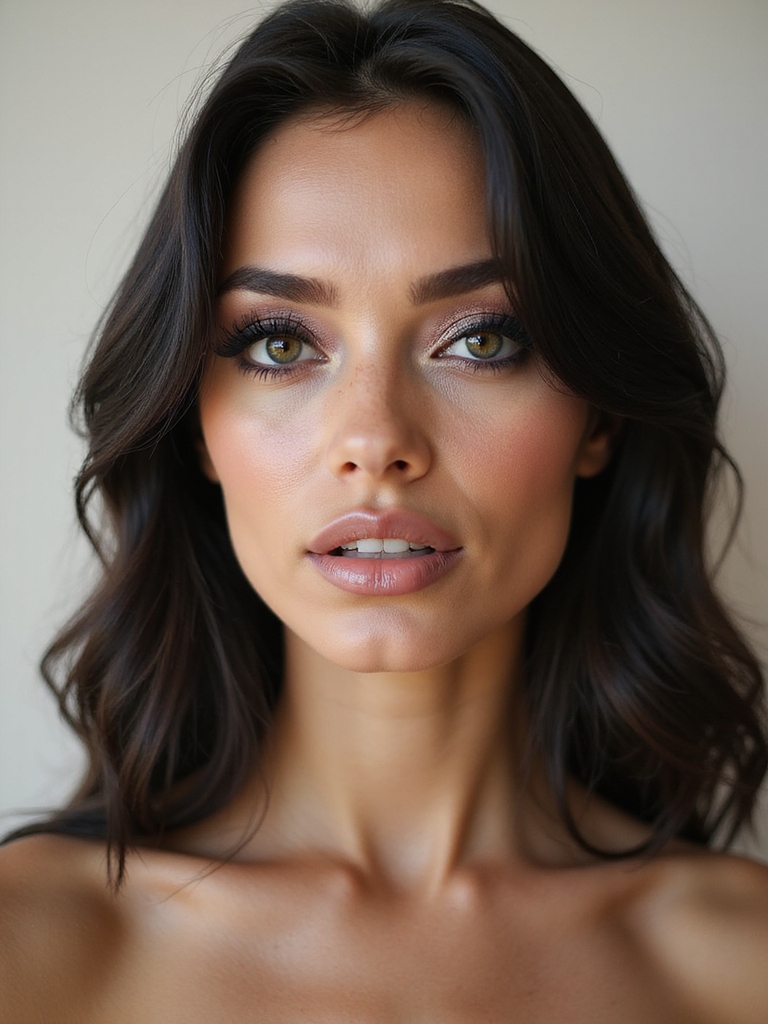
Rave makeup has one job ordinary makeup never does: it has to glow at 2 a.m., survive a sweaty crowd, and still photograph electric under a strobe. That is a tall order, and it is why the best rave looks are equal parts UV-bright color and serious staying power.
These fifteen looks are built for the dance floor, neon liner that reacts to blacklight, holographic glitter, chrome lids, and rhinestone face gems, all of it chosen to last all night. Each comes with how to build it and how to lock it down, plus the safety notes that keep glitter and gems where they belong.
Rave Makeup, the Glow Rules
- UV-reactive neon and white glow under blacklight; that is what makes a look read ‘rave.’
- Layer and set everything: cream, powder, then setting spray, so it survives heat and sweat.
- Cosmetic-grade glitter and skin-safe gem glue only, and never on the waterline.
- Bold color and chrome pop hardest on deep skin, so go as bright as you dare.
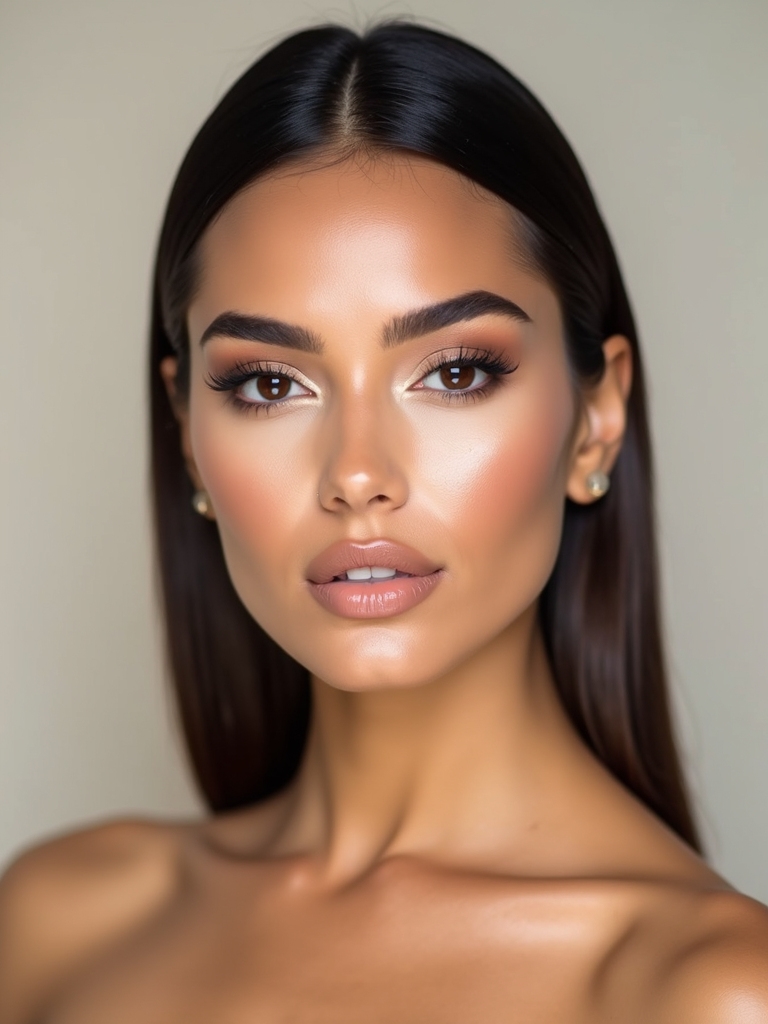
Neon UV Winged Liner

The simplest rave eye is a winged liner in a neon, UV-reactive shade, lime, magenta, electric blue, that glows under blacklight. I tell first-timers it is the easiest way in: one clean graphic line doing all the work, and it photographs incredibly when the lights drop.
- Choose a UV-reactive neon liner made for the face.
- Draw your usual wing, sharp and clean.
- Keep the rest of the eye bare so the neon leads. See festival makeup.

Holographic Glitter Cut-Crease

A cut-crease packed with holographic glitter is peak rave glam, a sharp line carved through the crease with the lid below it solid holo sparkle that flashes every color under the lights. Press cosmetic-grade glitter onto a sticky base so it stays put through dancing, and keep craft glitter far from your eyes.
- Cut the crease clean with concealer.
- Press cosmetic holo glitter onto a tacky base on the lid.
- Set the under-eye first; glitter fallout settles there.
“The mistake I see at every festival is people doing a beautiful look that slides off by the second set. Rave makeup is a layering job: prime, set your base, build color, and lock it with a setting spray. Heat and dancing destroy a one-coat face in an hour; a layered and set one lasts till sunrise.”
Holographic Wet-Look Glow

A holographic wet-look glow sweeps a glassy, color-shifting highlight across the high points of the face, so the skin flashes rainbow as you move under the lights. It is the dewy, futuristic side of rave makeup, a glow rather than a full look.
Tap a holographic liquid or cream highlighter on the cheekbones, brow bone, and cupid’s bow, keeping it wet-looking and concentrated. I always tell clients to lock a wet-look glow with a setting spray so it does not slide in the heat.
- Use a holographic liquid highlighter on the high points.
- Keep it glassy and concentrated, not blended away.
- Lock it with setting spray for sweat-proof shine.
Liquid Chrome Eye

A liquid chrome eye presses a mirror-bright metallic, silver, gunmetal, or oil-slick, across the lid for a reflective, almost alien shine that catches every flash. It is bold, sleek, and unmistakably high-impact.
- Press a chrome or foil pigment onto the lid with a fingertip.
- Use an opaque base underneath so it reads like metal.
- Smoke a little dark shadow at the outer corner for depth. See euphoria makeup.
Which rave look is yours?
🎯I want full glow
UV neon liner, glowing chrome, or matching neon lips and lids. Built to light up under blacklight.
🎯I want sparkle
Holographic glitter, iridescent lids, or rhinestone face gems. Catch every flash.
🎯I want art
A duochrome butterfly, rainbow liner, or UV freckles. A painted, photographed statement.
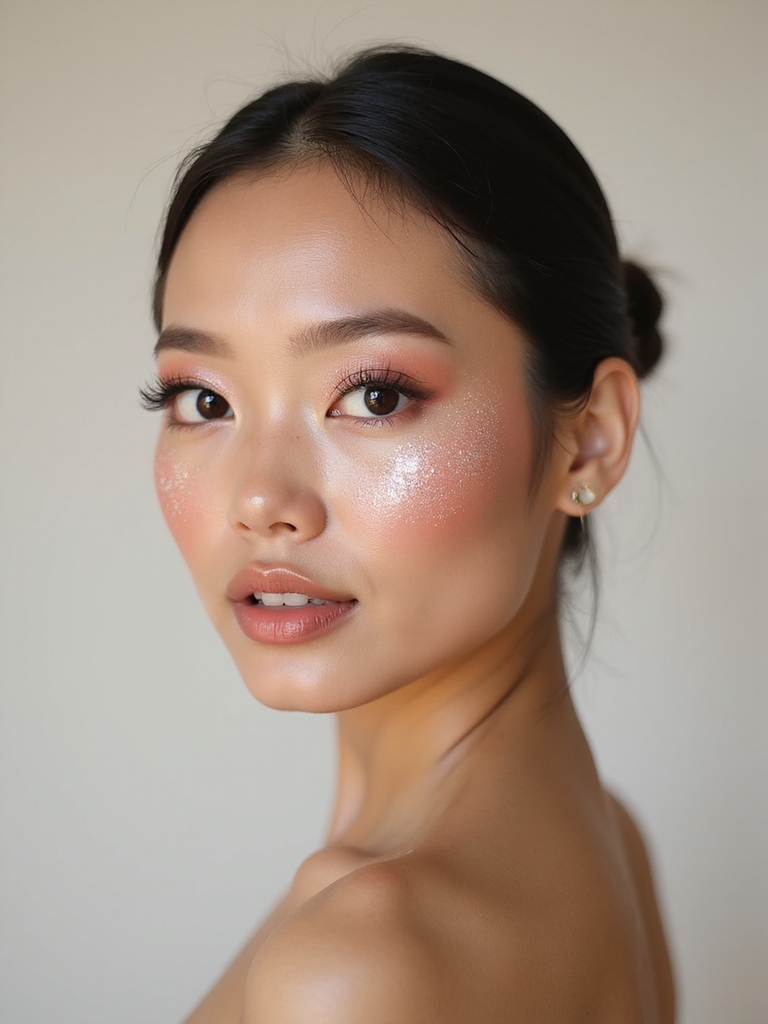
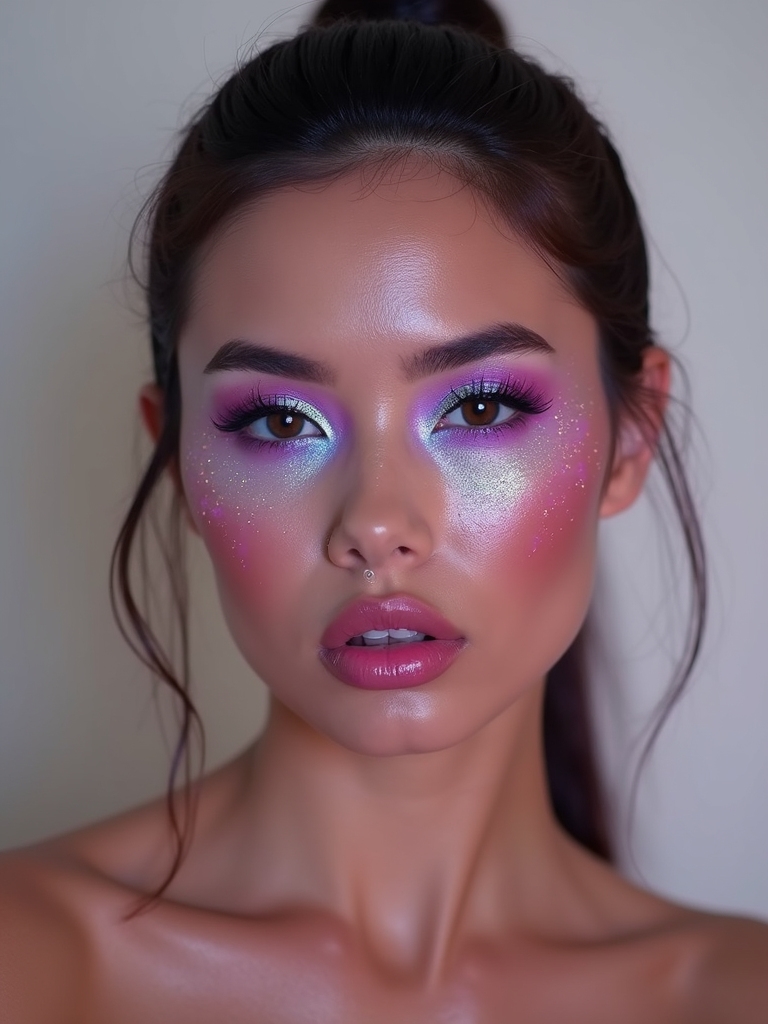
Iridescent Micro-Sparkle Lids

For a softer rave look, an iridescent micro-sparkle lid washes a pastel shimmer over the lid that shifts pink, blue, and gold as you move. It is the dreamy, fairy side of the festival aesthetic, color and shine without going full neon.
Press a fine iridescent pigment over a pastel base, keeping it to the lid, and add a dot at the inner corner to brighten. It is subtle enough for a daytime set and pretty enough for photos.
- Wash a pastel base, then press fine iridescent sparkle on top.
- Keep it to the lid for a soft, fairy effect.
- Brighten the inner corner with a shimmer dot.
Neon Inner-Corner Flare

A neon flare at the inner corner is the tiniest, fastest rave detail, a dab of UV-bright neon at the tear duct that glows under blacklight and opens the eye. It is the five-second way to make any eye look pure rave.
Tap a neon pigment at the inner corner and blend it slightly up the lash line. It works over any eye look, bare or bold, and packs an outsized punch for the effort.
- Dab a UV neon at the inner corner of the eye.
- Blend it a touch up the lash line.
- It works over any eye look, simple or full.
Make It Last
Rave makeup has to survive heat, sweat, and hours of dancing. Prime, set your base with powder, and finish with a long-wear setting spray; choose waterproof on anything near the eyes. Press glitter and gems onto a tacky base or skin-safe glue, and carry a little extra for touch-ups when the night runs long.
Rainbow Gradient Liner

A rainbow gradient liner blends a winged line through the whole spectrum, red fading to violet across the lash line, like a tiny flag drawn in light. It is graphic, joyful, and pure festival energy.
- Draw a wing and fill it in bands from red to violet.
- Blend the edges where the colors meet.
- Use UV-reactive shades so it glows under blacklight. See pride makeup.
UV Freckles and Stars
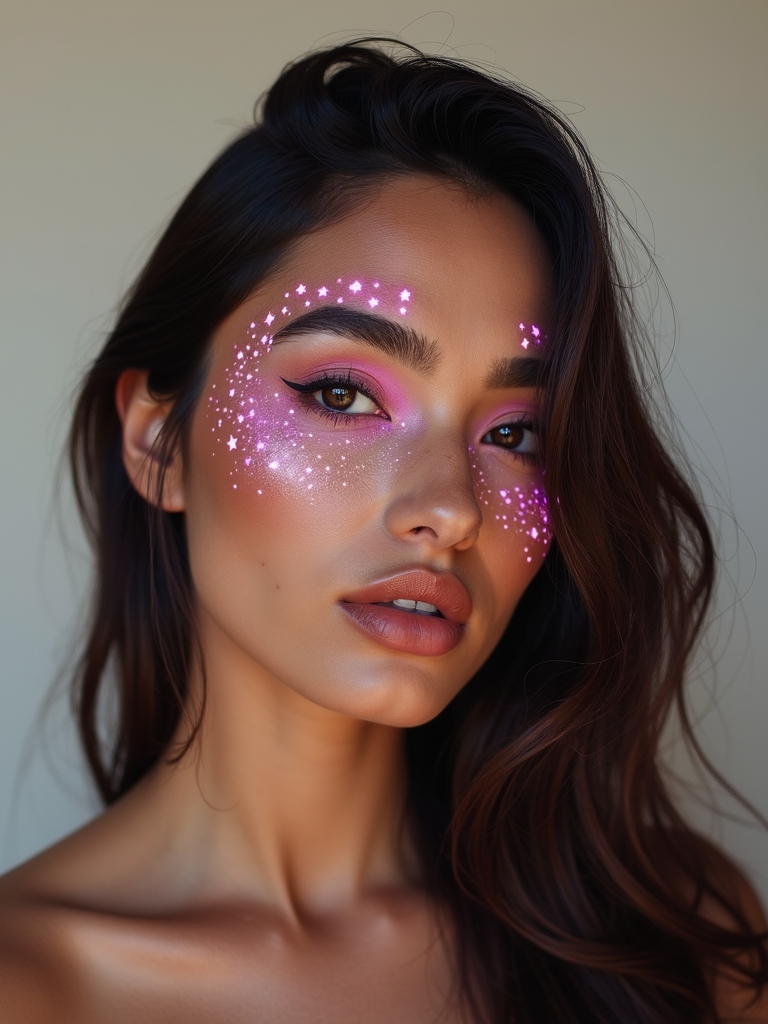
Scattering tiny UV-reactive freckles, stars, or dots across the cheeks and nose is the cutest, most playful rave detail, little points of color that light up under blacklight like a constellation on your face.
Vary the dot size so it looks scattered
Dot them on with a fine brush in a UV neon or white, varying the size so they look natural rather than stamped. Set them lightly so they survive the night.
It is the look I love for someone who wants something fun and glowing without a full painted face. See glitter makeup.
Two rave-makeup myths:
❌ Myth: You need special UV paint for everything.
✅ Reality: Only the glow-under-blacklight effect needs UV-reactive product. The rest, chrome, glitter, gems, is normal makeup. Add one or two UV-reactive pieces for the blacklight pop and build the rest from what you already own.
❌ Myth: Bold festival color doesn’t suit deep skin.
✅ Reality: Completely false. Neon, chrome, and jewel tones are most striking on deep and rich skin, where the brightness has real contrast to glow against. Go as bold as you like; the key is pigment-rich, opaque formulas.
Matching Neon Lids and Lips

Going monochrome with neon, the same bright shade on the lids and the lips, is a bold, cohesive rave statement. The matched color looks intentional and graphic, all the impact of full color with none of the fuss of a complicated eye.
Pick one UV-reactive neon and pack it on the lids, then line and fill the lips to match, keeping the skin clean so the color is the event. A setting spray locks both so they survive the night.
It is loud, modern, and the easiest way to commit fully to color without painting a whole scene.
Smoky Eye With Chrome

A smoky eye topped with a hit of chrome marries rave shine with classic drama, a dark smoked base with a wash of mirror chrome pressed over the center of the lid. It is the grown-up, glam side of festival makeup, dark but reflective.
Smoke a dark base, then press chrome onto the center of the lid over a little glue. The chrome catches light against the matte dark, which is the whole effect.
- Smoke a dark base on the lid first.
- Press chrome onto the center so it flashes.
- Keep the lower lash line dark to anchor it.
Rhinestone Face Mapping

Rhinestone face mapping clusters gems and crystals across the face, along the brow, the cheekbone, the inner corner, for the full euphoric, jeweled festival look, and it is the look clients ask me about most. The gems catch every light and turn your face into part of the show.
Follow a line, do not scatter randomly
Stick them on with skin-safe lash or gem glue, never super glue, and follow a line, the brow bone, a swoop under the eye, so it looks designed rather than scattered. Remove them gently by soaking the glue.
It is the most committed rave look here, so give yourself time and a steady hand. See euphoria makeup.
Duochrome Butterfly Eye
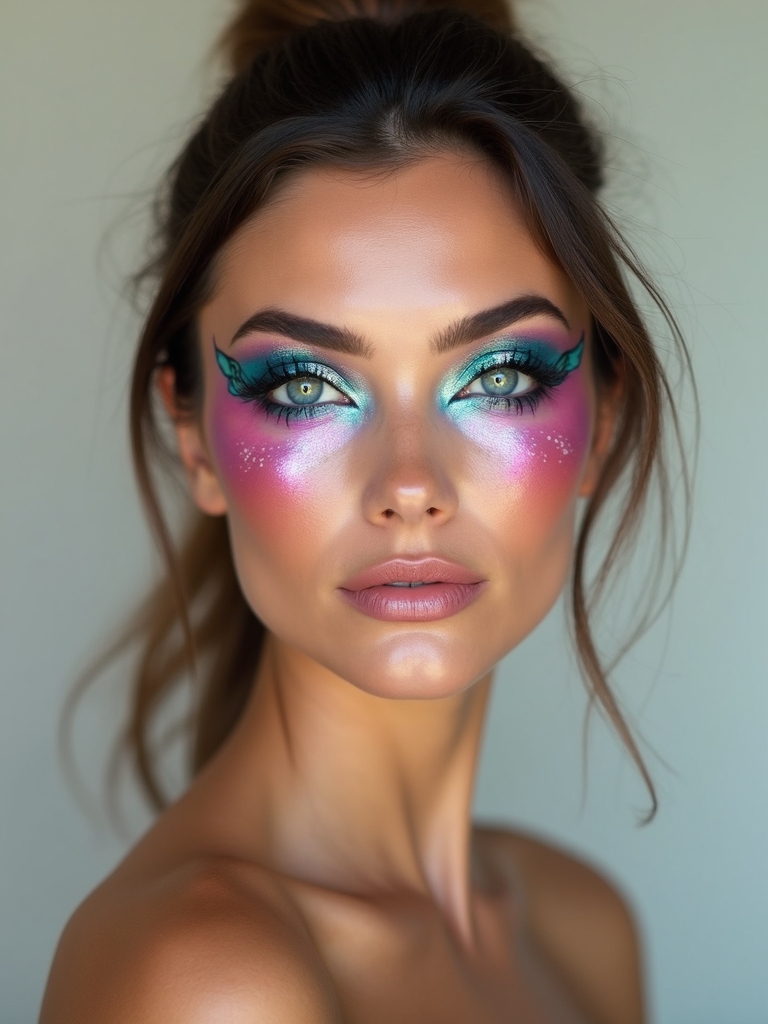
A duochrome butterfly eye paints butterfly wings around the eye in a color-shifting pigment that flips between two shades as you move. It is intricate, whimsical, and a showstopper, the kind of look that gets photographed all night.
Map the wing shape lightly, then pack a duochrome pigment within it and line the edges crisp. Keep the rest of the face simple so the art leads.
- Sketch the butterfly shape lightly before committing.
- Fill it with a duochrome, color-shifting pigment.
- Line the edges crisp so the shape reads clean.
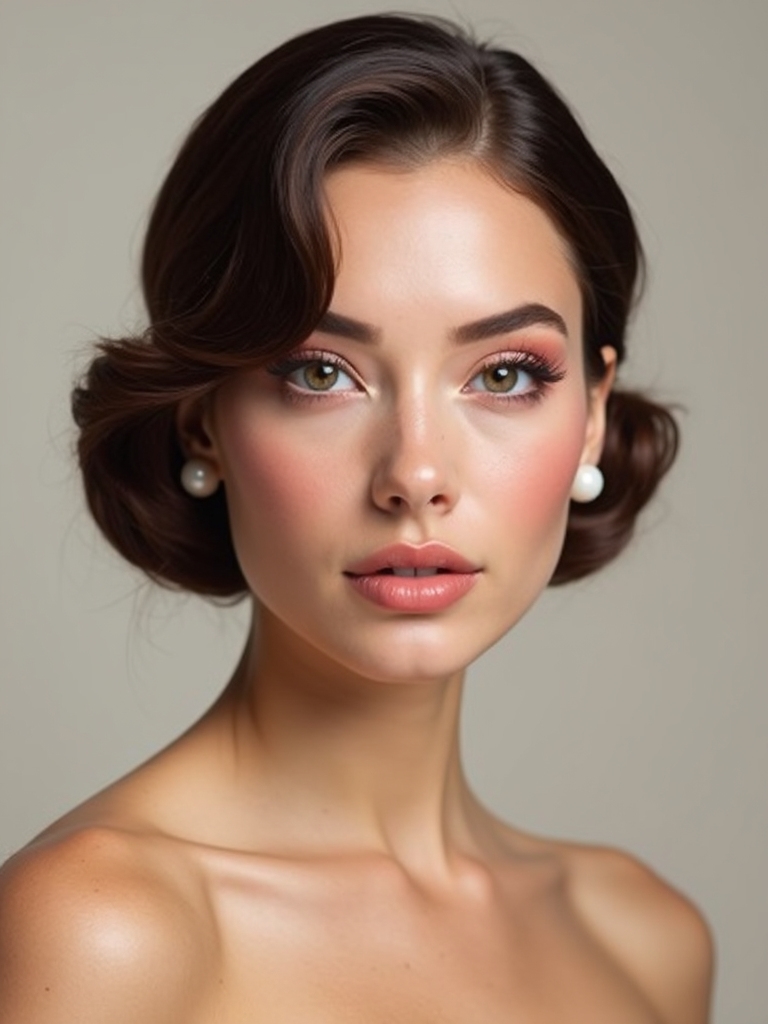
Neon Cheek Draping

Neon cheek draping sweeps a bright, UV-reactive blush high across the cheeks and temples, a wash of glowing color that lifts the face and lands pure rave under the lights. It is the colorful, eighties-meets-festival way to wear blush.
Drape it high, toward the temples
Drape a neon cream or powder blush high on the cheekbones and up toward the temples, blending the edges so it looks like a flush of light. Bright neons glow against every skin tone.
Pair it with a simple eye and a glossy lip so the cheeks lead. See blue makeup.
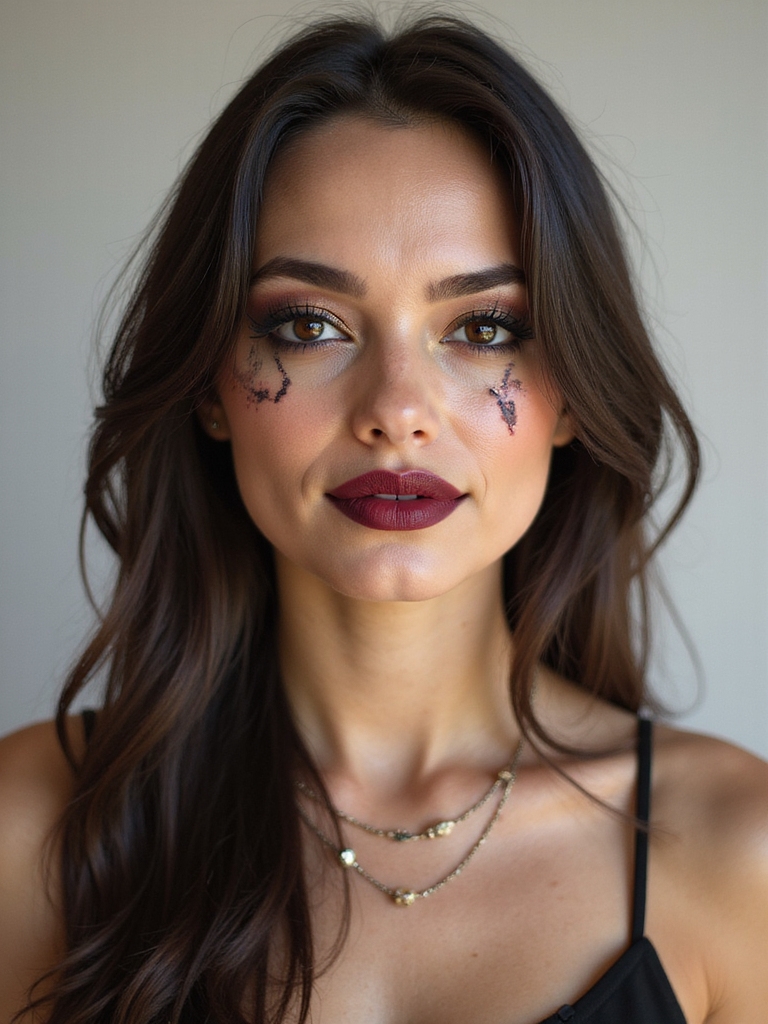
Chrome-to-Ruby Ombré Lips
Chrome-to-ruby ombré lips melt a metallic chrome at the center into a deep ruby at the corners, a gradient mouth that catches light and shifts as you talk and dance. It is the boldest lip here, all shine and dimension.
Press chrome into the center, blend out
Line and fill the lips in the deep shade, then press a chrome or foil pigment into the center and blend the edge. A setting product over the top keeps it from transferring all night.
It is a commitment, and clients ask me to recreate it from festival photos more than any other lip, because nothing else makes a mouth catch the light quite like it.
Negative-Space Graphic Liner

A negative-space graphic liner draws a bold neon or chrome line that frames a deliberate gap of bare skin, sharp, modern, and strobe-ready. The bare space makes the bright line float, which reads as the most fashion-forward rave eye.
Map the shape lightly, then ink it with a precise UV or chrome liner, leaving clean bare skin within it. Keep the lid otherwise bare so the graphic floats.
- Map the shape, then ink a bold neon or chrome line.
- Leave deliberate bare skin so the line floats.
- Keep the rest of the eye bare so it stays graphic. See y2k makeup.
Glow Till Sunrise
Rave makeup is the one place where more really is more: more glow, more sparkle, more color than you would ever wear in daylight, all engineered to survive a night of dancing and light up the second the strobe hits. Whether you go full UV neon, jeweled with rhinestones, or painted with a duochrome butterfly, the only rule is to lock it down so it lasts.
Pick the look that makes you want to dance, layer it and set it like your night depends on it, and keep your glitter and gems cosmetic-grade and skin-safe. Then go glow.