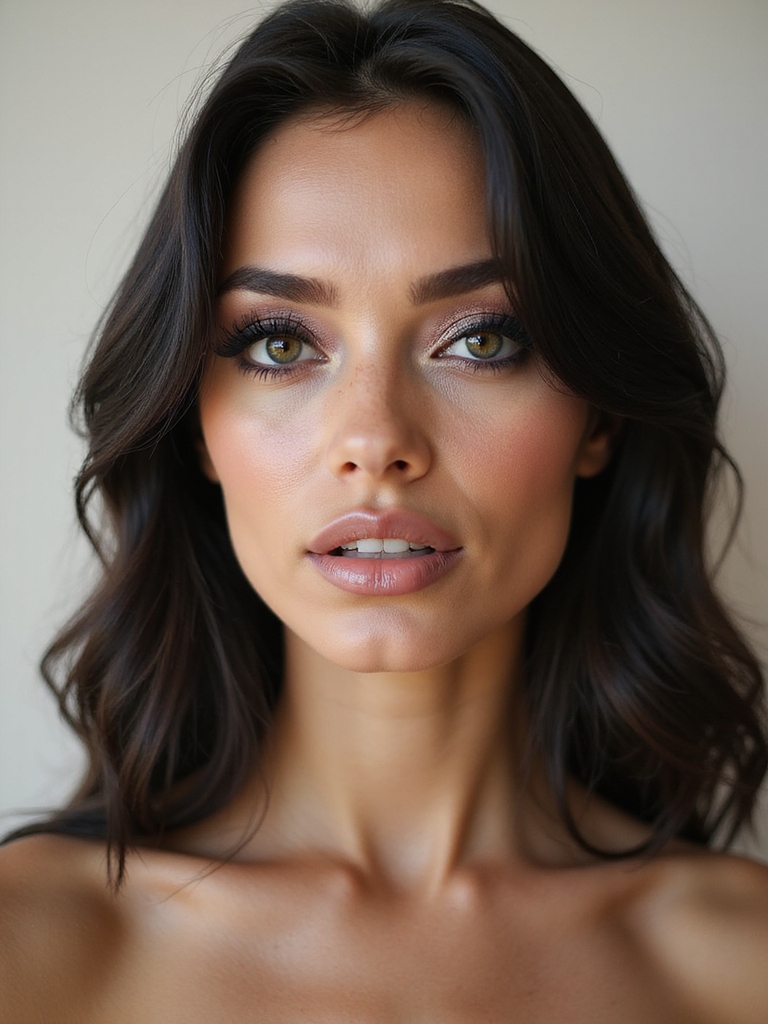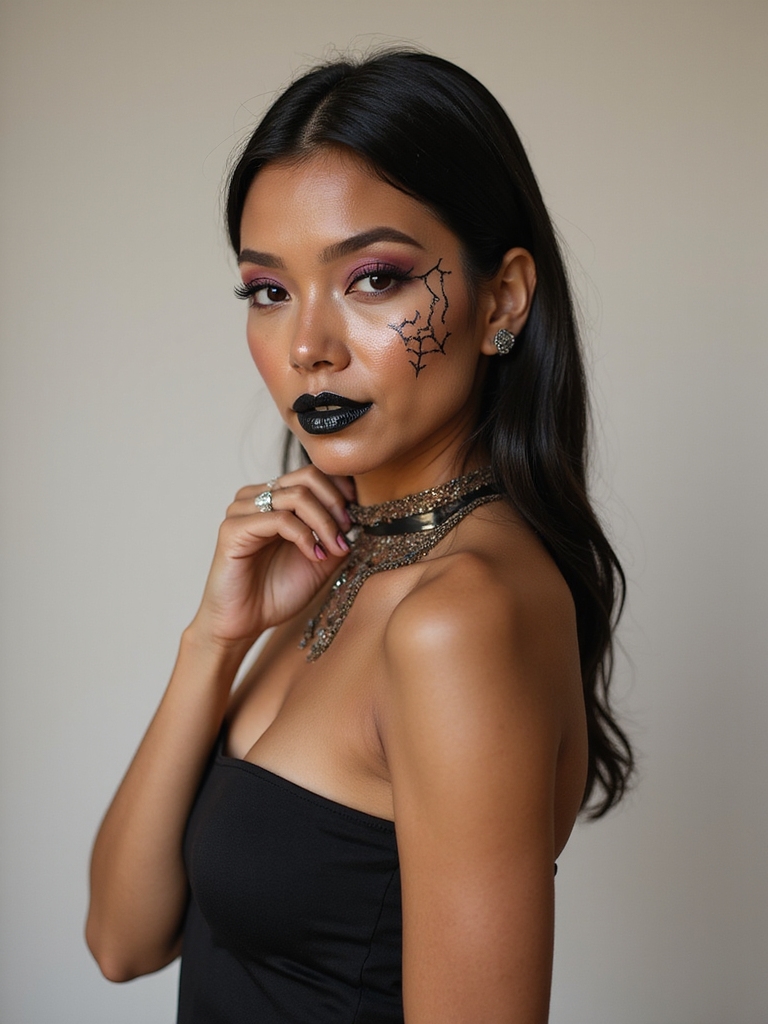
There is a myth that a head-turning Halloween face needs an airbrush, a special-effects kit, and three hours you do not have. It does not. Nearly every look below comes from products already in a normal makeup bag, plus one or two cheap add-ons like a white liner or a pot of face paint.
What separates a costume face that photographs well from one that smears by the second house is technique, not gear: where you place the dark, how you set the bright, and which textures you layer. Below are fifteen looks, each with the steps, the rough cost, and who it tends to flatter, so you can pick one and actually finish it.
Before You Start
- Set everything. A setting spray and a translucent powder are the difference between a look that lasts the night and one that slides off by 9 p.m. Budget about $8 to 12 for a decent drugstore setting spray.
- Bright pigments need a white or pale base under them to read true on every skin tone. Skip the base and neons go muddy, especially over deeper complexions.
- Most of these run 20 to 40 minutes once you have done them once. Do a practice run a day early so the real night is calm.
Charcoal-and-Plum Smoky Eye With a Moonlit Flash
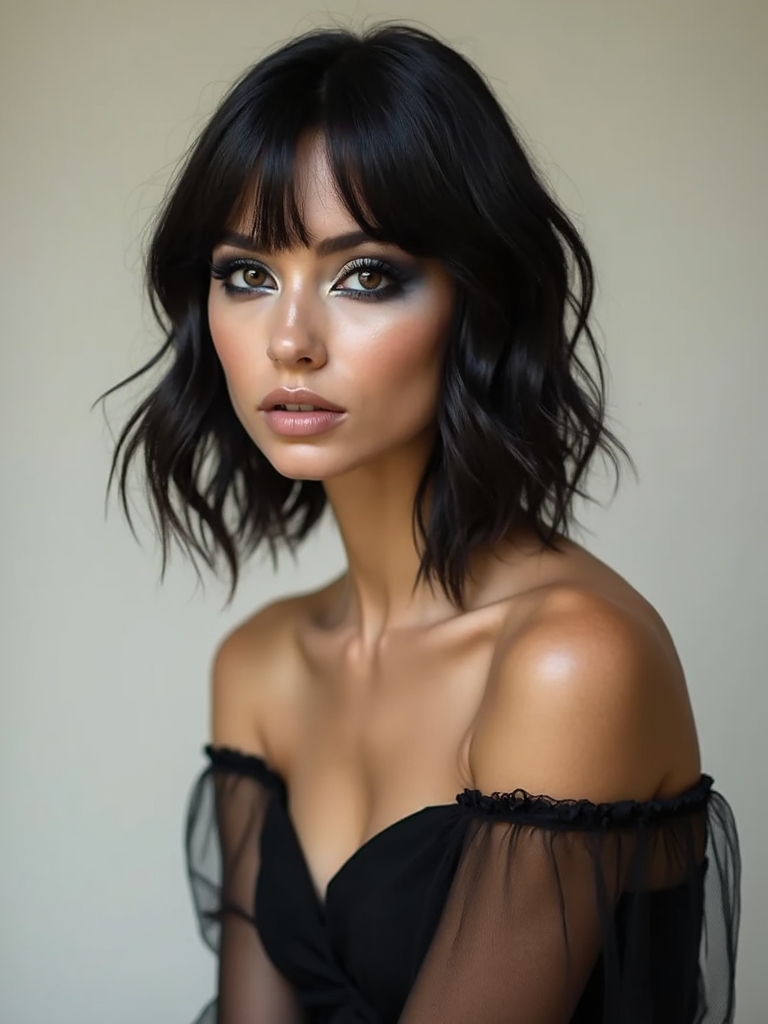
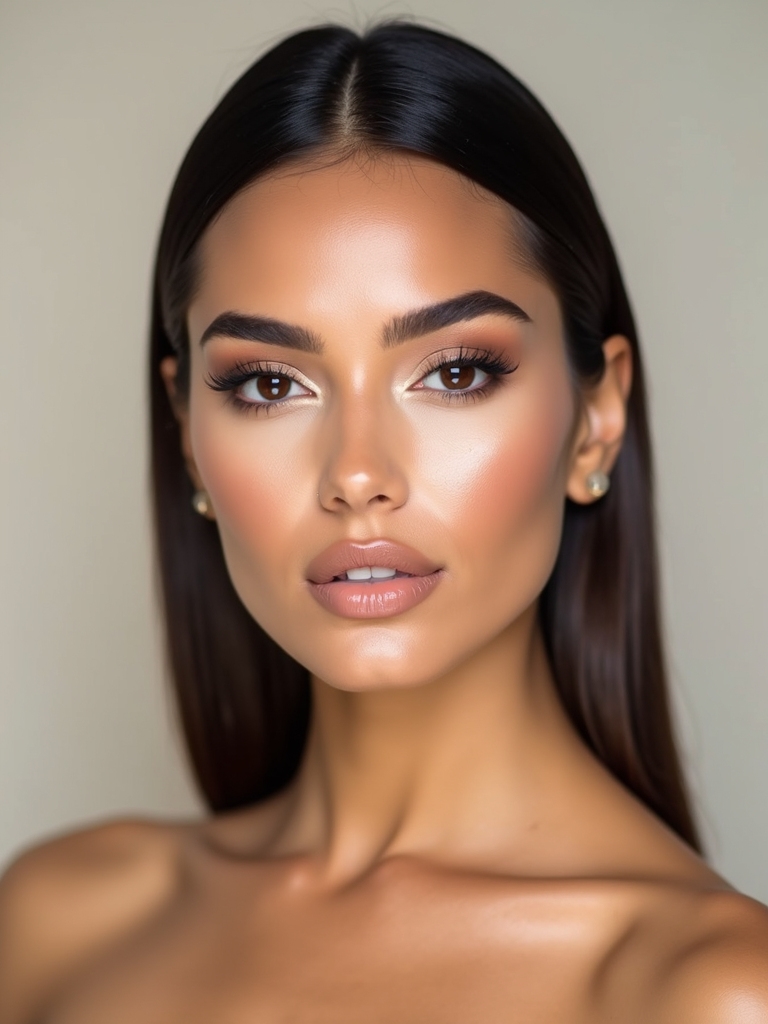
This is the look I steer most people toward when they want drama without committing to a full costume face. It is a regular smoky eye pushed cooler and darker. Pack charcoal into the outer corner and crease, blend plum through the socket to keep it from going flat, then press a dot of silver shimmer dead center on the lid so it catches light like the moon.
Where People Get Stuck
A tight black wing and smudged kohl on the lower line do the heavy work. Keep the rest of the face quiet, a cool highlight and a nude lip, so the eyes hold all the attention. This pairs with almost any costume, which is why it earns its spot first.
The most common mistake I fix is people stopping too soon on the blend. A cool smoky eye wants the dark to fade out cleanly, so keep a clean fluffy brush moving until there are no hard edges. For the base technique, the smokey eye makeup walkthrough goes step by step.

Neon UV Skull Makeup That Glows
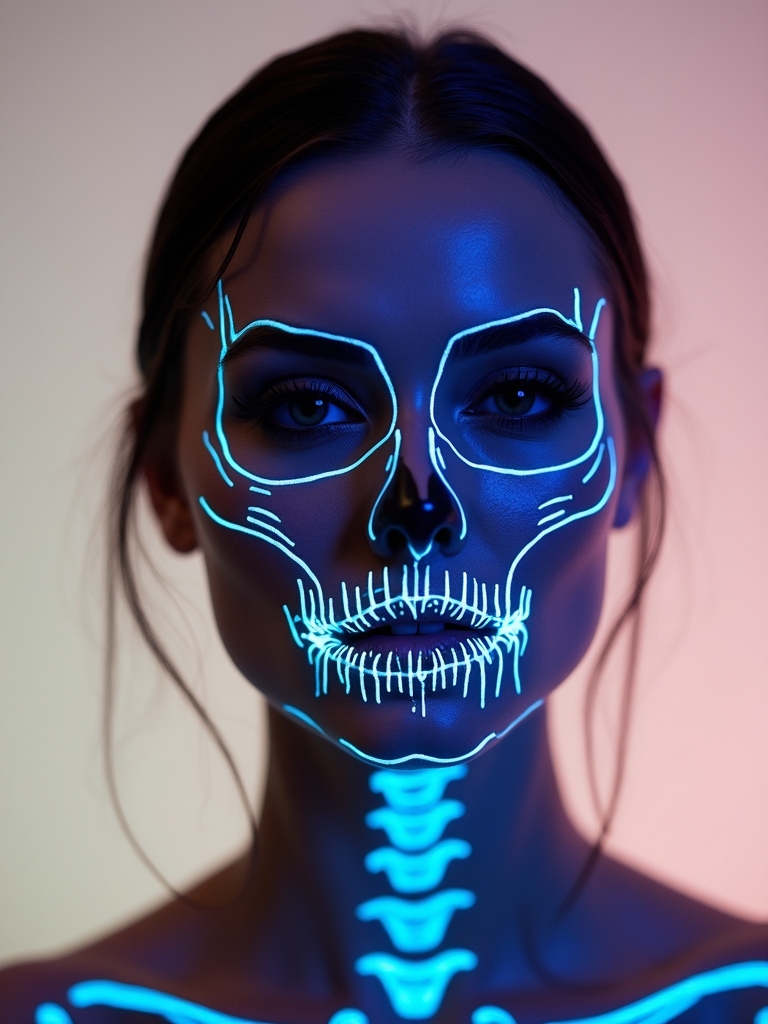
A glowing skull is the loudest look here and among the most forgiving, because under blacklight everyone overlooks a wobbly line. Sketch the bone structure first with white liner, then flood the shapes with UV-reactive pigments in chartreuse, magenta, and cobalt. A full skull makeup map helps if you want the anatomy exact. Here is the order that keeps edges crisp:
- Map the hollows first: nasal cavity, cheek sockets, temple, jaw. White liner shows up under UV and guides the color.
- Layer neon over white, not bare skin, so the pigment reads bright instead of sinking in.
- Seal with setting spray and bring a pocket blacklight; the effect only shows when the light hits it.
👍Why the neon skull wins the night
- +Glows dramatically under any blacklight, so it photographs and dances well.
- +Forgiving up close: imperfect lines disappear once the UV hits.
- +Cheap to build from white liner plus a few neon pigments.
👎What to plan for
- –Needs an actual UV light source to pay off; flat lighting kills it.
- –Neon pigments can stain, so patch test and use a base underneath.
- –Full coverage takes the most time of any look here, closer to 40 minutes.
Alabaster Skin and Blood-Red Lips
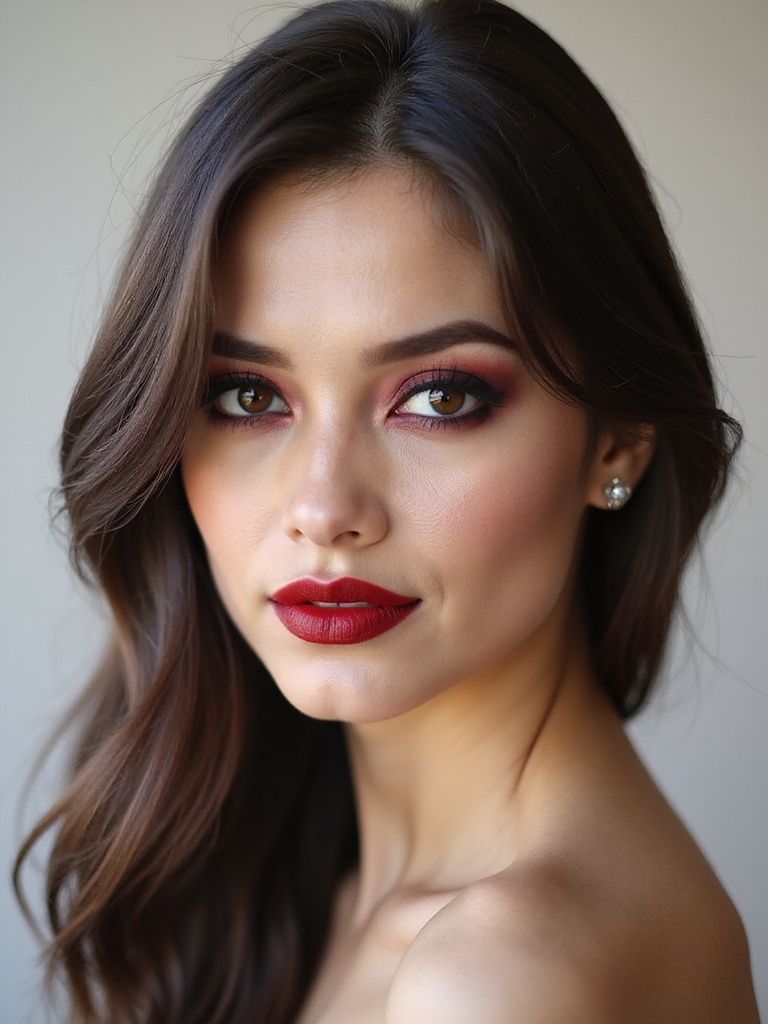
Vampire makeup leans on contrast: a desaturated complexion against a saturated red mouth. You do not have to paint yourself white. Take your skin down two or three shades cooler with a pale foundation or a touch of gray-toned primer, then carve the cheekbones with a cool, almost violet contour so the face looks sculpted from marble. The richer your natural depth, the more striking that single red lip becomes against it.
For the lip, line first, fill completely, then blot and reapply so it survives a drink. A blue-based red flatters most people and looks the most aristocratic. The vampire makeup guide has shade picks if you want options.
On a shoot last October I kept the eyes deliberately bare here, just a wash of taupe and mascara. The face wants one focal point, and the lip is it. Crowd it with heavy eye makeup and the whole thing tips into clown territory.
Iridescent Mermaid Makeup With Wet-Look Glow
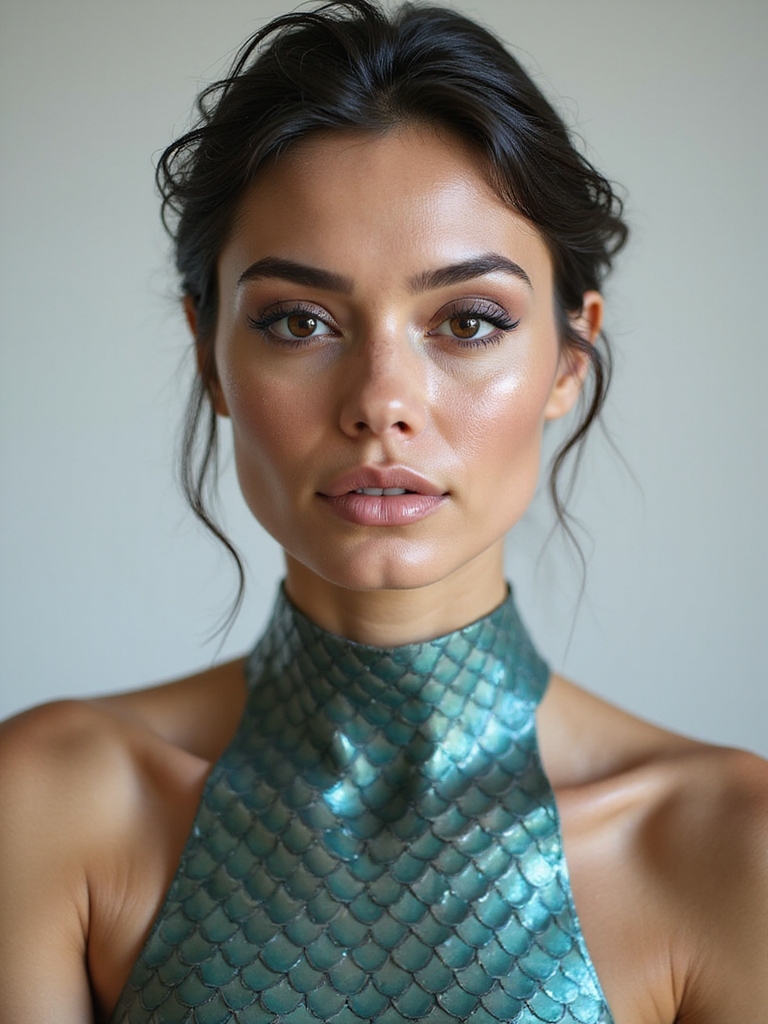
This is the prettiest look on the list and the one people are most surprised they can do at home. The scales are not painted on one by one; they are stamped. Press fishnet tights or a mesh bag against the cheek and dust shimmer over it, then lift the mesh to reveal an instant scale pattern.
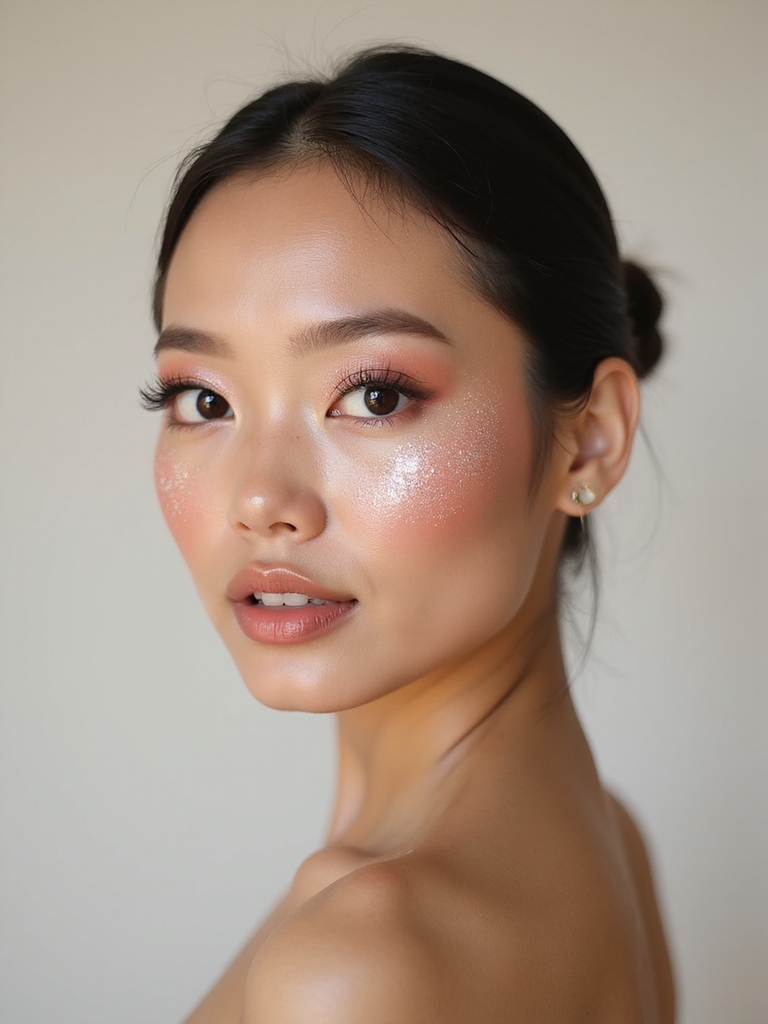
Layer aqua and lilac on the lids, keep the skin wet-looking with a balm-based highlighter, and let the mermaid makeup shimmer do the rest. A few placement notes:
- Stamp scales along the temples and top of the cheekbones, fading them out toward the center of the face.
- Use a creamy highlighter over powder for the wet look; pure powder reads dry under a flash.
- Add a couple of rhinestones at the inner corners for the splash of detail that sells it.
Good to Know
Iridescent and duochrome pigments shift color with the light, so a mermaid look that reads aqua indoors can flash lilac under a flash. Tap them on with a flat brush or fingertip; a fluffy brush scatters the shimmer and kills the wet-glass effect.
Glassy Chrome Skin With Neon Circuitry
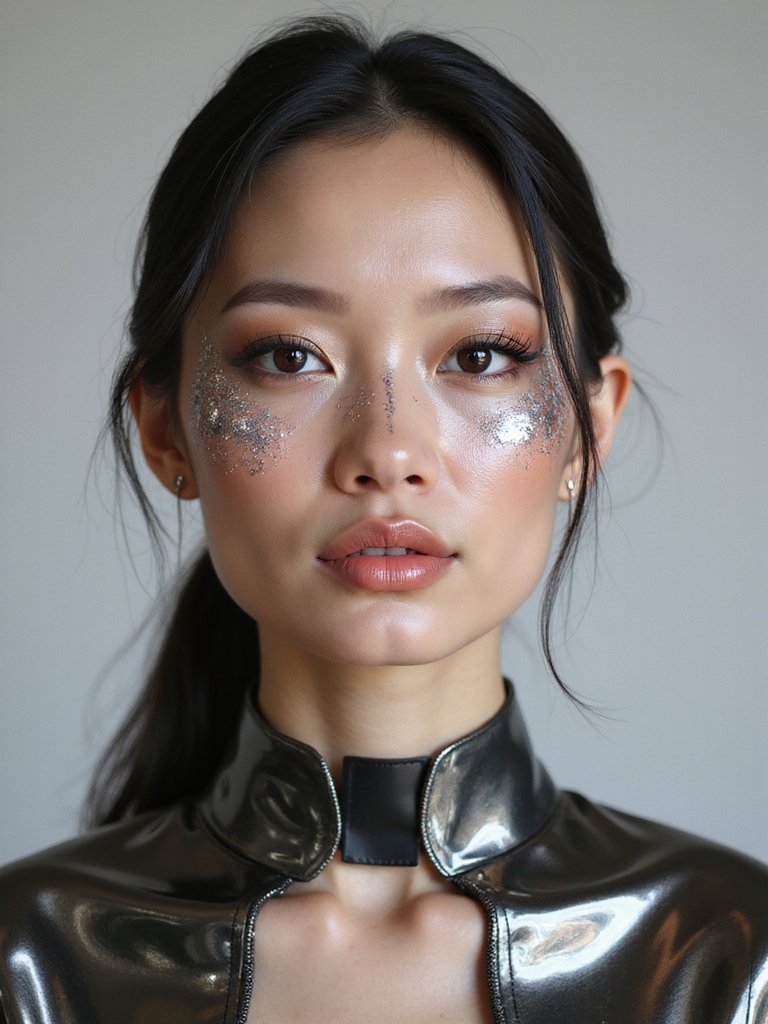
The android look trades soft blending for hard edges, which makes it weirdly relaxing to do. Start with a chrome or silver cream pigment patted over the high points of the face so the skin looks poured from metal. Keep it to the forehead, nose, and cheekbones rather than the whole face, or it goes costume-shop flat.
The circuit lines are the fun part. Use a fine brush and a bright liner, acid green or electric blue, to draw thin connected paths down one side of the face, with little nodes where they branch. Think printed circuit board, not random scribbles. Symmetry is optional; intention is not.
Set hard, because chrome creams stay tacky and will transfer onto a costume collar all night otherwise. A heavy mist of setting spray and a press of translucent powder along the hairline keeps it locked.
Razor-Sharp Winged Liner and Whiskers
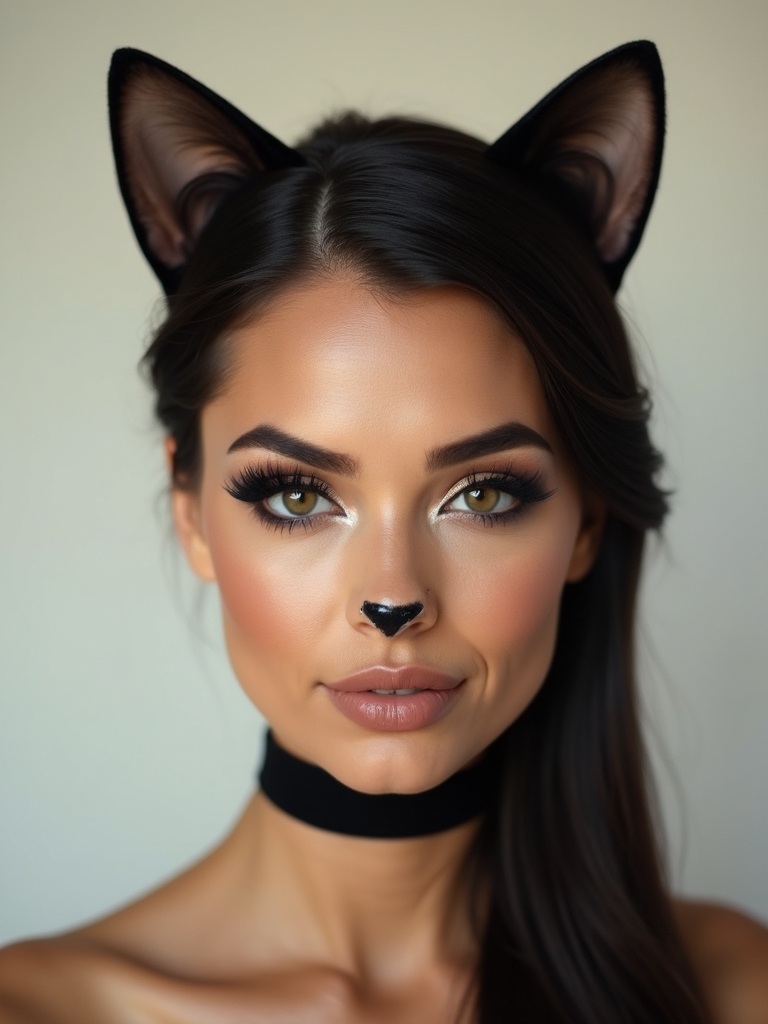
The classic cat is the cheapest look here, and beginners bring it up constantly while swearing they cannot do eyeliner. The fix is to stop trying to freehand it. Place three dots, outer corner, peak of the wing, and where the wing meets the lid, then connect them.
The Three-Dot Wing
Once both wings match, add a tiny black nose and three thin whiskers per side with the same liner. Keep the whiskers slightly uneven and tapered so they look drawn, not stamped. A glossy lid over the liner adds the modern, editorial finish that lifts it above a kid’s face-paint cat.
For staying power, set the liner with a matching dark shadow pressed over the top. Gel and liquid liner both crack by midnight without that step.
Not sure which look fits your night? Match your comfort level to the right starting point.
1I can barely do eyeliner
Start with the three-dot cat or the grayscale silent-film face; both forgive shaky hands.
2I want maximum impact for a party
The neon UV skull or galaxy ghost photograph loudest under colored and low light.
Glossy Pumpkin Contour With Vines
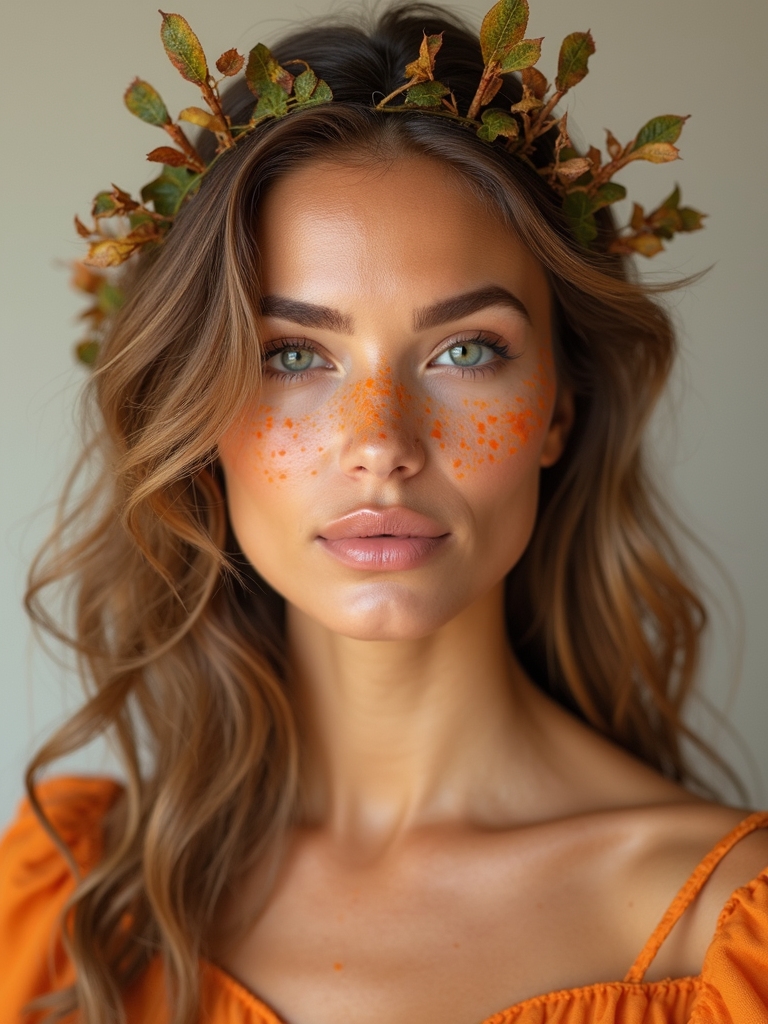
The pumpkin look is all about warm sculpting, turning the planes of the face into the ridges of a gourd. I reach for this one on warm and deep skin tones because the orange sits in the same family as the undertone and lights the face up. Build it in this order:
- Wash a candy-orange cream over the center of the face, fading lighter toward the edges.
- Carve vertical ridges with a deeper rust shade down the cheeks and forehead to mimic a pumpkin’s grooves.
- Add curling green vines and a small stem at the hairline, then gloss the high points so it looks freshly waxed.
Frosted Lilac and Crystal Lashes
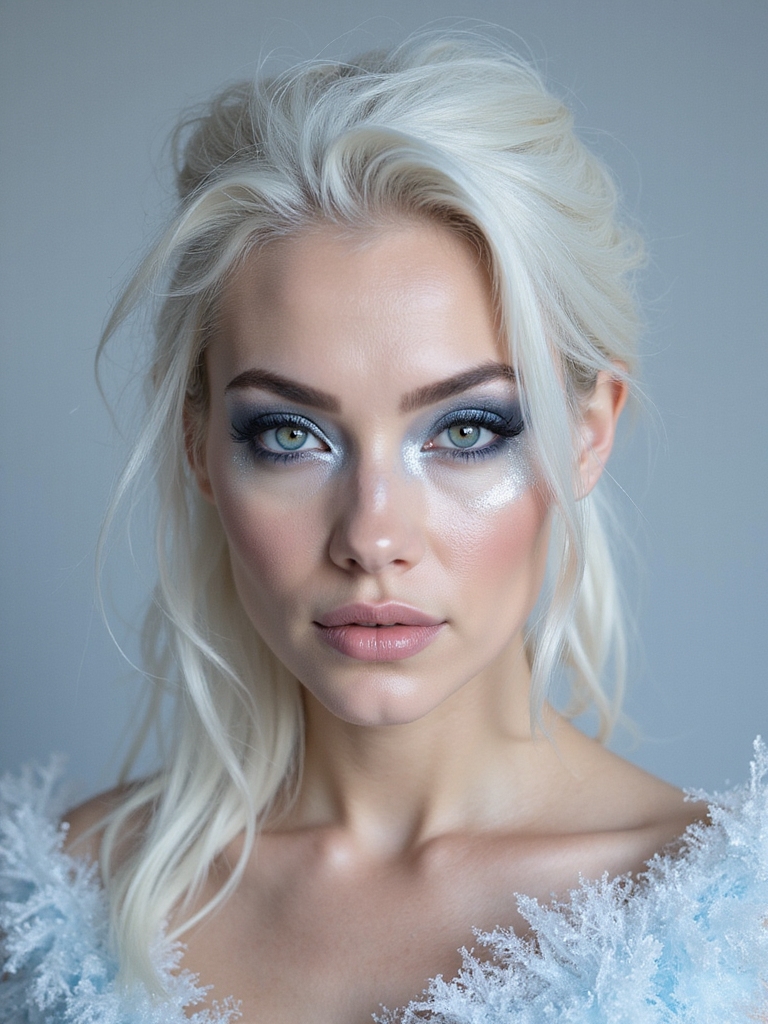
The ice witch is the elegant, low-gore option, perfect if you want pretty over scary. It is built on cool frost: a lilac and silver lid, a frostbitten flush at the nose and cheekbones in cool pink, and lashes studded with tiny crystals. A reusable rhinestone lash strip runs about $6 to 10 and is the splurge that makes the look:
- Apply the frosted lid first, blending lilac into silver toward the inner corner.
- Glue crystals along a lash strip before wearing, letting the adhesive cure for a minute so they hold.
- Dust a cool, icy highlighter on the brow bone and cupid’s bow to finish the frozen effect.
Lash Tip
Glue crystals or gems onto a lash strip while it is off your eye, then let the adhesive go tacky for sixty seconds before applying the whole strip. Trying to place gems on a lash you are already wearing is how you end up with glue in your eye.
Stitched Doll Seams and Button Eyes
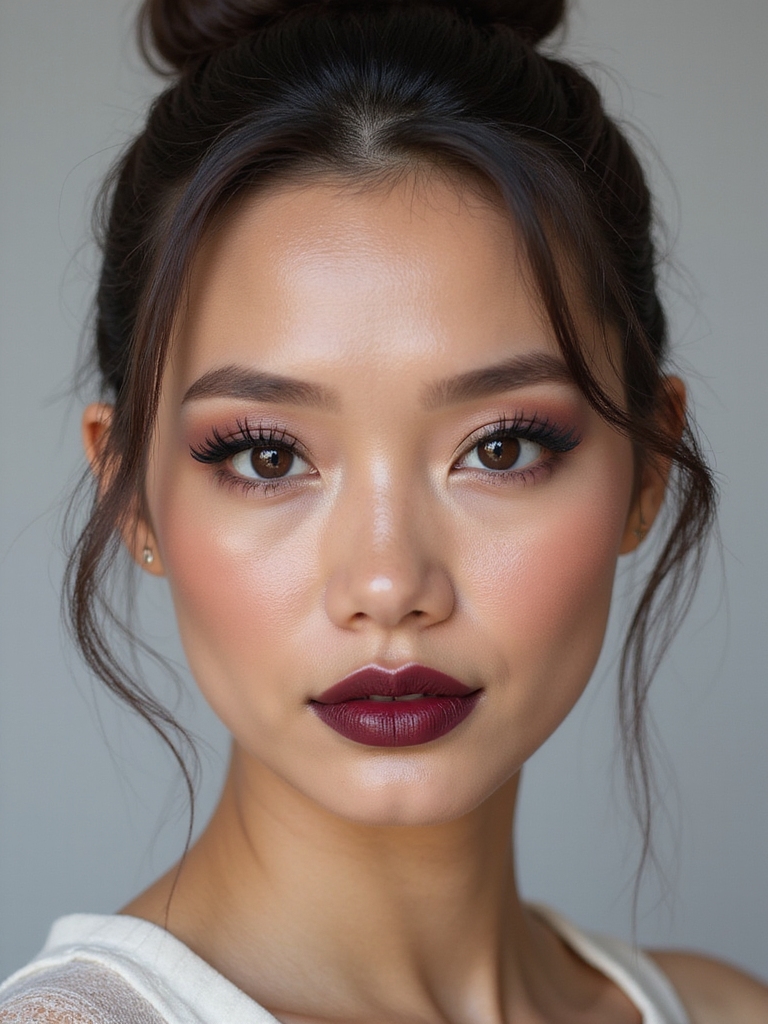
The broken-doll face is a study in contrast: sweet, rosy doll makeup interrupted by drawn-on seams. The cute part looks young and sweet, then the stitches turn it eerie. Order matters here, sweet first, creepy last:
- Build a doll base: round circle blush high on the apples, big lashes, and a tiny heart or bow lip.
- Draw seam lines from the corners of the mouth and across one cheek with a thin brown or black liner.
- Add short cross-stitches over each seam line, keeping them slightly irregular so they look hand-sewn.
Silvery Starfield and Lavender Contour
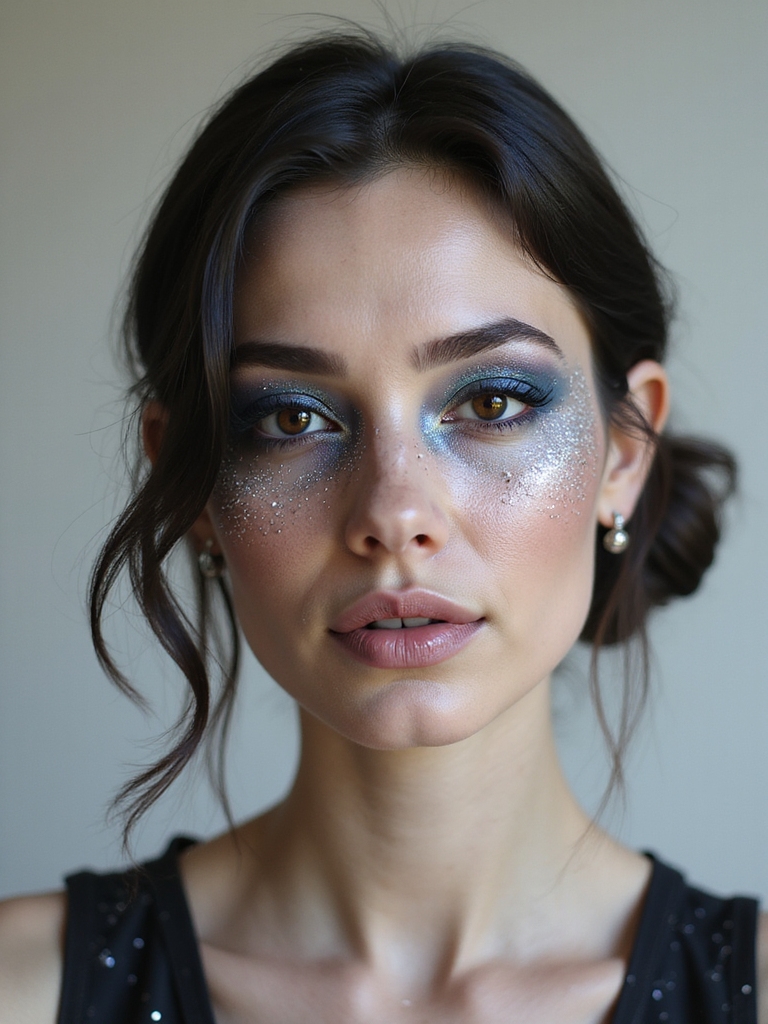
The galaxy ghost is the dreamiest look here, and it forgives a lot because the night sky is supposed to be a little chaotic. Build a cool, deep base in plum and navy across the eyes and temples, then sculpt with a lavender contour so the face looks lit by starlight rather than sun.
The magic is in the speckling. Load a spoolie or stiff brush with white and silver, then flick it across the cheeks and forehead for a scatter of stars:
- Keep the deepest color around the eyes and fade it out toward the jaw for depth.
- Flick, do not paint, the star speckles so they land random and fine.
- Press a few silver rhinestone stars near the temple as the focal constellation.
Acid-Green Smoked Eyes With Leafy Liner
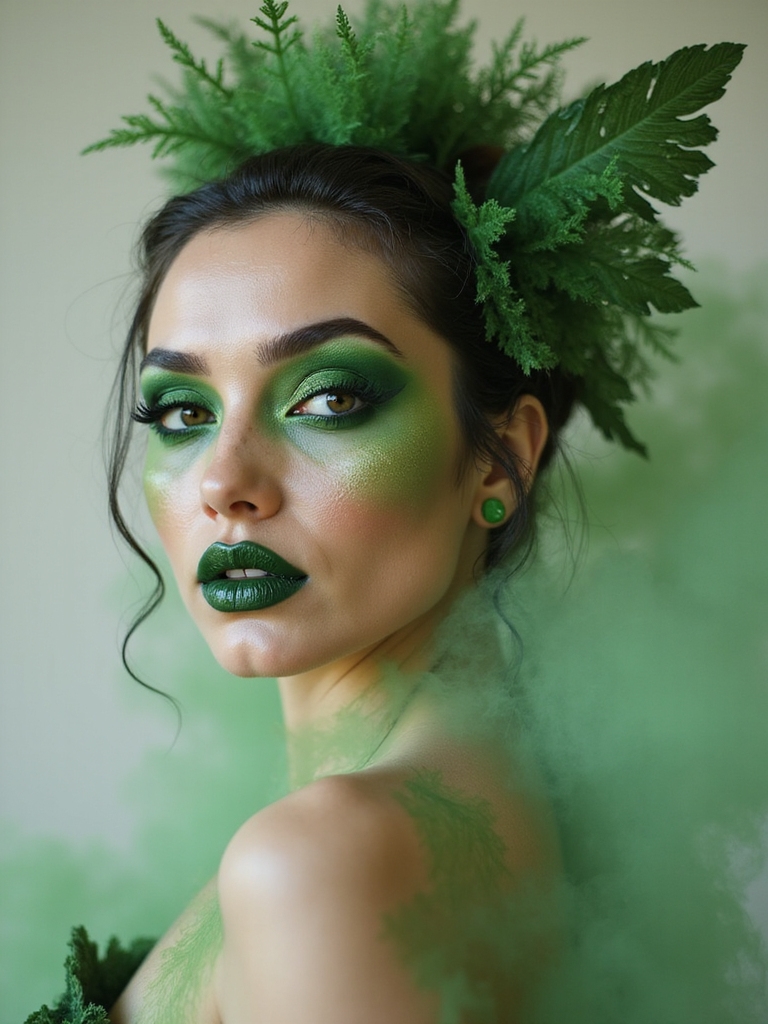
The poisonous fairy is for anyone who loves color and wants their eyes to do the talking. It is an acid-green smoky eye with botanical liner creeping out from the corners. Green is one of the trickier shades to wear, so the base under it matters more than usual:
- Prime the lid with a white or pale base so the acid green stays toxic-bright instead of dull.
- Smoke the green up and out, keeping the lower lash line lighter so the eyes still open up.
- Trail thin leafy vines from the outer corner with a fine green liner for the enchanted-forest touch.
Glittering Ghoul Glam With Hollowed Cheeks
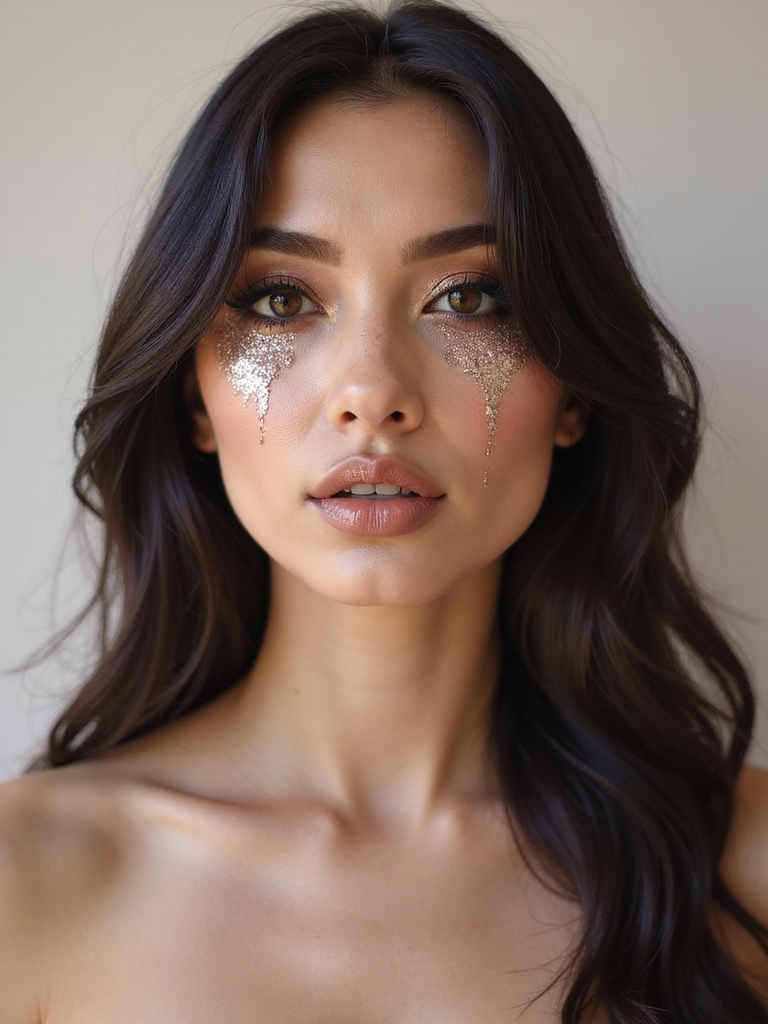
Ghoul glam is what happens when full glam meets a horror movie, and it is my favorite category to play in because the prettier the base, the creepier the contrast. Start with a complete soft glam face: sculpted cheeks, a smoky eye, a nude lip. The soft glam makeup base is the foundation everything else sits on.
Pretty First, Haunted Second
Then hollow it out. Deepen the under-cheek and temples with a cool gray contour so the face looks gaunt, almost skeletal under the glam. The deeper the hollow, the more haunting the effect.
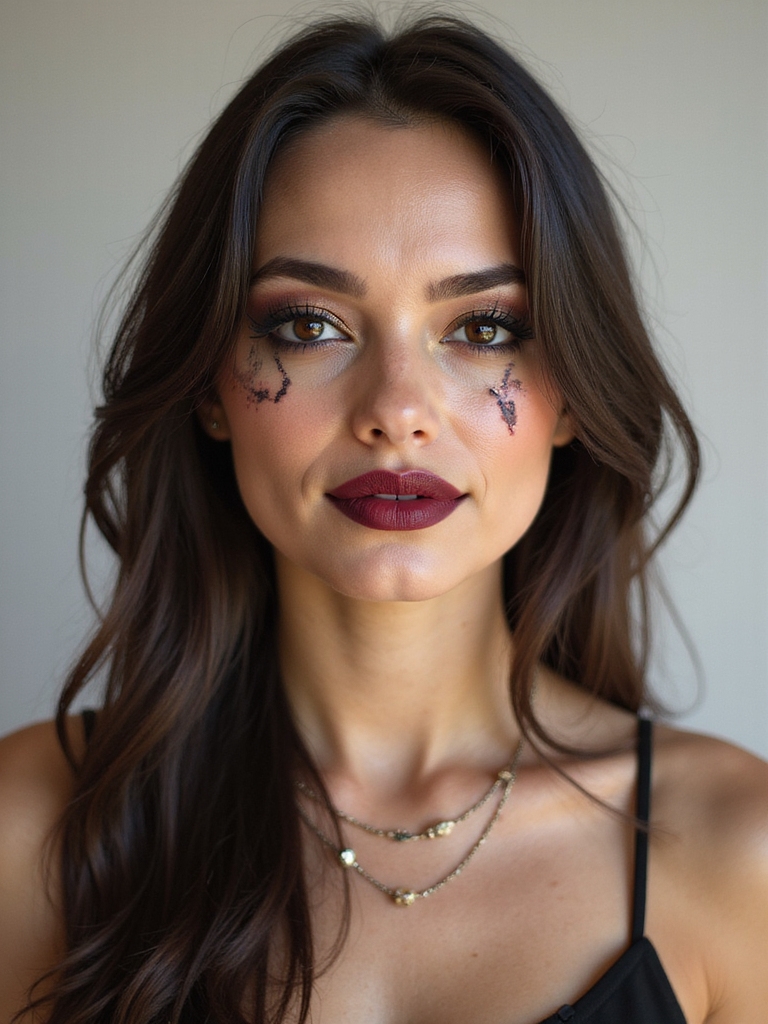
Last, the glitter tears. Press chunky silver glitter down from the inner corners in a streaked, dripping shape. The clash of polished glam and falling glitter is the whole point, beautiful and unsettling at once.
Sickly Striped Corpse Glam
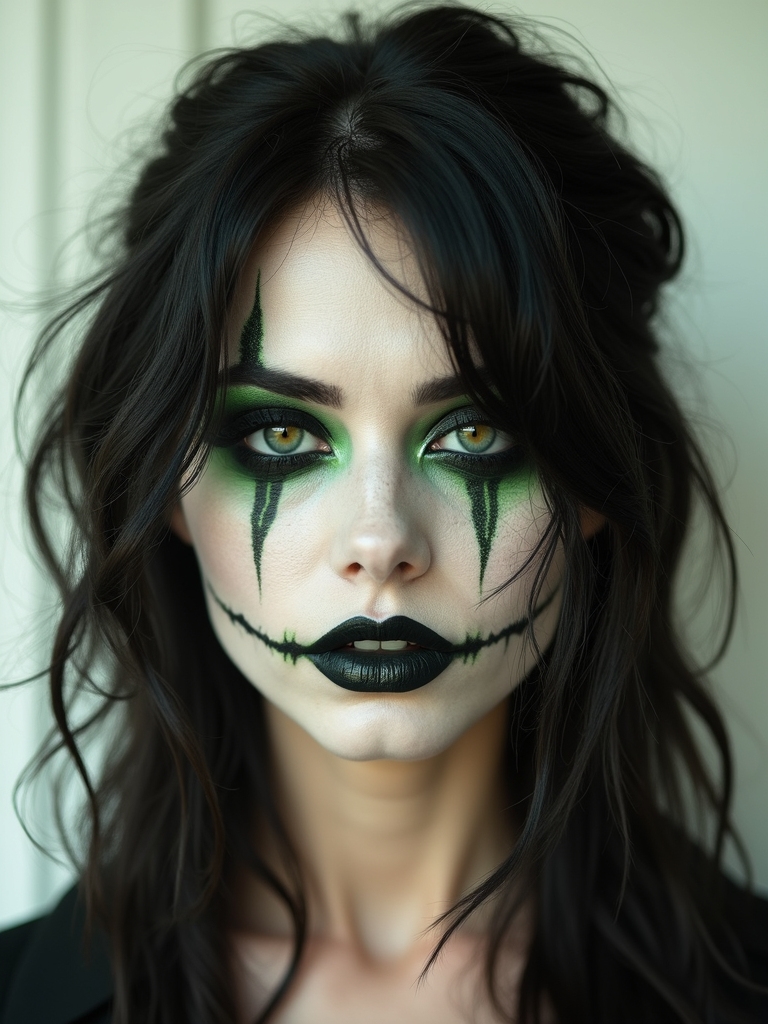
The corpse look is the most theatrical here, leaning on sickly color and mottled texture rather than blood and gore. Clients ask me to make decay look almost elegant, and the trick is texture over gore, which also photographs better and wipes off easier. Build the rot in layers:
- Sponge a green-gray base unevenly so the skin already looks off-color and patchy.
- Stipple deeper olive and purple in the hollows and around the eyes for sunken, bruised depth.
- Drag a dry brush in horizontal streaks to suggest mold, keeping the texture rough and broken.
Ember-Lit Charred Smoky Contour
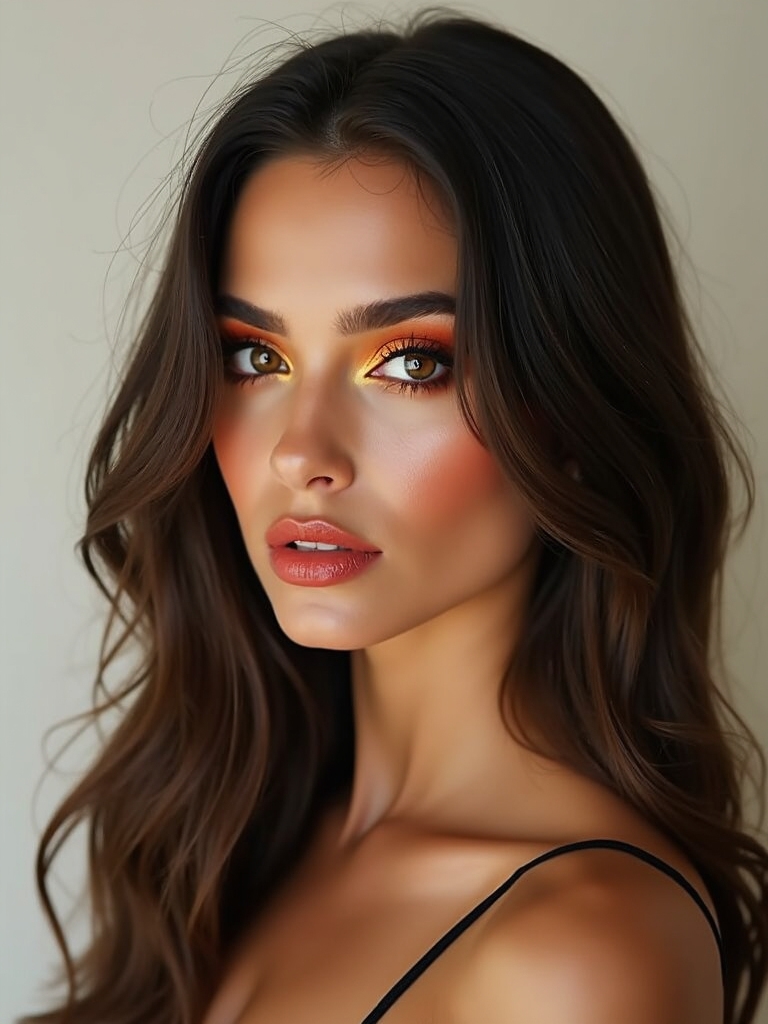
The demon look is a smoky eye taken to its extreme, with charred black sculpting warmed by glowing embers underneath. It is dramatic but surprisingly wearable because it is really just heavy contour plus a hot inner glow. Black does most of the work; the ember is the payoff.
Build the char first, then light it from within:
- Carve deep charcoal hollows under the cheeks, temples, and around the eyes for a burnt, sunken structure.
- Press orange and red pigment into the inner corners and the center of the lids so embers seem to glow through the soot.
- Keep the lips dark and matte so all the heat stays up at the eyes.
Monochrome Silent-Film Noir Makeup
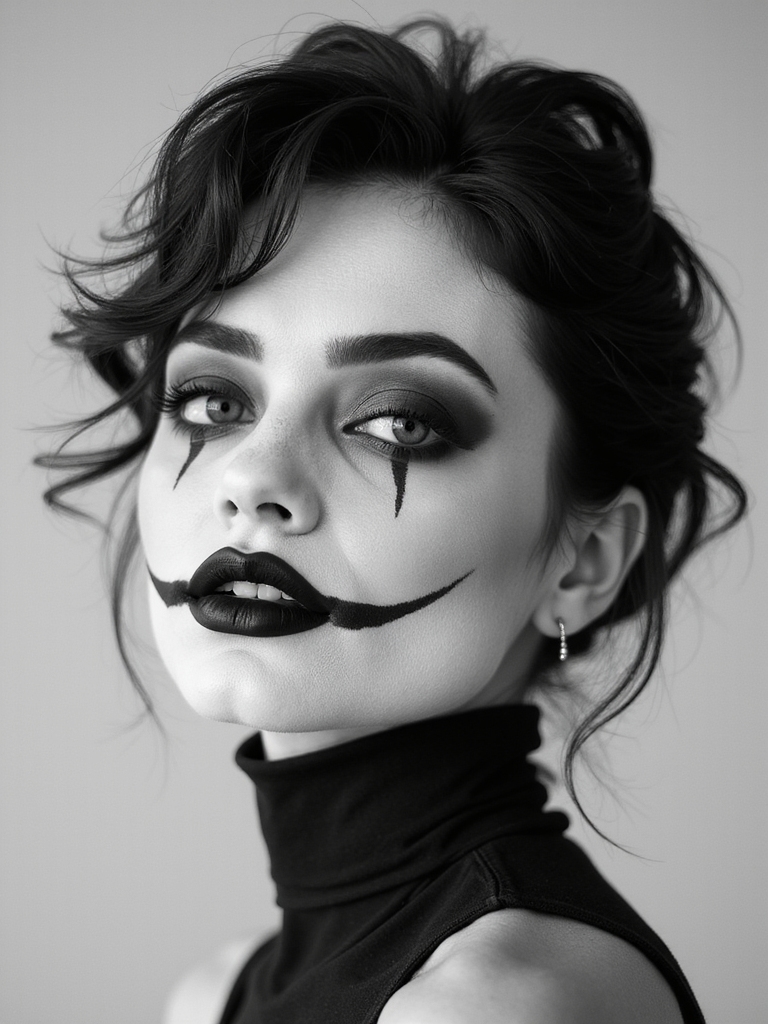
The silent-film look is the cleverest concept here: a full face done entirely in grayscale so you appear to step out of a black-and-white movie. It costs almost nothing because it uses only black, white, and gray, and it stuns in photos. Build it like an old film still:
- Pale the whole face with a gray-white base to flatten out natural color.
- Sculpt heavy gray contour and a deep, dark smoky eye for that high-contrast film look.
- Finish with a deep gray lip, never red, so nothing breaks the monochrome illusion in person or on camera.
Making It Last and Taking It Off
A costume face has two enemies: time and removal. For the night, the order is prime, set with powder between layers, and finish with setting spray held a foot from the face in an X-and-T motion. Heavy pigments and glitter want a setting spray over the top, not just under, or they migrate by the third hour. Keep a few cotton swabs and a powder compact in a bag for touch-ups around the mouth and inner corners, which always go first.
Taking it off matters as much as putting it on. Face paint and waterproof pigment do not move with regular face wash, so start with a balm or oil cleanser to break everything down, then follow with your normal cleanser.
Glitter lifts off easiest with a piece of tape pressed and peeled before you wash. Go gentle around the eyes, give skin a simple moisturizer afterward, and skip strong actives that night so a long evening of heavy makeup does not leave you irritated the next morning.
Pick One and Practice It Once
The looks that turn heads are almost never the most expensive ones; they are the ones someone clearly practiced. You do not need all fifteen. Pick the single look that matches your costume and your patience, then run through it once a day or two early so your hands already know the moves when it counts.
Whatever you choose, set it well, bring a couple of touch-up tools, and take it off gently at the end of the night. Halloween is the one evening makeup is allowed to be loud, so commit to the look and have fun wearing it.
Browse More Looks