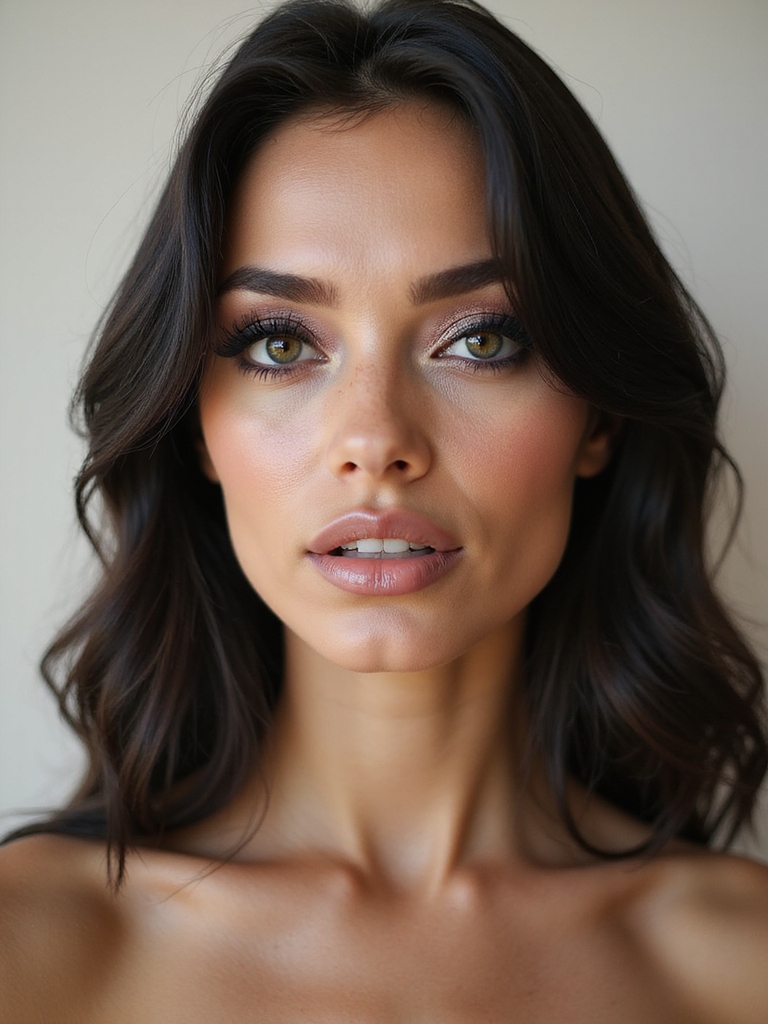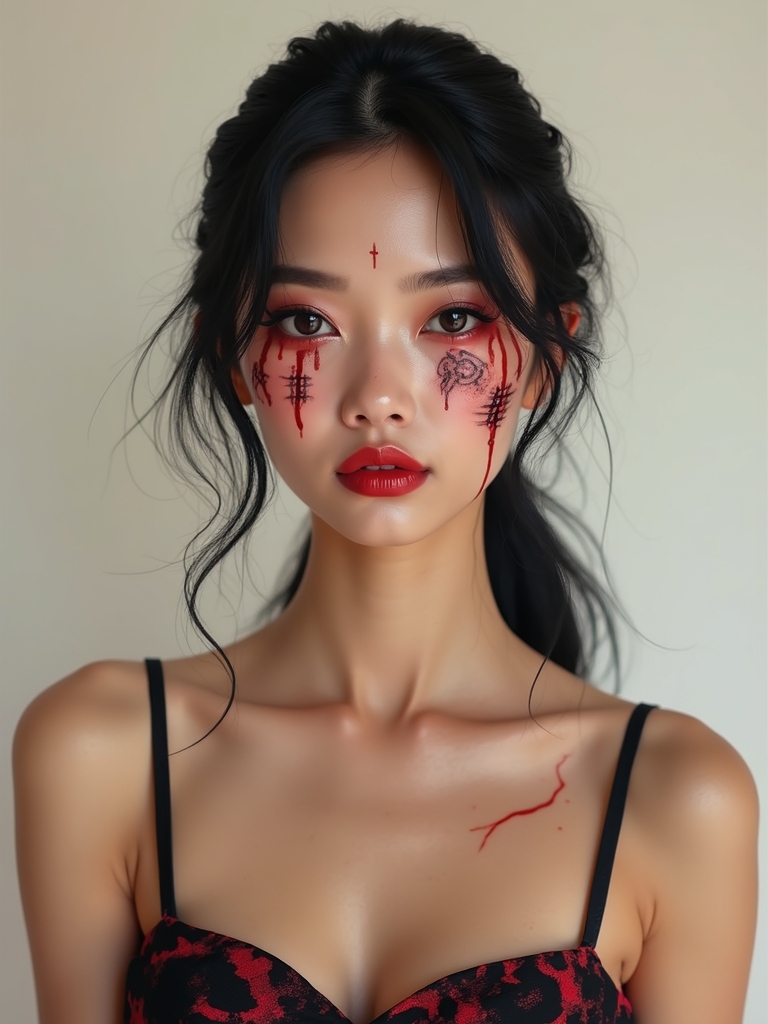
Most anime-inspired makeup falls into two camps: cute and pastel, or full special-effects gore. Sukuna makeup lives in a third, more interesting place. Built around the crimson curse markings of the King of Curses, it is part beauty look, part body art. Equal measures striking and menacing. And far more wearable than you might expect.
These fourteen takes run from a soft crimson glam you could wear to a party to a full cursed transformation with veined intensity and tattoo-like sigils. Each comes with the technique, the products, and the detail that makes it work, plus how to apply and remove it safely. Pick how deep into the curse you want to go.
Sukuna Makeup, the Essentials
- The signature is crimson markings: double lines under the eyes, stripes across the cheeks and brow, and tattoo-like sigils.
- You can do a soft, wearable version with red liner and shadow, or a full cursed look with face paint and sculpting.
- Use only cosmetic-grade red and black paint, patch test a day ahead, and remove gently with an oil cleanser; a basic face-paint palette runs about $10 to $20.
Soft Crimson Curse Glam

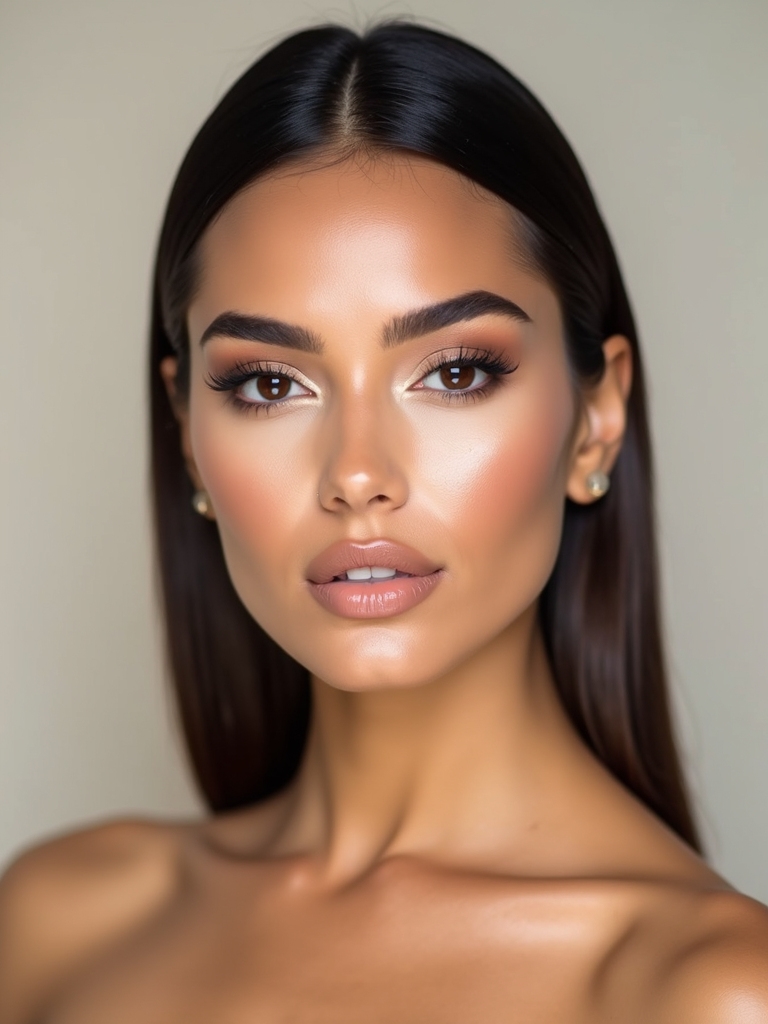
The most wearable take, soft crimson curse glam, hints at the markings with a pretty red eye look rather than full paint. You build a soft crimson smoky eye, add a couple of fine red lines as a nod to the curse stripes, and keep the skin glowing, so the look comes across as bold beauty with a dark edge rather than full cosplay.
Pack a crimson or deep red shadow over the lid, smoke it out, then draw one or two thin red lines along the cheekbone or under the eye to suggest the markings. It is the version for a party or a photo where you want the vibe without committing to a painted face.
- Build a crimson smoky eye as the base of the soft look.
- Add one or two fine red lines to hint at the curse markings.
- Keep the skin glowing so it reads as glam, not gore.

Razor Double-Lined Crimson Accents

The single most recognizable Sukuna detail is the double crimson line, two parallel red stripes that sit under the eyes and across the face. Drawn razor-sharp and even, these double lines instantly signal the character, and they are the one marking worth getting crisp.
Use a red gel or liquid liner and draw two clean parallel lines, keeping them equal in thickness and spacing, under each eye and wherever the markings fall. A steady hand and a thin brush matter here, since the whole effect rests on the lines being sharp and symmetrical.
If a free-hand line feels risky, map them lightly with a red pencil first, then trace over with liner. The double line is the heart of the look, so it is worth taking your time to get clean.
Two things people assume about anime curse makeup.
❌ Myth: You need professional SFX skills to do Sukuna makeup.
✅ Reality: The soft version needs only red liner, a smoky eye, and a couple of clean lines. The double crimson line and a red eye carry the whole reference with no special-effects work.
❌ Myth: Anime-inspired makeup always looks like a costume.
✅ Reality: A minimalist, negative-space version with one or two sharp red markings reads as editorial, fashion-forward makeup you could actually wear out, not just to a convention.
Smudged Scarlet Grunge Smokey

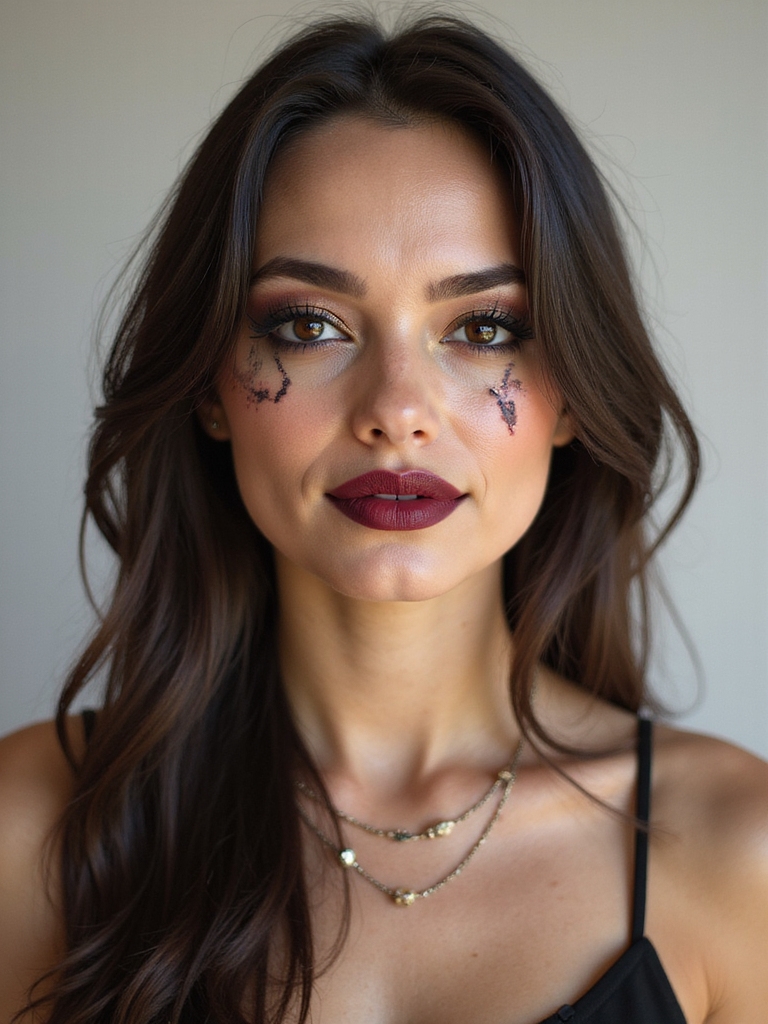
For a moodier, less precise version, a smudged scarlet smoky eye trades sharp lines for a grungy, blurred red haze around the eyes. The smudged scarlet looks raw and a little unhinged still, which suits the cursed, chaotic energy of the character better than anything polished.
Messy Is the Point Here
Smoke a scarlet and black shadow around the eyes, blending it messily out and down so it looks bruised and intense rather than neat. Layering a little black into the red deepens it and adds that grunge edge.
It is a forgiving look, since smudged is the goal and there is no crisp line to ruin. If you already love a smokey eye makeup, this is how you push it somewhere darker.
A Crisp Blackout Lip

A blackout lip grounds the crimson markings with a stark, matte black mouth that looks powerful and otherworldly. Against red markings and pale, poreless skin, a clean black lip changes everything. It pushes the whole look from pretty into truly cursed.
- Line and fill the lips with a black liner, then layer black lipstick over the top.
- Set with a little black eyeshadow pressed on for an opaque, matte finish.
- Keep the edges crisp, since a clean black lip reads sharper than a smudged one.
Heads-Up
Red and black face paints, plus any SFX scar wax or latex, can irritate sensitive skin and the eye area. Always use cosmetic-grade, skin-safe products, patch test anything new a day ahead, keep paint out of the eyes themselves, and remove everything gently with an oil cleanser rather than scrubbing.
Negative-Space Minimalist Markings

For a modern, fashion-forward take, minimalist markings using negative space suggest the curse with just a few sharp graphic elements rather than full coverage. A single bold red line, a small sigil, or a winged accent against bare skin looks editorial and clean, the curse reimagined as high-fashion makeup.
Place one or two deliberate red graphic shapes, a stripe, a wing, a symbol, and leave the rest of the face soft and bare so the markings stand out. The restraint is what makes it modern, and it keeps the look wearable for a party rather than a full convention.
It is the version for someone who loves the aesthetic but wants something they can wear out without a full painted face. One sharp red mark can carry the whole reference.
A Molten Halo With Veined Intensity

Turning up the drama, a molten halo eye with veined intensity glows red-hot at the center with dark, branching veins spreading outward like cursed energy. The bright molten center and the creeping veins give the look a supernatural, almost glowing quality. It feels truly powerful.
- Press a bright metallic red or orange shimmer in the center of the lid for the molten glow.
- Smoke dark red and black around it, then draw fine branching veins outward.
- Use a thin brush for the veins so they look delicate and creeping.
A few terms that come up with this look.
📖Double line
The signature pair of parallel crimson stripes under the eyes and across the face, the most recognizable Sukuna marking.
📖Negative space
Leaving areas of bare skin as part of a graphic markings design, which reads more modern and editorial than full coverage.
Half-Human, Half-Cursed Contrast

A striking concept look, the half-human, half-cursed face paints full crimson markings on one side and leaves the other soft and human, dramatizing the duality of the character. The split down the center, one side bare and pretty, one side covered in curse markings, makes for a powerful, photogenic transformation.
- Commit fully to each half: complete markings on one side, soft glam on the other.
- Line the markings up to meet cleanly down the center of the face.
- Photograph both profiles, since each side reads as a different face.
A Katana-Sliced Cool Contour

To give the face a sharper, more inhuman structure, a cool-toned sliced contour carves dramatic, blade-like shadows under the cheekbones and jaw. Using a gray-based contour rather than a warm bronzer makes the face look gaunt and otherworldly, the kind of sharp, hollowed structure that suits a curse rather than a person.
On a shoot, this gaunt contour is the first thing I reach for to make a face look inhuman. Suck in your cheeks to find the hollow, shade hard with a cool gray-brown along that line and the jaw, and blend so it looks like real shadow. The cool tone is the key, since warmth reads healthy and you want the opposite, a sharp, drained, almost carved face under the crimson markings.
🅰️Soft version
A crimson smoky eye with a couple of fine red lines, wearable to a party and done with products you likely own. Best for everyday boldness.
🅱️Full transformation
Complete crimson markings, sculpting, and maybe SFX texture for a true cosplay. More time, more products, and skin-safe paint required.
Raised Textured Scars and Glossy Lids

For a special-effects edge, raised textured scars paired with glossy lids add a tactile, three-dimensional layer to the look, where the markings appear carved or scarred into the skin. Using scar wax or liquid latex to build slightly raised marks, then painting them crimson, makes the curse stripes look like they are part of the flesh rather than drawn on, while a glossy lid keeps a beauty element in the mix.
This is the most advanced version here, leaning into prosthetic-style SFX, and it is best for a serious cosplay where you want the markings to look real. Always use skin-safe SFX products and patch test, since scar wax and latex can irritate sensitive skin or cause a reaction.
- Build raised marks with skin-safe scar wax or liquid latex, then paint them crimson.
- Keep a glossy lid for a beauty contrast against the SFX texture.
- Patch test latex and scar products a day ahead, since they can irritate skin.
Blurred Blood-Red Stained Lips

A softer alternative to the blackout lip, blurred blood-red stained lips give a haunted, just-fed look that ties to the crimson theme. The diffused red stain, deeper in the center and fading at the edges, looks bitten and bloodied in a way that suits the dark mood without the starkness of full black.
Dab a deep blood-red stain or lipstick onto the center of the lips and blur it outward with a finger so the edges fade softly. The blurred, stained finish looks more unsettling and organic than a crisp lip, and it coordinates with the red markings across the face.
Cinematic White-Ink Sculpting
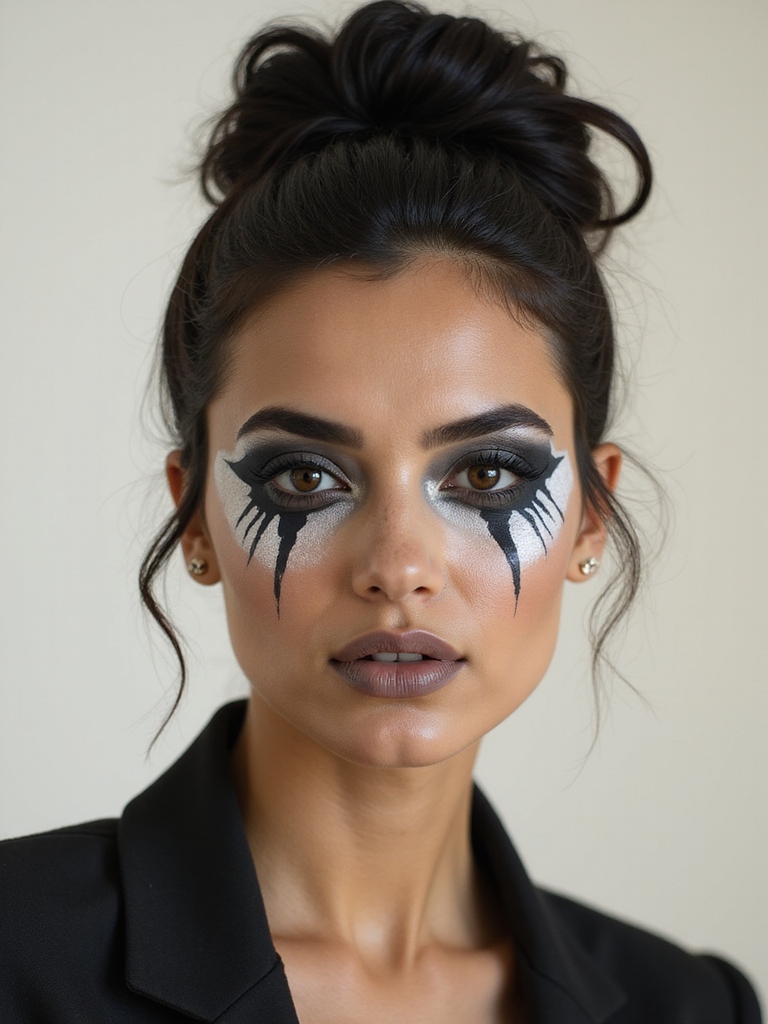
To make the face look painted and unreal, white-ink sculpting adds bright highlight and graphic white detail that gives a cinematic, illustrated quality. White lines and highlights placed along the bones and beside the crimson markings make the face look drawn rather than photographed, echoing the flat, bold style of anime art.
Make the Face Look Drawn
Use a white liner or face paint to add sharp highlights on the high points and fine white accents next to the red markings. The contrast of crisp white against crimson and pale skin is what gives the look its illustrated, cel-shaded feel.
Clients ask me how to make the look read anime and not costume, and this is the answer: it pushes the makeup toward looking truly drawn, since real faces do not have those hard graphic highlights. The white ink is what sells the cartoon-come-to-life effect.
Natural-Looking Neck Tattoos
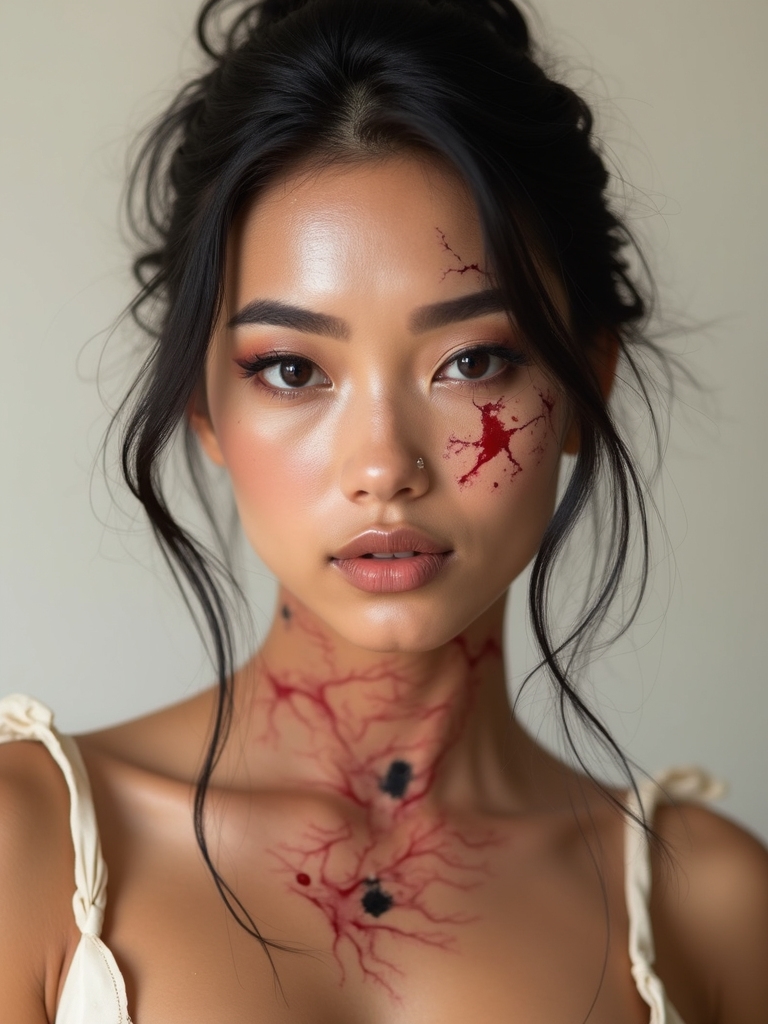
Extending the markings down the neck and collarbones with natural-looking painted tattoos completes the transformation and makes it feel head-to-toe rather than face-only. Painting the curse sigils and stripes down the neck, blended to look like real ink on the skin, takes the look from a makeup moment to a full character.
Use a fine brush and a long-wear face or body paint to trace the markings down the neck, keeping the lines clean and the edges soft so they look like tattoos rather than smudges. Setting them with powder and spray keeps them from transferring onto clothing, and a long-wear formula survives a full convention day.
Glass-Sheen Matte Crimson Stripes
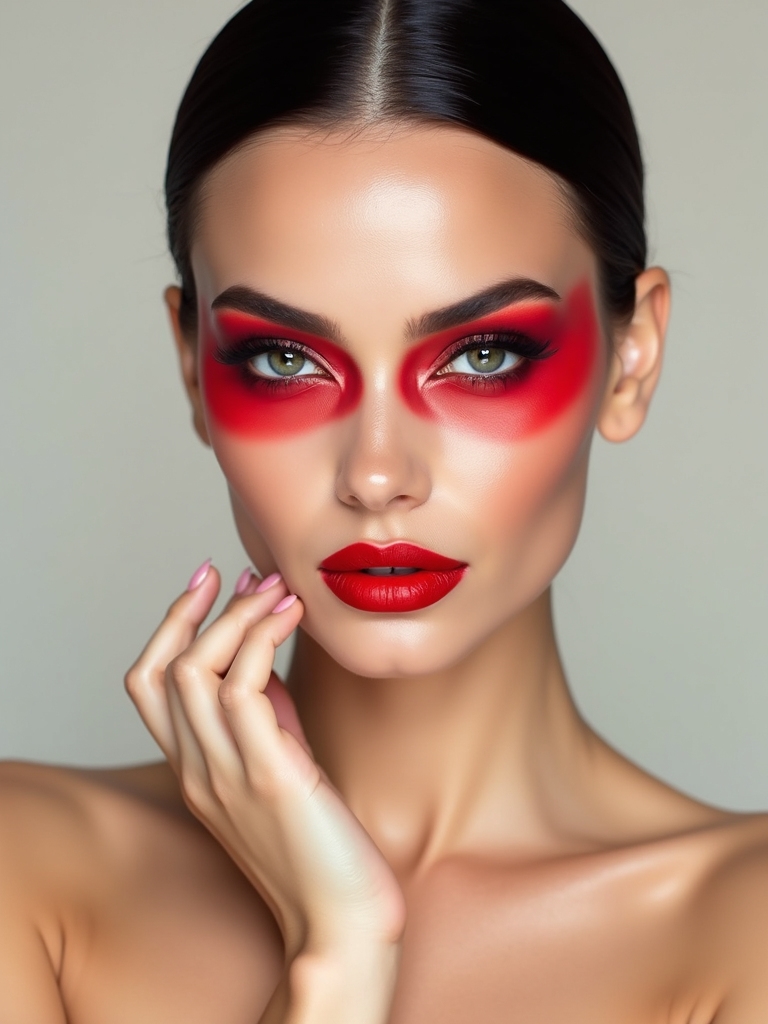
Playing two finishes against each other, matte crimson stripes over a glass-sheen base create depth by contrasting flat markings with luminous skin. The dewy, glassy complexion underneath makes the flat matte red markings pop, a finish contrast that feels modern and high-fashion.
- Keep the skin dewy and glass-like, then lay the markings in a flat matte red.
- The matte-on-glossy contrast makes the crimson stripes stand out sharply.
- Set only the markings, leaving the skin around them luminous.
Crisp Negative-Space Brow Sigils
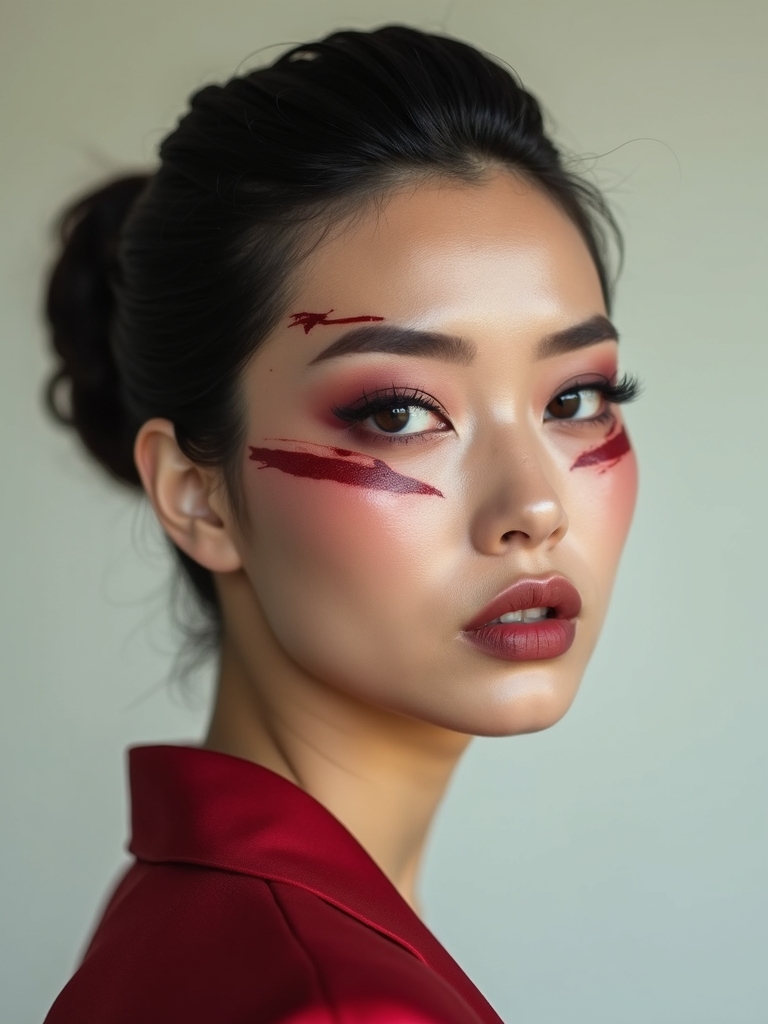
A detailed finishing touch, negative-space brow sigils place sharp red symbols around or through the brows, using the bare skin as part of the graphic design. Blocking or bleaching the brows and drawing crisp red sigils in and around the brow area gives an alien, cursed quality to the upper face that completes the transformation.
Conceal or block the natural brows first so the sigils read cleanly, then draw the symbols in sharp red liner, leaving negative space so they look deliberate and graphic. The brow area is among the most transformative places to add markings, because it changes the whole structure of the face.
- Block or conceal the brows so the red sigils stand out cleanly.
- Draw sharp, symmetrical symbols with a fine red liner.
- Leave negative space so the sigils look graphic, not crowded.
How to Plan, Apply, and Remove the Look Safely
A good Sukuna look is as much about planning and skin care as artistry. Decide first how far you want to go, since a soft red-liner version needs only products you likely own, while a full cursed transformation calls for cosmetic-grade face paint, possibly SFX scar wax or latex, and real time to apply.
Map the markings lightly with a red pencil before committing to liner or paint, and always do the eyes and any heavy work before your base so fallout does not ruin a finished face. Use only products labeled cosmetic-grade and skin-safe, and patch test anything new, especially latex, scar products, and red paint, a day ahead, since the eye area and sensitive skin can react.
Removal matters as much as application. Crimson and black paint stain and cling, so melt the makeup off gently with an oil cleanser or micellar water on a cotton pad rather than scrubbing, which is hard on the delicate skin around the eyes.
Take SFX pieces off slowly and follow with a gentle cleanse and moisturizer, since heavy paint and adhesives can dry the skin. Set the look well with powder and a setting spray so it survives a long convention or party, and your face will look cursed all day and recover happily by morning.
Choose Your Curse
The reason Sukuna makeup has caught on beyond cosplay is its range: the same crimson-marking idea gives you a soft, wearable red eye for a party or a full, sculpted cursed transformation for a convention. Whether you draw a single sharp double line or paint the markings head to toe, the heart of the look is those clean crimson stripes against pale, dramatic skin, so get those right and the rest is decoration.
Start with the double crimson line and a smoky red eye if you are new to it, then build toward the full curse as your confidence and your kit grow. For more, browse a few halloween makeup looks or a bold skull makeup guide when you want to take face art somewhere darker.
More Hair Ideas