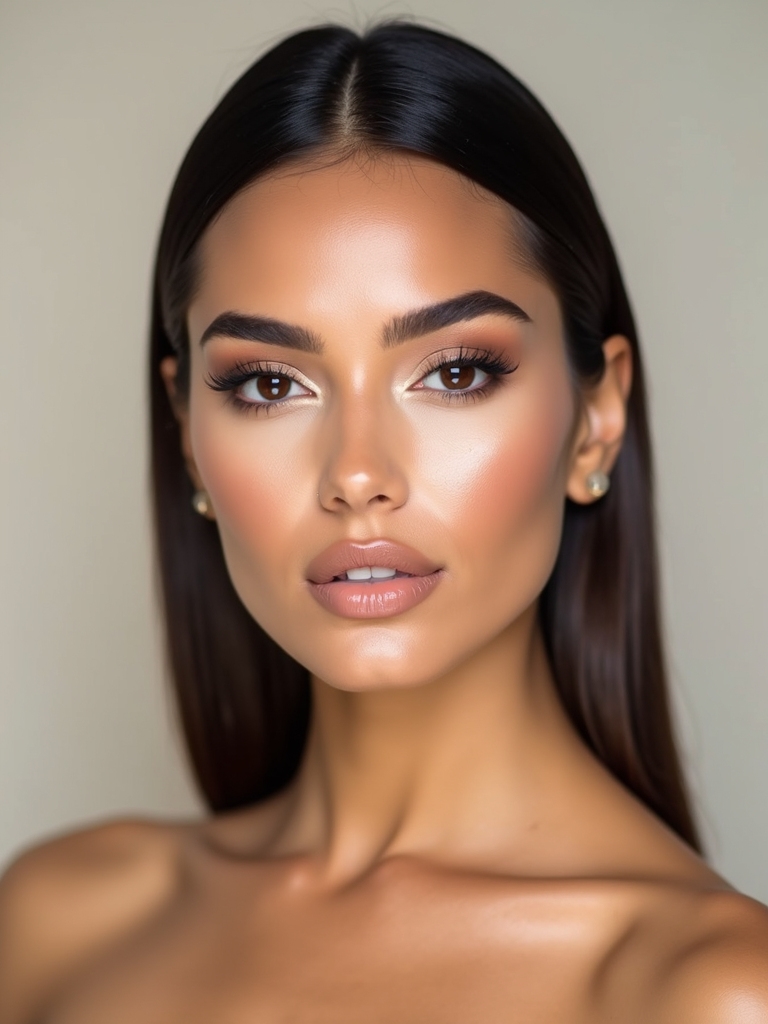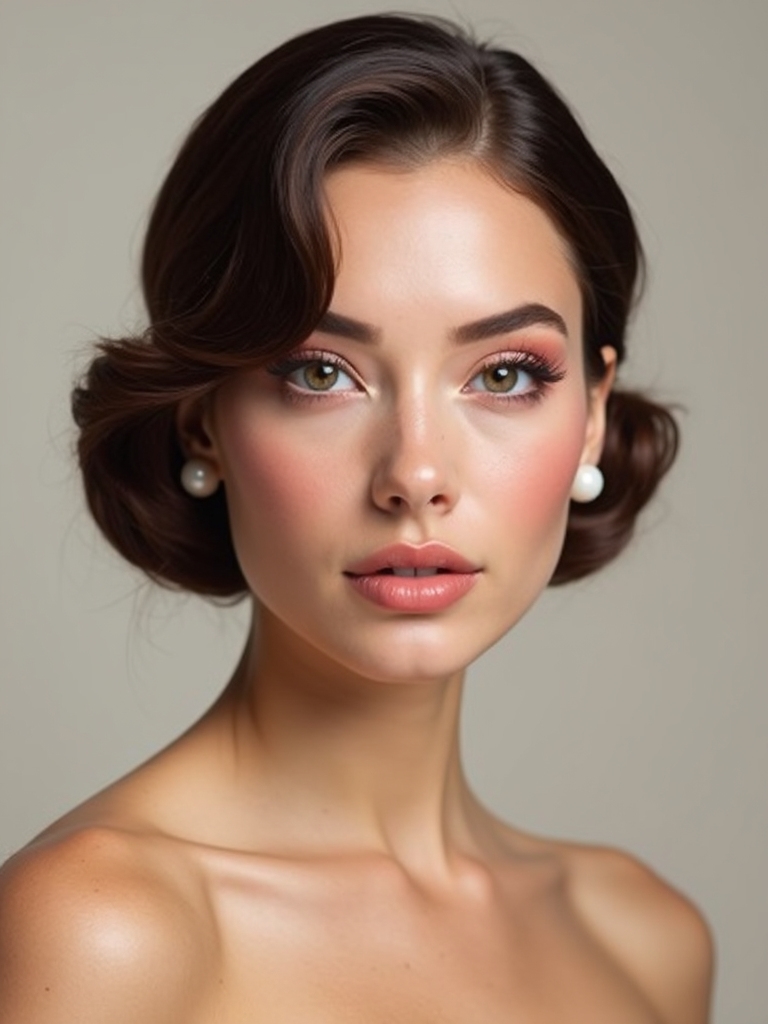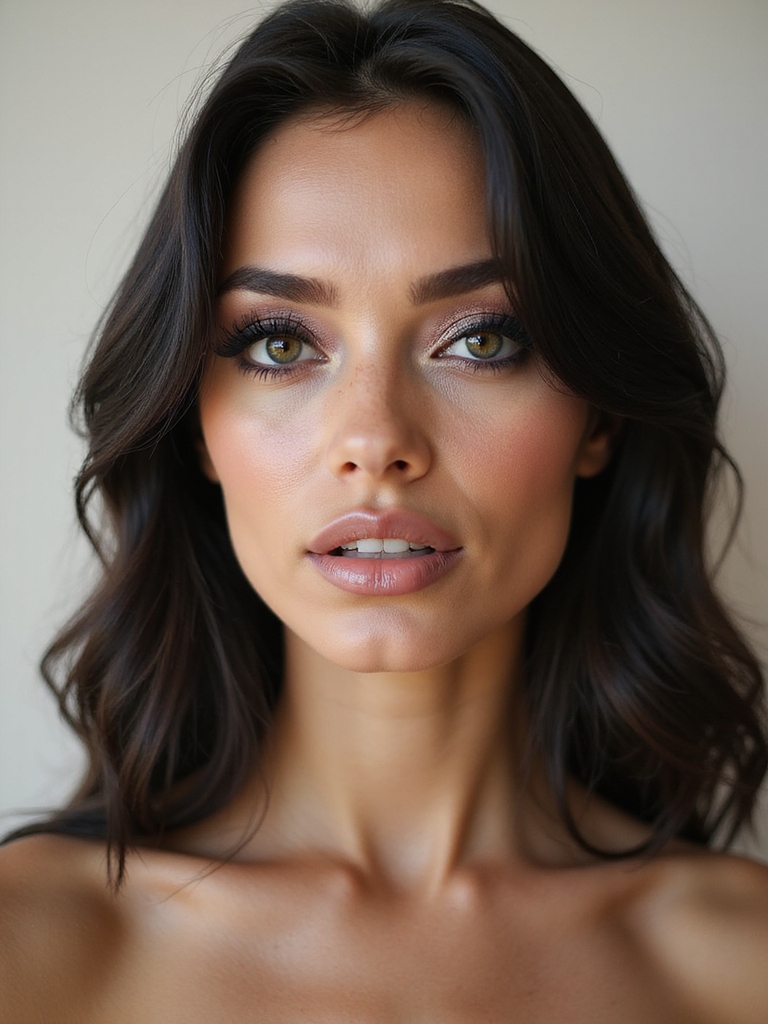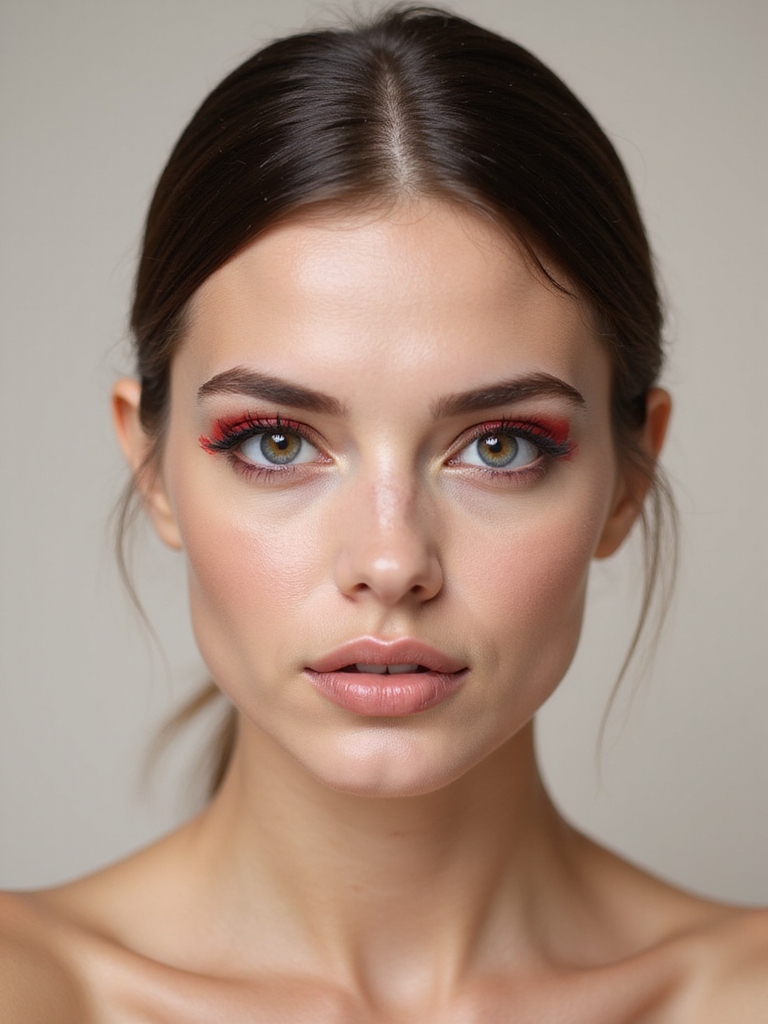
Most makeup advice is about blending in, looking rested, passing as a slightly better version of a normal Tuesday. This is the opposite of that. Crazy makeup throws out the rulebook on purpose, treating the face as a canvas and asking what happens if you ignore where blush is supposed to sit.
The looks here run from neon color clashes to liner that seems to float off the lid, from rhinestone constellations to skin so chrome it could double as a mirror. Some are festival-ready, some are pure editorial fantasy, and all of them reward a willingness to make a mess before you make it work. Grab your boldest palette and let’s get into it.
What Makes a Look Crazy
- Crazy makeup breaks one everyday rule on purpose, whether that is color placement, symmetry, or finish, so pick the rule you want to shatter before you start.
- Most of these looks live and die on a sticky, well-primed base, since pigment, glitter, and gems all need something to grip.
- Bold pigments and UV shades read beautifully on every skin tone; the trick is adjusting intensity, not avoiding the color.
Neon Electric Color Clash
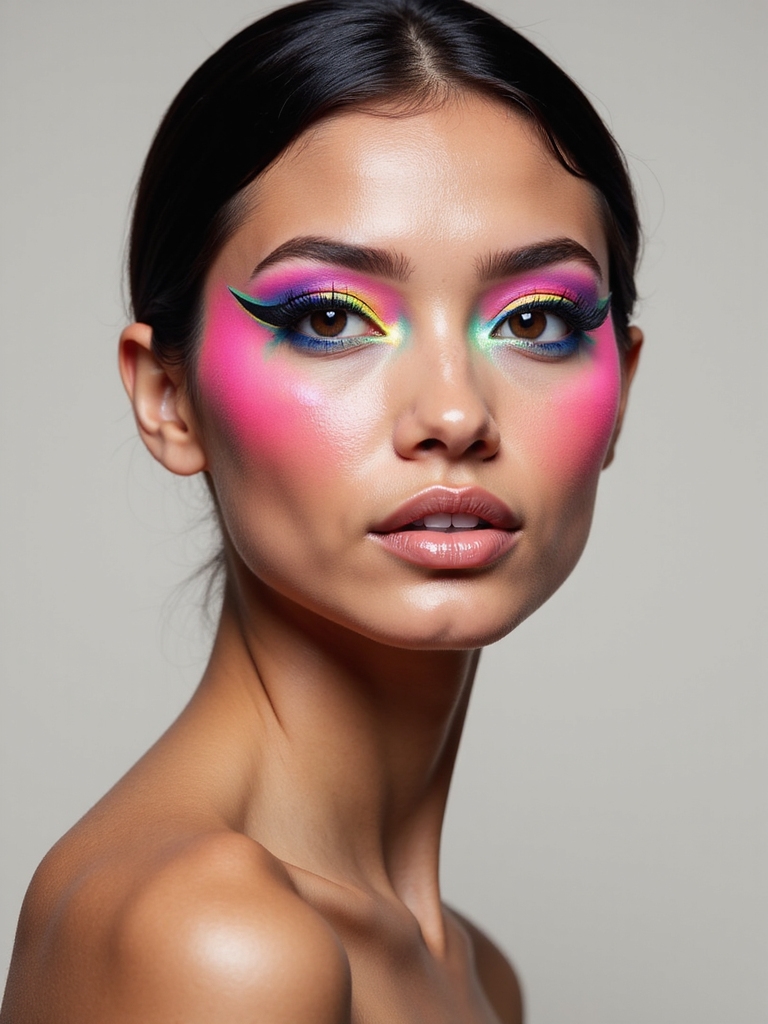
The fastest way to make a face look wild is to put two colors together that were raised to hate each other. Electric blue against acid yellow. Hot pink crashing into orange. The clash is the point, and it photographs like a jolt of static.
The technique that keeps it from turning to mud is separation. Lay each shade down with a flat brush, leave a thin breath of bare skin between them, and resist the urge to blend the border into a smooth gradient. Hard edges keep the colors loud and the contrast electric.
Reach for pressed pigments or pro brights rather than soft everyday shadows, since the payoff here is saturation. Press them onto a tacky primer with a finger for the most intense color, then clean up any fallout with a flat concealer brush before it stains your base.

Bold Floating Negative-Space Liner

Negative space liner is a clever bit of trickery: the empty skin you leave bare becomes the actual shape. Instead of one continuous wing, you draw a line, lift the brush, leave a gap, then start again, so the eye fills in a design that is half ink and half nothing.
Precision carries the whole effect, which means you want a steady liquid liner and good lighting. I always map the gap first with a light pencil dot so I know exactly where the bare strip will sit before I commit to liquid. One wrong move and the floating look collapses into a smudge.
Start simple with a single floating line above your natural crease, parallel to the lid. Once that feels manageable, you can add a second line, a cutout, or a pop of color trapped inside the gap. The bare skin has to stay truly clean, so prime and set your lids first so nothing creeps into the space.
The day I stopped trying to make experimental makeup look tasteful was the day it finally got interesting. Crazy looks reward commitment, not caution.
Laminated, Feathered Brows
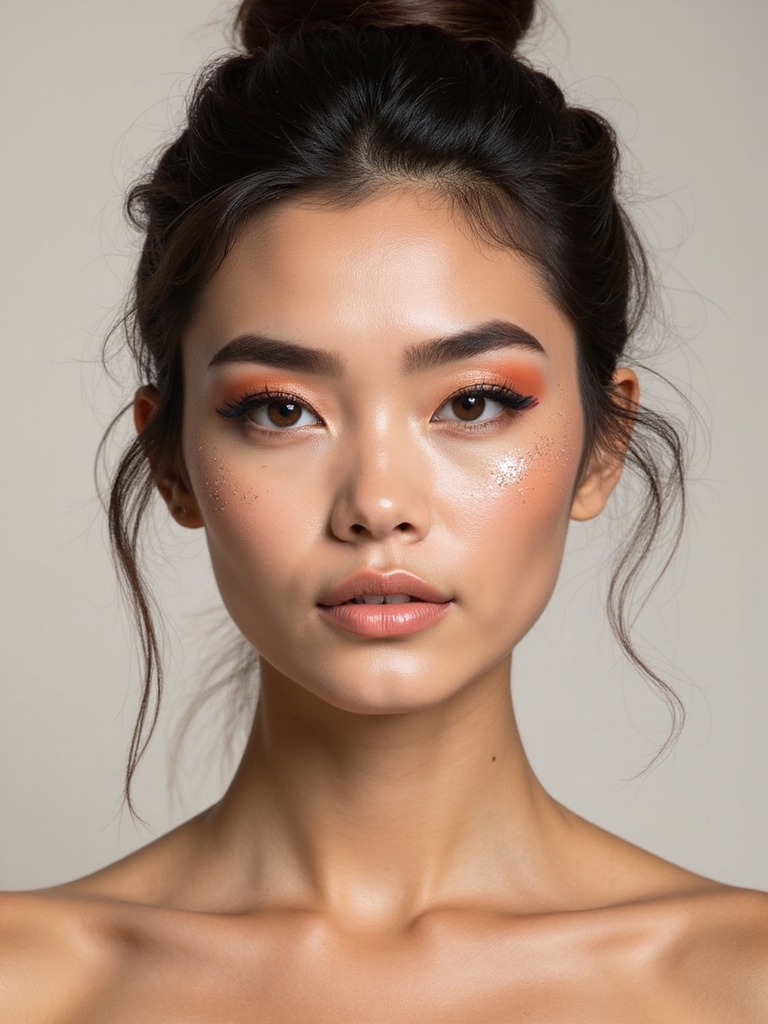
Brows can carry a crazy look all on their own. Brushed straight up and held in place, they go feathery, lifted, and a little feral, which frames an artistic eye perfectly. The fluffier and more vertical, the more dramatic the whole face reads.
- Comb a clear or tinted brow gel upward and outward, holding each hair vertical until it sets.
- For extra grip without a salon lamination, a swipe of soap brow gel locks even unruly hairs in that lifted shape.
- Add tiny hair-like strokes with a fine pencil in the sparse spots so the feathered effect looks full, not patchy.
Glittered, Teary Smudged Liner

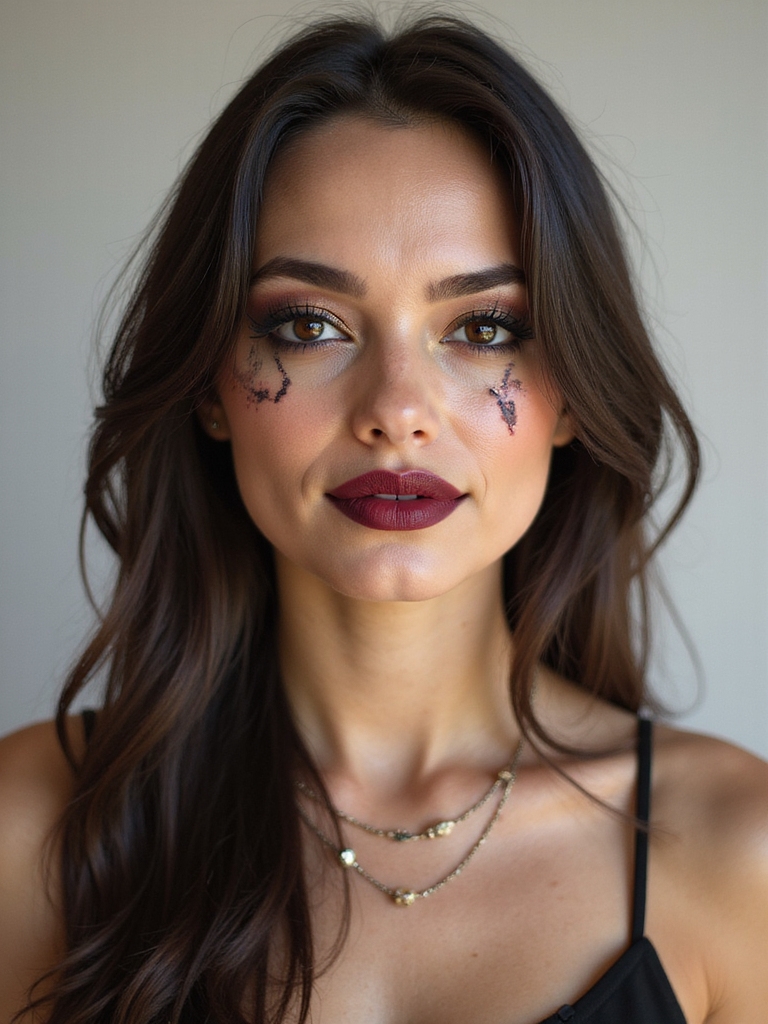
This one fakes the look of glittering tears, equal parts pretty and unhinged, and it has been all over editorial shoots lately. The base is a deliberately smudged, worn-in liner that looks like it survived an emotional night, finished with glitter clustered where tears would fall.
The contrast is what sells it. Smudge a dark or jewel-toned liner around the whole eye until it is soft and hazy, then place chunky glitter in the inner corner and along the lower lash line so it catches light like a fresh tear. Keep the rest of the face quiet so the eyes do all the talking.
- Smudge cream or pencil liner with a smudger brush for that soft, weepy halo.
- Press chunky cosmetic glitter onto a dab of glitter glue, and keep craft glitter far from the eyes.
- A glossy lid under the glitter adds to the wet, teary illusion.
“Stylist tip: before any wild look, do a full skin prep and a sticky primer, then keep cotton swabs and flat concealer brushes within reach. Most crazy makeup is not about a magic product; it is about clean edges and the patience to fix the inevitable mistakes as you go.”
Surreal Facial Embellishments

When flat color is not enough, you build outward. Surreal embellishments add literal dimension to the face with materials that catch light and shadow, turning makeup into something closer to sculpture. This is where editorial and avant-garde looks get their gasp factor.
- Acrylic gems, beads, or pearls clustered along the brow bone or cheek with lash adhesive for safe removal.
- Cut paper or acetate shapes glued at one edge so they lift off the skin and cast real shadows.
- Sculptural elements built from cotton or wax for texture, kept well away from the eyes and lips.
Mirror-Shine Metallic Eyelids

A true mirror lid stops people mid-conversation. The goal is a finish so reflective it looks wet and metallic, almost like foil pressed onto the eye, and it takes the right product to get there. Regular shimmer shadow will not do it.
Getting the Foil Effect
The secret is in the formula and the base. You need a foil or chrome pigment designed to go reflective, applied over a tacky base coat so the particles lie flat and bounce light as one sheet. Patting, not swiping, keeps that unbroken mirror surface intact.
Build the metal in the center of the lid first where you want the brightest flash, then drag it outward. A clean edge matters here, so tidy the perimeter with concealer once the foil is set and the look turns from messy to high-shine instantly.
Two things people get wrong about bold, artistic makeup.
❌ Myth: Crazy makeup only works on pale skin.
✅ Reality: False. Bright pigments, UV shades, and metallics all pop on deep skin, often more vividly. You adjust intensity and layering, not the whole palette.
❌ Myth: You need expensive pro products to do it.
✅ Reality: Not really. A few pressed pigments, a glitter glue, and some rhinestones go a long way. Technique and clean application matter more than price.
Soft Watercolor Cheek Wash

Not every crazy look is hard-edged. The watercolor wash takes bold color but diffuses it into a soft, painterly bloom across the cheeks and under the eyes, like pigment dropped into water. It is dreamy and strange in equal measure.
The method is all about sheer layers. Take a vivid cream or liquid color, tap a little onto the cheek, then buff it out with a damp sponge until the edges vanish into your skin. Layer two or three diluted colors and let them bleed into one another for that wet-paint gradient.
Because the color sits sheer, it flatters every complexion; deeper skin tones can simply build a touch more pigment for the same glow. Set it with the lightest dusting of powder so the wash stays put without going chalky over the soft finish.
Long-Wear Blended Lips

When the eyes go wild, the lips often anchor the look, so they need to hold for hours of photos and dancing. A smart blended lip pairs two or more shades into an ombre, darker at the edges and brighter in the center, for depth a single flat color simply lacks.
Build it to last. Line and fill the whole lip with a matching pencil first as a grippy base, then press a long-wear liquid color over the top and blend the shades together with a fingertip while they are still tacky. A budget-friendly pro look like this costs maybe $15 to $30 in product and survives a whole night out.
Not sure where to start? Find your entry point.
1Want maximum impact with minimum skill?
Try rhinestone freckles or a glittered teary eye; both are forgiving and high-reward.
2Comfortable with liner and ready to level up?
Go for floating negative-space liner or a mirror-chrome lid, where precision pays off.
Neon UV Glow

Some looks are built for the dark. UV-reactive makeup looks bright but ordinary in daylight, then erupts into glowing color the second a blacklight hits it, which makes it a festival and rave staple. Precise application is what separates cool from chaotic here.
Use proper UV-reactive cosmetic paint and apply it with a fine brush in clean lines, dots, or graphic shapes, since the glow exaggerates every edge. These pigments pop vividly across all skin tones, and deeper complexions often get an especially striking glow against the dark. Map your design before the lights drop, because you cannot fully judge it until they do.
Negative-Space Liner as Art

Once the basic floating line feels comfortable, negative space becomes a full design language. This is the advanced playground, where the gaps form deliberate shapes and the bare skin does as much work as the liner. Think of it as drawing with absence.
- Double-stacked lines with a clean skin stripe between them for a graphic, layered wing.
- A cutout shape, like a circle or triangle, left bare inside a block of solid liner.
- Color trapped in the gap, where a bright shadow fills the negative space framed by black liner.
Rhinestone Celestial Freckles

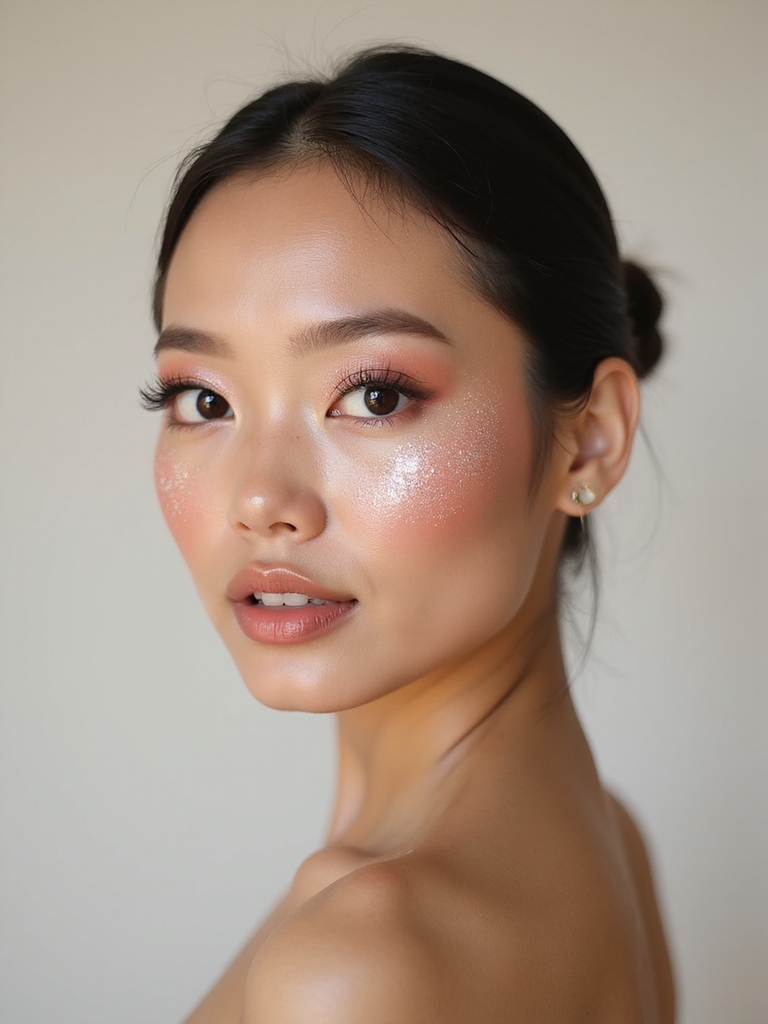
Tiny rhinestones scattered like freckles turn an ordinary face into something cosmic. Placed across the cheekbones and nose like a constellation, they catch light with every movement and feel delicate rather than heavy. It is one of the easiest ways to dip a toe into crazy makeup.
- Use flat-back micro rhinestones in mixed sizes for a natural, scattered freckle pattern.
- Apply each gem with a dot of lash glue on the tip of a tweezer or a dampened tool for placement.
- Cluster a few near the inner cheek and let them thin out toward the temple for a real constellation feel.
Monochrome Maximalist Look

Maximalism with discipline: pick one bold color and take it everywhere. Eyes, cheeks, lips, even brows in a single saturated shade reads intentional and high-impact, the kind of look that feels deliberate and fully styled. The restraint of one hue is what keeps the chaos cohesive.
- Choose a single statement color, then gather cream and powder versions of it for different finishes.
- Flood the lids, sweep it across the cheeks, and carry it onto the lips for full saturation.
- Vary the texture, matte here and glossy there, so the one-color look still has depth and movement.
Molten Chrome Highlights

If a mirror lid is the eye version, molten chrome highlight is the same idea poured over the whole face. Cheekbones, brow bones, the bridge of the nose, all lit with a liquid-metal sheen that looks like the skin was dipped in chrome.
Layering for Maximum Shine
Layering builds the intensity. Start with a cream metallic base on the high points, then press a loose chrome or multichrome pigment on top with a damp flat brush for that wet, molten finish. The dampness is what fuses the particles into a sheet of shine instead of scattered sparkle.
Keep the placement sculptural by following your actual bone structure, so the chrome reads as carved light rather than random shimmer. A little goes a long way, and building in thin layers lets you control exactly how blinding the finish gets.
Gravity-Defying Lash Architecture

Lashes can point anywhere you want them to. Architectural lash looks spike, spread, and stack them into shapes that seem to defy gravity, framing the eye in something closer to a sculpture than a flutter. This is high drama, built for editorial and stage looks.
- Stack two or three dramatic false lash strips for height and density a single pair cannot reach.
- Spike the lashes into spaced clusters with a little clear gel for a graphic, doll-meets-spider effect.
- Add tiny individual lashes pointing outward or downward to break the expected upward curl.
Angular Metallic Accents

To close the list, a look that feels almost architectural. Angular metallic accents use sharp geometric lines of metal pigment, placed along the cheekbones, temples, or jaw, to carve the face into something futuristic and severe. Precision is everything; there is nowhere for a wobble to hide.
Using Tape for Sharp Lines
Tape can be your best friend here. Lay a strip of skin-safe tape to mask a crisp edge, press metallic pigment along it, then peel for a razor-clean line. Repeat at matching angles on each side so the geometry stays balanced and deliberate.
Mix metal tones, a cool silver beside a warm gold, for accents that shift as you move. This is the kind of finish that turns a face into a statement, and it pairs naturally with the gem-heavy energy of a euphoria makeup look if you want to go fully editorial.
Crazy Makeup Questions, Answered
?What products do I actually need to start?
A sticky primer, a couple of pressed pigments or bold shadows, glitter glue, a few rhinestones, and a fine liner brush cover most of these looks. You can build from there as you find what you love, and none of it has to be expensive.
?How do I keep bold pigments from smudging or fading?
Prime and set your base first, apply pigment over a tacky layer for grip, and lock everything down with a setting spray. For long days, cream products under powder hold far better than either one alone.
?Is craft glitter safe to use near my eyes?
No. Craft glitter has sharp edges that can scratch the eye, so only use cosmetic-grade glitter and pair it with a proper glitter glue. Keep any embellishment well clear of the waterline and inner corner.
?Will these looks work on deep skin tones?
Absolutely. Bright, neon, and metallic shades often look even more striking on deep and melanin-rich skin. Adjust how much pigment you layer for the intensity you want, rather than skipping the color.
?How do I remove glitter and gems without wrecking my skin?
Peel gems off gently by their edge, then use an oil-based cleanser or balm to dissolve glue and lift glitter without scrubbing. Follow with your normal cleanser and a good moisturizer to calm the skin.
Go Make a Mess
The whole spirit of crazy makeup is permission. Permission to clash, to float color where it does not belong, to glue a gem to your face on a Tuesday for no reason at all. Every look here started as someone deciding a rule was optional, and the only way to find your version is to play.
Pick the one that made you stop scrolling, set aside an afternoon with no plans, and expect the first try to look rough before it looks right. When you want more structured drama next, a smokey eye makeup base or a full halloween makeup looks project gives all this practice somewhere bold to go.
Don’t Miss These