A good sew-in is more than length you add and forget. Done right, it is among the most protective ways to wear your natural hair, tucking it under a braided foundation while you swap texture and color whenever you want.
That is also where it goes wrong. A set installed too tight, left in too long, or skipped on wash days can stress your edges over time. Below are the styles worth asking for and the care that keeps your own hair healthy underneath, from sleek bobs to long curls, with rough costs and timing so you know what you are signing up for.
Sew-In Essentials At A Glance
- A sew-in stitches wefted hair onto cornrows, protecting your natural hair while you change length and texture.
- A full install runs about $150 to $350 with hair and lasts six to eight weeks before takedown.
- The fit should feel snug, never painful; tension at the hairline is the main thing to watch.
- Wash every one to two weeks, moisturize the leave-out, and wrap with silk or satin at night.
Sew-In Creativity Starts With The Base
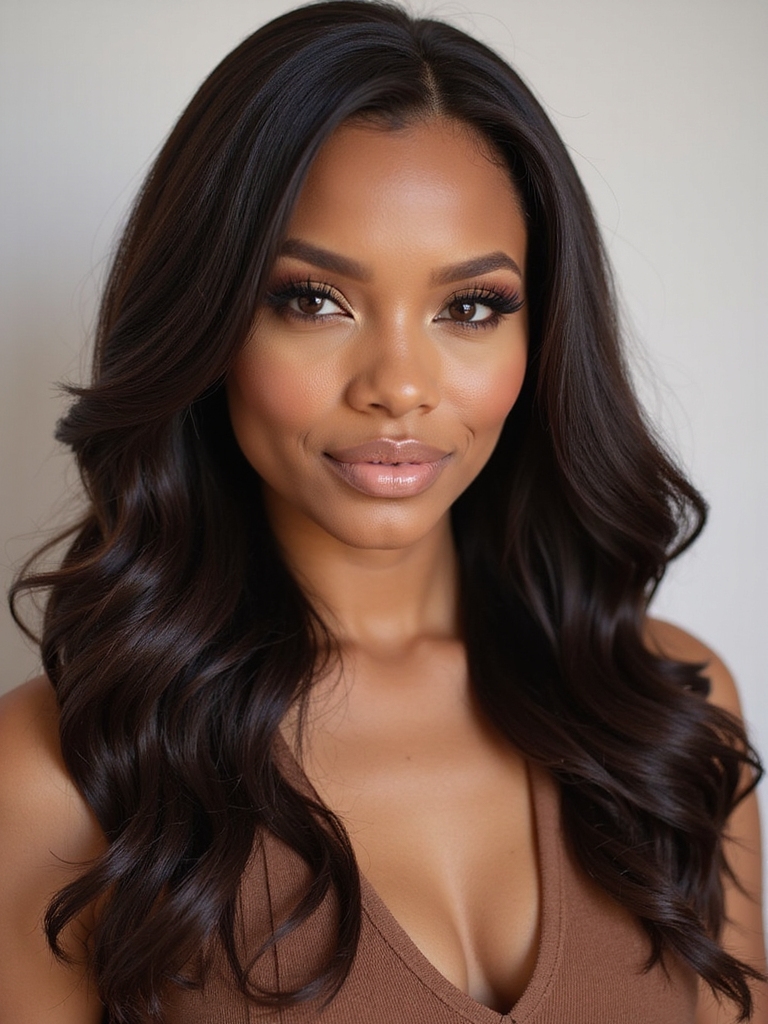
Before the styling fun, it helps to know what is happening under there. A sew-in starts with your natural hair braided flat into a cornrow foundation. Wefts of extension hair are then stitched onto those braids with a needle and thread, so nothing is glued to your scalp. That base is what lets a sew-in carry real length and volume while your own hair rests.
- Cornrow foundation: your natural hair braided flat as an anchor
- Wefts: curtains of hair sewn onto the braids, row by row
- Leave-out or closure: a little of your own hair blends the part, or a closure piece covers it

Why Sew-Ins Are Protective And Time-Saving
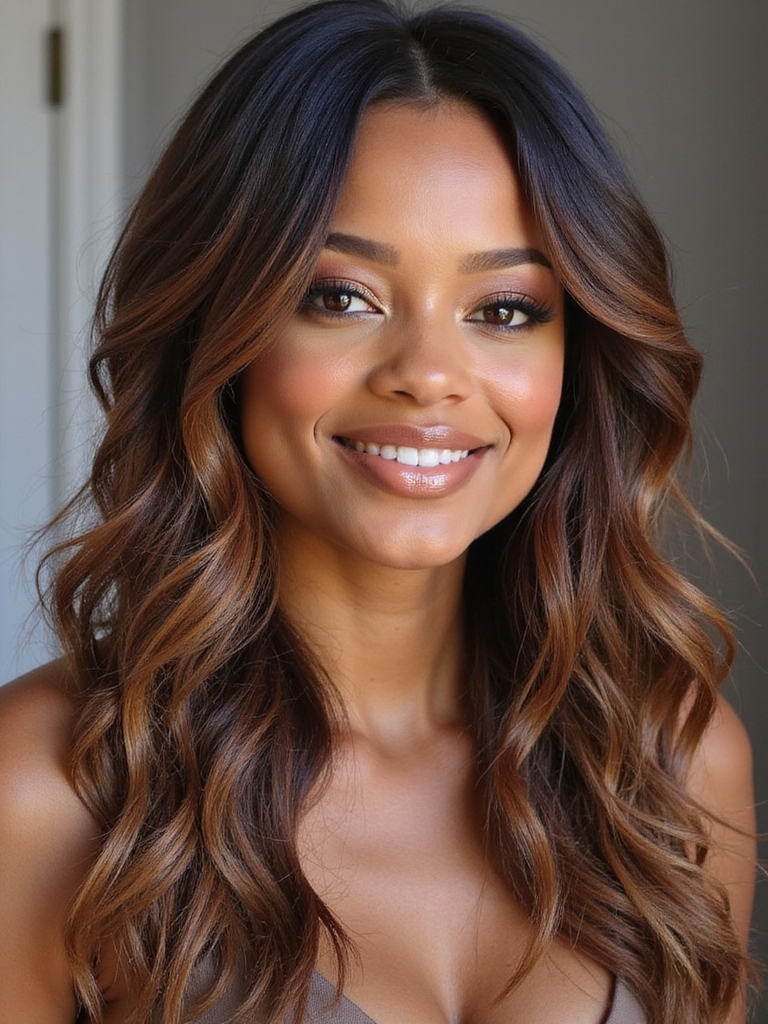
The appeal is real. Tucked into braids, your strands are shielded from daily heat, friction, and over-handling, which is exactly what lets fragile or transitioning hair hold onto length. For a lot of my clients, a sew-in is the break their hair needed.
It buys back time, too. Mornings get shorter when the style is already in, and you can move from sleek to curly without committing to anything permanent. Just remember it protects only when it is installed and cared for well, a thread that runs through this whole list. Think of it as one option among many protective braided hairstyles worth rotating through.
Good to Know
A full sew-in install takes roughly two to four hours, depending on length and braid pattern. Worn correctly, it counts as a protective style, but only when the braids are snug rather than tight and the set comes out within six to eight weeks.
Selecting The Right Hair Weave
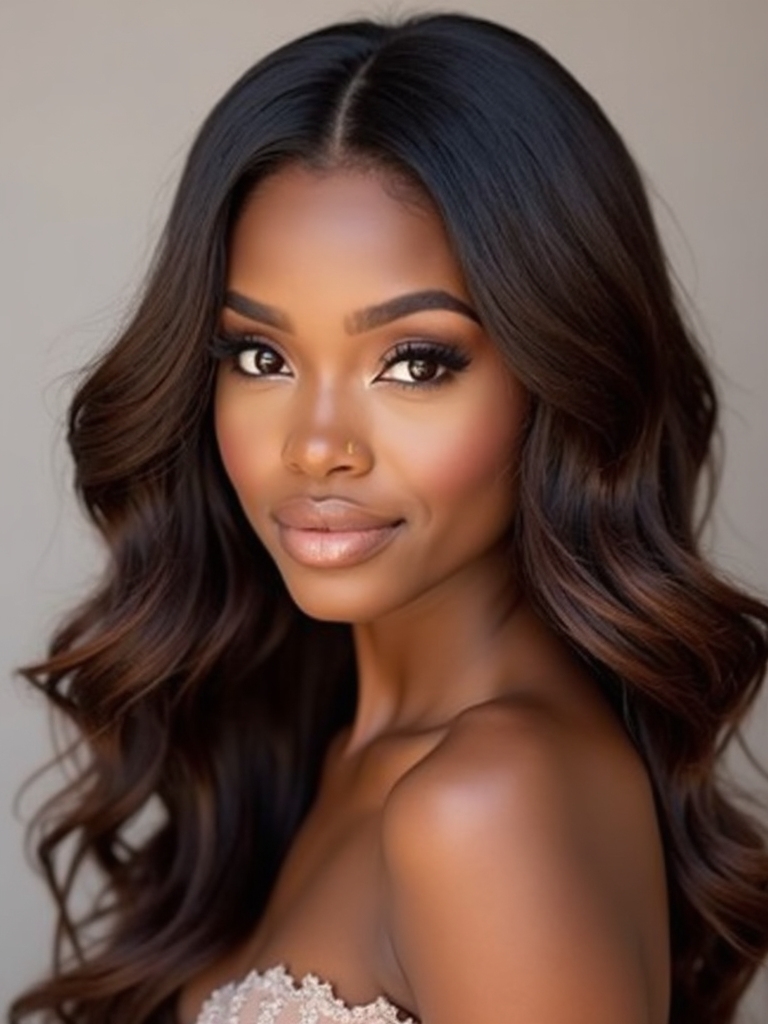
Choosing the hair matters more than choosing the style, because the wrong texture or weight is what gives a weave away. Match the extension texture to your natural hair so the leave-out blends, and think about your lifestyle before your wish list. Human hair costs more but lasts and styles like your own; good synthetic is cheaper but limited around heat.
- Match texture to your natural hair, especially around the part.
- Pick a weight your braids can hold without strain; lighter is kinder to your edges.
- Choose a color close to your roots, or plan a blended root for dyed bundles.
- Budget roughly $80 to $200 for good bundles, more for raw or virgin hair.
Hair Preparation Before You Install

A sew-in is only as healthy as the hair underneath it, so prep is not the step to rush. Start with a clean scalp: a clarifying or sulfate-free wash to clear product and oil, then a deep conditioner so your hair goes in nourished.
Dry completely before braiding. Installing on damp hair is how mildew and odor start, and it is a really common mistake I see in the chair. Blow-dry on a cool-to-medium setting until the roots are truly dry.
Then comes the braid pattern. A skilled braider plans the cornrows around how you want to part and style, which is what makes a finished install lie flat and last. Snug is good. Painful is not, and you should say so in the chair.
📋Pre-Install Checklist
- ✓Clarify and deep-condition a day or two before
- ✓Dry your hair completely before braiding
- ✓Trim split ends so the rest period actually pays off
- ✓Buy your bundles ahead so the colors match
Classic Straight Sew-In Styles
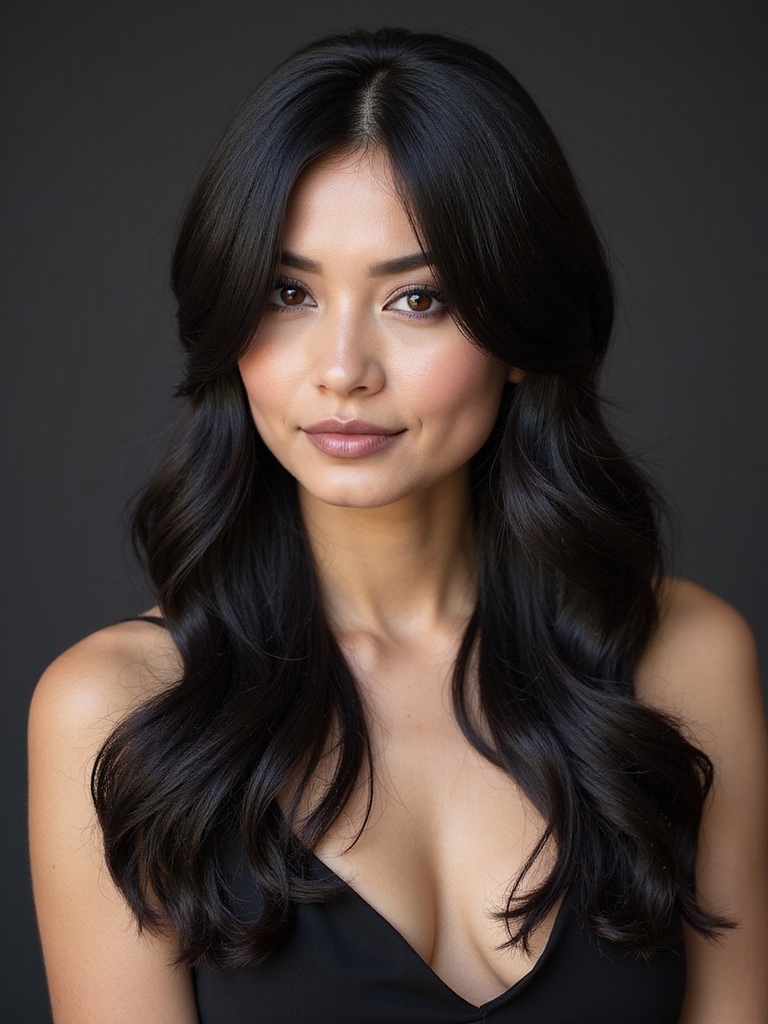
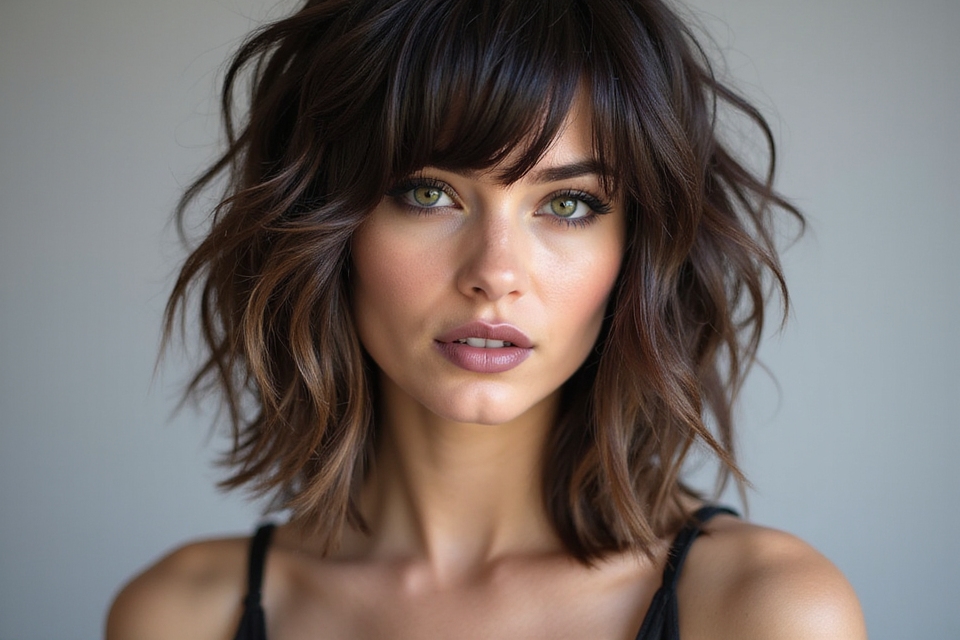
There is a reason sleek, straight sew-ins never leave the rotation. They look polished for work or events, the part looks clean, and silky bundles catch the light without much fuss. A center or deep side part, a quick press of the leave-out to blend, and you have a finish that suits almost any face. For a shorter take, this is the easiest base for a sew-in bob.
- A deep side part for soft face-framing
- A center part for a balanced, modern look
- A silk press on the leave-out so your hair matches the bundles
Curly Sew-In Options

Curly bundles bring movement and, honestly, a more forgiving grow-out, since new growth hides in the texture. You can go big and bouncy or soft and loose, and curls tend to look fuller with fewer bundles. The trade-off is upkeep: curls need moisture and a gentle detangle, or they tangle at the nape.
- Tight, voluminous curls for drama and lift
- Loose waves for an easy, everyday look
- A curl-refresh spray and satin at night to fight frizz
Stylist Tip
Dilute your shampoo in an applicator bottle and aim it at the scalp along the braid rows. It cleans where buildup actually collects without soaking and tangling the wefts.
Sleek And Elegant Sew-Ins

When a client wants something that looks pulled-together without fuss, the sleek end of the spectrum wins every time. It is quiet, expensive-looking, and works on almost everyone.
Keeping It Looking Sleek
Think a silky straight bob, long smooth waves, a deep side part, or a polished low pony. The common thread is a clean part and a leave-out that disappears into the bundles.
Wrap it at night and tidy the part with a little edge control, saving the heat for special days. Less heat means the bundles and your own hair both last longer.
Bold, Textured Sew-In Styles
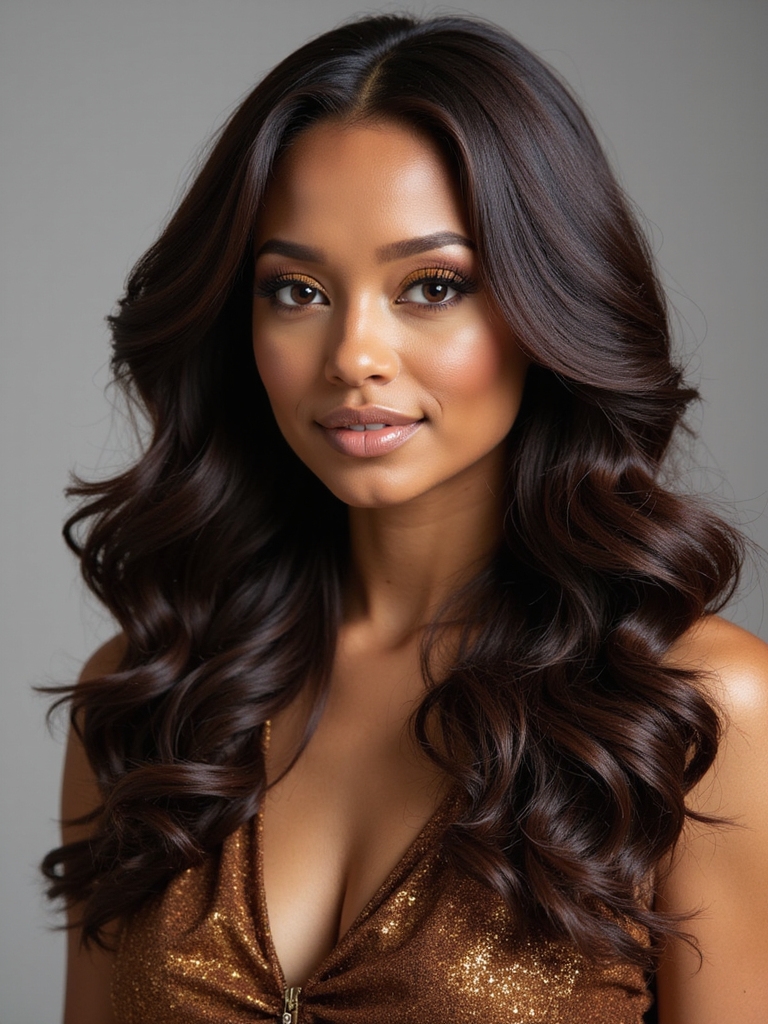
Texture is where sew-ins get to show off. Coily, kinky-straight, and deep-wave bundles let you wear big, expressive hair that still protects what is underneath.
Who It Suits
These styles lean into your natural texture, which is part of why they wear so well on tighter curl patterns. Match the bundle’s curl pattern close to your own and the blend is nearly invisible.
If your natural hair is coily or kinky, textured bundles will feel the most like your own and grow out the most gracefully. Pair them with clean, moisturized edges for a finished look.
“The one thing I check before any client leaves my chair is the hairline. If it stings on day one, it only gets worse, and no style is worth your edges.”
Colorful And Creative Sew-Ins

Color is the low-commitment thrill of a sew-in. You can wear caramel highlights or a deep burgundy for two months, then take it out with your natural color untouched underneath.
Pre-colored bundles spare your own strands from bleach entirely, which is the smarter route for vivid shades. A subtle money piece around the face looks modern; full rainbow is there if you want it.
- Peekaboo highlights hidden in the under-layers
- A caramel or honey money piece around the face
- Ombre bundles for a grown-out, blended fade
Low-Maintenance Sew-In Options
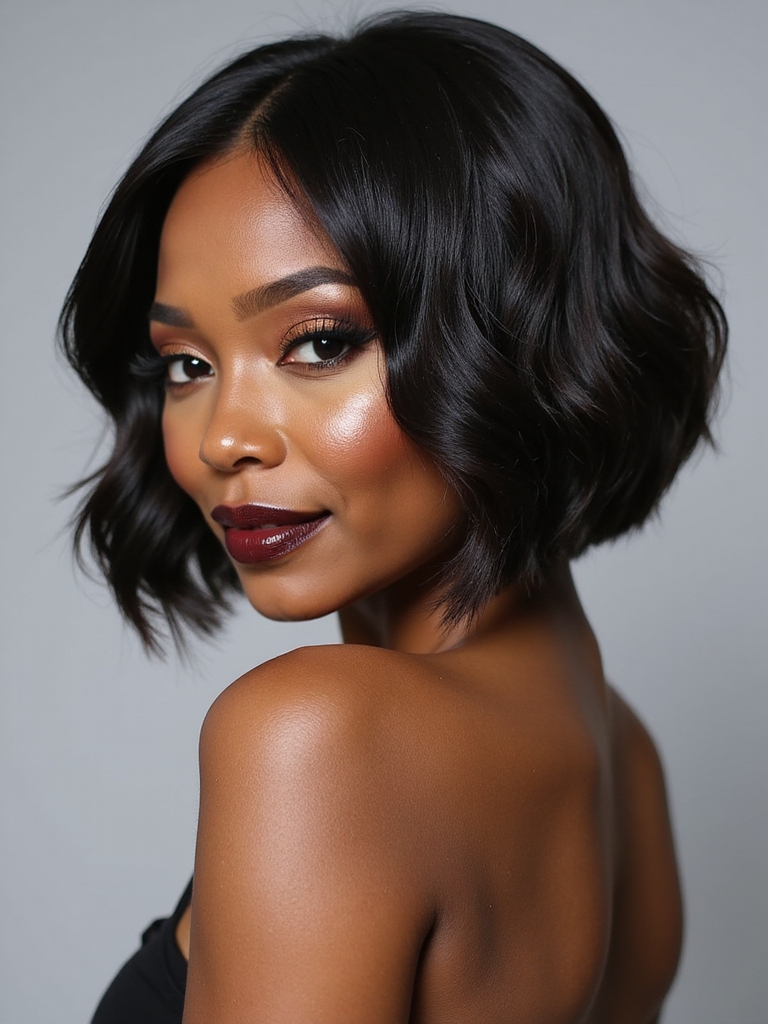
Some weeks you just want to wake up and go. Short, straight, or loosely waved sew-ins ask the least of you: less detangling, fewer products, faster mornings. They still protect your hair and still photograph well, which is why they are my pick for anyone new to weaves.
- A short bob that needs no daily styling
- Loose waves you can finger-style in seconds
- A blunt cut that holds its shape on its own
Long And Glamorous Extensions
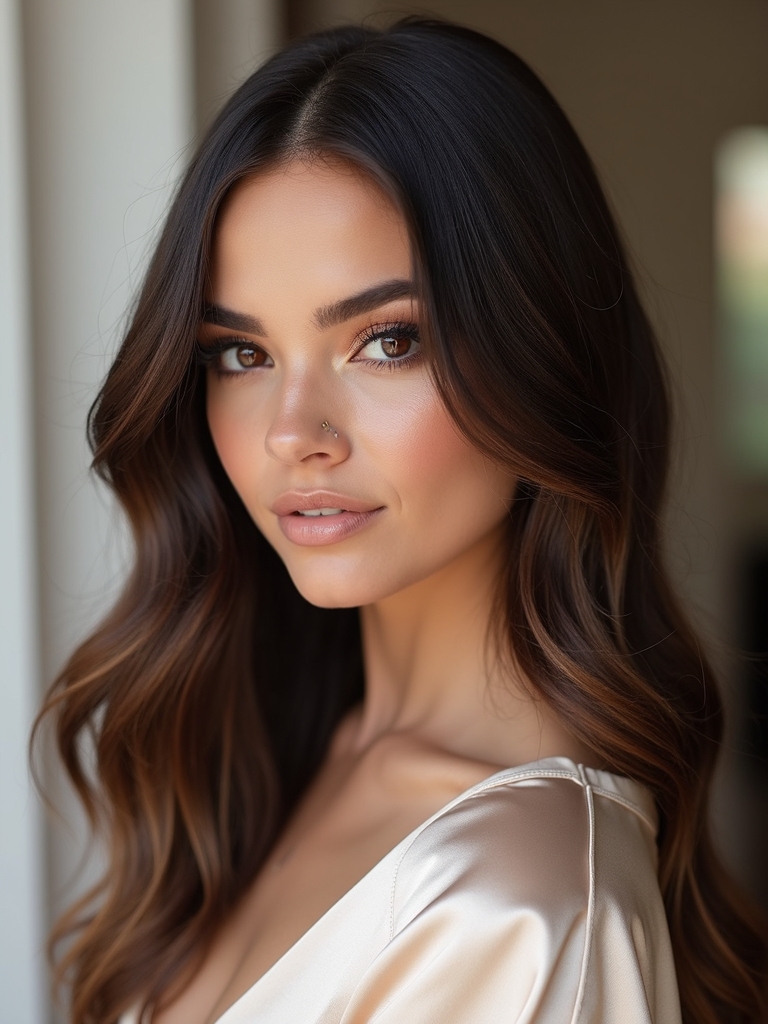
If you have always wanted swishy, waist-length hair without the years of growing, long bundles deliver overnight. The look is dramatic, but be honest about the weight: more length means more bundles and more pull on your braids, so it is not the gentlest choice for fine or fragile edges. For more length ideas, see these long hairstyles.
- Cascading curls for soft, romantic volume
- Sleek long layers for a sharp, modern line
- A middle part for that curtain-of-hair effect
Versatile Bob Sew-In Styles
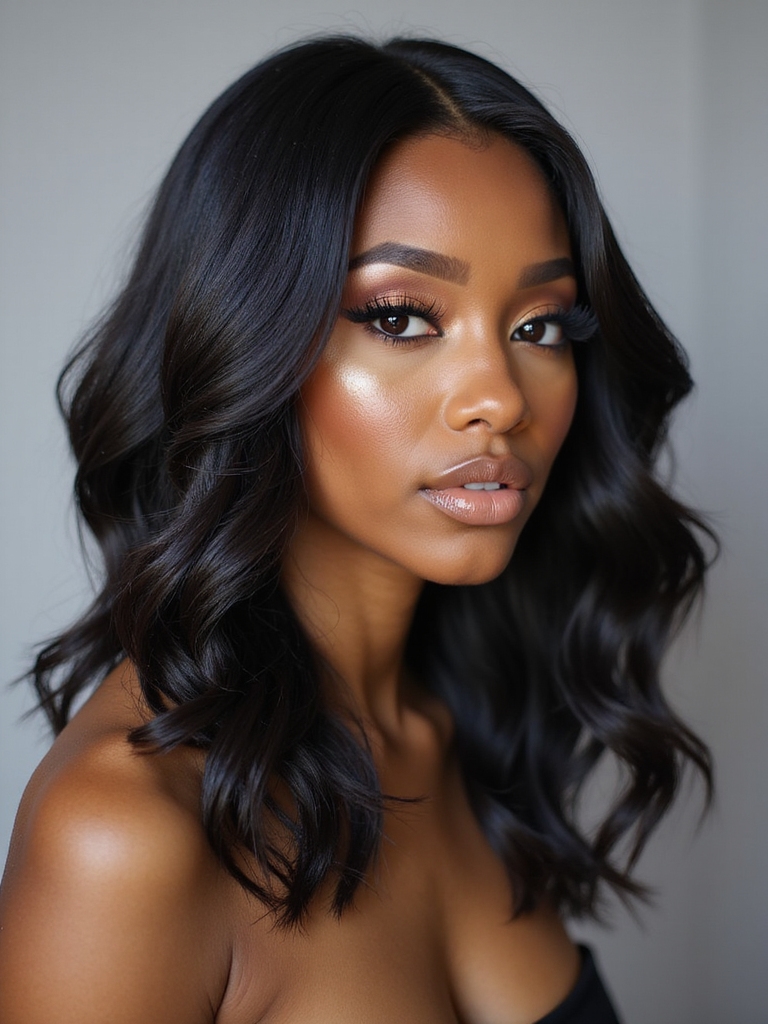
A bob sew-in is the style I suggest most to first-timers in my chair. It is light on the braids, easy to maintain, and instantly chic whether you go chin-length and blunt or layered and angled. Because there is less hair, the install is faster and usually cheaper, too. It also flatters a wide range of faces, much like these bob styles for Black women.
- Pick your length: chin, jaw, or shoulder-grazing.
- Choose blunt for a clean edge or layered for movement.
- Add an asymmetrical angle if you want something bolder.
Layered, Voluminous Sew-Ins
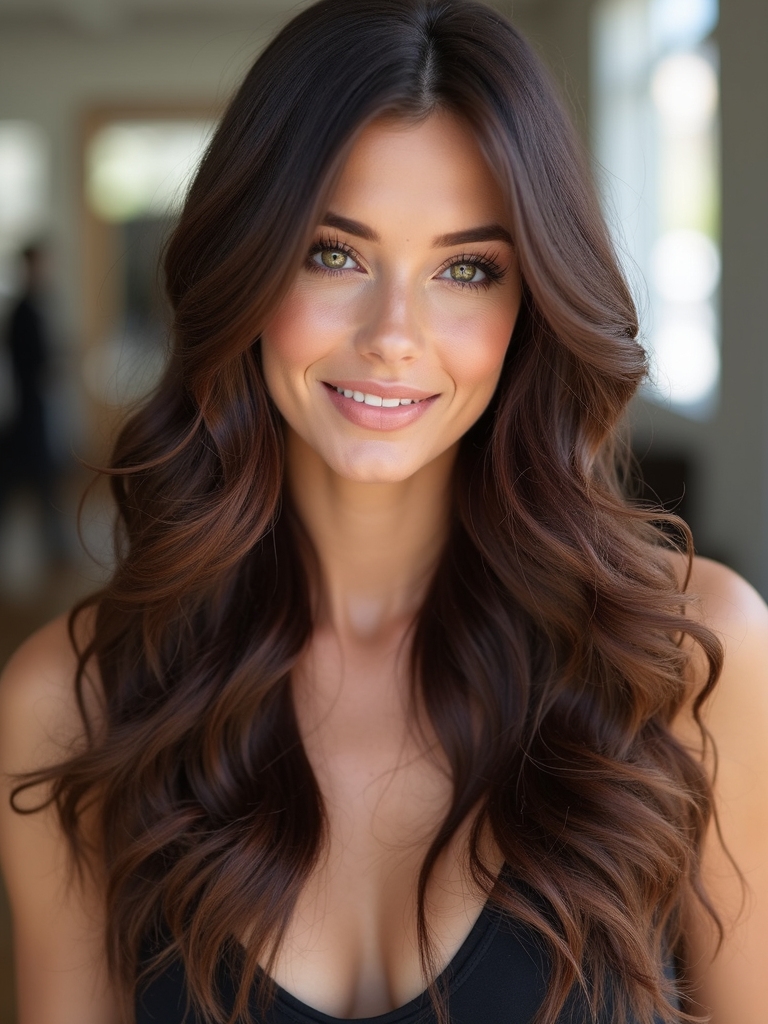
Layers are what keep a long sew-in from looking like a flat curtain. Cut into the bundles, they add movement and shape so the hair falls naturally around your face.
Ask your stylist to cut the layers once the install is in, dry, and styled, so they land where they should. Layering also helps blend two different curl patterns between your leave-out and the bundles.
It suits almost everyone, but it shines on anyone who wants body without piling on extra bundles. A few pieces cut around the face do a lot of the work.
Half-Up Sew-In Styles
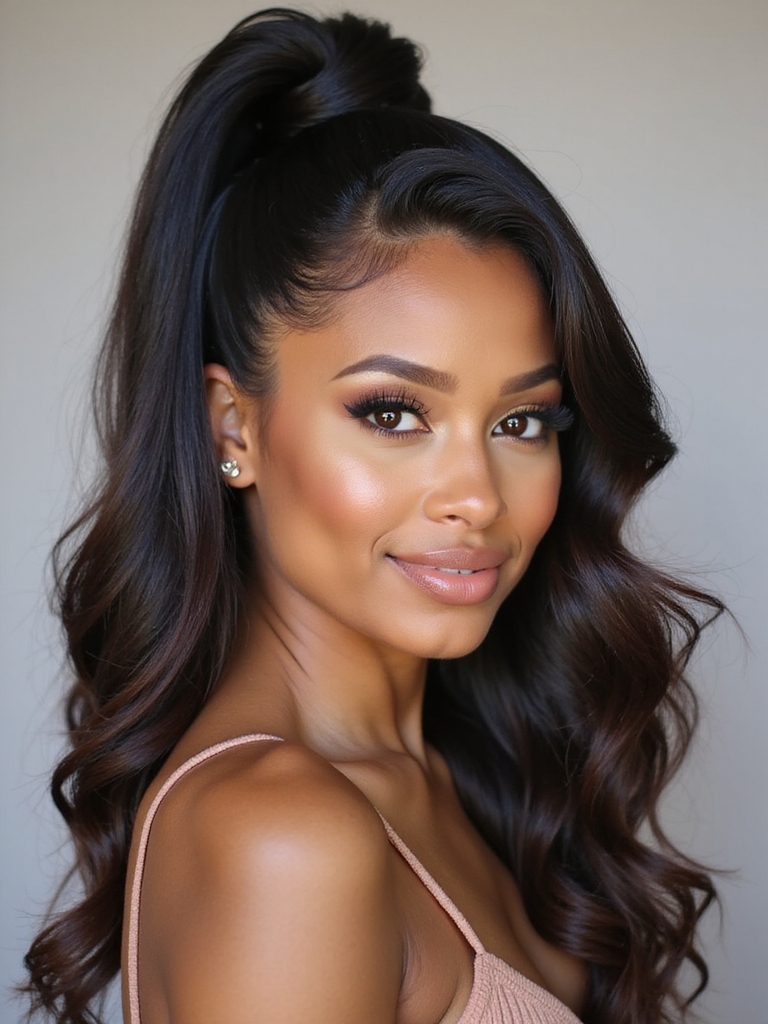
Half-up styles prove a sew-in is not a set-it-and-forget-it look. Pulling the top section into a bun or pony shows off the length while keeping hair off your face, and it hides the leave-out beautifully on a sleek install. It is also the move when your edges need a break from a full pulled-back style, since the loose bottom takes the weight.
- A half-up bun for an easy day-to-night switch
- A half-up pony with a wrapped base to hide the band
- A few face-framing pieces left loose
Elegant Sew-In Ponytails

A sleek ponytail on a sew-in is a whole mood, and it is easier than it looks. The bundles give you the length and thickness a natural pony often lacks.
Making It Last
High or low, a smooth base and a wrapped section of hair hiding the elastic do the work. Edge control along the hairline keeps it polished.
A high, tight pony pulls at your hairline, so save it for occasions and alternate with lower styles to give your edges a rest. For everyday, a low sleek ponytail is kinder.
Braided Sew-In Combinations

Mixing braids into a sew-in gives you the best of both: a braided crown or front section with sewn-in length flowing behind. It is a creative, statement look that still protects your natural hair.
Cornrows blended into the install, a braided side part, or a few feed-in braids framing the face all work. This is where a skilled braider earns the fee, because the transition has to be clean.
It also stretches the time between restyling, since the braided sections hold up on their own. If you love this direction, explore more braided looks and cornrow styles to mix in.
Sew-In Bangs
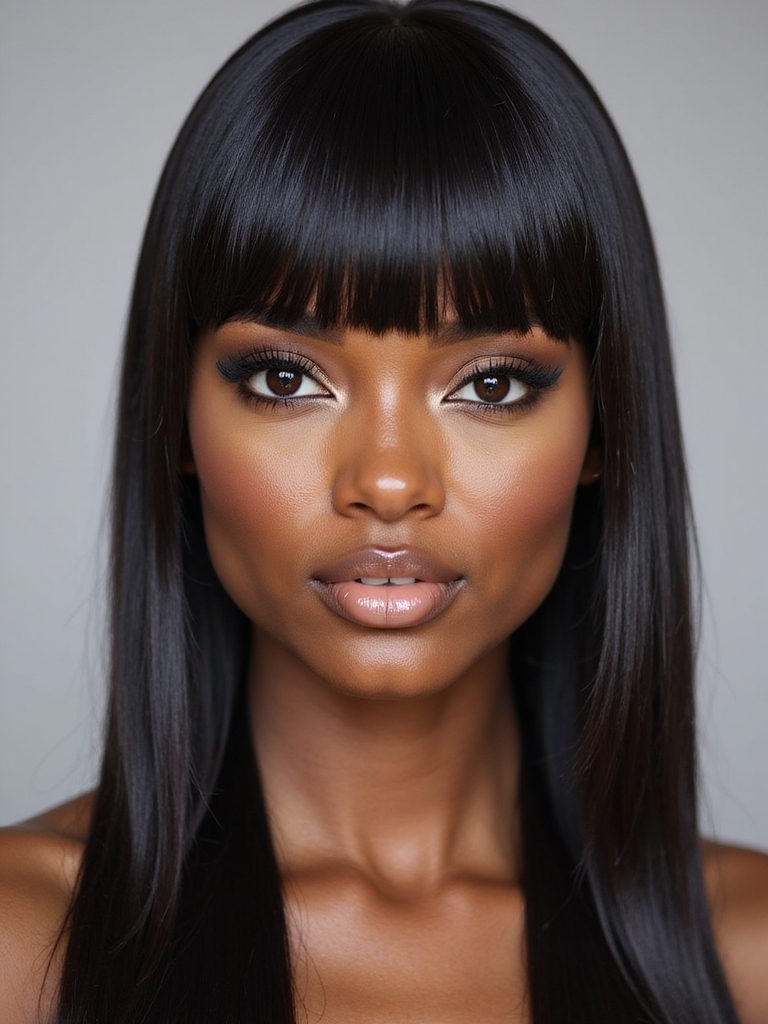
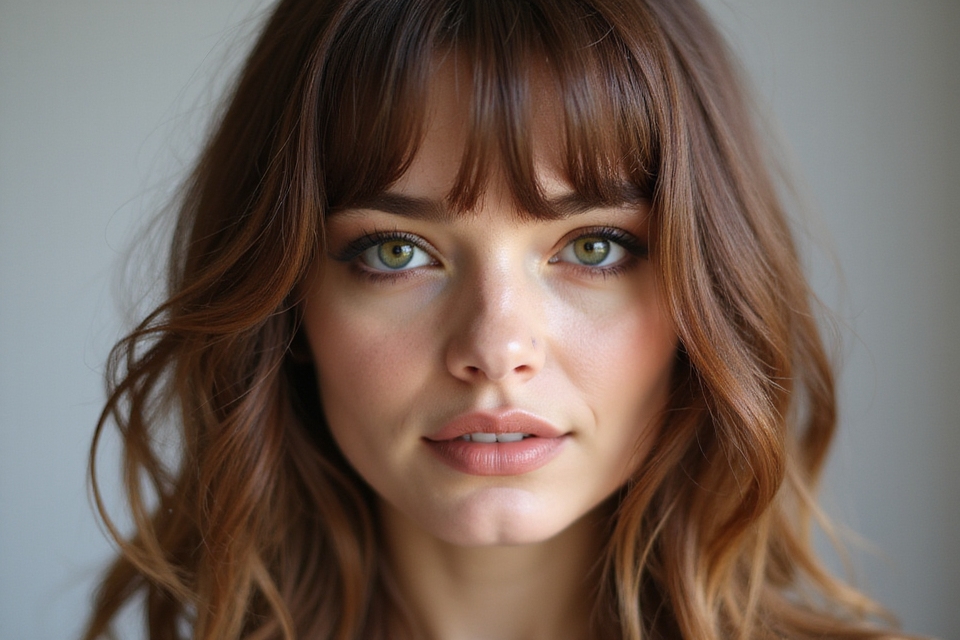
Bangs are an easy way to change your whole face without touching your own hair. Sewn-in or clipped, a fringe softens the forehead and frames the eyes.
Cut them to suit your face shape and blend the texture with the rest of the install. On a sew-in you can also clip in a separate fringe and remove it whenever you want a change. Curtain bangs flatter most people; a blunt fringe is bolder.
- Curtain bangs for a soft, face-framing part
- A blunt fringe for a graphic, retro edge
- Tiny regular trims to keep them off your eyes
Side-Part Sew-In Designs
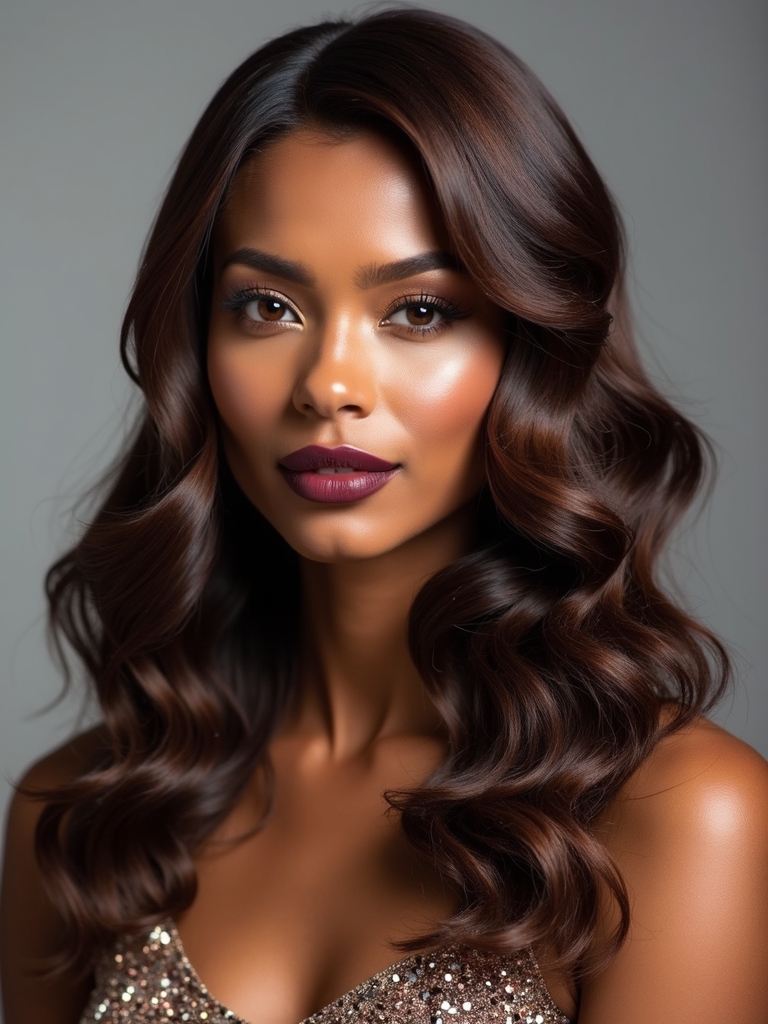
A side part is the quietest way to change a sew-in’s whole vibe. Shifting the part off-center adds asymmetry and softens the face.
Getting The Part Right
Deep side parts feel glamorous and give that swoopy, old-Hollywood fall of hair. They also offer a little extra coverage if your leave-out is minimal.
The part has to match your braid pattern, so bring it up before the braid-down. A part fighting the cornrows underneath will not lie flat.
Center-Part Sew-Ins

If side parts feel fussy, a center part is clean, balanced, and timeless. It frames the face symmetrically and works with both straight and curly bundles, which is why it never really dates. It also photographs cleanly, since a centered part reads like a natural scalp line.
- Plan the center part into the braid foundation first.
- Use a closure for a scalp-like part if you have little leave-out.
- Keep it tidy with a rat-tail comb and a touch of edge control.
Bold Volume Sew-In Styles
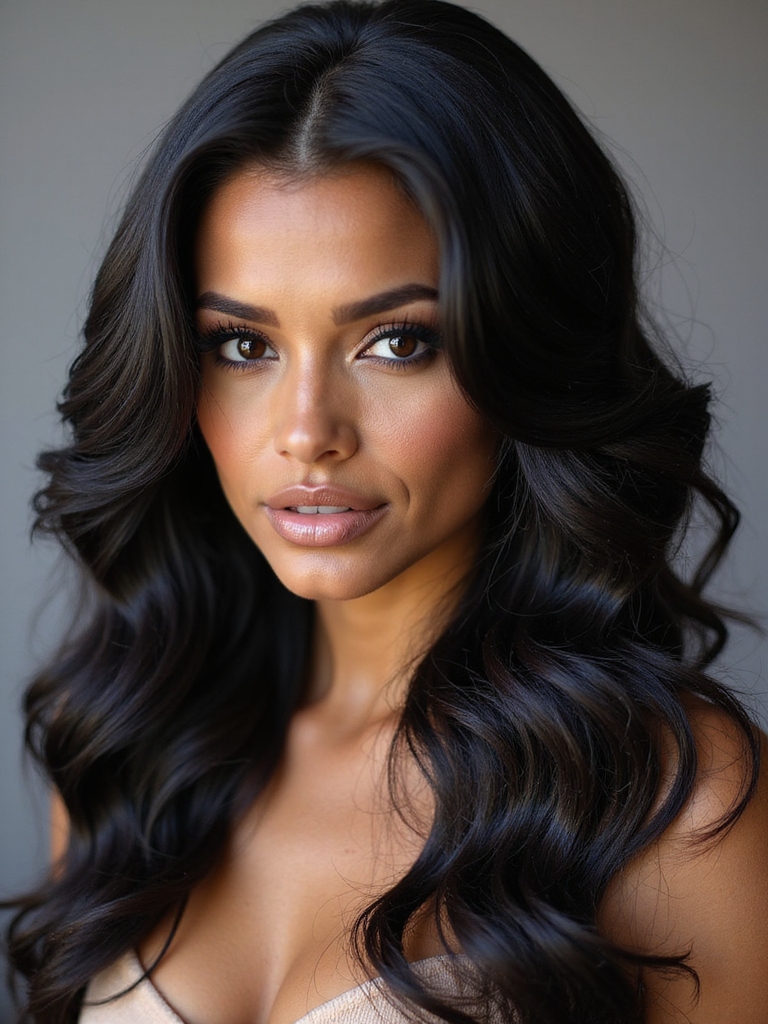
For anyone who wants their hair to walk in before they do, high-volume sew-ins deliver. Extra bundles and a curly or crimped texture build fullness that holds for weeks. The honest catch is weight, so balance the drama against what your braids and edges can comfortably carry.
- Curly or crimped bundles for built-in body
- Strategic layering so the volume sits where you want it
- A lighter bundle choice to protect your hairline
How To Maintain A Sew-In

Maintenance is the difference between a sew-in that protects your hair and one that damages it. The basics are simple but non-negotiable.
The Nightly Routine
Shampoo gently every one to two weeks with a diluted sulfate-free cleanser, focusing on the scalp, then dry the braids underneath completely. Moisturize your leave-out and the exposed braids so nothing dries out and snaps.
Wrap your hair in a silk or satin scarf, or sleep on a satin pillowcase. It takes a minute, and it is what keeps the style smooth and your edges intact between salon visits.
Protecting Your Natural Hair

This is the part worth taping to the mirror. A sew-in should never hurt. Tension at the hairline, little white bumps, or soreness after install mean it is too tight, and over time that is how traction damage starts. Take it out before the eight-week mark, give your hair a wash-and-rest week between installs, and keep your edges moisturized and easy on the gel.
- Snug, never painful; speak up in the chair if it stings
- Take it down by six to eight weeks at most
- Rest and deep-condition your natural hair between sets
- Be gentle with edges; constant tension thins them
Custom Sew-In Hair Styles
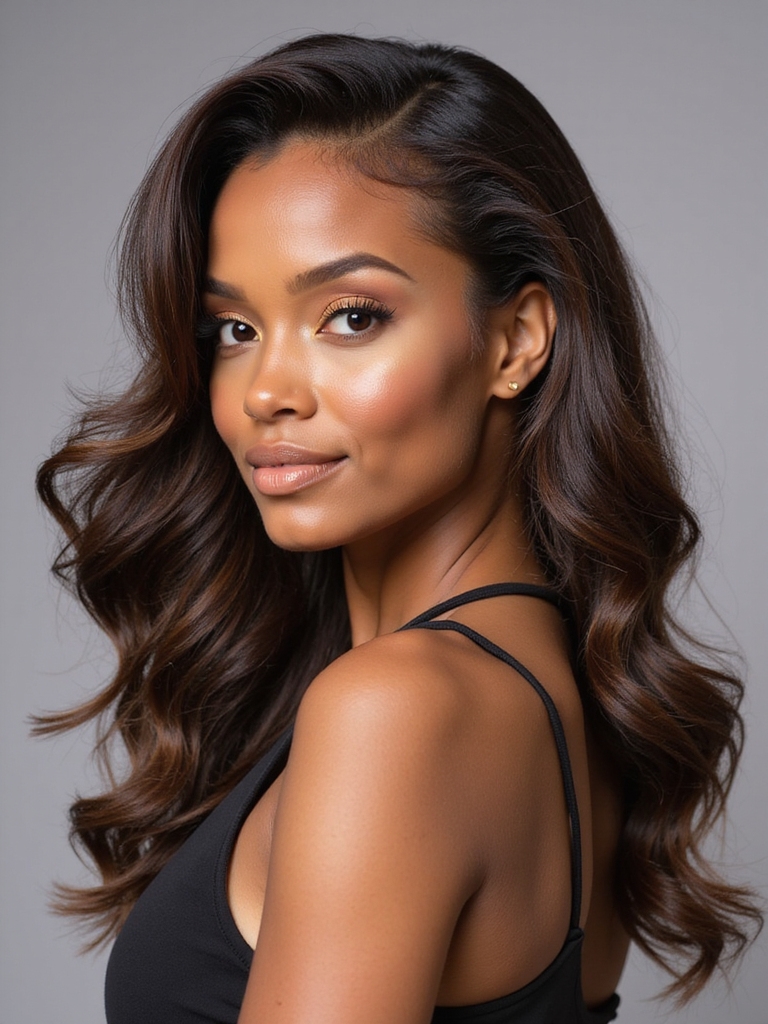
Half the fun of a sew-in is that almost nothing is fixed. Color, texture, length, and part are all yours to play with.
Working With Your Stylist
Beachy waves one install and a sleek bob the next? Clients ask me for exactly that range. Mixing two textures or adding a subtle highlight keeps the look personal to you.
Bring photos and be specific about texture and length, because words like long and curly mean different things to different people. A clear reference saves you both a lot of guesswork.
Accessories For Your Sew-In

Accessories take a simple sew-in somewhere new in seconds. Because the hair is secure, it holds clips, bands, and scarves better than fine natural hair sometimes does.
Keep them light so nothing snags the wefts, and you can change your whole look without touching the install. Earrings and a slim headscarf are the fastest way to dress one up for an evening out.
- A silk scarf tied as a headband or wrap
- Claw clips and barrettes for a quick half-up
- Statement earrings to play up an updo
Expert Advice For Your Sew-In

After years of installs, the advice I give most has nothing to do with the style and everything to do with the stylist. Find someone who knows your hair type and will tell you the truth about what suits it.
Before You Book
A good stylist talks you out of bundles that are too heavy, plans the part with your face in mind, and shows you how to care for the install at home.
Ask to see their healed installs, the ones photographed weeks in, and check that they braid snug without pain. The right hands make a sew-in feel as light and natural as your own curly hair.
How to Ask Your Stylist
Walking in with the right language saves everyone time. Tell your stylist three things: the texture and length you want, how much of your own hair you want left out, and your budget for hair plus install. Bring two or three photos from different angles, not just one front-on shot.
Ask the practical questions, too. How long will it last on your hair, what does upkeep cost, and how should you wash it? A stylist who answers clearly, and who checks your scalp and edges before booking, is one worth keeping. A full install with hair usually lands between $150 and $350 and lasts six to eight weeks.
The One Thing That Makes Or Breaks A Sew-In
If you remember nothing else, remember this: a sew-in is only as good as the care underneath it. The style you choose is the fun part, but the snug-not-tight install, the regular washes, and the rest weeks between sets are what protect the hair you are growing.
So pick the look that excites you, whether that is a blunt bob or waist-length curls, and partner with a stylist who treats your natural hair as the priority. Done that way, a sew-in gives you range and protection at the same time. Save the styles that caught your eye and take them to your next appointment.
More Looks We Love