There is a moment a few hours into a fresh set of box braids when the tension creeps in: the tight pull at the temples, the dull ache that makes you reach for a painkiller and sleep sitting up. Knotless braids were created to end exactly that.
By starting with your own hair and feeding the extension in gradually, they skip the tight knot at the base that causes so much of the pull, so the braids lie flatter, move more naturally, and feel dramatically lighter from the first hour.
That comfort is the headline, but knotless braids also tend to be gentler on the hairline and edges over time, which is a big part of why they have become the protective style of choice.
This guide covers the ideas and the care: the sizes and styling options, how they are installed, how to keep your scalp and braids healthy, and how to find a braider who will do it right. Done well, knotless braids protect your natural hair while looking beautiful for weeks.
The Short Version
Knotless braids feed the extension in gradually instead of tying a knot at the root, so they sit flatter, feel lighter, and put less tension on your edges than traditional box braids. That single difference is why they are worth the slightly higher cost and longer install time. A full set typically runs $150 to 350 depending on length, size, and your area.
The care is simple but non-negotiable: keep the scalp moisturized, sleep in a satin bonnet, and avoid styles that pull the braids tight at the root. Take them down by eight weeks at the latest, since leaving any braids in too long stresses the hair. Treat the install gently and your natural hair comes out healthier than it went in.
Lighter, Tension-Free Braids

The whole reason knotless braids exist is in the name: there is no knot at the base. Traditional box braids anchor the extension with a small knot right against the scalp, which creates a tight, heavy point of tension at every single root. Knotless braids skip that entirely, starting the braid with your own hair and feeding the extension in with a feed-in technique a little at a time.
That feed-in technique changes everything about how the braids feel. Without the knot, they lie flat against the scalp instead of standing up, which means no tight tugging at the roots, no painful first night, and far less stress on your hairline. Many people who swore off braids because of the pain come back to them once they try knotless.
The braids also move more naturally, swinging and parting like loose hair rather than sitting stiff. That flatter root and natural movement are why knotless has largely replaced the classic knotted box braid for anyone who can choose.
A Natural-Looking Protective Style
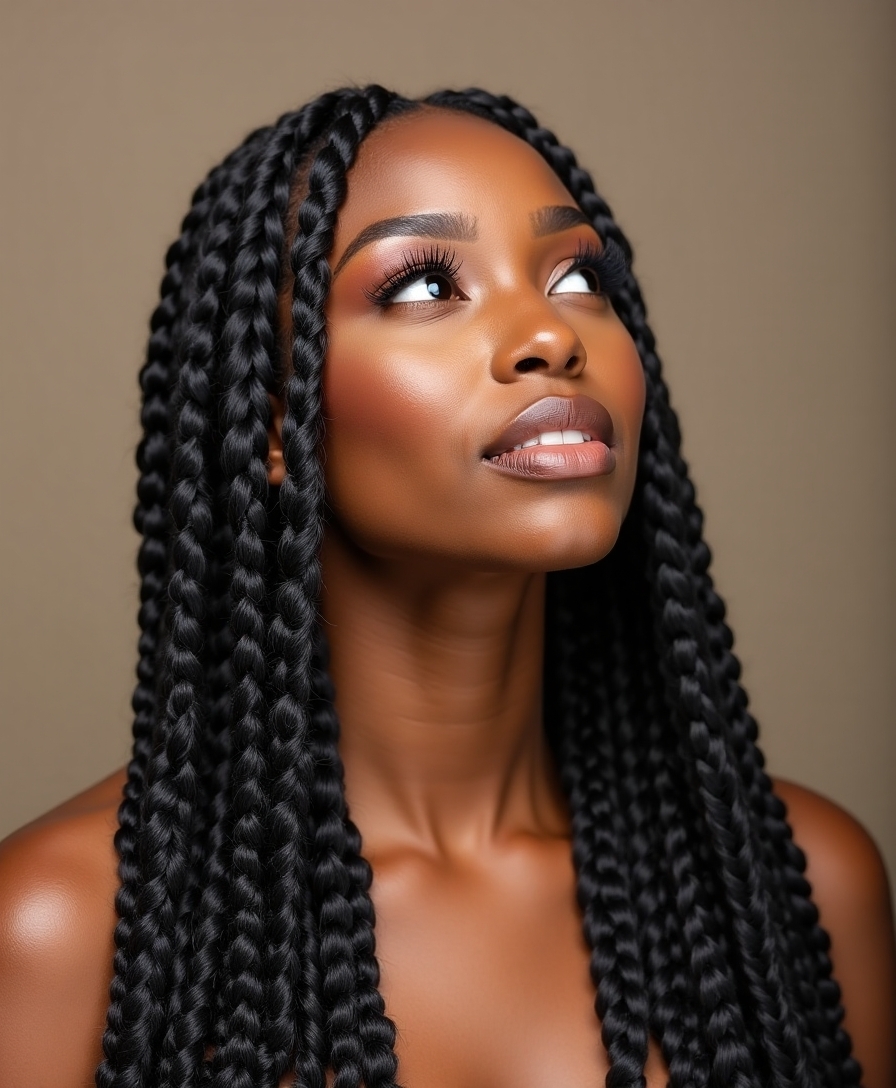
Beyond comfort, knotless braids simply look more natural, because they start with your own hair and taper smoothly into the extension rather than beginning with a visible bump. That smooth, even root is what makes them photograph so cleanly and lie so flat against the head. They read as an extension of your hair, not an obvious add-on.
A few things that keep that natural look:
- A clean, even parting grid so the braids sit in tidy rows and the scalp looks neat.
- Extension hair matched closely to your own color and, ideally, pre-stretched for a smooth blend.
- A skilled feed-in so the transition from your hair to the extension is gradual and invisible.
Tension Caution
The entire point of knotless braids is lower tension, so braids should never hurt. If you feel tight pulling at your temples, hairline, or the back of your neck during the install, say so right away and ask the braider to loosen them. Pain is not a sign the braids will last; it is a sign they are too tight and may stress your edges over time.
Essential Tools for Braiding

Whether you are installing knotless braids yourself or simply want to understand the process, knowing the tools helps. A clean install relies on a small, specific kit, and good tools make the difference between tidy parts and a messy, uneven set. The basics are not expensive but they matter.
Simple Kit, Skilled Hands
At minimum, the work calls for a rat-tail comb for precise parting, sectioning clips to keep the hair organized, and a lightweight, pre-stretched braiding hair. A spray bottle of water or a little leave-in keeps the hair manageable, and edge-friendly products like a light mousse help the braids grip without harsh gel. A good braider also works with clean, detangled hair to avoid snags.
If you are braiding at home, invest in quality pre-stretched extension hair, since cheap, coarse hair tangles, itches, and pulls. The tools are simple, but the patience and technique are what take real practice.
How Knotless Braids Are Installed

Understanding the install helps you judge whether yours is being done well, since the feed-in method is what defines a true knotless braid. The braider works section by section, and the gradual addition of hair is the whole technique. Here is the basic sequence:
- Part a clean section and begin braiding with only your natural hair for the first few stitches.
- Feed in a small piece of extension hair, then another, adding gradually as the braid moves down.
- Continue feeding until the braid reaches full thickness, then braid the extension to the desired length.
“When you book, ask your braider to keep the very first braids around your hairline looser than the rest. The perimeter is where edges are most fragile, and a slightly gentler tension there protects your hairline while the braids still hold securely everywhere else.”
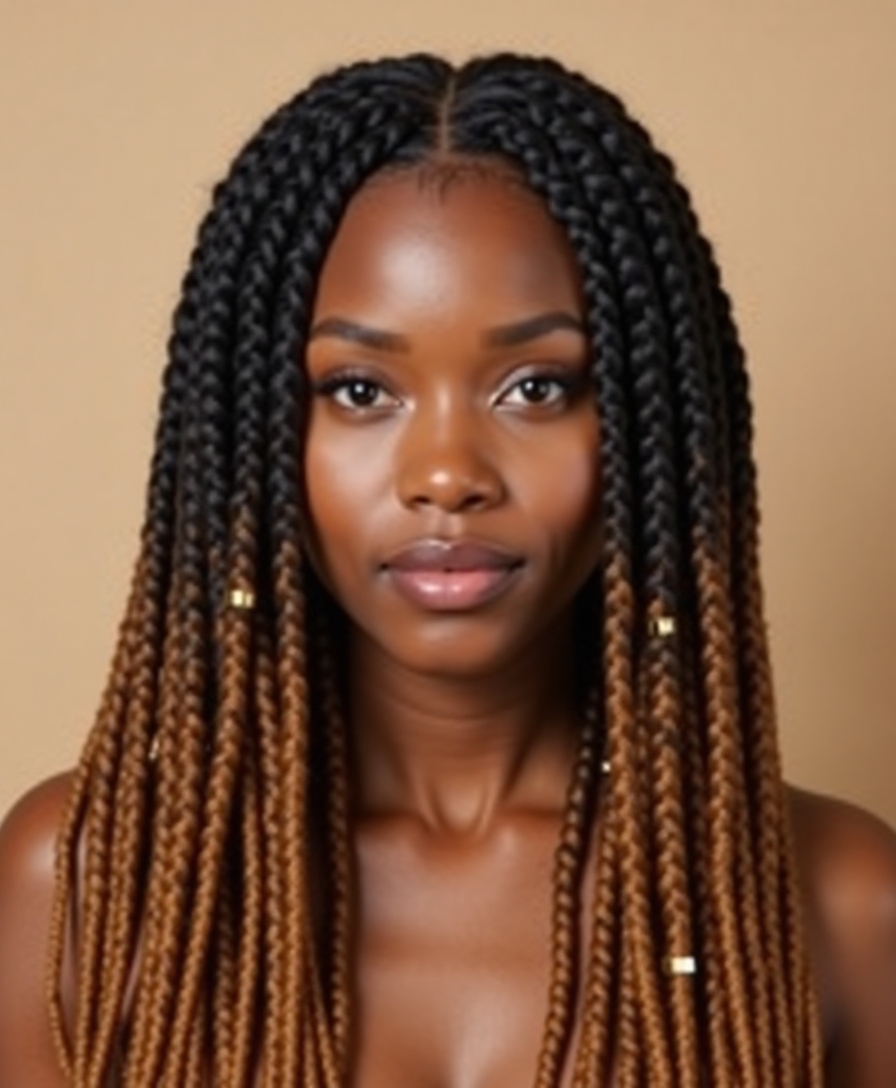
Knotless Braids for Everyone

Knotless braids flatter a wide range of people, since the size, length, and styling can all be tailored, and the gentler tension makes them accessible to those who could never tolerate tight braids before. They suit different textures, ages, and lifestyles, which is part of their broad appeal. A few ways they adapt:
- For fine or fragile hair, the lower tension protects delicate strands and edges that tight braids would stress.
- For busy lifestyles, they offer weeks of low-daily-effort styling once installed.
- For first-timers, smaller, shorter sets are a gentler, lighter introduction to braided protective styles.
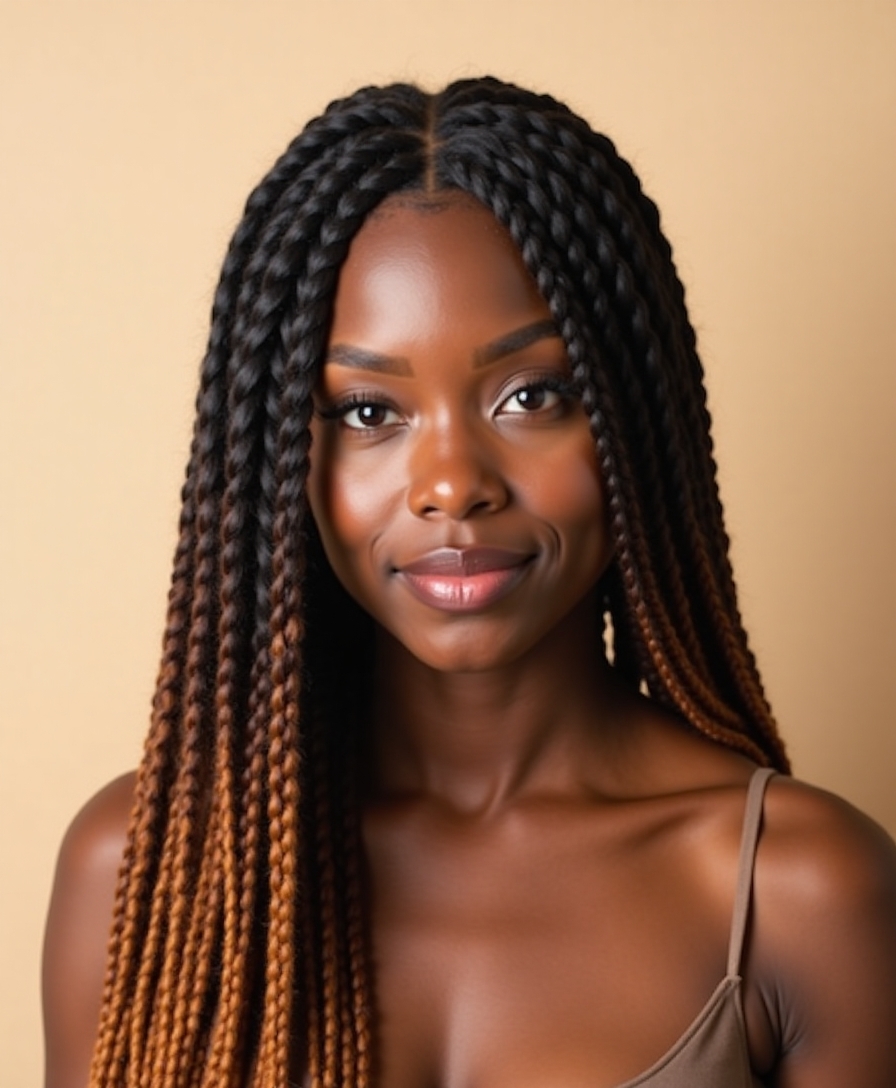
Knotless Braid Size Options

I tell first-timers that braid size is one of the biggest decisions they will make, since it changes the look, the install time, the weight, and how long the style lasts. Sizes generally run from small all the way to jumbo, and each comes with real trade-offs worth understanding before you book.
Small braids give the most intricate, versatile look and last the longest, but they take many hours to install and cost the most. Medium braids are the popular middle ground, balancing a nice look with a reasonable install time. Large and jumbo braids go in quickly and feel light with fewer braids, but they last a shorter time and can look chunkier. Larger sizes also put more weight on each individual braid, so the parts matter.
Think about your patience for the install, your budget, and the weeks of wear you are hoping for. There is no single best size, only the one that fits your hair, your schedule, and the look you are after.
A quick way to choose your braid size:
1Decide your priority
If you want the longest wear and most versatility, lean smaller; if you want a quick install and light feel, lean larger.
2Weigh the trade-offs
Smaller means more hours and more cost but longer life; larger means fewer hours and less cost but a shorter, chunkier style.
Moisturize and Style Gently
Braids are a protective style, but they only protect if you keep the hair underneath moisturized, since braided hair still dries out and needs care. Gentle handling and consistent hydration are what keep both the braids and your natural hair healthy through the weeks. Build a simple routine around these:
- Spritz the scalp and braids with a water-based moisturizer or a diluted leave-in a few times a week.
- Seal with a light oil on the lengths to lock moisture in without heavy buildup.
- Handle the braids gently and avoid constantly pulling them into tight styles that strain the roots.
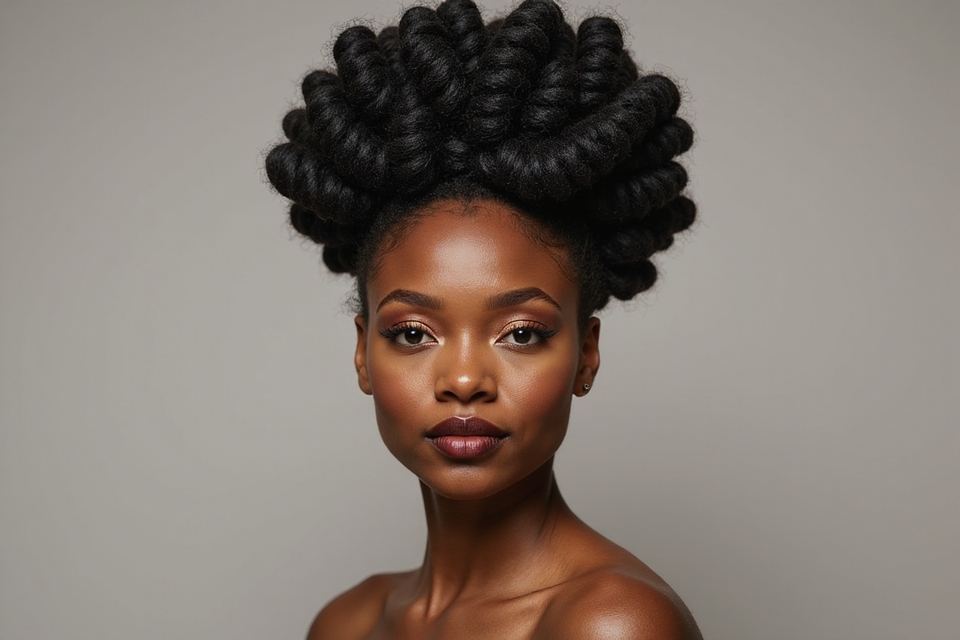
Versatile, Creative Styling
I love how many ways you can wear knotless braids, since the braids move and part like natural hair. From sleek updos to half-up styles to braids left long and free, the style is a blank canvas, and accessories like cuffs, beads, and rings add personality. The braided hairstyles for black women guide has even more styling ideas.
You can gather them into a high bun or ponytail, sweep half up and half down, wrap them into an updo for an event, or simply wear them down with a deep side part. Because knotless braids lie flat and move freely, they look natural in styles that knotted braids would sit too stiffly for. Just keep any gathered style loose at the roots.
This versatility is a big part of the value, since one install gives you weeks of different looks. A few cuffs or a scarf can take the same braids from a casual day to a dressed-up evening in minutes.
📋Before your braid appointment
- ✓Wash, deep condition, detangle, and trim your hair a day or two before.
- ✓Buy quality, pre-stretched braiding hair in a matching color.
- ✓Save reference photos of the size, length, and style you want.
Installation Mistakes to Avoid

Knotless braids only deliver their comfort and protection when they are installed correctly, and a few common mistakes can undo all the benefits. Knowing what to watch for helps you speak up in the chair before the damage is done. Avoid these:
- Braids that are too tight at the root, since the whole point of knotless is to reduce tension; speak up if it hurts.
- Braids that are too heavy or long for your hair, which strains the roots with their weight.
- Sloppy, uneven feed-ins or thin, weak starting sections that lead to frizz and breakage where your hair meets the extension.
A Daily Scalp Moisturizing Routine

A healthy scalp is the foundation of a healthy braid style, and a simple daily-to-weekly routine keeps it comfortable, clean, and flake-free through the weeks. Braids can trap product and sweat, so a little regular attention prevents itch and buildup. Keep the scalp happy like this:
A consistent, light routine works best:
- Hydrate the scalp with a light oil or a water-based mist to prevent dryness and itch.
- Cleanse gently every week or two with a diluted shampoo or a witch-hazel-soaked cotton pad along the parts.
- Avoid heavy creams and waxes, which build up between the braids and are hard to rinse out.
Why Knotless Braids Are Worth It

Knotless braids cost more and take longer to install than traditional box braids, which leads some people to hesitate. But the extra investment buys real benefits that most wearers find well worth it once they experience the difference. Here is what you are paying for:
- Far less tension and pain, both during install and through the weeks; I have seen lifelong braid-avoiders won over by it.
- Gentler treatment of your hairline and edges, which protects your natural hair over time.
- A flatter, more natural look and more styling versatility than knotted braids offer.
Maintenance Factors That Affect Wear

How long a set of knotless braids stays looking fresh depends on several factors, and understanding them helps you get the most from your install. Braid size, your hair type, your routine, and how you sleep all play a part. The main factors are:
- Braid size, since smaller braids generally last longer than large or jumbo ones.
- Your nightly routine, since sleeping in satin and protecting the braids dramatically extends their life.
- How active you are and how often you wash, since both affect frizz and how quickly the roots grow out.
Preparing Healthy Hair First
The health of your braids starts before a single one is installed, with proper preparation of your natural hair. Going into braids with clean, conditioned, detangled hair protects it through the weeks and helps the install go smoothly. Skipping the prep is a common regret.
In the days before your appointment, wash and deep condition your hair, detangle it thoroughly, and consider a trim to remove any split ends that would worsen under braids. Your hair should be fully dry and stretched for the install. Strong, moisturized hair handles the weeks of braiding far better than dry, fragile hair, so this prep is an investment in the final result.
I always tell people that braids are only as healthy as the hair they are installed on. A little care beforehand pays off in how your hair looks and feels when the braids come down.
Choosing a Skilled Braider

More than anything else, the skill of your braider determines whether your knotless braids are comfortable, beautiful, and protective or tight, heavy, and damaging. A great braider is worth traveling for and booking well in advance, since the technique takes real expertise to do gently and cleanly.
Comfort Is the Real Test
Look for a braider who specializes in knotless braids, shows plenty of their own work, and has reviews that mention comfort and gentleness, not just looks. A good braider listens when you say something is too tight, takes care with your edges, and never rushes the feed-in. Do not be afraid to speak up during the appointment, since a skilled professional welcomes the feedback.
Clients ask me how to tell a great braider from an average one, and the honest answer is in how your edges and scalp feel, both during and a day later. Tight is not the same as secure, and a true expert knows the difference.
Choosing Quality Extensions

The extension hair you choose has a huge effect on how your braids look, feel, and treat your scalp, so it is not the place to cut corners. Cheap, coarse braiding hair can itch, tangle, and irritate, while quality hair feels lighter and behaves better. The difference is immediate.
Do Not Cut Corners on Hair
Look for pre-stretched braiding hair, which saves install time and reduces the coarse, scratchy ends that cause itch. Lightweight hair puts less strain on your roots, and some people rinse new braiding hair in an apple-cider-vinegar solution beforehand to remove the alkaline coating that causes irritation. Match the color and texture to your own hair for the most natural blend.
Spending a little more on good extension hair is one of the easiest ways to improve the whole experience. Your scalp, your comfort, and the final look all benefit from quality hair.
Safe Knotless Braid Removal

How you take your braids out matters just as much as how they went in, since rushed, rough removal causes breakage that undoes weeks of protection. Patience here protects all the length your hair gained under the braids. Remove them safely like this:
- Unravel each braid gently rather than ripping, working from the bottom up to release the extension.
- Spray with a little water or detangling product as you go to ease the hair apart without snapping.
- Once the braids are out, detangle thoroughly with conditioner before washing to remove the shed hair gently.
Deep Condition, Moisturize, Trim

After braids come down, your natural hair needs a thorough reset before its next style, since weeks of braiding leave it craving moisture and a little maintenance. This post-braid routine is what keeps your hair healthy enough to braid again. Give it a proper recovery:
Treat your hair to a full reset:
- Deep condition immediately to restore the moisture the braids drew out over the weeks.
- Detangle and moisturize gently, working through the shed hair that built up while braided.
- Trim any split or weak ends so your hair goes into its next style strong and healthy.
How to Ask Your Braider for the Right Set
The best way to get knotless braids you love is to communicate clearly at the consultation. Bring reference photos of the size, length, and any color or style you want, and be specific, since medium-length, medium-sized braids and waist-length jumbo braids are very different commitments of time, money, and weight.
Ask about the install time and the cost up front, and tell your braider about your hair, your edges, and any past trouble with tension so they can adjust their technique to you.
Most importantly, speak up about comfort. A reputable braider wants to know if anything feels too tight, especially around your hairline and temples, and will loosen it rather than push through. Ask how to care for the braids and how long to keep them in, and confirm they are using quality, pre-stretched hair.
The right conversation up front is what turns a daunting, hours-long appointment into a protective style that leaves your hair healthier than it started, and it is the surest way to walk out loving your braids.
Knotless Braid Questions, Answered
?How long do knotless braids last?
Most sets look fresh for four to six weeks and can be worn up to about eight, depending on braid size, your routine, and how you sleep. Smaller braids last longer, but no braids should stay in past eight weeks, since that begins to stress the natural hair.
?Are knotless braids really better for your edges than box braids?
Generally, yes. Because they skip the tight knot at the root and start with your own hair, knotless braids put much less tension on the hairline and edges. They are far gentler, though any braids installed too tightly can still stress the hair, so comfortable tension matters most.
?How much do knotless braids cost?
A full set usually runs between $150 and $350, depending on length, braid size, your region, and the braider’s skill. Smaller and longer braids cost more because they take many more hours to install.
?How do I keep my scalp from itching in braids?
Moisturize the scalp with a light oil or water-based spray, cleanse gently every week or two with diluted shampoo or witch hazel along the parts, and avoid heavy product buildup. Using quality, pre-stretched hair, rinsed beforehand, also cuts down on the itch from coarse extensions.
?Can I wash my hair with knotless braids in?
Yes, carefully. Use a diluted, sulfate-free shampoo focused on the scalp, work it in gently without roughing up the braids, rinse thoroughly, and let them dry completely to avoid mildew. Washing every week or two keeps the scalp healthy without causing too much frizz.
Protection That Feels As Good As It Looks
Knotless braids changed protective styling for the better by proving that braids do not have to hurt to look beautiful or last for weeks. With the tight root knot gone, they sit lighter, move more naturally, and treat your edges and hairline far more kindly, all while giving you weeks of versatile, low-effort style. The trade-off is a little more time and money up front, and for most people it is more than worth it.
Get the foundations right and the rest follows: prep your hair, choose a skilled braider, insist on gentle tension, keep your scalp moisturized, and take the braids down on time. Do that, and your natural hair comes out of a knotless set healthier than it went in. So which length and size feel right for your hair and your life this season?