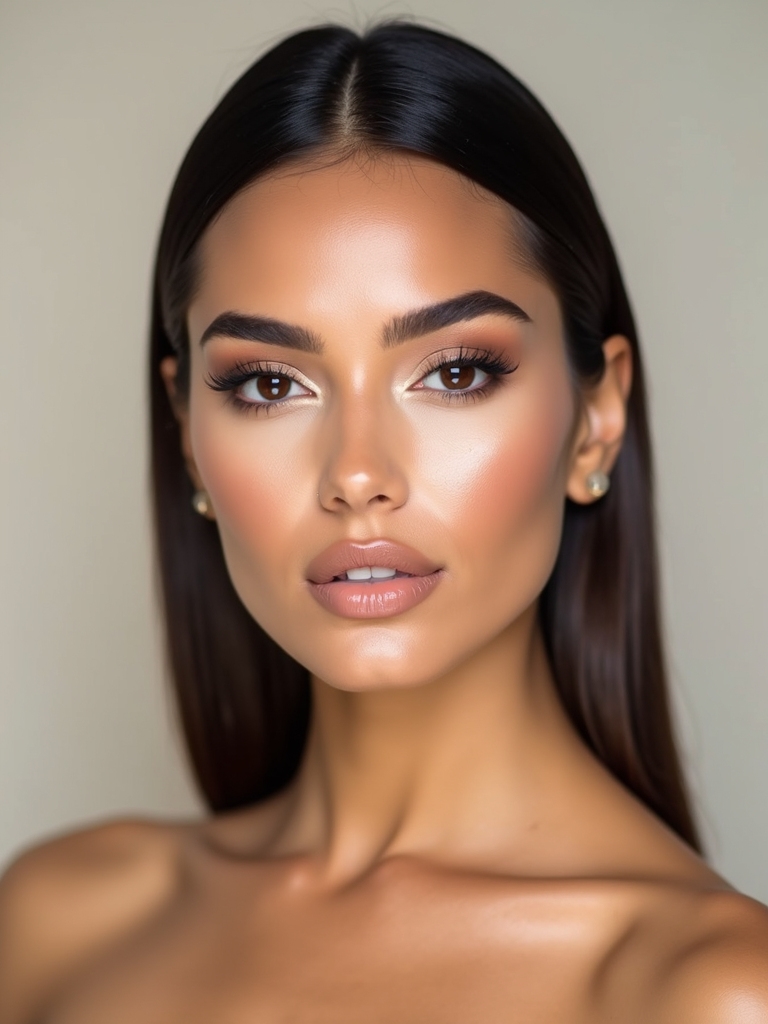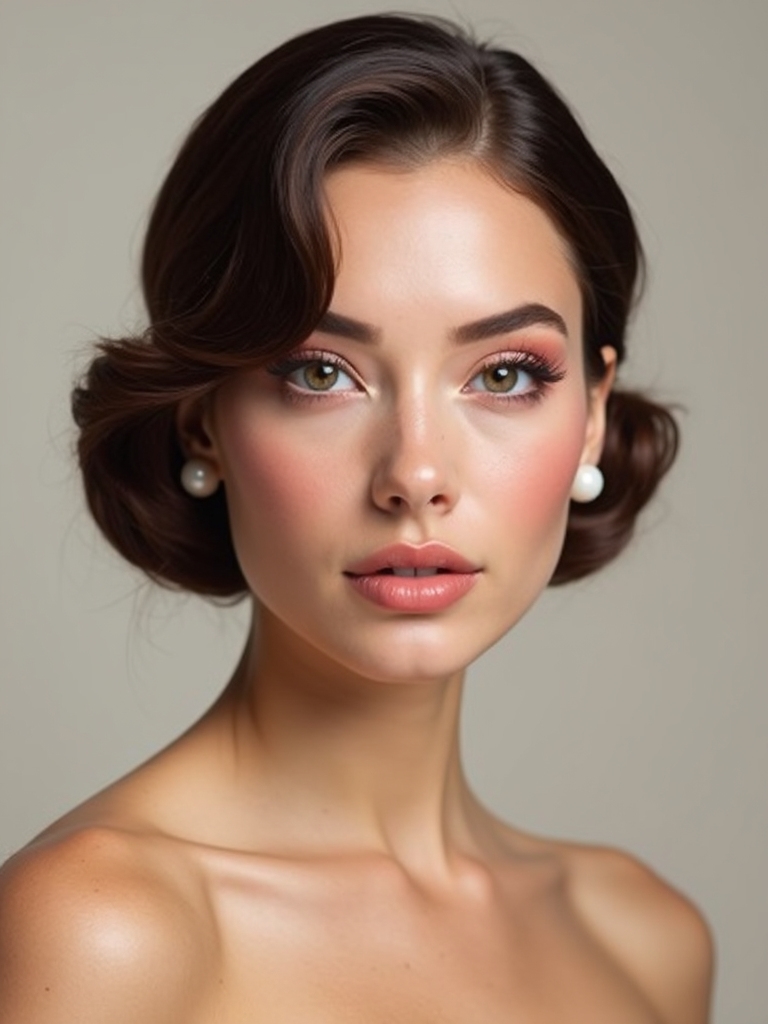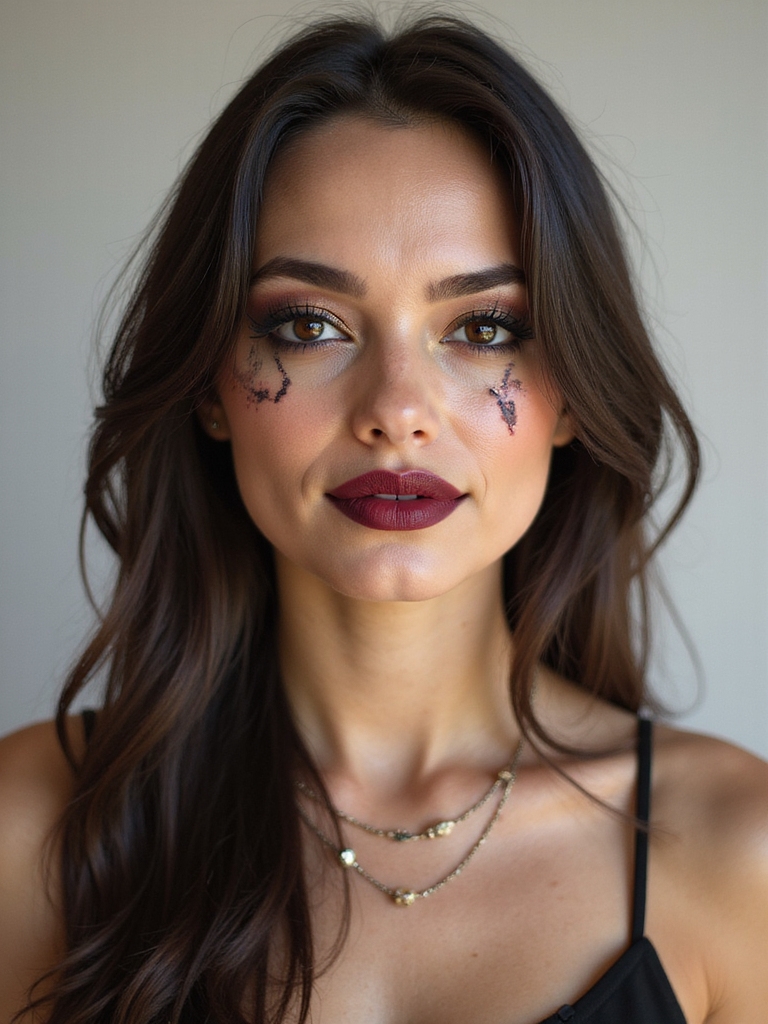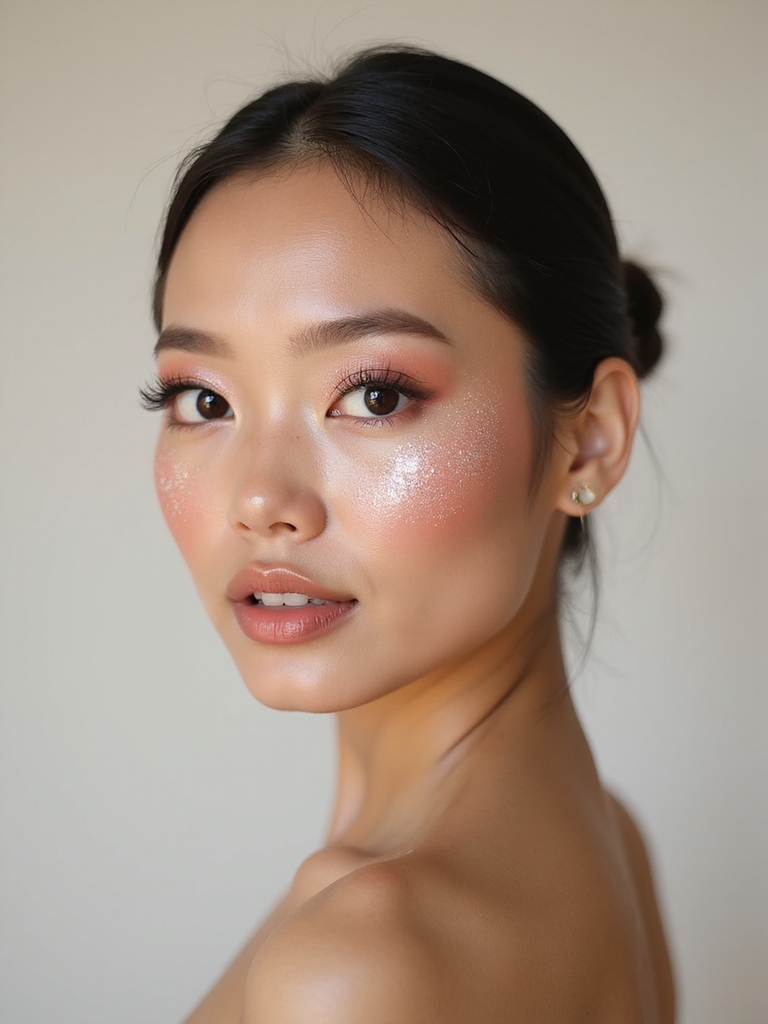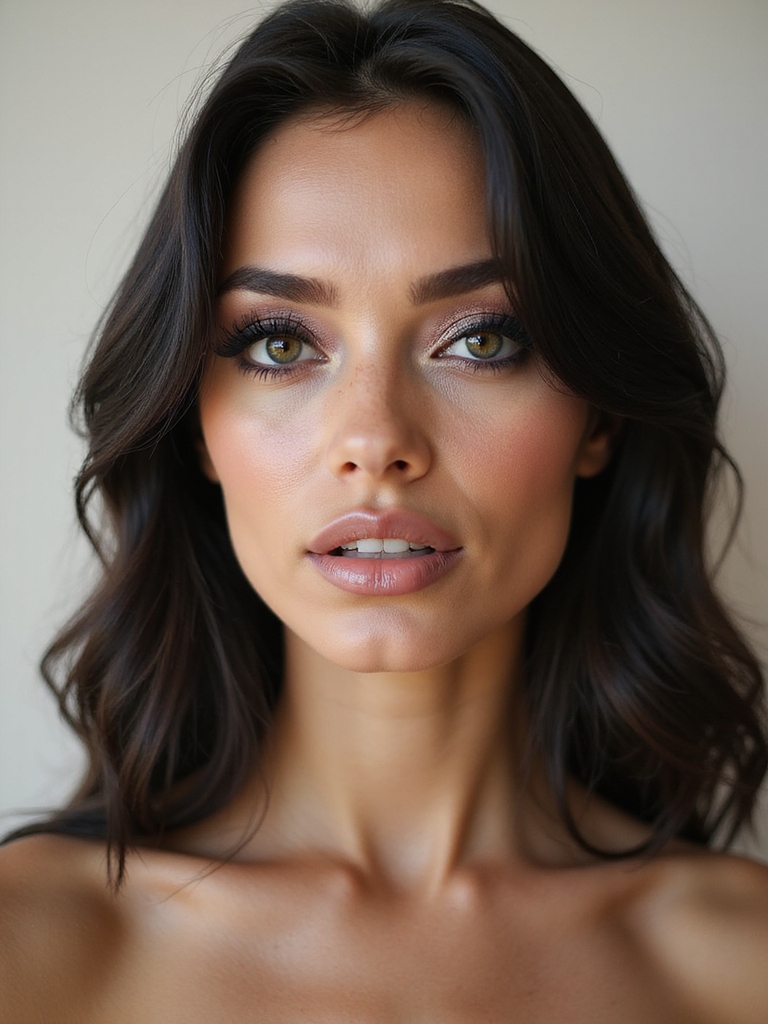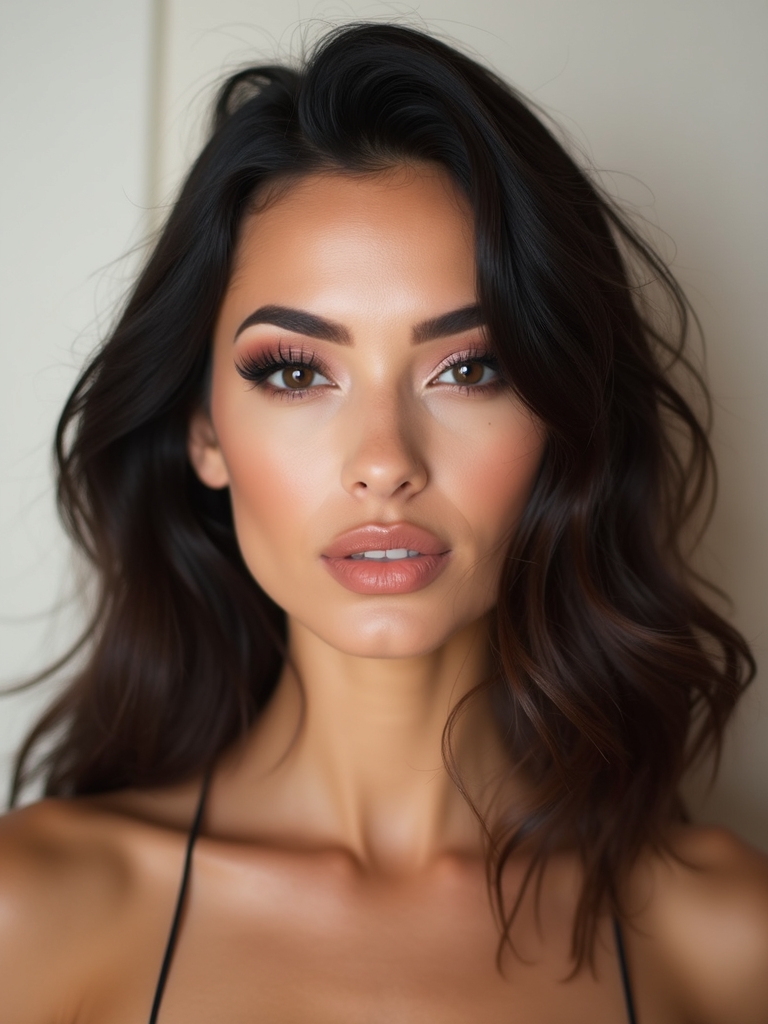
A client once sat at my makeup table, looked in the mirror after a sharp wing and a glossy lip, and sat up an inch straighter without realizing she’d done it. That’s baddie makeup in one moment: it’s less about a trend and more about the face that makes you feel like the main character. Snatched, glossy, a little fearless.
The looks below all do that job, from a five-minute sharp liner to a full sculpted, wet-skin moment. I’ve broken each one down the way I would at the chair, with the real technique and a note on how it shifts across skin tones, because the bold colors and metallics here behave very differently on fair, olive, and deep complexions.
The Looks at a Glance
| If you want | Reach for | Effort |
|---|---|---|
| Instant snatched eyes | Sharp winged liner, feline smudge | Low, one gel liner |
| Glossy, lit skin | Dewy skincare base, wet-look radiance | Medium, layered products |
| A bold statement | Glossy red lip, neon geometric wings | Medium, a steady hand |
Crisp Upward-Flicked Winged Liner
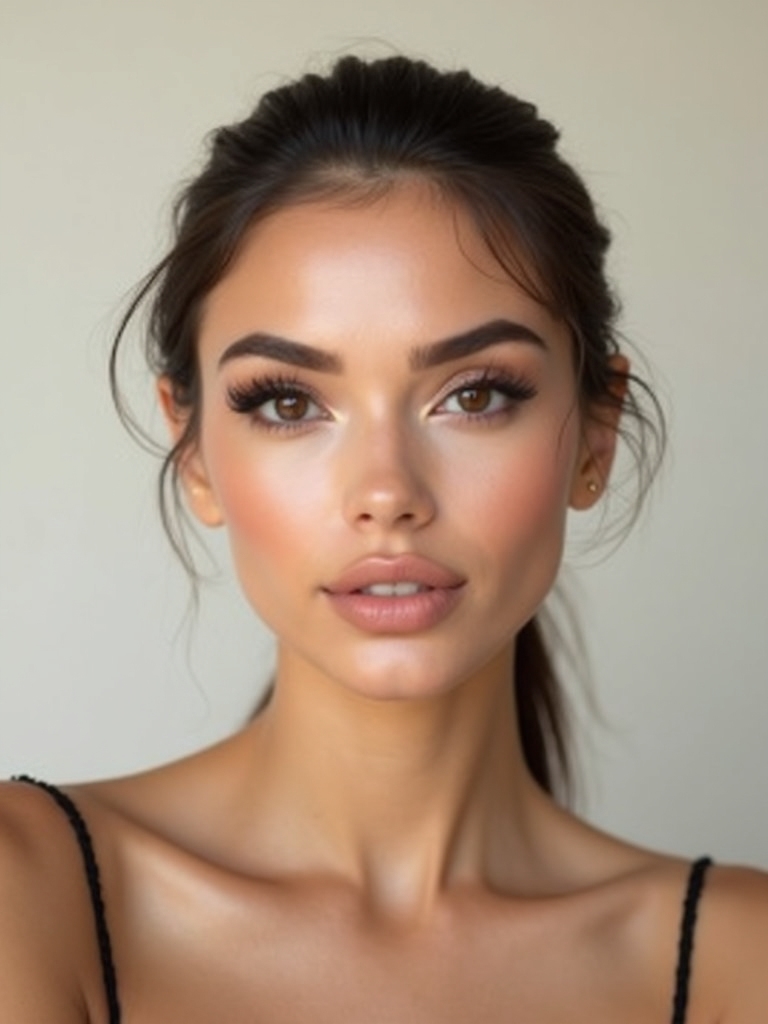
The sharp wing is the backbone of baddie makeup, a crisp line flicked up toward the temple that snatches the whole eye in seconds. It’s the look I get asked for most, and the one worth practicing until it’s muscle memory. Here’s how I keep it clean.
- Map the flick first with a dot where the bottom lashline angles up to the brow.
- Draw a thin line along the lashes, then connect the flick back in.
- Clean the underside with a flat brush and a little concealer for a razor edge.
- Use a gel or liquid liner; a good one runs about $8 to $20.

Softly Overlined Nude Pout
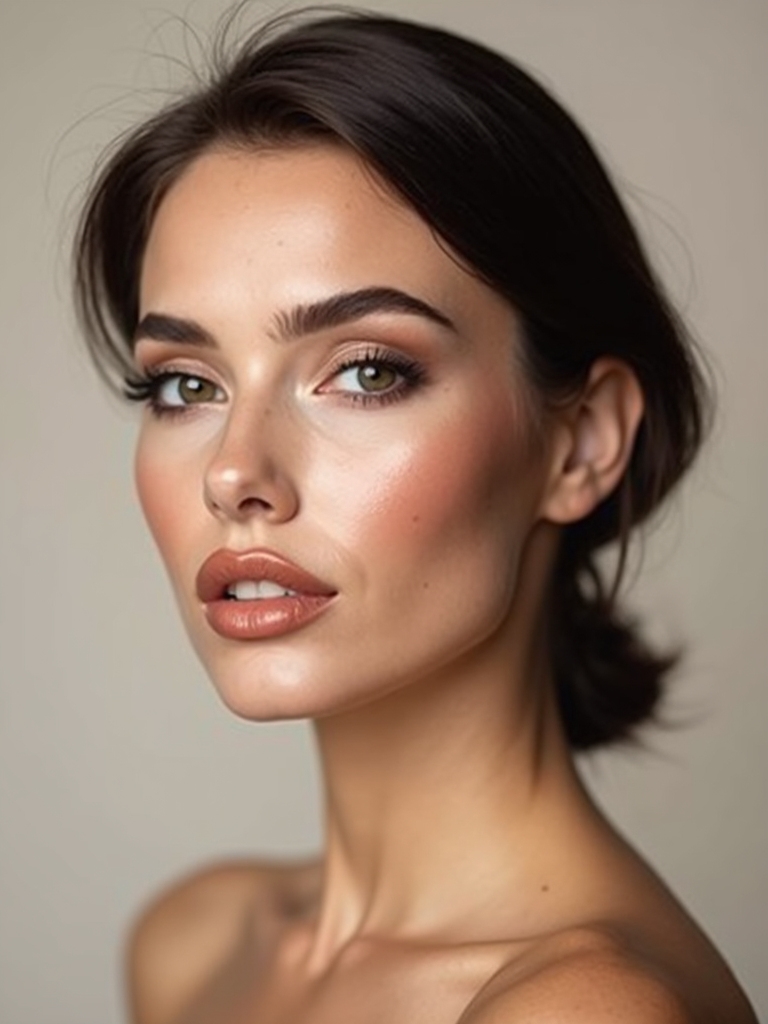
A softly overlined nude lip fakes a fuller pout without filler, which is why it’s the most-requested lip at my table. The whole effect lives in a millimeter past your natural line, no more, blended so nothing looks drawn on.
I line just the cupid’s bow and center, fill with a creamy nude, and blot. The shade is everything here: a true nude on deep skin is a warm caramel or toffee, while the chalky ‘nude’ that flatters fair skin will look grey on richer tones, so match it to your own lip a shade deeper.
📋The Baddie Base, Step by Step
- ✓Hydrate and prime so the skin looks lit, not coated.
- ✓Use a thin luminous base and conceal only where needed.
- ✓Sculpt with warm cream bronzer and blush before powder.
- ✓Set only the oily zones so the glow survives.
Dewy Layered Skincare Makeup
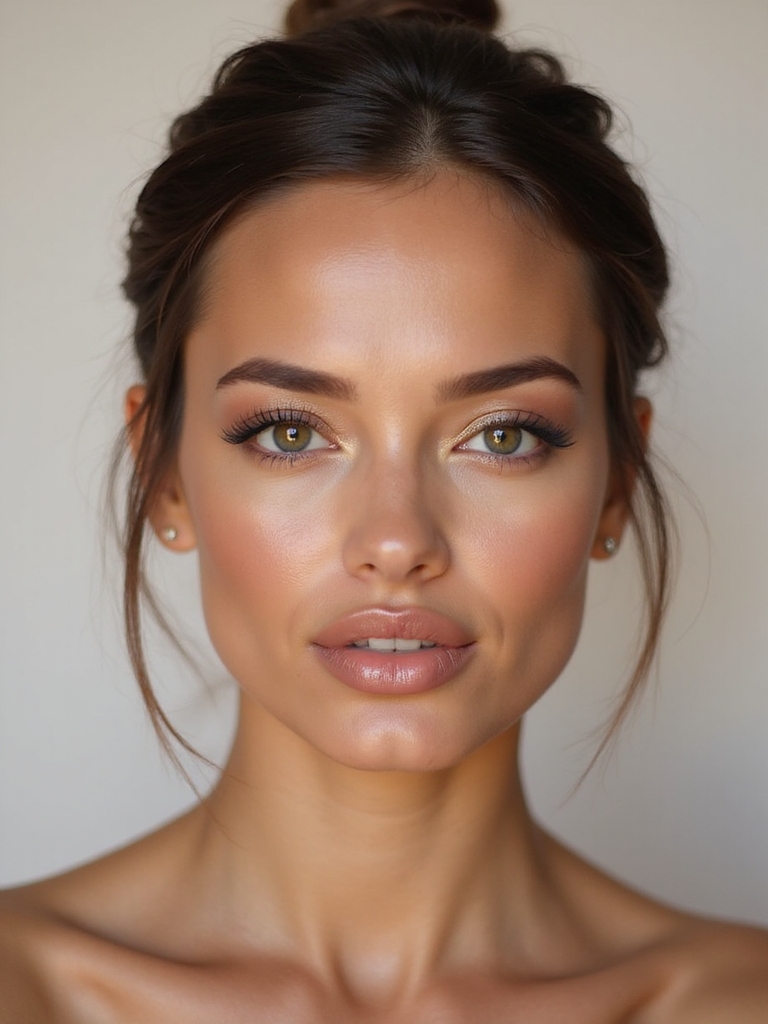
Baddie skin looks lit from inside, and that glow is built in skincare long before foundation. The base is the quiet half of every look here, so it’s worth the extra two minutes. Here’s the layering.
- Press a hydrating serum and moisturizer in, then let them sink for a minute.
- Use a thin, luminous skin tint over a glowy primer, not a full matte base.
- Tap a liquid highlight onto the high points with a finger.
- Set only where you get oily so the cheeks stay dewy. For more, see glowy makeup.
Glassy Latte Smoky Eyes
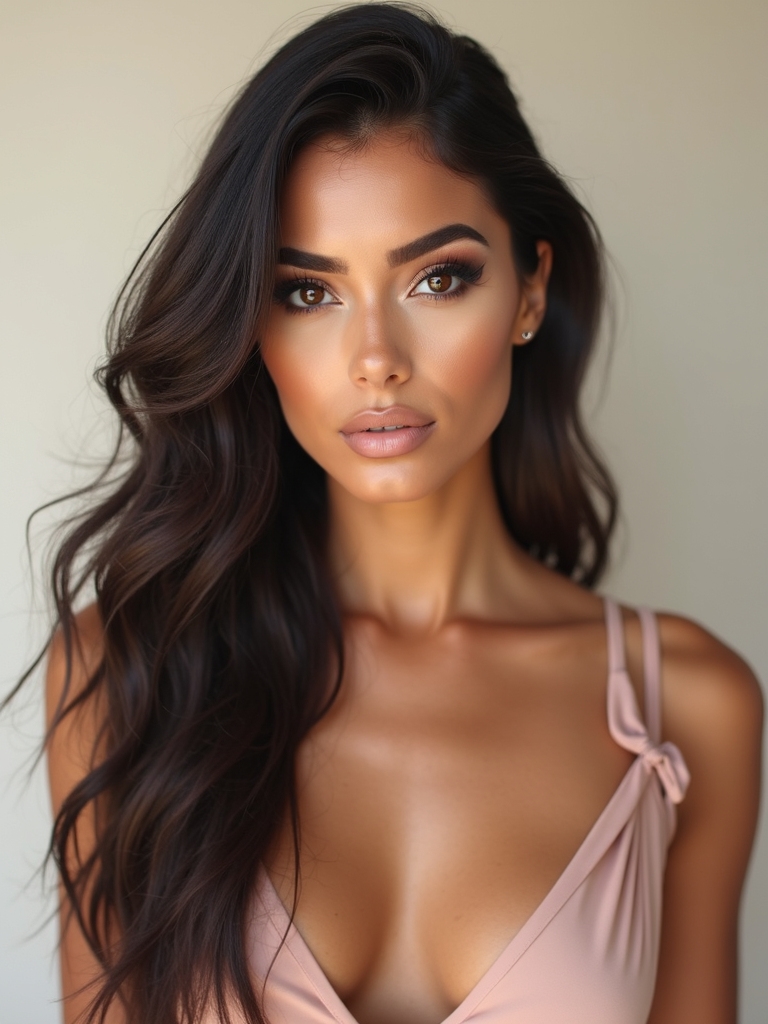
A latte smoky eye is the warm, glossy update to a black smoky: bronze and coffee tones smoked around the eye with a wet shine over the lid. It’s sultry without going heavy, and the gloss is what makes it baddie. Here’s the build.
- Smoke a bronze and a deep coffee shade around the lashline and crease.
- Press a clear eye gloss over the center of the lid once the shadow sets.
- Tightline and add mascara so the lashline looks dense.
- On deep skin, a true espresso or warm bronze looks richer than a flat brown.
The fastest route to a sharp wing that actually matches on both eyes:
1Map before you draw
Place a dot where each wing should end, lining it up from the lower lashline to the brow tail, and check both dots straight on before any liner touches the lid.
2Connect, don’t drag
Draw a thin line from the outer dot back into the lashes and fill the wing, rather than flicking it out in one shaky stroke.
Crisp-Lined Glossy Red Lips
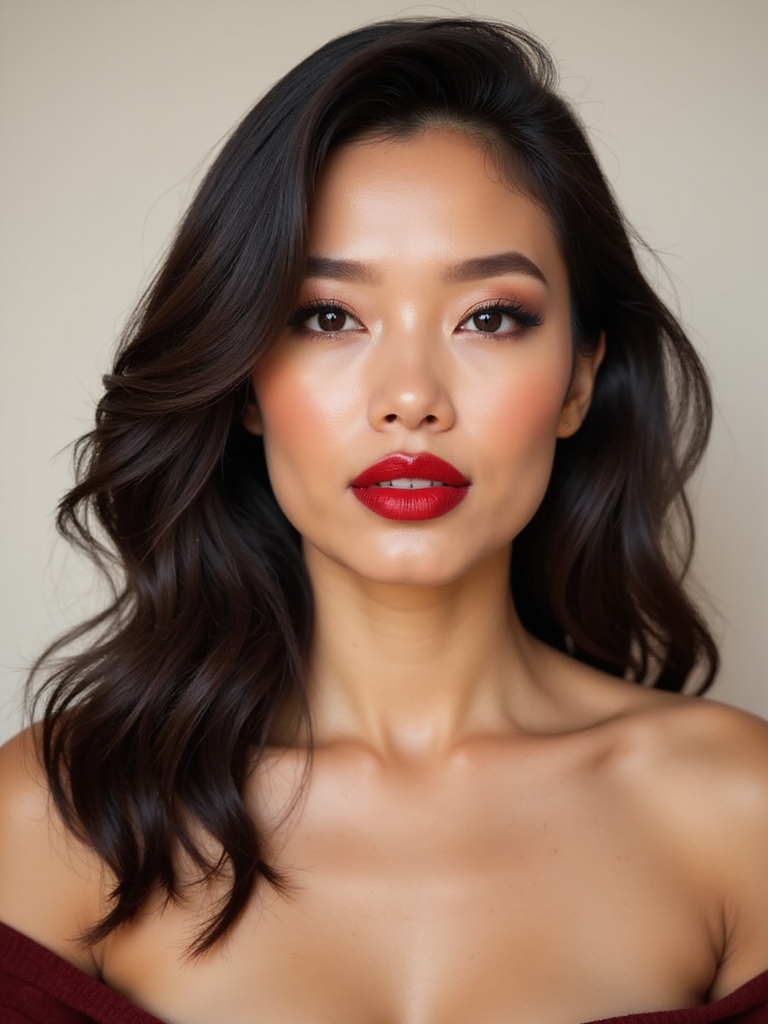
A glossy red lip is pure baddie confidence, the kind of lip that makes you stand taller the second it’s on. The crisp line is what keeps a glossy red from bleeding, so precision matters here. Here’s how I lock it in.
- Line the lip first with a matching red pencil for a clean edge.
- Press a creamy red into the center, blot, and build a second layer.
- Layer a clear gloss over the top for that wet, high-shine finish.
- A blue-red flatters deep and cool skin; a warm red suits olive and fair tones.
Angled Elongated Winged Liner
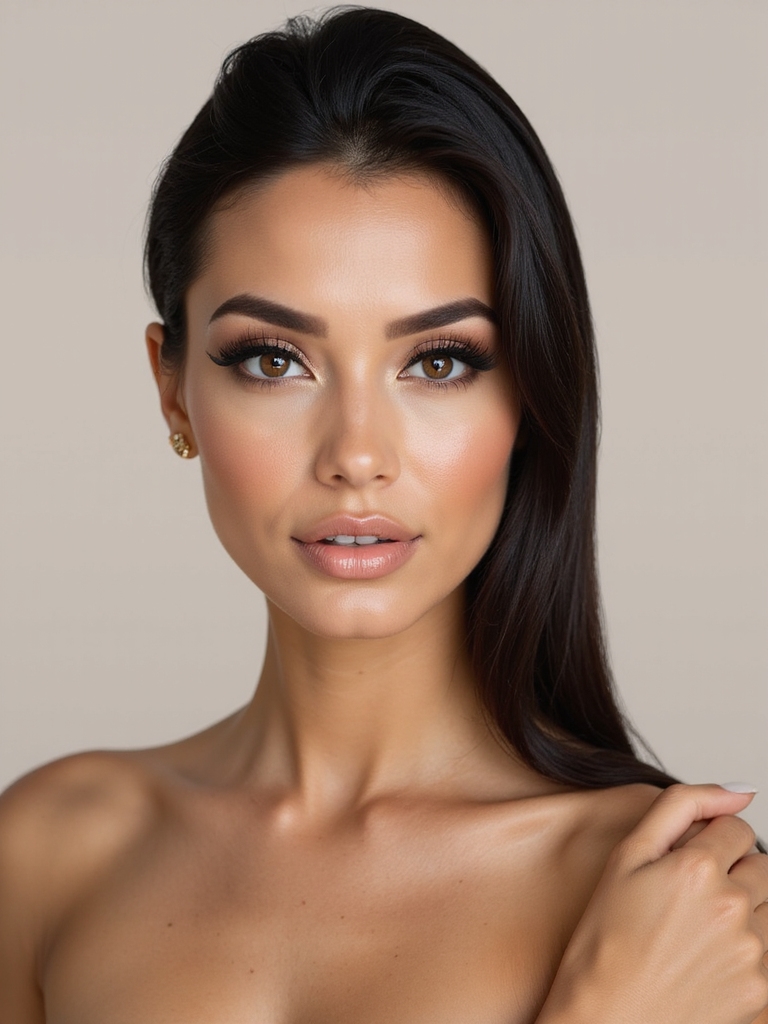
Where the classic flick lifts, this version stretches the wing long and low toward the temple for a more sculpted, fox-eye effect. It elongates the whole eye and looks dramatic in photos. I steer clients with smaller eyes toward this one. Here’s how it differs from a standard wing.
- Pull the line out longer and flatter, following the angle toward the ear.
- Pair it with a little shadow smoked at the outer corner for depth.
- Lift the tail of the brow slightly to echo the stretch.
- It suits every eye shape; the cat-eye makeup guide covers shaping in detail.
Make a Bold Color Pop
Neon and bright liner look patchy straight over skin because the lid’s oils break them up. Lay a thin white base or eye primer underneath first, and the same color suddenly reads electric and even instead of streaky.
Sun-Kissed Sculpted Cheekbones
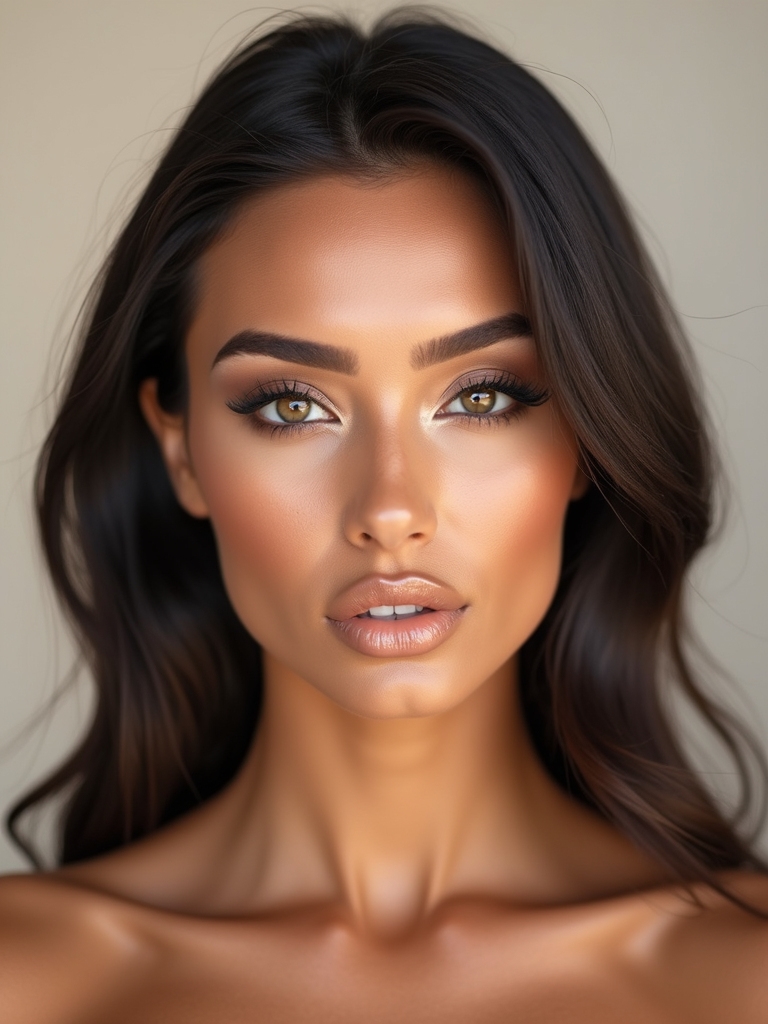
Sculpted cheekbones give the face that snatched, structured baddie look, but the modern version uses warmth and light rather than a harsh grey contour. The goal is a lifted, sun-warmed shape, not a muddy stripe.
Warmth Over Harsh Contour
I tuck a soft cream bronzer just under the cheekbone, add a cream blush on the apple, and tap a glow on the very top. Building it in cream and blending up toward the ear is what keeps it looking like real shadow.
It flatters every skin tone; on deep skin a richer, deeper bronze sculpts where a pale one would vanish, and the warmth keeps it from going ashy.
Creamy Glossy Metallic Lids
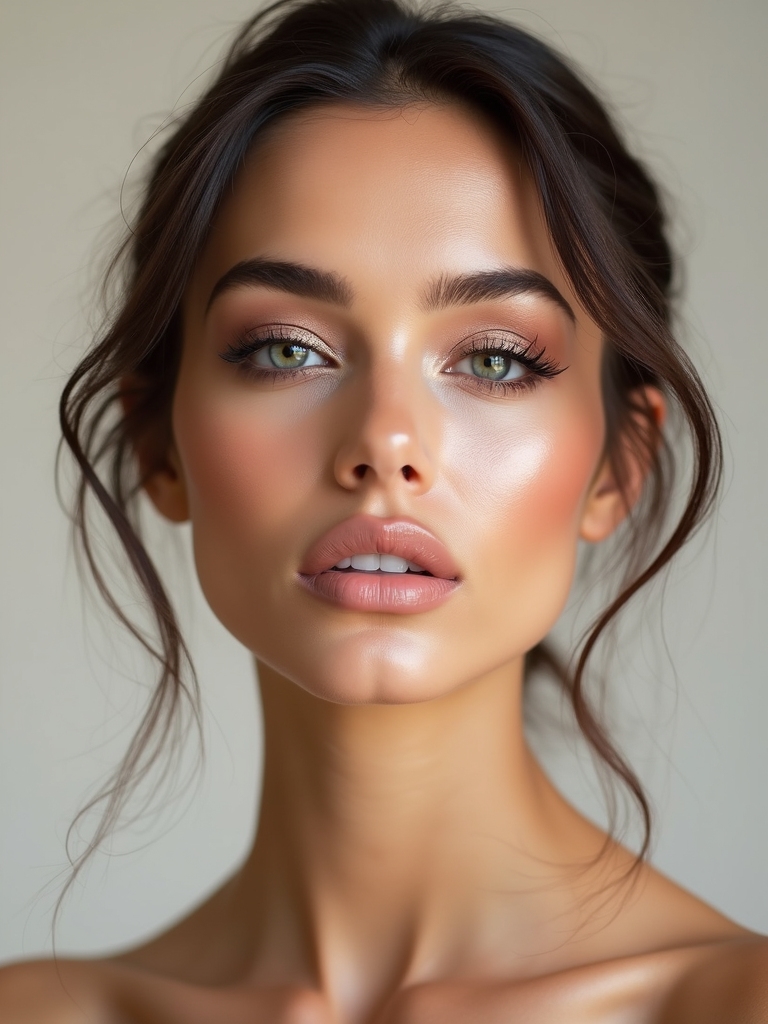
A creamy metallic lid catches light like foil and turns the simplest eye into a statement, which makes it peak baddie for minimal effort. The wet, glossy finish is the whole point. Here’s how to keep it from creasing.
- Prime and set the lid first so the metallic has a base to grip.
- Press a cream metallic on with a flat finger for the most intense shine.
- Keep it to the center of the lid so it doesn’t travel into the crease.
- Gold and bronze glow on deep skin; silver and pewter suit cooler tones.
A few baddie terms worth knowing:
📖Overlining
Drawing just past your natural lip line to fake a fuller pout, kept to a millimeter so it looks real.
📖Light-mapping
Placing highlight and shadow deliberately to bring some features forward and push others back.
📖Tightlining
Lining the upper waterline to make the lashline look dense without an obvious liner stripe.
Feathery Fluttery Spaced Lashes
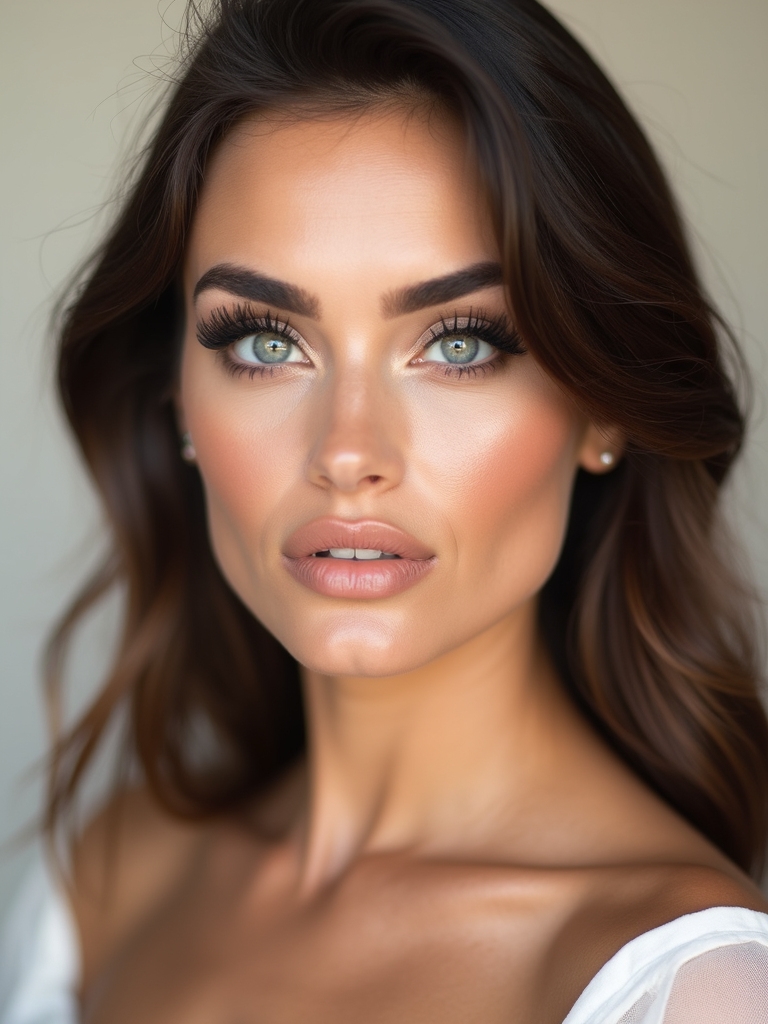
Spiky, spaced-out lashes, sometimes called doll or spider lashes, are a defining baddie detail, fluttery clumps with gaps between them for a wide-eyed, fashion-forward look. Here’s how to get the spacing right.
- Curl first, then apply mascara and pinch sections into spaced clumps as it dries.
- A spiky-formula or comb mascara separates into the doll-lash effect.
- Focus the clumps on the outer two-thirds for a lifted, feline shape.
- It works on every eye; layer a wispy false lash for the full version.
Mauve-Toned Cohesive Look
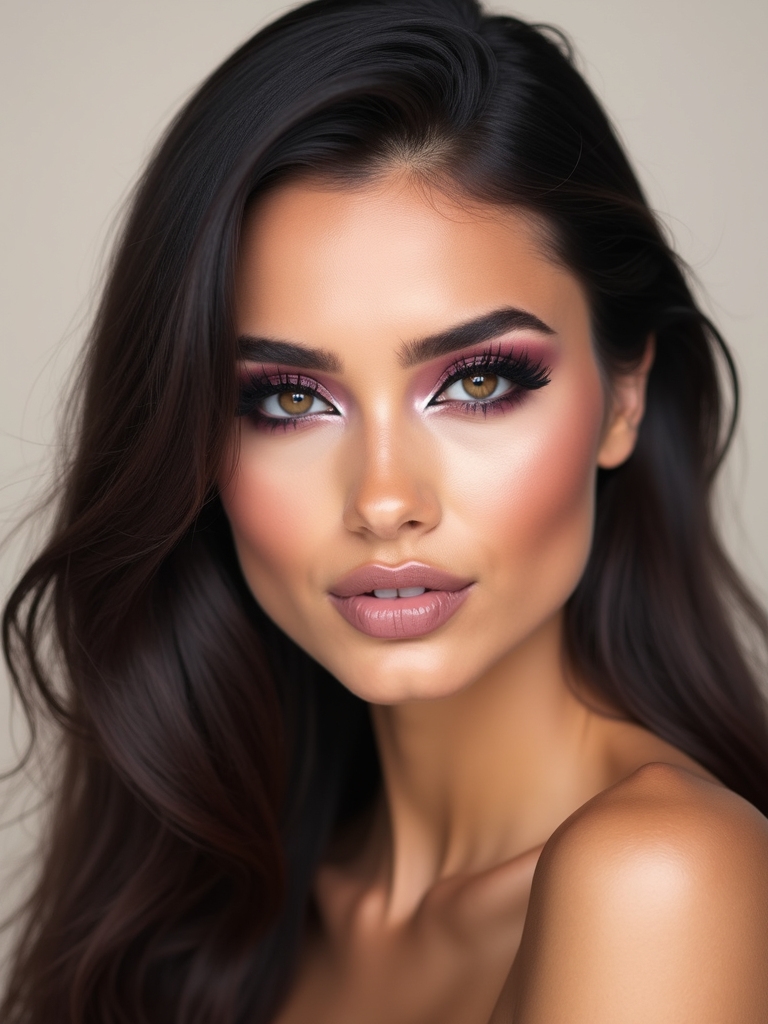
A mauve monochrome washes one dusty rose-brown across eyes, cheeks, and lips for a cohesive, grown-up baddie face that takes five minutes. The single tone is what makes it look pulled-together and intentional.
Picking Your Mauve
I use one creamy mauve everywhere, sheering it lightest on the cheeks and deepest on the lips, and blend it all with fingers. Working in cream keeps it soft and quick.
Mauve shifts a lot across skin tones: a plummed, brown-based mauve glows on deep skin, while a greyed rose suits cooler fair skin. Match the depth to your own and it always flatters. For a softer take, see soft glam makeup.
Light-Map Shadow Blend
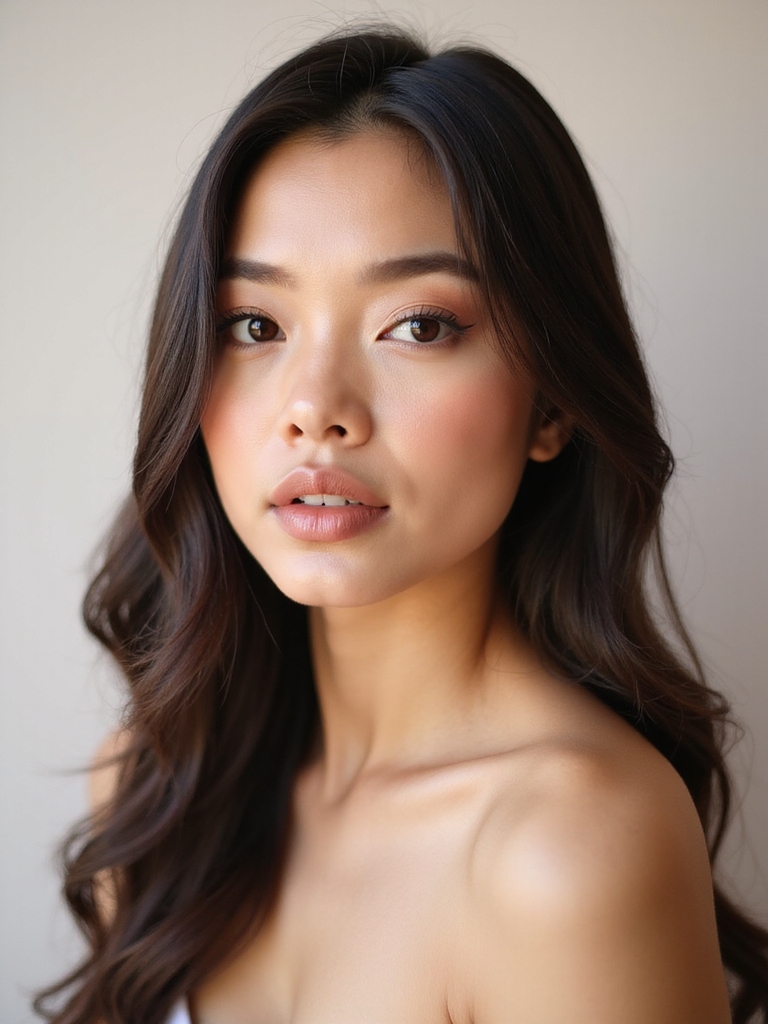
Light-mapping is the editorial trick behind a lot of baddie faces: placing highlight and shadow deliberately to carve the features you want forward and push the rest back. It sounds technical but comes down to where you put the light. Here’s the simple version.
- Glow goes on what you want to pull forward: cheekbones, nose bridge, cupid’s bow.
- Soft shadow goes where you want depth: under the cheekbone, along the jaw.
- Blend both until there’s no hard line, so it looks like real light.
- Match the highlight and bronzer warmth to your skin so it never greys out.
Smudged Lifted Feline Eye
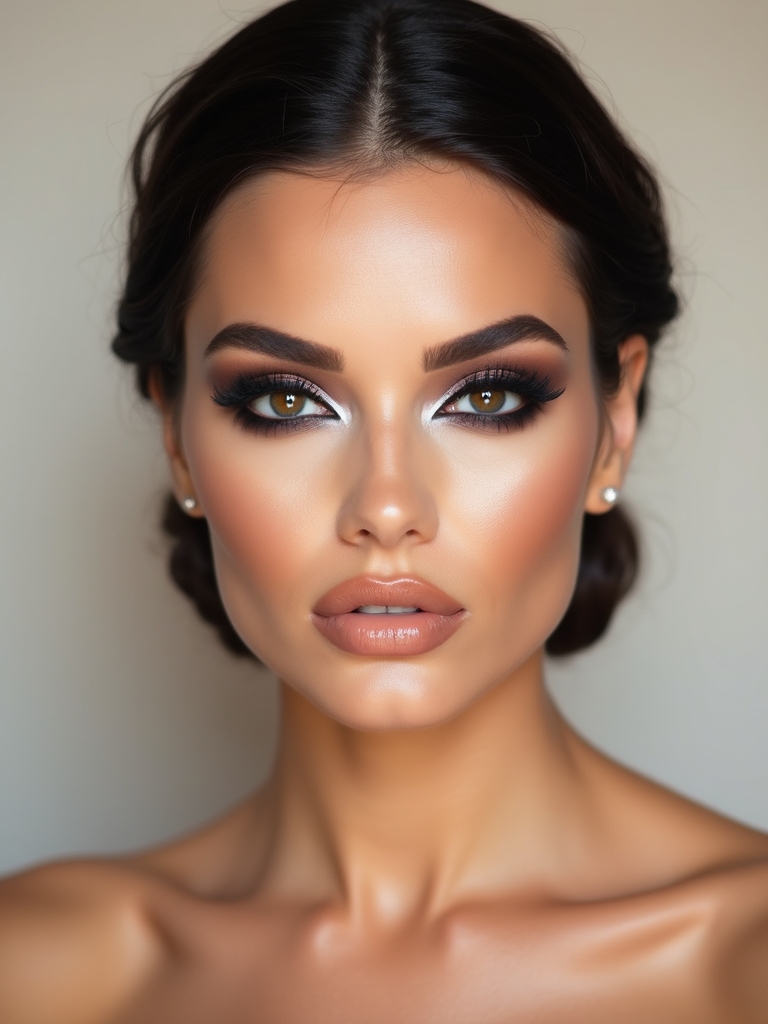
Where the sharp wing is precise, the smudged feline eye is its sultrier sister, a soft, smoked line lifted at the outer corner for a worn-in, after-dark look. It’s forgiving and often more wearable day to day. Clients ask me for this far more than the sharp version.
Lifting the Outer Corner
I run a soft pencil along the lashline, lift it at the outer corner, then smudge it with a brush before it sets. A dusting of shadow over the top locks the smoke in.
It suits every eye shape, and on deep skin a smoked plum or espresso looks richer than a flat black. Let the lip stay bare so all the focus sits up on the eye.
Bold Geometric Neon Wings
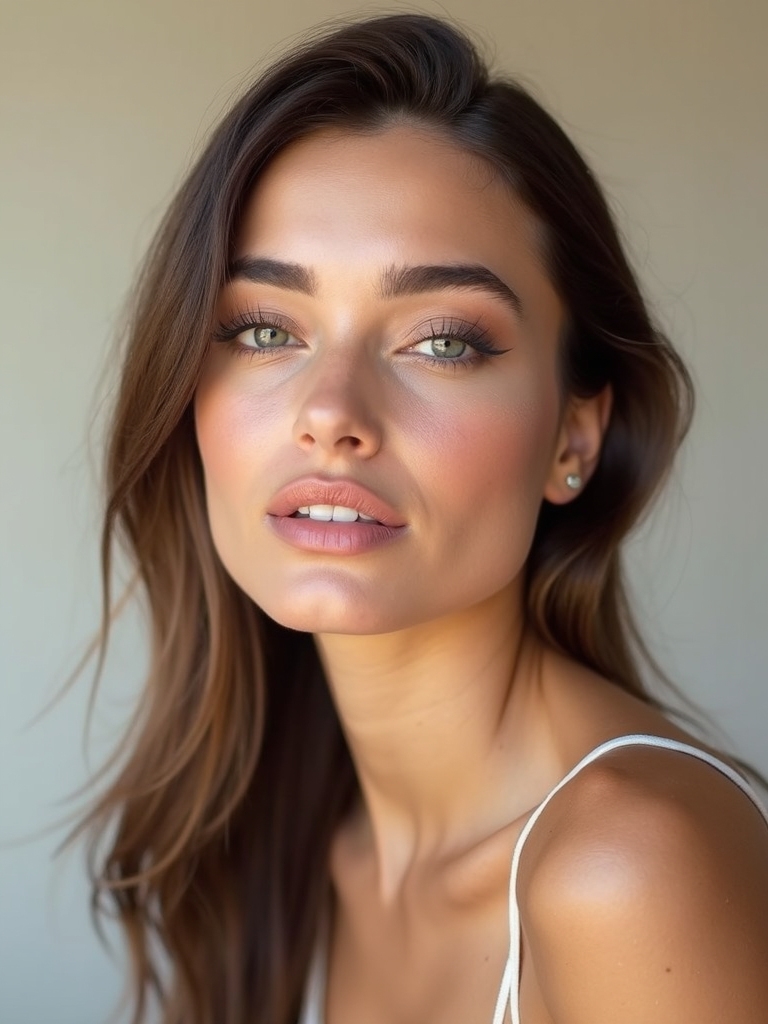
For the boldest baddie statement, geometric neon wings trade black liner for an electric color in a sharp, graphic shape. It’s the most editorial look here and pure confidence on a night out.
I map the shape on a primed, set lid, then fill it with a neon liner layered over a white base so the color pops. A white base under any neon is what stops it looking patchy.
Neon truly comes alive on deep and olive skin, where electric coral, lime, or cobalt glows hard against the warmth. On fair skin, a slightly deeper neon keeps it from washing out.
Soft-Focus Latte Neutral Glam
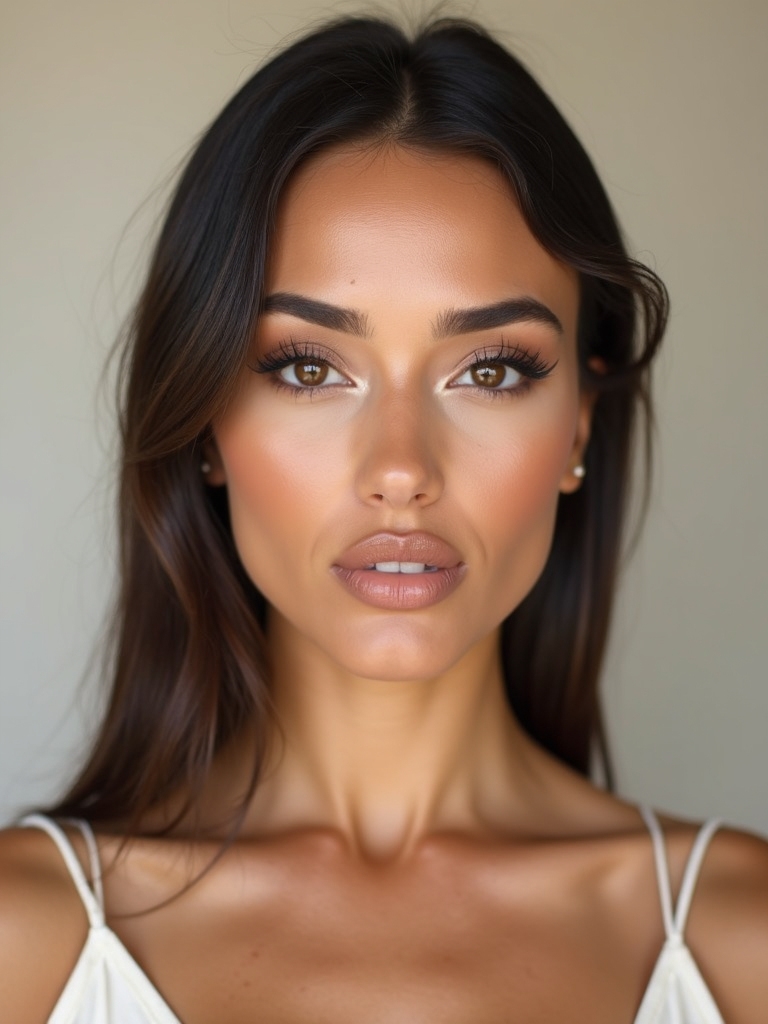
Not every baddie look is loud. A soft-focus latte glam keeps everything in warm neutral tones with a blurred, filtered finish, the quiet, expensive end of the aesthetic. It’s the one I’d wear to look polished without a statement.
I keep skin soft-matte and blurred, do a wash of latte tones on the eye, and a my-lips-but-better nude. Everything stays warm and tonal.
- Keep the whole face in one warm neutral family for cohesion.
- Blur the base soft-matte rather than dewy for the filtered effect.
- It flatters every skin tone; deepen the latte tones on richer skin. The everyday makeup routine builds on this.
Layered Wet-Look Crystal Radiance
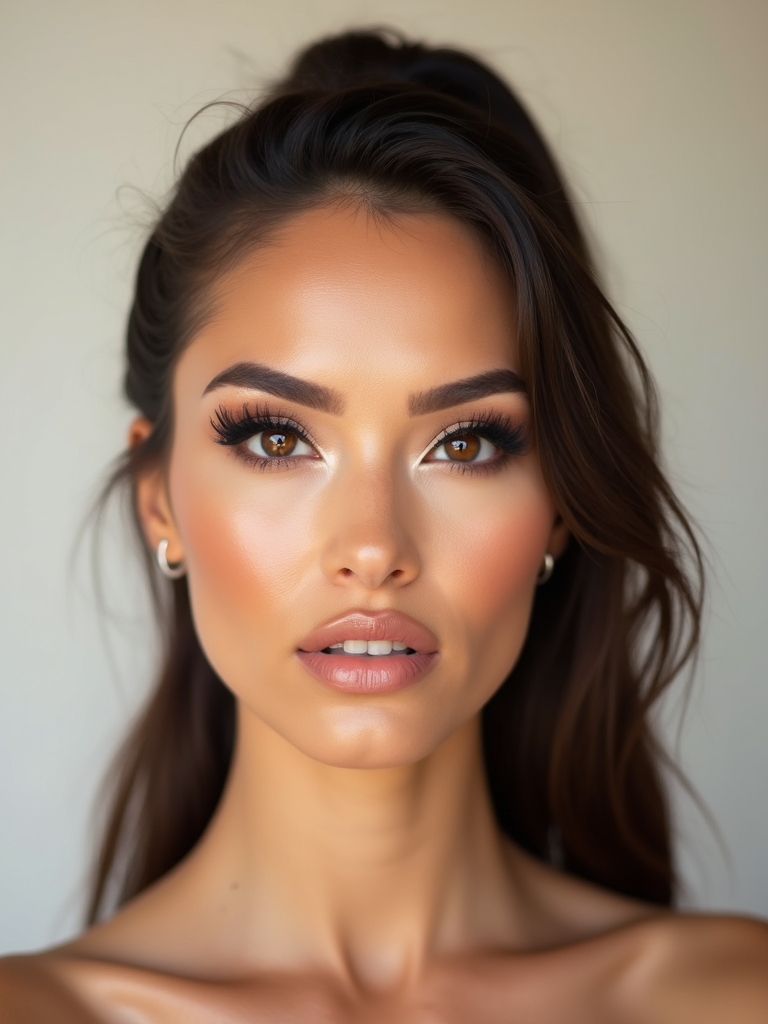
The most maximal baddie skin is full wet-look radiance, layered glow that makes the skin look like it’s catching studio light from every angle. It’s high-impact and best saved for photos and nights out. Here’s how to layer it without looking greasy.
- Layer a liquid highlight under foundation and a cream one on top.
- Add a dewy balm on the very high points for that glassy catch.
- Keep the eyes and lips simple so the skin is the statement.
- Match every glow product to your undertone so it reads lit, not oily.
What to Expect
A couple of honest notes before you try these. Baddie makeup leans on a few hero products done well rather than a huge kit, a good gel liner, one creamy red, a metallic and a glow, roughly $15 to $30 each, cover most of this list. The cream-based looks take five to ten minutes; the sharp liner, neon wings, and overlined lip want fifteen once you’re practiced, so the first attempt always runs longer than the fifth.
Two things make or break the result. First, prime and set wherever you place bold color or want shine to hold, because a sharp wing that smears into the crease by lunch undoes the whole look. Second, match your shades to your undertone and depth instead of copying the exact color in a photo, since the reds, metallics, and neons here read very differently on fair, olive, and deep skin.
Get those two right and these looks last a full night. For a softer everyday version, the no-makeup makeup routine dials it down.
Baddie Makeup, Answered
?What’s the easiest baddie look for a beginner?
A mauve monochrome or a softly overlined nude. Both run on one or two cream products and your fingers, forgive uneven application, and give that snatched, pulled-together effect without any liner precision to master first.
?How do I keep a sharp wing from smudging all day?
Prime and set the lid first so the liner has a dry base to grip, use a gel or liquid liner over a pencil, and let it set before you blink. A clear setting layer on top locks it through a long day or night.
?Do bold baddie colors work on deep skin tones?
Exceptionally well. Neons, metallics, and rich reds glow harder against deep and olive skin. Choose pigmented formulas over sheer ones, lay a white base under brights, and pick warm, deep versions of each shade so they read true.
?How long does a full baddie look take?
The cream-based looks take five to ten minutes, while a sharp wing, neon wings, or a precise red lip run closer to fifteen once you’re practiced. Building skill is what speeds it up, so the first try always takes longer than the fifth.
Wear the Look That Lifts You
The thread through all fifteen is the same feeling: makeup that makes you sit up straighter, whether that’s a sharp wing, a glossy red, or full wet-look skin. None of it needs a pro kit, just a few hero products, a little practice, and shades matched to your own skin so the bold colors actually glow on you.
Bookmark whichever two or three match the energy you want to walk in with, the quiet latte glam for everyday, the neon wings for a night you want to be seen, and give the fiddly ones a low-stakes practice run first. The most baddie thing you can do is wear the face that makes you feel like yourself, turned all the way up.
More Hair Inspiration