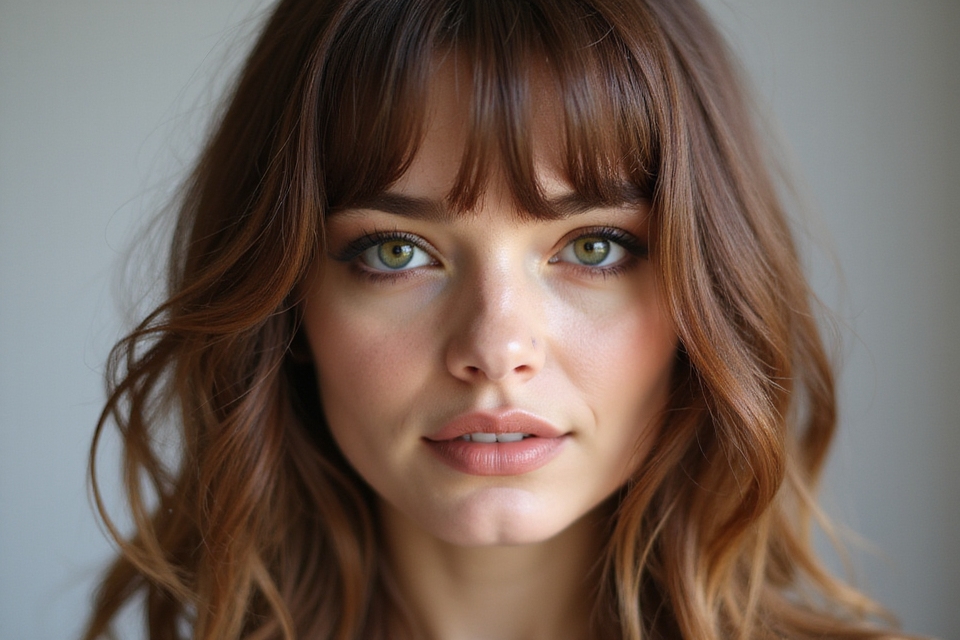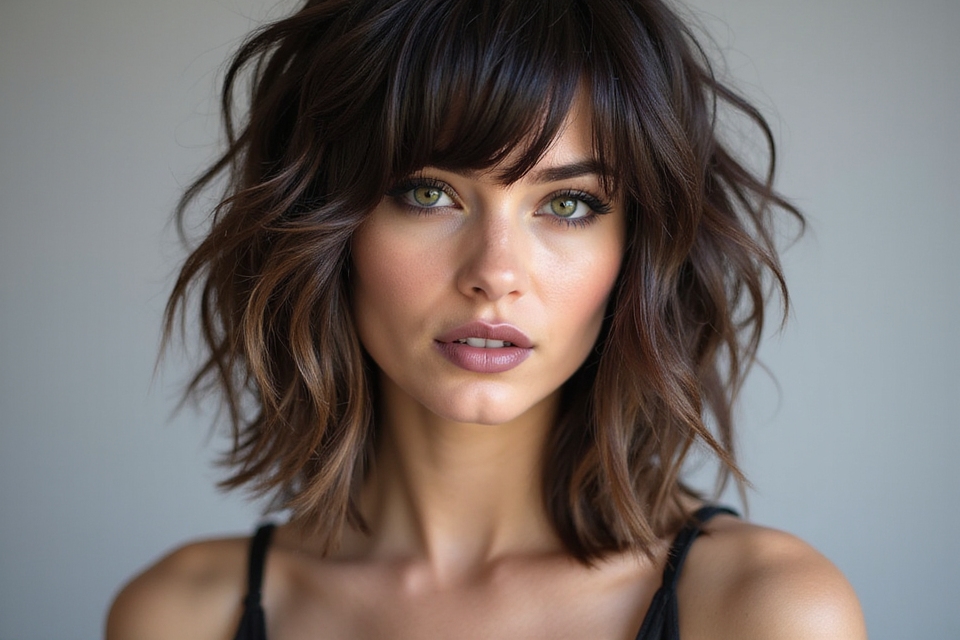
The butterfly haircut is the rare layered cut that looks like more hair than you actually have. It pairs short, face-framing layers up top with long, barely-touched length underneath, so the crown lifts and the ends still graze your collarbone. Done right, the two tiers blend into each other and frame the face like a pair of soft wings.
It became the most-requested cut in my chair almost overnight, and for good reason: it suits nearly every face, it grows out gracefully, and it gives flat hair movement without sacrificing length. By the end you will know who it suits, how it is styled day to day, what the trims really cost, and the precise words to use at your consultation.
The Butterfly Cut at a Glance
| Factor | Butterfly cut | Why it matters |
|---|---|---|
| Best length | Collarbone and longer | Short top layers need length below to fall against |
| Upkeep | Trim every 8 to 12 weeks | Layers blur as they grow but lose the wing shape |
| Salon cost | Roughly $60 to $150 | Depends on your market and how much shaping it needs |
What a Layered Butterfly Cut Is

Strip away the pretty name and the butterfly cut is two layered lengths cut into one head of hair. The shorter tier starts around the chin or jaw and frames the face; the longer tier keeps almost all of your length underneath.
Why It Looks Like Wings
When the two are connected with soft, blended cutting, the top tier puffs out and curves back like wings while the bottom keeps you long. That contrast is the whole effect, and it is why the cut looks voluminous even on fine hair.
Think of it as a modern, polished cousin of the shag, with the same energy as these long layered haircuts but a softer, rounder shape around the face.

Where the Butterfly Haircut Came From

The butterfly cut is a rediscovery more than an invention. It pulls directly from the feathered, face-framing layers of the seventies, the kind that bounced and flicked away from the face.
What made it explode again was social media and a wave of celebrity stylists rebuilding that retro shape for modern, glossier hair. The name stuck because the layers fan out like wings when you style them away from your face.
- Roots in seventies feathered layers and the classic flicked-out blowout.
- Reworked recently to suit long, healthy, blow-dried hair.
- Cousin to the modern shag haircut but smoother and less choppy.
Cascading, Floating Layers
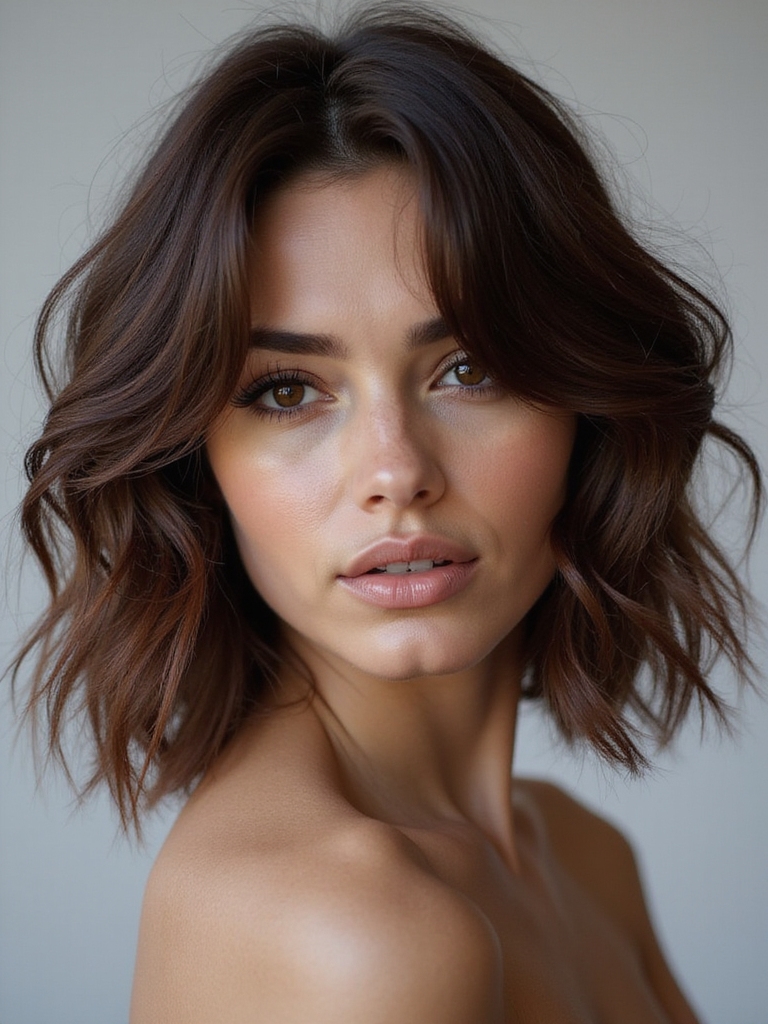
The signature of the cut is layers that seem to float. A skilled stylist point-cuts the ends so every layer dissolves into the one below it, giving a smooth, blended fall with no hard steps.
Those floating layers are what give the hair its bounce. They catch the air when you move and settle back into the wing shape, so the cut looks alive even when you are standing still.
The Butterfly-Inspired Shape

The shape is the reason this cut earns its name, and understanding it helps you ask for the right thing. The face-framing pieces curve back toward the cheekbones, the crown lifts, and the length tapers underneath.
- Short layers begin near the jaw and sweep back like a wing.
- The crown carries the volume, so the top looks full and lifted.
- Length stays long at the back, keeping the overall look romantic.
📋Signs the Butterfly Cut Will Suit You
- ✓Your hair is collarbone length or longer right now
- ✓You want volume and movement without losing length
- ✓You can commit to a trim every couple of months
The Butterfly Cut on Medium Hair
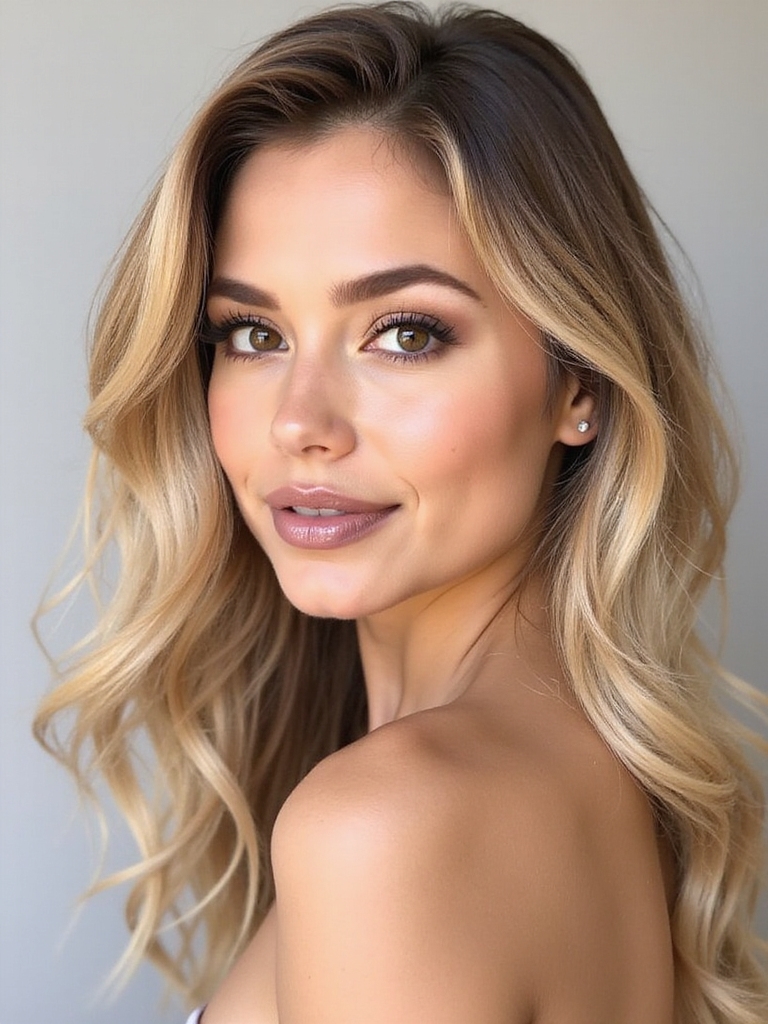
Medium hair, roughly collarbone length, is the sweet spot for this cut and the most common version I cut. There is enough length below for the short layers to fall against, but not so much weight that the layers go flat.
- Keep the shortest layer near the chin so it frames without looking choppy.
- Ask for blended, not blunt, internal layers to protect the movement.
- Add a few face-framing pieces in front for the softest version of the wings.
A Versatile, Contemporary Look
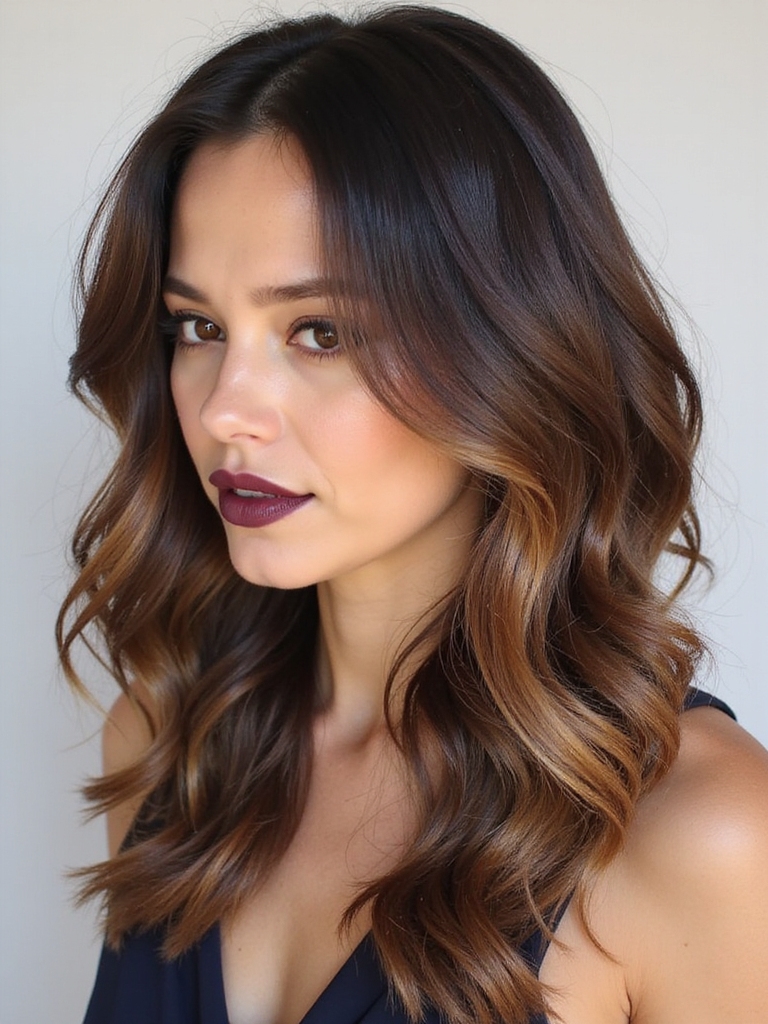
Part of why the butterfly cut took over is how much it does with one shape. Blown out, it is full and bouncy; air-dried, it reads soft and undone; slicked into a half-up, the layers fall like curtain pieces around the face.
That range is also what makes it worth the salon money. You are not buying one look. You are buying a cut that bends to your mood and your morning.
- Round-brush blowout for full, flicked-out volume.
- Air-dry with mousse for a casual, undone fall.
- Half-up styles show off the face-framing layers beautifully.
Two things people get wrong about the butterfly cut:
❌ Myth: It only works on thick hair
✅ Reality: The layering fakes volume, so it is a favorite for fine hair
❌ Myth: It is high-maintenance to style
✅ Reality: The layers flick back on their own; a rough blow-dry gets you most of the way
Floating Layers That Create Volume
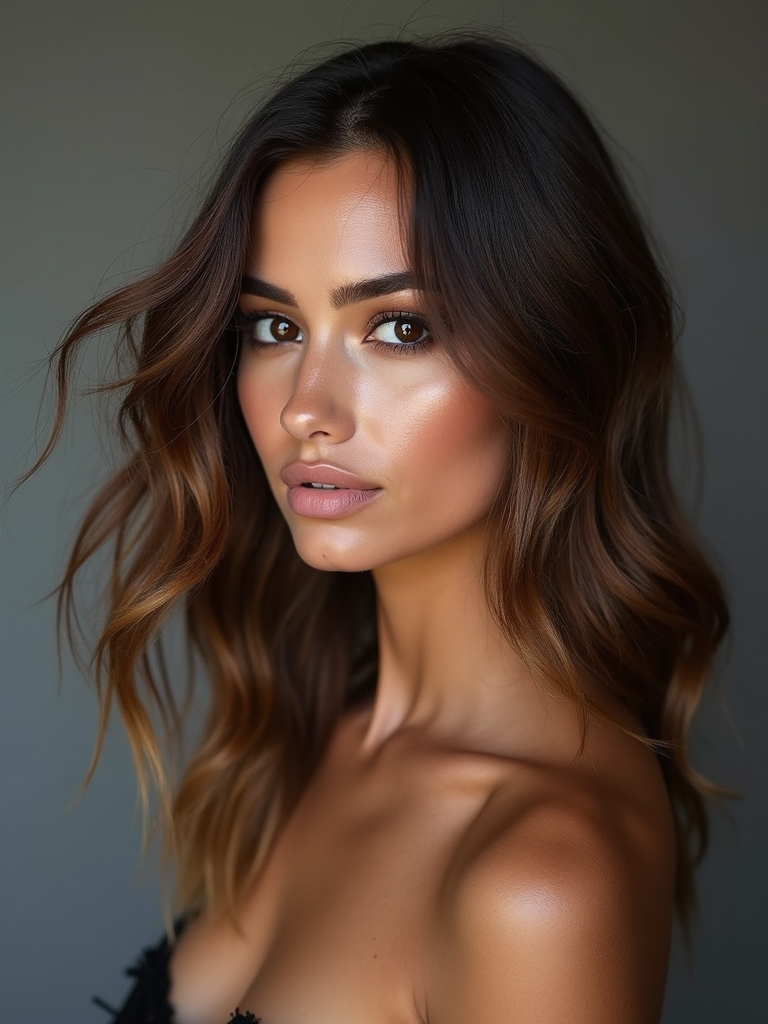
The volume in a butterfly cut is built right into the shape. By removing weight from the crown and keeping the short layers light, the hair springs up at the root and stays lifted through the day.
This is the part that makes fine hair fall for the cut. You get the appearance of thickness from the shaping, so you can skip half the volumizing products you used to lean on.
- Internal layers at the crown lift the root naturally.
- Lightly textured ends keep the bottom from dragging the volume down.
- A little volumizing mousse at the roots is all most people need.
Precision-Cut Ends
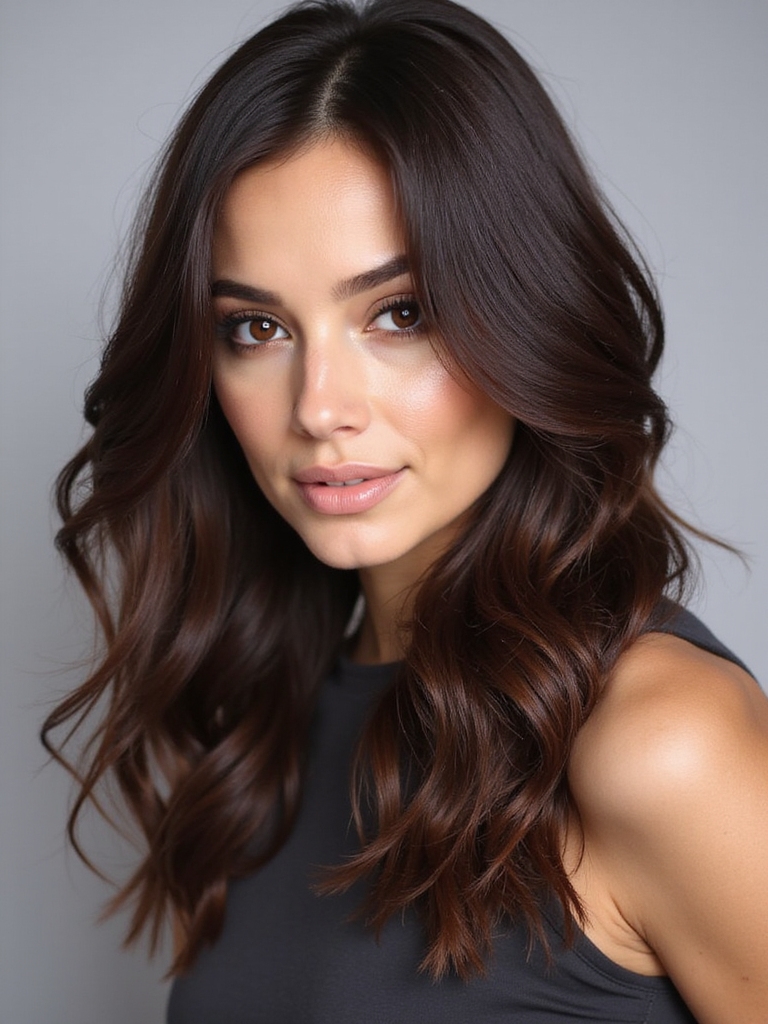
For all its softness, this cut lives or dies on the ends. If the layers are over-thinned or the ends are left blunt and heavy, the wings collapse and you are left with a shapeless grow-out.
A good stylist balances the two: enough texture so the layers move, enough weight at the perimeter so the length still looks intentional. This is the detail worth paying for.
- Point-cutting softens the layers while keeping the length.
- The perimeter stays slightly heavier to anchor the shape.
- Heavy thinning shears tend to create frizz and flyaways over time.
The cut is soft, but the ends have to be precise. Get the layers blended right and the wings hold themselves; get them wrong and the whole shape collapses by week three.
The Butterfly Cut on Textured Hair

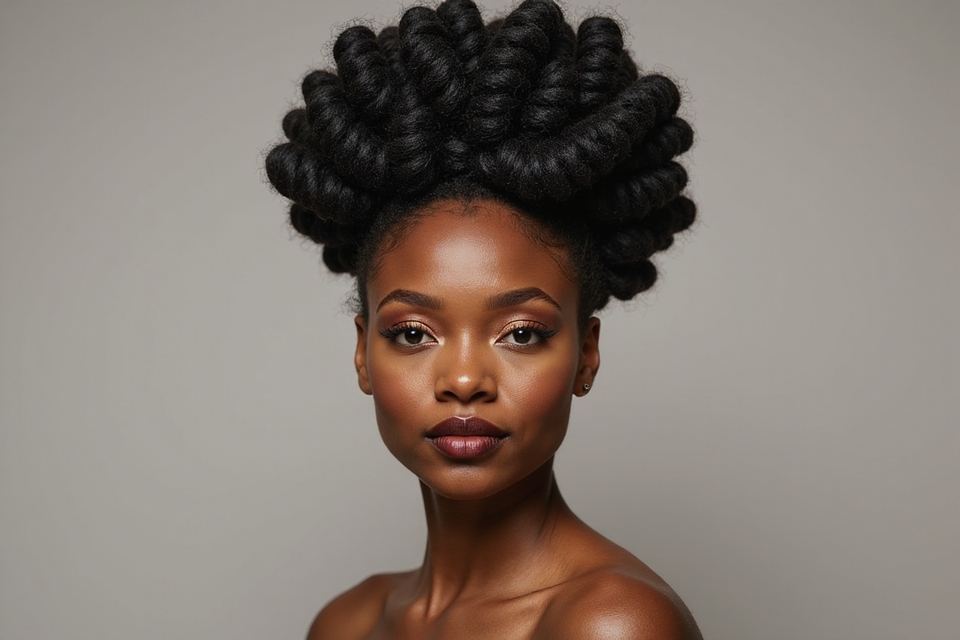
The butterfly cut absolutely works on curly and coily hair, but it has to be cut differently. On textured hair I cut the layers while they are dry and fully shrunk, watching how each curl springs up so I can set the shape where it truly lands.
Cut wet, curly layers shrink unpredictably and the wings can end up far shorter than planned. Worked with the curl pattern, though, the butterfly shape gives natural volume that straight hair has to fake.
- Cut dry on curls and coils so shrinkage does not surprise you.
- Place the shortest layer lower than you would on straight hair.
- Define the wings with a curl cream and your fingers.
Framing Your Contours

The face-framing layers are the most flattering part of the cut, and they can be tailored to your features. Started higher, near the cheekbone, they lift and slim a rounder face; started lower, near the jaw, they soften strong angles.
This is the conversation to have at the consultation. Tell your stylist which part of your face you want to draw attention to, and the framing can be cut to do exactly that.
How Hair Length Changes the Style

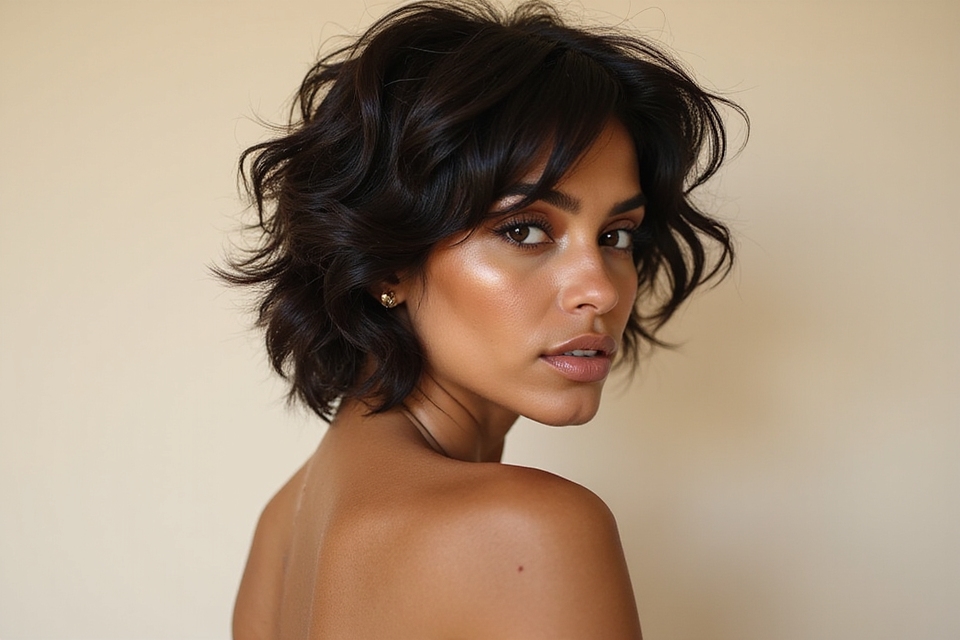
Length changes the personality of the cut completely. The popular butterfly bob is the shortest version, while waist-length hair gives you dramatic, sweeping wings. The cut you want depends on how much length you are willing to keep.
If you are growing out a bob, this is the cut that makes the awkward phase look deliberate, which is why so many people reach for it mid-grow-out.
- Butterfly bob: chin to shoulder, playful and low-commitment.
- Mid-length: the classic, most balanced version.
- Long: dramatic wings, but needs regular trims to hold the shape.
The Tools You Actually Need

You do not need a salon’s worth of tools to style this cut at home, despite what the tutorials suggest. The wings come from a round brush and a blow-dryer, full stop.
The Two That Matter Most
A medium round brush lifts the roots and flicks the layers back, and a dryer with a nozzle directs the air so the shape sets. Everything else is optional.
If you want to refine it, a flat iron or a large-barrel curler can polish the ends, but most days a blowout is plenty.
Getting the Butterfly Cut, Step by Step

In the salon, the cut starts with sectioning: your stylist separates the top tier of short layers from the long length underneath, usually pinning the length away first. The short layers are cut and shaped to frame the face, then connected down into the length with soft, blended cutting.
The whole thing takes a stylist around 45 minutes, plus another 20 for a blowout. It is not a quick trim, so book accordingly and do not rush the consultation, because the placement of that first short layer decides everything.
Styling It Different Ways
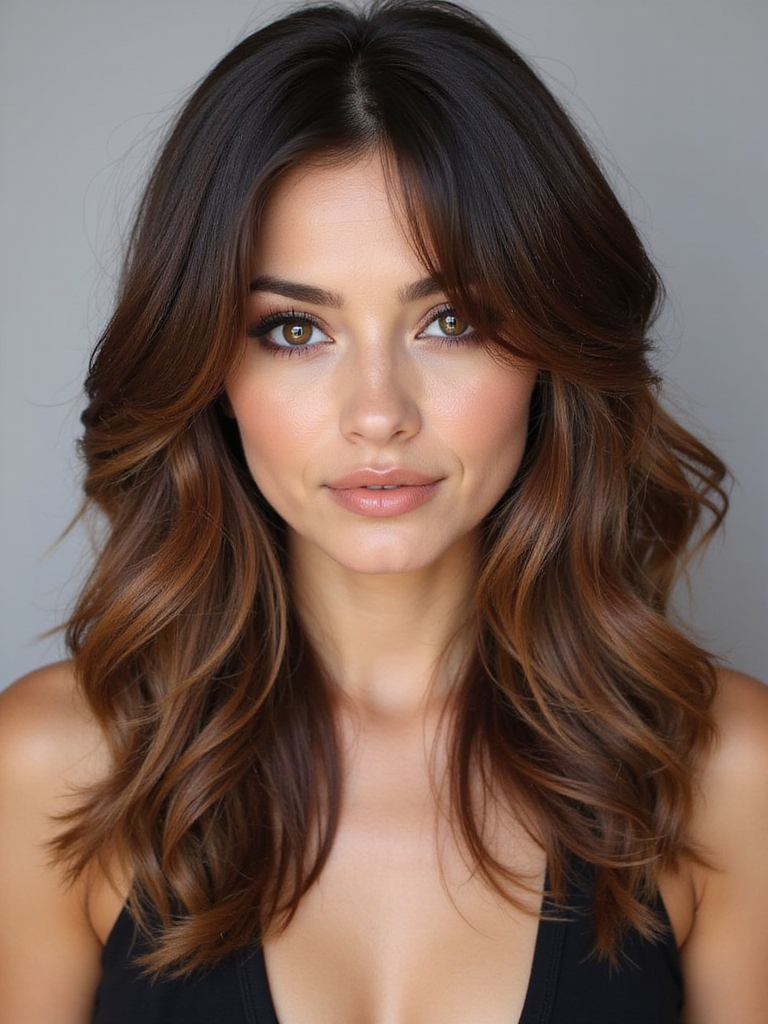
Once the cut is in, the styling is forgiving. The layers want to flick back on their own, so even a rough blow-dry with your fingers gives you most of the shape.
Start With the Front Pieces
For the full effect, dry the front sections back and away from your face with a round brush, then let the crown lift as it cools. For a softer day, scrunch in a little mousse and air-dry.
What I tell every new client is to style the front pieces first while the hair is wet. They set the tone for the whole look, and the rest falls into place around them.
Maintenance and Trims

The honest trade-off with this cut is upkeep. Because the shape relies on those short layers, it needs a trim every 8 to 12 weeks to keep the wings defined, sooner if your hair grows fast.
Skip the trims and the layers blur into a heavy, shapeless grow-out, which is the most common complaint I hear about the cut. That said, it grows out far more kindly than a blunt bob.
Between salon visits, the cut mostly takes care of itself. A weekly mask keeps the ends from looking thin, and that is about all the extra care it asks for.
Products for Your Butterfly Cut

Product-wise, less really is more with this cut. The shape itself carries the look, so a few light formulas keep it fresh without weighing the layers down.
Rich creams and oils work against this cut. They weigh the crown down and smother the bounce that the layering worked so hard to create.
- A lightweight mousse or root spray for lift at the crown.
- A heat protectant before any blow-dry or iron.
- A pea-size drop of serum on the ends only, kept well away from the roots.
Iconic Layered Inspirations

The butterfly cut sits in a long line of iconic layered styles, and bringing a reference photo helps your stylist read what you actually want. The seventies blowout, the early-2000s long layers, and the modern shag are all relatives.
Pulling from those references is smart, because layered cuts photograph very differently depending on how they are styled. Show your stylist the finish you love, not just the cut.
- Seventies feathered flicks for maximum bounce.
- Soft early-2000s layers for a gentler frame.
- The wolf cut if you want something edgier and shaggier.
Volumizing Mousse and Texture
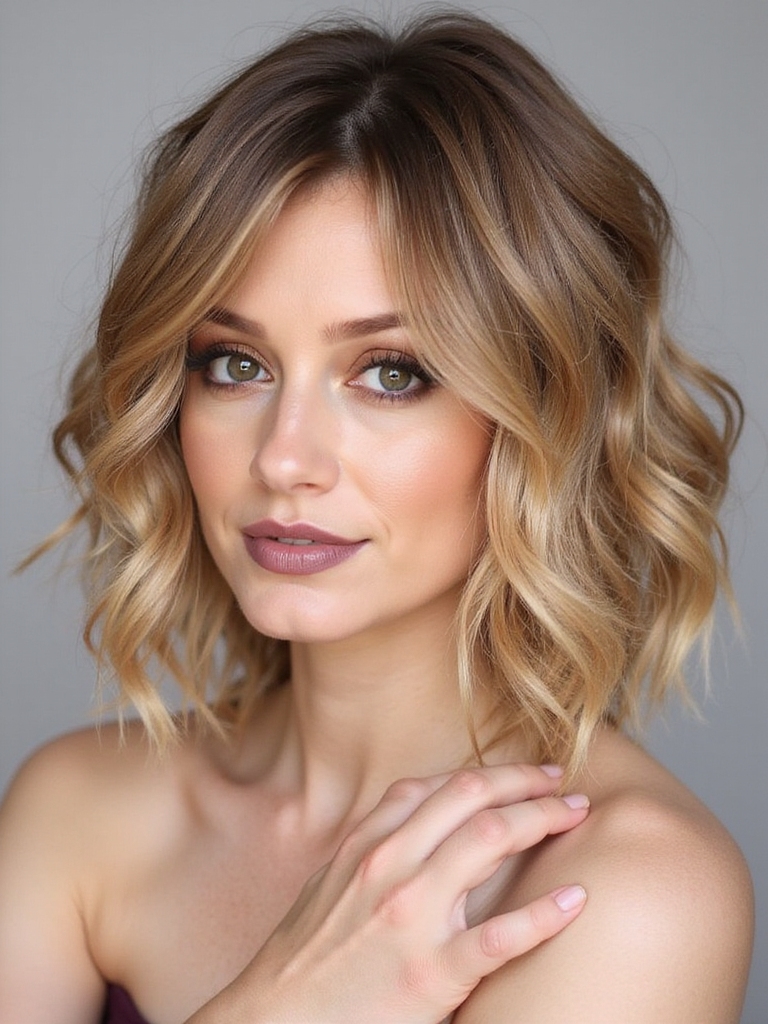
If there is one product that earns its place with this cut, it is a good volumizing mousse. Worked into damp roots before you dry, it gives the crown the lift that makes the wings read full all day.
- Apply a golf-ball-size amount of mousse to damp roots and skip the lengths.
- Dry the roots upside down for a few minutes to set the lift.
- Finish with a light texture spray on the mid-lengths for grip.
A Smooth Transition to Layers

Coming from a blunt, one-length cut, the change can feel dramatic, so ease into it. You do not have to take the shortest layer all the way to the chin on your first appointment.
Start with longer face-framing pieces and a few internal layers, see how you like the movement, then go shorter at the next trim. This is how I move cautious clients into the shape without shocking them.
- Begin with collarbone-length framing for the first appointment.
- Add internal layers gradually over two appointments.
- Keep more length the first time if you are nervous about commitment.
Creative Color Pairings

Color and the butterfly cut were made for each other, because the layers create natural movement for the color to follow. Face-framing highlights brighten the wings and draw light toward the face.
A soft balayage or money-piece around the front pieces is the most flattering pairing I see. The lighter tones catch on the layers and make the shape look even more dimensional.
If you keep a single color, choose a glossy, reflective tone. Shine is what makes all that layering look expensive and intentional.
Mistakes to Avoid

Most butterfly cuts that go wrong fail for the same handful of reasons, and they are easy to sidestep if you know them going in. The biggest is going too short on the top layer without enough length below to balance it.
The second is neglecting the trims, which turns the cut into a heavy mushroom shape within a couple of months. Both come down to communication and a little patience.
- Hold that top face-framing layer no higher than the chin unless your length is well past the shoulder.
- Book the 8-to-12-week trim if you want the wings to last.
- Go easy on thinning, which causes frizz and a stringy grow-out.
Enhancing Your Features
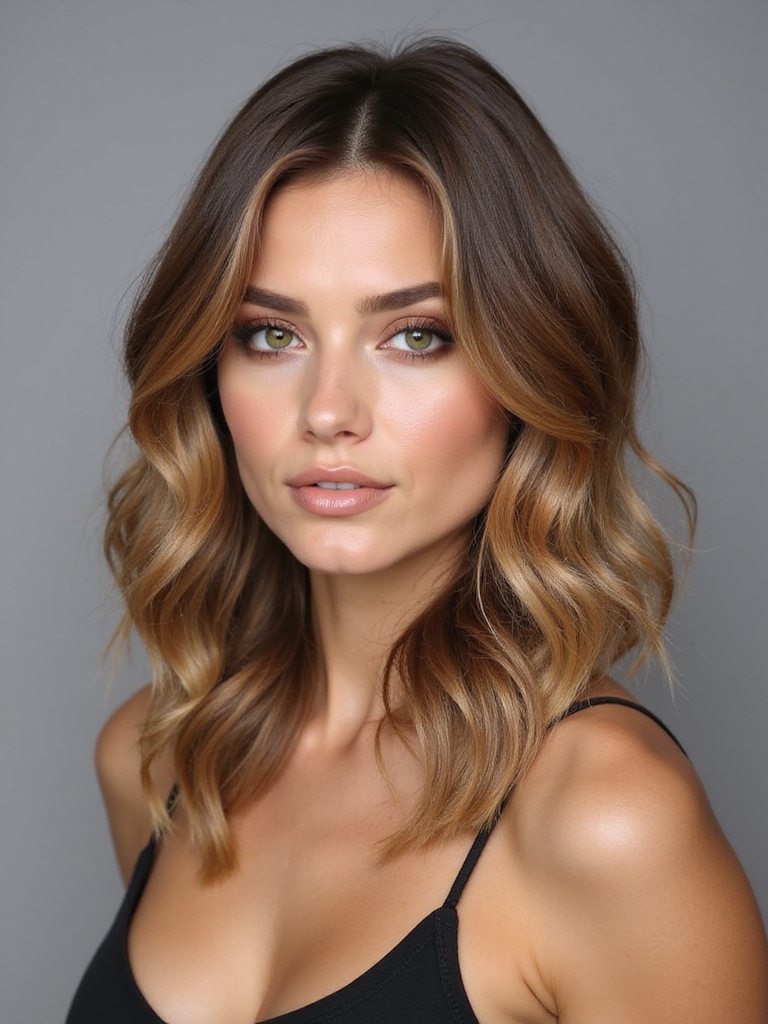
Beyond the trend factor, this cut is flattering because the framing can be tuned to your face. Cheekbone-level layers lift a round face, while a deeper side part and longer pieces soften a square jaw.
Few cuts adapt to the face this readily. The same basic shape can be set to highlight whatever you most want to show off.
- Round face: start the framing high near the cheekbone to slim and lift.
- Long face: keep more length in the framing to avoid stretching it.
- Square jaw: a deeper side part softens the angles beautifully.
Variations on the Butterfly Cut

The butterfly is really a whole family of cuts, and that range is a big reason it keeps its place in the salon. You can take it short into a butterfly bob, add curtain bangs, or keep it long and dramatic.
Each variation keeps the core idea, short framing layers over kept length, while changing the overall vibe. That flexibility means you can evolve the cut over time without starting from scratch.
- Butterfly bob for a shorter, lower-maintenance take.
- Pair it with curtain bangs for an even softer frame.
- Long butterfly for maximum wing drama, with regular trims.
Is the Butterfly Cut Right for You?

The butterfly cut is worth it if you want volume and movement, you have collarbone length or longer to work with, and you are willing to keep up with trims. It rewards a little styling effort and a regular salon visit.
It is not the cut for you if you want true wash-and-go simplicity with zero upkeep, or if your hair is very short right now. In that case, grow it out first and revisit the idea later.
For most people in between, though, it is the most flattering layered cut going, which is exactly why it took over.
How to Ask Your Stylist for It
The single best thing you can do is bring two or three reference photos and be specific about length. Tell your stylist you want a butterfly cut with the shortest face-framing layer at the chin or cheekbone, blended into kept length underneath, and say plainly how much length you are unwilling to lose. The word that gets you in trouble is short, so describe the layers instead of using it.
Ask for point-cut, blended layers and go light on thinning, and mention whether you blow-dry or air-dry most days so the texture suits your routine. If you are growing out a bob haircut, say so, because the placement changes when there is less length to work with. A good stylist will talk you through where the wings will fall before a single section is cut.
Wearing the Wings Your Way
The butterfly haircut earned its hype honestly. It gives flat hair lift, frames almost every face, and grows out more kindly than nearly any other layered cut, which is a lot to get from one appointment.
If you have been eyeing it, bring your reference photos, be honest about how much length you want to keep, and find a stylist who cuts to your face and reads your features first. Start with a gentle version if you are unsure; you can always take the wings shorter next time.
More Styles to Try