Brides think a wedding updo lasts because of how much hairspray you drown it in. After years of pinning hair that has to survive a ceremony, a photo marathon, and a four-hour dance floor, I can tell you the can of spray is the least of it. A lasting updo is built from the foundation up, long before the veil goes on.
This is the durability guide, the part most look-roundups skip. Below are the prep, the products, the pinning, and the fixes that keep a bridal updo standing from the first look to the last song, whatever your hair type and whatever the weather throws at you.
What Makes a Bridal Updo Last
- A lasting updo is built, not sprayed. It starts months early with healthy hair and a trial run, then leans on a secure pinned foundation far more than any single product.
- Second-day hair holds better than freshly washed; prep with a texturizing spray for grip and cross every bobby pin in an X so it locks against the scalp.
- Pack an emergency kit with extra pins, hairspray, and a mini mirror, plan three touch-up moments, and budget $50-100 for a trial run with your stylist.
Pre-Wedding Hair Care
The healthiest hair holds a style best, so the work starts months before the dress fitting. I tell brides to begin treatments three to four months out: a weekly deep conditioner, a trim every six to eight weeks to clear split ends, and as little heat as you can manage.
Start Early, Hold Longer
Healthy hair grips pins and holds curl. Dry, damaged hair slides loose by the reception. Build in moisture early and the updo has something sturdy to anchor to.
Book a trial run, too. It is the single most useful thing a bride can do, a chance to see how your hair takes curl and pins and to fix the plan while there is still time to change it.

Products for Long-Lasting Updos

Once the hair is healthy, the right products keep the style standing all night. You do not need a cabinet full, just a few that earn their place. Here is the lineup I rely on:
- A strong-hold hairspray for the final lock and quick touch-ups through the night
- A texture or grip powder dusted at the roots so fine sections hold a pin
- Pearl-tipped or color-matched pins, plus a few small clear elastics for hidden anchors
- A light, silicone-free dry shampoo for grip on freshly washed or fine hair
A wedding updo does not fall apart because of bad luck. It falls apart because the foundation was rushed. Build the base like it has to last all night, because it does.
The Secure Base Pinning Technique

Every lasting updo sits on a hidden foundation, and this is the step brides never see in a tutorial. You anchor small sections close to the scalp before you build anything decorative, creating a base the whole style hangs from securely. The sequence:
- Section the hair and pin each piece flat to the scalp in a crisscross pattern
- Cross two bobby pins in an X at each anchor point so they grip from opposing angles
- Build your twist, roll, or bun on top of this secure base, never on loose hair
- Tuck the foundation pins where the finished style will cover them
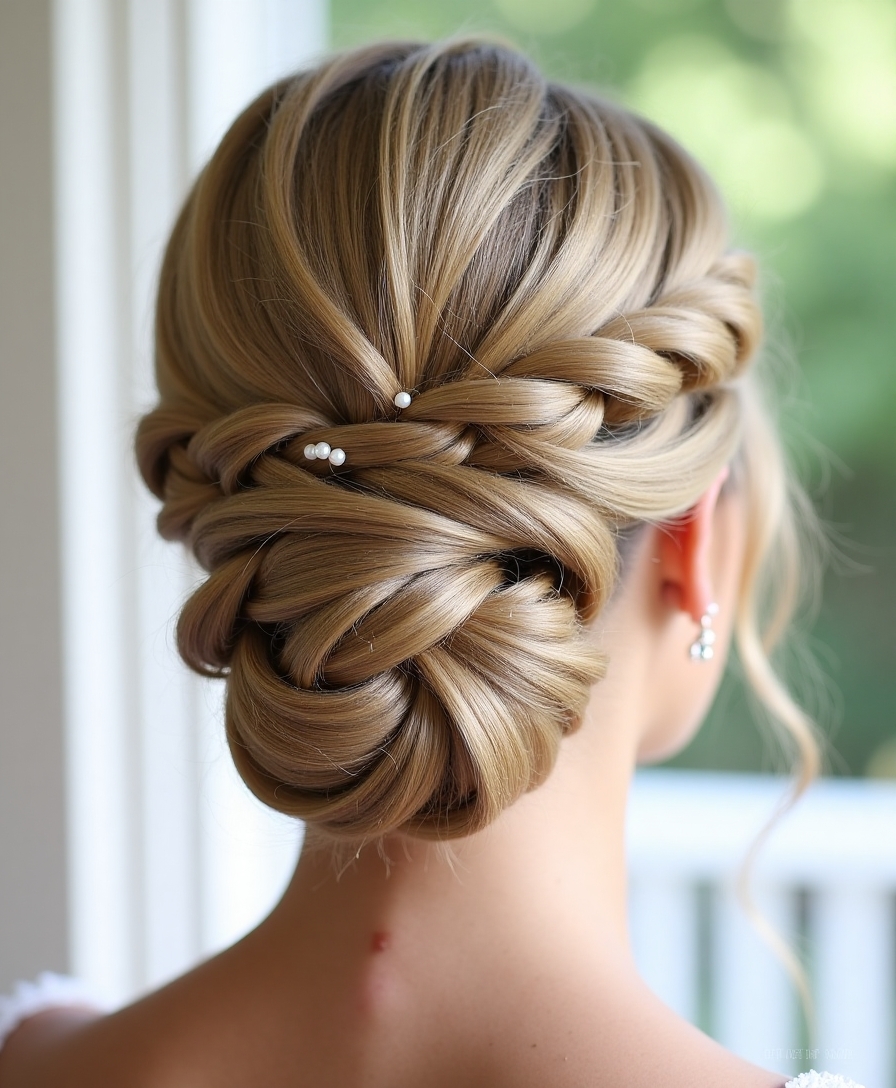
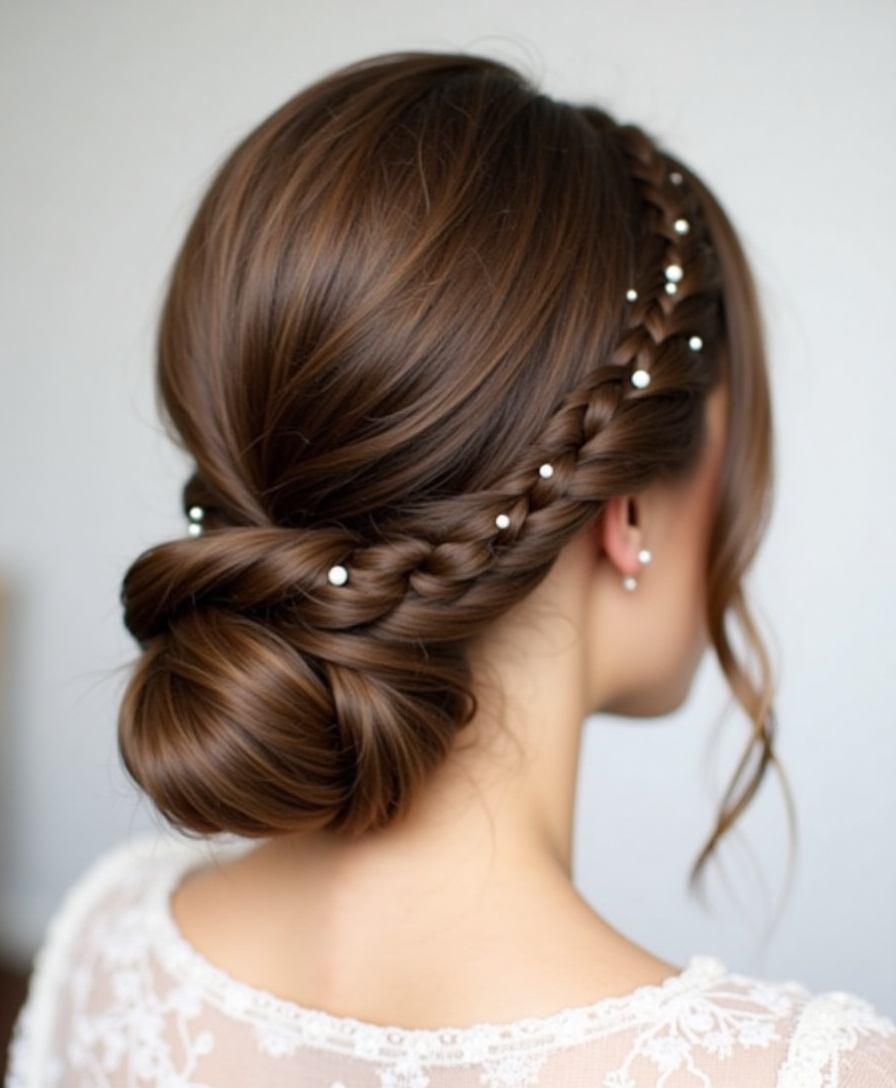
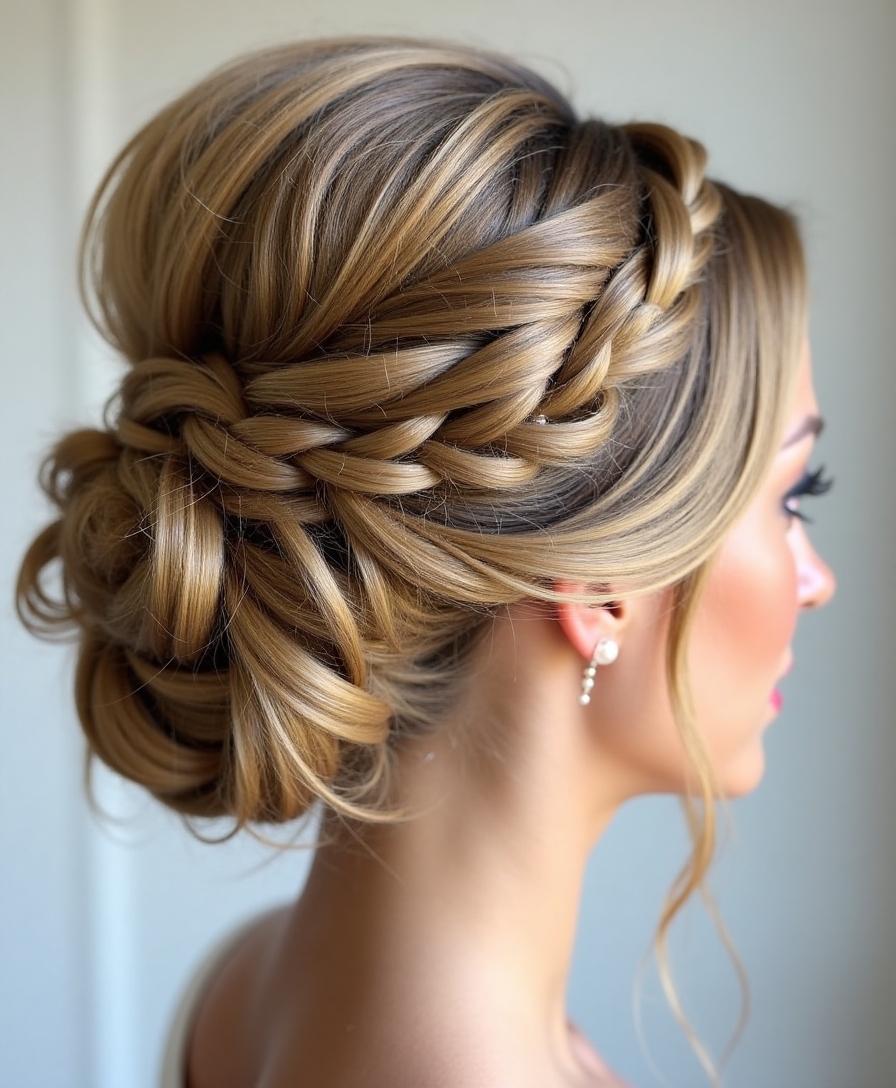
A Braided Crown for Stability

A braided crown ranks among the sturdiest bridal shapes, because the braid itself becomes structure. I love a twisted double crown, two braids wrapped in opposite directions, which locks against itself and holds through hours of movement.
Place pins under the curves and crossovers of the braid, where they disappear in photos but do real work. Weave any stubborn loose pieces back into the crown pattern so nothing slips out mid-dance. On textured and coily hair, keep the braid tension gentle at the hairline to protect your edges; security should never mean pain.
🅰️Crossed Bobby Pins
Two pins crossed in an X grip from opposing angles and lock flat against the scalp. The workhorse for anchoring a base and securing twists; nearly invisible when matched to your color.
🅱️U-Shaped Pins
Open U-pins slide in around a bun’s base and hold heavier or thicker sections while keeping the shape intact. Best for low buns and dense hair; pair them with bobby pins for full security.
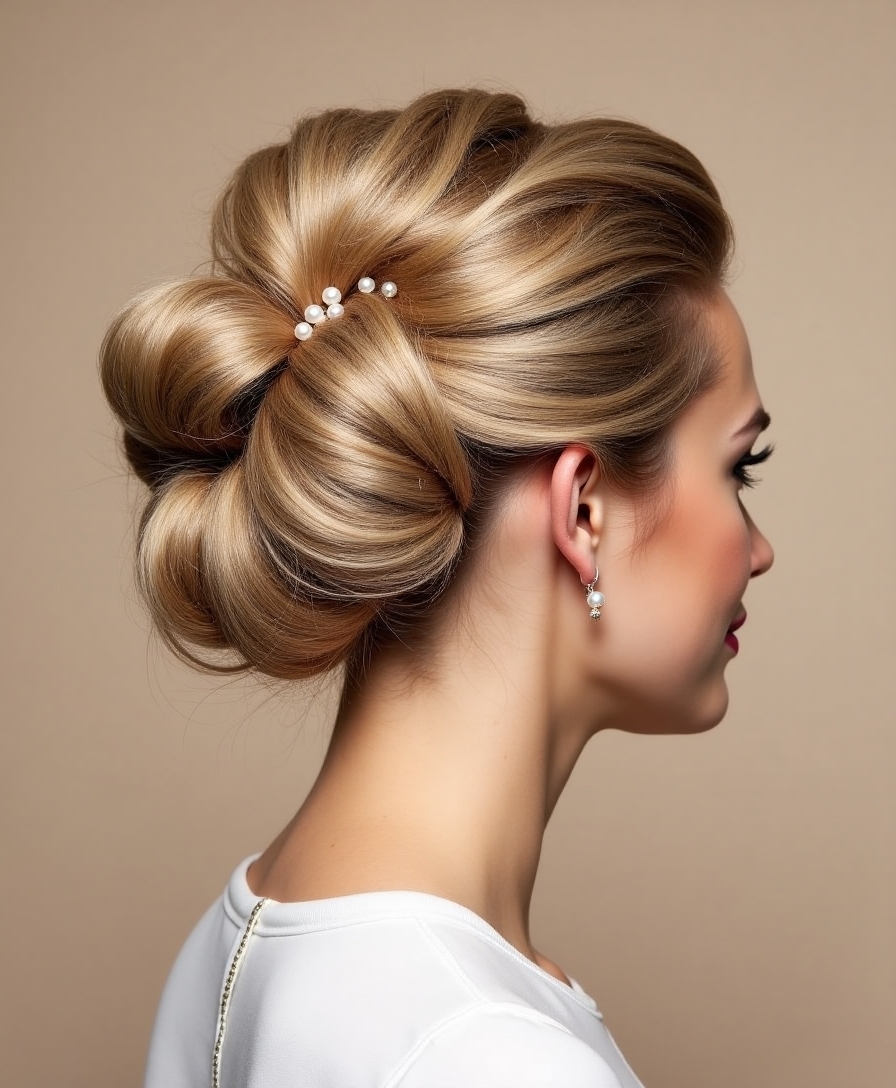
A Strong-Hold Twisted Bun
When a bun has to survive real dancing, the twist and the pinning carry the weight, more than the shape itself. Three stay put best: the double-twisted crown bun, the French-twist hybrid, and the spiral knot. All three share the same locking logic.
Strong-hold spray between each twist seals the layers as you go, so the bun sets as one solid piece. Cross your pins in an X at every join.
- Spray each twist before you pin the next so the layers fuse
- Cross bobby pins in an X at the base and at every join
- Tuck and pin the ends inward so nothing works loose on the floor
Bobby Pin Placement
Where you place a pin matters as much as how many you use. Crossing pins in an X builds a strong foundation that holds through hours of dancing, while scattered single pins drift loose by cocktail hour.
Grooved Side Down
The hidden spots do the heavy lifting: right at the nape and behind the ears, where pins grip without showing. Anchor there and the visible style stays calm.
One more detail brides miss is which side of the pin faces in. The grooved, wavy side grips the hair; slide it against the scalp with the wavy side down, and each pin holds like a pro set it.
📋Before the Ceremony Starts
- ✓Style set on second-day or texturized hair for grip
- ✓Every pin crossed in an X and tucked out of sight
- ✓Final lock of strong-hold spray, plus the emergency kit handed off
Updos for Fine Hair
Fine hair can absolutely hold a lasting updo; it just needs help building body first. I prep with a volumizing mousse and rough-dry the hair upside down to lift the roots before any styling begins.
Teasing is your friend here. Backcomb small sections at the roots with a fine-tooth comb, then dust texturizing powder before pinning so the strands have grip to hold onto.
Crossed bobby pins in an X give fine hair the extra security it needs, and clip-in wefts add the volume that makes a thin bun look full. Worked together, these tricks turn delicate hair into a sturdy style.
Securing a Thick-Hair Updo
Thick hair holds a style for days, but its weight can drag an updo down once it is loose. I always section dense hair into manageable chunks and secure each with a strong elastic before building anything.
Jumbo bobby pins are the tool that makes the difference, anchoring heavy sections that standard pins cannot hold. Cross them in an X like everything else, just bigger and sturdier.
Smoothing each section as you go keeps the weight from pulling the whole style sideways. Done right, thick hair gives you a full, dramatic updo that easily lasts the night.
Two quick calls for your hair type:
1My hair is fine and slippery. What holds best?
Texturizing powder at the roots, a teased base, and crossed bobby pins. Clip-in wefts add the body fine hair lacks, giving the pins more to grip and the bun more to fill out.
2My hair is thick and heavy. What keeps it up?
Section it with strong elastics first, then anchor with jumbo bobby pins crossed in an X. Controlling the weight in chunks is what stops a heavy updo from sliding sideways by the reception.
Weatherproofing Your Wedding Hair
Weather is the variable nobody can control, so you plan around it. Humidity is the main enemy of a bridal updo, swelling the hair and loosening curls, so a humidity-blocking hairspray becomes your best friend on a muggy day.
Humidity Is the Enemy
Layer your defenses. A light silicone serum seals the cuticle against moisture, and an anti-frizz cream applied before styling stops dampness from creeping in.
For an outdoor or summer wedding, weather-resistant products clearly outperform standard styling aids, so it is worth the swap. Pack the humidity spray in your kit for a mid-day refresh when the air turns heavy.
The Right Hair Accessories
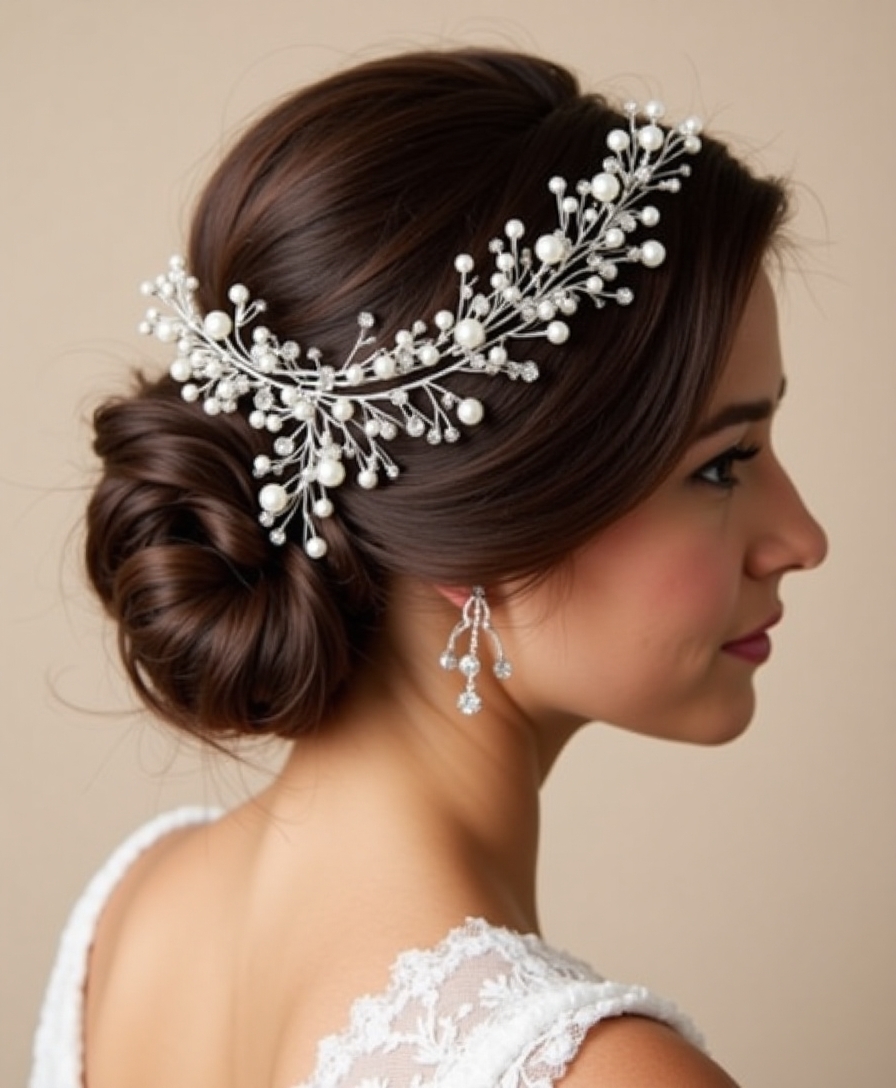
The right hardware adds both beauty and structure, so choose accessories that hold as well as they shine. I recommend U-shaped pins for their grip and spiral pins, which work wonders in thick hair where straight pins slide.
Brides ask me about this all the time, and quality matters more than they expect. Cheap pins bend and lose their grip; matte pins matched to your hair color disappear, and small clear elastics give invisible hold under the surface.
Think of decorative pieces, a comb, a clip, a hairpin, as doing double duty: they finish the look and reinforce a weak point. Place a pretty comb exactly where the style needs extra anchoring, and it earns its keep.
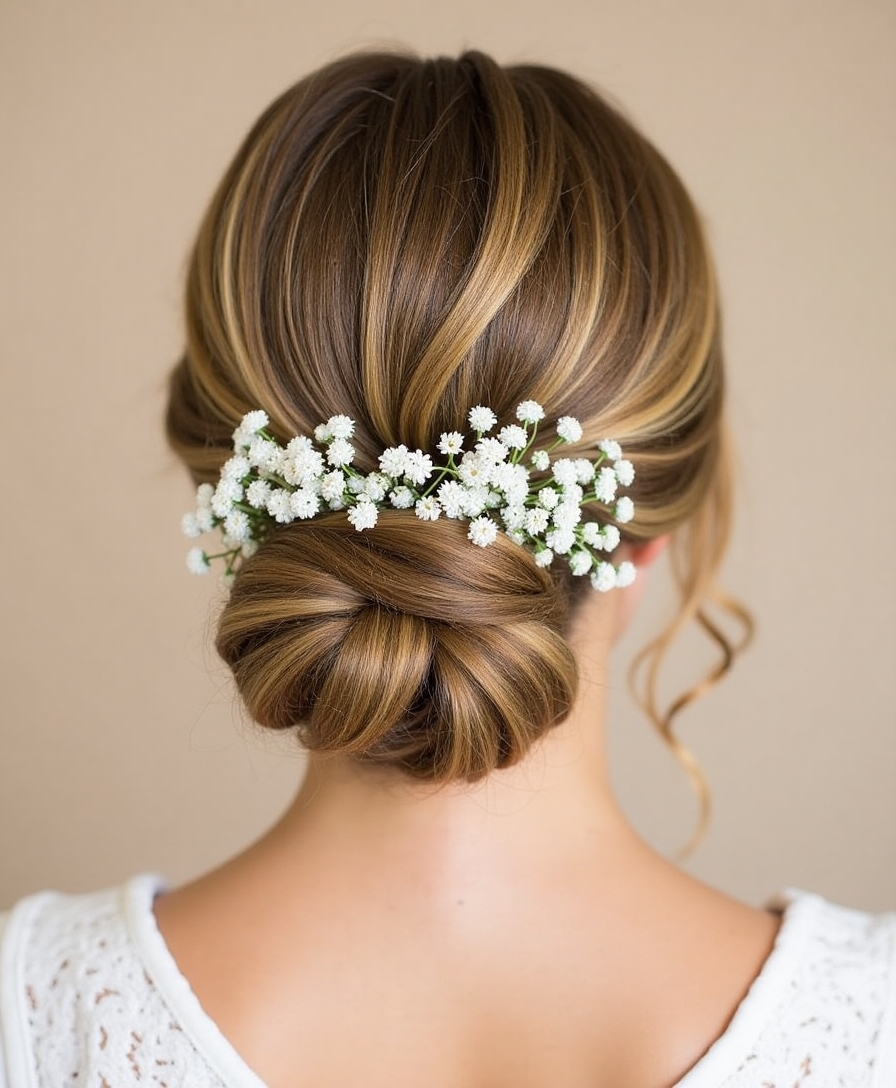
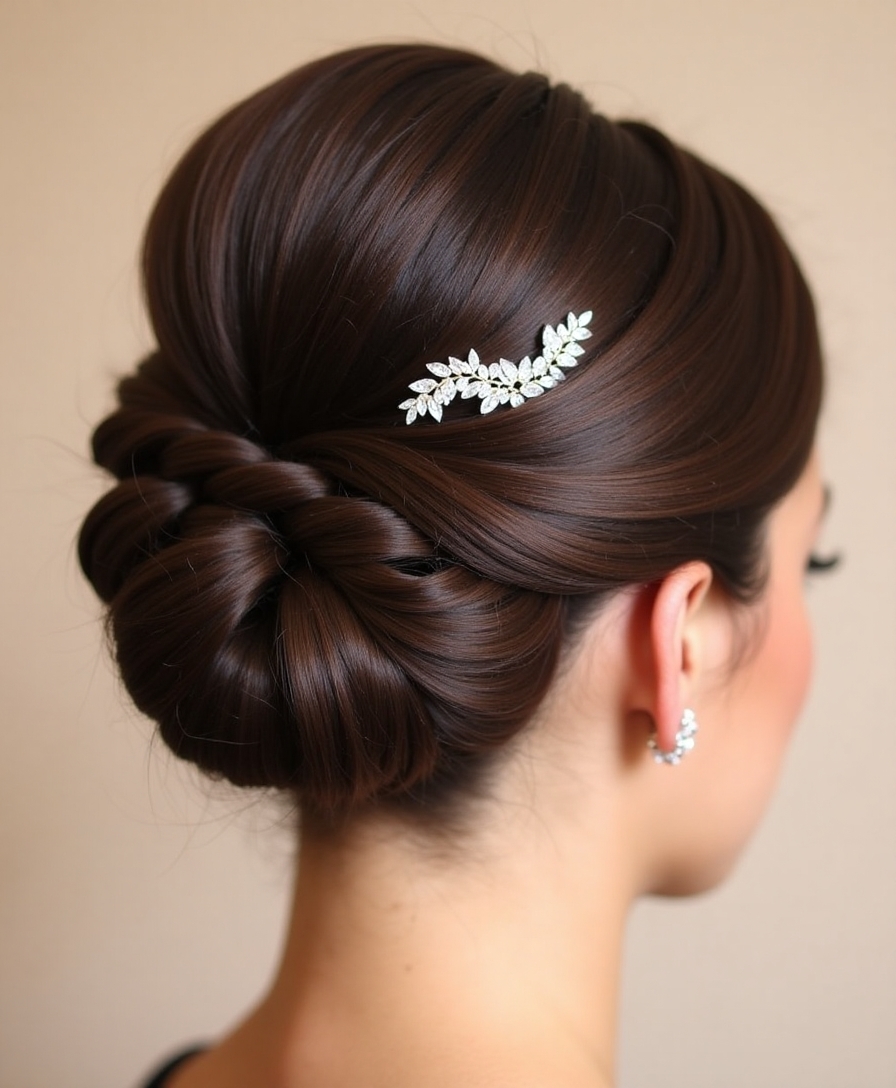
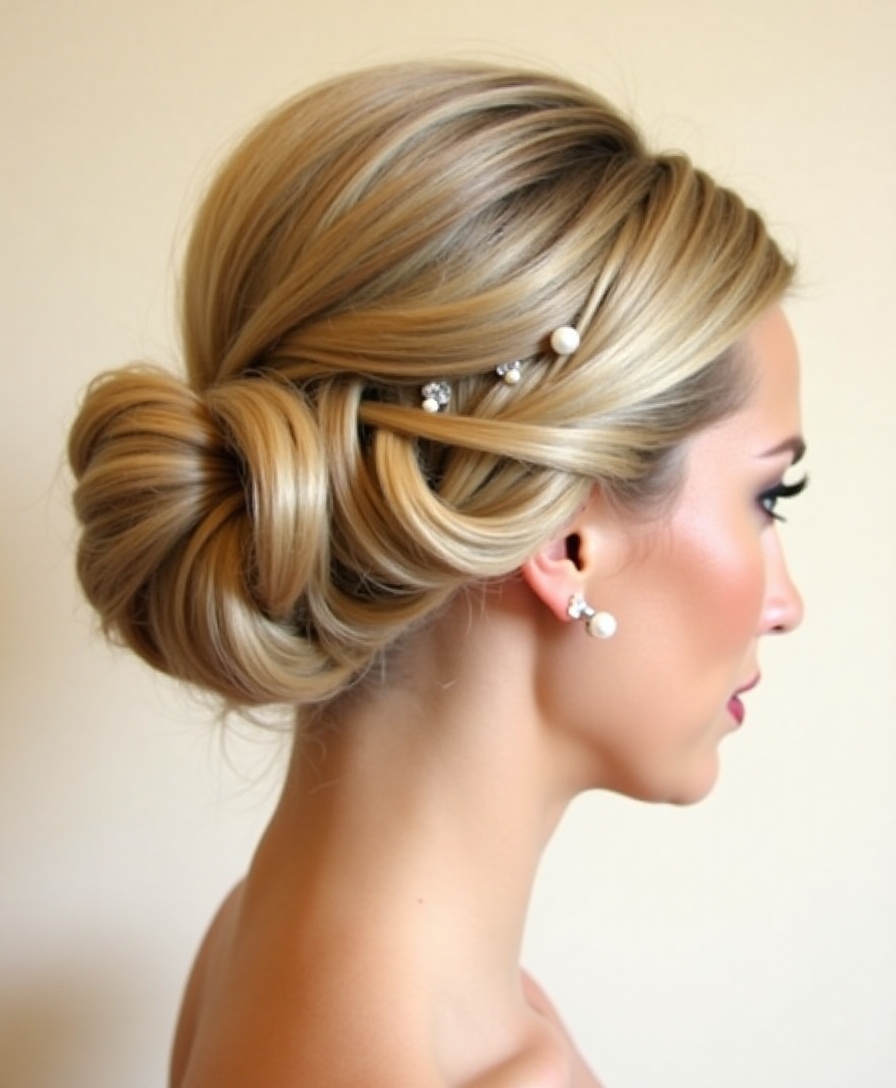
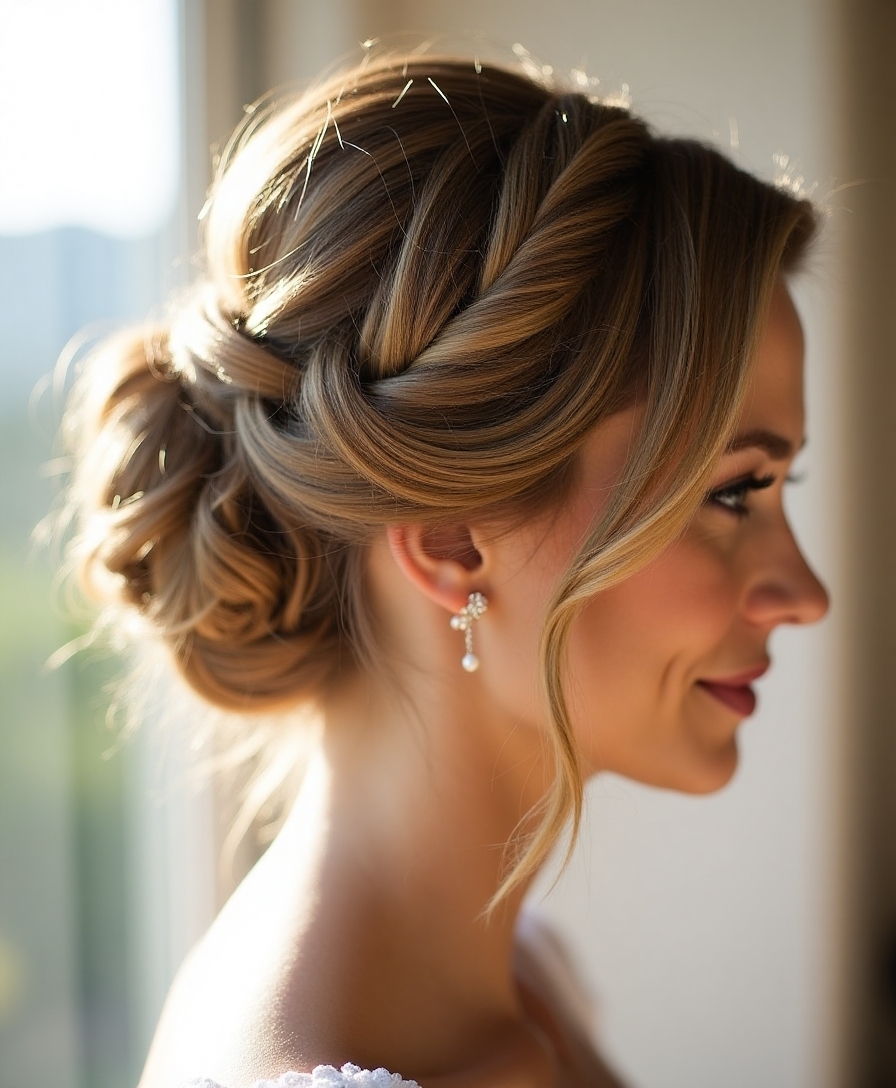
A Secure Low Bun
A low bun is a bridal classic, and a well-built one survives every twist and twirl on the dance floor. You prep with texturizing spray for grip, then create a low ponytail at the nape with a strong elastic before twisting and wrapping.
U-pins around the base and crossed bobby pins underneath lock it down, and a flexible hairspray keeps it from going stiff while still holding. Less weight pulls against gravity all night.
- Start with texturized, second-day hair for grip
- Use a strong elastic at the nape before you twist and wrap
- Lock with U-pins around the base and a flexible-hold spray on top
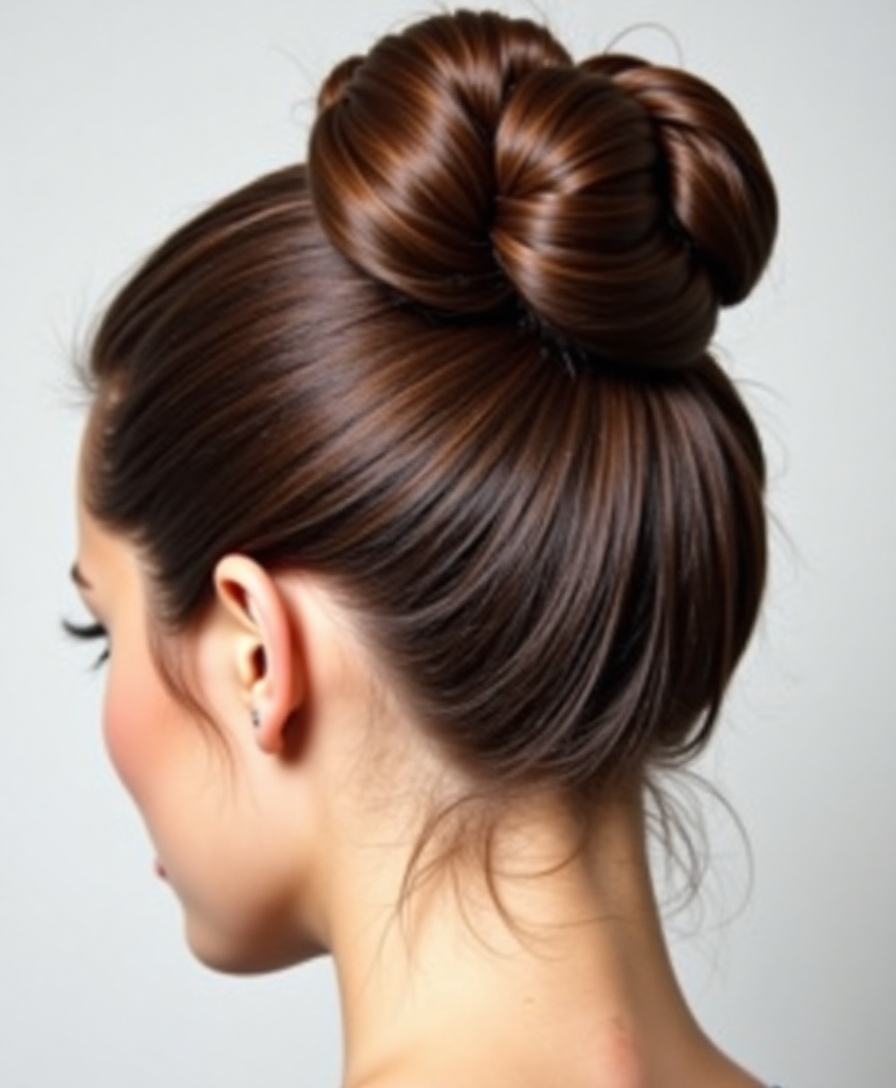
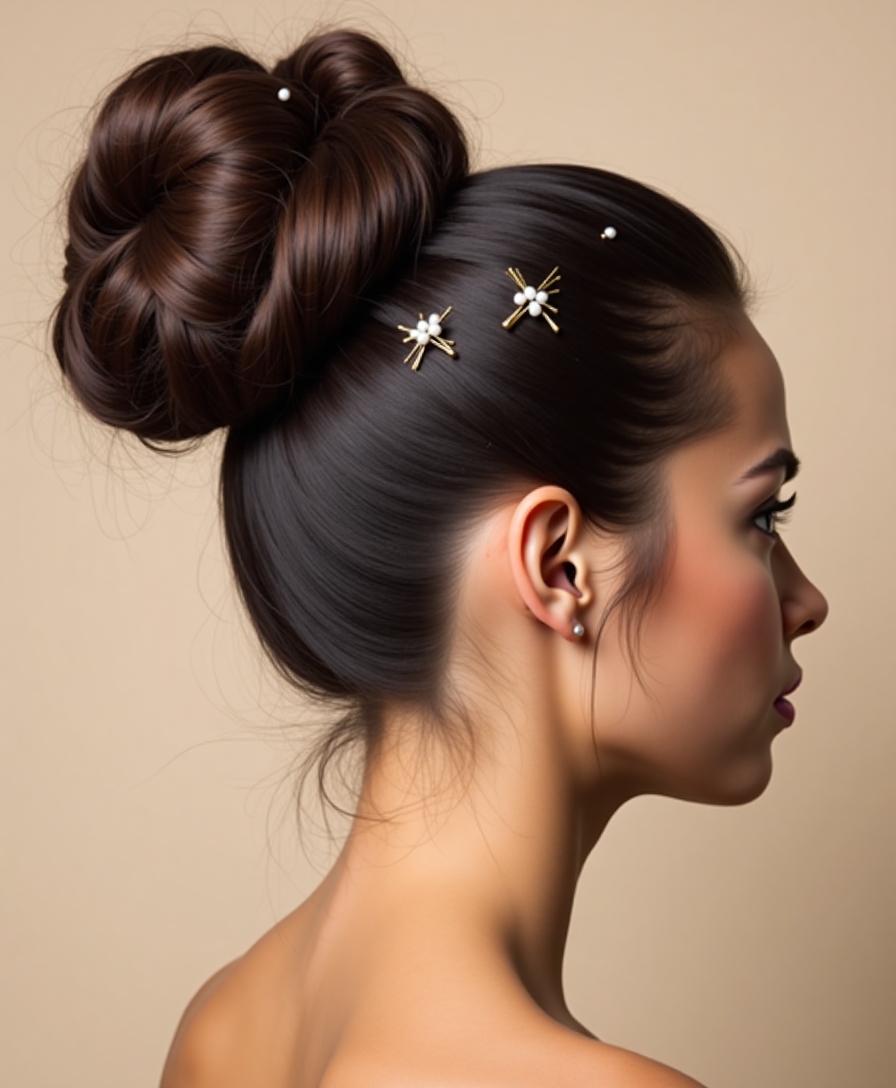
A Secure High Updo
A high updo brings drama and height, but it fights gravity harder, so the foundation has to be bulletproof. You start by anchoring a secure base bun at the crown, then layer and twist additional sections around it to build the shape.
The real difference is an invisible network of crossed pins slid against the scalp at opposing angles. Each one pulls against the next, so the whole structure locks rather than relying on any single pin.
Height needs the most reinforcement of any updo, so do not rush the base. Get that crown bun solid, and the dramatic shape on top will stay put through hours of celebrating.
Vintage Looks With Modern Support
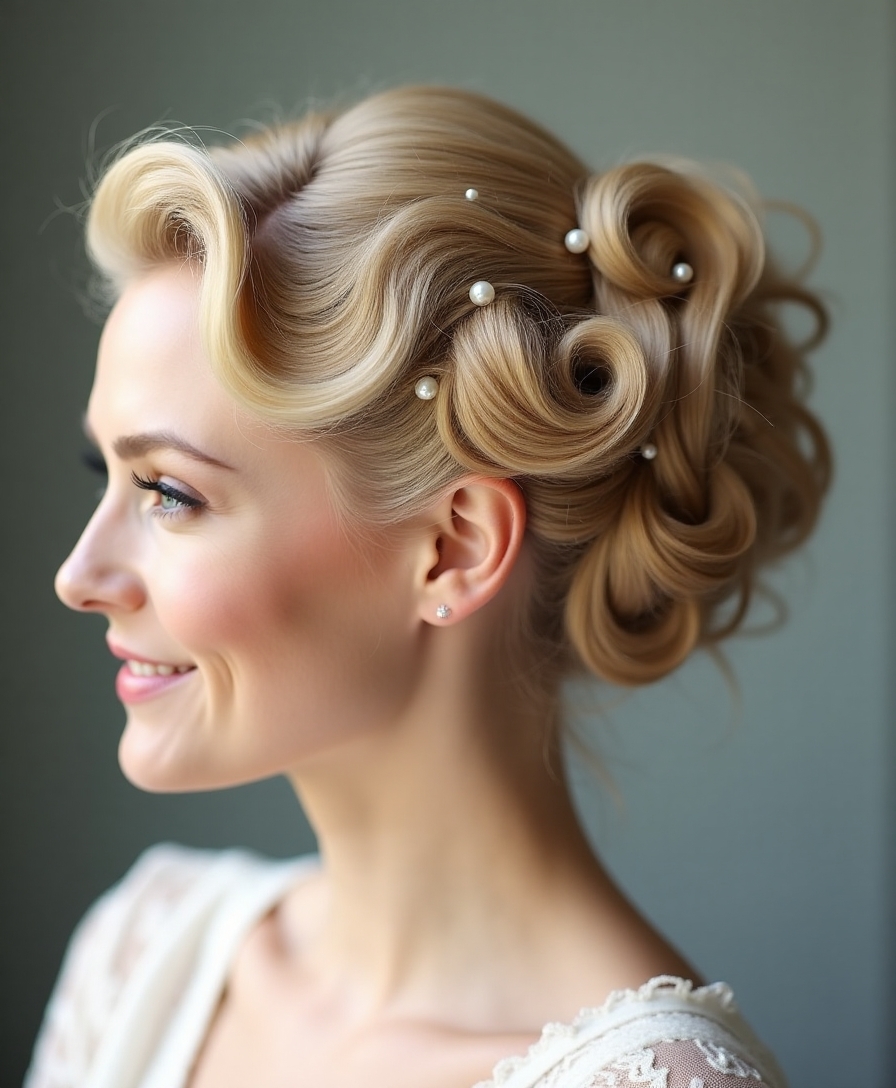
Vintage bridal styles bring timeless romance, but the originals tended to fall by the reception. Today you can build the same Marcel wave or Gibson roll on hidden modern support so it holds all night. How it works:
- Shape the curl or roll with a heat tool, then let it cool fully before pinning so it sets
- Hide a flexible wire form or a small mini comb inside the roll for invisible structure
- Lock with today’s stronger sprays, which the vintage versions never had
- Pin along the seam at opposing angles so the romantic shape stays crisp for hours
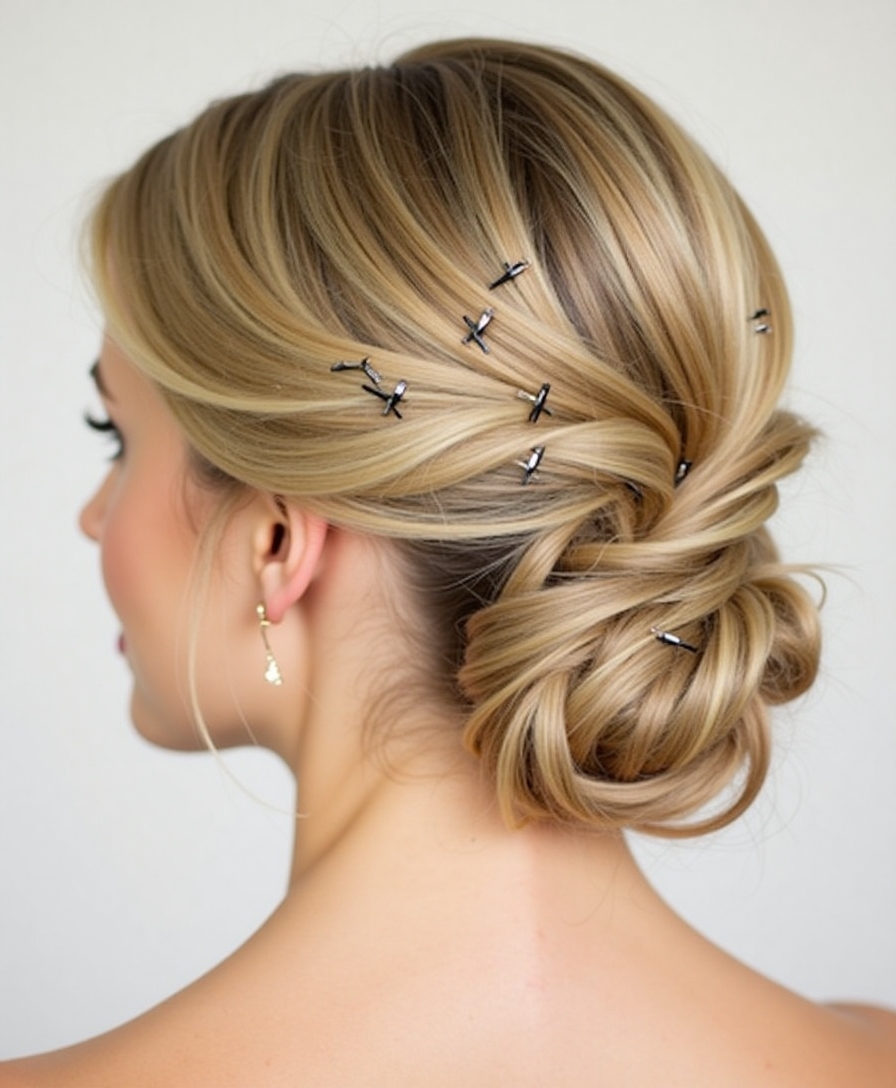
Hairpin Layering for Stability
A truly secure updo uses pins in layers, like the support beams in a building, not a few nails tacked on the surface. I think of the hair in zones, each one reinforced before the next goes up.
The sequence is what makes it foolproof. A foundation layer of crossed bobby pins comes first, then spiral pins at the points carrying the most weight, then U-shaped pins set vertically for mid-section support.
A final layer of horizontal pins in the outer hair locks everything together. It sounds like a lot, and it is, but this layered approach is exactly why a professional updo outlasts a home one through a whole wedding.
Clip-In Extensions for Volume
The fullest bridal updos often borrow a little volume, and clip-in extensions are the easiest way to get it. Matched to your color and layered between your natural sections, they add body without anyone knowing. A few guidelines:
- Match the color and texture to your own hair, human-hair wefts blend most naturally
- Start with two to three wefts for medium hair, four to five for fine hair
- Clip them in between natural sections so they hide and give the pins more to grip
- Have your stylist place them at the trial so the volume sits where the style needs it
Wedding-Day Hair Touch-Ups
A bridal updo needs three planned check-ins through the day, well ahead of any frantic fix. Build them into the schedule and you stay camera-ready from the ceremony to the last dance. The three moments:
- Right after the ceremony, before couple and family photos begin
- After any outdoor photos, before you move to indoor portraits
- Just before the grand entrance, for a final spritz and a flyaway smooth
- Keep pins and hairspray within reach at each one so the fix takes thirty seconds
Your Emergency Hair Kit

Every prepared bride hands someone a small kit that can fix anything from a flyaway to a fallen pin. It is the cheap insurance that saves a panic, and a maid of honor can run it all day.
Stock it with extra bobby pins, hairspray, a small comb, clear elastics, dry shampoo, and a travel smoothing cream. Add safety pins and a mini mirror, which turn out to be lifesavers when a quick fix cannot wait for a bathroom.
Walk your person through the touch-up plan so they know when to step in. Having helped a lot of brides through long days, I can promise the kit gets used, and the bride who packed one never spends her reception worrying about her hair.
Maintenance & Care
The work does not stop when the updo goes up. Through the day, resist the urge to keep touching it; hands loosen pins faster than dancing does. At each planned check-in, smooth flyaways with a light hand and add a quick mist only where the style has softened, rather than drenching the whole thing again.
If you are wearing a veil, have your stylist set the updo with the veil’s comb in mind and remove it after the ceremony slowly, sliding the comb out along the direction of the hair so it does not drag pins with it. At the end of the night, take the style down gently: pull every pin before you brush, work conditioner through to loosen the spray, and let your scalp rest. Treated kindly, even hair that danced until 1 a.m. recovers by morning.
Walk In Knowing It Will Hold
The throughline of every section here is the same: a wedding updo lasts because of what happens underneath it. Healthy hair, a secure pinned base, the right products for your type and the weather, and a plan for touch-ups all matter more than the prettiest twist on the surface. Get those right and the style takes care of itself.
So book the trial, pack the kit, and walk in trusting your hair instead of worrying about it. If you are still choosing a shape, browse a wider set of updo styles or the softer wedding updo looks, then bring your favorite to that trial and build it to last. The best bridal hair is the kind you forget about by the second song.