When it comes to updo hairstyles for weddings, proms, and special events, elegance and sophistication are key. Each hairstyle, like the classic chignon or romantic floral accented style, can transform your look.
By incorporating braids, textures, or accessories, you add a personal touch. These styles offer a range of options, from timeless to modern. Curious about mastering an updo that suits your style and the occasion? Let’s explore these chic possibilities together.
Classic Chignon for Timeless Elegance

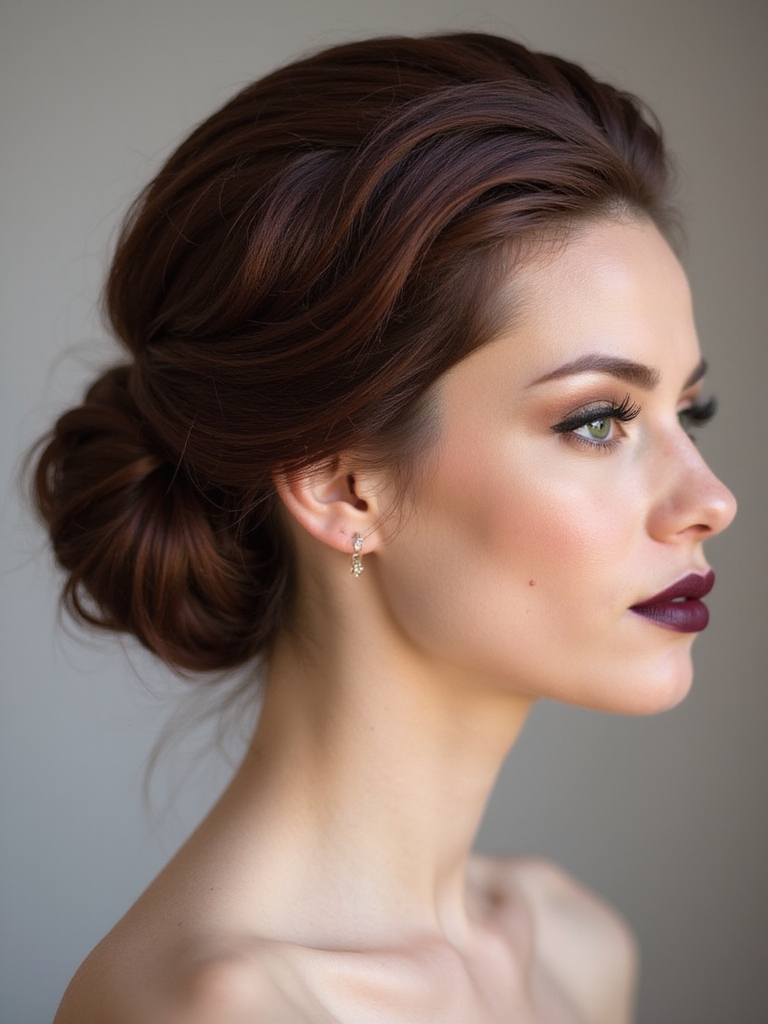
When planning a sophisticated look for a wedding or special event, you can’t go wrong with a classic chignon.
First, gather your hair into a low ponytail at the nape of your neck. Twist the ponytail, coiling it into a bun. Secure with bobby pins.
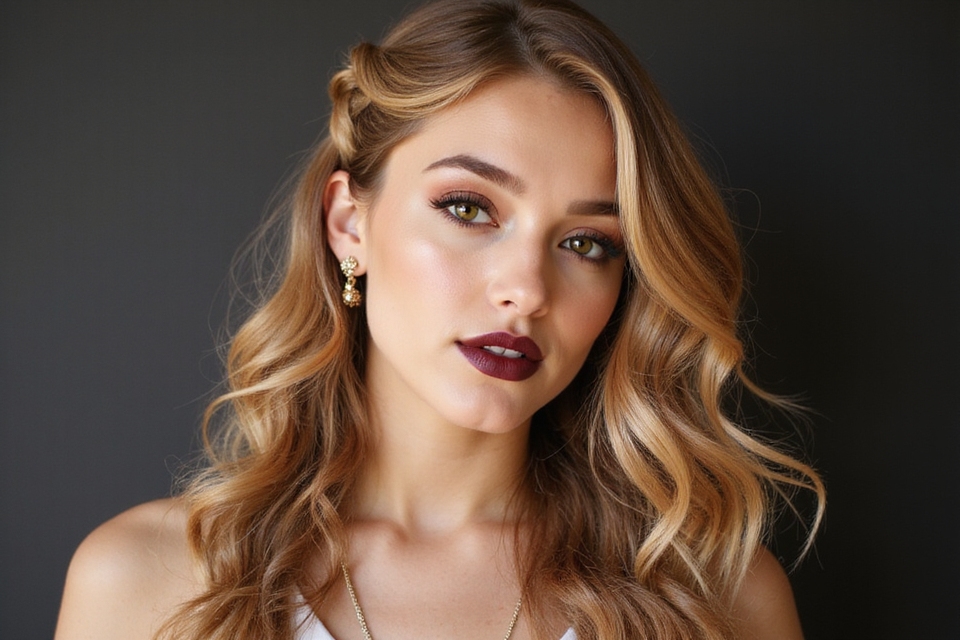
Smooth stray hairs with hairspray for a sleek finish. It’s simple, elegant, and always in style! Additionally, consider adding elegant half up half down hairstyles to your bridal look for a romantic touch.
Romantic Floral Accented Updo

When creating a romantic floral accented updo, I start by selecting fresh floral accessories that complement my overall look.
Then, I carefully secure each flower in place using bobby pins to guarantee they stay put throughout the event.
Finally, I think about hairstyle durability, choosing styles that will last while keeping their elegant appearance.
Select Fresh Floral Accessories
A stunning updo can be elevated with the perfect selection of fresh floral accessories, creating a romantic floral accented look that’s hard to resist.
First, choose flowers that complement your outfit’s colors.
Then, consider their size—small blooms work best to avoid overpowering the style.
Finally, keep your floral accents fresh by misting them lightly with water throughout your event to maintain their beauty.
Secure With Bobby Pins
To achieve a romantic floral accented updo, securing your hairstyle with bobby pins is essential.
First, gather small sections of hair and twist them loosely. Pin each twist in place, angling the pins downward for better hold. Leave some tendrils for a soft look.
Add floral accessories strategically, using additional bobby pins to keep them secure. Touch-up any flyaways, and you’re ready for your special event!
Consider Hairstyle Durability
Although it’s tempting to focus solely on appearance, guaranteeing your romantic floral accented updo lasts throughout the event is essential.
Here’s how to guarantee durability:
- Prep Hair: Wash and dry your hair to create a clean base.
- Use a Strong Hairspray: Lock everything in place from start to finish.
- Pin Strategically: Secure key sections to maintain structure.
- Choose Sturdy Florals: Opt for blooms that’ll hold up.
Bohemian Braided Bun

Creating a stunning Bohemian braided bun is easier than you might think.
First, I’ll guide you through the braiding techniques to achieve the perfect base.
Then, let’s enhance the look with floral accessories and guarantee it stays in place all event long. A key element of this style is incorporating elegant braided buns that can transform your look into a true masterpiece.
Braiding Techniques Explained
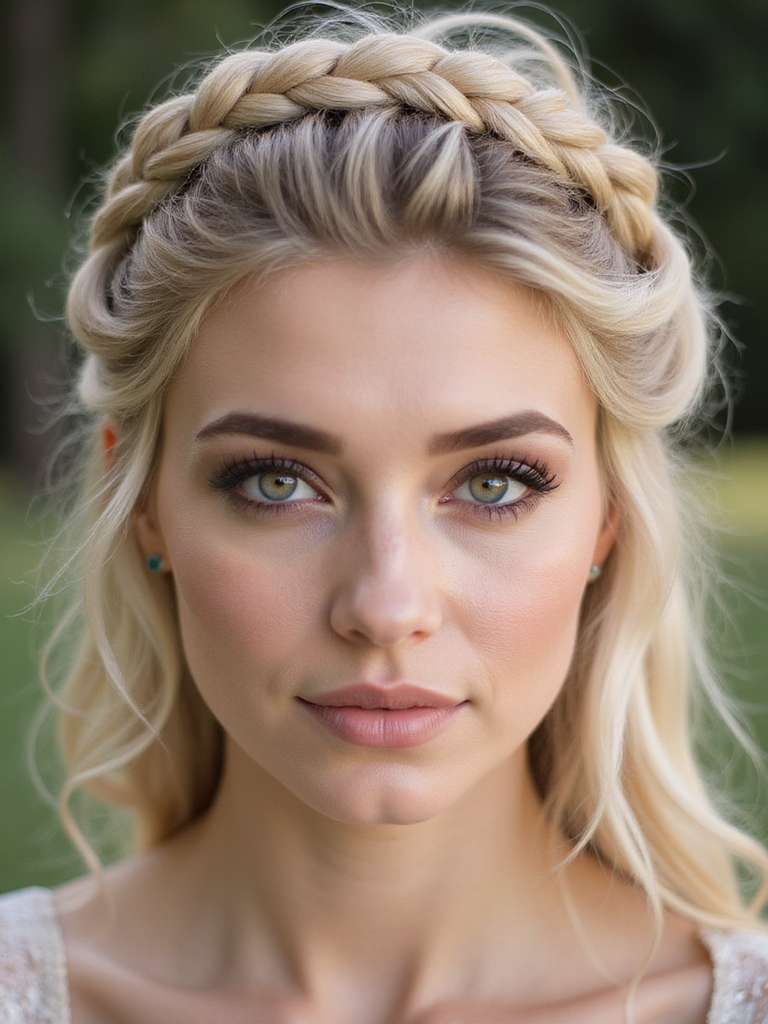
A bohemian braided bun combines elegance with a touch of carefree style, perfect for any wedding or event. This hairstyle is ideal for those wanting to incorporate wedding hairstyles updo that highlight their personal style.
Follow these simple steps:
- Gather your hair: Pull it into a ponytail where you want the bun.
- Divide into sections: Separate hair into three even parts.
- Braid each section: Create three individual braids.
- Wrap and secure: Twist braids around the ponytail base and pin.
Accessorizing With Flowers
Now that you’ve mastered the bohemian braided bun, let’s add a floral touch to enhance its charm.
Start by choosing small, fresh or faux flowers that match your outfit. Gently tuck them into your braids, focusing on the bun’s base.
Secure with hairpins to prevent shifting. Avoid overloading, ensuring each flower stands out beautifully.
Enjoy the elegant, bohemian vibe this simple accessory creates!
Ensuring Long-lasting Hold
To guarantee your bohemian braided bun lasts through the day, start by prepping your hair with a texturizing spray for added grip.
Follow these steps:
- Secure It: Use strong bobby pins to lock your style in place.
- Finish with Hairspray: Mist generously for hold.
- Avoid Touching: Resist the urge to adjust.
- Check Periodically: Keep a mirror handy for quick fixes.
In addition, consider incorporating chic half up half down styles that can complement your braided bun for a more elegant look.
Sleek Twisted Knot

Though sometimes challenging, mastering the sleek twisted knot for weddings or events can elevate your elegance effortlessly.
Start by smoothing your hair back into a tight low ponytail. Divide it in two and twist each section. Wrap the twists around the base of the ponytail to form a knot.
Secure with bobby pins and finish with hairspray for shine and hold. Voilà, you’re event-ready!
Messy Bun With a Glam Touch

Having mastered the elegance of a sleek twisted knot, let’s welcome the charm of a messy bun with a glam touch—perfect for those who love a more laid-back yet sophisticated look.
Here’s how you can achieve it:
- Gather your hair into a high ponytail.
- Twist and wrap it loosely; secure with pins.
- Tease gently for volume.
- Add accessories for sparkle.
Adding a touch of effortless bun hairstyles can elevate your overall appearance. Enjoy your effortlessly chic style!
Vintage-Inspired Updo

Step back in time with a vintage-inspired updo that exudes timeless elegance.
First, curl your hair and let it cool. Tease the crown for volume, then smooth it out gently.
Gather the sides and pin them back with bobby pins. Twist the remaining hair into a smooth bun at the nape, securing it with pins.
Finish with a spritz of hairspray.
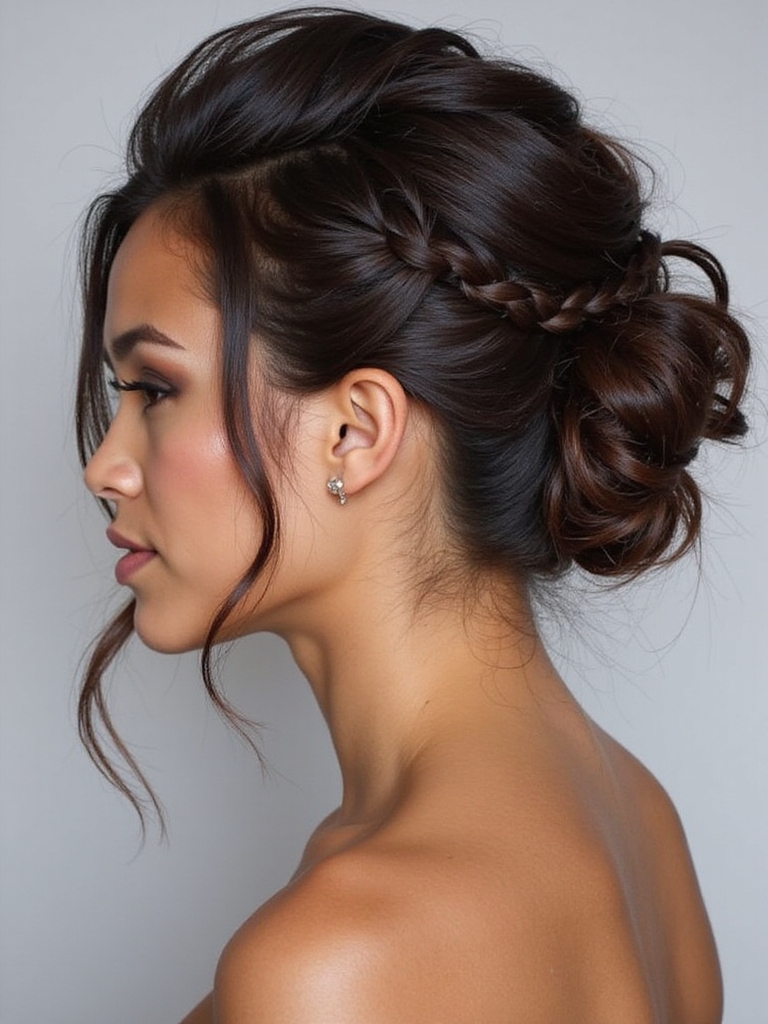
Side-Swept Low Bun

After perfecting the vintage style, let’s explore the elegance of a side-swept low bun.
Here’s how I create this timeless look:
- Part your hair to one side, ensuring it frames your face beautifully.
- Gather the hair into a low ponytail at the nape.
- Twist and pin it into a loose bun.
- Add accessories like delicate pins for extra charm.
Feel stunning at every event!
Intricate Fishtail Crown

When I create an intricate fishtail crown, I start with two equal sections of hair and carefully weave them into a detailed fishtail braid, securing it around the head like a crown.
This style works best on medium to long hair types, especially if it’s thick or has added texture.
Finish the look by accessorizing with delicate pins or a sparkling hairband for a touch of elegance at weddings and events.
Step-by-Step Instructions
Creating an intricate fishtail crown might seem challenging, but I’ll guide you through it with clear steps. Follow these instructions:
- Prepare: Brush hair to remove knots and part evenly.
- Separate: Divide hair into two sections.
- Weave: Start fishtail braiding by alternately crossing small strands.
- Secure: Wrap and pin the braid around your head, tucking ends discreetly.
Suitable Hair Types
To achieve the intricate fishtail crown, hair type plays a crucial role in its success.
If your hair is medium to long and has some texture, you’re off to a great start.
Fine hair may need some added product for grip and volume.
If your hair is naturally curly, straighten it first for smoother weaving.
Thicker hair offers impressive fullness, delivering that dramatic finish.
Accessorizing Tips
Accessorizing an intricate fishtail crown can elevate the hairstyle to a whole new level.
Let me guide you through easy steps:
- Hairpins: Use decorative hairpins that match your theme.
- Flowers: Add small blooms for a fresh look.
- Rhinestones: Enhance the crown with subtle sparkle.
- Ribbon: Weave a ribbon to introduce color and texture.
These additions will transform your look!
French Roll With Modern Flair

When you’re looking to elevate a classic hairstyle, the French Roll with a modern flair is your go-to choice.
First, gather your hair at the nape. Twist upwards, securing with pins. Leave a few strands loose for a soft, romantic vibe.
Add texture with a light hairspray or texturizing spray. This chic, modern twist is perfect for weddings, proms, or any special event.
Elegant French Twist
Let’s create an elegant French twist for your special day.
Start by gathering your hair at the nape and twist upward, securing with pins.
To finish, add a touch of sparkle with hairpins or delicate flowers.
Simple Step-by-Step Guide
Creating an Elegant French Twist doesn’t have to be complicated, even if you’ve never tried it before.
Just follow these steps:
- Gather hair into a ponytail without securing it.
- Twist it upwards from the base.
- Fold the twist against your head, tucking the ends inside.
- Secure it with pins along the twist to hold it in place.
You’ll have a stylish look in minutes!
Accessorizing French Twist
To elevate your French Twist, consider accessorizing it with subtle yet impactful embellishments.
Begin by choosing a few elegant hairpins or a delicate comb. Slide them gently into the twist at strategic points. Opt for pearls or crystals for a classic look, or go bold with vibrant, intricate designs.
Finally, make certain they’re secure by giving a gentle tug, perfecting an effortlessly chic appearance.
Half-Up Braided Updo

When you’re seeking an elegant yet effortless hairstyle, the half-up braided updo offers a perfect blend of sophistication and charm.
Here’s how to achieve it:
- Section off a portion of your hair on top.
- Create a braid from this section, securing the end.
- Pull back the braid, pinning it where desired.
- Style the remainder, leaving it loose or in curls for a romantic finish.
Textured High Bun

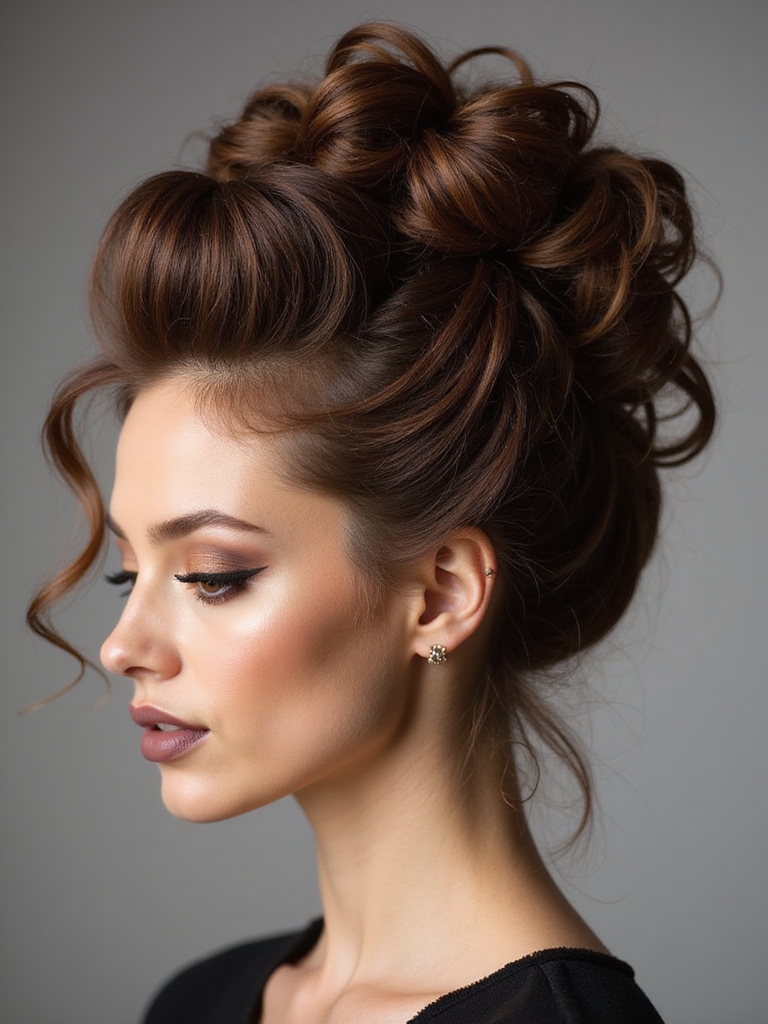
Transform your look with a textured high bun that exudes both elegance and flair.
First, gather your hair into a high ponytail and secure with an elastic. Tease the ponytail for volume, adding texture with a sea salt spray.
Twist and wrap around the base, securing with bobby pins. Use a comb to gently tug at sections, achieving that perfect textured finish.
Spray with a firm hold hairspray.
Chic Ponytail Updo

A chic ponytail updo is the perfect choice for those wanting a sophisticated yet effortless look for weddings and events.
Here’s how I do it:
- Prep Hair: Start with clean, dry hair and apply a smoothing serum.
- Create Volume: Tease the crown slightly for added height.
- Secure Ponytail: Gather hair mid-height, secure with an elastic.
- Finishing Touches: Wrap a small hair section around the elastic for finesse.
Pearl Embellished Updo

When creating a pearl embellished updo, first choose your pearl accessories, if they’re pins, combs, or a string of pearls.
Next, secure your hairstyle using bobby pins or an elastic band, ensuring everything stays in place.
Finally, add the pearls as the finishing touch, enhancing the elegance with strategic placement.
Choosing Pearl Accessories
While many accessories can enhance an updo for weddings or events, pearl embellishments offer a classic touch that’s hard to beat.
Here’s how to choose the right pearl accessories:
- Size Matters: Opt for pearls proportional to your hairstyle.
- Color Coordination: Match pearl color with your dress.
- Design Choices: Select between pins, combs, or headbands.
- Quantity Control: Balance elegance without overloading.
Secure the Hairstyle
Begin by gathering your tools—bobby pins, hair elastics, and a strong-hold hairspray—to guarantee your pearl embellished updo remains flawlessly secure throughout the event.
First, use bobby pins to anchor sections of your hair into place. Twist and tuck loose strands, securing them with elastics.
Next, mist your hairstyle with hairspray for extra hold. Carefully attach pearl accessories, making sure they’re firmly secured.
Enjoy your elegant updo!
Final Styling Touches
As you add the finishing touches to your pearl embellished updo, focus on enhancing its elegance and charm.
Here’s what to do:
- Add a light hairspray for extra hold, guaranteeing the pearls stay in place.
- Smooth any stray hairs with a fine-tooth comb.
- Arrange the pearls evenly for balanced beauty.
- Check all angles in the mirror to guarantee a perfect finish.
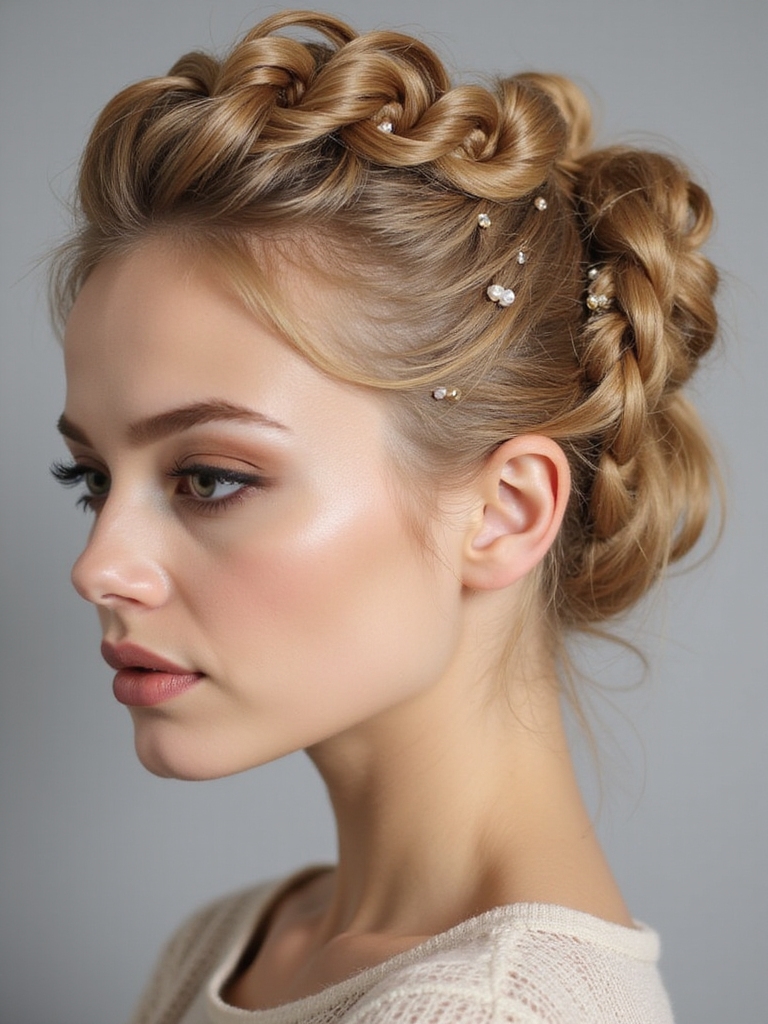
Twisted Halo Braid
The twisted halo braid elegantly combines sophistication and charm, making it a perfect choice for weddings and special events.
Start by dividing your hair into two sections. Twist each section and wrap them around your head, creating a halo effect. Secure with bobby pins.
Add some soft pieces around your face for a romantic touch. Finish with a light hairspray to hold the style.
Voluminous Updo With Curls
Creating a voluminous updo with curls is easier than you might think.
I’ll guide you through achieving the perfect volume, mastering curling techniques specifically for updos, and ensuring everything stays secure all night.
Let’s transform your hair into a stunning, event-ready masterpiece.
Achieving the Perfect Volume
Volume makes or breaks a stunning updo. To achieve the perfect lift:
- Prep Hair: Use a volumizing mousse on damp strands for staying power.
- Blow-Dry: Flip your head upside down to enhance volume at the roots.
- Tease Roots: Gently backcomb sections at the crown with a fine-tooth comb.
- Secure Base: Use bobby pins strategically to hold and lift the desired sections.
Curling Techniques for Updos
Want to add a touch of glam with some curls? Start by sectioning your hair into manageable parts.
Use a curling iron and wrap each section around the barrel evenly. Hold for 10 seconds, then release. For a natural look, alternate curling directions.
Once you’ve curled all sections, let them cool. Finger-comb to loosen curls slightly, creating that effortless, voluminous updo.
Securing the Style Properly
To secure your voluminous updo with curls, begin by gently gathering your hair at the crown, ensuring the curls stay defined and bouncy. Here’s how:
- Use bobby pins: Secure sections, especially at the back.
- Apply hairspray: Maintain hold without stiffness.
- Add volume: Tease roots slightly underneath.
- Check mirrors: Confirm balance from all angles.
These steps will keep your style in place all night!
Soft and Loose Updo

For those seeking an effortlessly elegant look, a soft and loose updo is a perfect choice.
Start by gently curling your hair for added texture. Gather it loosely at the nape, securing with pins.
Allow a few strands to frame your face. Spritz a light-hold hairspray for natural movement.
This updo exudes romance and simplicity, making it ideal for any special event.
Off-Beat Mohawk Braids
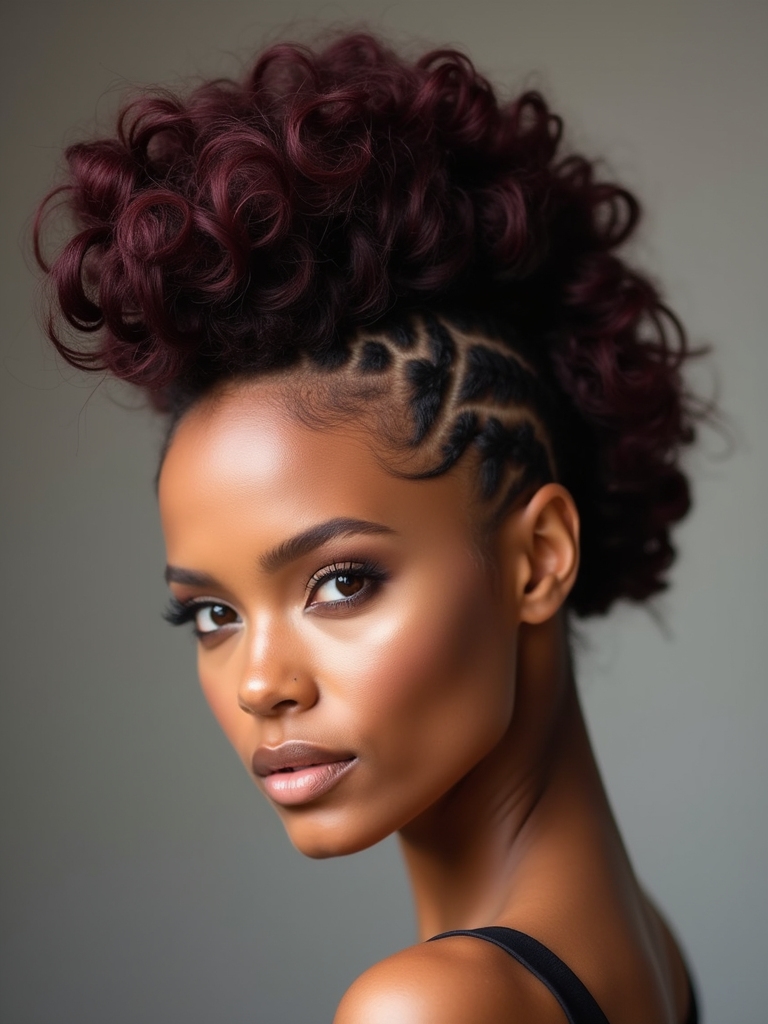
Craving a bold and unique look for your next event? Off-beat Mohawk braids might be just what you need!
Here’s how you can create this striking style:
- Section Hair: Divide into three parts—sides and center.
- Create Braids: Braid the center section into intricate patterns.
- Secure: Use pins to tighten braids.
- Finish: Add hairspray for hold.
Try it and stand out!
Sleek Ballerina Bun

While Mohawk braids offer an edgy flair, a sleek ballerina bun brings sophisticated elegance to any event.
Start by gathering your hair into a high ponytail, smoothing it out with a brush.
Twist the ponytail tightly and coil it around its base.
Secure with bobby pins, and spritz some hair spray to lock it in place.
Make sure every strand is polished to perfection!
Gilded Updo With Accessories

To add a touch of opulence to your updo, consider incorporating gilded accessories.
Here’s a step-by-step guide:
- Select golden pins or combs that match your outfit.
- Create the updo, ensuring a secure base for accessory placement.
- Position the accessories strategically for balance and style.
- Secure the items with bobby pins, ensuring they stay in place throughout the event.
These steps instantly elevate your look!
Asymmetrical Updo
Ever wonder how to achieve an effortlessly chic look with an asymmetrical updo?
Start by parting your hair to one side. Gather it into a low ponytail, keeping it loose for volume.
Twist the ponytail and secure it with pins, slightly offset to one side.
Finish with a firm hold hairspray.
This look provides a modern twist that’s perfect for any special occasion.
Rope Braid Updo
Having mastered the modern asymmetrical updo, let’s explore the elegance of a rope braid updo.
Here’s how you can achieve this classic look:
- Divide your hair into two sections.
- Twist each section clockwise individually.
- Cross the twisted sections counterclockwise together.
- Secure with pins at the nape.
It’s simple yet sophisticated, perfect for your next special event! Additionally, the rope braid is a popular choice in stylish braided hairstyles that can elevate any look.
Double Bun Glamour

The double bun glamour updo offers a chic and playful touch to any formal event.
Start by parting your hair in the middle. Gather each section into two high pigtails. Twist each pigtail into a bun, securing with pins. Set with hairspray for hold.
Add elegant touches like decorative pins if desired. It’s perfect for creating a modern, trendy look without fuss.
Regal Updo With Tiara

For a regal updo that makes you feel like royalty, start by styling your hair into a sleek, high bun.
Here’s how to enhance it:
- Secure the bun with bobby pins to keep it in place.
- Add a touch of volume at the crown for elegance.
- Position a tiara right above the bun for that royal touch.
- Finish with hairspray for all-day hold.
You’ll feel majestic!
Effortless Beach Wave Updo

Craving a look that’s both effortlessly chic and perfect for any event? Try the beach wave updo.
First, create loose waves using a curling iron. Tease the crown slightly for volume.
Gather hair into a low bun, securing with pins. Leave some waves out for a relaxed feel.
Finish with light hairspray to hold the look. Welcome the elegance of carefree waves!
Incorporating an updo into your look is a surefire way to add elegance and sophistication. Regardless of if you’re drawn to a classic chignon or a bohemian braided bun, choose a style that complements both your outfit and personality.
Remember, adding textures, braids, or unique accessories can personalize your look. So, welcome the charm of updos for weddings, proms, or special events. With the right choice, you’ll surely leave a lasting impression and feel truly special.