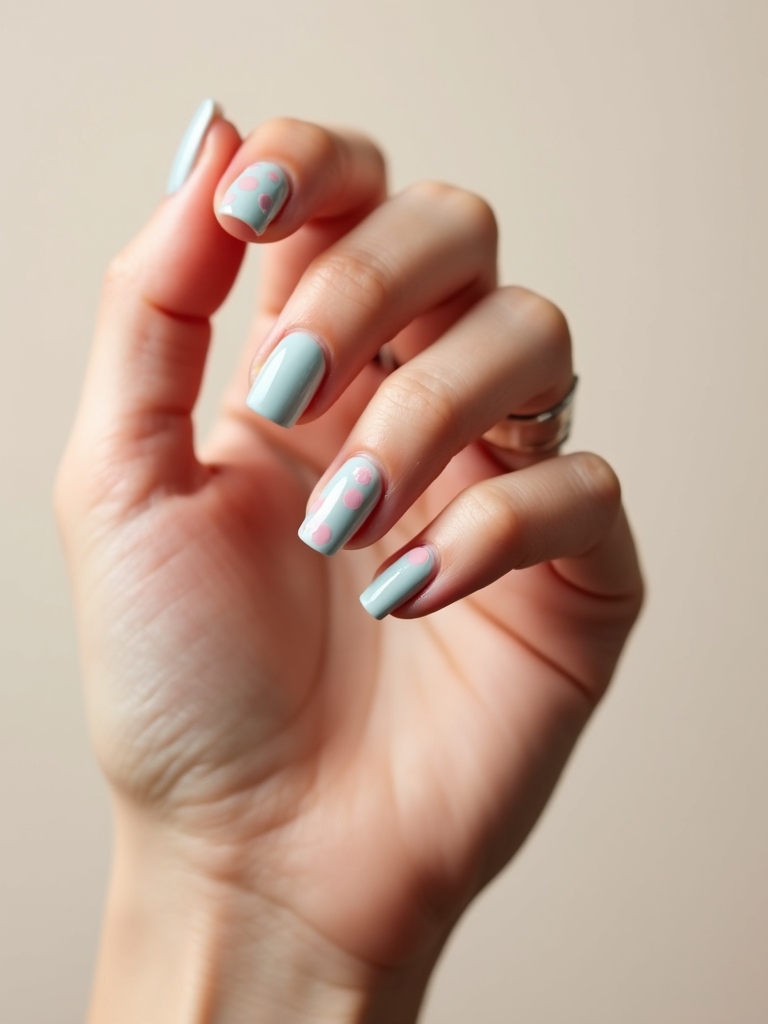
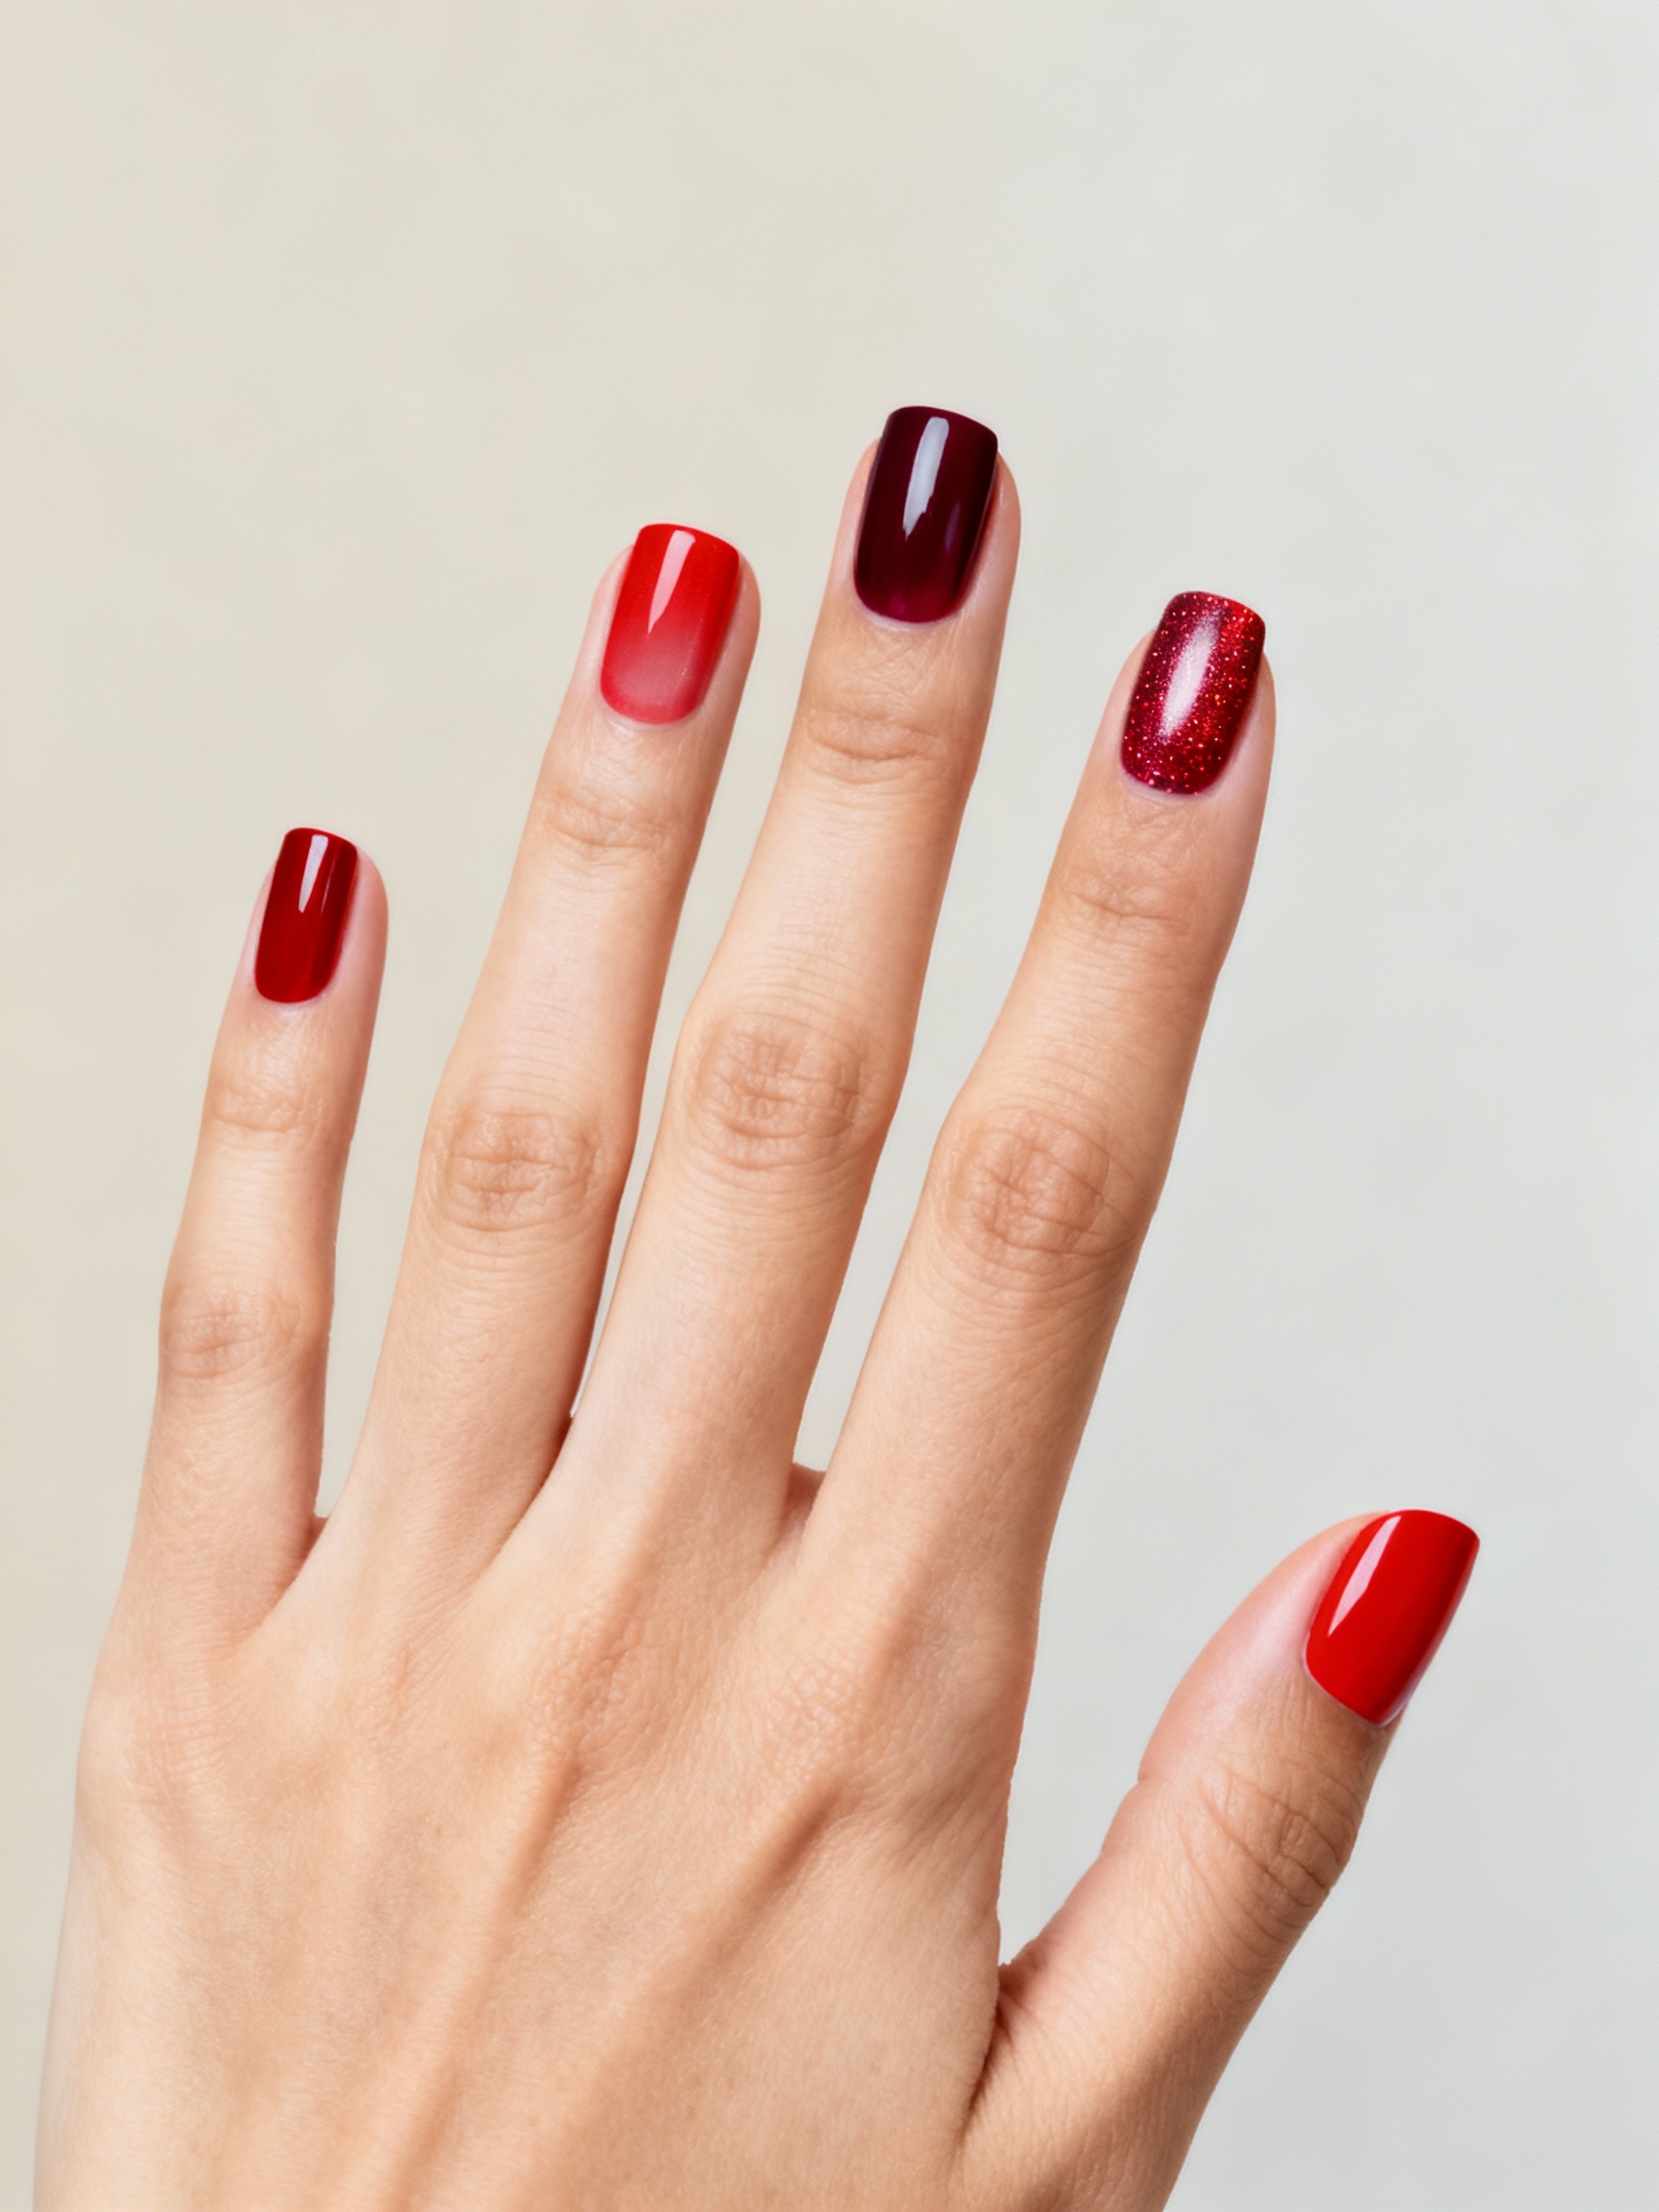
There is a belief that good Halloween nails mean cramming a different cartoon ghost onto all ten fingers. The designs people actually stop and ask about are quieter than that: an inky chrome, a single floating ghost, one bat wing in negative space. Restraint looks more expensive, and it photographs better than a cluttered set every time.
Below are fourteen designs sorted from barely-there to full art, each with how it is built, the rough price at a salon, and how long it holds. Some are a ten-minute press-on job, some are a full gel appointment, and a few you can manage at home with a steady hand and a dotting tool.
Before You Book or Buy
- Pick one hero idea, not ten. A single strong motif on an accent nail beats a different design on every finger, which is what tips a manicure from chic into costume.
- Match the design to your length. Negative-space art and tiny motifs want a longer nail; matte and chrome solids look sharp on short, natural shapes.
- Salon gel art runs roughly $45 to 80 depending on detail and holds two to three weeks; quality press-ons cost a fraction and last about a week.
Inky Mirror-Glazed Tips

This is the design I push the hardest at the nail desk in October, because it looks luxe and barely whispers Halloween. A near-black base gets a chrome powder buffed over the top so the nail turns into a dark mirror, the kind of finish that looks wet under any light.
Why the Chrome Goes Glassy
The technique is what sells it. The chrome only goes glassy over a fully cured, no-wipe gel top, then you rub the powder in with a soft applicator until it flashes. A second seal locks it. On deeper skin tones an inky chrome looks especially rich, the cool mirror playing against warm undertones beautifully.
It holds like any gel manicure, two to three weeks, and grows out gracefully because there is no pattern to shift out of place. If you want the easy version, the same effect comes in press-on form for a night out. Pair it with a fresh halloween nails accent if you want one finger with more going on.

Neon-to-Chrome Gradient

The neon-to-chrome fade is the loud one, a bright acid base melting up into a metallic tip. It is futuristic and a little toxic, perfect if your costume leans alien or cyber. Built as an ombre, it needs a sponge more than skill:
- Lay a neon base, then sponge a second neon up the nail so the color builds toward the tip.
- Buff chrome powder over the tip only, fading it down into the neon for the metal-dipped effect.
- Seal with a glossy top so the chrome stays mirror-bright; matte kills the metallic shine here.
Not sure which gradient style suits you? Match it to your length and patience.
🎯Short, natural nails
Keep the gradient subtle: a cream-to-orange candy fade reads soft and grows out clean on shorter shapes.
🎯Longer or extended nails
Go bold with the neon-to-chrome melt; the extra length gives the metallic tip room to shine.
Minimalist Micro-Ghost Nails

The micro-ghost is proof that one small motif beats a busy set. A sheer or milky base carries a single tiny white ghost on one or two nails, leaving the rest clean. It is the design clients ask me for when they want festive but still work-appropriate, and the minimalist nails crowd loves it.
Keep it tiny and it stays chic:
- Start with a sheer nude or milky white base so the ghost has room to float.
- Paint one small ghost with a dotting tool: a rounded blob with a wavy bottom edge, two dot eyes.
- Leave the other nails bare or add a single dot, so the set stays minimal and grown.
Suede-Matte Inky Nails

A matte black is the chicest Halloween nail there is, and most people skip it thinking it is too plain. The texture is the whole point: a soft, suede-like finish that swallows light instead of bouncing it, which feels far more high-fashion than a glossy black.
It Lives in the Top Coat
Getting it right is about the top coat. A true matte top coat over a deep black gel gives that velvety, almost chalky surface; a regular top coat just looks unfinished. Keep the shape clean, an almond or short square, so the matte texture is the only statement. The shape options in the almond nails guide pair well here.
One honest note from the desk: matte shows every speck of dust and oil, so it reads best fresh and wants a quick buff if you wear it past a week.
Good to Know
A true matte finish comes from a dedicated matte top coat, not from skipping the top coat. Bare polish chips fast and looks flat, while a matte top seals the color and gives that soft, suede-like texture that defines the look.
Smoky Witchy Aura Nails

Aura nails took over the salon this season, and the witchy version is the prettiest spin on the trend. A soft, blurred halo of color glows from the center of each nail like a smoky crystal ball, with no hard edges anywhere. It is mood, not motif.
The blur comes from an airbrush or a sponge, built in light layers:
- Base in a deep plum or black, then sponge a glowing purple or green in a soft circle at the center.
- Keep building the aura in sheer passes so the glow looks lit from within, never patchy.
- Top with gloss so the haze looks deep and dimensional, like smoke trapped under glass.
Crisp Graphic Spiderweb Nail Art

A spiderweb is the most recognizable Halloween nail and the easiest to ruin by going too thick. Spun fine on one accent nail over a clean base, it looks crisp and graphic; sprawled across all ten in heavy lines, it looks like a craft project. Keep it to a feature finger:
- Start with a corner anchor point and pull three or four thin straight lines outward like spokes.
- Connect the spokes with shallow curved threads, using the thinnest brush or a striper you own.
- Add a tiny spider dangling off one edge, then gloss so the fine lines stay sharp.
👍Freehand spiderwebs
- +Fully custom: you control the size and placement on each nail.
- +No special tools beyond a thin striper brush.
- +Looks intentional and crisp when kept to one accent nail.
👎What to weigh
- –Takes a steady hand; thick lines read costume rather than chic.
- –Slower than a stamping plate if you want webs on several nails.
- –Easy to overdo, so restraint matters more than ability.
High-Shine Neon Slime Drips

Slime drips are the gleefully gross design, bright green ooze running down a dark nail with a wet, glossy shine. It plays monster, alien, or toxic-waste depending on your costume, and the uneven drips are forgiving since slime is supposed to look messy. I watch people overdo the drips at the desk, so keep them sparse and let a few good runs carry the nail. Build the ooze nail by nail:
- Base each nail in black or deep purple so the neon drips pop against it.
- Paint irregular drips from the cuticle down with a striper, varying the length so they look like real runs.
- Layer a thick glossy top coat so the slime looks fresh and wet, the shine doing half the work.
Negative-Space Inky Moon Tips

Negative space is the most modern way to do Halloween, letting the bare nail become part of the design. An inky moon tip leaves a sliver of natural nail exposed at the base while a deep black curves over the tip like a half-moon turned dark. It is moody and editorial rather than spooky.
Precision is everything, since the bare skin shows every wobble. A steady freehand or a careful French-tip guide gives you the clean curved line. The cleaner the edge between bare and black, the more expensive the whole nail looks.
Because so much natural nail stays exposed, this design grows out almost invisibly, which makes it one of the longest-wearing looks here. That is a real perk when Halloween falls midweek and you need the manicure to last.
📋Prep for clean negative-space tips
- ✓Push back and tidy the cuticles so the bare zone looks deliberate.
- ✓Buff and dehydrate the nail so polish grips only where you want it.
- ✓Use a French-tip guide or a steady freehand for the crisp curved line.
Cream-to-Candy-Corn Gradient

Candy corn is the nostalgic classic, and the updated version softens those hard tricolor stripes into a melting ombre. A cream tip fades into orange and then a warm yellow base, so it looks candy-corn without the cheap costume edge. The ombre nails sponge method is exactly the technique:
- Paint a yellow base, then sponge orange over the middle third while it is still workable.
- Sponge a cream or white onto the tip, blending where the colors meet so the bands melt together.
- Seal with gloss and, if you want, add one tiny candy-corn triangle on an accent nail for the wink.
Holographic Negative-Space Bat Wings

Bat wings get a high-fashion upgrade when you do them in holographic film over negative space. Instead of a flat black bat, a single iridescent wing shape floats on a bare nail and shifts color as your hand moves. It is the design that makes people lean in for a closer look.
Foil, Not Polish
The shift comes from transfer foil, not polish. You lay holographic foil over a tacky base, then peel it back to leave a bat-shaped patch that flashes rainbow. Keeping the rest of the nail bare lets the foil be the entire event.
This one is a salon job for most people, since the foil work is fiddly, but the payoff is a design no one else at the party will be wearing. Bring a clear reference photo so your tech nails the wing shape.
Matte Velvet With Metallic Accents

This pairing is pure dark glamour: a deep matte base interrupted by thin metallic accents, like gold leaf on velvet. The contrast between the light-swallowing matte and the bright metal is what makes it feel rich rather than gothic. It works for anyone after moody without committing to a full costume nail.
Metal as Jewelry, Not Coverage
Lay your matte base first, deep burgundy, forest, or black, and let it fully set. Then add metallic only in small doses: a thin gold line up one nail, a few foil flecks on another, a single metal stud near the cuticle. The metal should feel like jewelry against the matte, used sparingly so it stays elegant.
Restraint is the trick at the desk here. The moment the metallic spreads past an accent, the nail tips into busy, and the velvet effect is lost under the shine.
Inky Moonlit Marble Veining

Marble nails read like polished stone, and the moonlit version, smoky gray and black veining over a pale base, feels haunted in the most elegant way. Each nail looks like a slab of dark marble, no two alike. It is sophisticated enough to wear long past October.
Vein It Wet-on-Wet
The veining is done wet-on-wet, dragging color through a still-tacky base. A thin striper or a tiny brush pulls smoky gray and black in irregular branching lines, then you soften them so they bleed like real stone. A touch of gold along one vein adds the luxe marble feel.
Because the pattern is meant to be random, this is a forgiving design for an at-home attempt. Imperfect veins still read as marble, which makes it one of the friendlier art looks to try yourself.
Haunted Cat-Eye Magnetic Shimmer

Cat-eye polish is the one-step magic trick of the nail world, and the haunted version uses deep, eerie tones for a glowing strip of light that follows your hand. The shimmer comes from magnetic particles pulled into a line, so a single coat does what looks like intricate art.
Use a magnetic gel in a smoky purple, oxblood, or forest green. While the coat is still wet, hold the magnet just above the nail for a few seconds so the particles gather into a bright band, like a sliver of moon trapped in the polish. Curve the magnet to bend the light strip if you want a more haunted, swirling glow.
It is easily the fastest dramatic nail here, so I save it for the client who wants maximum drama in a single appointment slot. Each nail takes seconds once the magnet is in hand.
Mismatched Matte Spooky Set

The mismatched set is the playful one, a different spooky motif on each finger tied together by one rule: keep them all matte, or all the same palette. That single unifying thread is what stops ten different designs from looking chaotic. Think ghost, web, moon, bat, and a solid, all in the same muted tones.
One Rule Ties It Together
The skill here is curation, not painting. Choose five motifs that share a mood and a finish, then space the busy ones apart so no two loud nails sit side by side. A matte top over everything pulls the whole hand together.
This is the set that lets you use every idea you love without the result reading like clutter. It works beautifully on shorter nails too, so the short nails crowd is not left out of the fun.
How to Ask Your Stylist for the Look
Getting the nails you pictured comes down to how you brief your tech. Bring a clear, well-lit reference photo rather than describing it in words, since terms like aura, chrome, and negative space mean different things to different people. Point out exactly which nails get the art and which stay solid, because a design that looks great on one accent finger can overwhelm a full set.
Talk timing and budget up front. Detailed art like foil bat wings or fine veining takes longer and costs more than a solid matte, so tell your tech if you are working within a set price or a tight appointment window.
Ask which design holds best for your natural nail length and lifestyle, and be honest if you tend to be hard on your hands, so they can steer you toward something that will still look sharp on Halloween night rather than chipping by the weekend.
Halloween Nail Questions, Answered
?How long do these designs actually last?
A salon gel set holds two to three weeks, and negative-space or solid matte designs grow out the most gracefully. Quality press-ons last about a week, which is plenty if you only need them for the festivities.
?Which of these can I do at home?
Marble veining, micro ghosts, and slime drips are the most forgiving because imperfection reads as part of the design. Foil bat wings and fine aura blends are better left to a tech with the right tools.
?What design lasts longest without looking worn?
Negative-space moon tips and solid matte or chrome shades, since they have no pattern that shifts out of place as the nail grows. They still look intentional a week or two in.
Spooky, But Make It Tasteful
The Halloween nails that have everyone asking are almost always the restrained ones: a glassy inky chrome, a single floating ghost, one holographic bat wing on bare nail. Pick a hero idea, match it to your length and how much upkeep you want, and let the rest of the hand stay quiet so that one detail can shine.
Whether you book a full gel set or press on something clever the night before, you do not need all ten fingers shouting. Choose the one design you keep coming back to, wear it with confidence, and enjoy the most fun manicure season of the year.
More Looks Worth Saving