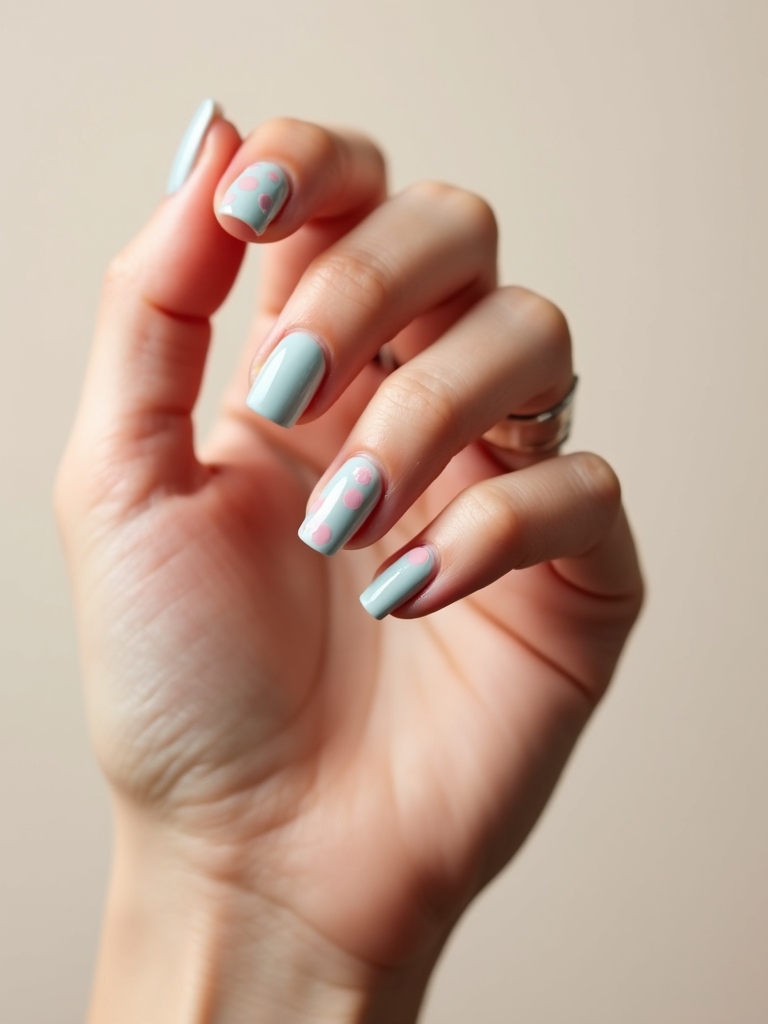
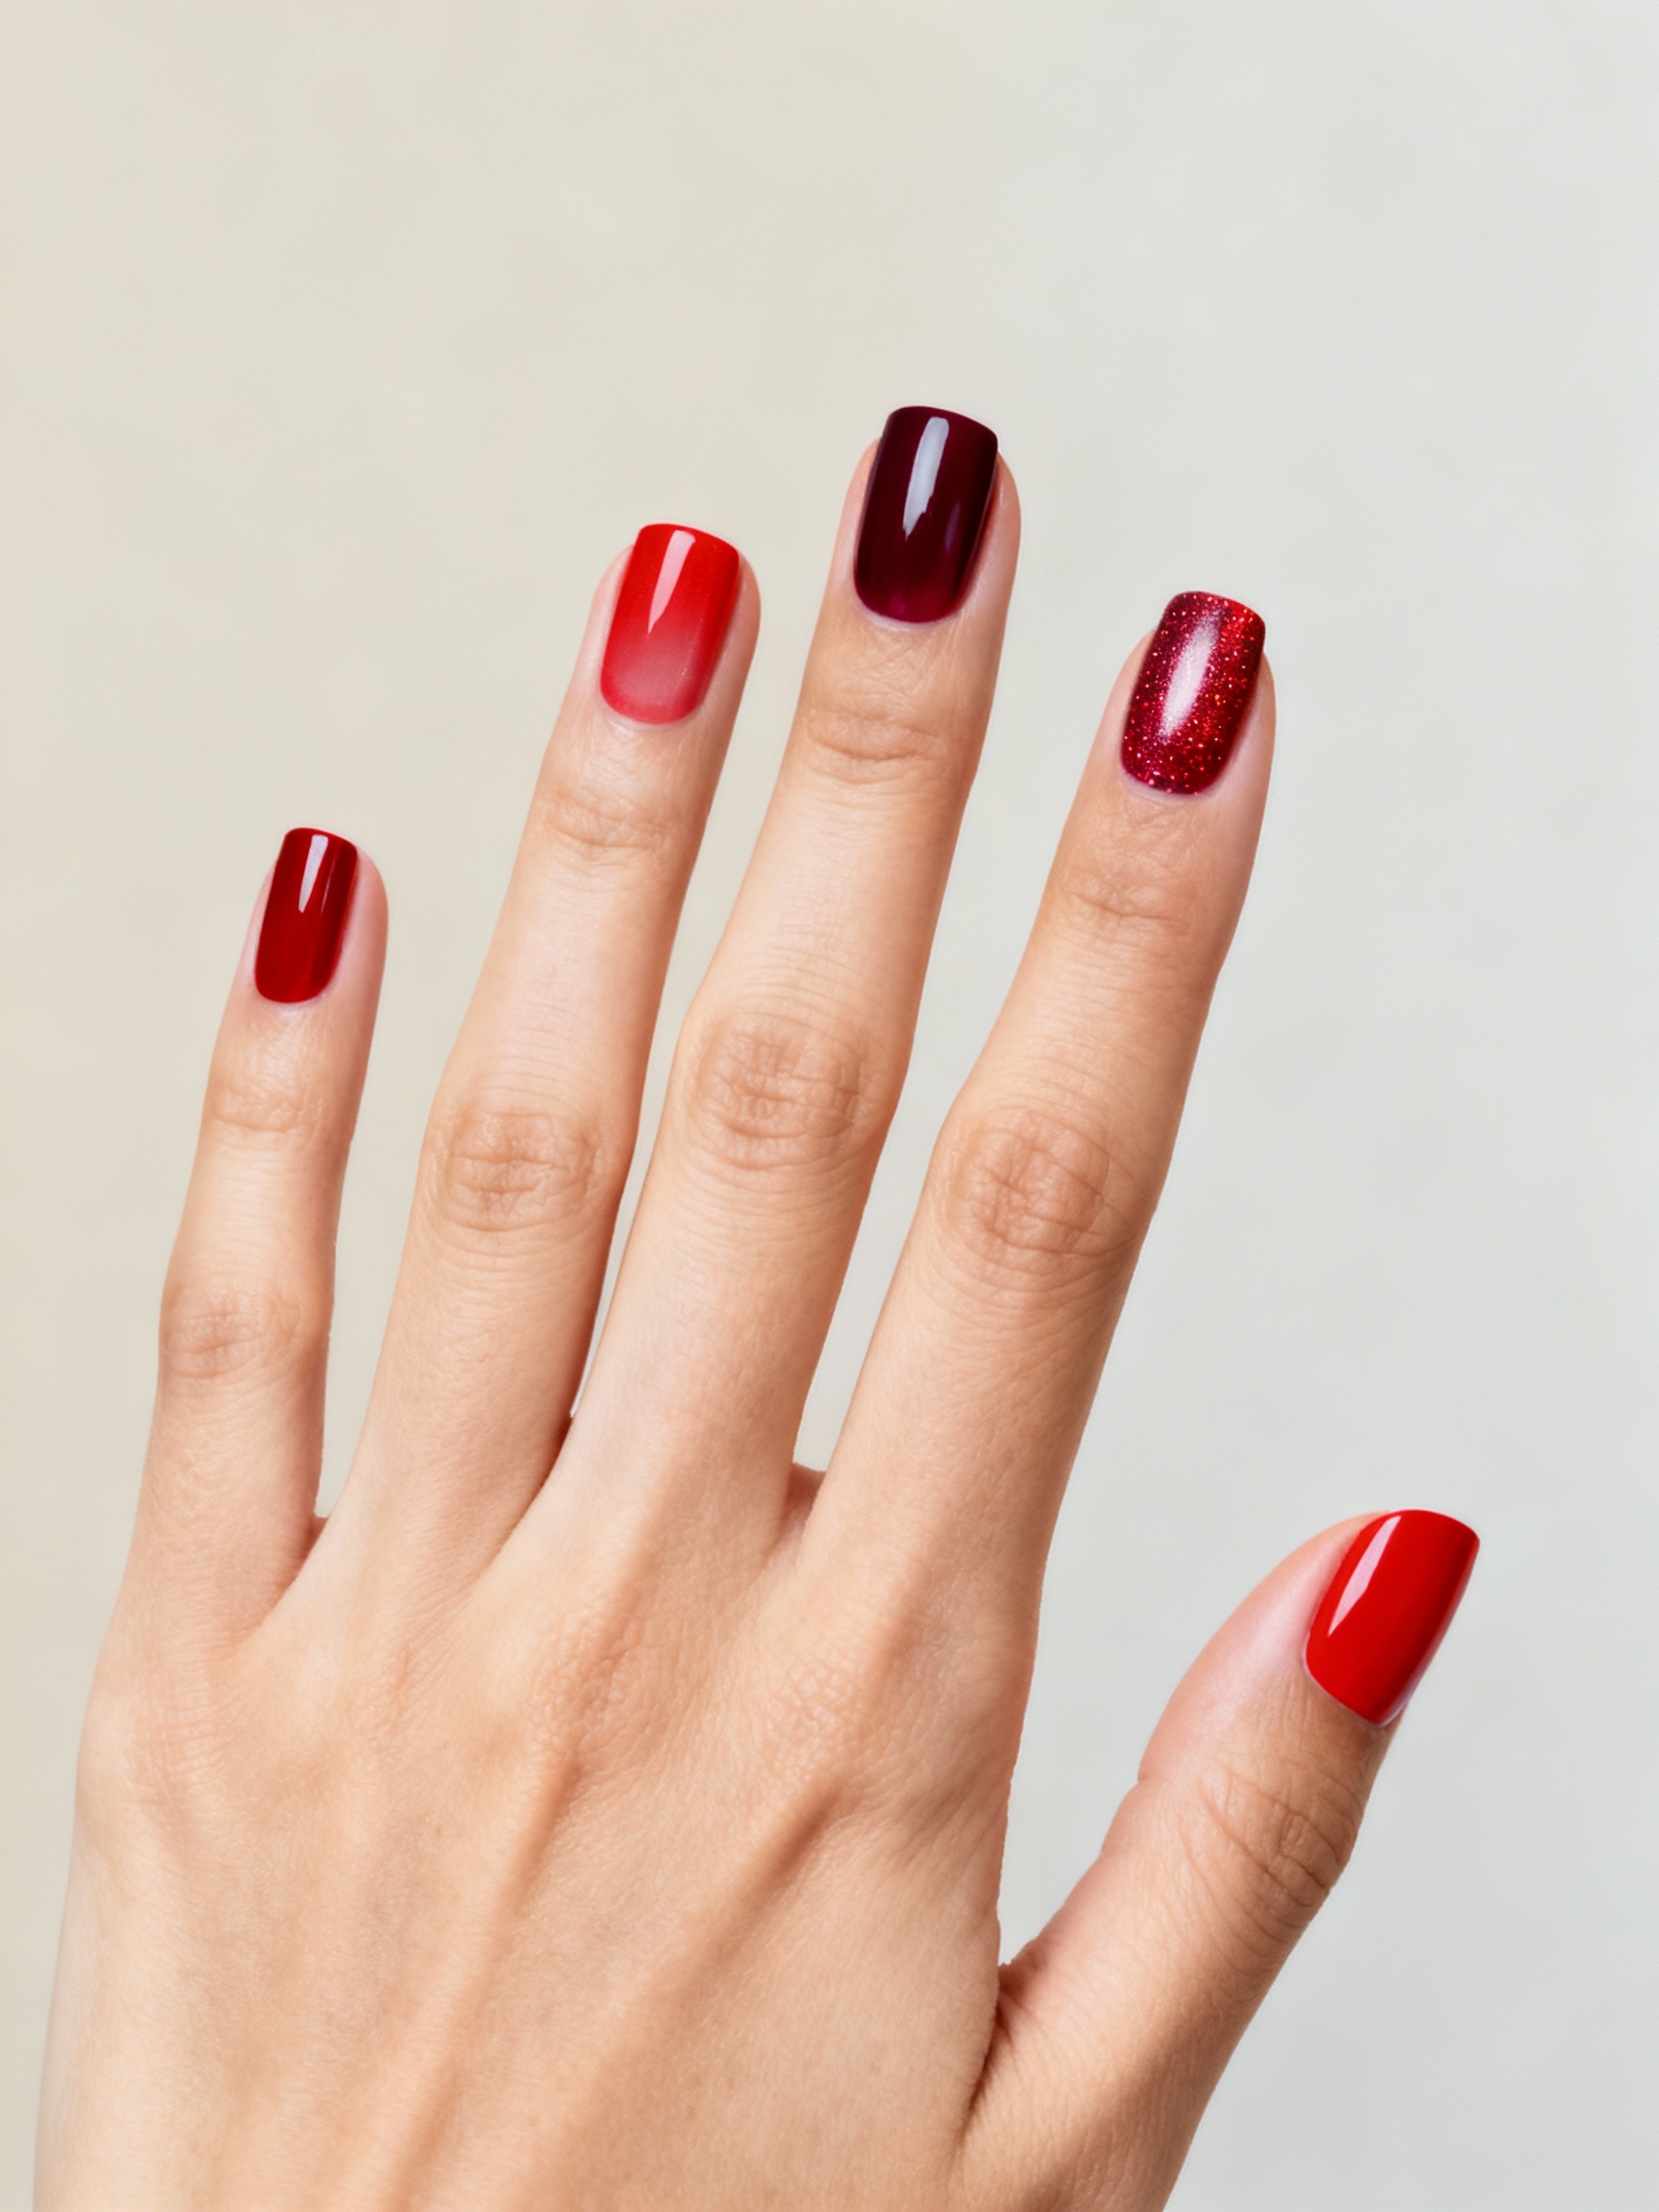
The first time you nail a true ombre, you can run your thumb across the nail and feel nothing, no ridge, no line, just one color melting into the next like sky at dusk. That smooth blend is the whole appeal, and it is also the thing people most often get wrong at home.
These thirteen ombre looks run from a barely-there nude-to-blush fade to a charcoal smoke and a holographic shimmer. The blend is done with a makeup sponge, a fan brush, or at a salon an airbrush, and a gel set runs about $35 to $55. Here is every gradient worth trying, plus how to keep the fade soft.
Ombre Nails At A Glance
What are ombre nails? Nails where two or more colors blend into each other in a smooth gradient, with no hard line between them. The fade can run light-to-dark, color-to-color, or sheer-to-glitter.
How is ombre done? Most often by dabbing the colors onto a makeup sponge and pressing it onto the nail, then smoothing the blend with a few light coats. Salons may airbrush it for an extra-soft finish.
How long does an ombre manicure last? A gel ombre holds two to three weeks. Because the colors fade into each other, grow-out is softer and less obvious than a solid color or a sharp French.
Sheer Nude To Blush
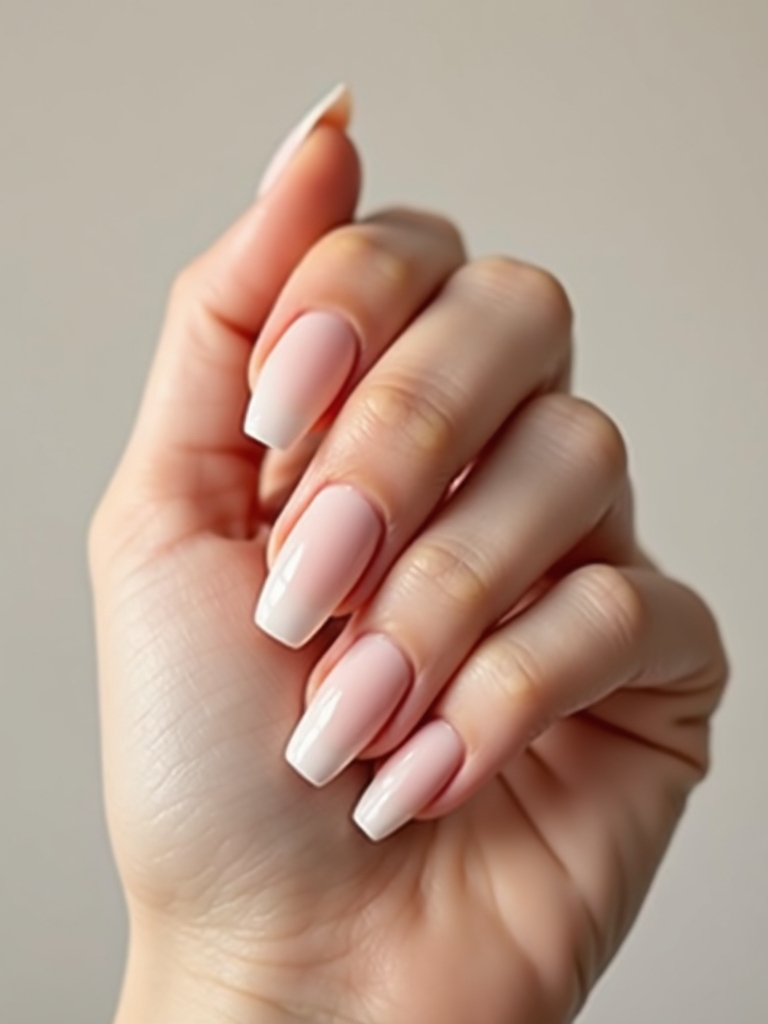
The sheer nude-to-blush is the most wearable ombre there is, a barely-there nude at the cuticle melting into a soft blush at the tip. It looks like a natural nail with a flush of color, office-friendly and quietly pretty.
Why Sheer Shades Forgive Mistakes
Sponge a nude and a blush side by side and press them on in thin layers. Keep both shades sheer so the blend stays soft and the grow-out barely shows.
It is the ombre I start beginners on, because the soft shades hide any unevenness in the fade. See soft nude nails.

Sheer Rosy Milky Fade
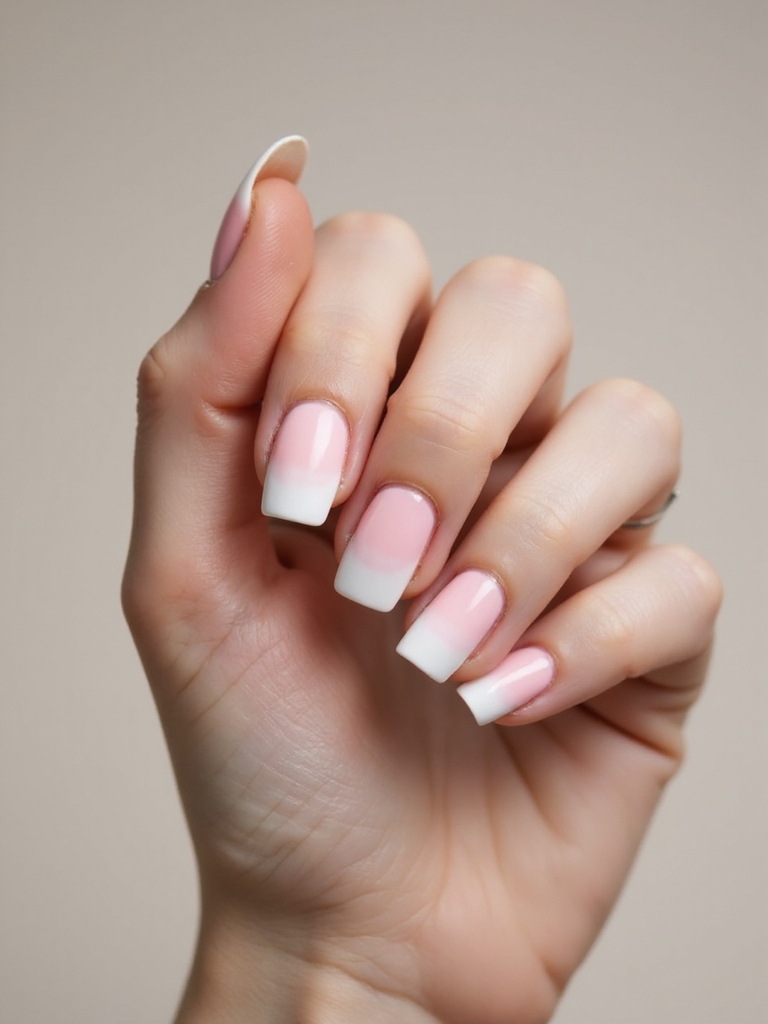
A rosy milky fade blends a milky white base into a soft rose at the tips, so the whole nail glows like the inside of a shell. It is the soft-girl ombre, gentle and a little romantic.
- Lay a sheer milky base across the nail.
- Sponge a soft rose onto the tip and blend up.
- Seal glossy. More at milky nails.
Not sure which fade to try? Match it to you:
🎯I want office-safe
A sheer nude-to-blush or rosy milky fade gives the softest, most natural gradient.
🎯I want playful and bright
A coral-to-tangerine or holographic tip brings color without going loud.
🎯I want real drama
A charcoal-to-black smoke or emerald-to-teal jewel fade makes a statement.
Peach Sorbet Sunrise Ombre

The peach sorbet ombre fades a pale yellow at the cuticle up through peach to a soft coral tip, like a sunrise on each nail. It is fresh and warm, the kind of manicure that brightens a tan.
Use three close warm shades and blend each junction so there are no bands. Keep the whole thing sheer-to-medium so it looks juicy rather than heavy.
- Pick a pale yellow, a peach, and a soft coral.
- Sponge them in order and blend each seam.
- Finish with a glossy top coat for that sorbet sheen.
Lavender To Periwinkle Ombre

Lavender-to-periwinkle is the cool-toned spring ombre, a soft lavender melting into a dusty blue-purple. It is calming and a little unexpected, a pastel that does not tip into baby-sweet.
These two sit close on the color wheel, so the blend stays smooth with little effort. It flatters cool and fair skin especially, where the periwinkle picks up the veins in a pretty way.
- Blend lavender at the base into periwinkle at the tip.
- Keep both shades creamy and opaque for a clean fade.
- A glossy top coat keeps it soft and dewy.
Work Fast, Reload Often
Polish dries on the sponge in seconds, which is why home ombres go patchy. Re-dab fresh color onto the sponge before every single press, and work one nail at a time from paint to blend before moving on. A sponge with half-dry polish drags instead of fading.
Soft Sky Gradient With Clouds
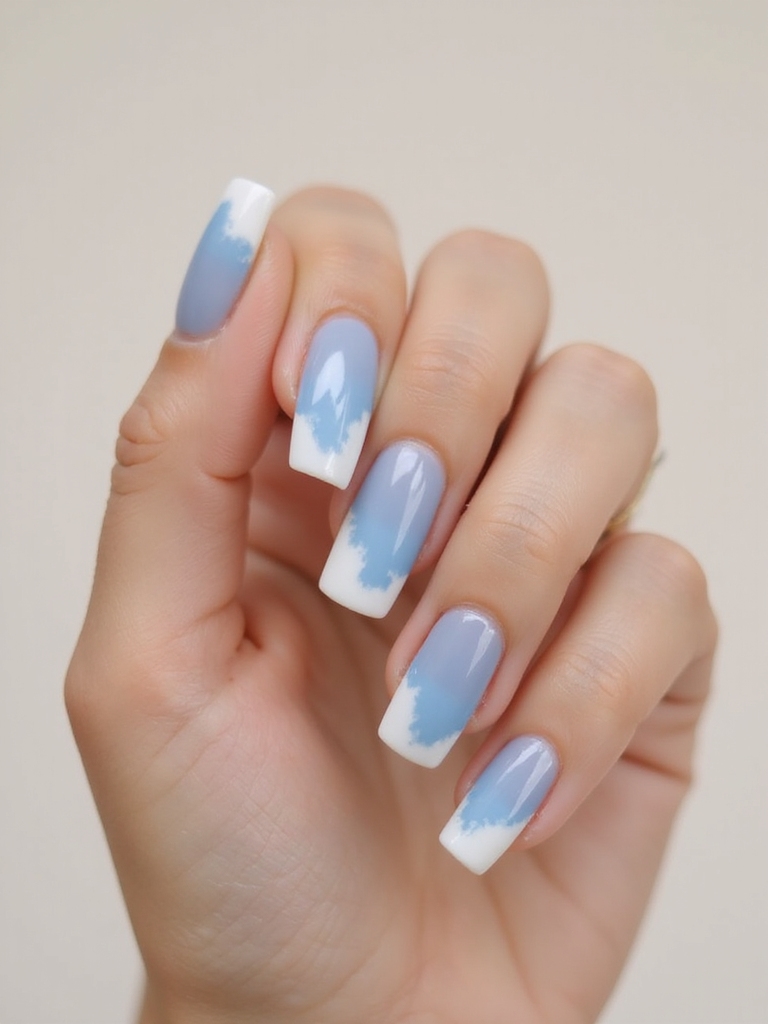
The soft sky ombre fades a white or pale blue base into a deeper sky blue, sometimes with a tiny white cloud floated on top. It is the daydream manicure, airy and summery.
Keep the blue muted so it stays sophisticated. I like it on a short almond nail, where the gradient has room to breathe without looking like a costume.
- Fade pale blue at the cuticle into sky blue at the tip.
- Add a tiny white cloud detail if you want one.
- Keep the shades muted so it stays grown-up.
Mint To Pistachio Soft Ombre
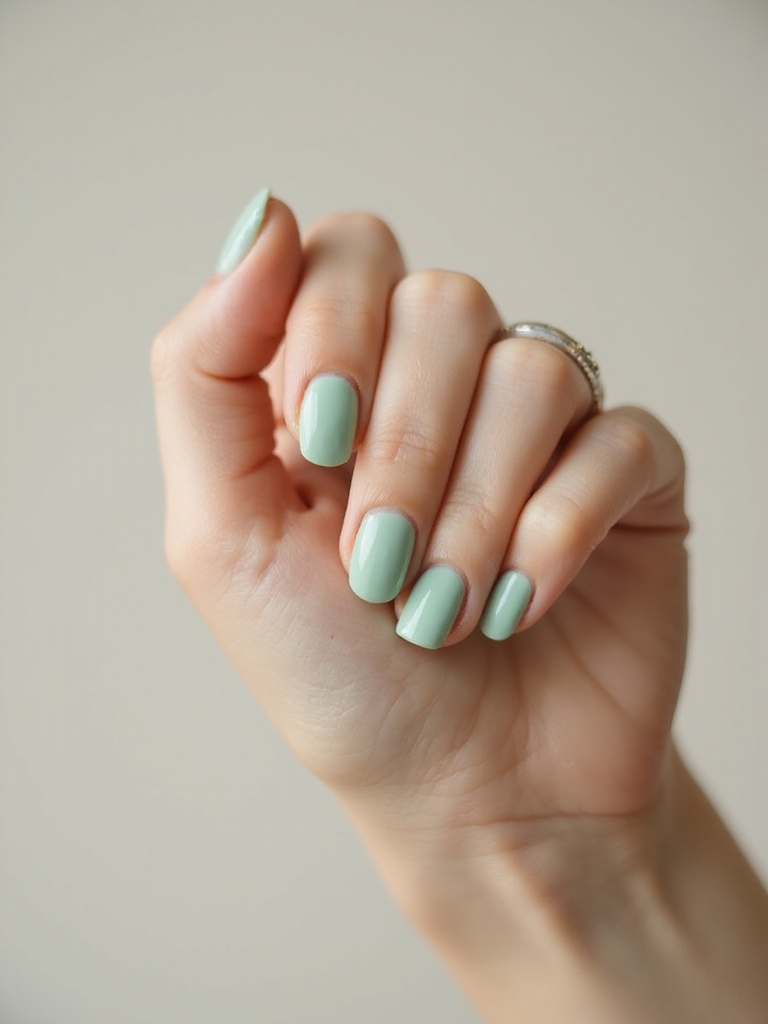
Mint-to-pistachio blends a cool mint into a warmer green-yellow, a fresh, garden-y ombre that feels like early summer. It is one of the few green manicures that stays soft instead of bold.
- Sponge mint at the base into pistachio at the tip.
- Blend the seam well so the greens melt together.
- Seal glossy for a dewy, fresh finish.
Heads-Up
Sponging is hard on the polish layer, so always finish with a thick glossy top coat and re-cap the free edge. Skip that step and an ombre chips at the tip far faster than a solid color, because the sponged surface is thin and uneven where the fade sits.
Sheer Coral To Tangerine Gradient

Coral-to-tangerine is the vacation ombre, a sheer coral melting into a bright tangerine tip, all warmth and sunshine. I paint it most often before someone leaves on a beach trip, where the warmth suits the setting.
Keep the shades sheer so the brights stay juicy rather than loud. The warm gradient looks especially good against a tan or deeper skin, where the orange glows.
- Fade sheer coral into a brighter tangerine tip.
- Keep both layers thin so they stay glassy.
- A glossy top coat makes the colors look wet.
Charcoal To Black Gradient
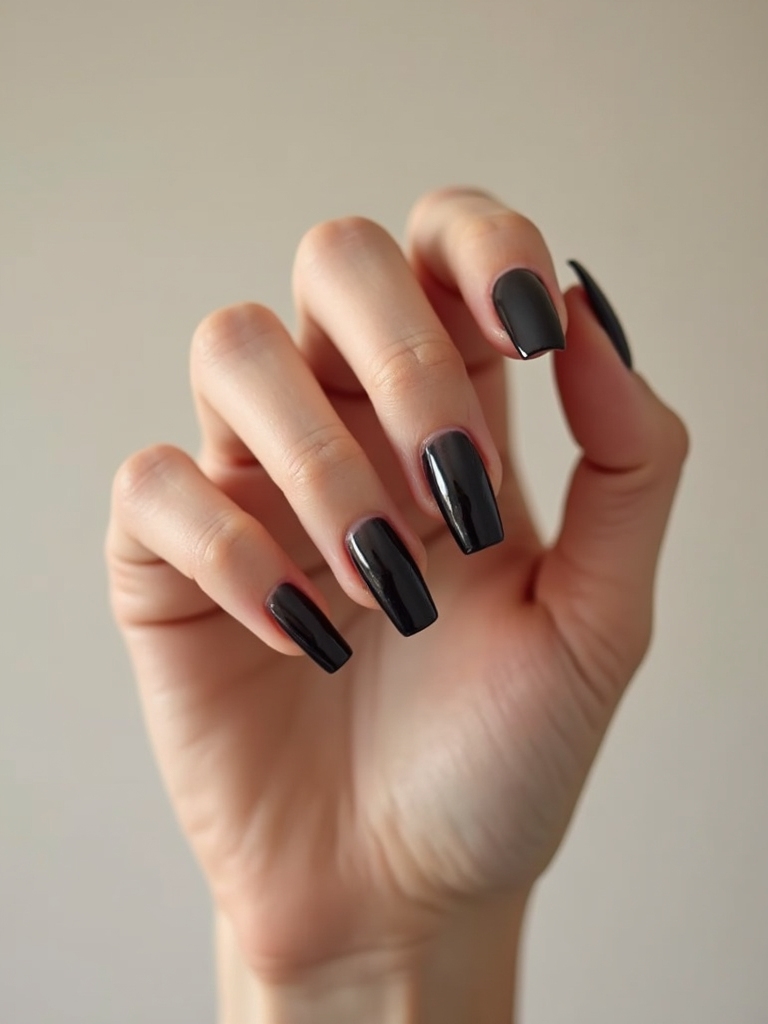
The charcoal-to-black ombre is the moody one, a smoky gray at the cuticle deepening to a true black at the tip. It is edgy and a little gothic, the ombre for someone who likes a dark nail with a twist.
Keeping A Dark Ombre From Muddying
Blend a charcoal and a black so the gray looks like smoke rising off the black. Keep the nail glossy so it reads like polished onyx.
It is the most dramatic look here, and it suits a longer almond or coffin shape best.
An ombre lives or dies on the top coat. The fade you sponge on always looks rough until that last glossy layer melts the colors together.
Burgundy To Plum Ombre Nails
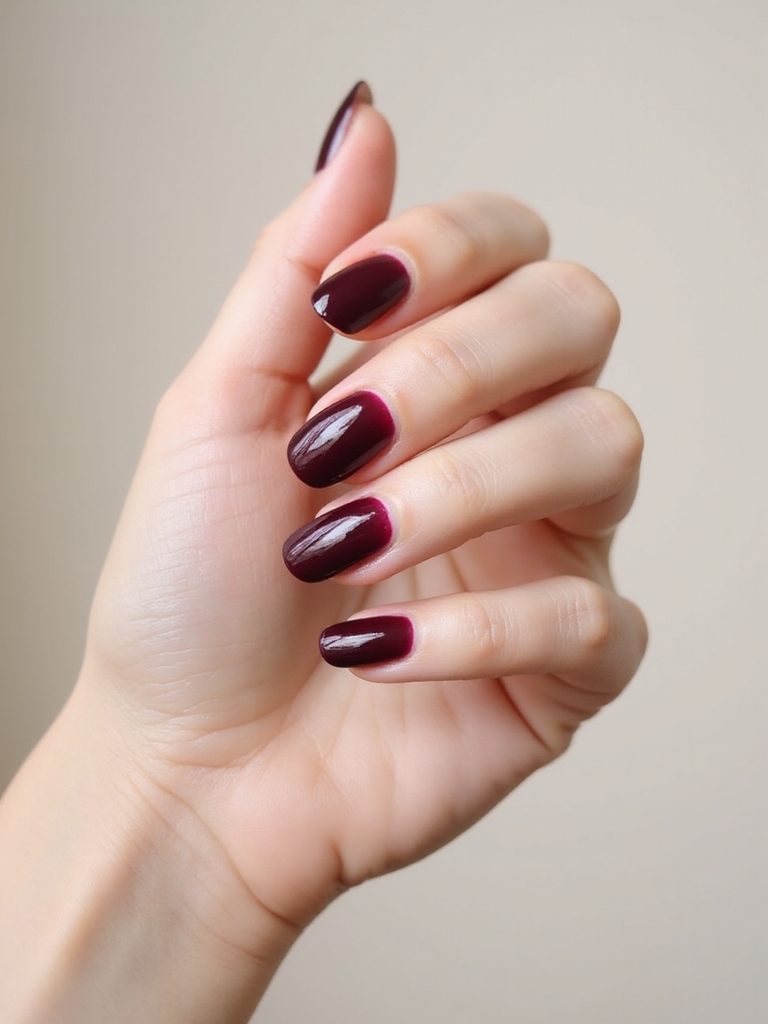
Burgundy-to-plum is the wine-country ombre, a deep burgundy melting into a purple-plum, rich and a little luxe. It is the dark ombre that still feels soft, ideal for fall and winter.
Jewel Tones That Blend Cleanly
These two jewel tones blend beautifully because they share a red base. Sponge them on in thin layers and the seam disappears almost on its own.
It glows on deep skin especially, where the plum looks saturated and the burgundy stays true. More at navy nails.
Emerald To Teal Luxe Gradient
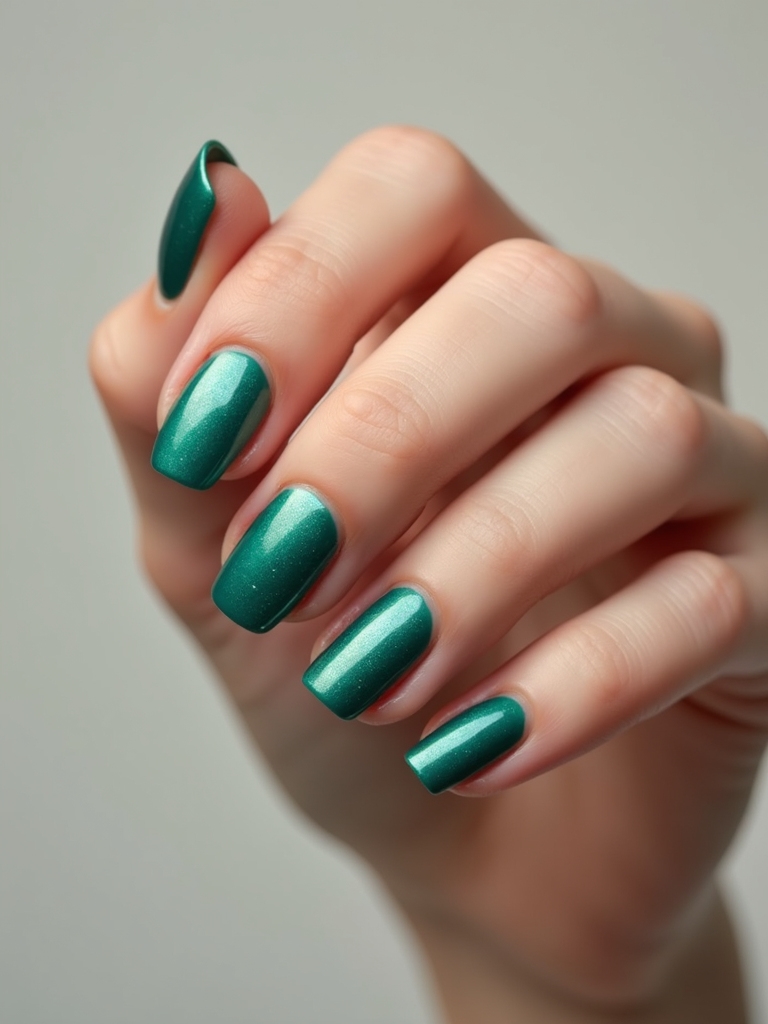
Emerald-to-teal is the luxe green ombre, a deep emerald fading into a bright blue-teal, jewel-rich and a little mermaid. It is bold without being neon, the kind of green that looks expensive.
Keep both shades glossy and saturated so the gradient looks like polished stone. A chrome or pearl top coat takes it somewhere special.
It is a statement ombre, best on a medium-to-long nail where the blend has room to show. On deep skin the emerald reads especially jewel-like, where a paler green can wash out, so lean into the saturated end here.
Soft Nude To Chrome

The nude-to-chrome ombre fades a soft nude base into a mirror-chrome tip, so the nail looks dipped in liquid metal at the edge. It is the modern, futuristic ombre, quiet at the base and high-shine at the tip.
- Lay a soft nude base across the nail.
- Buff chrome powder onto the tip and blend down.
- Seal well so the chrome does not dull. See pink chrome nails.
Micro Glitter Dipped Ombre
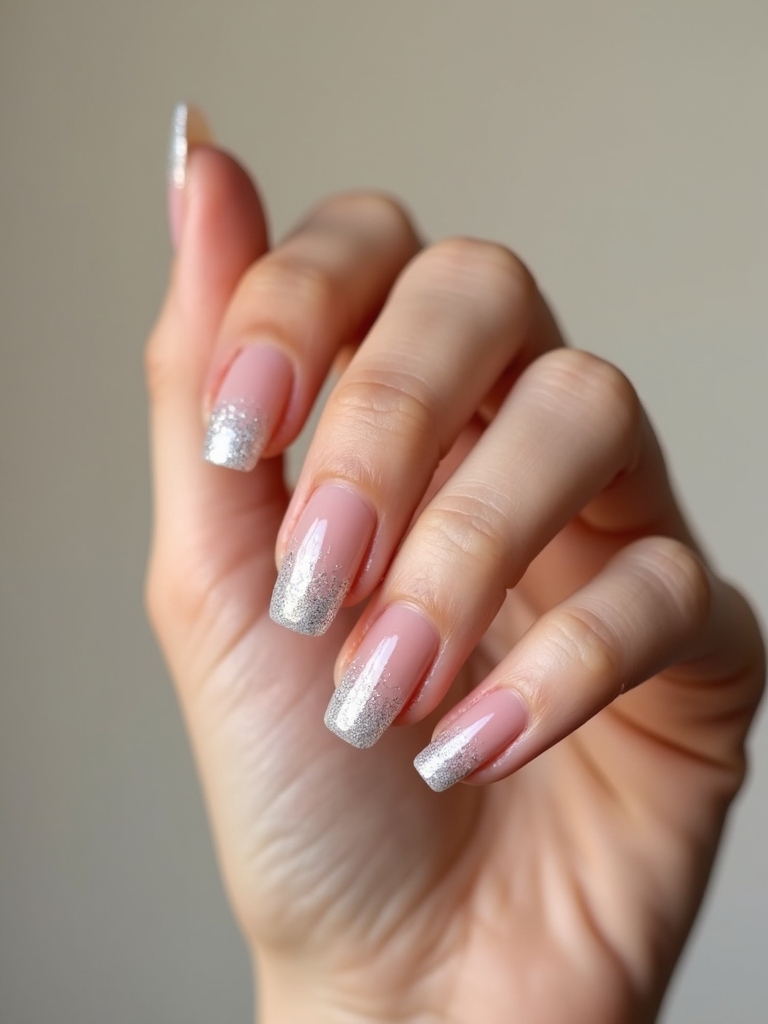
The micro-glitter ombre fades a sheer base into a dense sparkle at the tip, like the nail was dipped in glitter. It is the party ombre, subtle at the cuticle and full-shine at the edge.
Use a fine micro-glitter so it reads like shimmer instead of chunky flakes. Build the density gradually so the fade from clear to sparkle stays smooth.
- Fade a sheer base into dense micro-glitter at the tip.
- Build the sparkle in light layers for a soft gradient.
- Seal with two top coats so the glitter sits flush.
Holographic Sheer Gradient Shimmer
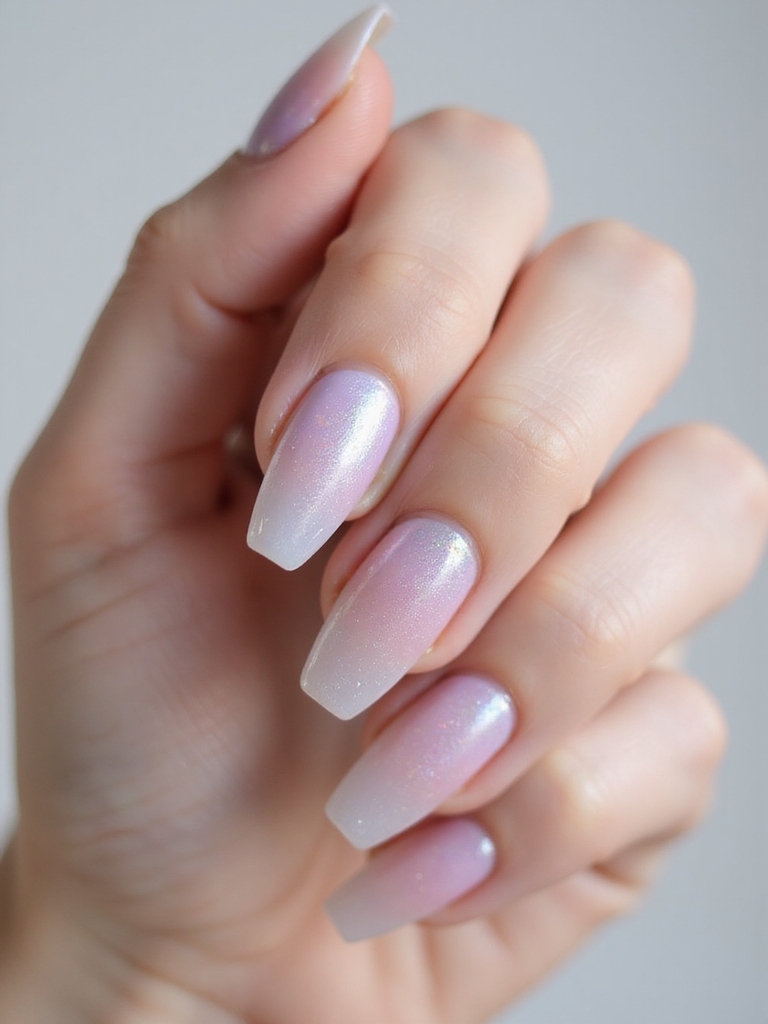
The holographic ombre fades a sheer base into a rainbow-shifting holo at the tip, so the edge throws tiny prisms in the light. It is the most playful ombre here, and it changes color as you move your hands.
- Sponge a fine holographic powder onto a sheer tip.
- Blend it down so it fades into the bare nail.
- Seal glossy to lock the holo shimmer in.
Common Mistakes To Avoid
The biggest ombre mistake is rushing the blend. A smooth fade comes from thin, patient layers, dabbing the sponge two or three times and letting each pass dry slightly, not from one thick squashed coat that leaves a muddy band.
The second mistake is skipping the top coat: sponging leaves a faintly textured surface, and one or two coats of glossy top coat are what melt the colors together and give that wet, blended look. Without it, even a good fade looks dull and patchy. I tell every client who wants to try this at home to budget a full twenty minutes the first time, because the blend is all in the slow build.
The third trap is high contrast in unsteady hands. A nude-to-blush forgives a wobbly blend; a white-to-black shows every flaw. Start with close-toned ombres and work up to bold ones as your sponge control improves. And clean up the cuticle line afterward, since sponging always leaves a little color on the skin, and a quick swipe of remover around the nail is the difference between a home job and a salon finish. For more soft fades, see milky nails.
Ombre Nail Questions, Answered
?Can I do ombre nails without a sponge?
Yes. A small fan brush or a dense eyeshadow brush can blend two wet colors directly on the nail, though a makeup sponge gives the softest, most even fade for beginners.
?Why does my ombre look patchy?
Usually the polish dried on the sponge before you pressed, or the layers went on too thick. Reload fresh color before each press, build in thin layers, and always seal with a glossy top coat to smooth the blend.
?What nail shape works best for ombre?
Almond and coffin shapes give the gradient the most room to fade, but ombre works on any length. Shorter nails suit close-toned fades, while bold color-to-color ombres show best on longer nails.
?How do I make a vertical ombre instead of tip-to-cuticle?
Lay your colors side by side across the sponge horizontally rather than stacked, then press straight down so the fade runs left to right across the nail instead of top to bottom.
One Color Into The Next
The magic of an ombre is that it turns two or three flat colors into something with depth and movement, a little sunrise or a wisp of smoke on every nail. Whether you keep it barely-there with a nude-to-blush or go full drama with a charcoal smoke, the secret is always the same: thin layers, a patient blend, and a glossy top coat to pull it all together. Master that, and every color combination on this list is yours.
Keep Reading