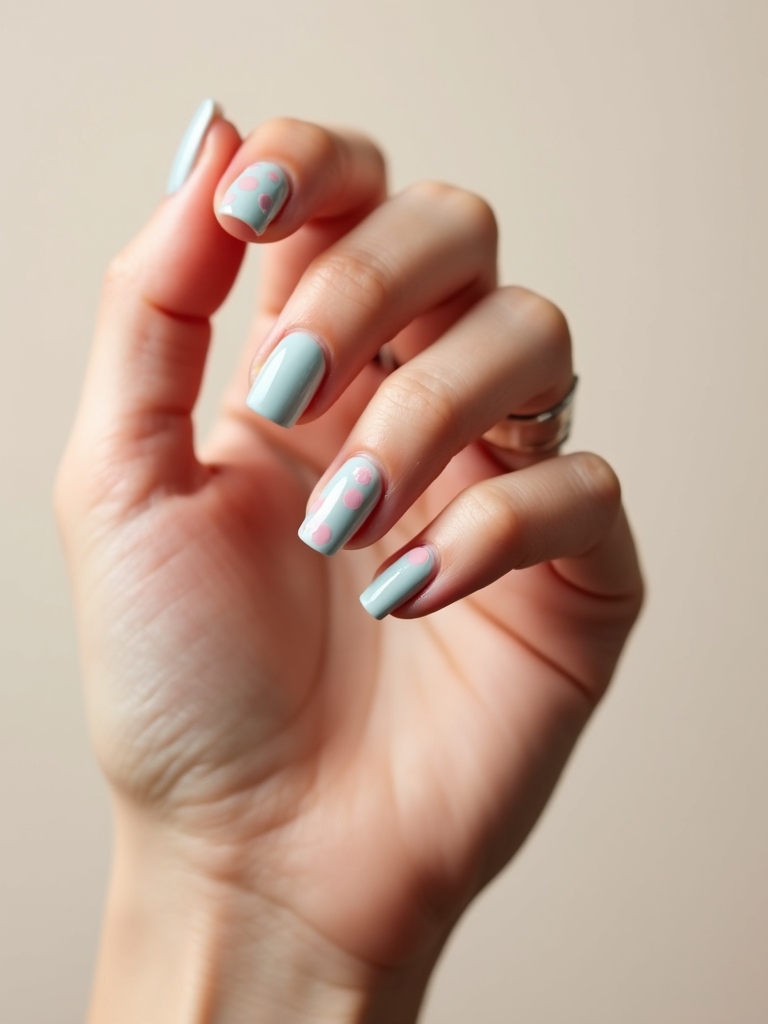
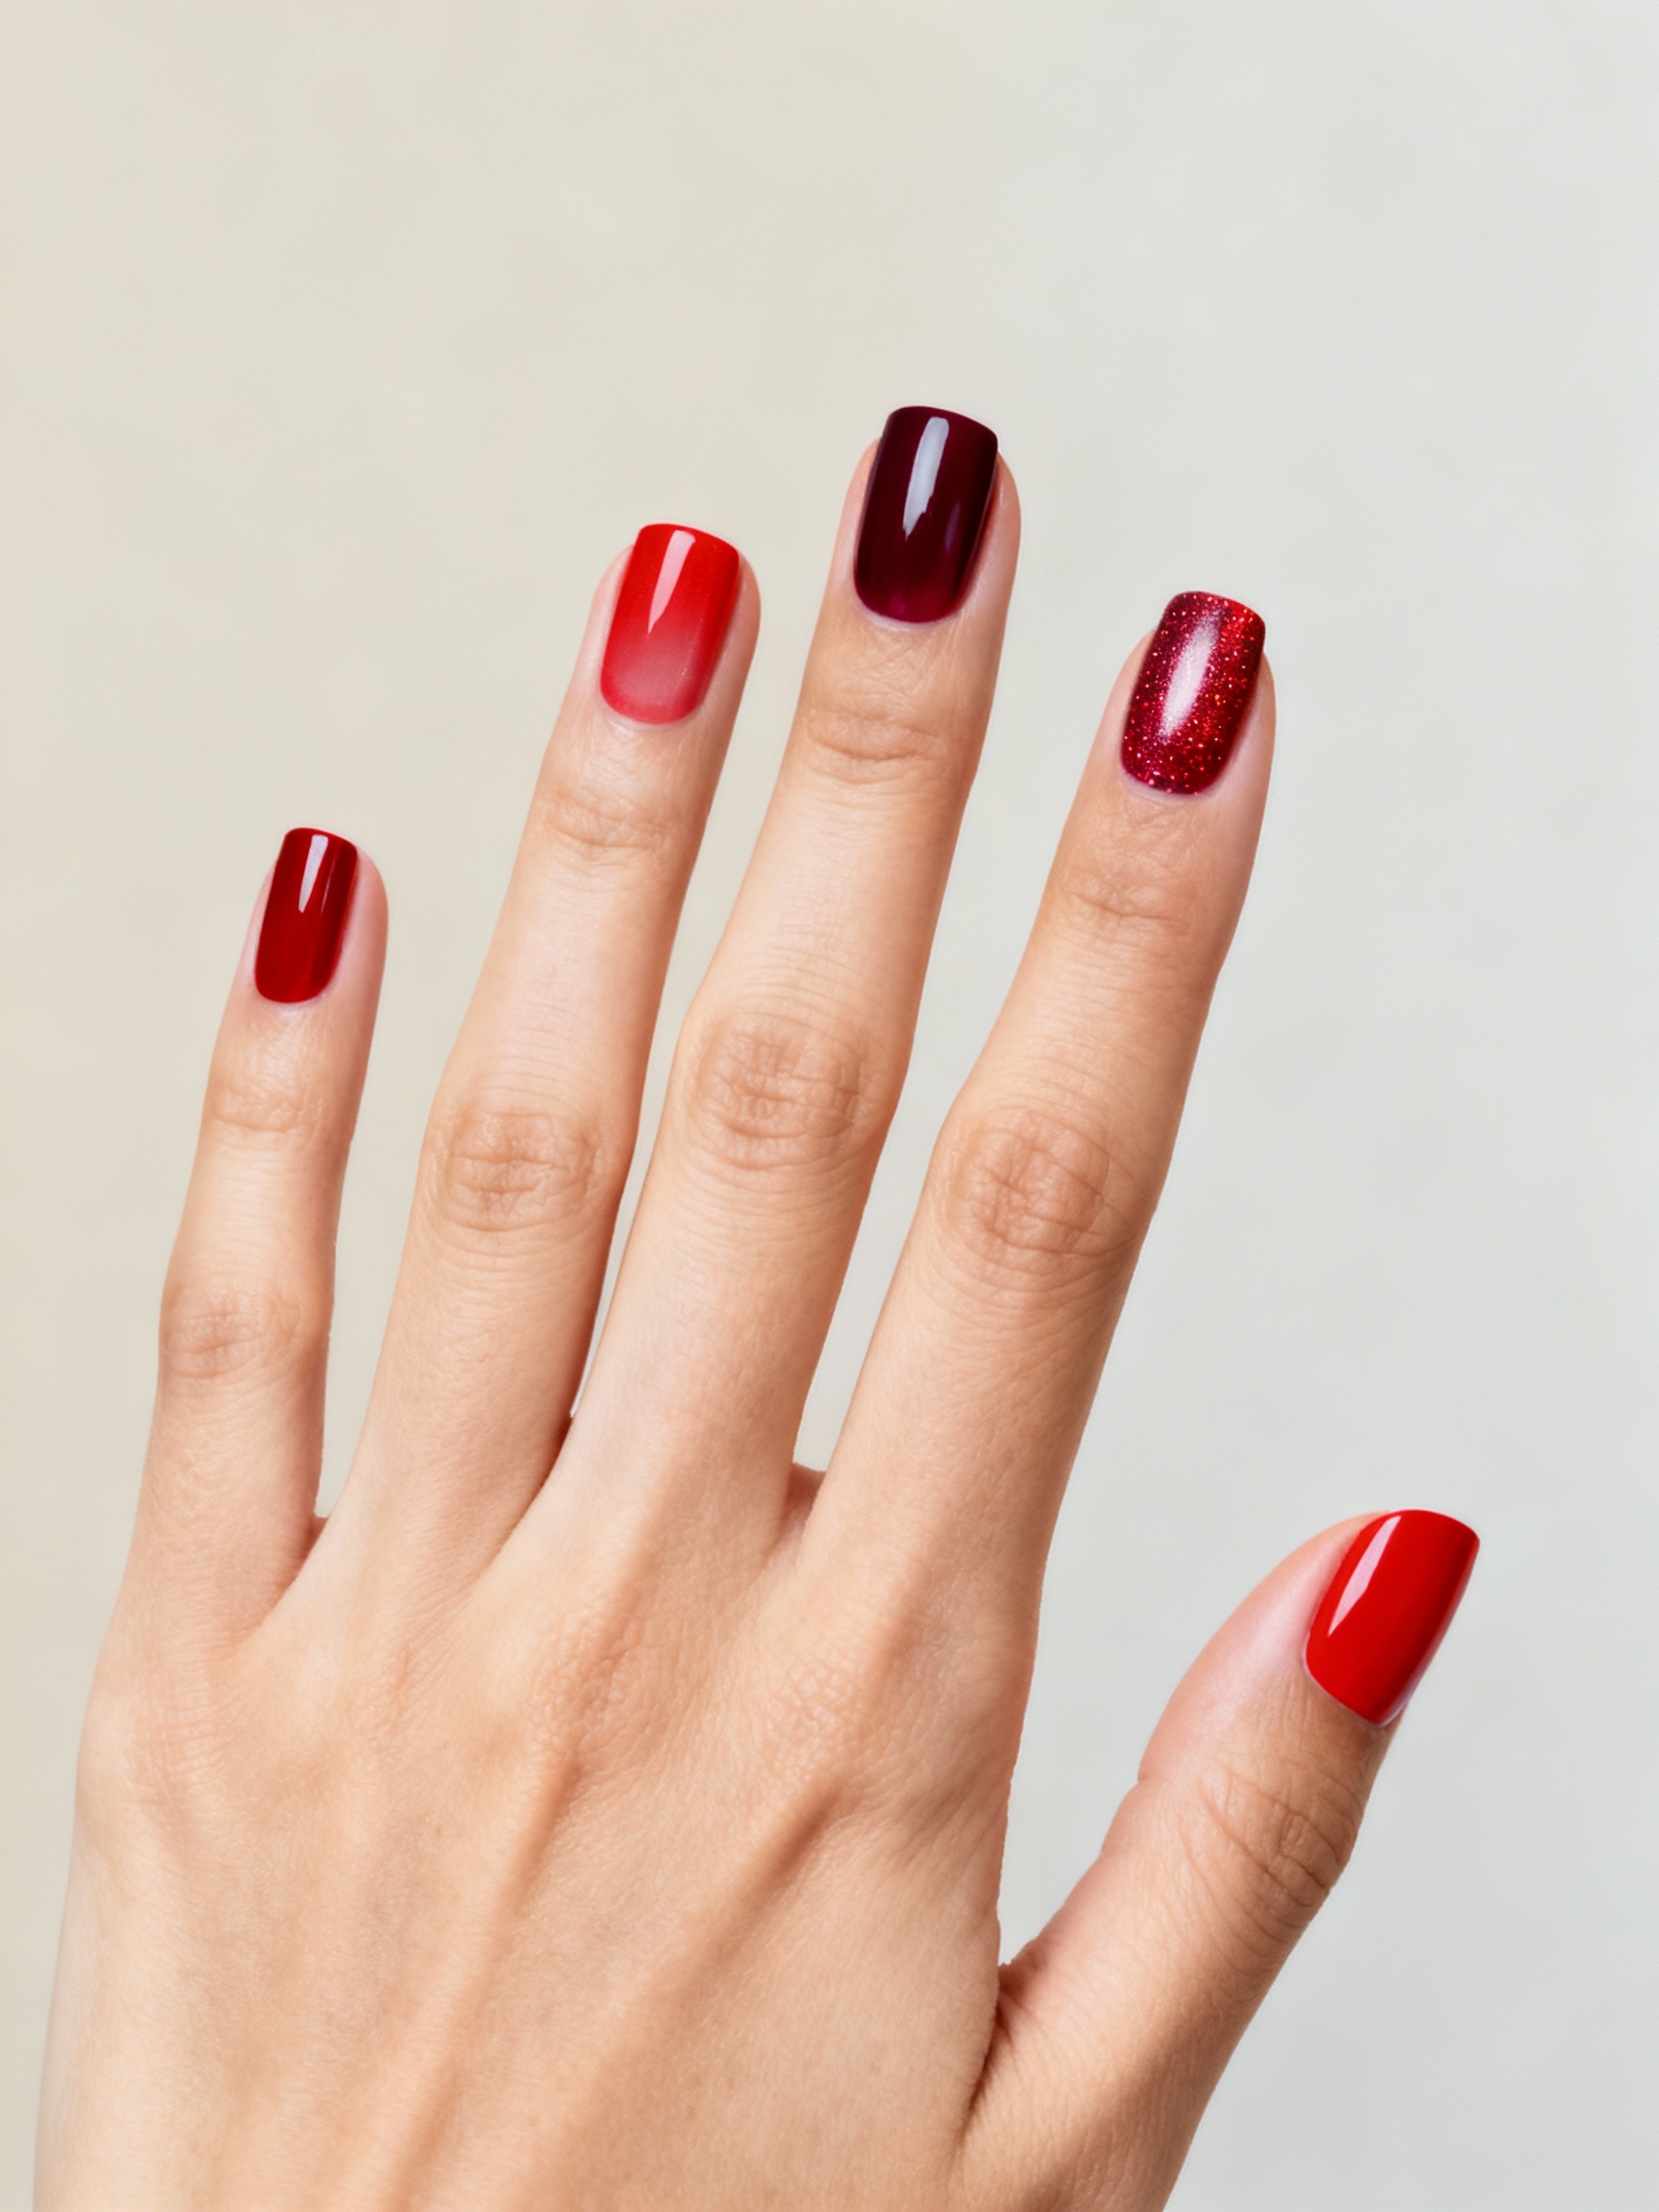
Spooky and chic are not opposites, and the manicures that own the season prove it. The strongest Halloween nails skip the cartoon pumpkin on every finger in favor of one elegant idea done well: black lace over bare skin, a single gold skull, a velvet-matte red that just happens to read like dried blood. Done right, these look like fashion first and costume second.
What follows are fourteen designs that thread that needle, sorted loosely from barely-there to full art. Each comes with how it is built, the rough price if you book it, and how long it actually wears, so you can pick the one that suits your nails, your week, and how much of a statement you want at your fingertips.
Quick Answers First
What makes Halloween nails chic instead of costume-y? Restraint and finish. One refined motif on an accent nail, clean lines, and a deliberate texture (matte, chrome, velvet) read elegant; ten loud cartoons read like a party favor.
Salon or at home? Solid colors, velvet, and simple studs are easy at home. Fine lace, tiny scenes, and foil work are worth a salon chair and run roughly $50 to 85 for detailed gel art.
How long will they last? Gel holds two to three weeks; press-ons get you about a week. Designs with less pattern, like a matte red or a chrome, grow out the most gracefully.
Bewitching Black Lace Nails
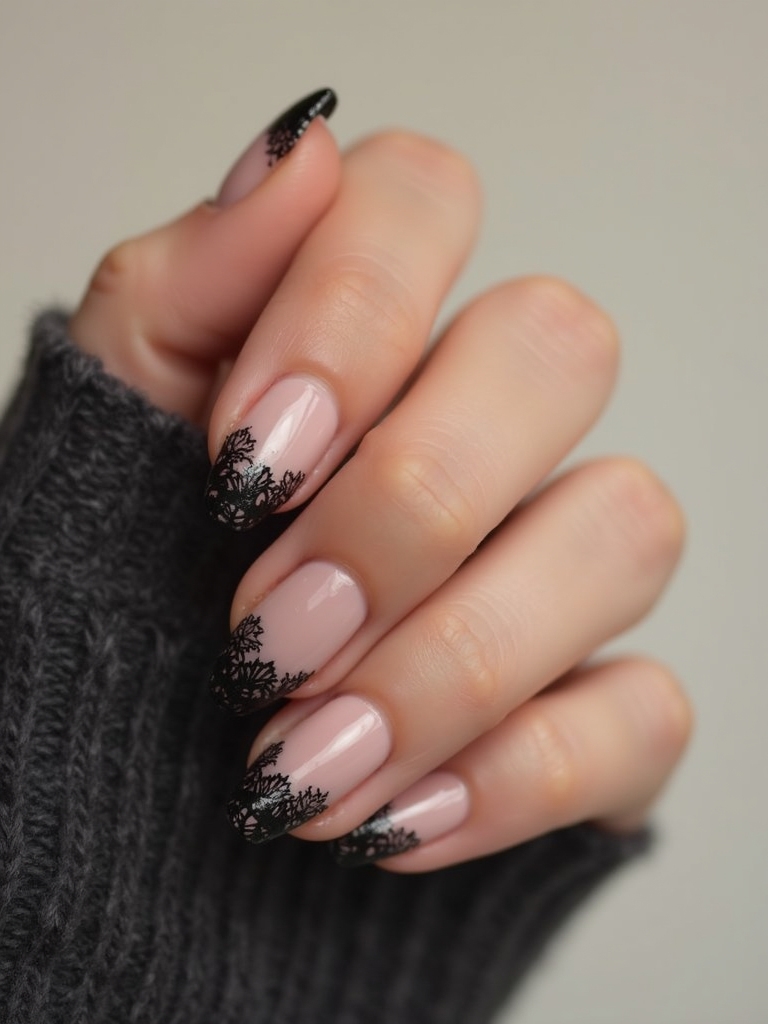
Black lace is the most elegant Halloween nail there is, equal parts lingerie and witchcraft. A delicate web of fine black lines sits over a sheer nude or blush base, so the design looks like fabric laid across the nail. It whispers gothic instead of shouting it, which is exactly why it suits a dinner as easily as a party:
- Start with a sheer nude or pale blush base so the lace appears to float on bare skin.
- Paint the lace with the thinnest striper you own, working in small connected loops and scallops rather than rigid lines.
- Seal with a glossy top so the fine work stays crisp, and keep the lace to one or two accent nails so it stays refined.

Sheer Ghostly Wisp Nails
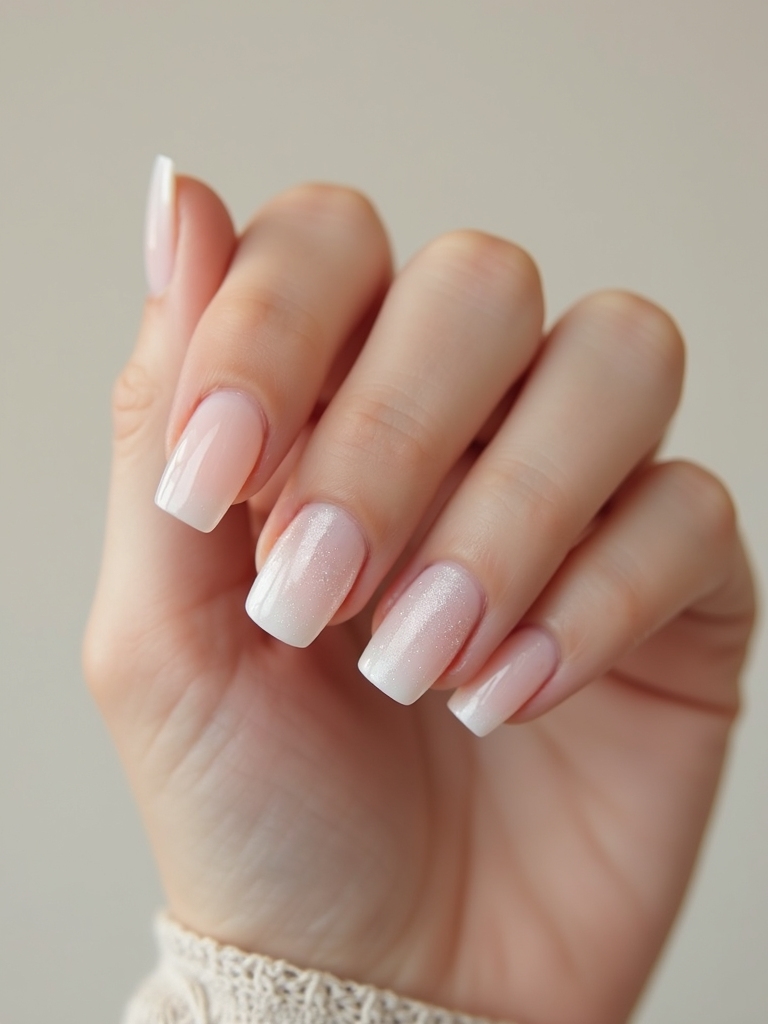
Where a cartoon ghost looks cute, a ghostly wisp feels ethereal. Soft, smoky white drifts across a sheer base like fog, with no hard outline anywhere, so the effect is haunting rather than childish. It is one of the prettiest ways to nod at Halloween without a single obvious motif:
- Lay a milky or sheer gray base, keeping it thin so the wisps can glow against it.
- Drag a barely-loaded white brush in soft curving sweeps, then blur the edges with a clean sponge while wet.
- Add one faint pair of dot eyes on a single nail if you want the ghost to read, then leave the rest as pure fog.
🅰️Freehand lace
Fully custom and organic, but it needs a steady hand and a very thin striper; best on one or two accent nails.
🅱️Stamped lace
Faster and more uniform across all ten using a lace stamping plate; less custom but crisp and beginner-friendly.
Blood-Drip Mirrored Chrome
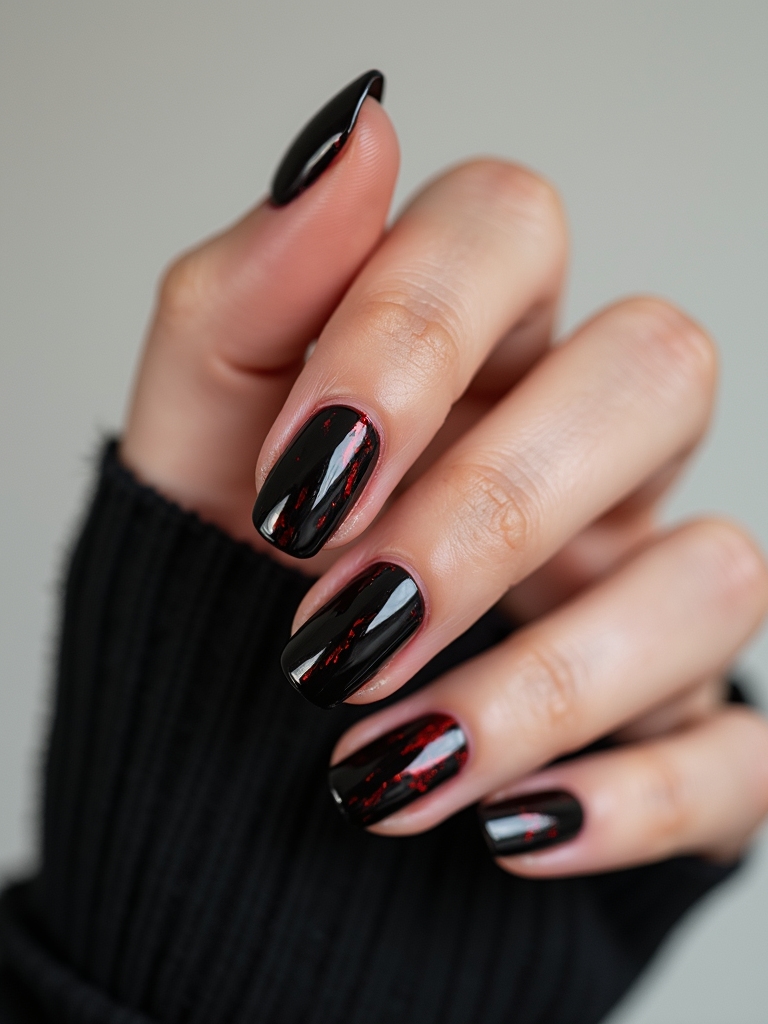
When a client wants the whole table to gasp, this is what I reach for: a mirror-chrome silver nail with glossy red blood running down from the cuticle. The contrast between the cold metal and the wet red is what sells the horror, and it photographs like something out of a film still. Build it in this order so the chrome stays mirror-perfect:
- Lay a black gel base and cure it, then buff silver chrome powder over the top until the nail turns to mirror.
- Seal the chrome, then paint glossy red drips falling from the cuticle with a fine brush, varying the length.
- Layer a thick clear gloss over the red only, so the blood looks wet and three-dimensional against the flat metal.
Cozy Pumpkin Plaid Shimmer
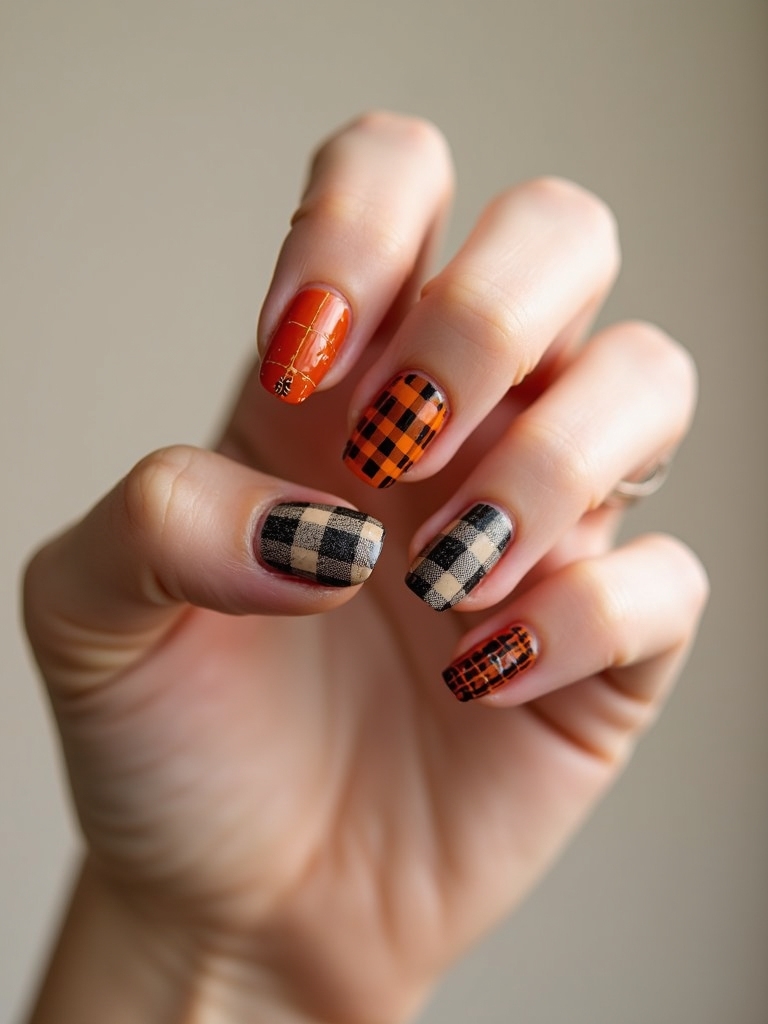
Not every October nail has to be scary, and the pumpkin plaid is proof. It is autumn in a manicure: warm burnt-orange and cream plaid with a soft shimmer running through it, the kind of cozy design you would wear to a hayride or a coffee date. On deeper skin tones the warm pumpkin and rust shades look especially rich. Build the plaid simply:
- Base the nails in a creamy pumpkin or warm caramel and let it set fully.
- Cross thin stripes of rust, cream, and a metallic gold over the base with a striper to form the plaid grid.
- Sweep a fine gold shimmer top coat over everything so the whole nail glows warm rather than flat.
| Base | Accent stripes | Finish |
|---|---|---|
| Creamy pumpkin | Rust and gold | Soft gold shimmer |
| Warm caramel | Cream and deep brown | Glossy top |
Moody Magnetic Velvet Cat-Eye
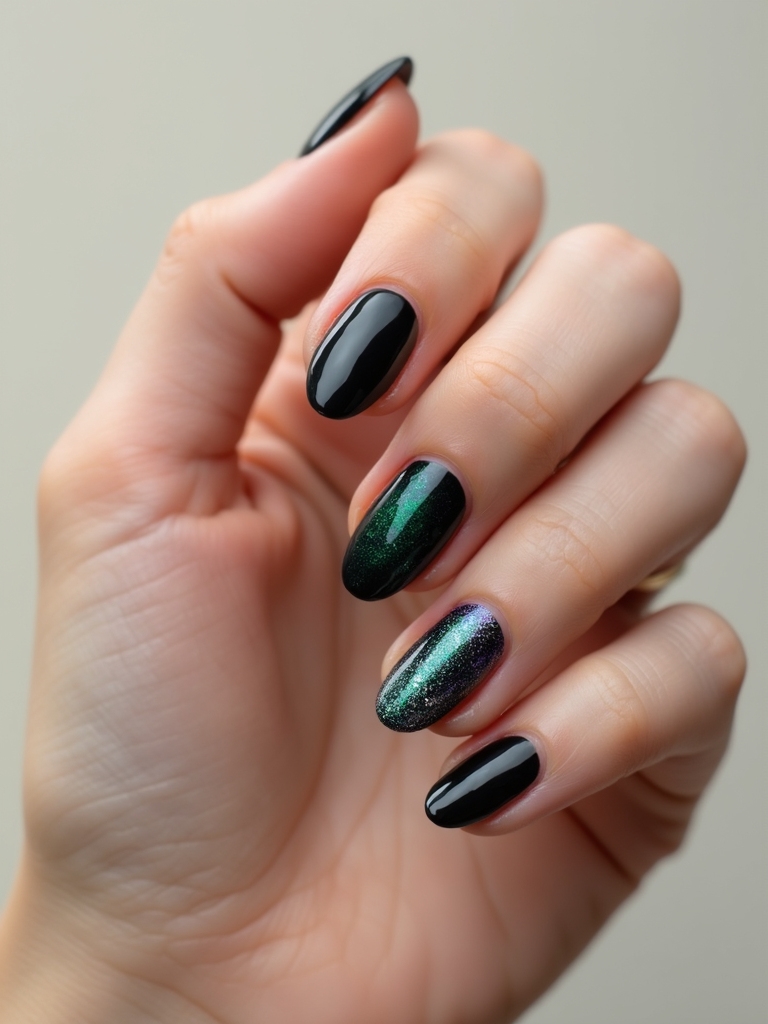
Magnetic cat-eye polish gives you depth that looks hand-painted from a single coat. The moody version uses deep, eerie tones, oxblood, forest, or midnight plum, with a velvety strip of light pulled through the center. It is one of the fastest dramatic nails you can do, which is why I love it for clients short on chair time.
The trick is the magnet timing. While the magnetic gel is still wet, hold the magnet just above the nail for a few seconds so the shimmer particles gather into a soft, glowing band. Curve or angle the magnet to bend that light into a swirl rather than a straight line for a more haunted look.
Because the effect comes from the polish itself, this design wears beautifully and never chips into an obvious pattern. It is the quiet showstopper of the bunch, low effort and high payoff.
Bare Nude Cobweb With Sparkle
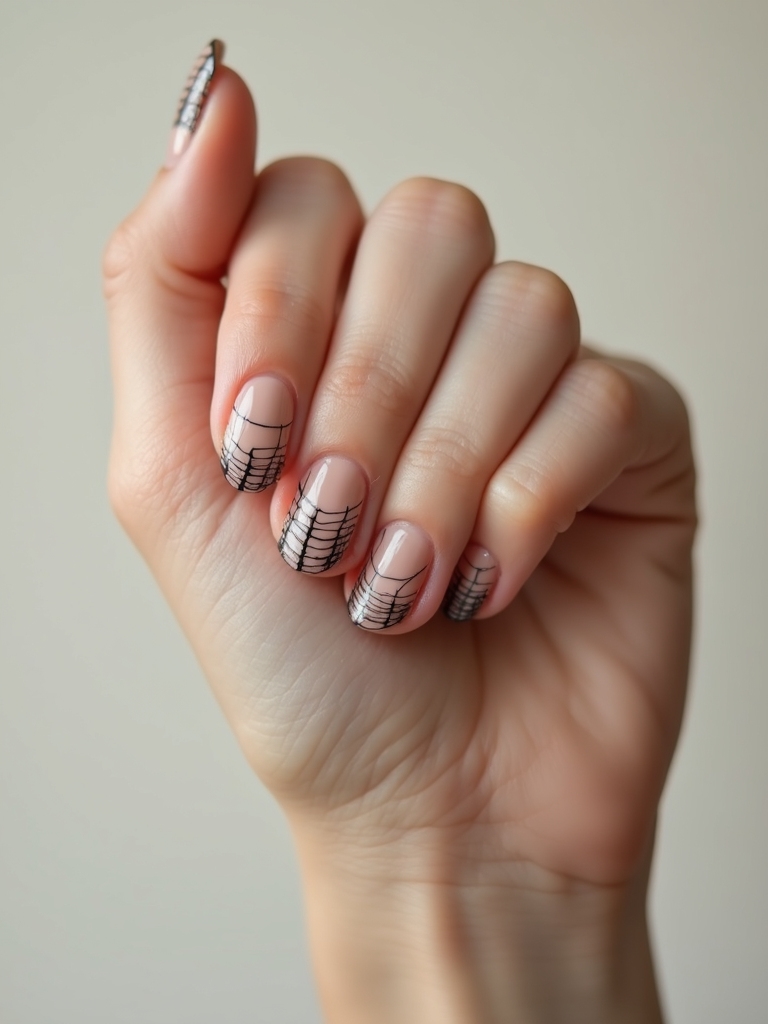
The bare cobweb is negative space at its most elegant, letting the natural nail do most of the talking. A faint silver or black web sits in one corner of an otherwise nude nail, with a scatter of fine sparkle caught in the threads like morning dew. It is subtle enough for an office and still unmistakably Halloween.
Keep it minimal and it stays sophisticated:
- Start with a sheer nude or your natural nail buffed and glossed.
- Spin a small web in one corner with a thin striper, anchoring it to the side and tip of the nail.
- Press a few tiny crystals or a dusting of fine glitter into the web while the top coat is wet so it catches light.
The chicest Halloween nail is almost always the one with the most bare space left on it. Restraint is what turns a costume into a statement.
Tiny Gold Skull Studs
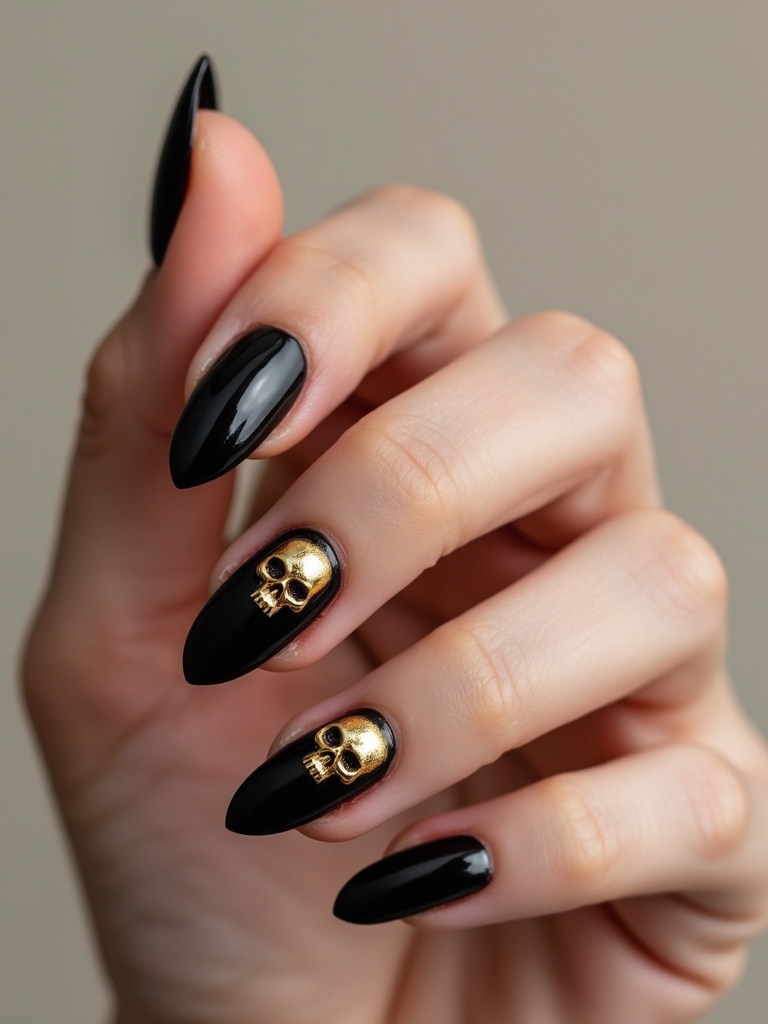
Sometimes the most striking detail is a single piece of hardware. A tiny gold skull stud pressed onto a deep, glossy base turns a plain manicure into jewelry for your hands. I point time-pressed clients straight to this one: minimal painting, maximum impact. The metal does all the work against a moody color.
A few placement notes keep it elegant rather than cluttered:
- Base in a rich black, oxblood, or forest green with a high-gloss top so the gold pops.
- Place one small skull charm near the cuticle of an accent nail, not centered, for a more editorial look.
- Seal the stud with a dab of gel or glue so it survives the week without catching on everything.
Moonlit Haunted House Silhouettes
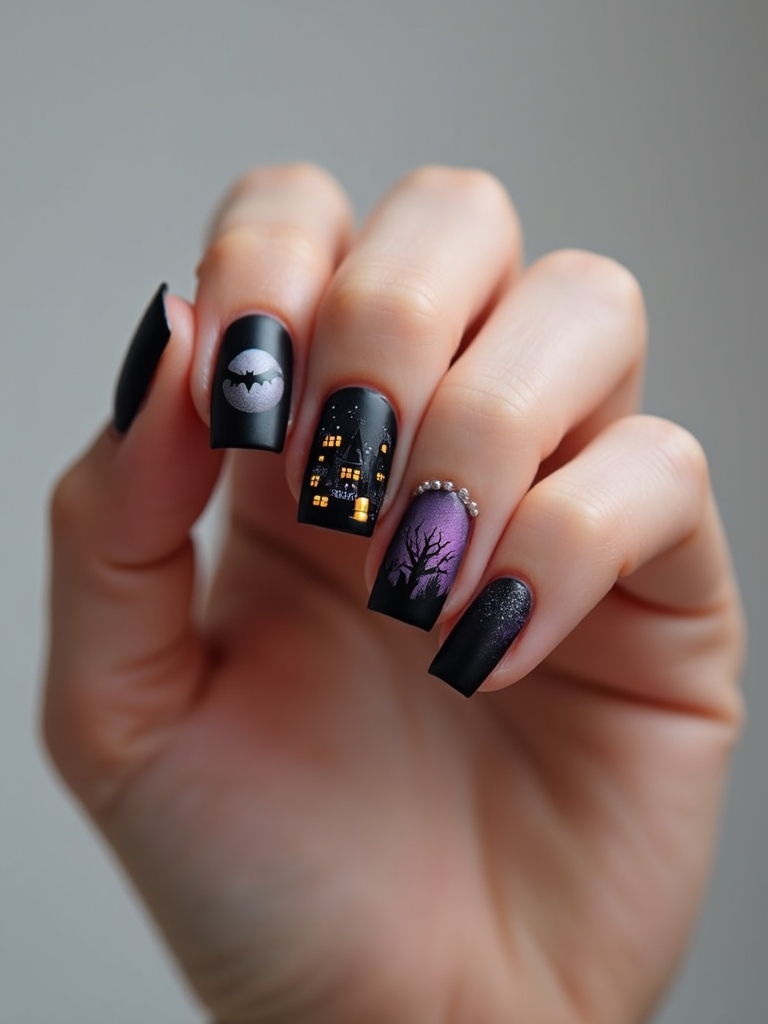
This is the storybook nail, a little black haunted house silhouette set against a glowing full moon. It is the most illustrative design here and the one that rewards a steady hand, since the whole scene lives on one or two nails. When it works, it looks like a tiny painting.
Build the scene back to front:
- Paint a glowing moon first: a pale yellow or white circle softened at the edges into a deep navy or black sky.
- Silhouette a crooked house, bare tree, or bat in flat black over the moon with a fine detail brush.
- Keep the scene on one or two nails and pair the rest with a plain black or navy so the art stays the focus.
Tiny Scene Tip
For little silhouettes like a haunted house or bare tree, let the background fully cure before you add the black detail. Painting a crisp silhouette onto a still-tacky moon is how the edges bleed and the scene turns muddy.
Neon Green Glossy Slime
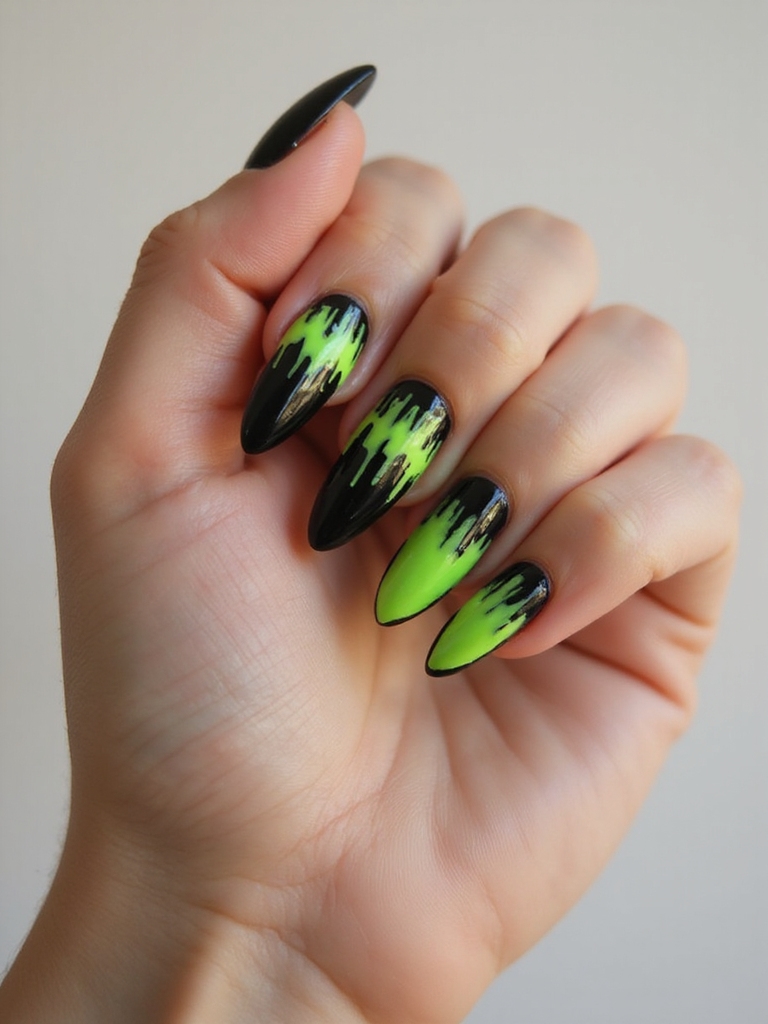
For anyone who wants their nails loud and a little gross, slime is the answer: bright acid-green ooze dripping down a dark nail with a wet, high-gloss shine. It plays toxic, monster, or alien depending on your costume, and the uneven drips are forgiving since slime is meant to look messy. Build the ooze nail by nail:
- Base each nail in black or deep purple so the neon green looks electric against it.
- Run irregular drips down from the cuticle with a striper, varying the length so they look like real runs.
- Flood the top with a thick glossy coat so the green looks freshly poured and wet.
Matte Midnight Red Velvet
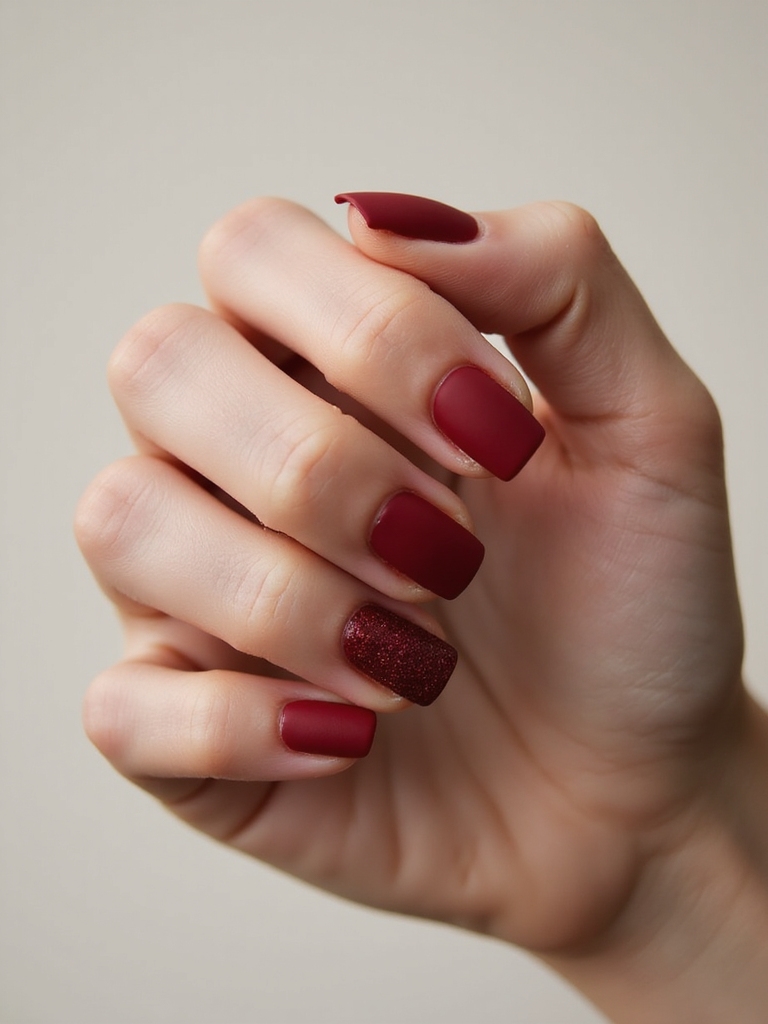
A deep matte red is the most wearable spooky nail there is, reading like dried blood or crushed velvet depending on the light. The color does all the work, so it needs zero art, which makes it the chic choice for anyone who wants Halloween without commitment. The finish is everything here:
- Choose a deep, almost-black red, a true oxblood or wine, for the moodiest effect.
- Finish with a dedicated matte top coat to get that soft, velvety, light-swallowing surface.
- Keep the shape clean and the nails uniform so the rich color and texture stay the entire statement.
Micro-Sparkled Celestial Velvet
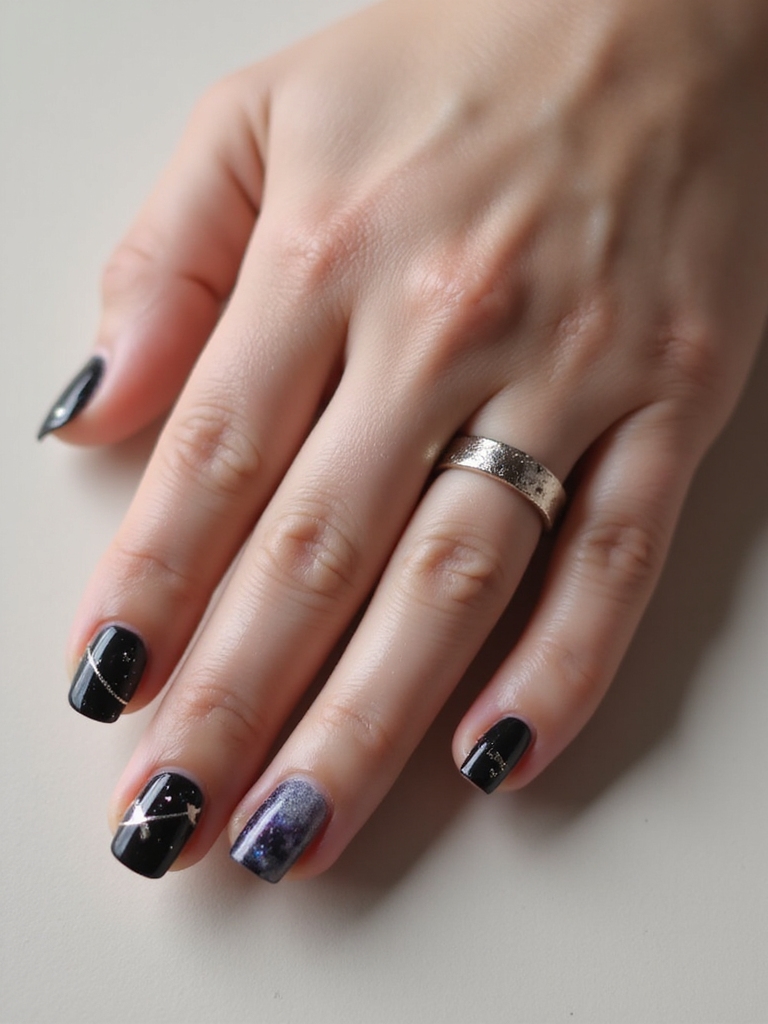
Celestial velvet is the dreamy, witchy end of the spectrum, a deep midnight base dusted with micro-fine sparkle so it looks like a patch of night sky on each nail. The velvet powder gives it a soft, plush texture that catches light without screaming glitter. It is mystical rather than scary.
Velvet Powder Over Gel
The texture comes from velvet powder or sugar powder dropped onto a still-tacky gel. Sprinkle it over a deep navy or plum, press it gently, then dust off the excess so the surface stays even and soft. A few scattered silver micro-glitters become the stars.
Because the sparkle is fine and the base is dark, this one looks sophisticated enough to wear straight through winter. It is the design I point clients to when they want festive that does not expire on November first.
Smoky Moonlit Cemetery Nail Art
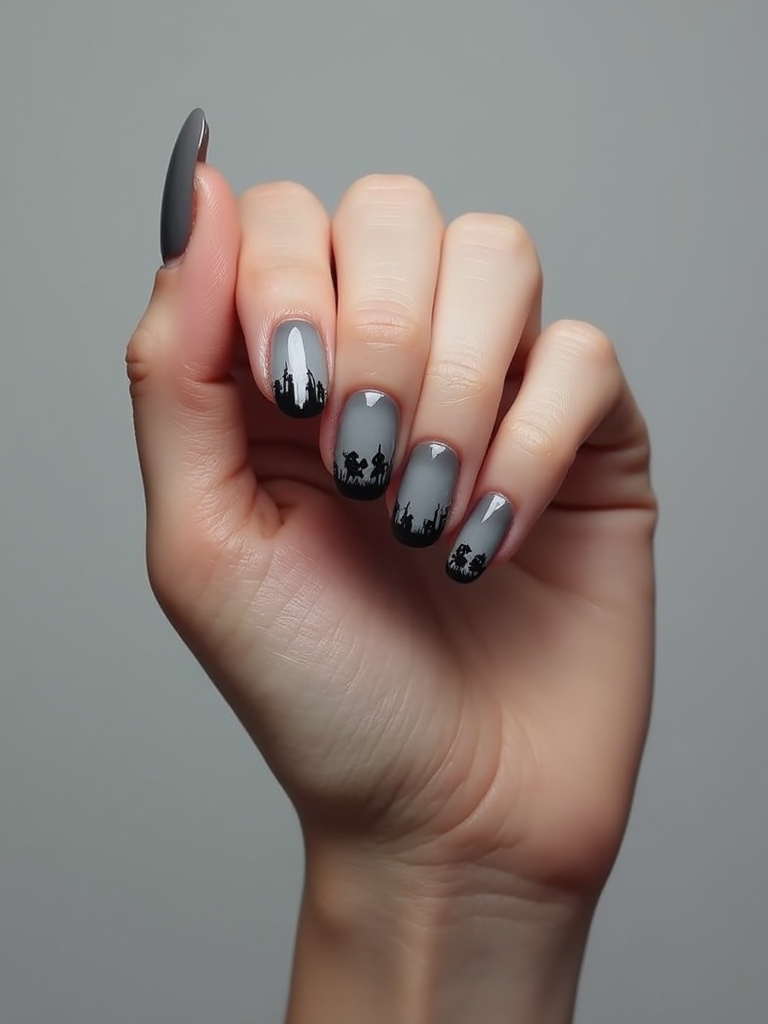
The cemetery nail is full storytelling: a hazy graveyard scene with leaning headstones, bare trees, and a smoky moon glowing behind it all. It is the most ambitious design here and a true salon job for most people, but the payoff is a tiny gothic landscape on your fingertips. Build the mood in layers:
- Blend a smoky gradient sky from pale moonlight at the center out to deep charcoal at the edges.
- Silhouette headstones and a bare tree in flat black along the base of the nail.
- Add a thin wash of gray fog drifting across the stones so the whole scene looks hazy and haunted.
Minimalist Gauze-Wrapped Ivory
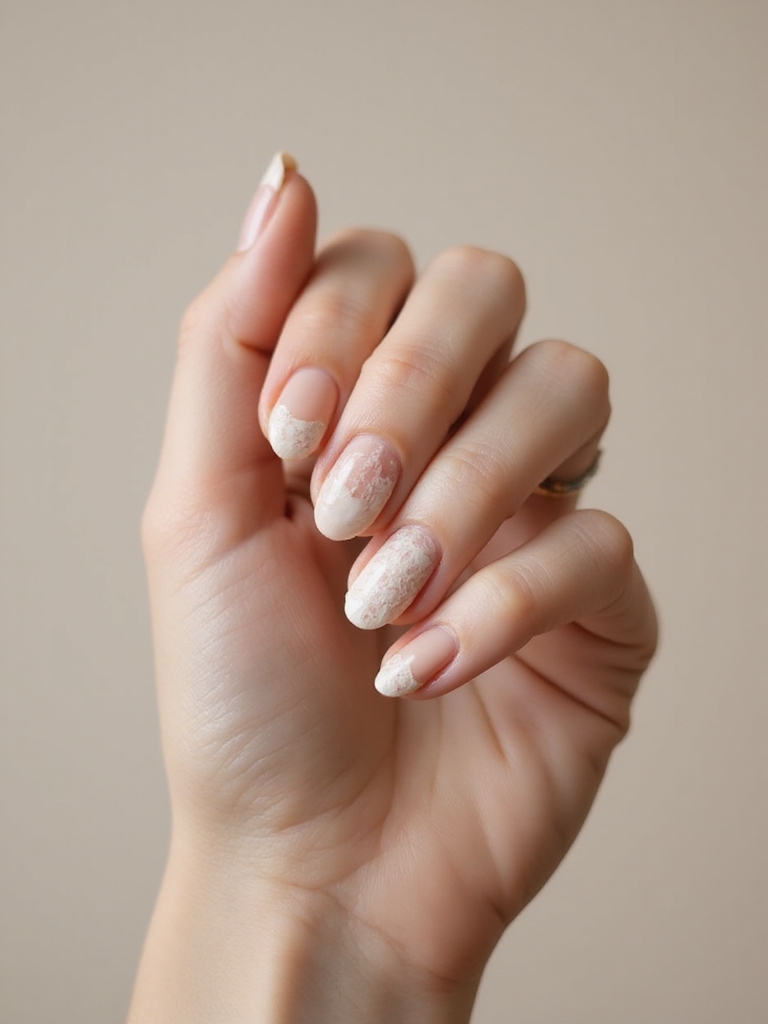
The mummy nail grew up. Instead of cartoon bandages with googly eyes, the modern version is a soft ivory base wrapped in subtle, textured gauze lines, like aged linen. It is quiet, tonal, and surprisingly elegant, a Halloween nod you could wear to brunch without explanation.
Work tone on tone for the chic version. Over a creamy ivory or off-white base, layer slightly darker beige and gray strips crossing at angles to suggest wrapped fabric, keeping every shade within the same muted family. A matte top coat adds to the aged-linen feel.
If you want one wink of spook, add a single pair of tiny dot eyes peeking out from the wraps on one nail. Otherwise let the texture and the soft palette carry it. The minimalist nails crowd tends to love this one.
Poison-Apple Glossy Red
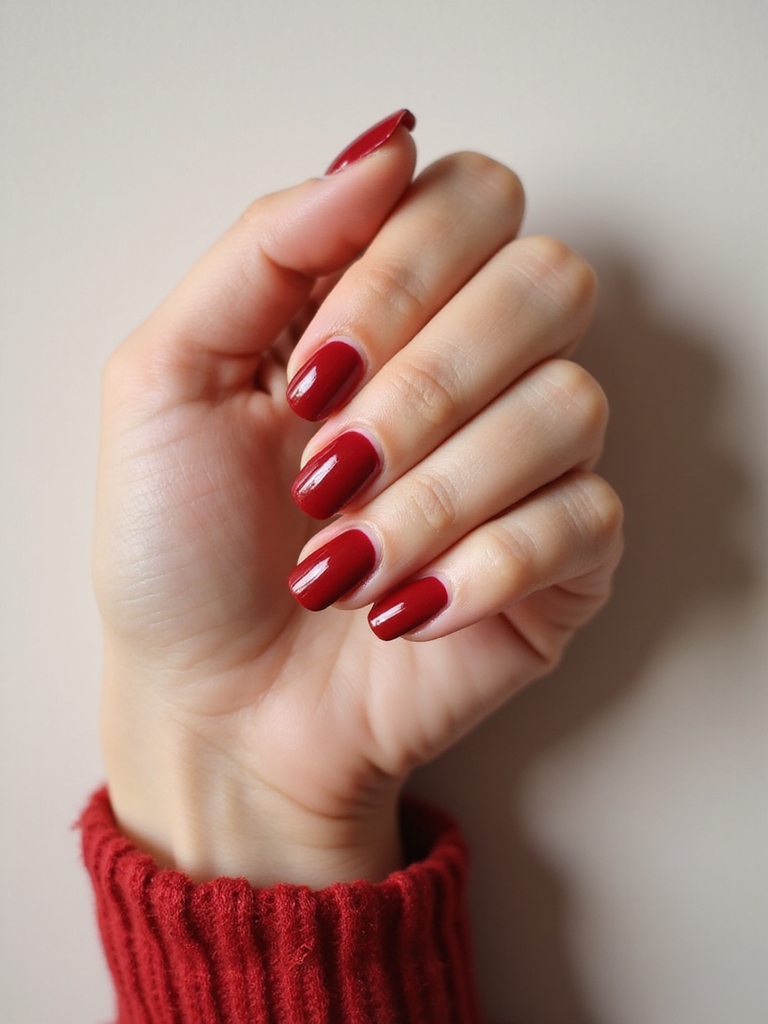
Sometimes one perfect red says everything. The poison-apple nail is a high-gloss candy red so shiny it looks dipped, fairy-tale villain by way of a single perfect color. It needs no art at all, which makes it the elegant counterpoint to every busy design on this list and an easy yes for a last-minute plan.
The whole look lives in the shine, so build for depth: two coats of a true glossy red over a smoothing base, then a high-shine top coat that leaves the nail looking like glass. Keep the shape rounded or almond for the storybook-apple feel, and skip any matte or texture here. If you love a clean red, the red nails guide has more shade ideas.
How to Ask Your Stylist for Spooky-Chic Nails
The fastest way to land a chic result rather than a costume one is to say the word chic out loud. Tell your tech you want it elegant and wearable, then point to exactly which nails get the art and which stay solid, because the difference between refined and cluttered is usually just how many fingers carry the design. Bring a clear, well-lit photo, since terms like velvet, chrome, and aura mean different things to different people.
Talk through wear and timing too. Detailed scenes like the cemetery or fine lace take longer and cost more than a solid matte red or a chrome, so flag it if you are working within a budget or a tight appointment.
Ask which design holds up best for your natural nail length and how hard you are on your hands, and if Halloween falls midweek, say so, so your tech can steer you toward something that still looks sharp on the night rather than chipping a few days early. The sibling halloween nail designs guide has even more options to screenshot and bring along.
Halloween Nail Questions, Answered
?Which of these designs can I realistically do at home?
The matte red, magnetic velvet, gold skull studs, and slime drips are all home-friendly because they need few tools and forgive imperfection. Fine lace, the cemetery scene, and haunted-house silhouettes are better left to a tech with a steady hand and the right brushes.
?How do I keep a bold design looking chic and not costumey?
Limit the art to one or two accent nails, keep the rest solid in a matching tone, and lean on texture, matte, chrome, or velvet, rather than cramming on more pattern. Bare space is what looks expensive.
?What lasts longest if Halloween is midweek?
Solid matte, chrome, and magnetic designs wear longest because they have no pattern to shift out of place as the nail grows. A gel set will easily make it from a midweek Halloween through the following weekend.
Choose One Spell and Wear It Well
The Halloween nails that steal the spotlight are rarely the busiest ones. They are the considered ones: a single gold skull, a velvet-matte red, one perfect web caught in sparkle. Pick the design that matches your nails and your week, let the rest of the hand stay quiet, and that one idea will carry the whole look.
If you are still deciding, start with the most wearable option, the matte red or the magnetic velvet, and save the cemetery scene for the year you have a full salon appointment to spare. Whatever you choose, wear it with a little confidence and enjoy the most playful manicure season of the year.
Where to Next