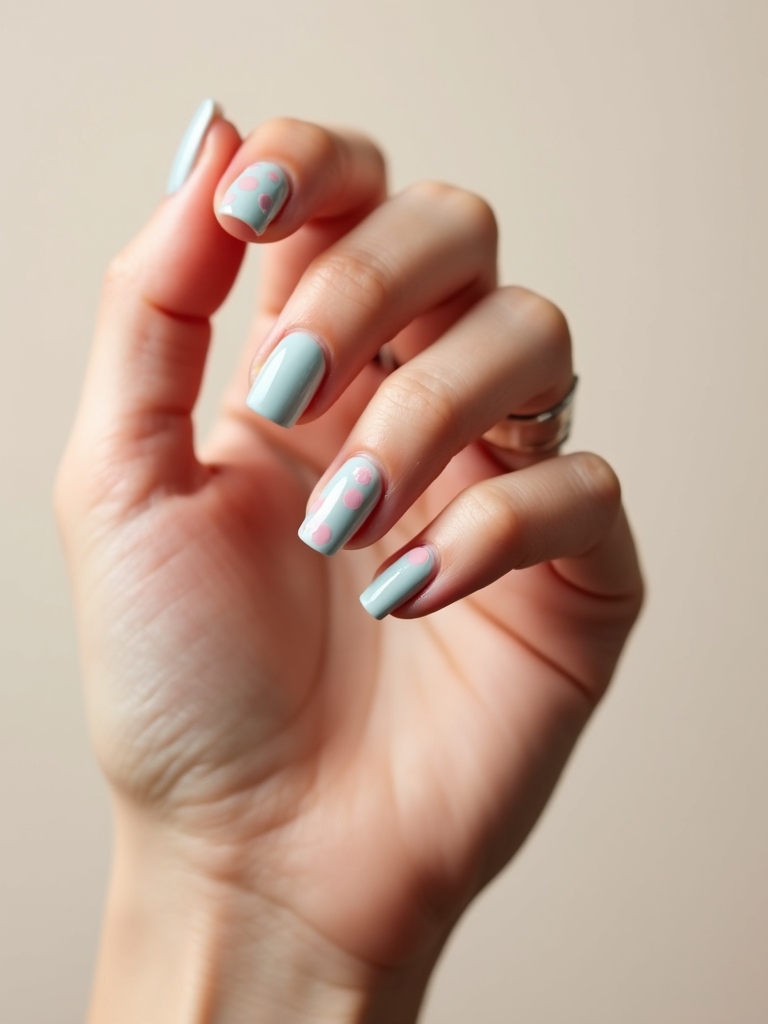
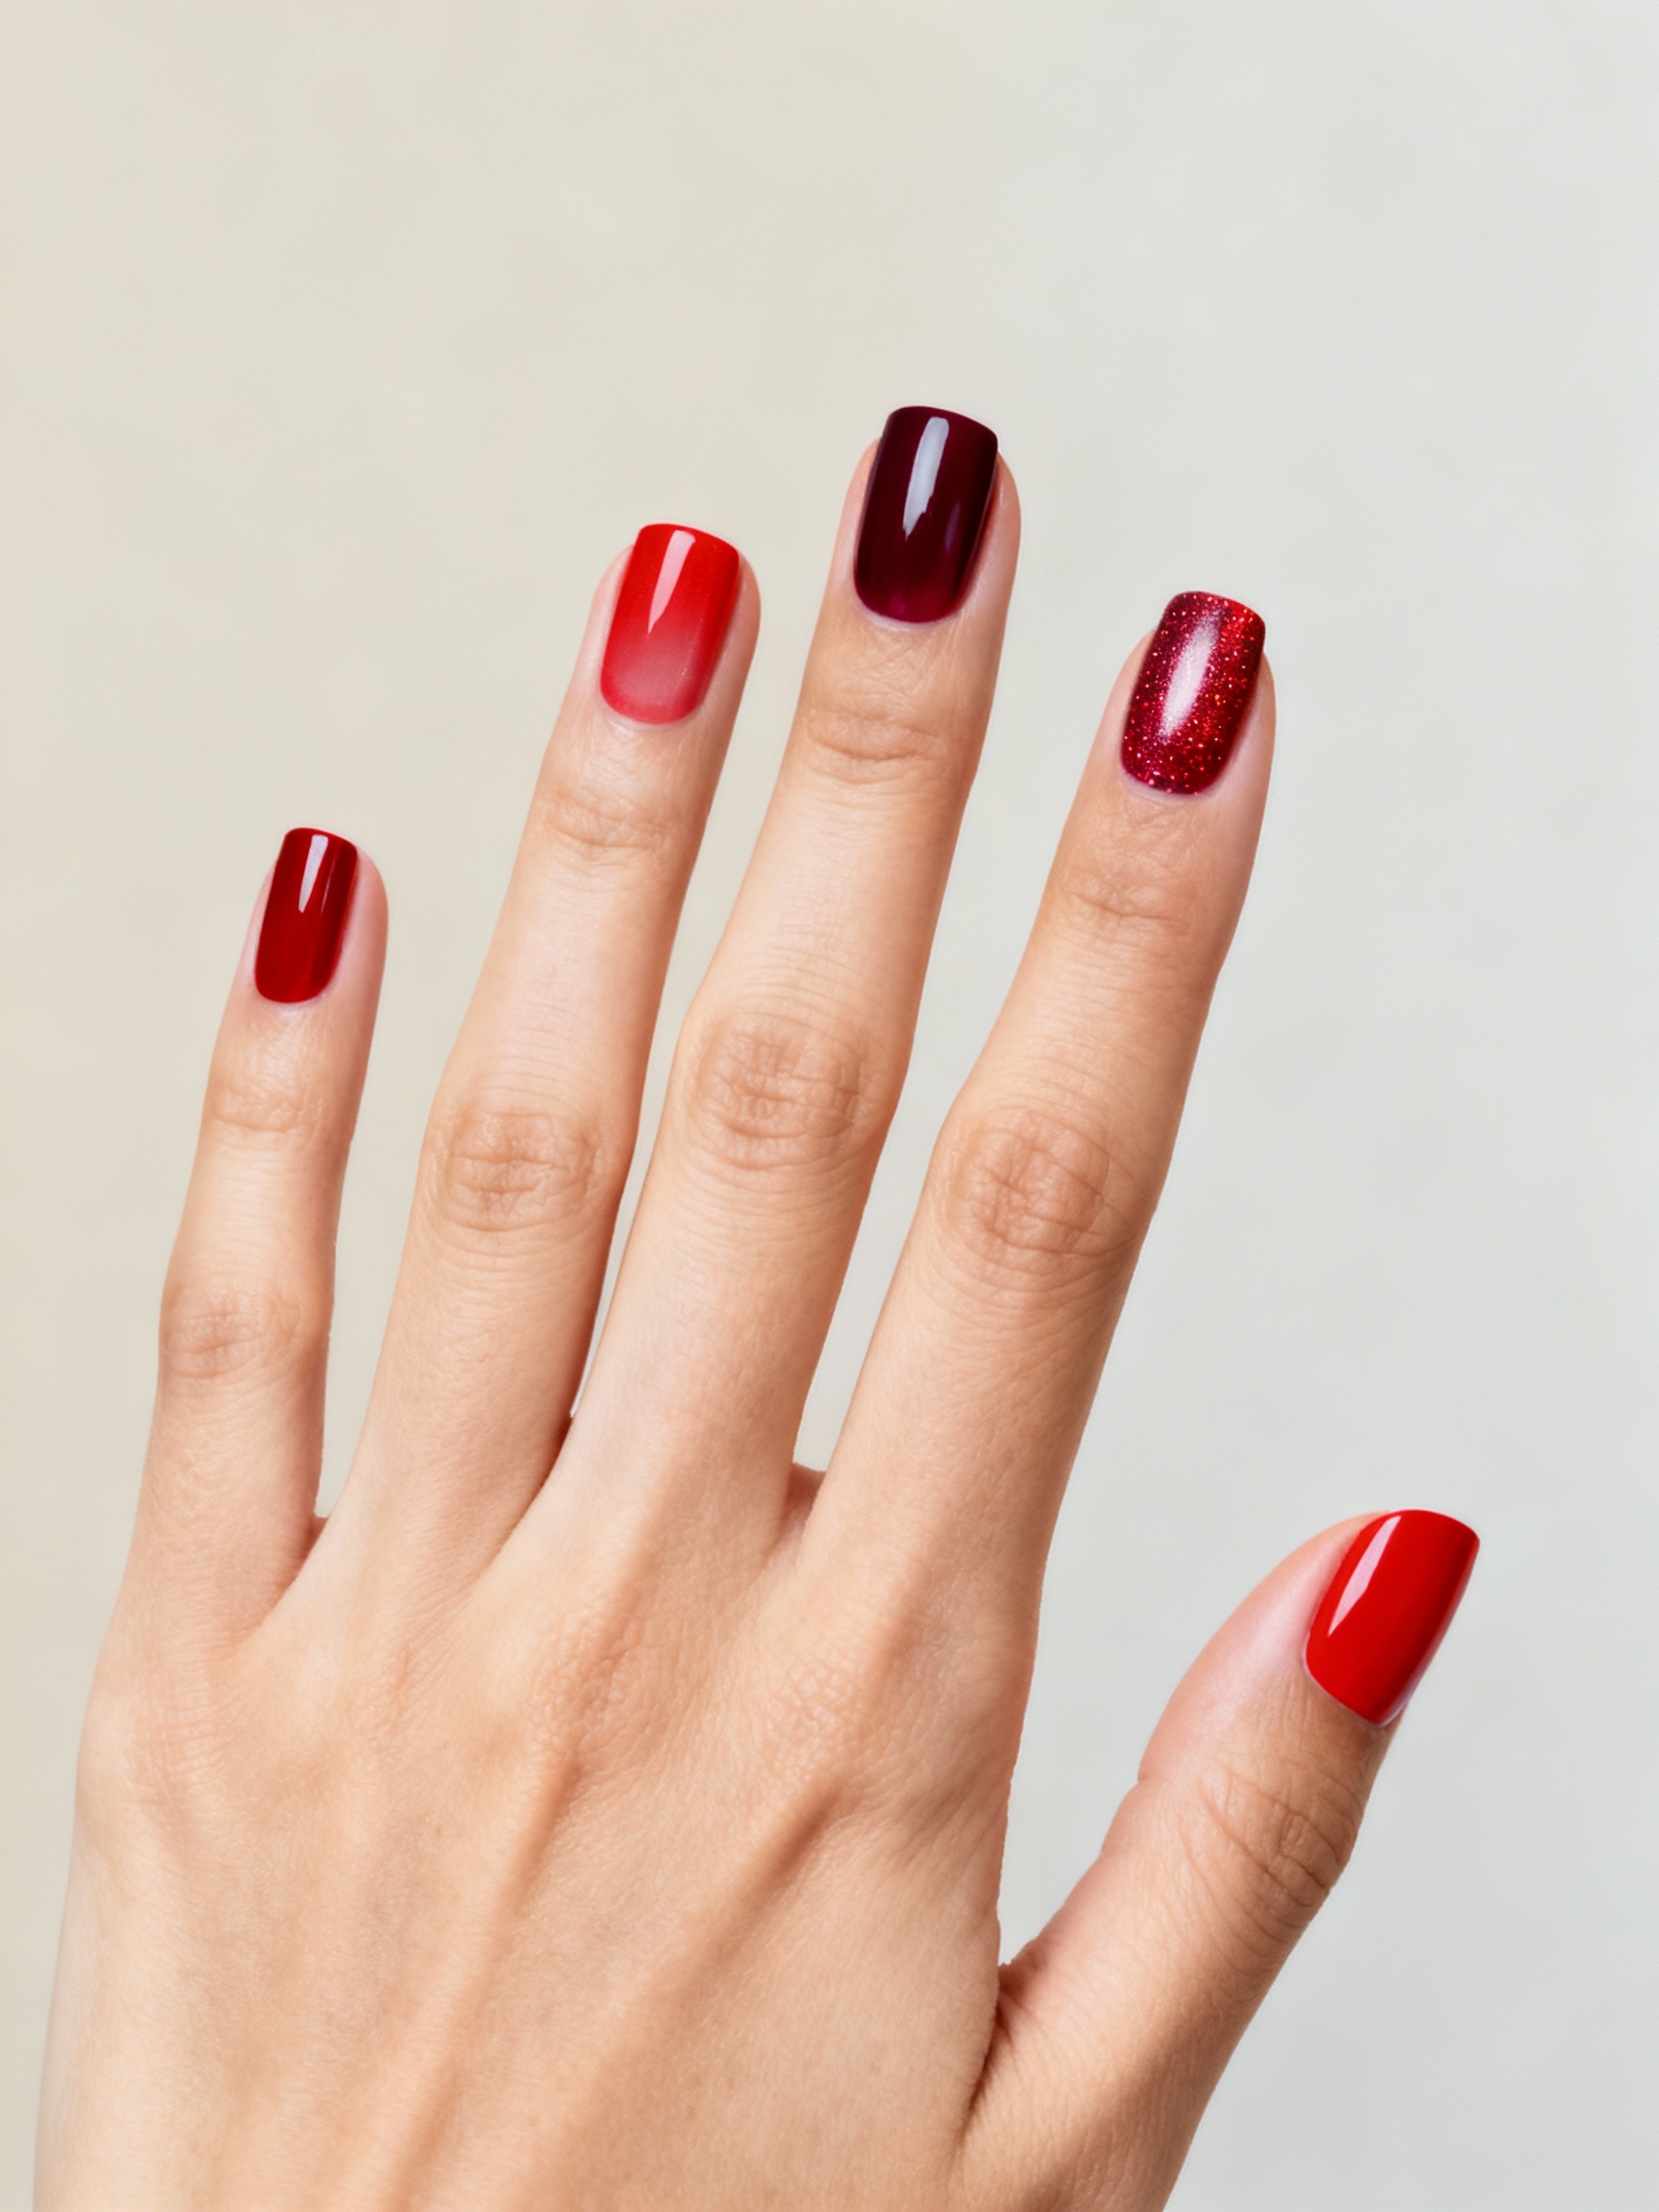
The biggest myth about funky nails is that more is always better: every nail a different riot of color, glitter, and charms until your hands look like a craft drawer tipped over. The sets that actually turn heads do the opposite. They pick one loud idea, repeat a color to tie it together, and let a few nails stay calm.
These twelve funky designs all follow that rule, from retro candy swirls to matte-and-gloss mix-ups. For each one I’ve noted what it costs, how long it lasts, and whether you can pull it off at home, so you can go bold without the result tipping into messy.
What Funky Nails Really Take
- Funky works through controlled chaos: one or two statement nails per hand, with the rest kept calm.
- Swirls, doodles, jelly skittles, and aura glow are home-friendly; chrome and 3D charms are the salon jobs.
- Art-heavy gel sets run about $50 to $80 and hold two to three weeks, so cap the tips to slow chipping.
Retro Candy S-Curve Swirls
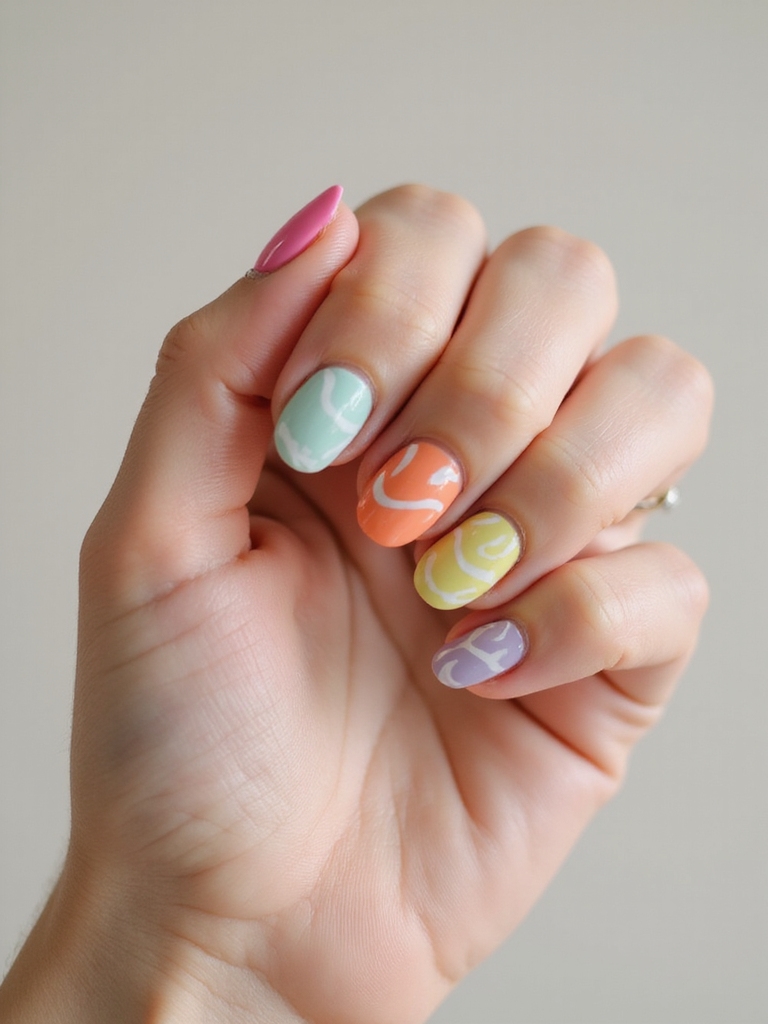
Retro swirls are the gateway funky look, and candy colors keep them sweet and easy to wear. I pick three shades that play well together, like sherbet orange, mint, and bubblegum, over a creamy base. With a thin liner brush I draw soft S-curves, varying the thickness so the lines feel like motion. The whole thing leans seventies in the best way and forgives an unsteady hand.
- Keep the base creamy and opaque so the swirl colors stay true.
- Vary the line thickness; uniform stripes kill the retro flow.
- Seal with a shiny top coat so the curves stay slick and glassy.

Mismatched Doodle Art
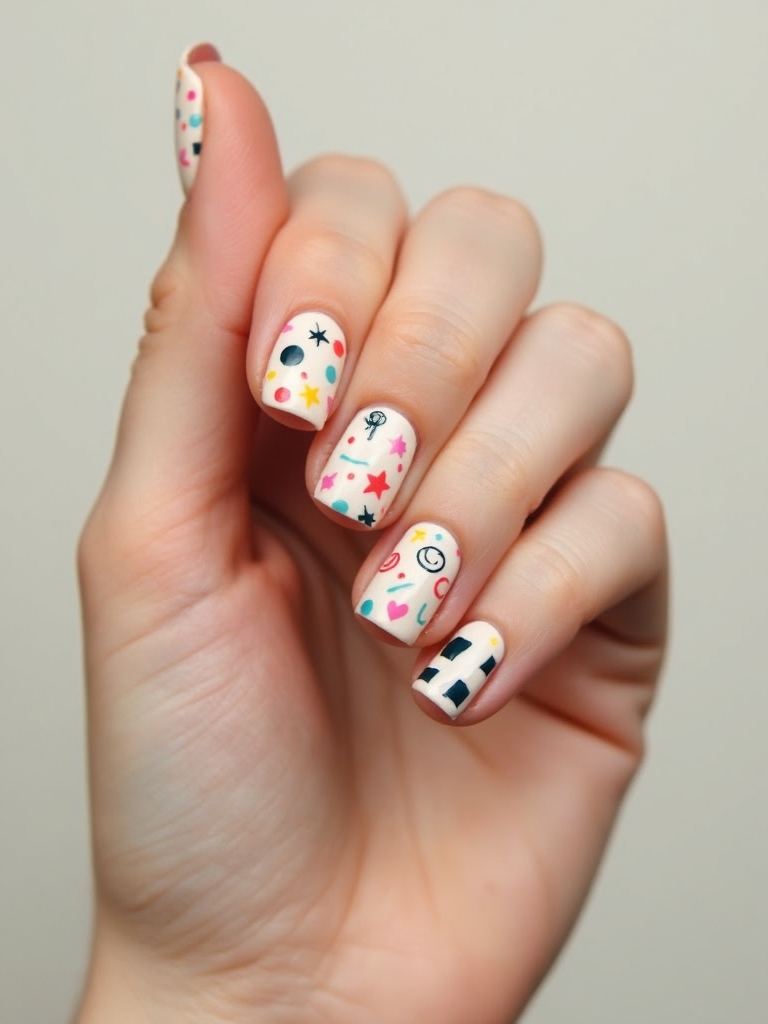
Doodle nails are hand-drawn icons scattered across the set: smiley faces, stars, tiny cherries, loose squiggles. The trap is letting it turn chaotic, so the fix I use at the desk is repeating one accent shade across a few nails and varying the scale. That single repeated color is what turns ten random doodles into a curated set.
Keep the base neutral, milky white or sheer nude, so the doodles stand out. A fine liner and a slow, steady hand do most of the work. To keep it grown-up, limit the palette to three or four colors total and let a couple of nails stay bare.
👍Why swirls work
- +Beginner-friendly; wavy lines forgive a shaky hand
- +Endlessly customizable color combinations
- +Playful but still put-together
👎Watch out
- –Thin liner work takes patience
- –Pastels can go chalky if under-pigmented
- –Tips need touch-ups as they wear
Chrome Accent Pop
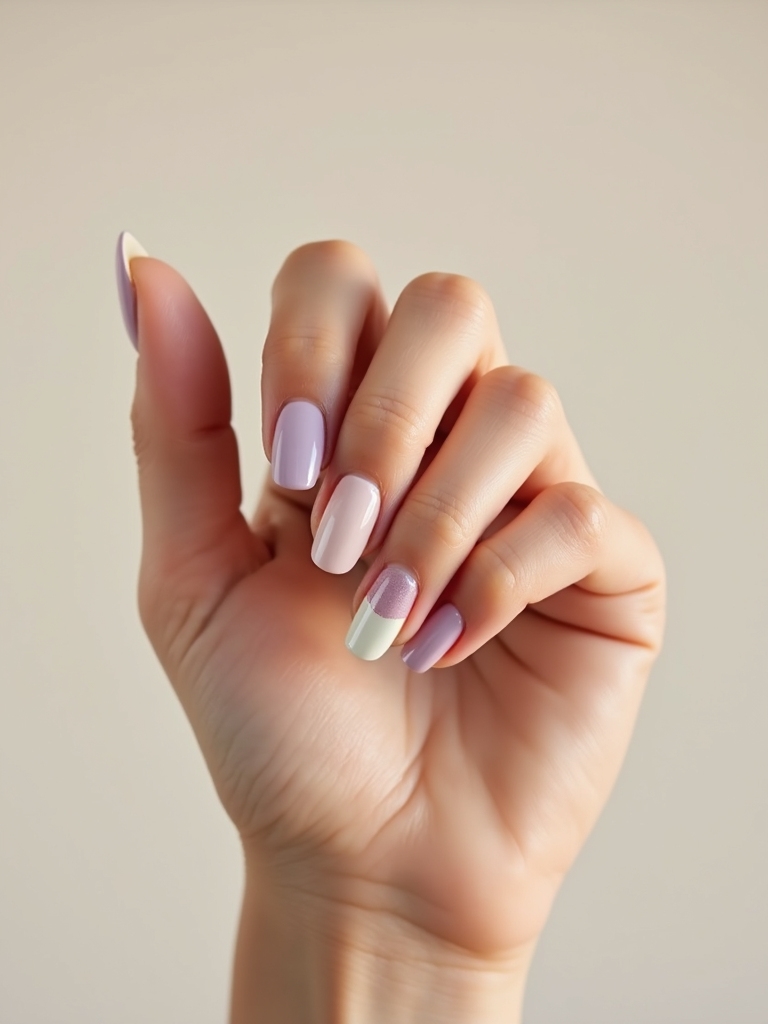
A chrome accent is the low-effort way to look high-effort: one mirror-finish nail per hand against a matte or colored set. I usually put it on the ring or index finger, the one that naturally catches the eye, so the shine ties the look together without taking over.
Chrome needs a gel base and chrome powder rubbed in while the top coat is tacky, then sealed, so it is a salon finish. Pair silver chrome with neon coral, rose gold with forest green, or gunmetal with lilac. Expect to pay around $10 to $15 extra for the accent on top of a base gel set. For a fuller metallic, pink chrome nails go all in.
Charms And Studs Anchored In Gel
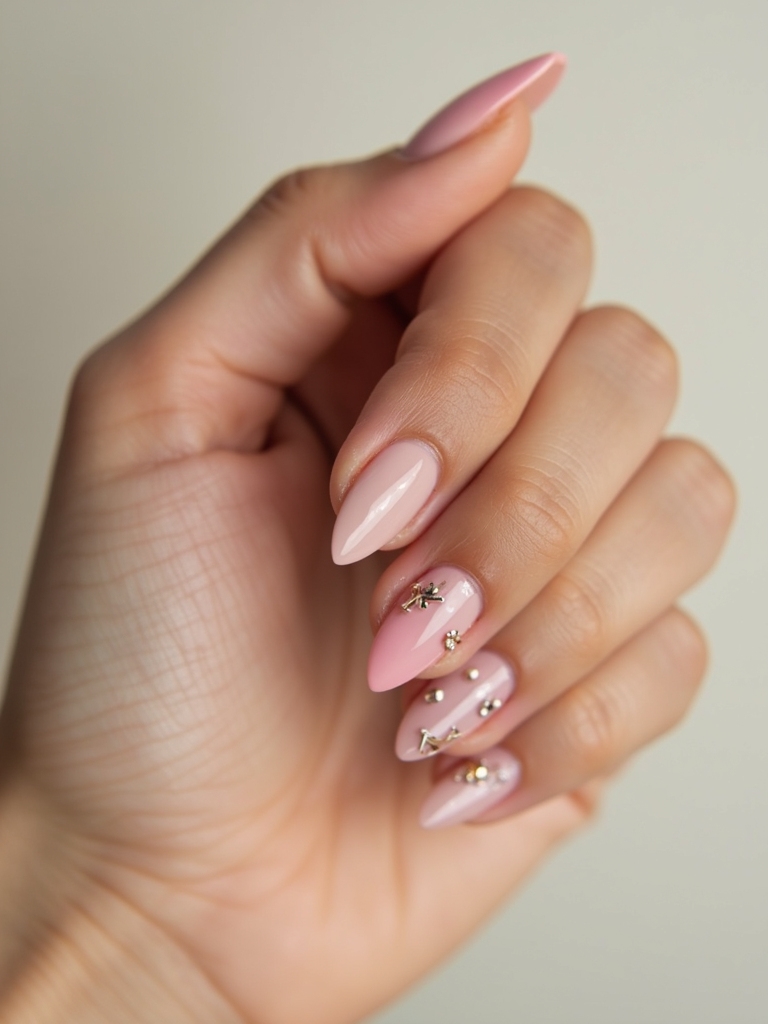
3D charms and studs are the fastest way to turn a plain mani into a statement, but placement is everything. I map where each piece goes before I touch polish, then anchor the accents into a dab of builder gel and cure them under the lamp so they actually survive the week.
The rule is one bold piece per hand, with smaller studs as a halo around it. Pile on too many and the set snags on everything and feels heavy. Charms add roughly $15 to $25 to a set depending on size and number. For more sparkle-forward drama, glitter nails pile on the shine instead.
- Anchor every piece in builder gel so it survives daily wear.
- Keep big charms off your dominant index and thumb; they catch the most.
- Soak off at removal; prying a charm takes the top layer of nail with it.
Match your chrome to the vibe you want:
🎯Cool and edgy
Silver or gunmetal over black or charcoal
🎯Warm and soft
Rose gold over blush, latte, or forest green
Checkerboard Meets Florals
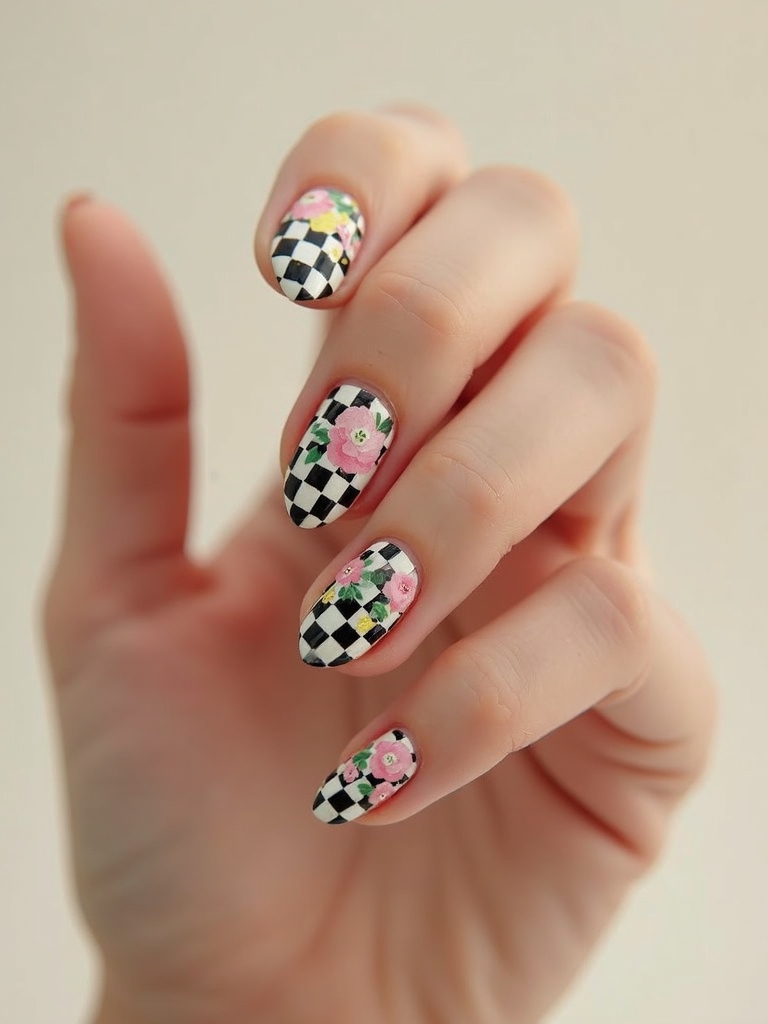
Checkerboard has had a long moment, and softening it with tiny florals keeps it from feeling like a video-game reference. The contrast is graphic and sweet at once. I keep the palette tight, two neutrals plus one pop shade, and alternate the check sizes across nails so the set has rhythm.
Dot micro-blooms on just a few of the squares to let the pattern breathe. Striping tape makes the grid crisp if freehand checks feel daunting. This one wears well because flat color chips far less than raised, heavy art.
Aura Jelly Halo Glow
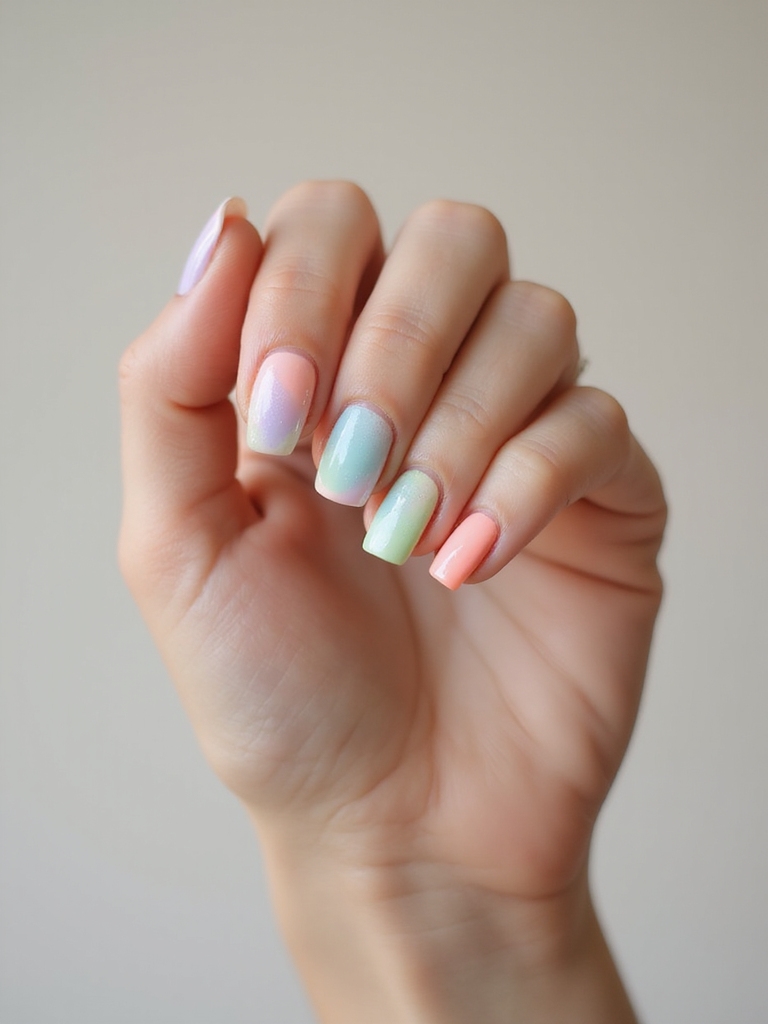
Aura nails carry a soft-focus halo glowing from the center, the lit-from-within finish that looks salon-made but is surprisingly forgiving. I blend sheer jelly polish outward from a dot near the middle, then blur the edges with a sponge so there is no hard line.
Tonal shades work best, peach, lilac, or mint, for that dreamy shift. Short rounds or soft squares suit it because the halo has room to sit centered. Keep your cuticles oiled, since the sheer finish shows dry skin. For another glowy approach, ombre nails blend edge to edge instead of from a center point.
A quick checkerboard, four steps:
1Base
Two coats of a neutral, fully dried
2Grid
Lay striping tape in a cross-hatch
3Fill
Paint alternating squares in your pop shade
4Bloom
Dot tiny florals on a few squares, then seal
Wavy Negative-Space Squiggles
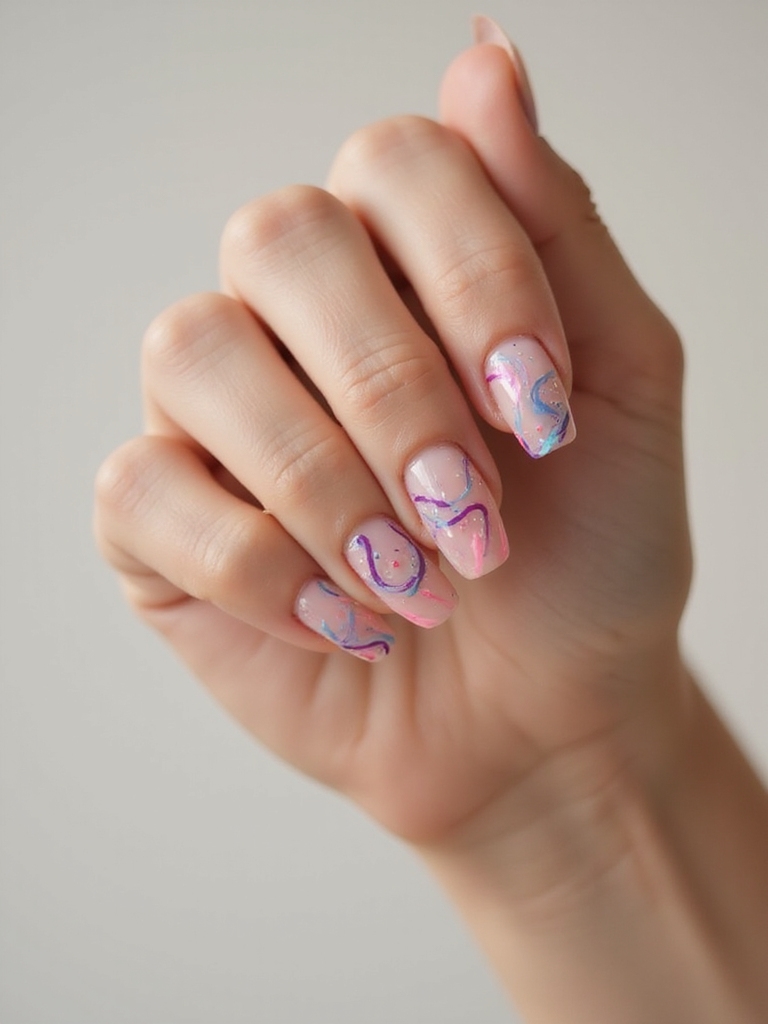
Sometimes the funkiest move is to leave most of the nail bare. Wavy negative-space lines let the natural nail breathe while a couple of fluid ribbons do the talking. It feels graphic and modern, and grow-out barely shows because so little of the nail is painted.
I map the curves over a clear or sheer base, then paint irregular ribbons along the edges with a liner brush, leaving glassy gaps. The charm is in the irregularity; perfectly even lines look printed and lose the hand-done feel. Mix a metallic ribbon with a pastel one for contrast.
Comic-Strip Cartoon Outlines
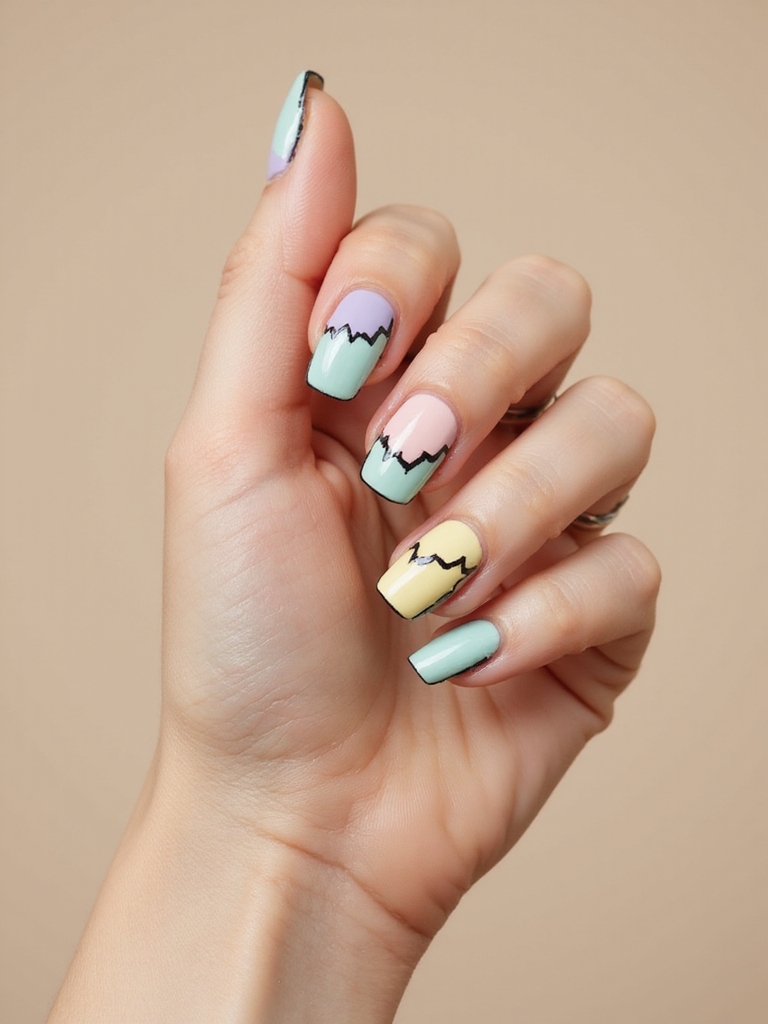
Comic-strip nails fake a hand-inked, pop-art look with bold black edging around each nail. The black border is what makes the color read like a cartoon panel. It takes a steady hand, so go slow. Work it in this order to keep the outline sharp:
- Paint a pop-art base, cherry red, cobalt, bubblegum, or lemon, fully cured.
- Trace the edges with a fine black liner, capping the tips for a clean frame.
- Add tiny white highlights and a shadow line at the cuticle to fake 3D, then gloss.
Jelly Gummy Rainbow Skittles
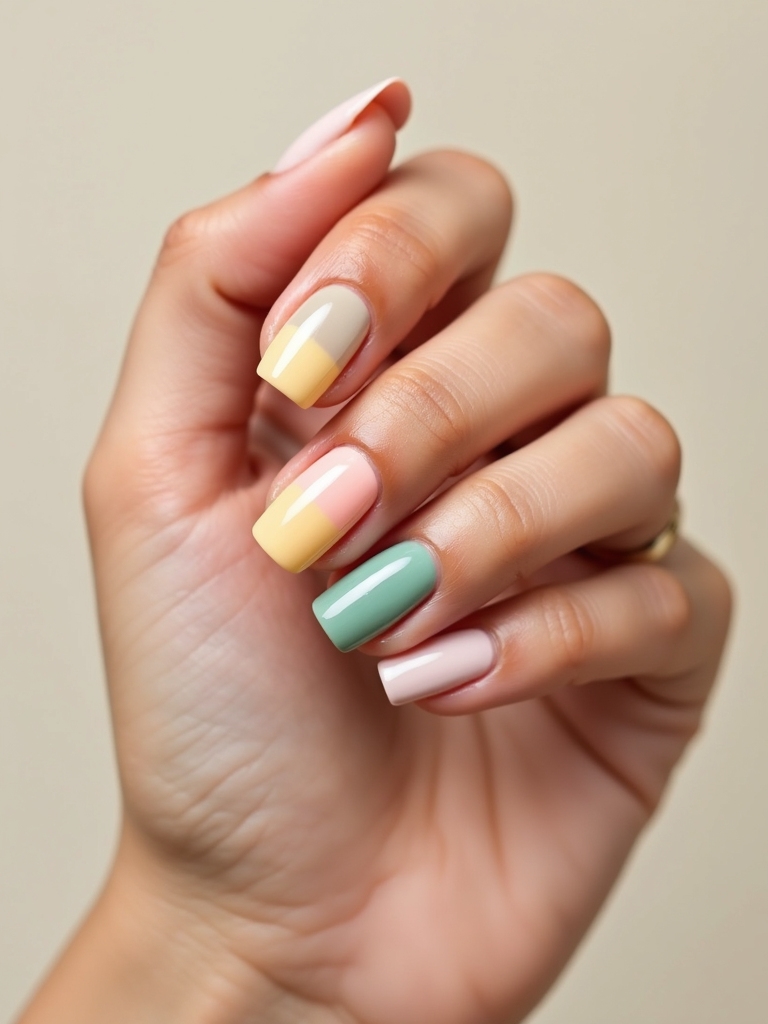
A jelly skittle set is a translucent take on rainbow nails that looks like gummy candy on your fingertips. Each nail is a different sheer shade, glossy and see-through, so it stays playful but still polished. This is the funky look I recommend to people who think they can’t pull off bold color.
Keeping Jelly Color Glassy
The see-through finish is the whole appeal, so float the color on in thin coats for that see-through glow. Pick five sheer shades that share a brightness level so the hand stays cohesive. Short squoval or medium almond shapes suit it best.
Skip a white base; jelly polish needs light passing through to glow. Two thin coats and a high-shine gel top coat give that glassy depth, and cuticle oil keeps the translucent look clean as it grows out.
Neon Animal Print Remix
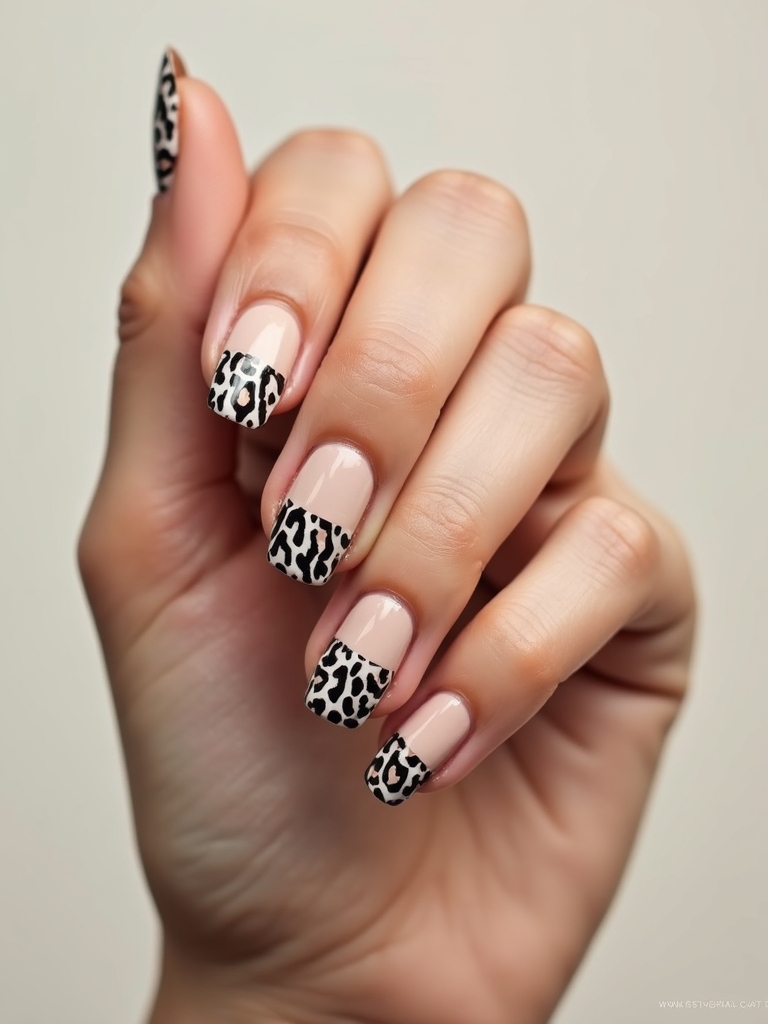
Animal print goes funky when you punch it with neon. I keep the base neutral, sand, blush, or latte, so the brights glow without fighting the spots. Leopard with a neon-edged accent or crisp zebra stripes beside a color-pop nail both land fierce but still wearable for day.
Restraint on the brights is what keeps it from going costume: one or two neon moments per hand is plenty. Map the spots irregularly, the way real leopard never repeats, then outline them with an inky brown for depth.
- Use a neutral base so neon stays the accent and not the whole nail.
- Outline leopard spots in dark brown; bare neon spots look unfinished.
- Keep neon to an accent nail or the spot edges, never the full set.
Geometric Color-Block Panels
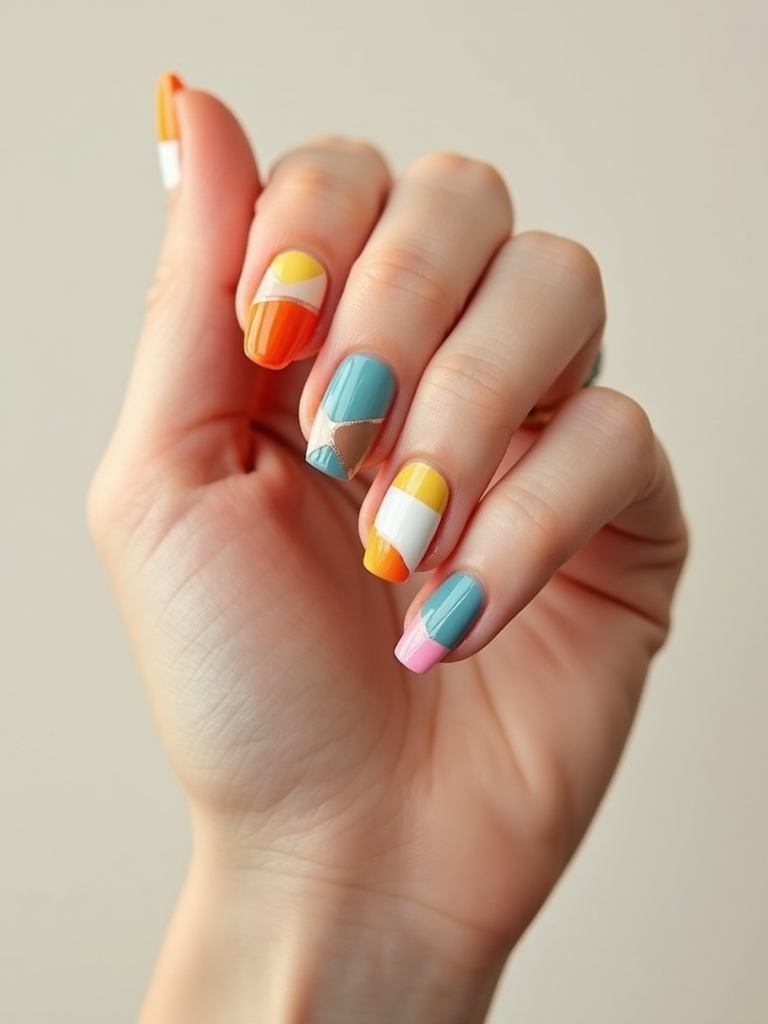
Color-block panels turn each nail into a tiny canvas of crisp geometric zones. It feels gallery-modern and, with tape, it is far easier than freehand art. Pick three colors that cohere, a bold, a neutral, and one accent, and keep the proportions deliberate. Lay it down in this order:
- Base every nail in your neutral shade and let it dry hard.
- Use striping tape to mask the sharp panel edges before filling.
- Fill the zones with the bold and accent shades, peel the tape while wet, then seal.
Matte And Gloss Mix-Up
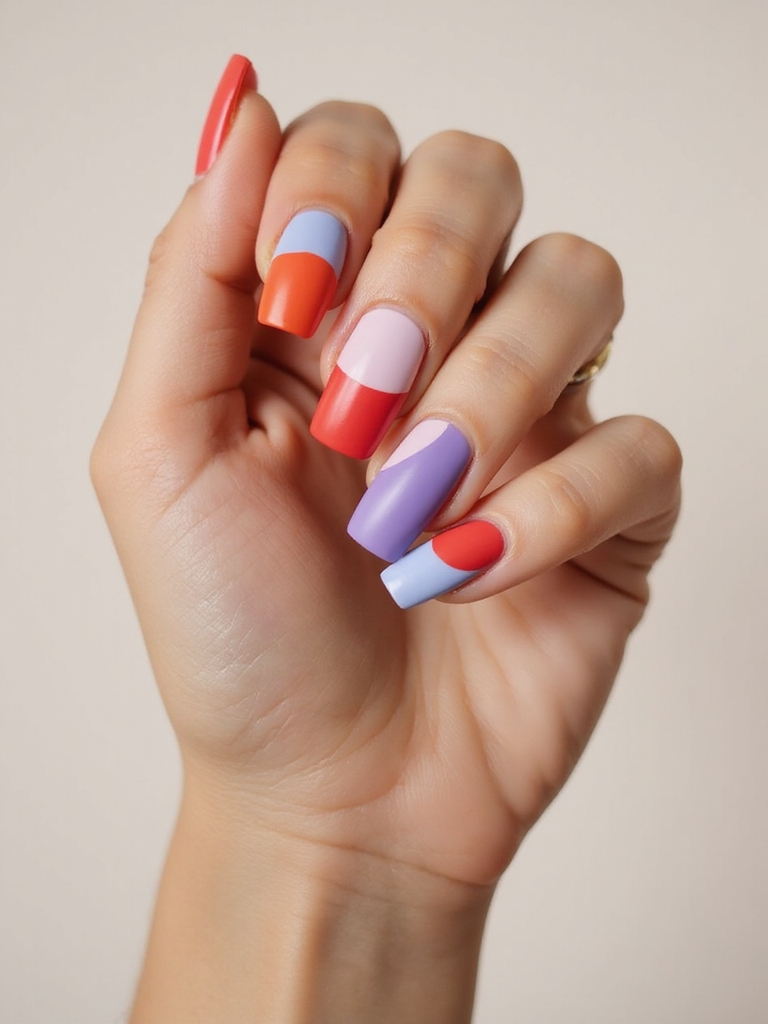
The matte-and-gloss mix-up plays one finish against the other on the same nail, and it is the most understated funky look here. A velvet-matte base with shiny French tips, or a single slick stripe down a matte nail, gives texture without any color drama.
Where Matte-Gloss Goes Wrong
Matte the whole nail first with a matte top coat, then spot-seal the glossy areas with a fine brush. Clean cuticles matter because the contrast shows every smudge. Start with tone-on-tone neutrals before you graduate to neon or chrome outlines.
The usual mistake is sloppy edges between the two finishes, which makes it look accidental. Tape off the glossy zones or use a steady fine brush, and re-matte every few days since a matte topcoat dulls faster. For more low-key sets, almond nails carry this finish play well.
What To Expect From A Funky Set
Funky nails ask for a little more chair time and a little more upkeep than a plain manicure. An art-heavy gel set takes 60 to 90 minutes and runs $50 to $80 depending on the detail, charms, and chrome. At home, the same designs cost the price of a few polishes and a liner brush, plus patience and a steady hand.
On wear: flat designs like checkerboard and color-block hold two to three weeks with minimal chipping, while 3D charms and chrome can lift sooner at the stress points, so cap your free edges with top coat and book a fill before things look ragged. The rule across all of them is restraint, since one or two statement nails always beat ten that compete. For more current ideas, trendy nails track what is rising now.
Funky Nail Questions, Answered
?Are funky nails hard to do at home?
The forgiving ones aren’t. Swirls, jelly skittles, aura glow, and doodles all hide a shaky hand. Chrome, 3D charms, and crisp comic outlines are the designs that benefit most from a salon or real practice first.
?How long do art-heavy funky nails last?
Flat designs like checkerboard and color-block hold two to three weeks. Chrome and 3D charms can lift at the tips sooner, so cap the free edge with top coat and avoid prying anything off your nails.
?How do I keep funky nails from looking messy?
Edit hard. Repeat one accent color across the set, keep most nails calm, and let one or two be the statement. Ten competing designs read chaotic, while a single repeated color reads curated and intentional.
?Which funky looks flatter deep skin tones?
Bright jelly skittles, gold and bronze chrome, neon-edged animal print, and bold color-block panels all glow against deeper complexions. Warmer brights like coral and mango especially pop on rich, deep skin.
?Do 3D charms damage your natural nails?
Not if they are removed properly. The damage comes from prying them off, which takes the top layer of nail with it. Soak off the gel and charms instead, and keep your cuticles moisturized between sets.
Funky, Not Frantic
The thread through every one of these is editing. Funky nails work when one idea leads and the rest of the hand supports it, whether that idea is a chrome accent, a doodle, or a matte-gloss contrast. Pick the loud part on purpose and let the calm nails carry it.
If you are new to nail art, start with the forgiving designs, swirls, jelly skittles, or aura glow, before you try freehand outlines or charms. Take a photo of the set you love to your tech so you both picture the same thing before the brush comes out.
More Hair Inspiration