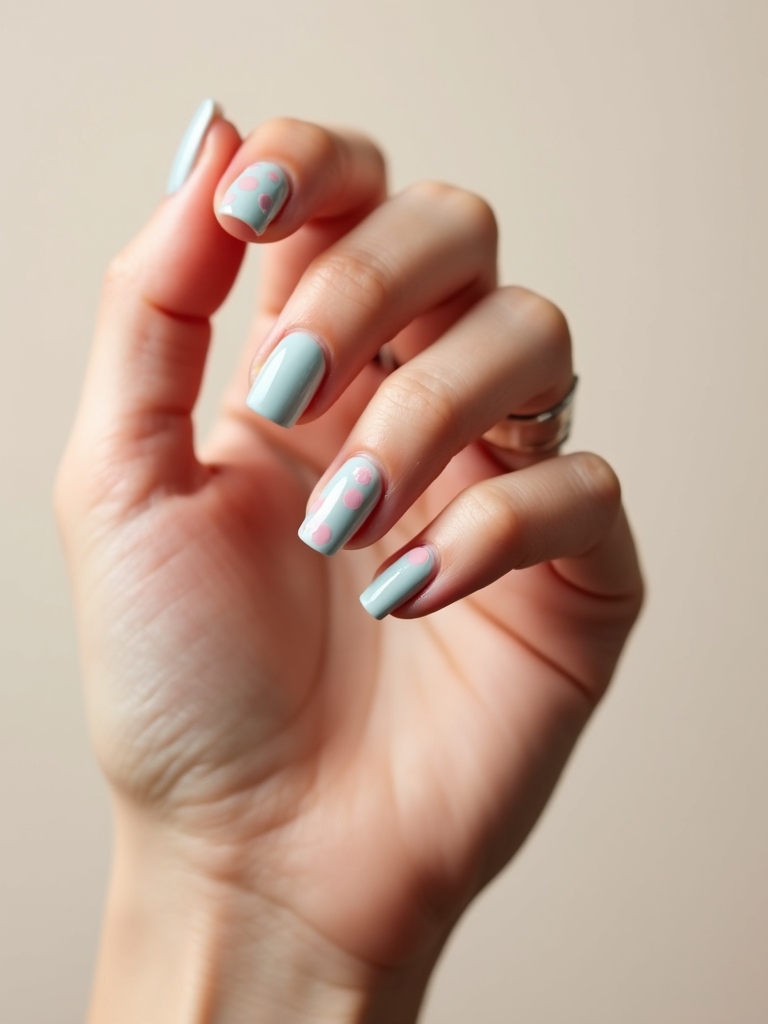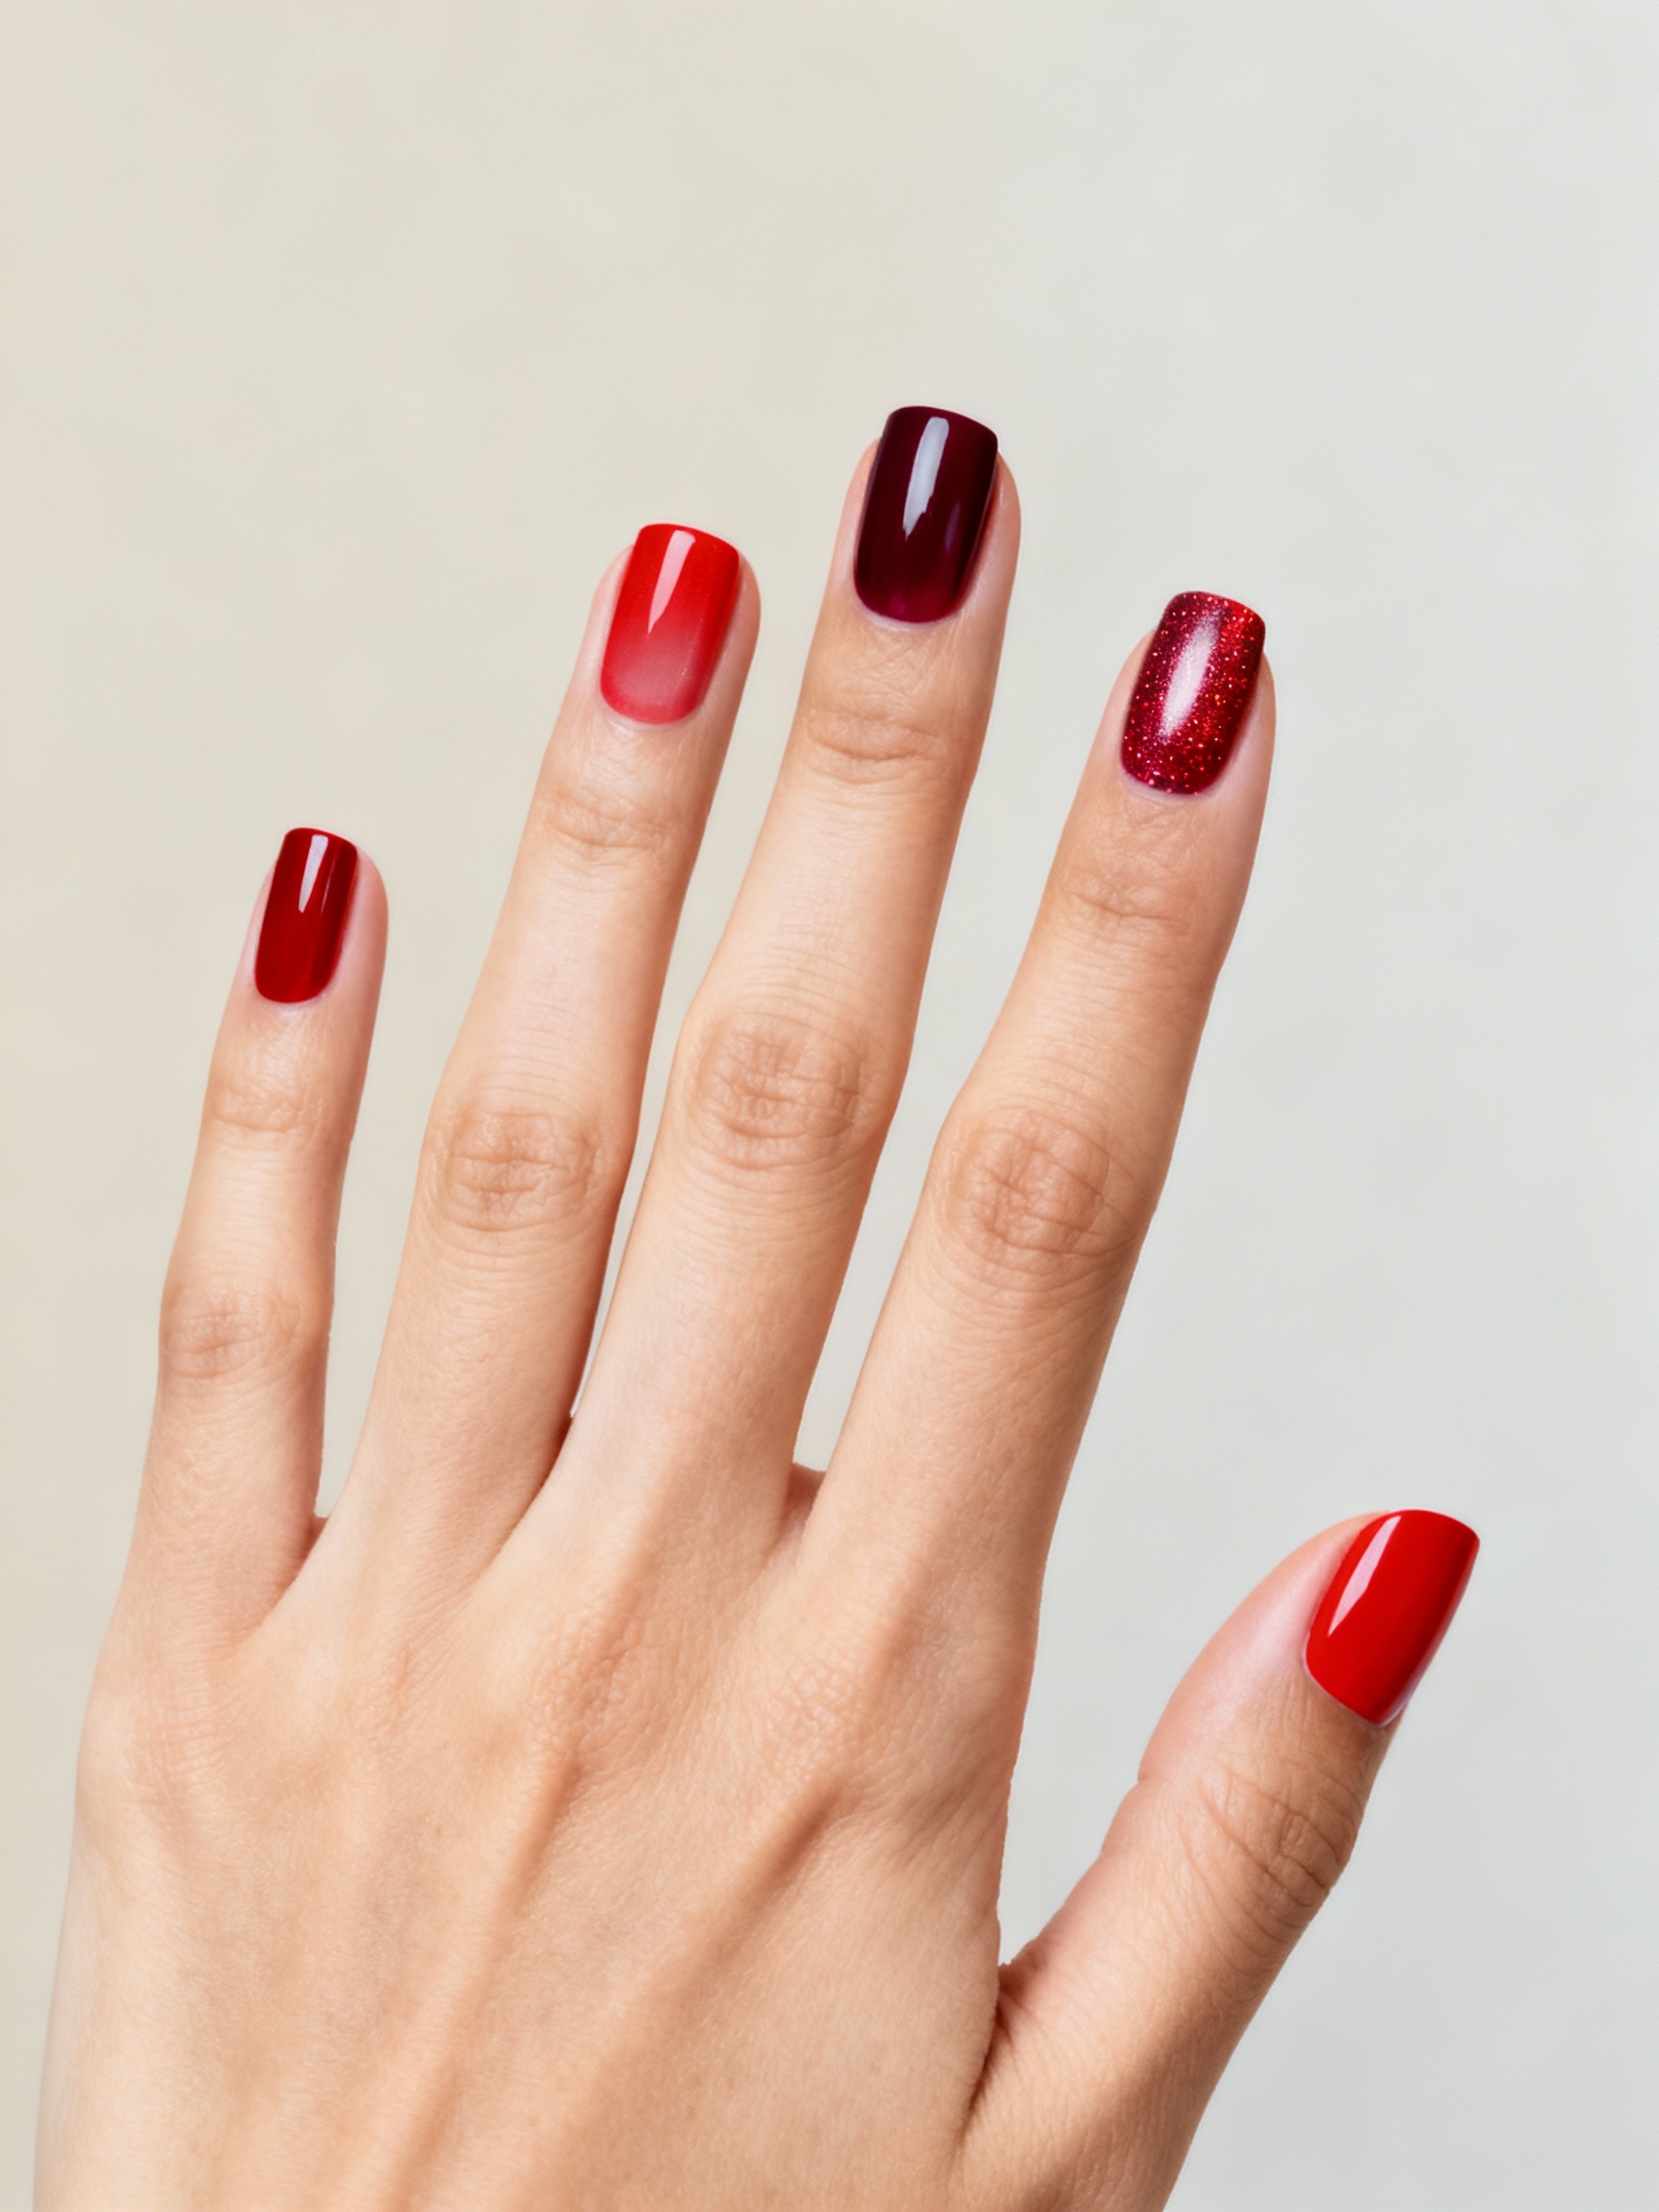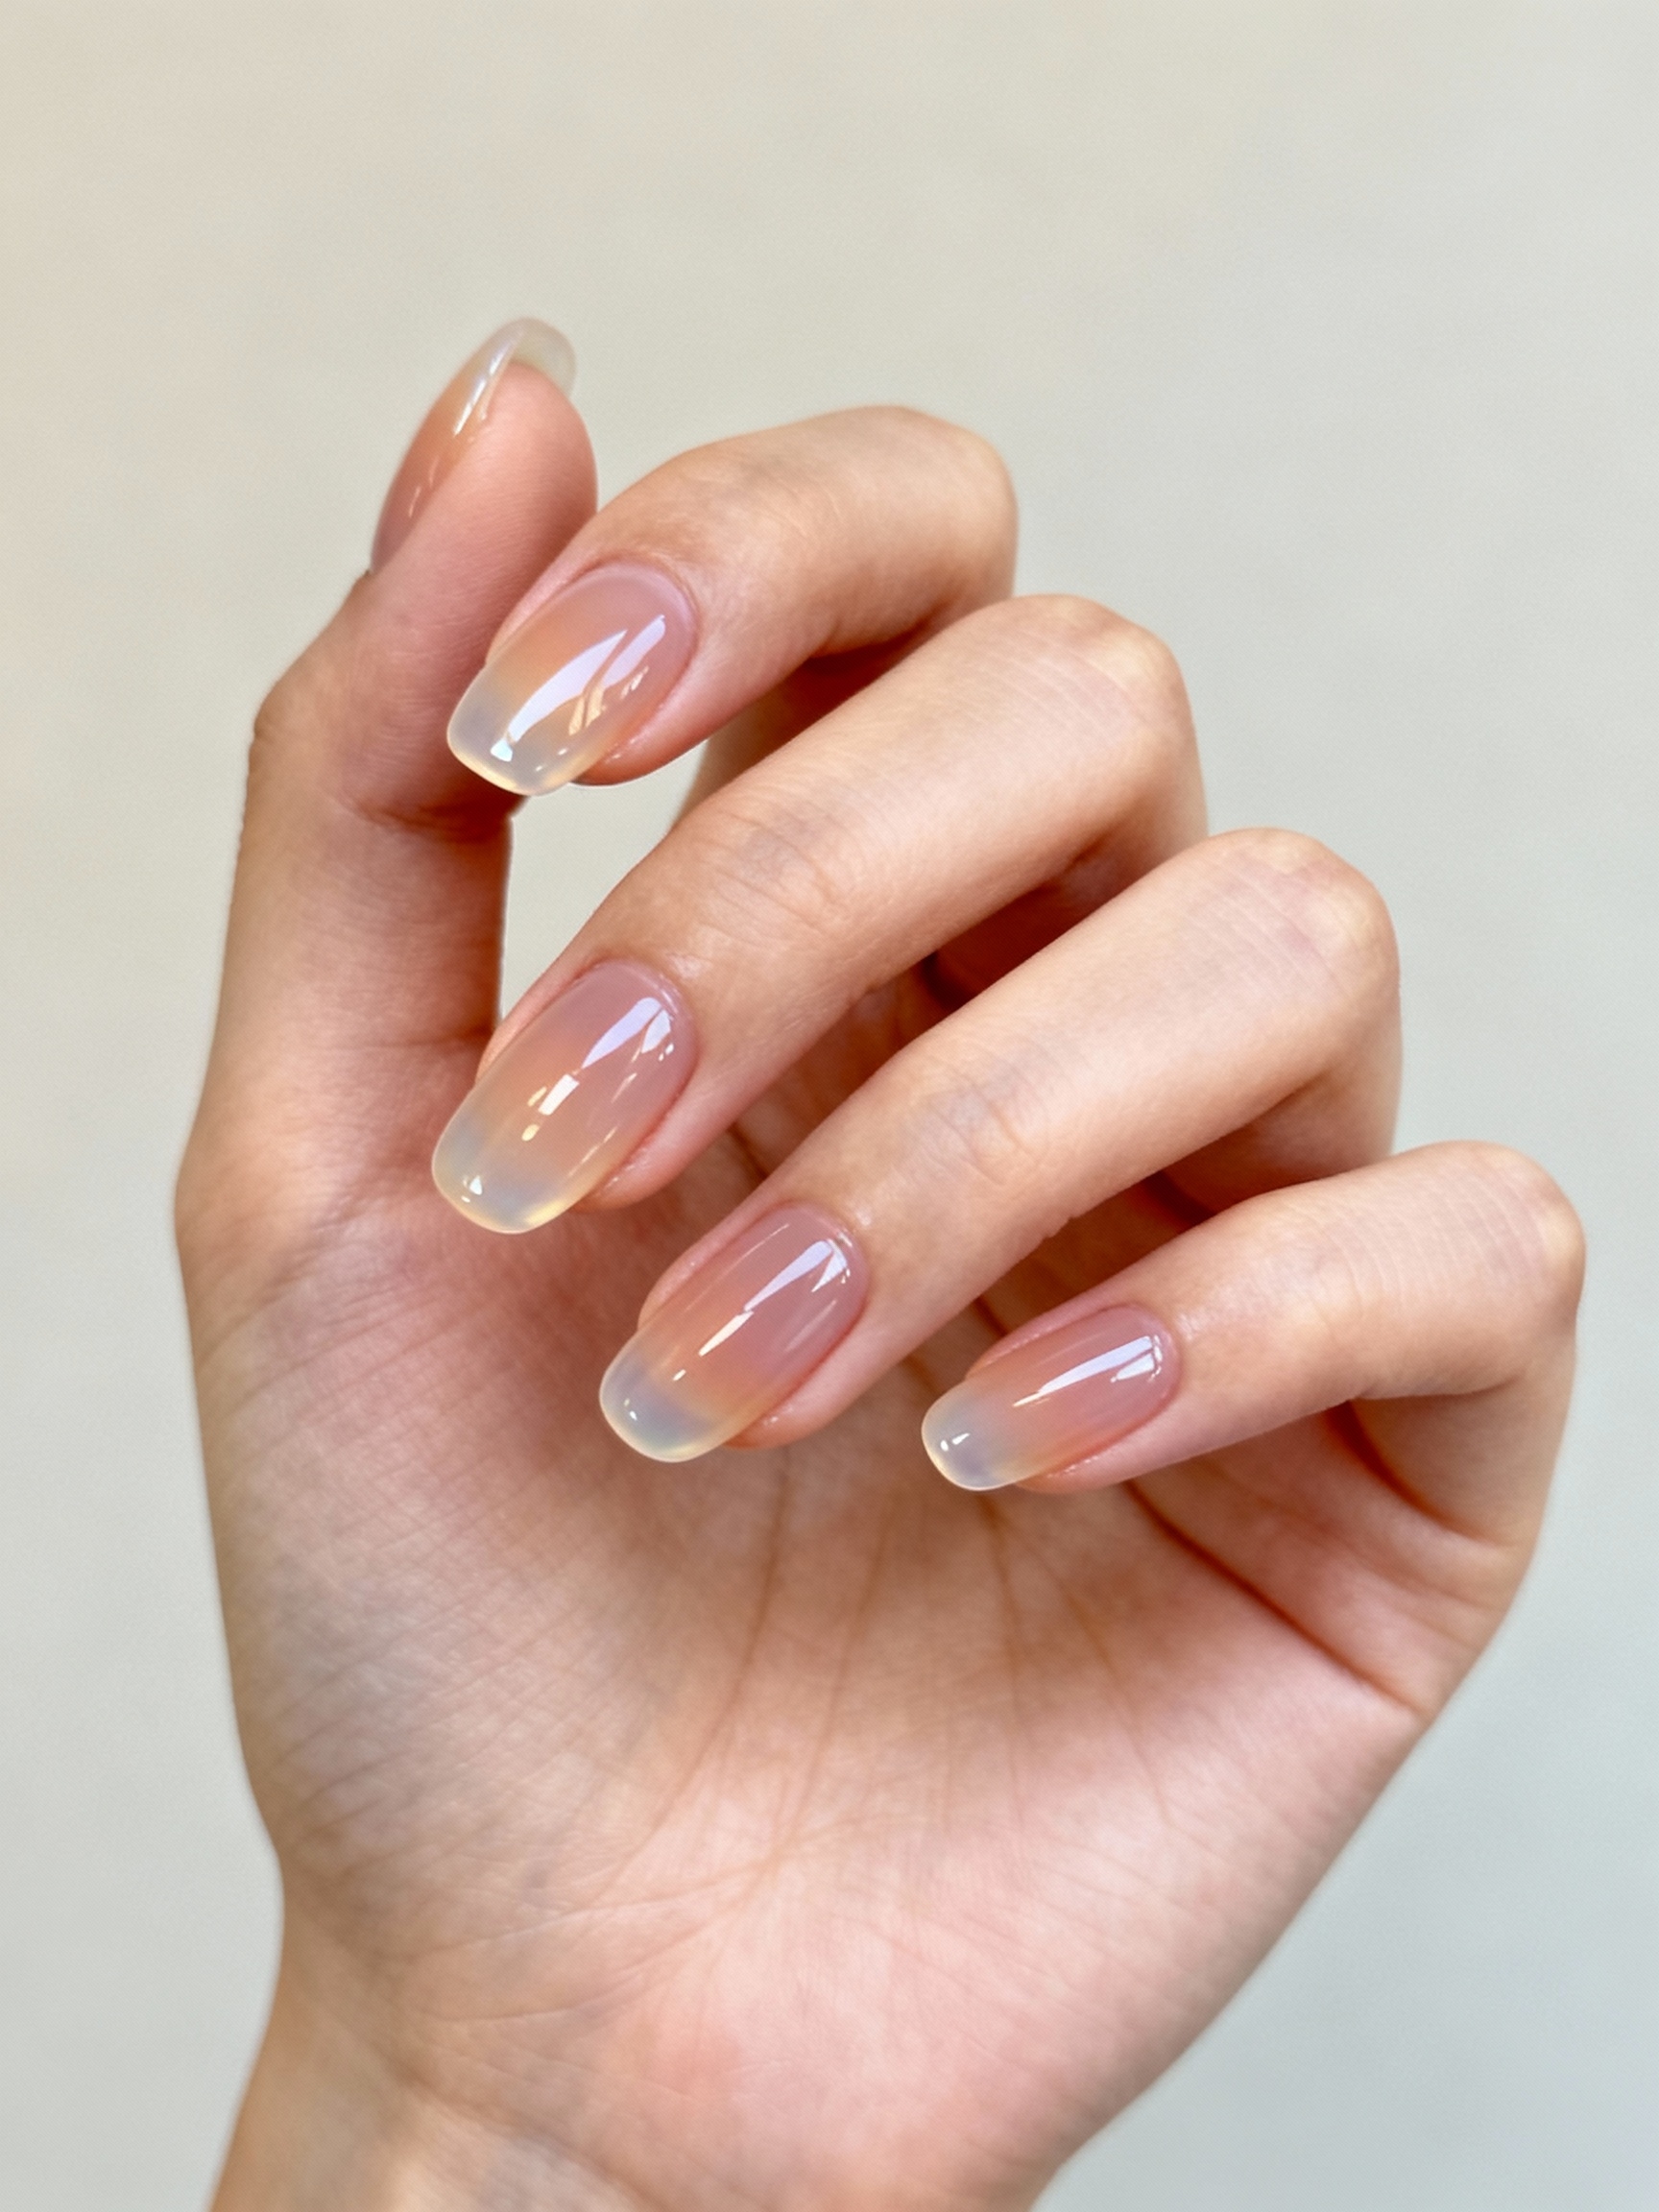
Ever held a manicure up to the light and seen it glow like stained glass? That see-through, candy-coated quality is what jelly nails are all about. Built from sheer, translucent color rather than opaque polish, they look like little gummy sweets or panes of colored glass on your fingertips, juicy, glossy, and impossibly fun.
The whole magic is in the translucency, which means the technique is the opposite of a regular manicure: you build sheer layers and resist making them solid. Below are thirteen jelly looks, from a soft sorbet pink to charms suspended inside the gel, each with how to build that glassy finish and who it suits. Most need a gel system to get the depth, though sheer jelly polishes can fake it at home.
Quick Things to Know
What makes a nail jelly rather than just glossy? Translucency. Jelly nails are built from sheer, see-through color so light passes through them, giving that glassy, gummy-candy look instead of a flat opaque coat.
Can I do jelly nails at home? Sheer jelly polishes layered over a clear base get you close, but the deepest, glassiest jelly look comes from a gel system with sheer gels, which is usually a salon job. A salon set runs about $45 to 75.
Do jelly nails work on every skin tone? Yes, and the sheerness is forgiving. Bright jelly tones glow against deeper skin, while soft sorbet and milky shades flatter fair hands; pick the depth of color that pops against your tone.
Translucent Sorbet Pink Glass
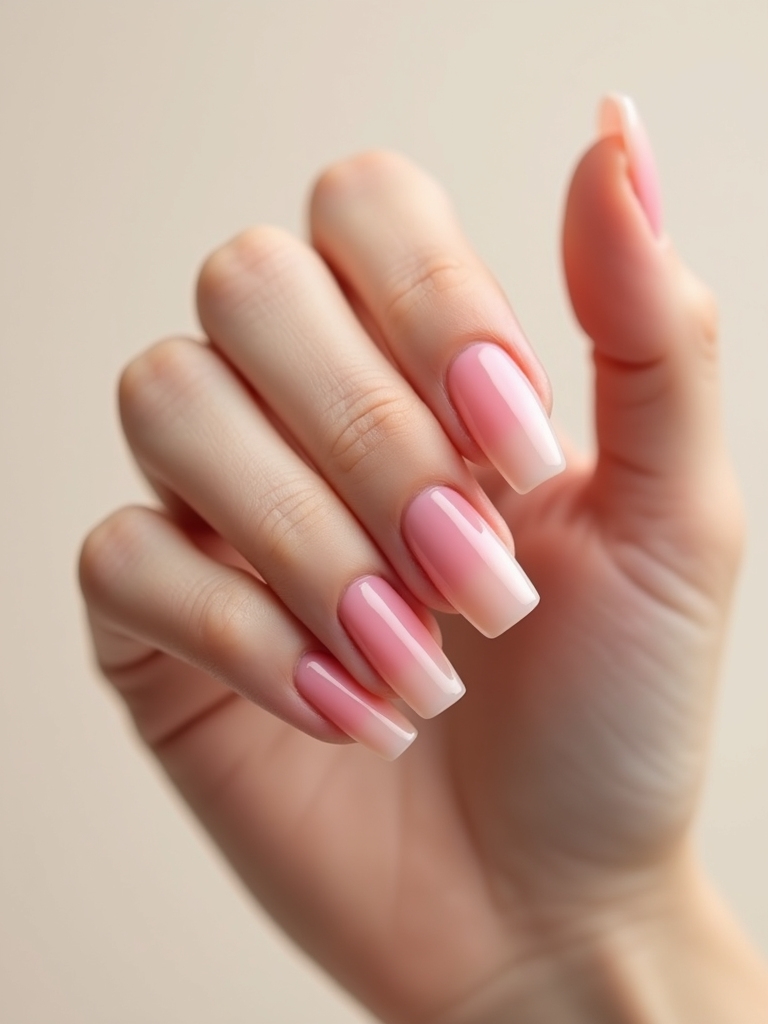
Start here if jelly nails are new to you: a soft sorbet pink so sheer it glows like frosted glass. The translucent finish keeps it gentle and grown-up, the prettiest possible introduction to the trend, especially on almond nails. It is the version I love for anyone who thinks jelly nails sound too playful, because the soft pink looks chic, not childish.
Build Sheer, Not Solid
The key is building the color in sheer layers rather than one solid coat. Over a clear base, apply a sheer pink jelly gel in two or three thin layers, letting the translucency build gradually so light still passes through. Resist the urge to make it opaque, since the see-through quality is the whole point.
Seal it with a thick, glassy top coat for that wet, candy-like shine. The soft sorbet shade flatters every nail length and reads as a fresh, glossy neutral that works far beyond the trend itself.

Juicy Watermelon Jelly Tips

Watermelon jelly tips are summer in a manicure, a juicy translucent pink-red on the tips that looks exactly like a slice of the fruit held to the light. The sheer fruit-punch color is playful and bright, perfect for warm months and vacations. It is one of the freshest, most playful ways to wear the jelly trend.
The tiny seed detail is what sells the whole thing, so keep it sparse and small. Build the tips sheer so the juicy color really glows:
- Keep the base sheer or bare so the translucent tips really glow.
- Build a watermelon pink-red jelly gel on the tips in sheer layers for that juicy, see-through quality.
- For the full effect, add tiny black seed dots near the smile line, then seal glossy. See summer nails for more.
Heads-Up
The number-one jelly mistake is building the color too opaque. Jelly nails rely on light passing through them, so if you keep layering until the color is solid, you lose the glassy effect entirely. Stop while you can still see through the color, and let the glossy top coat do the rest.
Soft Glassy Citrus Nails

Citrus jelly nails bring a zesty pop of translucent orange, lemon, or lime that glows like a wedge of fruit. The sheer, bright tones feel cheerful and fresh, and the glassy finish makes them look juicy enough to eat. It is a happy, energizing set for a sunny day.
Build a sheer citrus jelly gel over a clear base in thin layers, keeping the color translucent rather than solid so it glows from within. You can do one citrus shade across all nails or mix orange, lemon, and lime for a fruit-salad effect, much like a sheer ombre nails blend. A glossy top seals the juicy, see-through finish and makes the bright color sing.
Translucent Purple Glossy Manicure

I recommend a sheer purple jelly to clients who want jewel-like depth, since it is the most gemstone version of the trend, glowing like a polished amethyst on the nail. The translucent violet looks rich and a little mysterious while keeping that fun, glassy jelly quality. It is moodier than the fruity shades and beautifully sophisticated. Build the amethyst glow:
- Lay a clear base, then build a sheer purple jelly gel in thin, translucent layers.
- Keep the color see-through rather than opaque so it glows like a gemstone in the light.
- Finish with a high-gloss top coat for the polished, glassy amethyst shine.
Not sure which jelly look fits you? Match your mood.
1I want soft and everyday
Try the sorbet pink, milky pink, or peachy gradient; all read as glossy, wearable neutrals.
2I want bold and playful
Go for stacked neon, watermelon tips, or suspended charms for maximum see-through fun.
Sheer Glassy Citrus Glow

Where the citrus jelly is fruity and bright, this version pushes the glow, layering a sheer citrus tint with an iridescent or pearly shimmer so the nails look lit from inside. It is the dreamier, more luminous cousin of a straight citrus jelly, with a soft glassy radiance rather than a pure fruit-punch punch.
Build a sheer citrus jelly base, then add a fine iridescent shimmer between layers so the glow comes from within the translucent color rather than sitting on top. The effect is a soft, glassy luminosity, like sunlight through a glass of lemonade. Seal it glossy so the inner glow stays deep and dimensional.
Sheer Peachy Translucent Gradient

A peachy translucent gradient is the softest, most wearable jelly look, fading a sheer peach from a deeper tip down to nearly bare at the cuticle. The gradient keeps it gentle and dimensional, like a sunset seen through frosted glass. It is the version for anyone who wants jelly nails that double as an everyday neutral.
Keep the gradient soft and translucent:
- Start with a clear or barely-tinted base for the lightest part near the cuticle.
- Build a sheer peach jelly more densely toward the tips, fading it down so it graduates softly.
- Keep every layer translucent so the gradient glows, then seal with a glassy top.
🅰️Sheer jelly polish
Best for an at-home, softer jelly effect; layer it over a clear base for a translucent wash with everyday wear.
🅱️Jelly gel system
Best for deep, glassy color and advanced looks like suspended glitter or charms; a salon job that lasts two to three weeks.
Sheer Milky Pink Glow

This is where jelly meets the milky-nail trend, a soft pink that is sheer and translucent but with a milky, slightly cloudy quality that softens the glow. It is the most subtle, clean-girl version of jelly nails, reading as a glossy, worn-in pink rather than a bold candy color. It suits absolutely everyone.
Build a sheer milky pink in thin layers, keeping it translucent enough to glow but soft enough to look creamy and gentle, somewhere between a jelly and a milky base. The slightly cloudy quality is what sets it apart from a pure clear jelly. A glossy top gives it the soft, glassy finish that makes it look expensive and current. The pink nails guide has more soft shades.
Smoky Cherry Ombre Nails

For a moodier jelly, a smoky cherry ombre fades a deep translucent cherry red into a smoky, almost gray-tinted base, like looking into a glass of dark cola. The sheer depth gives it a rich, glassy quality with none of the flatness of a solid red. It is the most sophisticated, autumn-ready jelly here.
Build a sheer cherry jelly more densely at one end, fading it into a smoky translucent gray or near-clear at the other, so the color graduates with real depth. Keeping both ends sheer is what gives it that glassy, looking-through-glass quality rather than a flat ombre. Seal it glossy so the smoky cherry glows dark and dimensional, like polished glass.
“For an ombre jelly like the smoky cherry, build the deepest color at one end and stretch it toward the other with a clean, dry brush rather than adding more product. Pulling the sheer color thinner keeps the fade translucent instead of muddy, which is exactly what a glassy ombre needs.”
Sheer Stacked Translucent Neon

This is the most playful, maximalist jelly look, stacking sheer neon colors so they overlap like panes of stained glass. Where two translucent neons cross, a third color appears, giving the nails a layered, light-catching, almost holographic depth. It is bold, fun, and a real showstopper.
Let the Colors Overlap
The effect comes from building different sheer neon jellies in overlapping sections or blocks, letting the translucency create new colors where they meet. Keep each layer see-through so the stacking actually shows, rather than muddying into opaque. It rewards a playful hand, since the overlaps are the whole point.
This one is truly eye-catching on every skin tone, and the bright translucent neons glow especially vivid against deeper complexions. It is jelly nails at their most joyful and experimental.
Sea-Glass Teal Sheer Shimmer

Sea-glass nails are the serene, beachy jelly look, a sheer frosted teal or aqua with a soft shimmer that looks exactly like polished glass washed up on the shore. The translucent, slightly frosted finish is calming and pretty, a cooler alternative to the bright fruity jellies, and a favorite for short nails. Build the beach-glass effect:
- Build a sheer teal or aqua jelly gel over a clear base in soft, translucent layers.
- Add a fine pearly or iridescent shimmer for the frosted, sea-glass quality.
- Keep it sheer and seal glossy, so the nails look like smooth, sunlit beach glass.
Sheer Glittered Jelly Layers

Suspending glitter inside translucent jelly layers is one of the dreamiest jelly techniques, trapping the sparkle within the sheer color so it floats like confetti in gelatin. The glitter seems to hover at different depths inside the nail, giving real dimension and a festive, glassy sparkle. It is dazzling without being heavy.
Suspend the Sparkle in Layers
The trick is layering: build a sheer jelly layer, add fine glitter, then seal it under another sheer jelly layer so the sparkle is suspended within the color rather than sitting on top. Repeating this builds depth, with glitter floating at different levels inside the translucent gel. The clear layers between are what create that suspended, three-dimensional effect.
I love this for a party or the holidays, since it brings serious sparkle while keeping the soft, glassy jelly quality. The suspended glitter reads far more sophisticated than glitter painted flat on the surface.
Glossy Jelly With Cutouts

Combining jelly with negative-space cutouts gives the translucent trend a modern, editorial edge, leaving clear or bare windows within the sheer color for a graphic, see-through effect. The contrast between the glassy jelly and the totally clear cutout is striking and a little futuristic. It is jelly nails for someone who wants art, not just color.
Leave Clear Windows
Build a sheer jelly color over most of the nail, leaving deliberate cutout shapes, hearts, circles, or geometric windows, completely clear. The cutouts let the bare nail or a clear base show through, contrasting with the translucent color around them. Precision matters here, since the clean edges of the cutouts are the design.
This look feels graphic and intentional, and it pairs the playful jelly finish with a cool, modern restraint. Keep the cutouts to a few nails so the effect stays sharp rather than busy.
Jelly Base With Suspended Charms

The most maximalist jelly look of all suspends tiny charms, fruit slices, stars, hearts, or beads, inside the translucent gel so they appear to float within the nail. Encasing little objects in sheer jelly layers gives a whimsical, three-dimensional, almost aquarium-like effect. It is the ultimate playful, statement jelly set.
Build the suspended charms in layers, like setting things in resin:
- Lay a sheer jelly base, then place tiny flat charms or beads where you want them.
- Seal them under another sheer jelly layer so they are encased and appear to float inside.
- Keep the charms small and flat so the nail stays comfortable, then finish with a thick glossy top.
What to Expect From Jelly Nails
The first thing to know is that jelly nails behave differently from regular polish, because the whole point is sheer, buildable translucency rather than full coverage. Expect to work in thin layers and to resist the instinct to make the color solid, since one opaque coat kills the glassy, see-through magic entirely.
The deepest, most dimensional jelly looks, especially suspended glitter or charms, really do need a gel system and are best done at a salon, while sheer jelly polishes over a clear base get you a softer version at home.
Plan for the look you want. Simple sheer colors like sorbet pink or milky pink are quick and beginner-friendly, while stacked neons, cutouts, and suspended charms are detailed salon work that takes longer and costs more.
A gel jelly set wears two to three weeks like any gel, and because the color is sheer, grow-out is far less obvious than with an opaque shade. Whatever you choose, the glassy top coat is non-negotiable, since the wet, candy-like shine is what makes a jelly nail look like jelly at all.
Glossy, Glassy, and Endlessly Fun
Jelly nails are proof that a manicure can be playful and chic at the same time, all because of one simple idea: let the light through. Whether you go soft sorbet pink for everyday or stack neons and suspend tiny charms for a statement, the translucent, candy-coated finish brings a joyful, glassy quality that opaque polish simply cannot. The trick is always the same, build sheer, keep it translucent, and seal it glossy.
Start with a soft single color to get a feel for the buildable, see-through technique, then work up to the gradients, glitter, and charms once you trust the layering. However you wear them, jelly nails are a reminder that beauty is allowed to be fun, glossy little panes of colored glass at the tips of your fingers.