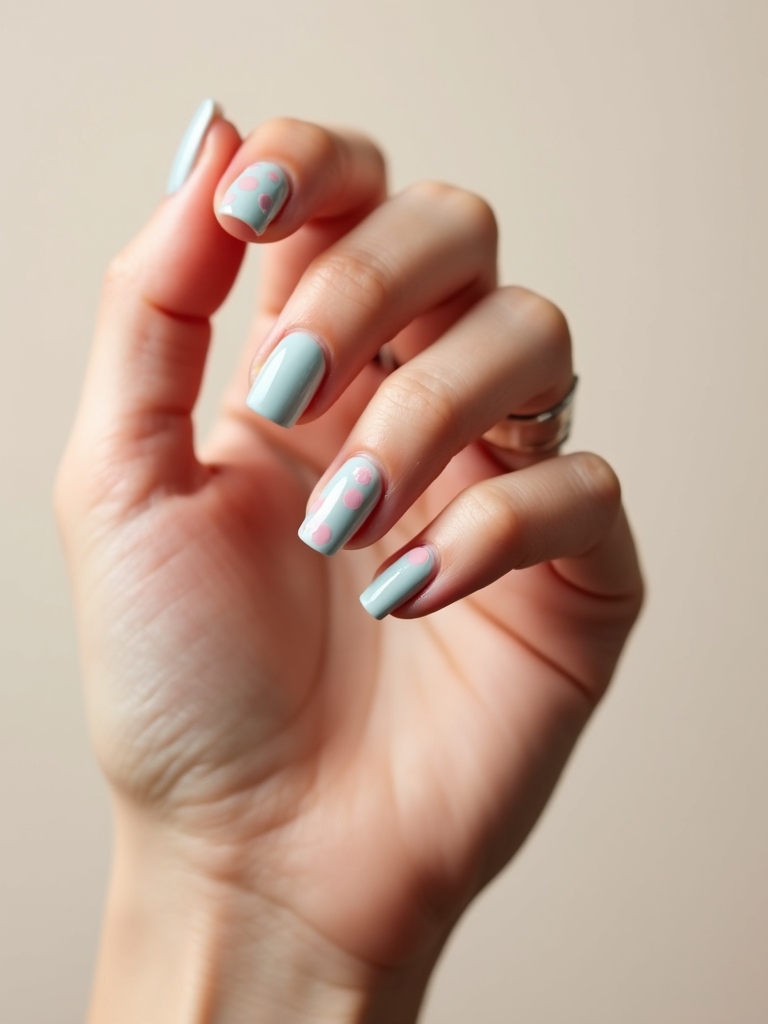
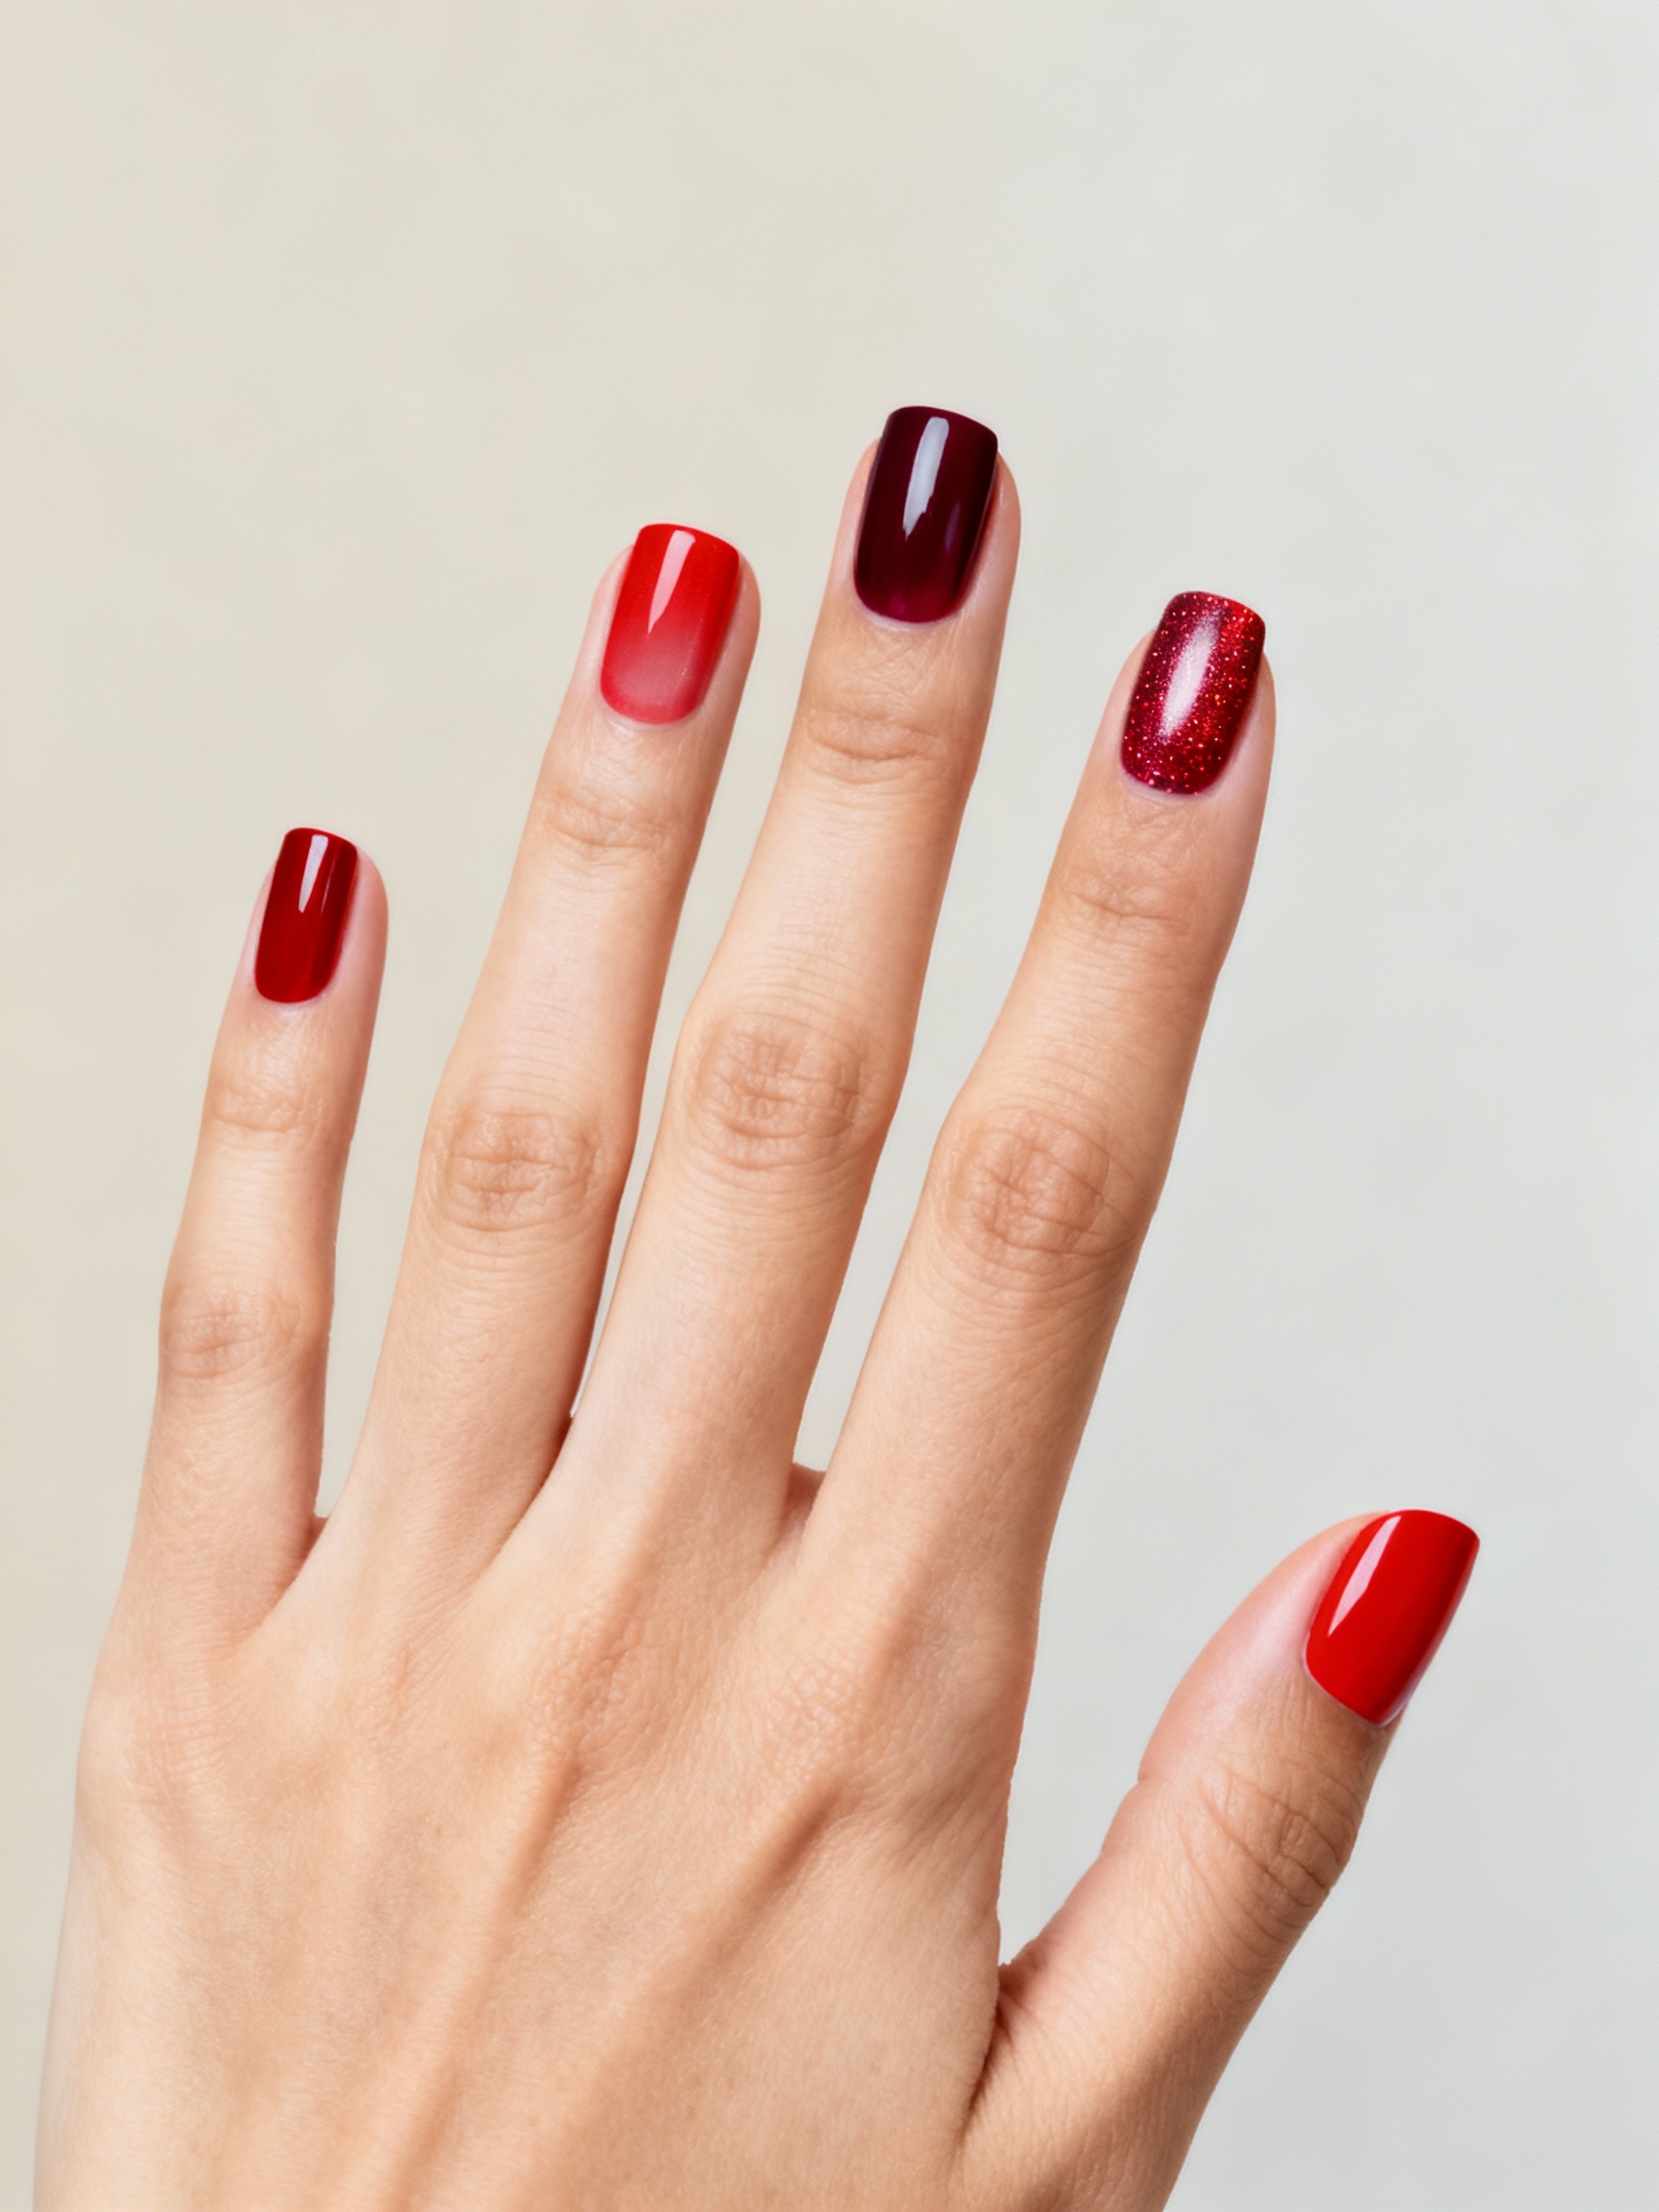
There is a particular Friday before every trip when half my appointments are people who want their nails to look like the vacation before they have even packed. Beach nails are their own little genre: soft sandy neutrals, ocean blues, a wink of shell or shimmer, the colors of a place you would rather be.
These are eleven beach nail ideas I paint most when summer hits, from barely-there sandy gradients to full iridescent mermaid scales. For each I will walk through how it is built, who it suits, and how to keep it looking fresh through sunscreen, salt, and a week of swimming.
Beach Nails, Quick Look
Beach nails fall into two camps: quiet coastal neutrals (sandy nude, driftwood taupe, milky pastels) that hide chips on vacation, and statement looks (mermaid foil, turquoise marble, painted waves) that turn heads in photos.
If you are actually traveling, lean neutral and go gel, because it survives sunscreen and salt far better than regular polish. Save the detailed art for the start of the trip when you can baby it.
Sun-Bleached Pastel Matte

These look like pastels that spent a summer in the sun, soft, slightly chalky, and a little faded in the best way. A matte topcoat over muted lilac, sky, or butter yellow gives that dry, sandy finish that feels coastal without a single literal beach motif.
Getting the chalky finish
It is the most grown-up way to wear pastels, and it suits short nails beautifully because the soft finish keeps them looking clean.
The one catch is that matte topcoat dulls faster than gloss, so on a long trip pack a travel-size matte sealer for a quick refresh.

Glossy Seashells and Pearl Studs

For full beach romance, tiny seashell charms and pearl studs scattered over a sheer base feel like treasures washed up on the nail. It is a sweet, photo-ready look that leans bridal-by-the-sea, and one accent nail of shells keeps it from feeling heavy.
These 3D pieces are pretty but high-maintenance, so I save them for the first days of a trip before the catching-on-everything sets in.
- Set charms in a bead of gel and cure thoroughly so they hold.
- Cap the edges with topcoat so nothing snags or lifts.
- Keep the rest of the nails sheer or milky nude so the accents shine. More translucent bases live in the milky nails guide.
Heads-Up
Self-tanner is the sneaky one: it keeps developing for hours and can tint pale nail art a dingy orange. Apply it well before a fresh manicure, or shield the nails, so your beachy neutrals do not pick up a fake-tan cast.
Sandy Nude Ombré Tips

If I could only recommend one beach manicure for a real vacation, it would be this. A soft gradient from a milky base into a warm sandy beige at the tips looks like wet sand at the shoreline, and because it is low-contrast it hides grow-out and tip wear for the whole week.
It flatters every skin tone since the shades are so soft, and it dresses up or down with whatever you are wearing.
- Sponge the sandy beige onto the tips over a milky base while it is tacky.
- Keep it sheer so the melt looks natural and beachy.
- Go gel for travel; it shrugs off sunscreen and salt. See the nude nails guide for base shades.
Palm Silhouettes on Milky Nude

A single black palm tree on a milky nude nail is the most literal beach motif here, and somehow it stays chic instead of touristy because of the restraint. One or two accent nails of palms against plain neutrals is all you need.
Keeping the palm crisp
It reads like a vacation postcard in the best way, and it photographs crisp against a tan.
Because the art is flat against the nail, it is far more durable than 3D charms, which makes it a smart pick if you want a beach motif that lasts the trip.
Good to Know
Regular polish is fine for a pool day at home, but it chips within days of real beach wear. If your trip involves sand, surf, and a week away from a salon, gel is the only finish that reliably goes the distance.
Turquoise Marbling With Gold

Inspired by turquoise stone, this swirls deep teal and white into a marbled pattern, then threads it with fine gold veining like the real gem. It is one of the richer beach looks, equal parts boho and luxe.
Faking the stone
The gold veins are what sell it, catching light and mimicking the matrix lines that run through actual turquoise.
It works on any length, though a longer almond or coffin gives the marble more room to swirl. Pair it with gold jewelry to tie the whole thing together.
Iridescent Mermaid Scales

The most fun, most over-the-top option, and a guaranteed photo moment. Iridescent foil or a scale stencil gives nails that shifting, fish-tail shimmer that flips from teal to purple to pink as your hand moves. It is bold and playful, the one I paint for people who want their vacation nails to be the whole event.
- Use a scale net stencil over a pearly base, or layer iridescent foil for the shift.
- Concentrate the scales toward the tips and fade them out for a natural ombré.
- Seal with high-gloss so the shimmer stays wet and bright.
- It is striking on longer nails; the chrome nails guide has more shifting finishes.
Not sure which beach nail is yours? Start here:
1Actually traveling and want zero fuss?
Go sandy nude ombré or driftwood taupe in gel; both hide wear all week.
2Want your nails to be the photo?
Mermaid scales, turquoise marble, or a coral sunset ombré will steal the shot.
Seafoam Glittered Seashell Tips

A soft seafoam green with a glittered tip is like sea spray catching the light. The pale green base stays wearable while the fine glitter at the edge adds just enough sparkle for a beach bar at golden hour.
Glitter that comes off
It is a gentler way to wear glitter, since the sparkle stays contained to the tips instead of coating the whole nail.
Seafoam flatters warm and cool skin alike, and the glittered French edge is forgiving on grow-out because the eye goes to the tip.
Warm Coral-to-Lilac Ombré

This is a sunset on your nails: a warm coral melting up into a soft lilac, the exact gradient of the sky over the water as the day ends. It is bright and happy without being neon, which keeps it pretty and easy to wear. The warm-to-cool shift also has a slimming effect on the nail, since the lighter lilac at the tip draws the eye upward and lengthens the finger.
Sponge the two shades so they blur into each other at the seam, then seal glossy so the melt looks liquid. It suits short and long nails alike, and it pairs with gold jewelry and a sundress like it was designed for vacation. The ombre nails guide covers the fade in depth.
Coastal Minimalist Wave Lines

For people who want a beach reference so subtle only they know it is there, a single fine wave line traced over a bare or milky nail is perfect. It is the most modern, understated option here, and it suits an office just as well as a sandy boardwalk.
- Have one thin navy or gold wave drawn across one or two nails.
- Keep the base sheer so the line stays the focal point.
- It is quick and cheap to add to a plain manicure, which makes it a low-commitment way to test beach nails.
- A glossy seal keeps the fine line from wearing off at the tips.
Driftwood Taupe With Gold

The most sophisticated, grown-up beach neutral on this list. A soft greige-taupe the color of sun-bleached driftwood, finished with a hair-thin gold line or a small foil fleck, looks quietly expensive and goes with everything in a vacation suitcase.
This is the set I suggest for clients who want their beach nails to look polished, not playful. It works across skin tones, where the warm taupe looks rich on deep skin and soft on fair, and it hides wear about as well as any color can, which makes it ideal for a long trip. If you want one beach manicure that carries you from the sand to a nice dinner without a single change, this is the one I would book, especially with that whisper of gold for evening.
Sheer Beachy Micro-Glitter

The barely-there sparkle option: a sheer, your-nails-but-better base with a dusting of micro-glitter that catches the sun like sand. From a step back it just looks like healthy, shiny nails, and up close it glitters softly. It is the most wearable sparkle here and a favorite for people who think glitter is too much.
- Layer a fine, sheer glitter topcoat over a milky or nude base.
- Keep it to one or two coats so it stays a shimmer instead of a full sparkle.
- It hides grow-out well thanks to the sheer base.
- Pair it with a best summer nails palette for more warm-weather ideas.
Styling Tips
A couple of practical notes make beach nails actually survive the beach. Sunscreen is the silent destroyer here: the oils break down polish and can stain lighter shades, so wash your hands well after applying and reapply a topcoat midway through a long trip. Salt water and chlorine dry out both polish and cuticles, so a daily drop of cuticle oil keeps the whole hand looking groomed in photos.
On cost and timing, a simple beach gel set like a sandy ombré or driftwood taupe runs about $40 to $55 and lasts the length of most vacations. Detailed art like marble, mermaid scales, or seashell charms climbs to $65 to $90 and adds twenty to forty minutes in the chair. My honest advice for a real trip: get the durable neutral done two days before you leave, and save the showy art for a staycation when a chip will not ruin your photos.
Pack the Right Set
The smartest beach manicure depends on whether your feet are actually hitting sand. For a real trip, a durable neutral gel will look good in every photo and survive a week of swimming. For a backyard or pool day, that is when the mermaid foil and seashell charms get their moment.
Pick the look that matches your week, book it a day or two ahead so it has time to cure, and let your nails start the vacation before your flight does.
Worth a Look