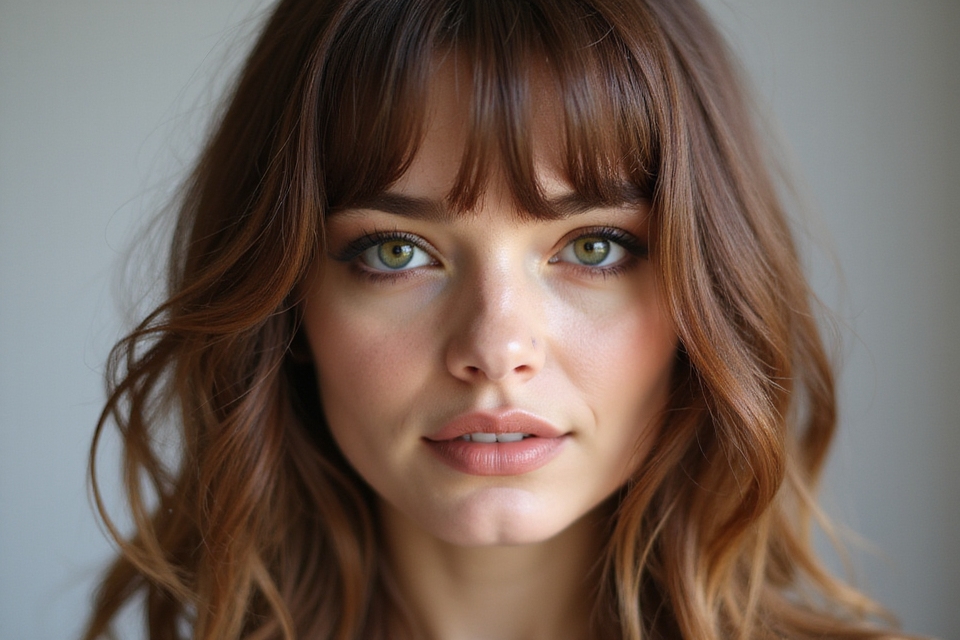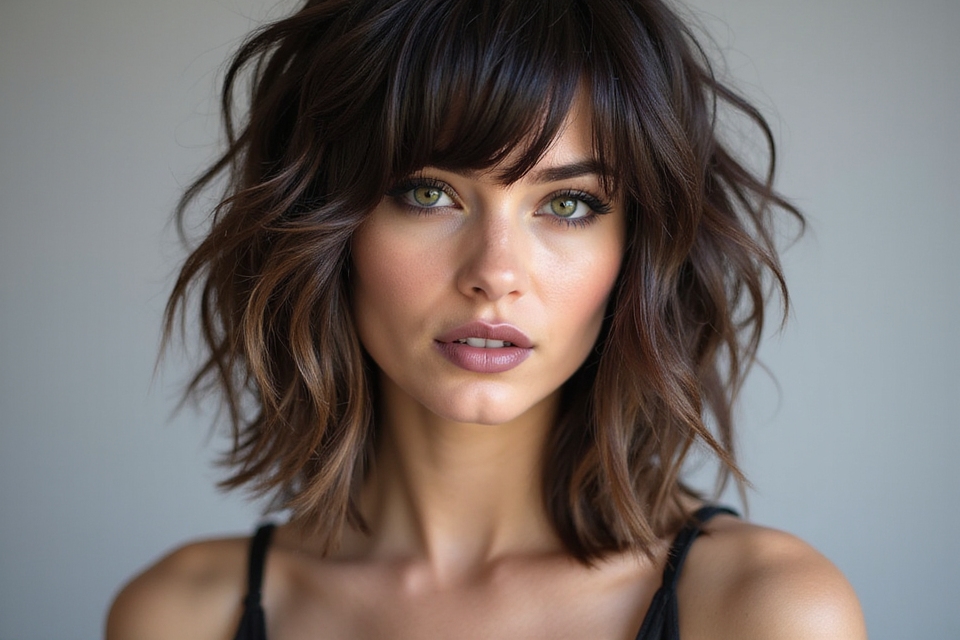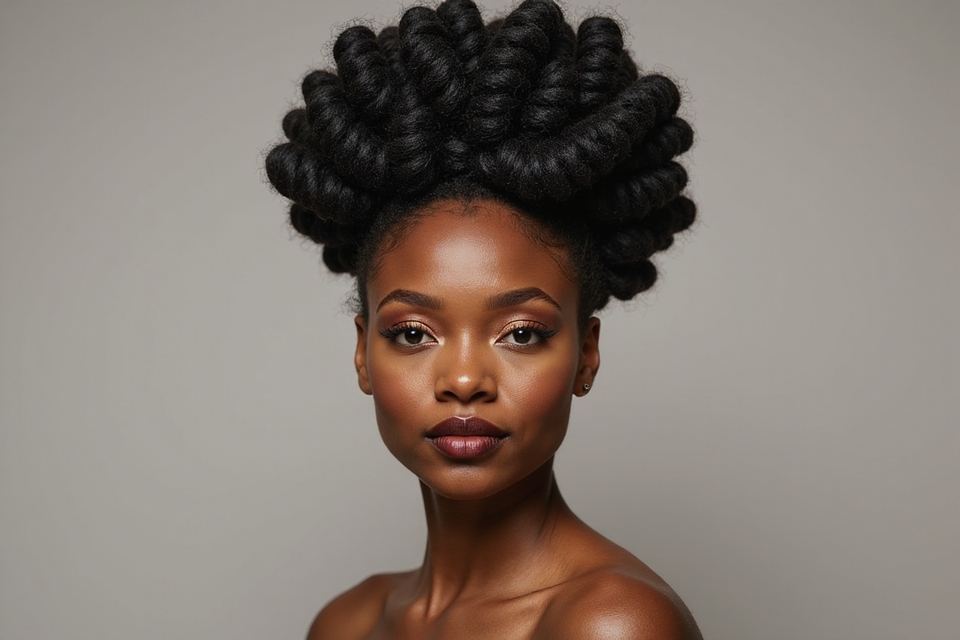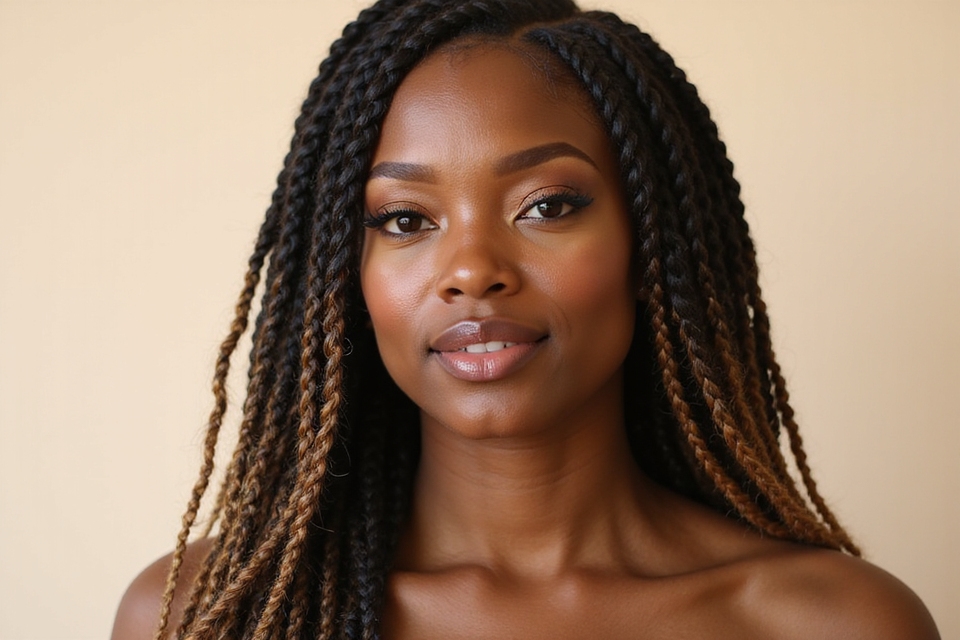
Some braids exist to be photographed once and combed out by lunch. Others get pinned, slept on, and worn three days straight. The cute braided hairstyles people actually save and recreate tend to belong to that second group: pretty enough to screenshot, sturdy enough to survive a commute and a gym bag.
What follows leans toward braids that earn their keep. For each one you get the honest version: how it holds, who it flatters, what it costs in time or money, and where it tends to go wrong. I have braided most of these on heads of every texture, so the warnings are the ones I actually give people.
The Short Version
The braids worth your time fall into two camps. There are the fast looks you redo daily, like side and bubble braids, and there are the set-and-forget styles like cornrows or a tight Dutch that hold for days. Match the braid to your week, and the styling gets a great deal easier.
Texture helps you here. Most of these grip better on second-day hair, and almost all of them can be loosened or tightened to suit fine, thick, straight, or coily strands. The trade-offs are usually about upkeep and tension, and those are the parts I flag as we go.
The Timeless Pull of a Textured Braid

A braid behaves differently on textured hair than it does in a tutorial. The plait sits with more body, holds a parting longer, and softens beautifully a day or two in. That staying power is the whole appeal: you set it once and it keeps its shape while you get on with your life.
Work on hair that has not just been washed. Second-day texture grips far better than slippery clean strands, and a pea of leave-in keeps things from puffing as you go.
This look suits almost everyone, and it rewards medium to thick hair most. Fine hair can fake the fullness, too. Once you tie off, gently tug the outer edge of each section loose and the braid widens while keeping its hold.

Dutch Braid, the Versatile Workhorse

The first braid I ever learned to do properly was a Dutch, and it is still the one I trust when I want structure. You cross the strands under each other, so the plait sits raised on the head and forms a clean, defined line.
That raised line is what makes it photograph well and survive a workout. Two of them running back into a low bun will outlast almost anything a Tuesday throws at you.
It works on every hair type, though tighter textures hold the cleanest line. Keep the sections even and the tension steady, because any wobble there sends the whole row bending off course. For more of these set-and-forget options, the wider braided hairstyles guide goes deeper.
Not sure which braid fits your day? Match the situation to the style.
1You need it done in under five minutes
A side braid, rope braid, or bubble braid
2You want it to hold for several days
Cornrows, boxer braids, or a tight Dutch braid
An Intricate Braided Updo

Some days a braid wants to be lifted off the neck entirely. Take any braid you are comfortable with, coil it at the nape or crown, and pin it into a loose knot. The texture of the plait does the decorating for you.
This is my go-to for a wedding or a long dinner, because it looks considered and still needs no stylist on hand. The braid gives a smooth bun something to grip, so it holds for hours where a plain twisted bun would slide.
It flatters longer necks and works on any length past the shoulders. Shorter hair can still play along with a few well-placed pins and a little patience.
Waterfall Braid, Cascading and Soft

The waterfall braid keeps the romance of a half-up style while showing off your length. As you braid horizontally across the back, you drop the bottom strand each pass and pick up a fresh one, leaving little ribbons of hair falling through.
It looks best with a bit of wave, so those dropped strands have movement. Bone-straight hair can look a touch flat here, and a quick pass with a curling wand fixes that.
Be honest about upkeep. This one is a redo-daily braid, since the dropped strands loosen overnight, though that same drifting softness is exactly the quality that makes the style photograph so beautifully in the first place.
Good to Know
Almost every braid here grips better on second-day hair than on freshly washed strands. The natural oils and slight texture give the plait something to hold, which is why stylists rarely braid right out of the shower.
Crown Braid for Everyday Appeal

A crown braid circles the head and tucks every loose end away from your face, which makes it as useful on a hot errand day as it is pretty in a photo. Here is the order that keeps it from sliding:
- Part your hair down the middle and braid each side from the nape forward toward your forehead.
- Bring each braid up and over, pinning it along the opposite hairline so the ends tuck under the other braid.
- Anchor with bobby pins crossed in an X, then mist lightly so flyaways settle. Done at home it costs nothing but ten minutes; in a salon expect roughly $25 to $60.
Boxer Braids When You Mean Business

Boxer braids are simply two cornrows running straight from the hairline to the nape, and they are the most secure look on this list. They sit flat against the scalp, so nothing escapes during a run, a spin class, or a long shift.
Keeping Them Neat Between Washes
The technique matches a single cornrow: you feed small sections in as you braid under, hugging the scalp the whole way. Even tension matters more than speed here.
On most hair types a fresh set holds a solid week before the regrowth starts to fuzz. I tell every client whose hair frays in a normal ponytail that this is the kindest option they have, since the weight spreads across the whole scalp.
👍Why a Crown Braid Works
- +Lifts the hair up and away on hot, busy days
- +Looks polished enough for a wedding, simple enough for errands
- +Holds for hours once pinned along the hairline
👎Where It Falls Short
- –Takes practice to braid forward toward your own forehead
- –Short layers can slip out and need extra pins
- –A too-tight wrap can press uncomfortably by evening
Mermaid Braids, Ocean-Inspired

The mermaid braid trades crisp structure for a soft, watery looseness. You braid wide, airy sections and then stretch the plait open until it looks tousled, almost like hair drying in sea air after a swim.
It thrives on long, slightly textured hair and on anyone who finds a sharp braid too severe for their face. The looseness softens strong features while keeping them on display.
The catch is that loose braids slip. A clear elastic at the start and a hidden one mid-length keep the shape from sagging by mid-afternoon.
The Halo Braid, Perfected Slowly
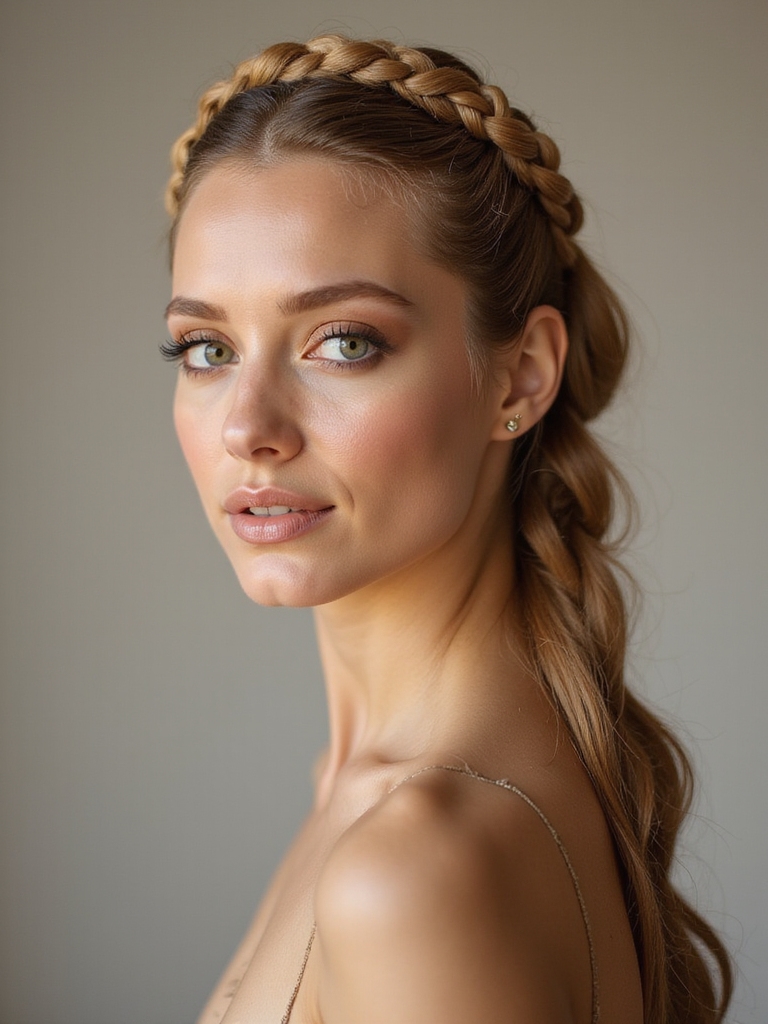
A halo braid is a single braid carried in one unbroken line around the head, where a crown braid often joins two. With no point where two plaits meet, it looks smooth and finished in person, which is most of its charm.
It takes practice, so be patient with your first attempt. A few details make the difference:
- Start at one ear and angle the braid slightly upward as you go, so it climbs into a halo and holds its height.
- Pick up consistent amounts of hair on each pass; uneven pickups are what create gaps.
- Tuck the tail under the starting point and pin it, then loosen the outer edge for a softer, fuller ring.
On Tension
A braid should feel snug, never painful. If you notice tingling, little bumps along the part, or a tension headache, the braid is too tight and is pulling on your roots. Loosen it at the hairline first, since the edges are the finest and slowest to recover.
Pull-Through Braid You Can Actually Achieve

If a real braid intimidates you, the pull-through is your shortcut, and there is no actual braiding involved. You stack small ponytails down the head and split each one to wrap around the next, which builds a thick, woven look with zero plaiting skill.
Why It Loves Fine Hair
Because it grows from a row of elastics, it carries volume that a true braid struggles to, so it is brilliant on fine or thin hair that usually looks sparse braided up.
The finishing is everything here. Once every ponytail is connected, pull each loop outward a little at a time until the braid looks full and a touch undone. Skip it and the whole thing stays stiff.
Textured Hair Braids With Real Grip

Coily and kinky hair holds a braid like nothing else, and the styling rules shift to match. Stretch the hair first with banding or a low-heat blow-out if you want length and definition, or braid it in its natural shrunken state for tighter, springier results. Both are correct, and the choice comes down to the look you are after that day.
Use a holding cream or butter over a light serum, and braid in smaller sections so the pattern stays crisp. I have watched coily hair keep a clean set for well over a week this way. For a full walkthrough built around this hair type, the braided hairstyles for Black women guide covers it with the care it deserves.
Infinity Braid, a Bit of Artistry

The infinity braid uses two outer strands that loop continuously through a central section, creating a chain of figure-eight links down the head. It looks far harder than it is once the rhythm clicks.
Reading the Pattern as You Go
Save it for occasions over everyday wear. The detailed weave is the point, and that detail takes time and steady hands to keep even.
It shows up best on solid-color hair or subtle highlights, where the pattern is easy to read. On very fine hair the loops can collapse, so a light texturizing spray first gives the strands something to hold onto.
Milkmaid Braid, the Other Crown

The milkmaid is the relaxed cousin of the crown braid. You make two simple braids, one on each side, then cross them over the top of the head and pin. It is forgiving, fast, and quietly flattering on almost everyone.
- Braid loosely; tight plaits sit stiff and ring-like across the crown.
- Cross the braids so the ends tuck under the opposite side, hiding the elastics completely.
- Leave a few face-framing pieces out at the front so it looks relaxed and worn-in.
Rope Braid in Two Twists

The rope braid is the fastest sturdy look I know. You split a ponytail into two, twist each strand clockwise, then wrap the two around each other counter-clockwise. The opposing twists lock together so it cannot unravel.
The Twist-and-Wrap Logic
It looks more polished than a basic plait and takes half the thought, which is my answer whenever someone wants a quick upgrade on a regular ponytail.
It suits every length that fits into a ponytail and every texture. Straight hair holds the cleanest spiral; for a softer coil, mist with a little texture spray first.
Zig-Zag Braid Styling
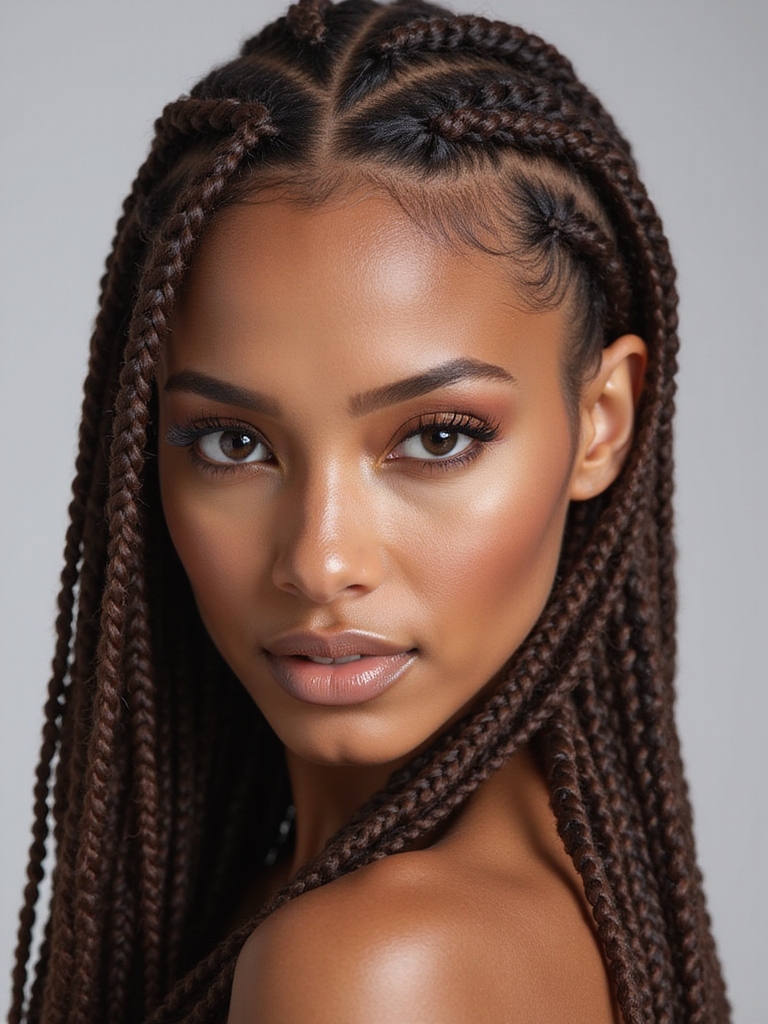
A zig-zag braid swaps the straight-back line for sharp angles that travel across the scalp, and that change of direction is the entire personality of the look. It turns a plain cornrow into something graphic.
Precision is what sells it, so slow down on the parting:
- Use the tail of a rat-tail comb to carve clean, sharp lines before you braid a single strand.
- Keep tension even through every turn; the angles exaggerate any loose spot.
- Smooth edges with a soft brush and a little gel so the crisp parting stays crisp all day.
Ladder Braid, a Layered Braiding Technique

The ladder braid creates little rungs across the head, almost like steps, by feeding sections in at intervals down the part. It frames the face with dimension while keeping the overall shape sleek. Build it in this order:
- Begin a Dutch braid along your part, but only pick up hair from one side as you go.
- Leave the other side free, dropping a strand across to form each rung between braids.
- Tighten gently after each rung so the steps stay distinct, then finish with a flexible-hold mist.
Snake Braid, Polished and Sly

The snake braid is a clever bit of sleight of hand. You braid a normal three-strand plait, then hold one outer strand still and slide the rest of the hair up along it, gathering the braid into a winding S-shape against the head.
- Braid long enough first; the sliding eats up a surprising amount of length.
- Slide slowly and evenly so the curves stay smooth and open.
- Pin the peaks of the S discreetly so the shape holds well into the evening.
Twisted Braid for a Modern Edge

The twisted braid blends two-strand twists into a regular plait for something softer and a little more current. It is the look I suggest when someone finds a tight braid too school-yard for them but still wants the structure of one.
- Twist two sections first, then fold those twists into a loose three-strand braid.
- Keep the whole thing low-tension; the charm here lives in the give.
- Pull the edges out at the end so the twists read as soft texture. Pair it with the twist hairstyles ideas for more of this gentler family.
The Braided Bun That Holds

A braided bun fixes the problem every plain bun has, which is slippage. Braid your hair first, then wind that braid into a bun and pin. The texture of the plait grips against itself, so it stays put through a full day with no midday repair.
It works low at the nape for something soft or high on the crown for something sharper, and it flatters fine hair especially well, because the braid adds visible bulk a smooth bun never could.
For a deeper dive on placement and pinning, the braided bun hairstyles guide breaks down the variations worth knowing.
Side Braid for Off-Duty Days

The side braid is the one I default to on quiet days, and it is the gateway braid for anyone still building confidence. It is just a three-strand plait swept over one shoulder, but a couple of small moves take it from basic to considered:
- Add a wave with a wand first so the braid has texture and keeps some thickness.
- Braid slightly loose, then pancake the sides outward for a fuller, softer rope.
- Pull a few strands free at the temple so it frames your face and stays comfortable.
Celtic Knot Braid Detail

The Celtic knot braid is more of an accent than a full style, a small section looped into interlocking knots and pinned over loose waves. It rewards patience and looks intricate for the small effort it takes.
Treat it as the finishing touch on an otherwise simple look:
- Take a thin section near the temple so the knot sits where people will notice it.
- Loop and pin each knot as you go, one at a time, for a cleaner result.
- Set with a fine-mist spray; this detail loosens fast on soft or freshly washed hair.
Heart-Shaped Braid, Step by Step

The heart-shaped braid is pure fun, the kind of look that delights a child or a friend on a soft, sentimental day. Two braids curve down from a center part and meet, forming a heart across the back of the head.
Getting the Curve to Hold
It needs medium to long hair with a little grip, so it holds the curve. On very slippery hair the shape sags before you finish pinning.
Part down the center, start two braids high near the crown, curve each one outward and then back inward so they meet cleanly at the nape, and pin them where they join before tucking the loose tails into a low braid or ponytail beneath. Take it slow. The curve is what sells the shape.
Bubble Braid, Playful and Quick

The bubble braid is technically no braid at all, which is exactly why it is so beginner-friendly. You tie a ponytail, add elastics every couple of inches down its length, and puff out each segment into a round bubble.
Faking Fullness on Thin Hair
It takes about three minutes and works on nearly any length that ponytails, which makes it a reliable answer on a rushed morning.
Volume is the part people skip. Gently widen each bubble with your fingers once the elastic is on, and use clear or matching elastics so they disappear into the hair, leaving only the soft round segments that give this look its bounce. For more grab-and-go ideas, the quick braided hairstyles roundup has plenty.
Accent Braids for Standout Detail

Sometimes you want only a hint of a braid. Accent braids are thin plaits, a fishtail here or a tiny Dutch braid there, tucked into otherwise loose waves. They add interest while the rest of your hair stays free.
Placing Them So They Read
This is the lowest-stakes way to wear a braid, and the easiest to personalize. A single braid pulled back from the temple looks completely different from two framing both sides.
They suit anyone and any texture, since you are only braiding a small piece. Keep the rest of the hair soft so the braid stands out by contrast and catches the eye.
Hairline Braid Techniques

A hairline braid follows the edge of your face, sweeping back loose hair while adding a delicate detail right where people look. It is both functional and pretty, which is a rare pairing. Work it like this:
- Part a thin section along your hairline and braid it close, picking up hair as you trace the curve of your face.
- Keep the tension gentle near the temples, where the hair is finest and most easily stressed.
- Pin the tail behind your ear and blend it into the loose hair so the braid looks built in. For tighter scalp-braided looks, see the cornrow hairstyles guide.
Common Mistakes to Avoid
The biggest one I correct is a braid set far too tight at the hairline. If your edges sting or your skin tents up around the braid, it is too tight, full stop, and pretty is never worth a sore scalp or stressed edges. Ask whoever is braiding to ease off, or loosen it yourself near the temples, where the hair is most fragile and the slowest to recover.
The other frequent miss is braiding freshly washed, slippery hair and then wondering why nothing holds. Most of these styles want second-day texture or hair prepped with a little cream. And do not skip the final loosening on woven looks; a braid pulled wide looks full and modern, while a rope-tight braid can come across as stiff and dated no matter how clean the work is.
Finding the Braid That Fits Your Week
The prettiest braid is the one that matches how you actually live. If your mornings are chaos, lean on the three-minute looks and redo them happily. If you would rather set it once and walk away, the scalp braids and tight Dutch styles will carry you for days at a stretch.
Start with the one that feels least intimidating, practice it twice, and let your hands learn the rhythm, because every braid here gets noticeably easier by the third attempt and most of them look better a little undone anyway. So save the ones that catch your eye. Work through them at your own pace.
More Hair Inspiration