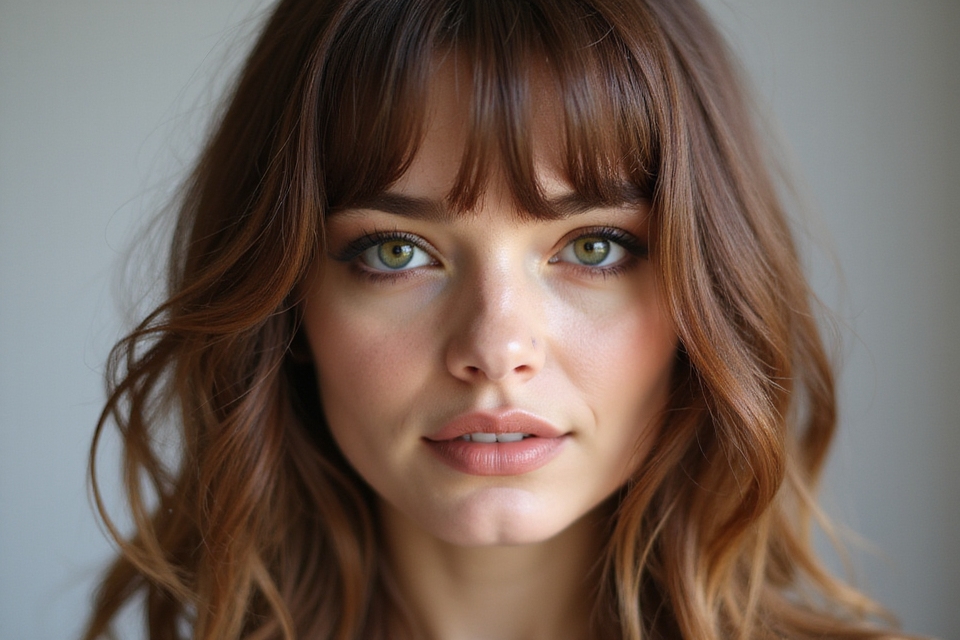
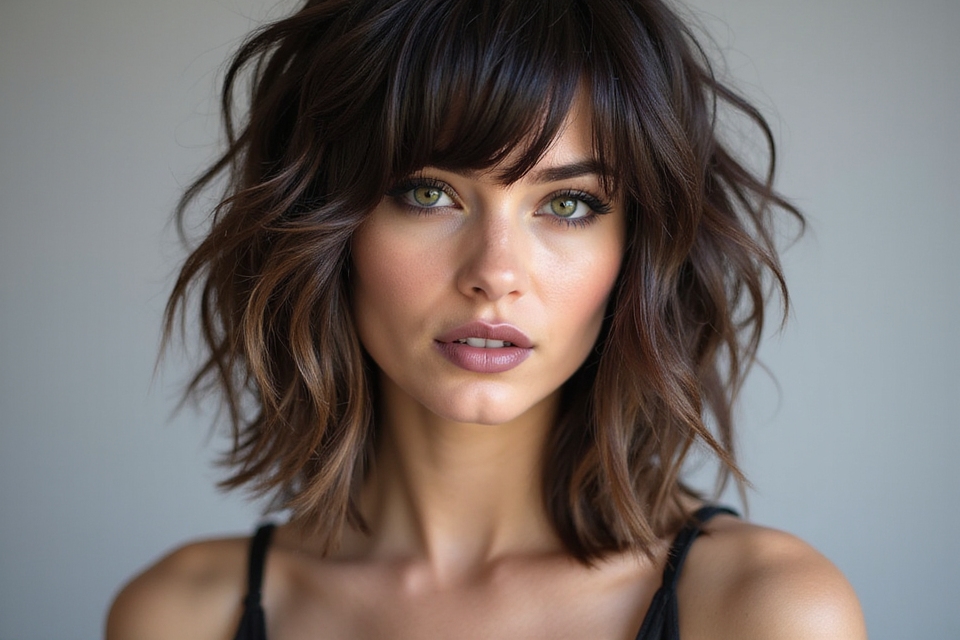
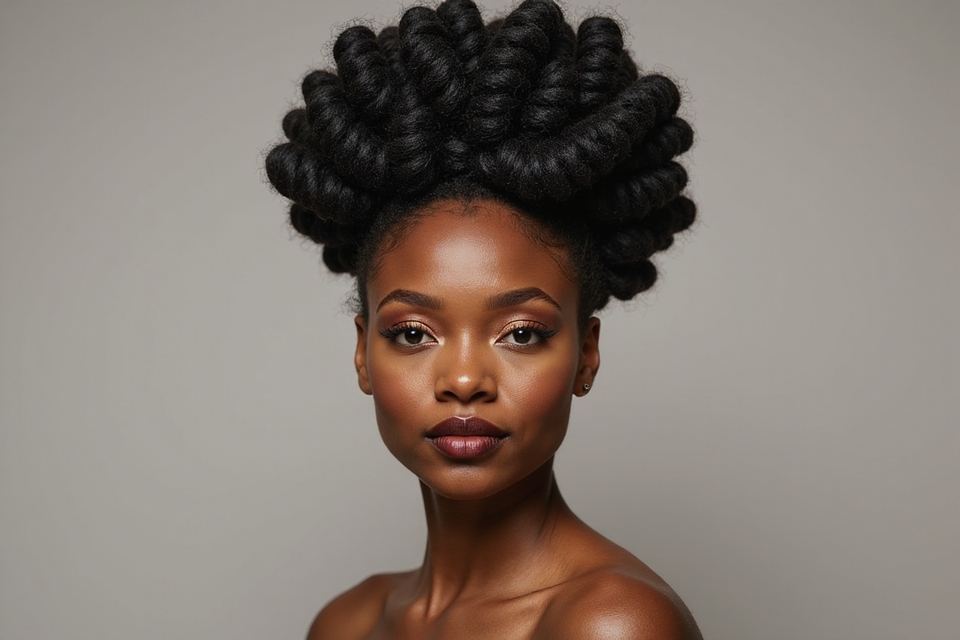
A bun is the most honest hairstyle there is. There is nowhere to hide a bad one, and no real effort required for a good one. That gap between looking like you gave up and looking like you meant it usually comes down to two or three small moves, not natural talent or an hour at the mirror.
Below are the bun styles worth knowing, from the four-minute top knot you throw up before a meeting to the pinned, polished version you would wear to a wedding. For each, I have flagged how long it holds, who it flatters, and the one mistake that turns a cute bun into a droopy one.
The Short Version
- Most buns hold far better on second-day hair; freshly washed strands are too slippery to grip.
- Match the bun to your day. A messy top knot suits errands, a sleek low bun suits the office, and a pinned braided bun carries an event.
- Fine and short hair can absolutely wear a bun. A donut form, a little teasing, and the right pins fake fullness that thin hair cannot manage alone.
The Top Knot, in a Few Variations

The top knot is the bun I make most mornings, and the one most people start with. It sits high on the crown and takes almost no skill. Worn tidy it looks polished; worn loose it looks sporty. Either way, secure it with a strong elastic before you twist or it will sag by noon. Here is how to get it to actually stay:
- Flip your head upside down, gather everything to the very top, and secure with a strong elastic before you twist.
- Twist the length around the base and pin the tail under, rather than relying on the elastic alone.
- For a sleeker version, smooth the sides with a brush and a little gel; for a softer one, tug a few pieces loose at the hairline.

The Everyday Bun, Quietly Versatile

The classic mid-height bun earns the word versatile because it really does go anywhere. Worn smooth it suits a meeting, and worn a touch undone it suits a coffee run, all from the same handful of steps.
Picking Your Height
Gather hair into a ponytail at the height you want, twist it into a coil, wrap that coil around the base, and pin. The whole thing takes under five minutes once your hands know the motion. That is the appeal.
It works on every length past the chin and on every texture. Coily hair holds it beautifully and often needs fewer pins, since the natural grip does half the work for you.
A bun is the fastest way to look pulled together when you have exactly four minutes and zero patience left to give.
Double Buns for a Playful Day

Double buns, sometimes called space buns, are the most playful look here. You see them at festivals and concerts, or on a lazy weekend when you simply feel like it. They split the difference between cute and bold.
Symmetry is what makes or breaks them, so take your time on the part:
- Part straight down the center, all the way from forehead to nape, so the two sides match.
- Make a small bun on each side at matching heights; a mirror behind you helps you check.
- Leave a couple of face-framing strands down so the look stays soft around your face.
The Low, Chic Bun at the Nape

The low bun sits at the nape and is the most grown-up option on this list. It is what I suggest for interviews, weddings, and any day you want to look composed without trying hard. A salon version for an event runs about $45 to $85, though you can manage it at home with practice.
Gather hair into a low ponytail, twist or loosely braid it first for grip, then coil and pin it into a tidy knot just above your neck. A mist of hairspray keeps flyaways down through a long day.
It flatters long necks and strong features, and it suits fine hair especially well because a low knot hides thinness better than a high one. For a polished take on this, the sleek bun hairstyles guide goes further.
Quick Tip
For double buns, part your hair while it is slightly damp. A clean, straight center part is far easier to carve before the hair dries and fluffs, and it is the single thing that makes the two buns look even.
Half-Up Bun for In-Between Days

The half-up bun is the compromise for days when you want your hair off your face but not fully up. You pull the top section into a small bun and leave the rest down, which keeps length on show while solving the fringe-in-your-eyes problem.
A few details keep it from looking like an afterthought:
- Take only the top third of your hair, from temple to temple, so the bun sits in proportion.
- Add a little volume at the crown by teasing gently before you secure the bun.
- Curl or wave the loose length so the down part looks intentional and finished.
A Bun That Shows Off Balayage

If you have paid for balayage or any dimensional color, a bun is one of the best ways to display it, because coiling the hair stacks the lighter and darker pieces against each other. Build it to show the contrast:
- Loosely twist rather than tightly braid, so the color stays visible across the surface of the bun.
- Pull the coil apart a little once pinned to spread the lighter ends outward where they catch light.
- Keep the color itself bright with a purple shampoo every week or so, and a gloss at the salon every couple of months, which runs around $40 to $60.
👍Why a Half-Up Bun Works
- +Gets hair off your face while keeping your length on show
- +Works on most lengths, including hair too short for a full updo
- +Takes about two minutes and forgives a lot of mistakes
👎Where It Falls Short
- –The loose length still needs styling to look finished
- –Can sit flat without a little teasing at the crown
- –Slips faster than a full bun if your hair is very fine
A Nostalgic Hairstyle Revival

Some bun looks come back around, and the slick, sculpted styles of the early 2000s are having a real moment again. Think a high, shiny bun with a few thin strands left out at the front, a look that feels both retro and current.
To wear it without it feeling like a costume, keep these in mind:
- Go for serious shine on the base; a brush, gel, and a drop of hair oil get you there.
- Leave only two or three thin face-framing pieces, and lightly curl them so they read deliberate.
- Balance the slick base with a simple outfit so the whole thing looks modern rather than themed.
Braided Bun Styles Worth Learning

A braided bun solves the slippage that plagues a plain knot. You braid the hair first, then wind that braid into a bun. The plait grips against itself, so the whole thing holds through a long day with no midday repair, which is the difference fine-haired clients notice the most when they switch over from a plain coil.
It adds visible bulk, which makes it a gift to fine hair, and it works dressy enough for an event with very little extra effort. The full range, from a single coiled plait to a woven crown, lives in the braided bun hairstyles guide.
“Watch the tension on high, tight buns worn day after day. A knot that pulls hard on the same spot, especially at the hairline, stresses those fine edge hairs over time. If a bun gives you a tension headache or your edges feel sore, set it lower and looser. Pretty is never worth a sore scalp.”
The Office Bun, All Charm

There is a specific bun that looks professional without tipping into severe, and it has carried me through more long workdays than I can count. The charm of it is restraint: smooth but not lacquered, secure but not painful.
Keeping It Comfortable for Long Days
Pull hair into a low or mid ponytail, smooth the top with a soft brush, then coil and pin into a neat knot. Skip the gel if you want a softer, more human finish at the desk.
It suits anyone who needs hair handled for eight hours straight. If your work involves a headset or a hard hat, keep the knot low so nothing presses against it uncomfortably.
A Twisted Bun, Step by Step

The twisted bun looks more involved than it is, which makes it a satisfying one to learn. You split the hair, twist each half, and wind the two together, so the surface of the bun has a roped, textured pattern. Work it in this order:
- Tie a ponytail, then split it into two equal sections.
- Twist each section tightly in the same direction, then wrap the two around each other and the base.
- Pin as you wind, tucking the ends underneath, and gently widen the bun for a fuller shape.
The Messy Bun That Looks On Purpose

The messy bun is the most requested and the most misunderstood. Done right it looks casual and soft; done wrong it just looks like your bun fell apart. The difference is that a good messy bun is built loose on purpose, not left to collapse.
Loosening Without Losing the Shape
Start with second-day hair or a little texture spray. Gather a loose ponytail, twist and pin it into a knot, then deliberately pull pieces out to soften the shape. The fix I give clients most often is simple: pull from the bun, never the hairline.
It suits every face and texture, and it is the most forgiving look for beginners. The one rule: pull pieces from the bun itself, not from your hairline, so you keep that softness without thinning the front. For more grab-and-go versions, the easy bun hairstyles guide has plenty.
Bun Hairstyles for Short Hair

Short hair can wear a bun. Clients with bobs assume it is off the table, and it is not; it just needs a smaller, lower target and a few more pins. A bob or long pixie can usually manage a tiny low knot or a half-up bun even when a full updo is out of reach.
These moves make a short bun possible:
- Aim low at the nape, where short layers reach most easily, rather than high on the crown.
- Use plenty of small bobby pins to catch the layers that slip out of an elastic.
- Try a half-up bun first; it needs less length and still gets hair off your face. For more, see cute hairstyles for short hair.
A Bun Built for Versatility

Some days you need a bun that survives a workout, a school run, and a quick errand without a single re-do. This is the functional one, built for grip over glamour, and it is the bun I default to when the day ahead looks chaotic. Build it to last:
- Use a strong, snag-free elastic and wrap it until the ponytail truly does not move.
- Braid or twist before you coil, since a braided base holds far longer under movement.
- Pin in an X pattern at the base so the bun cannot flop sideways when you bend down.
The Sleek, Sophisticated Bun

The sleek bun is all about a glass-smooth surface with not a strand out of place, and it photographs beautifully for events where every detail shows up under the lights. It is more about patience than skill. A steady hand and the right products matter far more than any natural talent.
The smoothness comes from prep:
- Work a strong gel or a dedicated edge control gel through damp hair before you brush it back.
- Use a fine-tooth comb and a boar-bristle brush to flatten every bump toward the bun.
- Set the whole thing with a light hairspray and smooth flyaways with a drop of oil on your palms.
Flower-Accented Buns for Events

Tucking flowers into a bun is a quiet way to dress it up for a wedding, a shower, or a spring party, and it costs almost nothing if you raid the garden. The placement is what looks styled rather than stuck-on:
- Choose small, sturdy blooms like baby roses or wax flowers that will not wilt within the hour.
- Tuck stems into the bun at the seam where it meets your head, then pin discreetly.
- Cluster two or three on one side rather than ringing the whole bun, which looks more current.
A Sparkling Bun for the Holidays

When the season calls for a little shine, a sparkling bun delivers without much fuss. A few well-placed accessories turn an ordinary knot into something party-ready in seconds, which is why I love it for last-minute holiday plans.
- Press a jeweled comb or a row of tiny crystal pins into the side of a finished bun.
- For real glitter, mist a little hairspray and dust gel glitter only on the bun, never the scalp.
- Keep the rest of your hair simple so the sparkle stays the focus and the look feels grown-up.
The Bohemian Bun, Soft and Loose

The bohemian bun trades polish for a soft, romantic looseness, usually sitting low with waves escaping around the face. It suits relaxed weddings, festivals, and anyone who finds a tight bun too stiff. Loose is the whole point.
- Start with waved or naturally textured hair so the escaped pieces look intentional.
- Build a loose, low knot and leave plenty of soft tendrils out around your ears and nape.
- Add a thin braid or a ribbon woven through for that easy, folk-festival feel.
Glamorous Bun Styling Tips

A few habits separate a glamorous bun from a plain one, and none of them take extra time once you build them in. These are the moves I find myself repeating on clients before a big night out:
- Tease the crown lightly before you build the bun so the whole shape has lift, not a flat top.
- Finish with a high-shine spray or a drop of oil, since glamour comes down to polish and light.
- Add one statement accessory rather than several small ones, which keeps the look clean and high-end.
Timeless Bun With Modern Twists

The classic chignon has been worn for generations, and small modern updates keep it from feeling dated. The bones stay the same; the finish moves with the times.
Updating the Classic Chignon
Roll the hair into a low, vertical coil at the nape and pin it into a smooth oval, the traditional French shape. So far, so timeless.
The modern part is in the texture. Instead of lacquering it flat, leave a soft wave through the hair first and pull a few pieces loose at the front, so the chignon looks current rather than stuffy.
A Versatile Bun for Anyone

Not every bun needs to be fussy or feminine to its core. A simple, unadorned knot is about as universal as hairstyles get, working across hair types, ages, and personal styles with zero decoration required.
- Keep it clean and low for the most pared-back, anyone-can-wear-it version.
- Skip accessories entirely and let the shape and a smooth finish do the talking.
- Adjust the height to taste; lower feels quiet and classic, higher feels sporty and relaxed.
Bun Techniques Worth Mastering

If you learn a handful of core techniques, almost any bun on this list becomes easy, because most of them are variations on the same few moves. These are the fundamentals worth practicing until they feel automatic:
- The wrap-and-tuck: coil your length around the base and hide the ends underneath every time.
- The X-pin: cross two bobby pins through the base so the bun anchors and cannot slide.
- The pancake: gently stretch a finished bun or braid wider for a fuller, softer result.
Celebrity Influence on Bun Trends

A lot of what we think of as a current bun started on a red carpet or a runway before trickling into everyday wear. The sleek, low, center-parted bun that has dominated recently is a direct descendant of award-show styling, just dialed down for real life.
You do not need a glam team to borrow the idea. Watch which shapes keep turning up at big events, take the silhouette you like, and simplify it for your own hair, your own products, and the four minutes you actually have before work. The bones travel; the polish is optional.
A Colorful, Artistic Bun

If your hair carries bright or fashion color, a bun turns it into a sculpture. Coiling vivid strands together creates blocks of color that shift as you move, which is far more striking than the same shade worn down and flat.
Showing the Color Off
Loosely wind the bun and pull it open a little so the different tones stay visible across the surface rather than hidden inside the coil.
Bright color asks for upkeep, so be honest with yourself about it. Most fashion shades fade within a few weeks and need a refresh, which is part of the cost of wearing them well.
Accessorized Buns That Tell a Story

The fastest way to change a bun is to change what you put in it. The same low knot can read sporty with a scrunchie, polished with a tortoiseshell clip, or romantic with a silk scarf wound around the base.
A few accessory ideas that truly earn their place:
- A wide claw clip can both hold and decorate a casual bun, doing two jobs at once.
- A folded silk scarf tied around the base softens a plain knot for next to nothing.
- Pearl or gold pins, pressed in at an angle, dress a bun up for an event in seconds.
How a Bun Frames Your Features

A bun pulls everything back, which puts your face fully on display, so where you set it changes what it highlights. Placement is everything. A high bun lifts and lengthens the face, a low bun softens it, and a few face-framing pieces left loose at the temples can quietly balance a strong jaw or a high forehead without any other change.
If you are unsure what suits you, start with a mid-height bun and a couple of soft strands at the temples, since that combination flatters nearly every face shape. From there you can go higher or lower depending on what you want to draw the eye toward.
Bun Questions People Actually Ask
?How do I keep a bun from falling out by midday?
Build it on second-day hair, secure the ponytail with a strong elastic before you coil, and pin in an X pattern at the base instead of trusting the elastic alone. A light mist of hairspray over the finished bun holds flyaways and adds grip for the rest of the day.
?Can I wear a bun if my hair is short or thin?
Yes. Short hair does better with a low knot or a half-up bun and a generous handful of bobby pins to catch loose layers. Thin hair benefits from a donut form or a little teasing at the crown to fake fullness, plus a textured, slightly messy finish that looks fuller than a slick one.
?Are buns bad for my hair?
An occasional bun is fine. The harm comes from wearing the same high, tight bun every single day, because that puts steady, repeated tension on exactly the same hairs at the hairline, where the strands are finest and slowest to bounce back. So vary the height. Keep it loose when you can, and use snag-free elastics.
?How do I make a bun look fuller?
Tease the hair lightly before you build the bun, pancake the coil by gently stretching it wider once it is pinned, and wrap it around a donut form if your hair is fine. A slightly messy finish also looks fuller than a tightly wound one, since the loosened pieces add visual volume.
The One Bun to Master First
If you only learn one bun, make it the everyday mid-height knot. It is the base every other style on this list builds on, and once your hands know the wrap-and-tuck and the X-pin, the messy bun, the low bun, and the twisted version are all just small variations away.
Practice it twice on second-day hair, learn where your own pins want to sit, and you will stop fighting your hair on busy mornings. Everything fancier is a finishing touch on that same simple foundation, and the wider bun hairstyles guide is there when you want to branch out.
Next Up