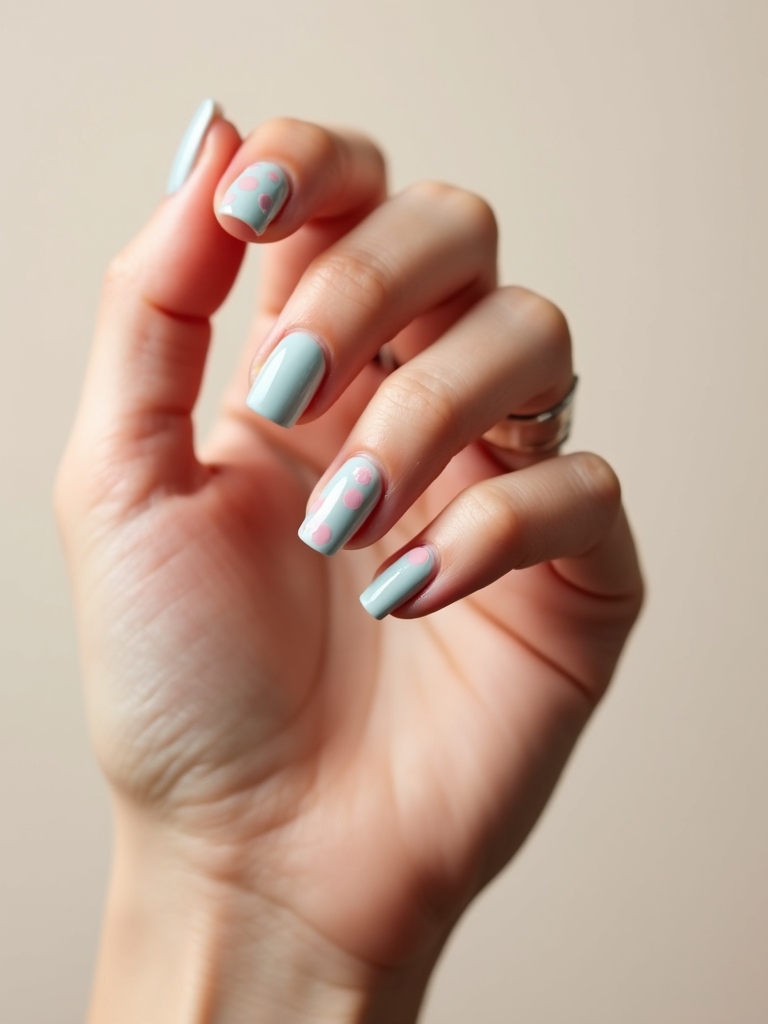
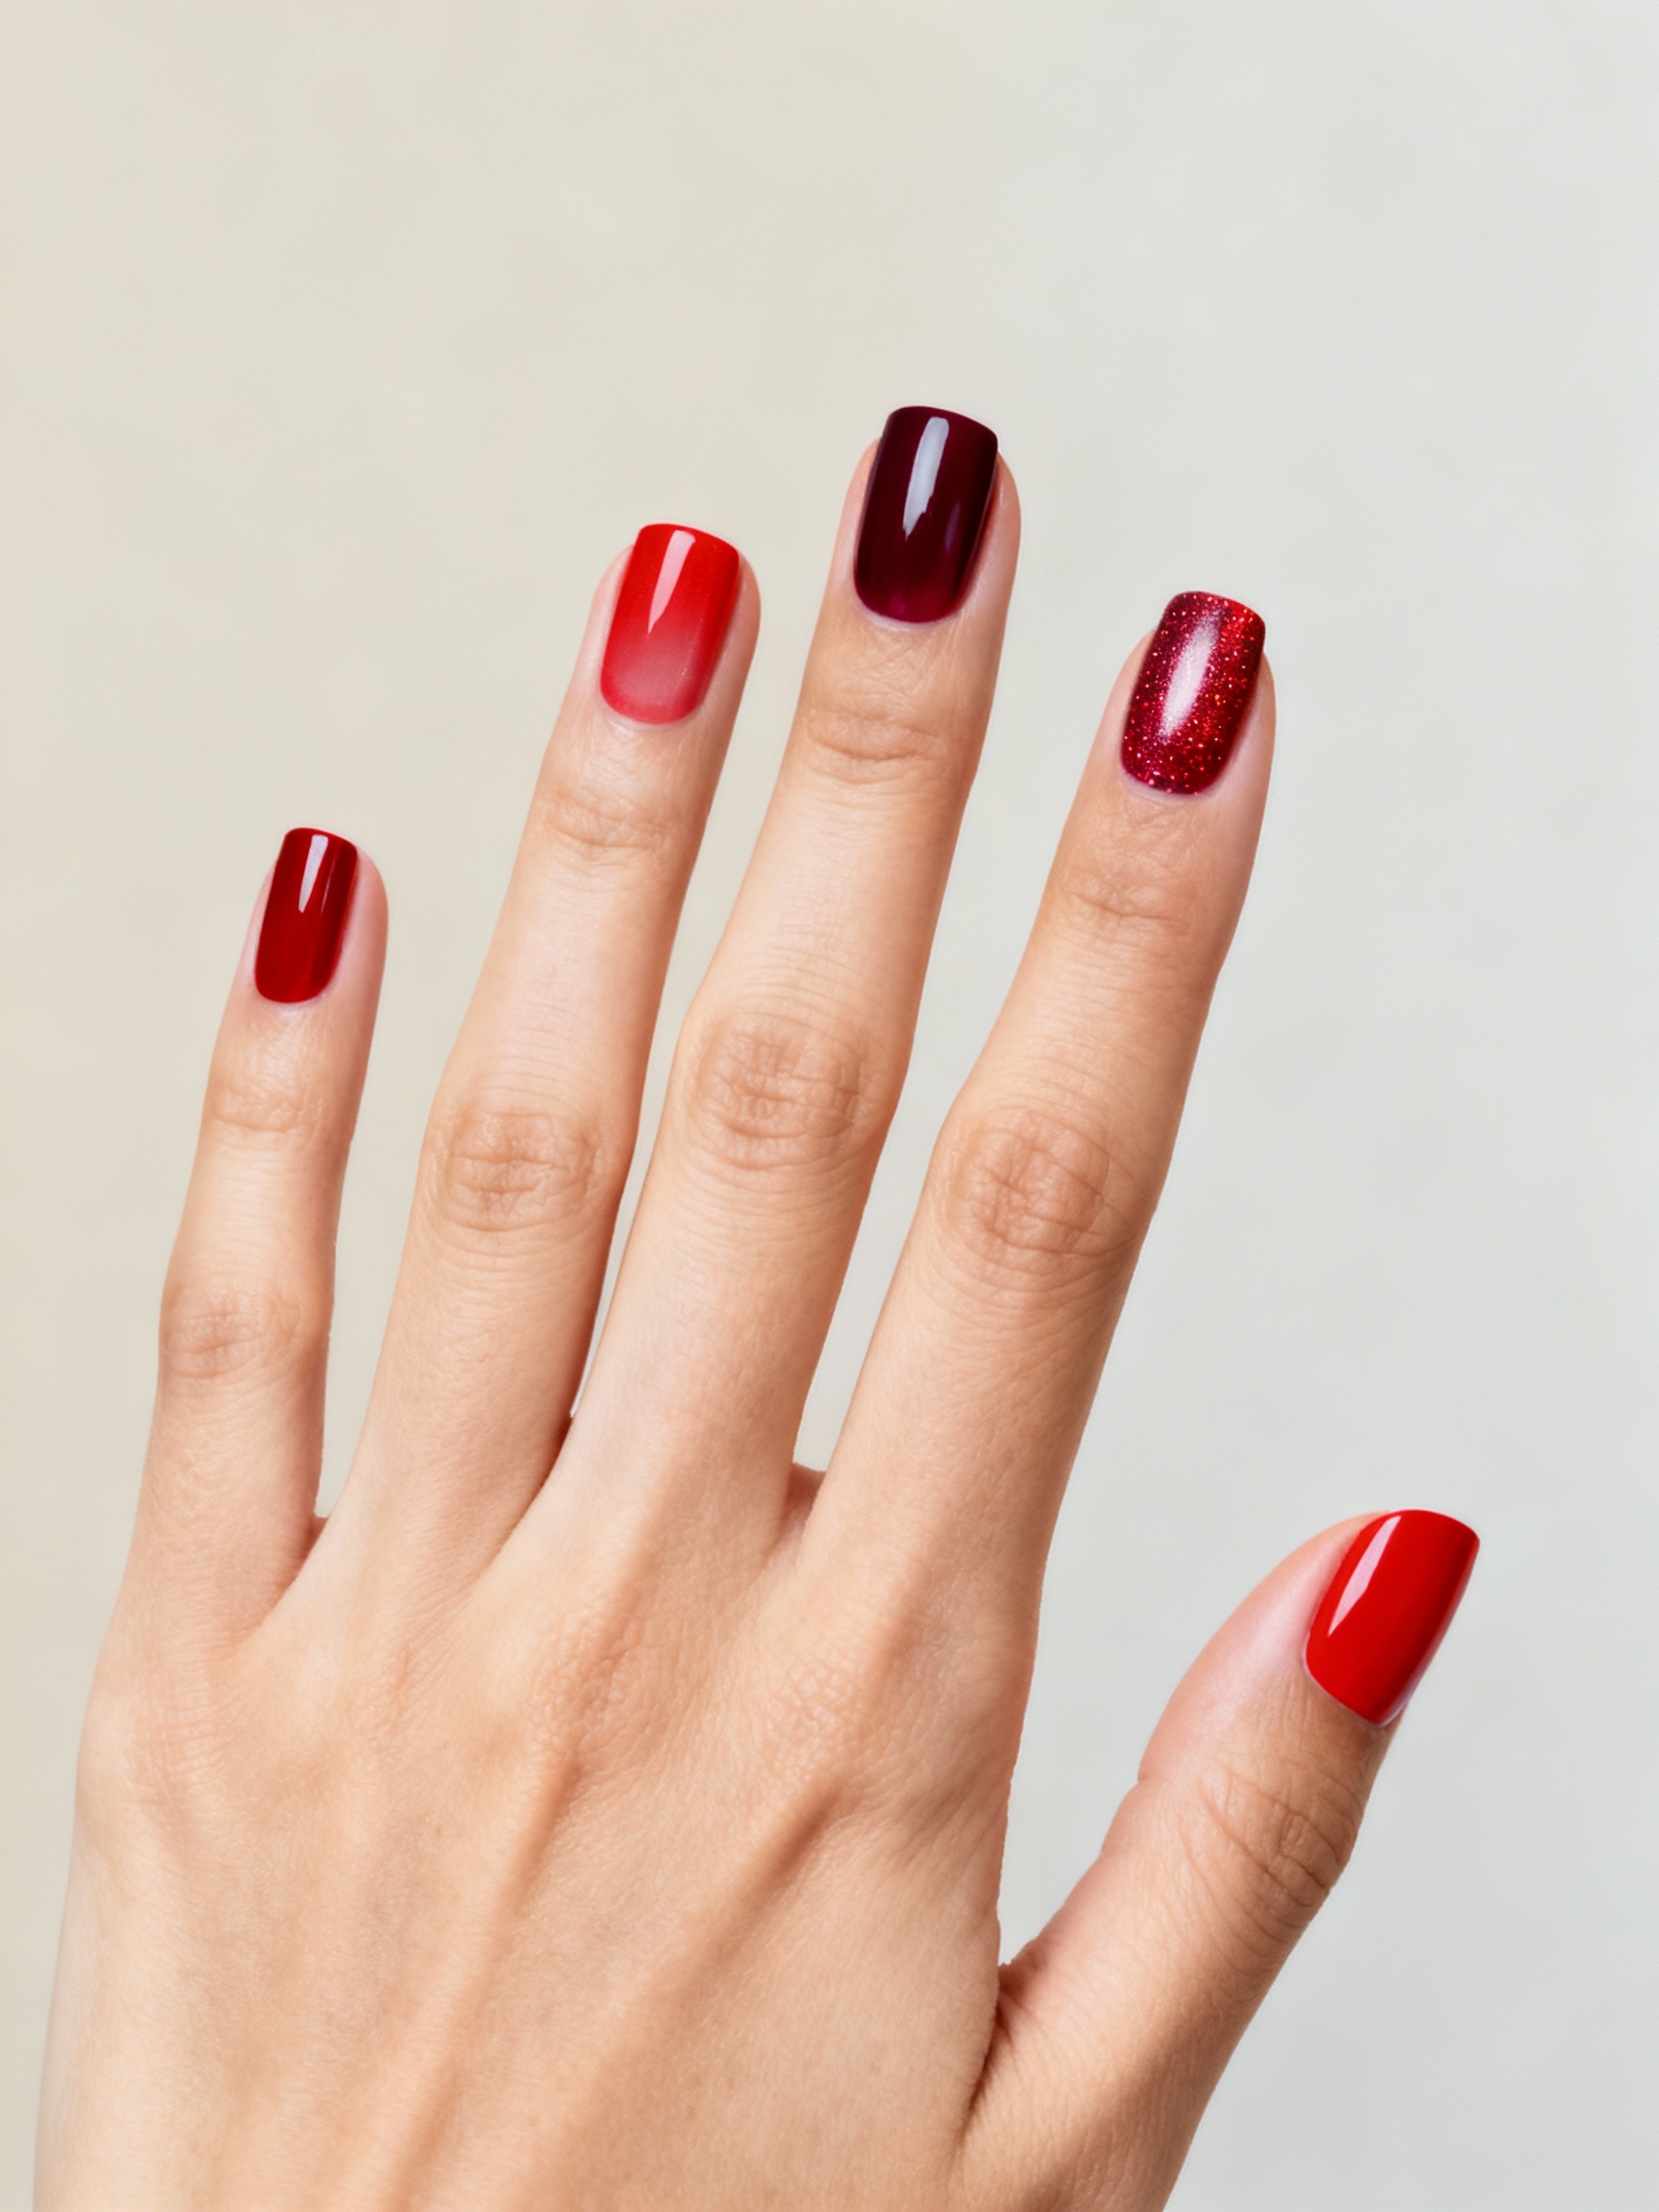
It is the third week of October, you have a costume sorted, and your nails are still bare. That is the exact spot most people are in when they slide into the chair at my nail desk wanting something festive that will not eat their whole evening. The good news is that the best simple Halloween nails are the ones that lean on one clear idea, not ten tiny painted details.
Below are fourteen designs that read instantly as Halloween and stay easy enough to do at your kitchen table. Each one comes with the rough time it takes, what it costs, and the single tip that keeps it from looking like a craft gone wrong. Pick the one that matches your costume, your patience, and how steady your painting hand really is.
The Quick Version
What is the easiest Halloween nail to do at home? Matte black with one glitter accent nail. It is two coats of black, a matte top coat, and a single sparkly finger, done in about fifteen minutes with no art skills at all.
Do I need special nail-art tools? Mostly no. A toothpick, a thin striping brush, and a dotting tool, or even a bobby pin, cover almost every design here. A small kit runs about $6 to $10.
How long will these last? In gel, two to three weeks. In regular polish, about five days, though a glossy top coat refreshed every couple of days stretches that and keeps the art from chipping at the tips.
Candy Corn Stripes With a Glossy Finish

Nothing says Halloween faster than candy corn, and the striped version is friendlier to paint than the pointed tip design. Lay down a white base, then paint a band of yellow at the cuticle, orange in the middle, and leave the tip white, blending the borders just slightly so the colors melt together like the real candy.
The glossy top coat is what makes it look polished instead of childish. A high-shine finish pulls the three blocks of color together and gives the whole nail that hard candy sheen.
Keep the lines a little loose and organic. Candy corn is not precise, so wobbly stripes actually look more authentic than ruler-straight ones, which is a rare gift in nail art.

Sheer Tips With Delicate Cobwebs

For something spooky but still office-appropriate, sheer nails with a fine cobweb at the tips is the one I suggest to nervous clients first. The nearly bare base keeps it grown-up, while the thin black web in one corner whispers Halloween instead of shouting it. From a distance it looks like nothing more than a delicate manicure.
How to Draw a Clean Web
Drawing a web is easier than it looks. Make a small black dot at the corner, pull a few straight lines out from it like spokes, then connect them with tiny curved arcs. A striping brush or a toothpick gives you the control for those hair-thin lines.
This one suits anyone who wants to nod to the season at work without committing to full costume nails. It also pairs beautifully with an almond nails shape.
Heads-Up
Dark Halloween polish, especially black, indigo, and deep red, can stain the natural nail if you skip a base coat. Always lay a clear base down first, and if you use glow or craft glitter, make sure it is cosmetic-grade and removable so you are not picking at your nails for a week afterward.
Matte Black With a Glitter Accent

If you only try one design on this list, make it matte black with a single glitter accent. It is the lowest-effort, highest-impact Halloween manicure there is. It works on every nail length and shape. Paint all nails black, top them with a matte coat, and leave one nail, usually the ring finger, in glossy black packed with fine glitter.
The contrast between the flat matte and the sparkly accent is the entire design, and it takes no drawing whatsoever. I recommend it to every client who swears she cannot paint, because black already feels witchy and the holiday vibe lands on its own.
A matte top coat does wear down faster than glossy, so this is one to refresh around the two-week mark if you are wearing gel. Worth it for how chic it looks.
Pumpkin Orange Curved Tips

A pumpkin-orange French tip is the warm, friendly face of Halloween nails, and it is just a classic French with the white swapped for orange. The familiar shape means you already know how to do it. Only the color changes to bring the season in.
- Start with a sheer nude or pale peach base for that soft, modern French look.
- Paint a curved orange tip, using a guide sticker if your free-hand smile line wobbles.
- Add a tiny black stem and leaf on one nail to push it fully into pumpkin territory.
“The single biggest upgrade to home Halloween nails is cleaning up the edges. Dip a small brush in acetone and run it around each cuticle to erase stray paint and tighten the lines. That two-minute step is the whole difference between looking homemade and looking like you booked a salon.”
Inky Indigo Galaxy Nails

For a witchier, more celestial mood, inky indigo galaxy nails trade orange and black for a deep midnight blue scattered with tiny stars. Paint a dark indigo or near-black base, then sponge on faint patches of purple and teal for depth, and finish with white speckles flicked from a thin brush to make the stars.
Clients ask me for this one when they want a moody fall shade with none of the gore. It is mystical and a little dreamy, which makes it a favorite for anyone going as a fortune teller, a night witch, or simply someone who loves a deep autumn blue. The flicked stars look random on purpose, so there is no pressure to place them perfectly.
Glossy Crimson Crescent Drips

Nothing says vampire faster than crimson drips, and the trick is to paint them at the cuticle rather than the tip, so they look like they are running down the finger. On a clear or nude base, use a small brush to paint short red blobs at the base of each nail with a couple of thin trickles reaching down toward the tip.
Keep the red glossy and slightly uneven for that wet, fresh look. A high-shine top coat seals it and adds to the just-dripped effect. It is gory enough to be fun, simple enough to finish in twenty minutes, and it pairs perfectly with a simple halloween makeup vampire face.
📋Your Simple Halloween Nail Kit
- ✓A base coat, a glossy top coat, and a matte top coat for variety.
- ✓Black, white, orange, and one metallic, which between them cover most designs.
- ✓A dotting tool, a thin striping brush, and a toothpick for the fine details.
Graphic Black-and-White Checkerboard

A black-and-white checkerboard is more of a spooky-cool vibe than a literal costume, and it leans into the witchy, slightly gothic side of the season. Paint a white base, then use a striping brush or thin tape to lay down a grid of black squares. It is geometric and graphic, which forgives a slightly imperfect hand because the eye reads the pattern, not each square.
- Do the checkerboard on just one or two accent nails to keep it from overwhelming.
- Thin nail tape makes the grid lines far easier than free-handing them.
- Pair it with solid black or solid white nails on the rest of your fingers.
A Metallic Spider Accent

One metallic spider crawling across an accent nail is a small detail that does a lot of work. On a dark base, use gold or silver chrome to draw a tiny round body, a smaller head, and eight thin legs spread out around it. It is fiddly, but only on one nail. The time stays manageable.
The metallic finish catches the light and makes the spider look almost three-dimensional. Keep the rest of the nails simple, in solid black or deep plum, so the single spider stays the focal point and does not get lost in busy art.
- A dotting tool makes a cleaner spider body than a brush.
- Draw the legs with a striping brush in two curved strokes each.
- Seal with top coat so the chrome does not rub off by morning.
The matte black with a glitter accent is the fastest win. Here is the whole thing.
1Base and color
Lay a base coat, then two thin coats of black on every nail, letting each dry.
2Matte and accent
Add a matte top coat to all but one nail, then paint that one glossy black packed with glitter.
A Smoky Grayscale Ombre Fade

A grayscale ombre that fades from pale gray at the cuticle to deep black at the tip feels haunted and ghostly without a single drawn detail. It is all about the gradient, which you build by dabbing white, gray, and black polish onto a makeup sponge and pressing it down the nail, blending where the colors meet.
The smoky fade looks like fog or drifting smoke, which suits a ghost, a wraith, or just a brooding October mood. Because it is a blend, there are no crisp lines to mess up. Softness is the entire goal.
Top it with a glossy coat to melt any sponge texture into one smooth, foggy surface. The shine keeps it from looking chalky.
Milky Pink With Tiny Bats

For people who find black-and-orange too heavy, milky pink with tiny black bats is the soft, cute corner of Halloween nails. The pale pink base stays pretty and wearable while a few small black bat silhouettes scattered across a couple of nails bring just enough spook. It is the kind of design that works on deeper skin tones too, since milky pink flatters a wide range of undertones.
Bats are one of the easiest shapes to paint: a little dot for the body and two scalloped wings on either side. Keep them small and few, like they are flying off into the distance.
- Use a dotting tool for the body and a thin brush for the wings.
- Scatter just two or three bats per accent nail so it stays delicate.
- A milky pink looks best in two or three sheer coats over a buffed nail.
Glow-Charged Lunar Nail Art

The most fun trick on this list barely shows in daylight: glow-in-the-dark lunar nail art that lights up once the party dims. Use a glow polish to paint small moons and stars, charge them under a lamp, and watch them shine when the lights go down. It is a genuine crowd-pleaser at a night party.
- Paint glow polish over a white base; glow pigment needs light under it to shine bright.
- Layer two or three coats of the glow shade for a stronger nighttime effect.
- Charge the nails under a bright lamp or phone flashlight just before you head out.
Minimalist Glossy Skeleton Nail Art

A minimalist skeleton keeps the bones simple: a single thin white bone or a tiny rib cage outline on a clear or black base, nothing crowded. The restraint is what makes it modern rather than costume-shop. One delicate skeletal detail per nail goes a long way.
- Draw a simple long bone shape with a striping brush on a couple of accent nails.
- Use a clear glossy base so the white bones float cleanly without competition.
- Keep the lines thin; a chunky skeleton reads cartoonish rather than chic.
Cozy Plaid Flannel Nails

Not every October manicure has to be scary, and plaid flannel nails capture the cozy, sweater-weather side of the season instead. Crossing thin lines of warm rust, cream, and deep green over a neutral base mimics the plaid of a favorite fall shirt, which feels like Halloween-adjacent comfort rather than fright.
Plaid looks intricate but is just intersecting lines. Paint a few vertical stripes, cross them with horizontal ones in another shade, then add thin accent lines between them. A striping brush makes the whole thing far easier than it appears.
- Stick to two or three colors so the plaid stays readable, not muddy.
- Do the full plaid on one or two nails and solid color on the rest.
- Warm autumn tones make this work straight through November, not just October.
Neon Slime French Tips

Take a French tip, make it neon green, and let it drip like slime, and you have the most playful design here. Instead of a clean smile line, paint the green tip with an uneven, blobby lower edge so it looks like ooze running up the nail. The neon makes it pop and the drips make it unmistakably spooky.
Make the Drips Look Intentional
Glow or neon green is the classic slime color, but acid yellow or toxic purple work just as well for a more unusual take. A black base under the neon makes the color look even more radioactive.
This is a hit with kids and the young-at-heart, and it is forgiving, since slime is supposed to look messy and uneven by definition.
Keeping Your Halloween Nails Crisp All October
A few small habits keep these designs looking sharp from the first pumpkin patch to the last party. Always start with a base coat so dark colors like black and indigo do not stain your natural nails, and always seal art with a top coat, since unsealed designs chip at the tips within a day. Let each layer dry fully before adding the next, because rushing is what smears a clean web or a crisp drip.
If you are doing detailed art, work on one hand at a time and keep a small brush dipped in acetone nearby to clean up stray lines around the cuticle, which instantly makes home nails look salon-done. For anything you want to last the full two weeks, gel is worth the trip, around $40 to $60 with art. And if a design feels too ambitious, scale it down to a single accent nail. One perfect spooky nail beats ten rushed ones every time.
Questions on Easy Halloween Nails
?How do I do Halloween nails without any art skills?
Stick to designs built on color blocks, not drawing: matte black with a glitter accent, an orange French tip, or a grayscale ombre done with a sponge. These read festive instantly and need zero fine line work.
?What is the best way to make home Halloween nails look professional?
Clean up the cuticle edges with a small brush dipped in acetone, and always finish with a glossy top coat. Those two steps fix the most common tells of a home manicure and take only a couple of minutes.
?Can I do these designs on short nails?
Yes, and many of them look better short. Cobwebs, glitter accents, candy corn stripes, and bats all work on short nails; just scale the detail down. Skip busy full-nail art like checkerboard on very short tips, where it gets crowded.
Pick One and Get Painting
The simplest Halloween nails always win because they get done, while the elaborate ones stay a screenshot you never attempt. Whether you go for the matte black accent, the candy corn stripes, or a single dripping slime tip, the move is to choose one clear idea and execute it cleanly. Cramming five designs into ten fingers is exactly where home nails fall apart.
Try the matte black with a glitter accent first this week, since it needs almost no skill and gives you an instant festive win. Once that feels easy, branch into the candy corn or the cobwebs, and your October manicure will keep getting bolder every year.
More to Explore