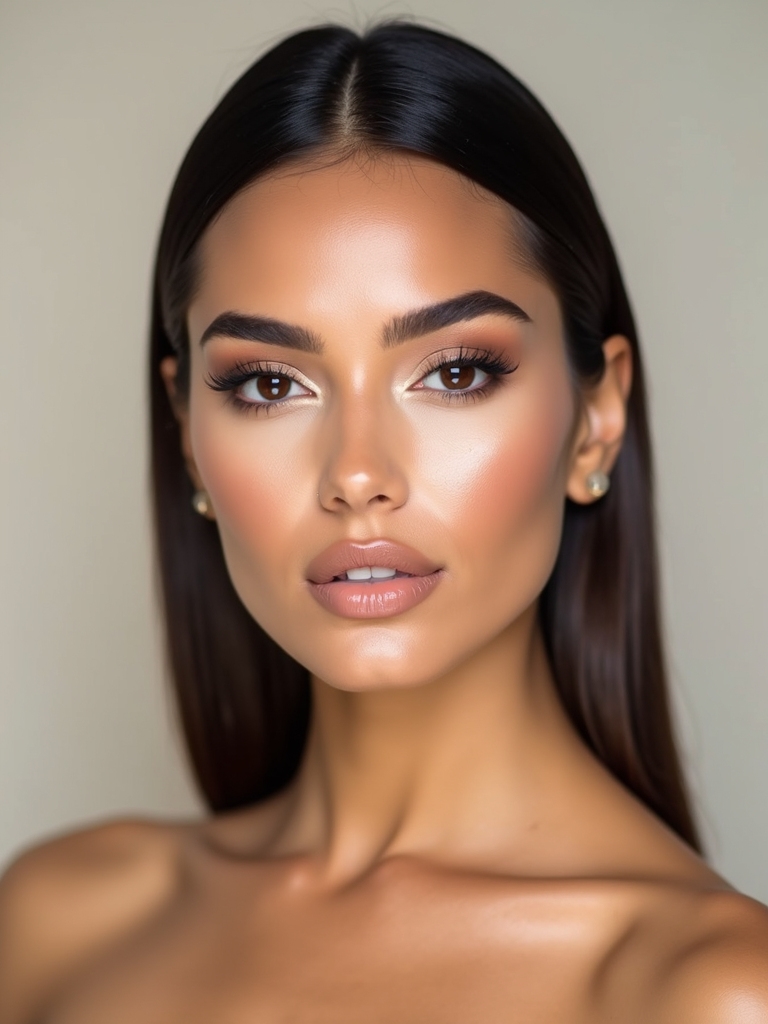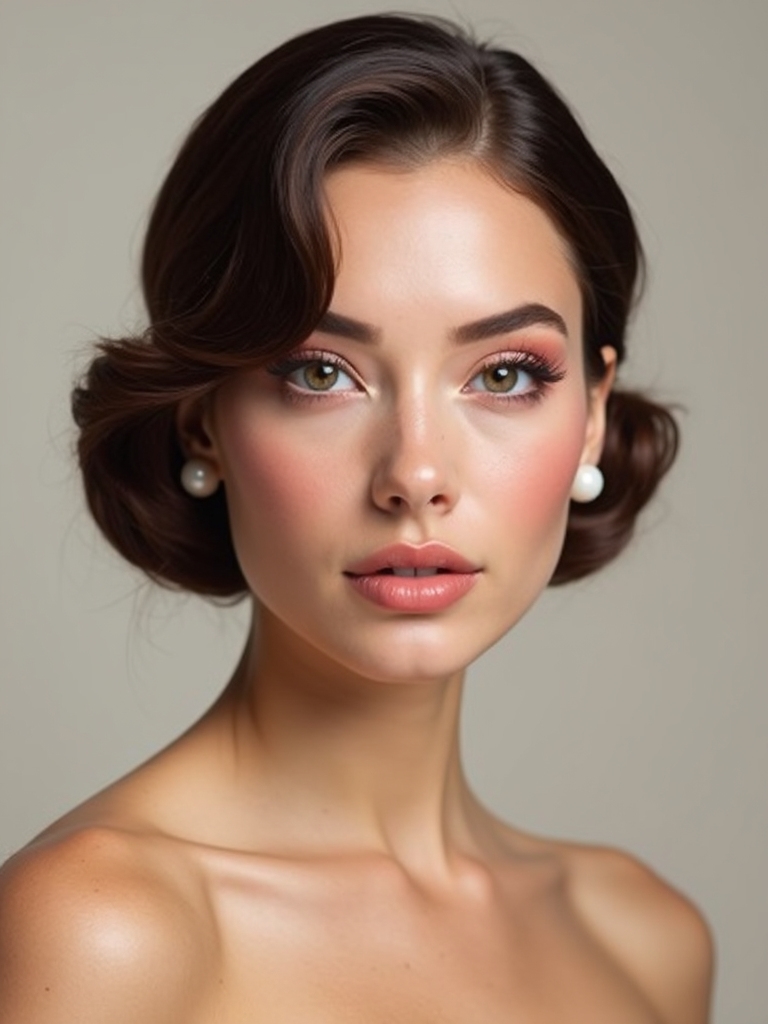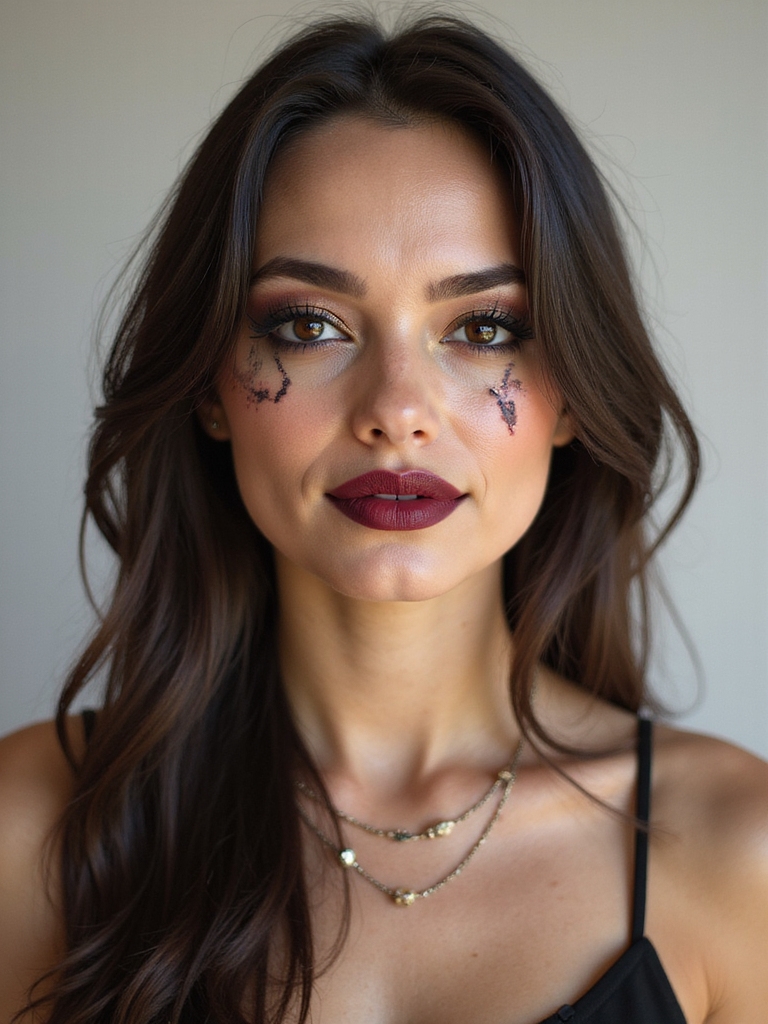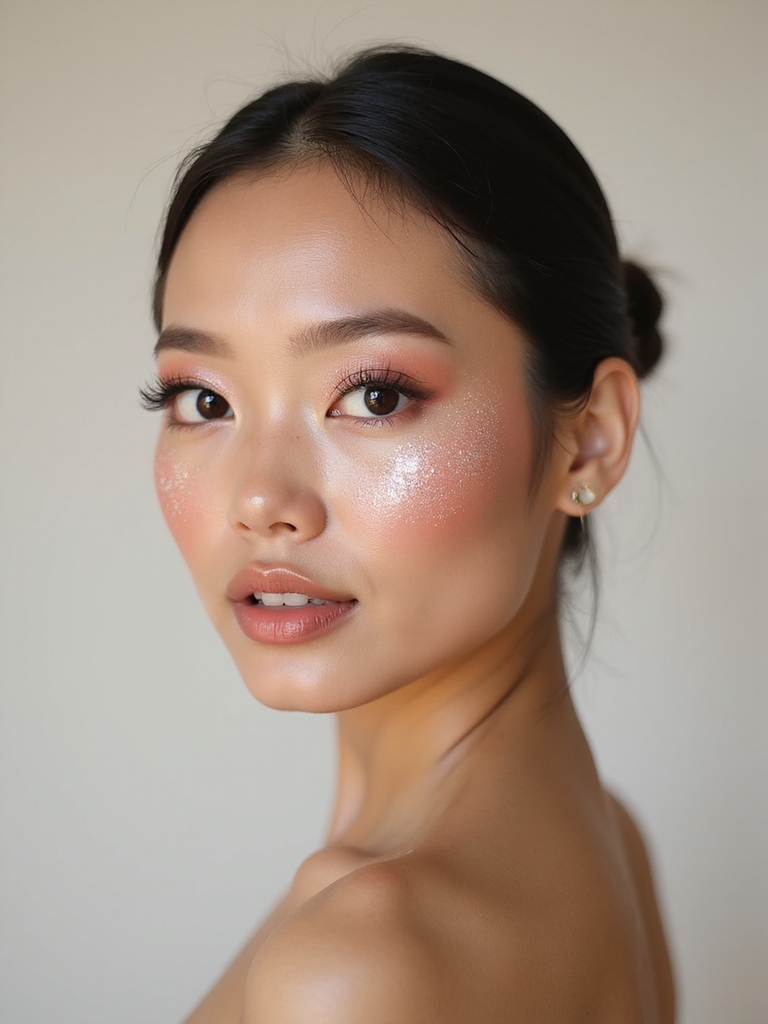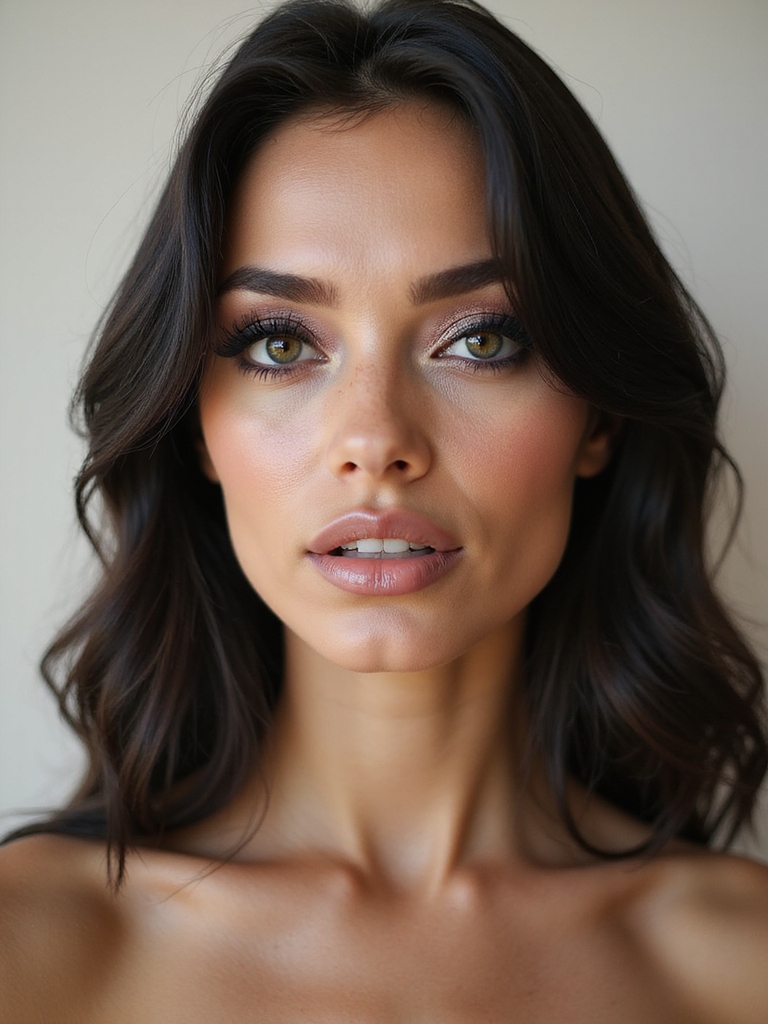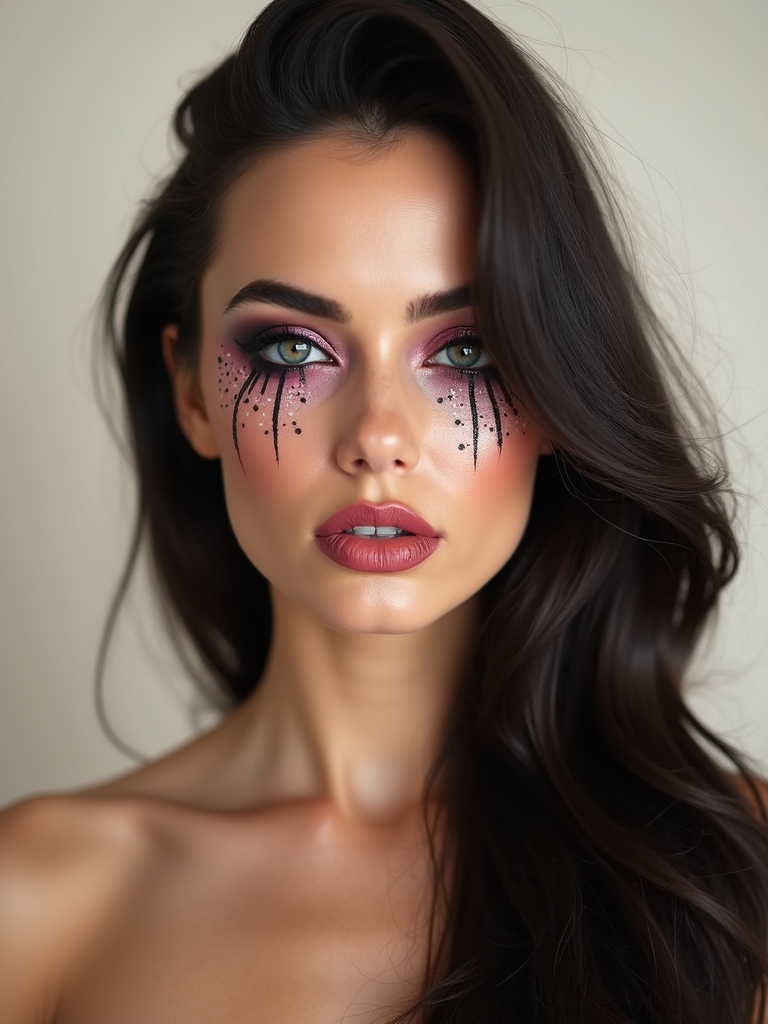
What can you actually pull off at 6 p.m. when the party starts at eight and you forgot it was Halloween? Quite a lot, as it turns out. The faces I have made up for panicked friends and last-minute parties taught me that simple Halloween makeup almost always comes down to the same short list: a black liner, a red lip, some face paint, and a steady-enough hand.
Simple Halloween makeup is not about airbrush skills or a drawer of special-effects gels. It is about choosing a look that reads instantly from across a room and uses things you mostly already own. Below are fifteen ideas sorted from the two-minute saves to the slightly more ambitious, each with the short product list, rough cost, and the one detail that sells it.
Before You Start
- Most of these need three to five products you likely own: black liner, red lipstick, white or pale base, and a setting spray.
- A cheap face-paint palette runs about $8 to $15 and covers the pumpkin, zombie, and skeleton looks for years of Halloweens.
- Setting spray is the difference between makeup that survives the night and makeup that slides off by your second drink, so do not skip it.
A Sharp Cat Eye With Whiskers
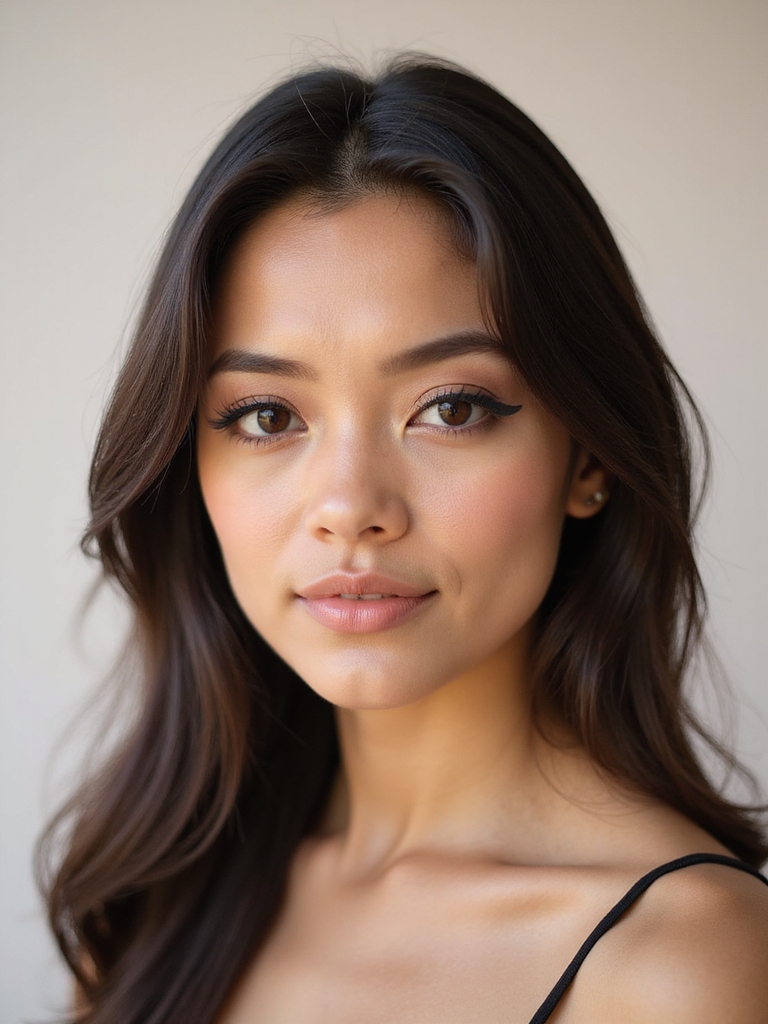
The fastest costume in the world is a cat, and it lives entirely in your eyeliner. Draw your usual winged liner, then exaggerate it: take the wing longer and sharper than you ever would for daytime, and add a little black triangle on the tip of your nose. Three small whiskers on each cheek with the same liner, and you are a cat in under five minutes.
This is the look I tell every panicked client to start with, because if you can do a cat eye makeup you already have it. Keep the rest of the face soft with a nude lip so the graphic eye stays the star.

Glam Vampire With Blood-Red Lips
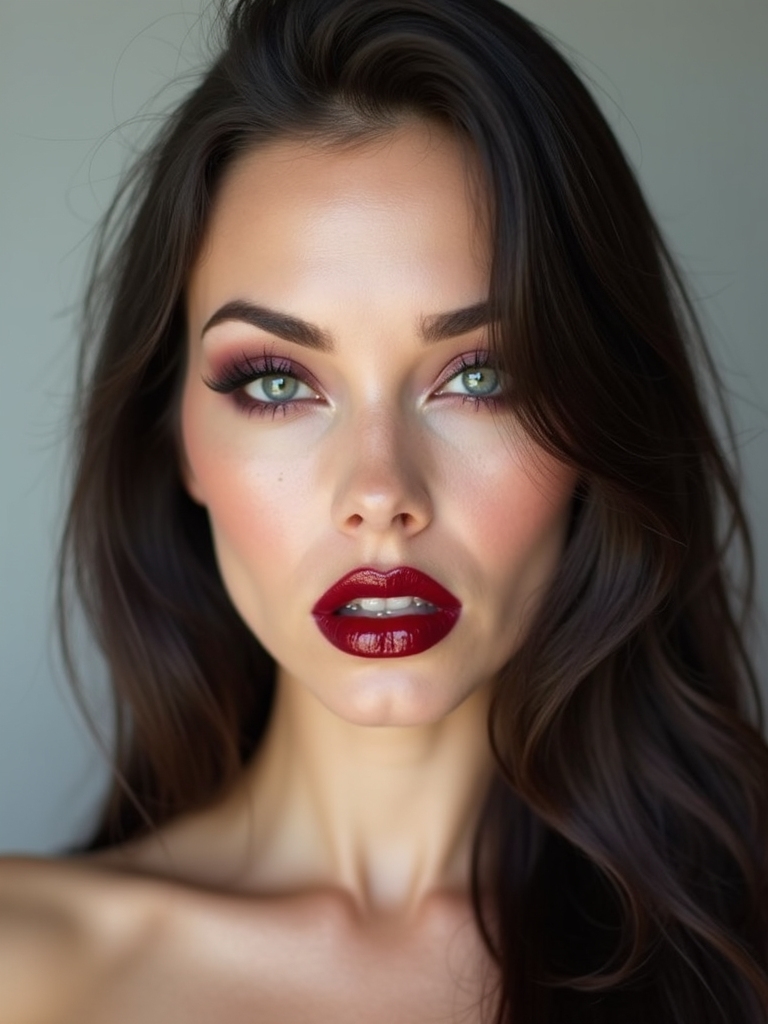
A vampire is the most flattering Halloween look there is, because it is basically your prettiest evening face plus one dramatic detail. Pale, luminous skin, a smoky eye, and a deep blood-red lip do almost all of it. Add a thin trickle of red at one corner of the mouth if you want the bite, but honestly the lip alone carries the story.
Because it is glam rather than gory, this one suits a date or a dressy party where you still want to look good in photos. It works on every skin tone; the red just shifts from true crimson on fair skin to a deeper wine on rich, deep skin.
- Use a long-wear liquid lip so the red survives drinks and bites of food.
- A touch of pale highlighter on the high points gives that cold, undead glow.
- Skip fake fangs if you want to actually talk and eat all night.
🅰️Face paint
Best for skeletons, pumpkins, and zombies where you need solid block color. Cheap and opaque, but it needs powder and setting spray or it transfers everywhere.
🅱️Regular makeup
Best for vampires, witches, and cat looks built from eyeshadow and liner. Looks more polished in photos and comes off far more easily at the end of the night.
Stitched Doll Cheeks and Smile
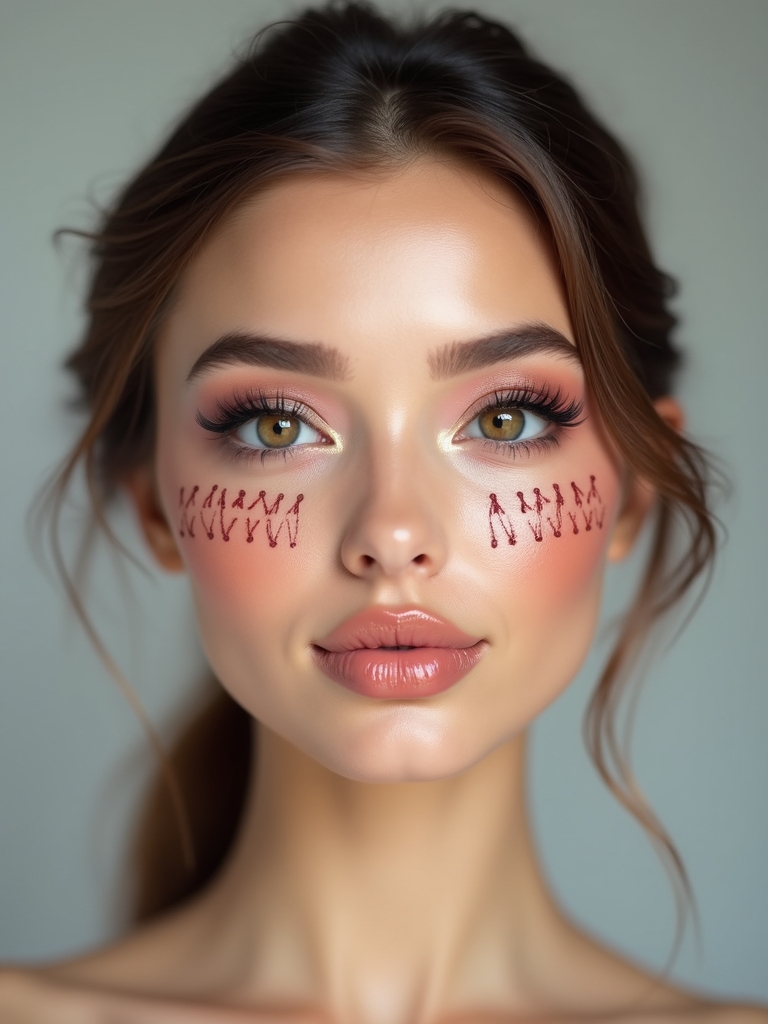
The broken doll is creepy, photogenic, and built almost entirely from a black liner. Give yourself round, overdrawn circular blush, big lashes, and then draw small stitches extending from the corners of your mouth out toward your cheeks, like a sewn-on smile. Tiny vertical lines crossing one long horizontal line is all a stitch is.
Keep the base doll-pretty and porcelain, then let the stitches do the unsettling work. Clients ask me for this one every October because the sweet-and-sinister contrast photographs so well in dim party light. A few painted cracks near the hairline push it further if you have the time.
A Glittered Woodland Fairy
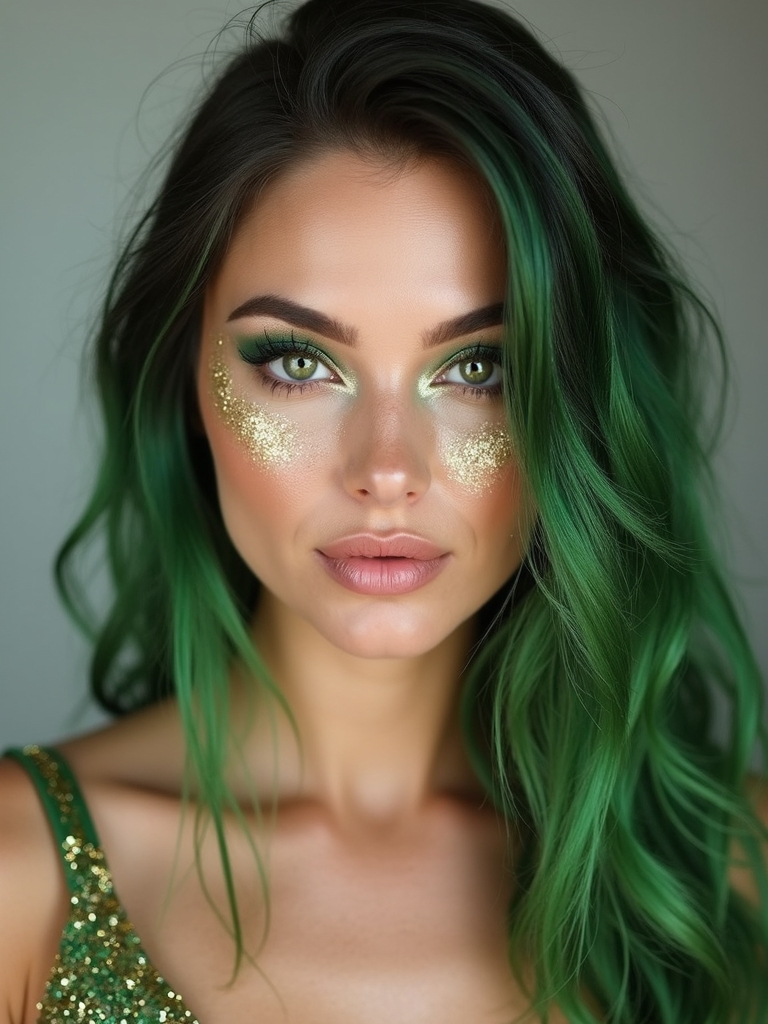
If gore is not your thing, a woodland fairy keeps Halloween pretty and still costume-worthy. Build a soft wash of green or gold shadow, sweep a little of it out toward the temples, and then press chunky glitter along the high points of the cheekbones and brow bones. The glitter is the whole costume here, so do not be shy with it.
Making the Glitter Stick
Use a dab of cosmetic glitter glue, or even a swipe of clear lip balm, so the flecks actually stick where you want them. Press, never sweep, or you will scatter glitter into your eyes and across the floor.
Finish with a faux freckle or two and a dewy highlighter. It photographs beautifully and washes off far easier than face paint.
Stuck on what to do? Match the look to your panic level.
🎯Five minutes, no supplies
A cat eye with whiskers or a crimson devil wing. Both need only the liner you already own.
🎯Twenty minutes, want a wow
A glam vampire or smoky emerald witch. A little more blending, but still just shadow, liner, and a bold lip.
Hollowed Cheekbones With Subtle Shading
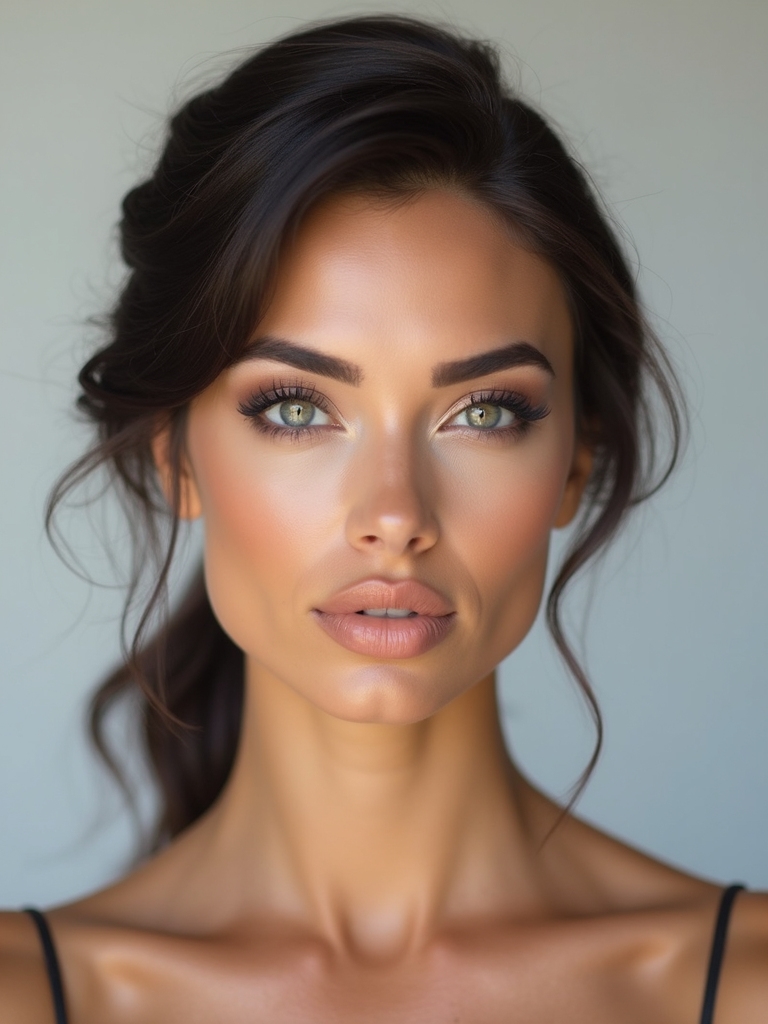
The single most useful Halloween skill is hollowing the face, because it turns you into a skull, a ghost, a zombie, or a vampire with one technique. Take a cool-toned gray-brown shade, suck in your cheeks to find the natural hollow, and shade hard along that line, blending up toward the ear. Deepen the temples and under the jaw too.
The key is using a gray-based shade rather than a warm bronzer, because warmth looks healthy and you want the opposite. Set it with a little gray powder so it does not budge.
On a shoot, when I need to drain or age a face fast, this is the move I start with. Master it and half the looks on this list open up to you, which makes it the closest thing to a Halloween cheat code I know.
Smoky Emerald Witch Glam
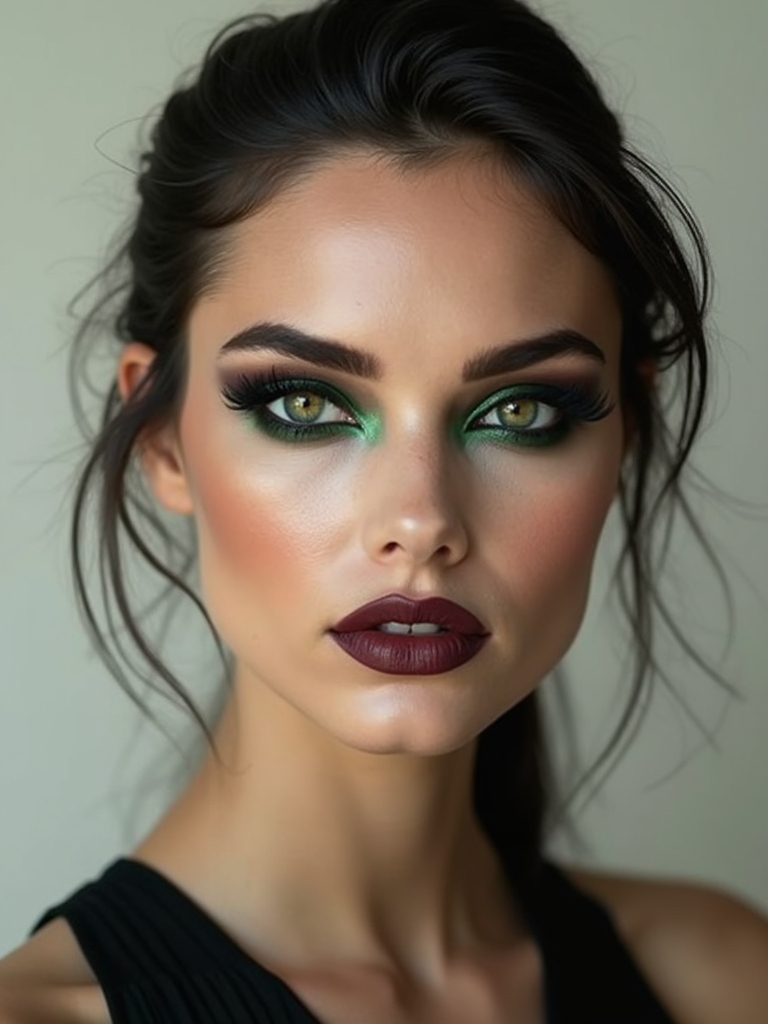
A glamorous witch is a smoky eye with attitude, and emerald green is the color that says witch without a single wart. Pack a deep green shadow over the lid, smoke it out past the crease, and drag it slightly down along the lower lash line for that hooded, spellbound look. A dark berry or near-black lip finishes it. This is where a basic smokey eye makeup turns theatrical with nothing more than a change of color.
- Build the green over a black base for the deepest, most pigmented payoff.
- Smudge the lower lash line so the eye looks sunken and intense.
- A pointed hat does the rest, so the makeup can stay relatively simple.
Two things people believe that keep them from even trying.
❌ Myth: You need special-effects products for Halloween makeup.
✅ Reality: Most classic looks come from a black liner, a red lip, and a pale base. Face paint only matters for solid-color costumes like skeletons.
❌ Myth: Simple looks read as lazy in photos.
✅ Reality: A sharp graphic eye or a bold lip photographs better than a half-blended complicated look. Clarity reads stronger on camera than detail.
Webbed Spider Eyeliner
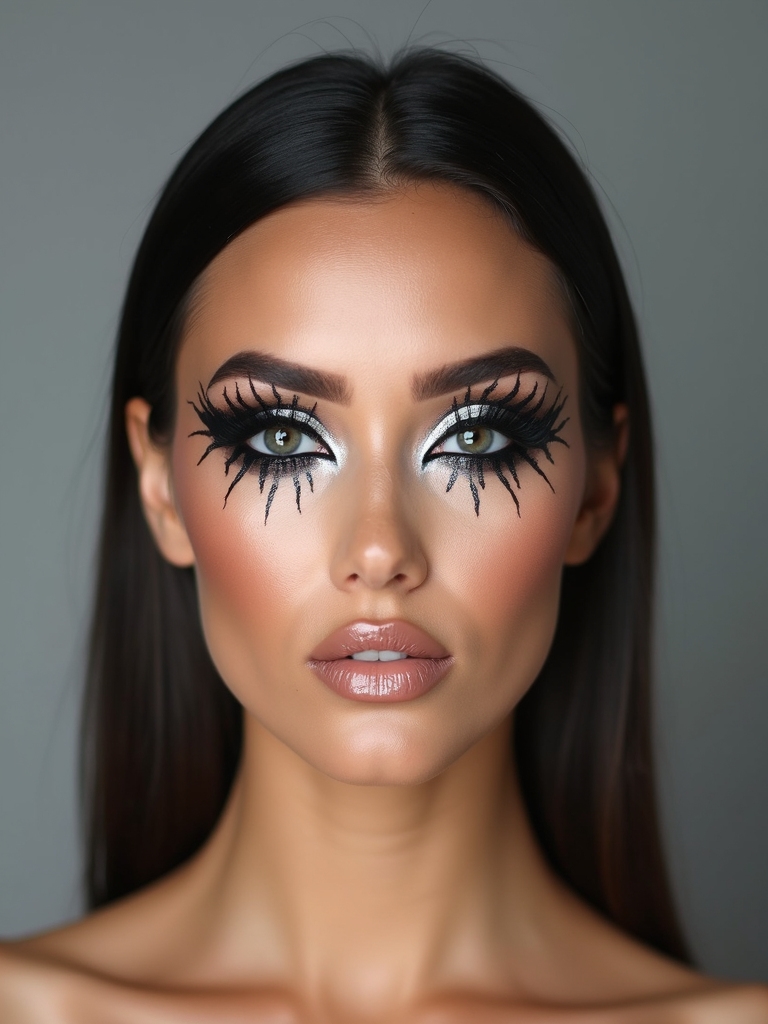
A spiderweb drawn at the outer corner of the eye is pure liner art, no costume required. Start your usual wing, then add a few straight lines radiating out from the corner and connect them with small curved arcs, building the web outward toward your temple. Keep the lines thin and the spacing loose so it looks like a web instead of a blob.
It pairs with almost anything. A witch, a spider queen, or just an outfit you already own with one spooky face detail. A tiny drawn spider dangling from one line is a charming finishing touch.
A felt-tip liner pen gives you far more control than a brush for this kind of fine, deliberate line work.
A Bold Dotted Comic Tear
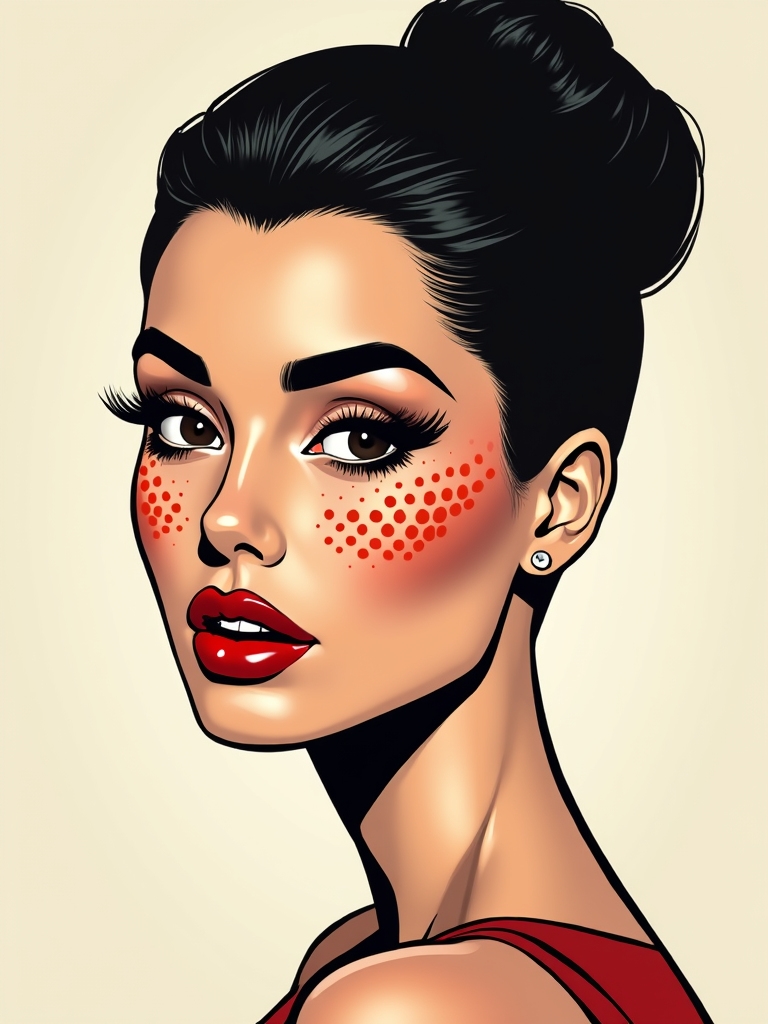
Pop-art comic makeup looks elaborate and is the most forgiving look here for shaky hands, because comics are supposed to look graphic and flat. Outline your features in bold black liner, paint the lips in a solid red or pink with a thick outline, and dot the cheeks with evenly spaced black dots for the Ben-Day halftone effect. Add one painted blue comic tear rolling down a cheek for drama.
The flat, drawn quality means precision matters less than confidence. Thick lines hide wobbles that a delicate look would expose.
A white base with bold primary colors photographs like a panel straight out of a comic book, which is exactly the point.
Artist Tip
Do your eye makeup before your base for any heavy look. Dark shadow and liner drop fallout onto the cheeks, and if your foundation is already done, you have to redo it. Eyes first, then clean up, then face, saves you a full restart.
A Muted Hollowed-Eye Zombie
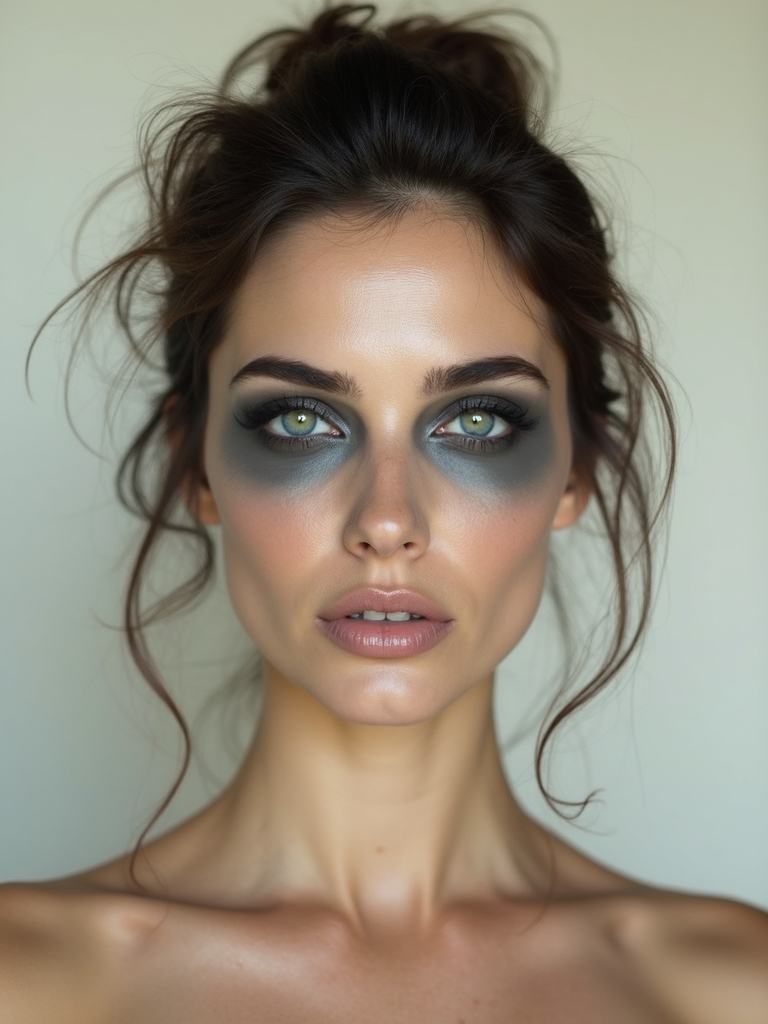
A zombie is the hollowing trick from earlier, taken to the eyes and pushed gray. Ring the eyes in muddy green, gray, and a little red, blending it messily out and down so you look sleepless and sick. Hollow the cheeks, gray the lips, and dab on a few scrapes if you want them.
Why Messy Works Better Here
The secret to a believable zombie is restraint with color and looseness with blending. Real decay is muted and uneven, so a perfectly blended eye actually looks less convincing than a smudged one.
This is a great last-minute look because mess is the goal. The shakier your hand, the better the rot reads.
Pale Skin and Smudged Kohl Lips
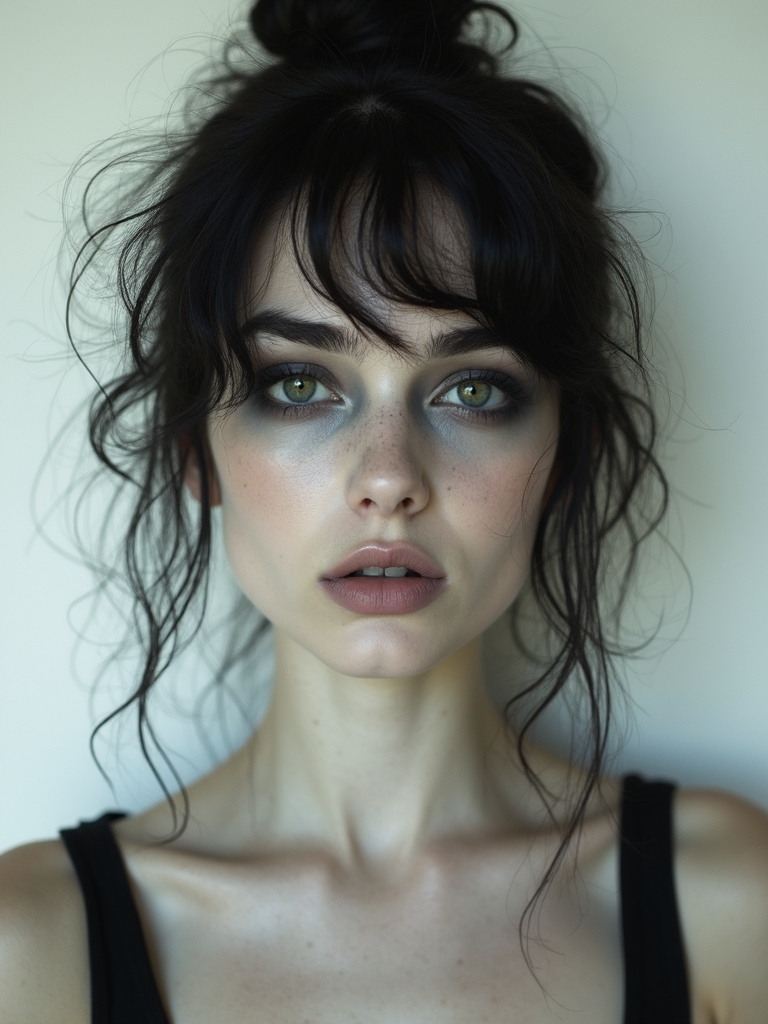
For a moody ghost or a silent-film specter, pale skin with smudged black kohl lips is striking and takes three products. The drained face plus a dark, deliberately imperfect mouth feels haunted in a way a neat lip never would.
- Press a pale powder or white base over your skin to drain the color out.
- Line and fill the lips with a black kohl pencil, then smudge the edges with a finger.
- Smoke a little gray shadow around the eyes and set the whole face with spray.
Cozy Pumpkin Jack-o’-Lantern Glam
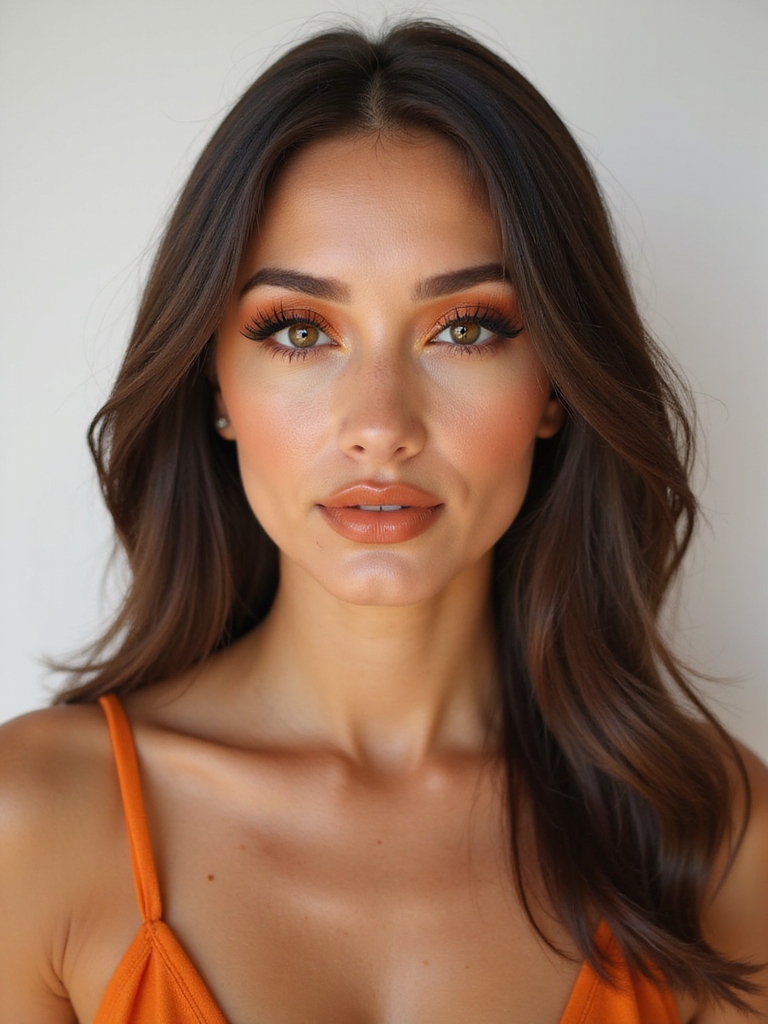
A pumpkin is the warm, friendly end of Halloween and the most kid-adjacent look here, which makes it a sweet one to do with family. Wash the lids in orange shadow, blend a soft gradient out toward the brow, and draw a tiny black jack-o’-lantern face, two triangles and a toothy grin, on the forehead or one cheek. The orange glam carries it even without the painted face, so you can scale it up or down to your comfort and your time.
- Orange and gold shadow on deep skin tones looks especially warm and glowing.
- Keep the jack-o’-lantern small and graphic so it reads clearly in photos.
- Pair it with simple halloween nails in matching orange for a full look.
A Mischievous Crimson Wing
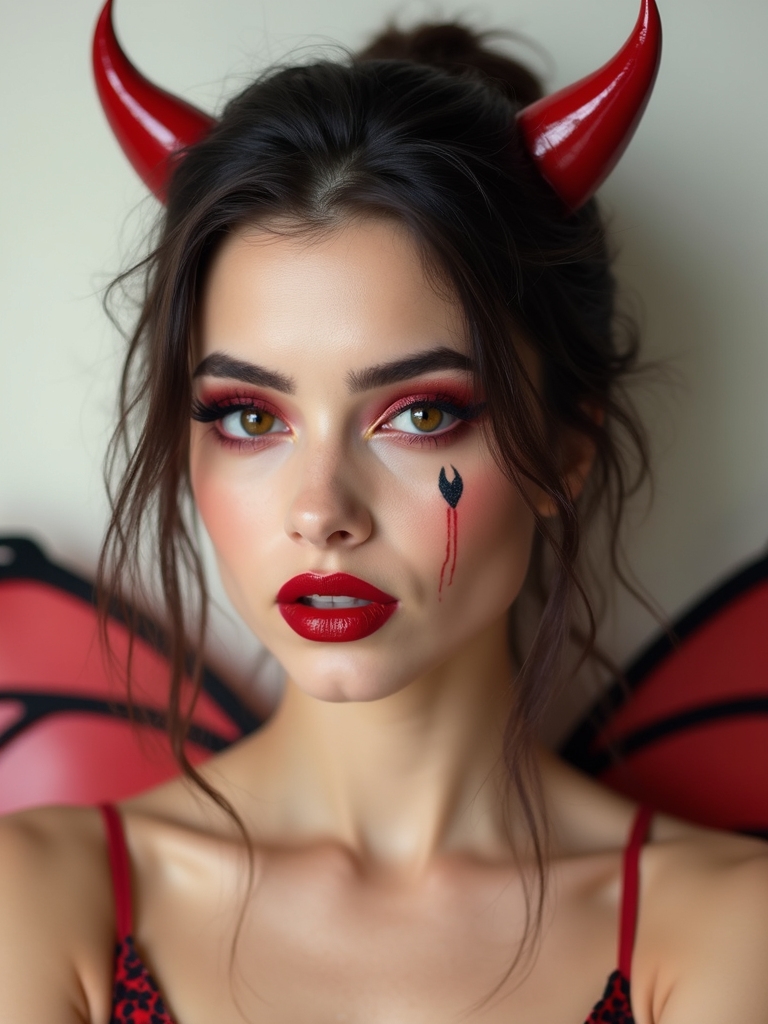
Swap your black liner for crimson red and a plain winged eye turns into a little devil, an imp, or a mischief spirit with almost no extra effort. Red liner instantly looks not-quite-human, which is most of the costume.
- Use a red gel or liquid liner; red pencil tends to look patchy and dull.
- Wing it longer and sharper than usual for that sly, lifted expression.
- Add two tiny red dots at the inner corners to deepen the otherworldly effect.
Sharp Lifted Bat-Wing Liner
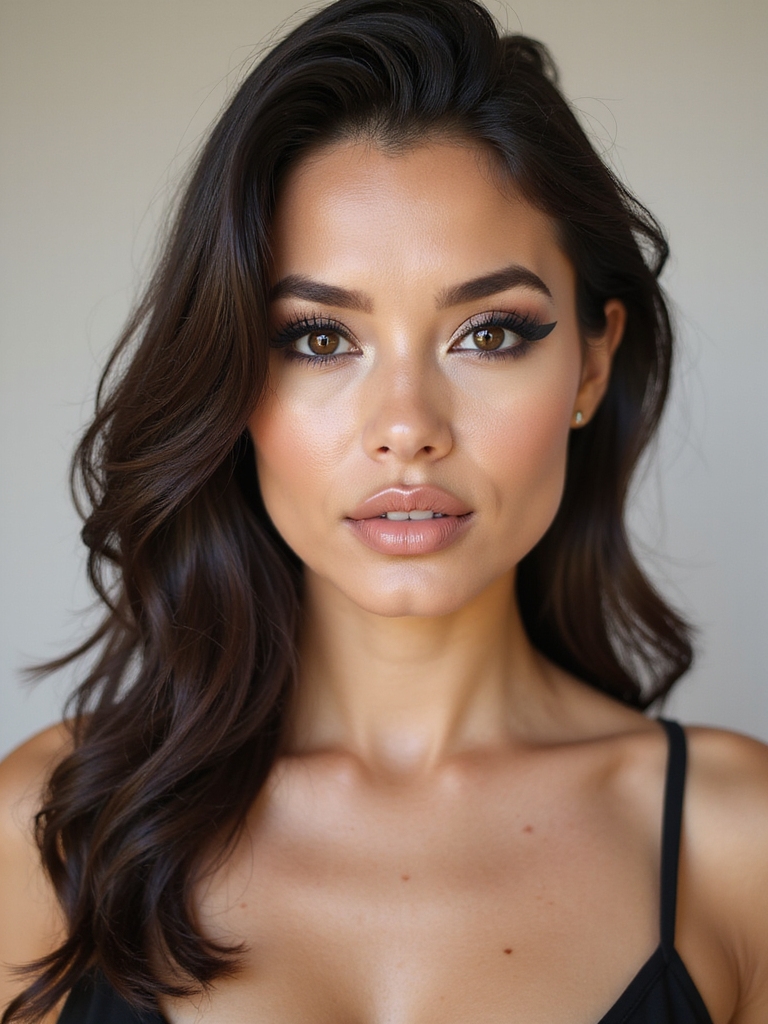
This one shapes your liner into actual bat wings, a graphic double-flick that is striking and surprisingly doable. Instead of one wing, you draw a scalloped, pointed shape at the outer corner that mimics a bat’s spread wings, then mirror it on the other eye.
- Map both wings lightly with a pencil first so they match before you commit.
- Use a small stiff brush and black gel for crisp, controllable points.
- Keep lips and cheeks bare so the bold liner is the entire statement.
Fishnet Highlighter Mermaid Scales
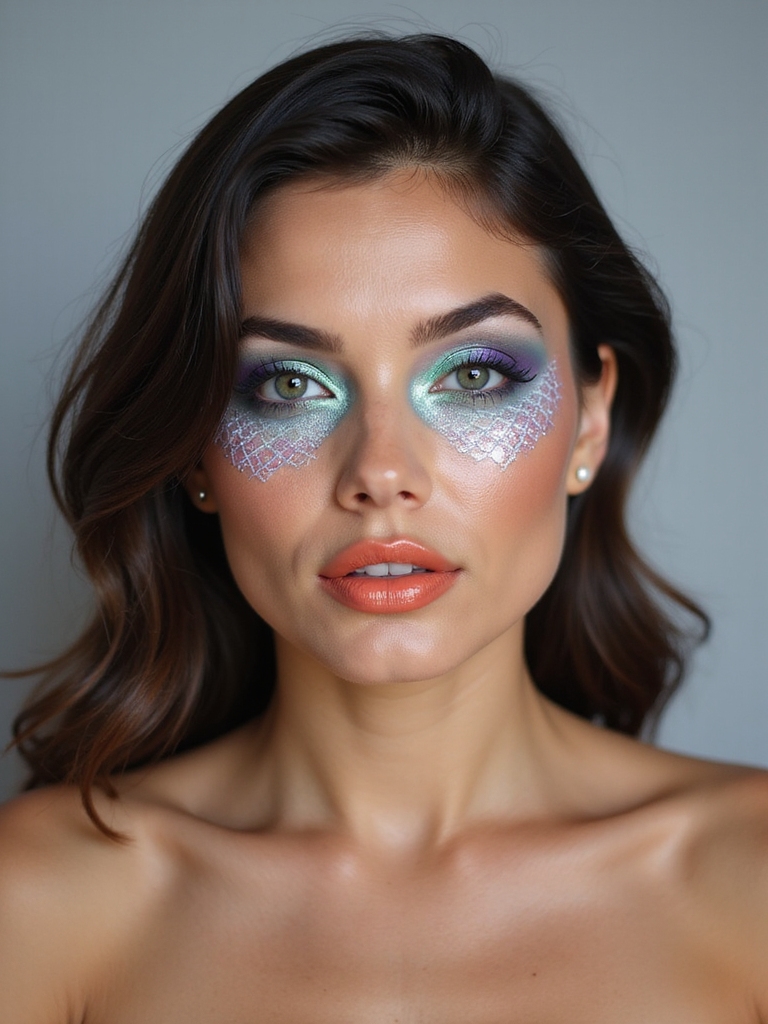
The cleverest hack on this list makes mermaid scales in seconds using a fishnet stocking. Pull a piece of fishnet taut over your cheekbones or temple, then pat shimmery shadow or highlighter through the holes. Lift the net. You have a perfect scale pattern, and no painting skill is required.
Choose iridescent greens, blues, and purples for the most mermaid effect, or golds and bronzes for a warmer sea-siren version. It is one of those tricks that looks like real artistry and is honestly just a stocking and a sponge.
Crescent Moon and Stars
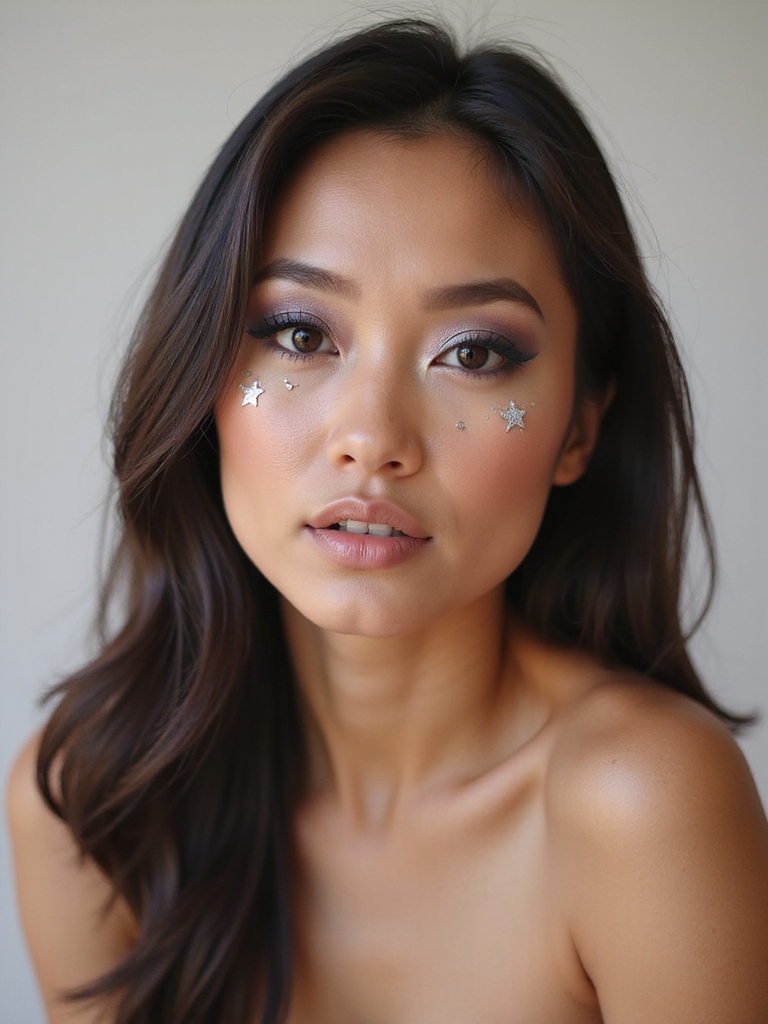
For a celestial witch, a night spirit, or just a pretty mystical face, a small crescent moon and a scatter of stars painted near the eye is delicate and easy to wear. Keep the base glowy and bronzed, then add the celestial details in white liner and a touch of gold glitter at the star points.
It is the gentlest, most wearable look here, which makes it perfect if you want to nod to Halloween without committing to a full costume. A few tiny gem stickers at the star tips make it feel finished and catch the light all night.
- White liner pops the moon and stars against any base color.
- Place the moon at the outer corner and trail the stars toward the temple.
- A little glitter makeup on the lids ties the whole celestial theme together.
Make It Last the Night and Take It Off Clean
The fastest way to ruin simple Halloween makeup is to skip the two steps that bracket it: setting and removal. Before you start, prep with a grippy primer, and once you are done, mist a setting spray over the whole face and let it dry. Cream face paint especially wants powder on top, then spray, or it transfers onto every collar and cheek you hug all night. A long-wear formula on the lips and waterproof liner around the eyes will outlast the party.
When the night ends, do not scrub. Face paint and heavy liner come off best with an oil-based cleanser or micellar water on a cotton pad, melting the makeup before you wipe so you protect your skin and lashes. If you used any glitter or face paint on sensitive skin, patch test a day ahead and stick to products labeled cosmetic-grade. Your skin on November 1st will thank you.
Your Last-Minute Halloween Plan
The throughline of every look here is that one strong, clear idea beats a dozen fussy ones. A sharp red lip, a graphic liner shape, or a hollowed cheekbone says more from across a party than an hour of blending nobody can see in dim light. Pick the one that matches your costume and your nerve. Gather your three or four products. You are ready.
Save this for the next time October sneaks up on you, since these looks do not change year to year and the product list stays short. When you want to go bigger, browse a few halloween makeup looks for inspiration and build on the simple base you already trust.
Where to Next