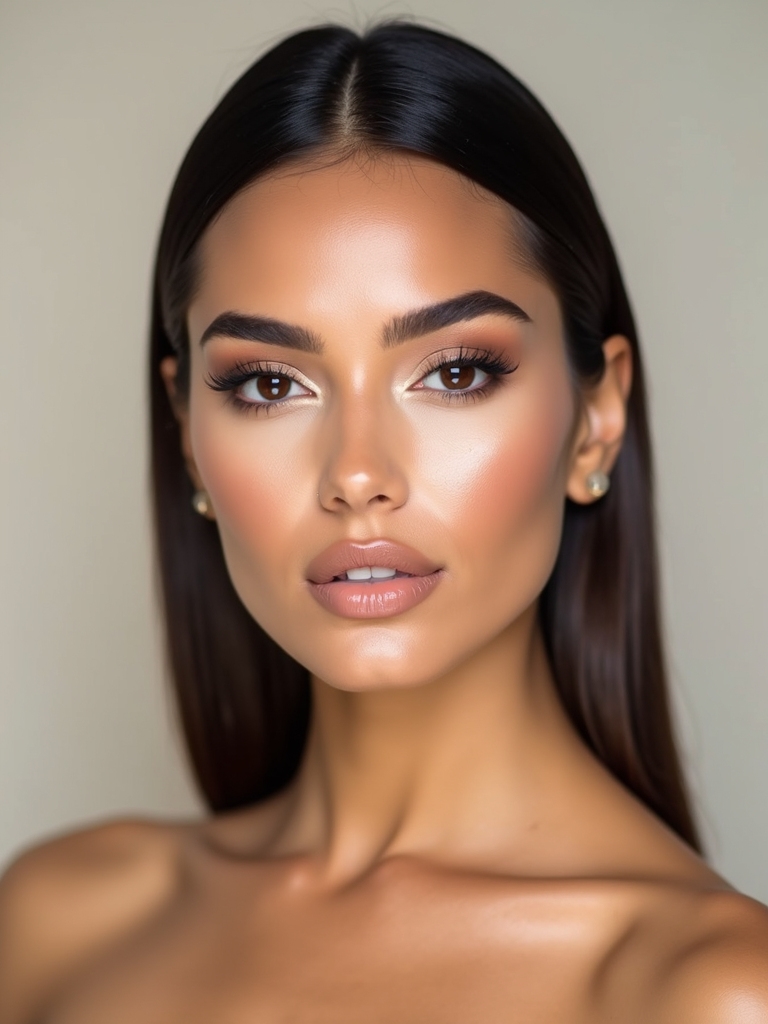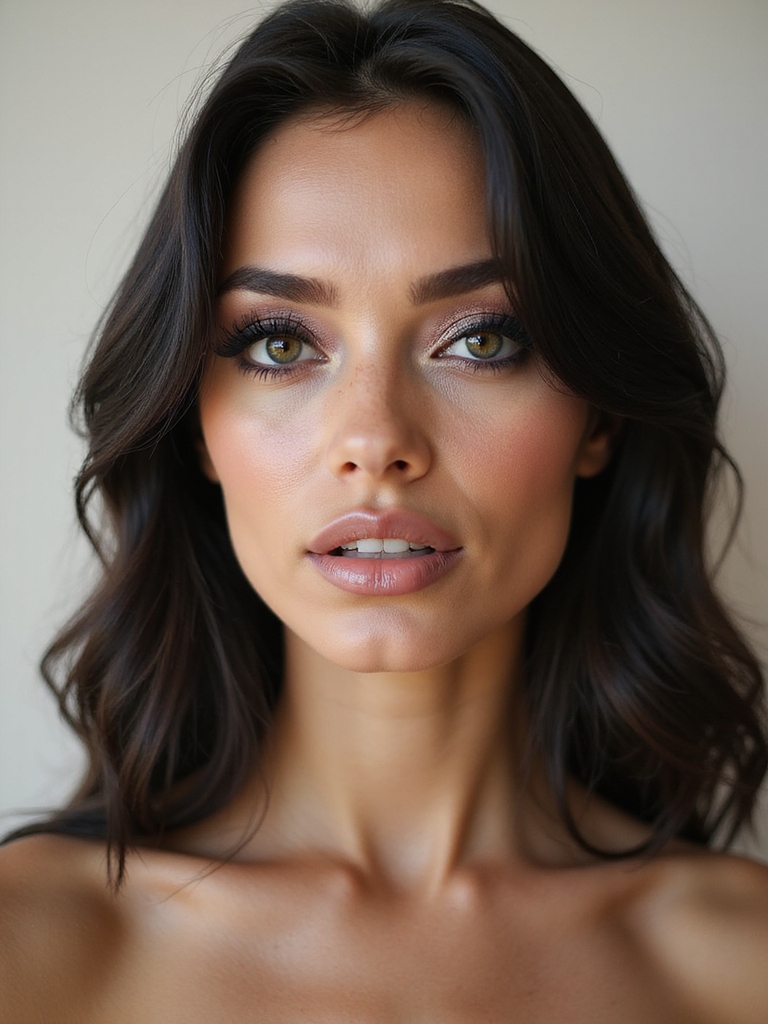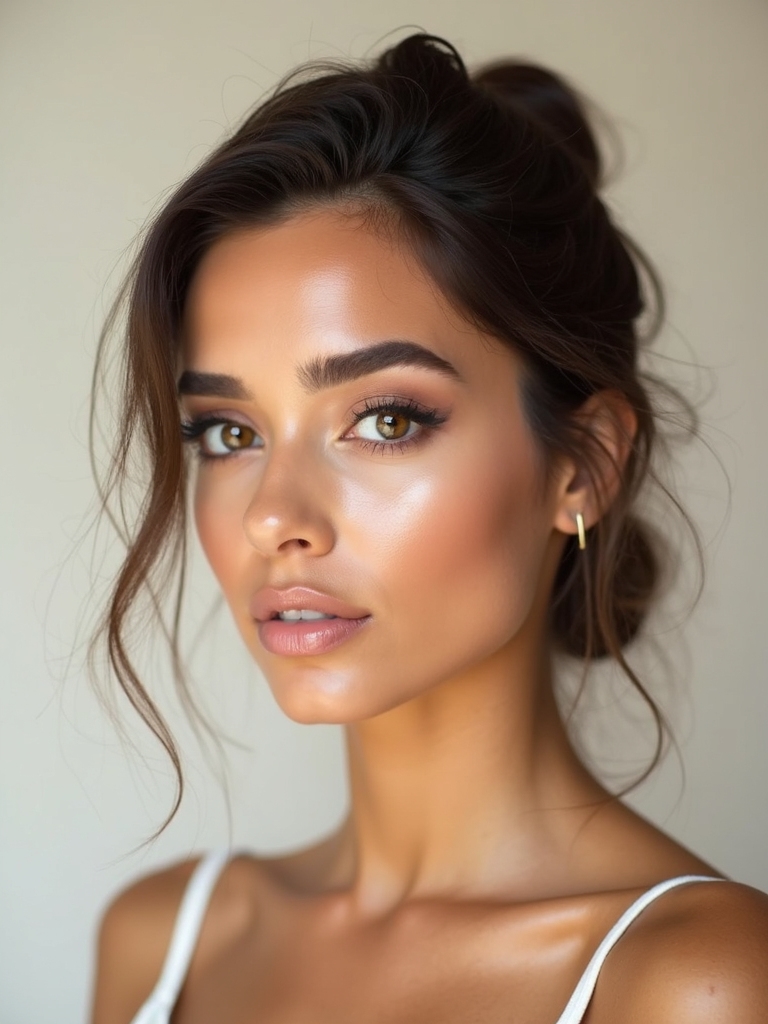
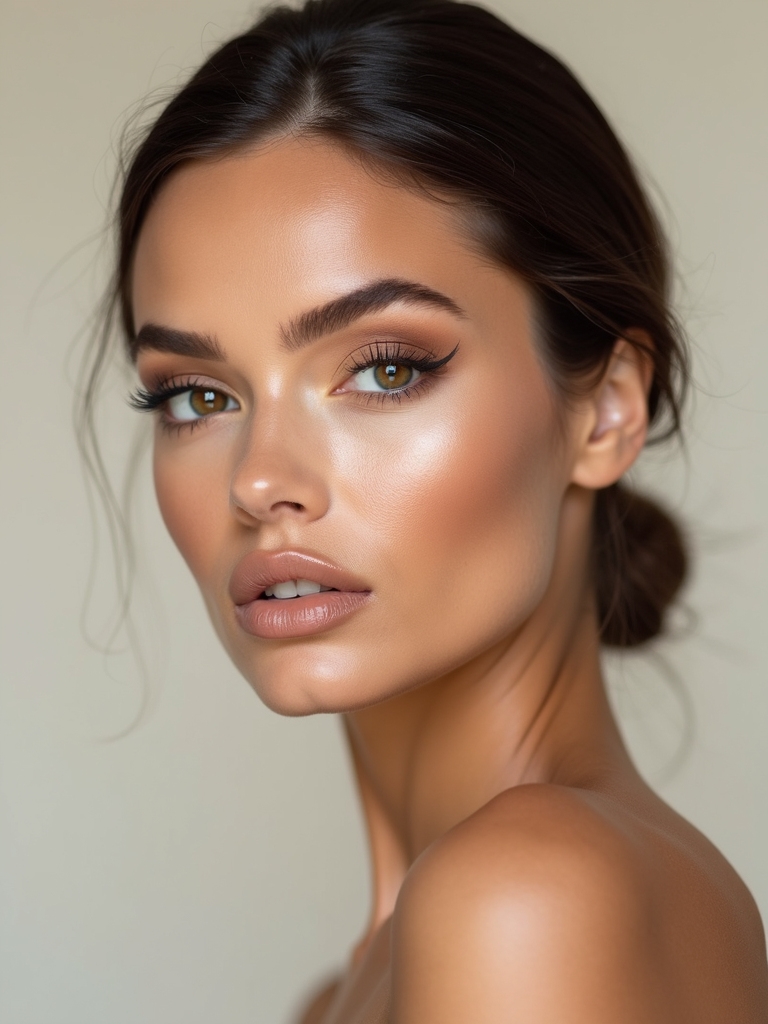
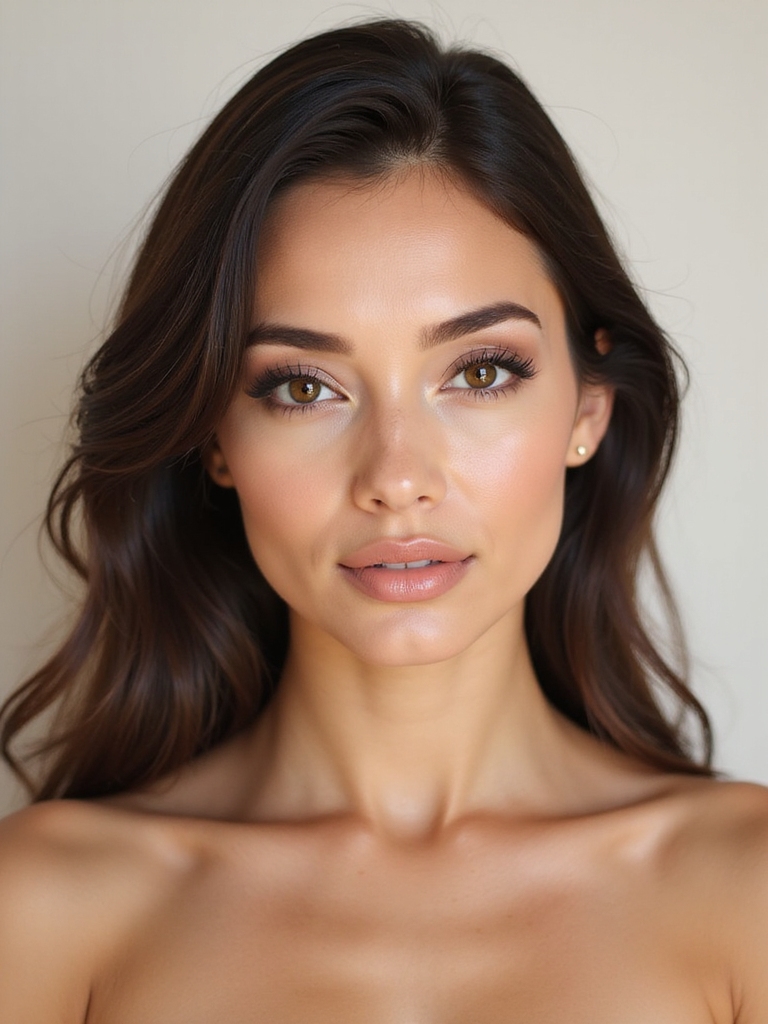
Most eye makeup advice was written for a crease you can actually see. On a hooded eye, where the lid folds away under the brow bone, that advice falls apart: the smoky blend disappears, the winged liner stamps a mirror image onto the hood, and the shadow you spent ten minutes on vanishes the second you open your eyes. The fix is not more product. It is placing everything higher and with your eyes open.
These fifteen techniques are the ones I use on hooded eyes every week, and they share one principle: work where the makeup will still show. Map the crease higher than feels natural, keep the lash line tight, lift everything outward and up. None of this is hard once you stop fighting the hood and start working with it.
The Quick Rules
- Work with your eyes open. A hooded lid hides everything you place with the eye closed, so check placement looking straight into the mirror, lids up.
- Go higher than feels right. Map the crease color above your natural crease, onto the brow bone, so it still shows when the hood folds down.
- Lock it down. Hooded lids crease and transfer fast, so a matte primer, a setting powder, and a final mist of setting spray are not optional. Budget about $8 to 12 for a decent drugstore spray.
Map a Higher Crease
This is the single most important hooded-eye trick, and it feels wrong the first time. Your natural crease hides under the hood, so any color you place there disappears. Instead, you map a new, higher crease onto the brow bone, where it stays visible with the eyes open. Here is how to find it:
- Open your eyes and look straight into the mirror to see exactly where the hood folds and hides the lid.
- Place a soft transition shade just above that fold line, higher than your real crease, with a fluffy brush.
- Build the depth in that higher zone, checking with eyes open, until the definition shows without lifting your brow.

Matte Primer and Powder Base
A hooded lid spends all day pressing the mobile lid against the brow bone, which is why shadow transfers and creases faster here than on any other eye shape. The defense starts before color: a good eyeshadow primer plus a dusting of setting powder gives the shadow something dry and grippy to hold onto.
The Step Nobody Skips Twice
Smooth a thin layer of primer over the whole lid and up into your new higher crease zone, then press a little translucent powder on top. The matte, powdery surface stops the natural oils of the lid from breaking your work down by noon. This step is the difference between a look that lasts and one that smears into the fold.
I tell every client with hooded eyes the same thing: skip the primer and nothing else you do will hold. It is the unglamorous step that makes all the pretty ones possible.
Good to Know
Hooded eyes are incredibly common and have nothing to do with age alone; plenty of people are born with them, and many more develop a fold over time. The makeup principle is always the same: place color where it stays visible with the eyes open, since the hood hides anything set on the closed lid.
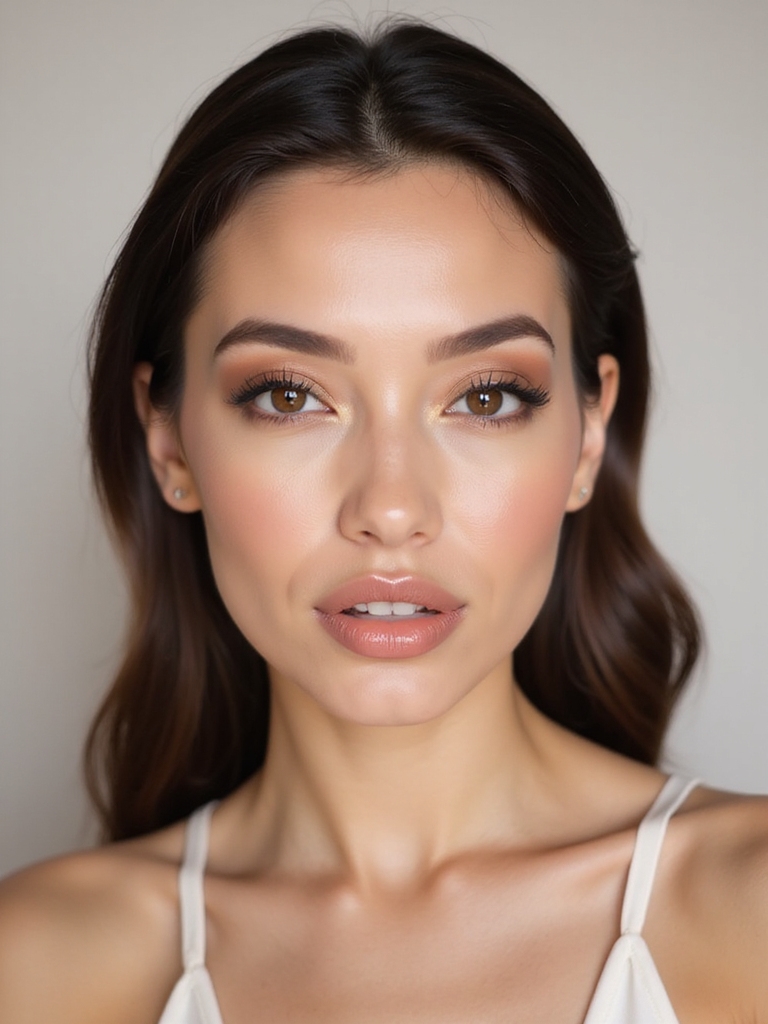
Matte Shadows to Sculpt a Lifted Crease
Shimmer migrates and settles into the fold on a hooded eye, so the smartest sculpting is done with matte shadows. Mattes create the illusion of depth that a hood naturally flattens, carving a crease that actually reads from across the room. Save the shimmer for one tiny, strategic place and let matte do the structure:
- Use a matte transition shade a few tones deeper than your skin to build the false crease above the fold.
- Add a darker matte in the outer corner to deepen and lift the shape outward.
- Keep any shimmer to the center of the mobile lid only, where a small pop still catches light when open.
A Soft, Upward Hazy Wing
A crisp graphic wing is the classic hooded-eye trap, since the hood folds and stamps the line onto the lid above. A soft, hazy wing solves it: smoked and angled sharply upward, it lifts the eye without a hard edge to disappear. The direction matters as much as the softness, so aim for the tail of the brow:
- Build the wing with a dark matte shadow or a smudged pencil rather than a crisp liquid line.
- Angle it up and out toward the end of the brow, following the lift you want, not straight back.
- Diffuse the edge with a small brush so there is no hard line to print onto the hood when you blink.
Choosing how bold to go on the wing?
🎯Everyday lift
A soft, smoked upward wing in matte shadow gives definition that holds without a hard line to print on the hood.
🎯Statement eye
A tape-guided outer V plus a faux crease builds dramatic, photo-ready dimension that still reads with eyes open.
Tightline the Upper Lash Roots
Regular eyeliner on the upper lash line often vanishes under the hood, which is why tightlining is a hooded eye’s best friend. By pressing dark liner into the roots of the upper lashes, on the waterline itself, you define the eye and make the lashes look denser without any line that the hood can swallow.
Use a waterproof gel or pencil and push it up into the base of the lashes from underneath, filling any pale gaps between them. The definition sits right where it counts and stays hidden in the fold, so it never smudges up onto the lid. It is the quietest trick here and among the most effective, giving a wide-awake look with zero visible liner.
Thin Inner, Thicker Outer Liner
When you do want visible liner on a hooded eye, the trick is a graduated line: barely there at the inner corner, thickening toward the outer third. A uniform line gets eaten by the hood and can close the eye down, but a tapered one creates lift and looks intentional. Build it gradually:
- Start whisper-thin at the inner corner, hugging the lash line so it does not crowd the lid.
- Thicken the line gradually as you move outward, building the most weight in the outer third.
- Flick the tail up and out, checking with your eyes open so the visible part lands above the fold.
🅰️Tightline only
Best for a clean, wide-awake everyday eye; defines the lashes with no visible liner the hood can swallow.
🅱️Graduated liner
Best when you want visible liner; thin at the inner corner, thick and lifted at the outer third so it shows when open.
A Soft Lifted Faux Crease
The faux crease takes the higher-crease idea one step further, drawing a defined socket line where the hood hides your real one. It is a bolder, more editorial way to give a hooded eye dramatic dimension, and it photographs beautifully. The key is placing it where it stays visible:
Build it soft so it reads natural, not drawn on:
- With eyes open, mark where your real crease disappears, then draw the faux crease just above that point.
- Use a matte shade a touch deeper than your transition color and blend the upper edge soft.
- Keep the lid below it bright so the faux crease pops, then check open to confirm the line shows.
Highlight the Inner Corner Subtly

A tiny dab of light at the inner corner is the smallest trick with the biggest wake-up effect, and it works beautifully on hooded eyes because the inner corner stays visible no matter how the hood folds. That little flash of brightness opens the eye and makes you look instantly more rested.
Keep it subtle so it brightens rather than glares:
- Use a soft champagne or pearl shade rather than a stark white, which can look harsh up close.
- Pat a small amount into the inner corner and just along the first third of the lower lash line.
- Stop before it spreads across the lid, since a little goes a long way on a surface that catches light.
Not sure where your makeup keeps disappearing? Match the problem to the fix.
1My shadow vanishes when I open my eyes
Map the crease higher, onto the brow bone, and check placement with your eyes open.
2My mascara prints onto my lid by noon
Switch to a tubing or waterproof formula and aim the lash curl straight up to clear the hood.
Sectioned Upward Lash Curling
On a hooded eye, straight lashes get pushed down by the hood and can poke the fold or smudge mascara onto the lid. A dramatic upward lash curl is what lifts the lashes clear of the hood and opens the whole eye. Curling in sections gets a more reliable, lasting bend than one quick squeeze:
- Curl at the very base first, holding for several seconds, then walk the curler out in two more steps along the lash.
- Aim the curl straight up and slightly back so the lashes clear the hood rather than fanning forward.
- Set the curl with mascara immediately while the bend is fresh so it holds against the weight of the hood.
Tubing or Waterproof Mascara
Nothing frustrates a hooded eye like mascara printing onto the lid by lunchtime, transferred there every time the hood folds down over the lashes. The fix is the formula: tubing or waterproof mascara grips the lash and resists the constant contact that smears a regular formula all over the crease.
Tubing mascara wraps each lash in a flexible tube that will not budge until you remove it with warm water, which makes it the gold standard for hooded and watery eyes. Waterproof formulas work too, though they need an oil cleanser to remove. Either one stops the dreaded transfer line above the lashes.
Wiggle the wand at the roots and pull up and out, focusing on the outer lashes for lift. I recommend tubing mascara to hooded-eye clients more than any other single product, because it solves the complaint they bring up most.
Tape-Guided Lifted Outer-V Shadow
When you want a sharp, lifted outer corner without freehand wobble, a small piece of tape is the cheat the pros use. Angled from the outer corner toward the tail of the brow, it gives you a clean line to build a deepened outer V against, instantly lifting the eye. It is the most foolproof way to get a precise, snatched shape on a hood.
Use it carefully so the edge stays clean:
- Press a small strip of tape from the outer corner up toward the end of the brow; pat it on your hand first so it is not too sticky.
- Build a deeper matte shade in the outer V against the tape edge, blending inward and up.
- Peel the tape away slowly to reveal a crisp, lifted line, then soften only the inner edge.
Soft, Minimal Lower-Lash Definition
Heavy lower liner is a common mistake on hooded eyes, since dark color all the way around can close the eye down and emphasize any shadow underneath. The flattering move is restraint: a soft smudge of shadow on the outer half of the lower lash line, fading toward the inner corner, which adds definition while keeping the eye open.
Smudge a soft brown or taupe along the outer two-thirds of the lower line and leave the inner corner clean and bright. A touch of the same color you used up top ties the look together. Keeping the lower line light and the inner corner open is what stops the definition from dragging the eye downward, which is exactly the opposite of what a hooded eye wants.
Cream-to-Powder Crease Control
For the longest wear on a hood, layering cream and powder shadow together creates a lock that neither alone can match. The cream grips the lid and intensifies color, while the powder pressed on top sets it and stops the migration that a hooded eye is so prone to. It is the move for a long event or a hot day.
Layer the two for staying power:
- Pat a cream shadow or a colored base over the primed lid as the sticky foundation.
- Press a matching or complementary powder shadow on top to set the cream and deepen the color.
- Build any crease depth in powder over the locked base, so it stays put through the longest day.
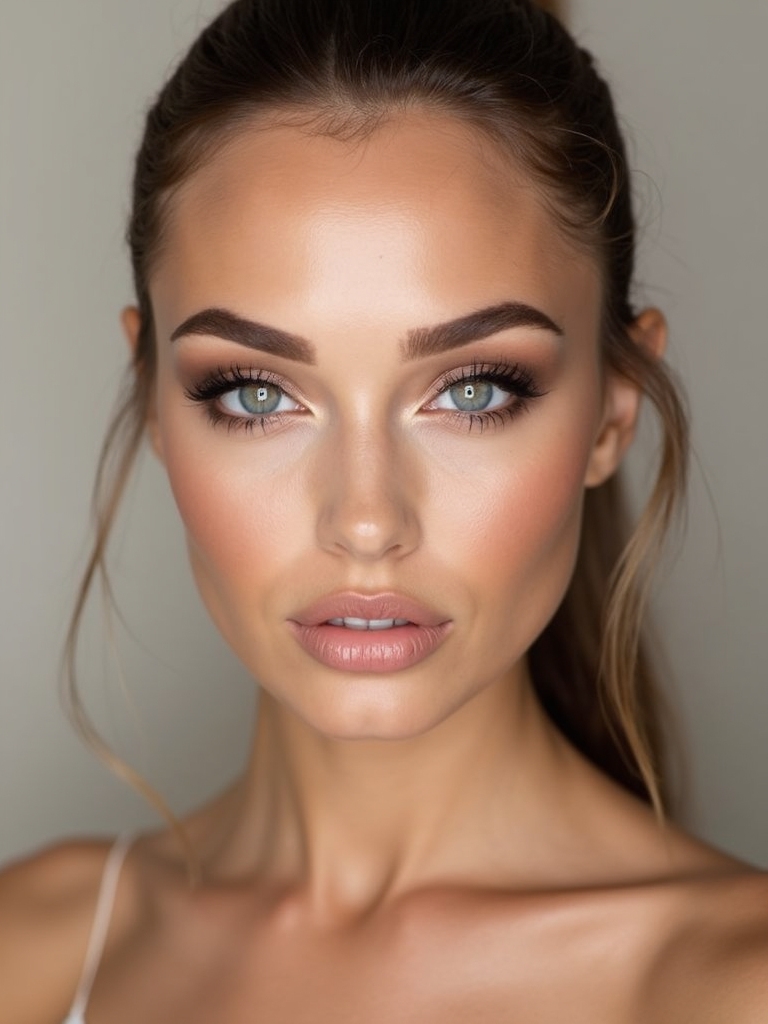
Lifted, Clean Arched Brows
The brow does quiet but powerful work for a hooded eye, since a clean, slightly lifted arch creates space above the lid and draws the whole eye upward. A heavy, flat brow that sits low presses down on the hood and makes the eye look smaller, so the goal is groomed and lifted rather than bold and blocky:
- Brush the brows up and slightly out to open the space between brow and lid.
- Define a soft, lifted arch and keep the tail clean and tapered, never dragging downward.
- Tidy any strays under the arch so the extra lid space you worked for stays visible.
Fine-Mist X-and-T Setting
After all that careful placement, a setting spray is what makes a hooded-eye look survive the day, melding the powders together so they resist the constant friction of the fold. The technique matters: a fine mist held a foot from the face, sprayed in an X and then a T motion, coats evenly without soaking one spot. The soft glam makeup base benefits from the same finish.
Set it so it actually holds:
- Hold the spray about a foot away and mist in an X across the face, then a T down the center and across the brows.
- Let it dry without touching or blotting, so the film sets undisturbed over the eye.
- Carry the spray for a quick refresh, since a hooded eye benefits from a touch-up after several hours.
What to Expect From the Process
The first time you do hooded-eye makeup the right way, it will feel strange, because you are placing color higher and checking everything with your eyes open rather than closed. Expect to use a fluffy blending brush more than you are used to, and to spend an extra minute or two mapping where the hood actually folds. That mapping step is the whole game; once you know where your visible zone is, the rest goes quickly.
Hooded eyes come in many forms, from a naturally low lid to a fold that develops with age, and they appear across every ethnicity and skin tone, so treat these as a flexible toolkit rather than a strict rulebook. Test a couple of tricks at a time, keep the ones that suit your specific fold, and remember that the goal is never to hide a hooded eye.
It is a beautiful, expressive eye shape; these tricks just make sure your makeup still shows when you open it. The simple eye makeup basics carry over here too.
Hooded Eye Makeup Questions, Answered
?Why does my eyeshadow disappear when I open my eyes?
Because the hood folds over your natural crease and hides anything placed there. The fix is to map a new, higher crease onto the brow bone and check all your placement with your eyes open, so the color still shows when the lid is relaxed.
?How do I stop my eyeliner from smudging onto my lid?
Use a waterproof or gel liner, keep the line thin and lifted, and set it with a matching powder shadow pressed over the top. Tightlining the upper waterline instead of drawing a visible line also keeps the definition hidden safely in the fold.
?What kind of mascara is best for hooded eyes?
Tubing or waterproof mascara, because both resist the transfer that happens when the hood presses against the lashes. Pair it with a strong upward lash curl so the lashes clear the hood and do not deposit mascara onto the lid.
?Can I wear a winged liner with hooded eyes?
Yes, but make it a soft, smoked wing angled sharply up toward the brow tail rather than a crisp graphic line. A diffused edge will not print a hard mirror image onto the hood the way a sharp liquid wing does.
?Do these tricks work on monolids too?
Many do, since monolids share the challenge of little visible lid space. The higher-placement and eyes-open principles carry over, though monolids often skip the faux crease and lean more on tightlining, lash curling, and gradient liner.
Work With the Hood, Not Against It
The one habit to carry from all of this is the eyes-open rule: a hooded eye hides anything you place on the closed lid, so everything that should show, the crease, the wing, the liner, has to go higher and be checked with your eyes open. Master that single shift and the smoky eyes, the lifted liner, and the wide-awake brightness all fall into place, because you are finally placing them where they will be seen.
Start with the higher crease and the primer, since those two open up everything else, then add the tricks that solve your specific complaints. Hooded eyes are expressive and beautiful, and once your makeup stops vanishing into the fold, you get to actually enjoy showing it off.