People think you need long hair to pin anything up. You do not. A short hair updo only looks like it needs length. A bob or even a pixie can twist, tuck, and pin into something pretty in a few minutes, once you know the tricks that keep short pieces from sliding loose.
Short hair updo styles are all about texture, the right grip, and a handful of bobby pins. Below are twenty-five looks, from a soft twisted crown to a playful bubble ponytail, each with quick steps and the small fixes that make short hair actually hold.
Quick Answers
Can short hair really hold an updo? Yes. Day-old or texture-sprayed hair grips far better than clean, slippery hair, and a few well-placed bobby pins do the rest.
What do I actually need? Bobby pins, a few clear elastics, a texture or dry shampoo spray, and a fine-tooth comb. A pack of pins costs only a few dollars.
How long do these take? Most run two to five minutes once you have practiced them a couple of times.
Twisted Crown
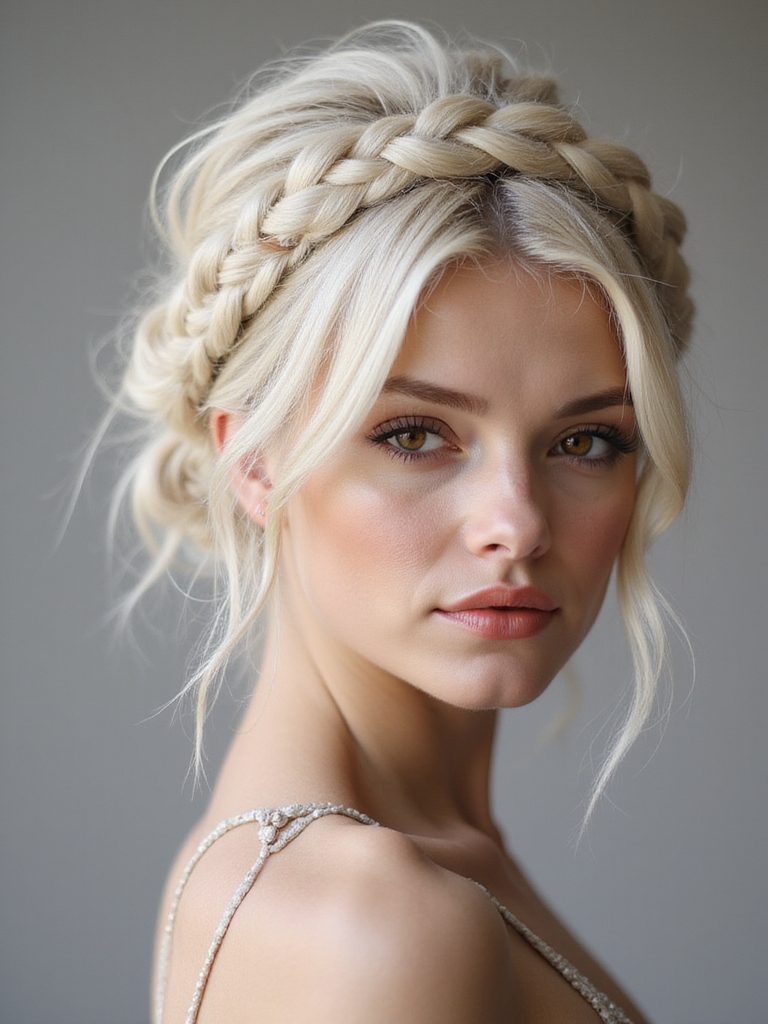
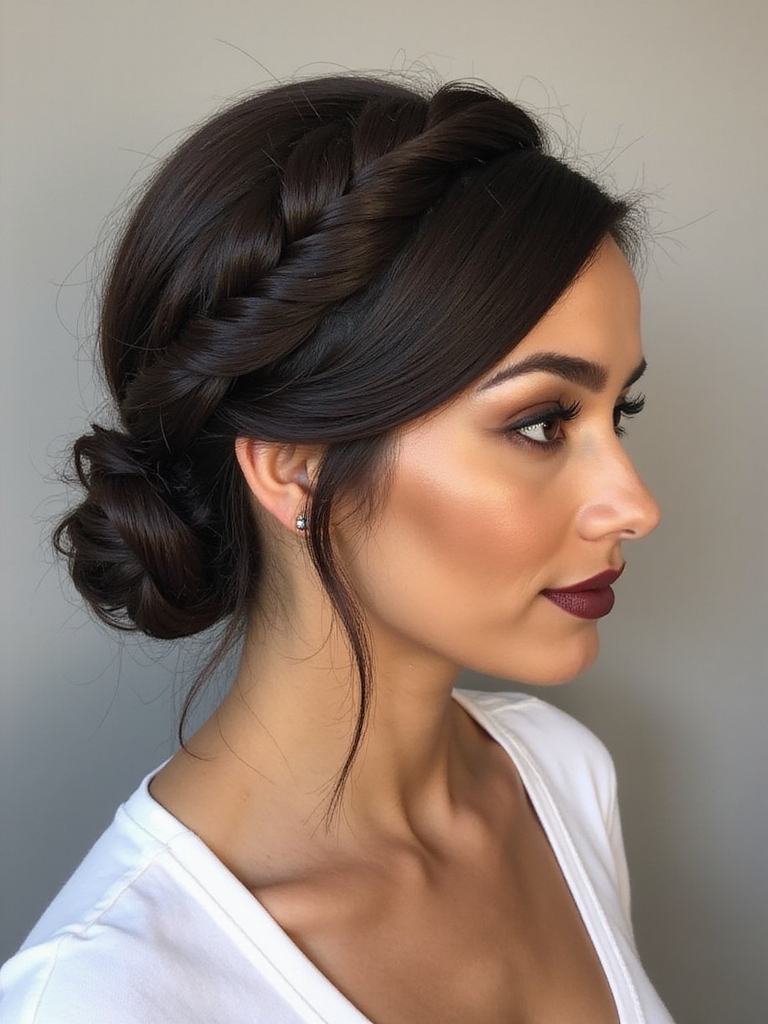
A twisted crown wraps two small twists around the back of the head like a soft halo. It looks intricate. It takes about three minutes.
Making the Twists Hold
Split the hair down the middle, twist each side back, and pin the twists together at the back. On short hair, the ends just tuck under and pin, no length required.
This is the updo I recommend to anyone nervous about pinning short hair, because the twists hide loose ends on their own. Mist a little texture spray first so the twists grip.

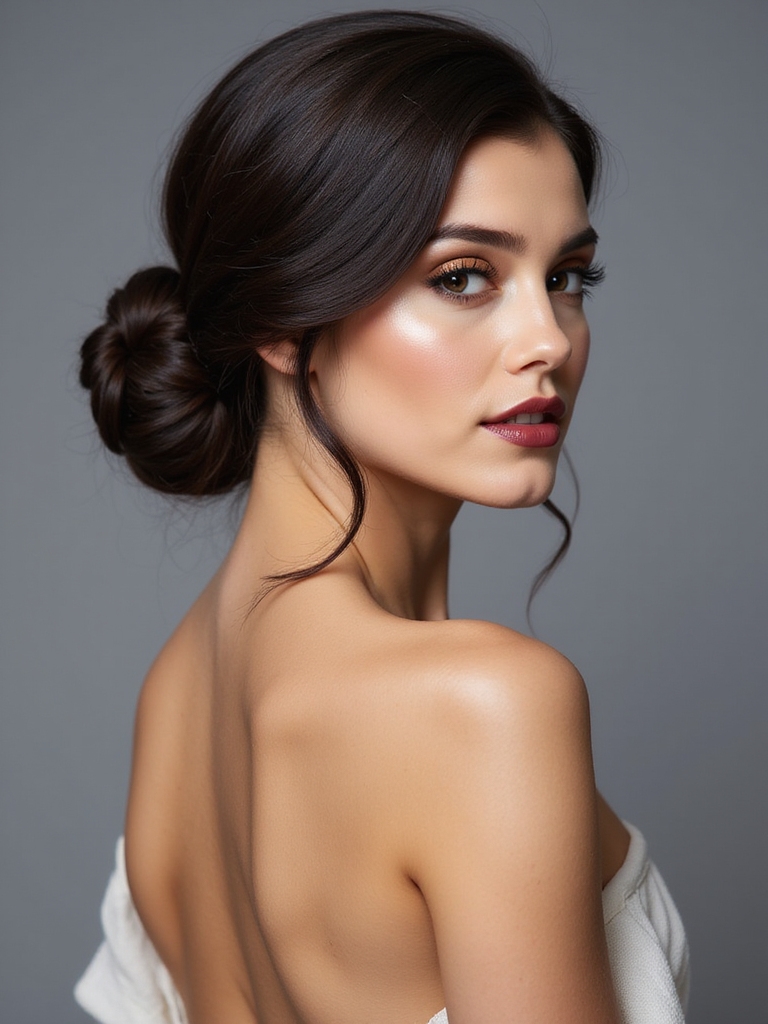
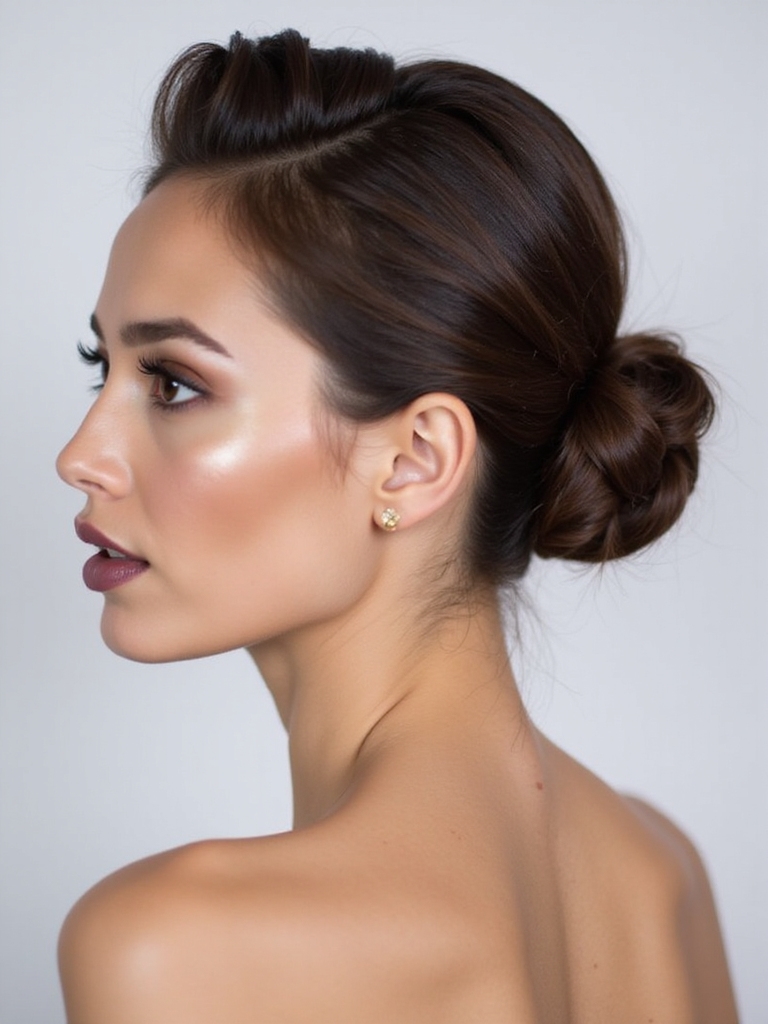
Sleek Low Bun
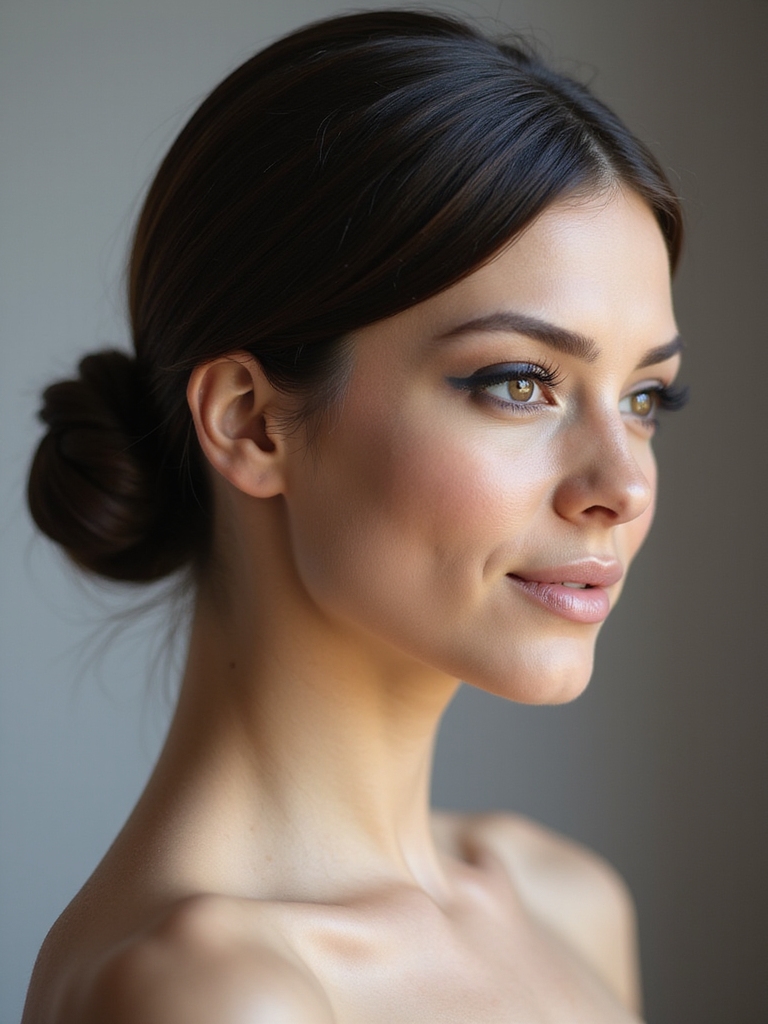
The low bun is the little black dress of updos: polished, fast, and right for almost any occasion. On short hair it sits as a tidy little knot at the nape, and with a smoothing cream and a handful of crossed pins it holds through a full workday without a single piece escaping. Here is the order:
- Smooth a little gel or cream through to tame flyaways first.
- Gather everything low and twist it into a small knot.
- Pin in a cross pattern, and tuck any short ends under with extra pins.
Grip Tip
The single best thing for a short-hair updo is texture. Spritz dry shampoo or texture spray at the roots before you start, even on clean hair. That bit of grit gives pins something to hold and keeps the whole style from sliding out by lunch.
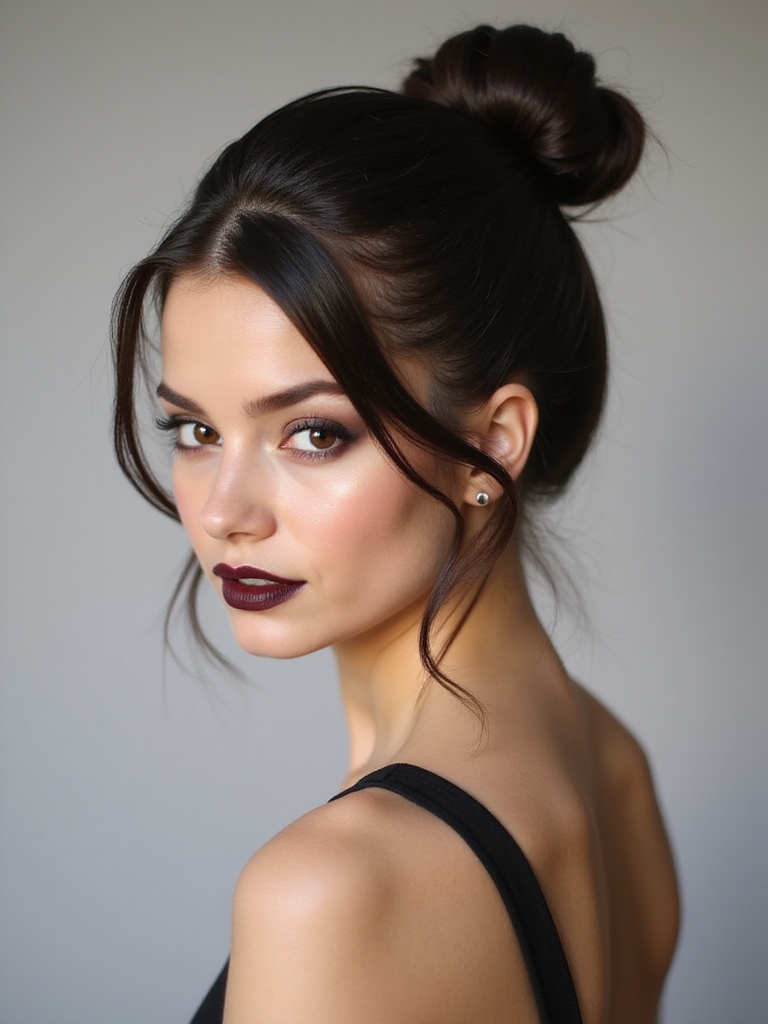
Half-Up Top Knot
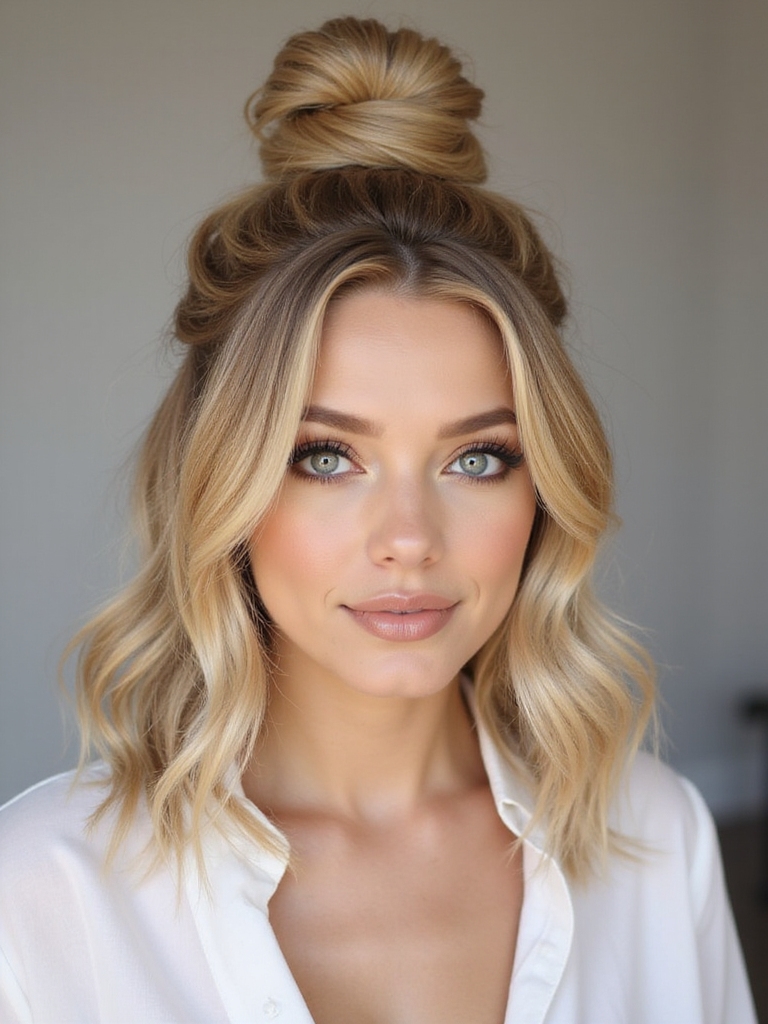
The half-up top knot is the lazy-day hero. It keeps your front pieces off your face while leaving the rest down, which means even a very short pixie can pull it off as long as there is enough hair up top to gather into a clip. To do it:
- Gather the top section from temple to temple.
- Twist it into a mini knot at the crown and secure with a clear elastic.
- Tug a couple of strands down at the temples so it softens around the face.
Mini French Roll
The French roll goes mini on short hair, and it is more forgiving than the full-length version. You sweep the hair to one side, roll it under, and pin the seam.
Short ends actually help here, since there is less length to wrestle into the roll. Tuck stray pieces into the fold as you go.
It looks instantly dressed up, the kind of updo that works for a wedding or a meeting. A strong-hold spray over the top keeps the roll crisp all day.
A foolproof mini French roll in three moves:
1Sweep
Brush all the hair to one side and hold it flat against the head.
2Roll
Fold the hair up and under into a vertical roll, tucking the ends inside.
3Pin
Pin the seam closed from bottom to top and mist with strong-hold spray.
Side-Swept Twists
Side-swept twists pull all the interest to one side of the head. You twist small sections back from the part and pin them behind one ear, leaving the rest to fall.
It is romantic and a little vintage, and it suits a bob beautifully. The twists also keep your hair off one shoulder, which is handy for showing off an earring or a neckline.
Work with day-old hair for grip, and finish each twist with a pin pushed in toward the scalp so it disappears. A decorative pin turns it into an evening look.
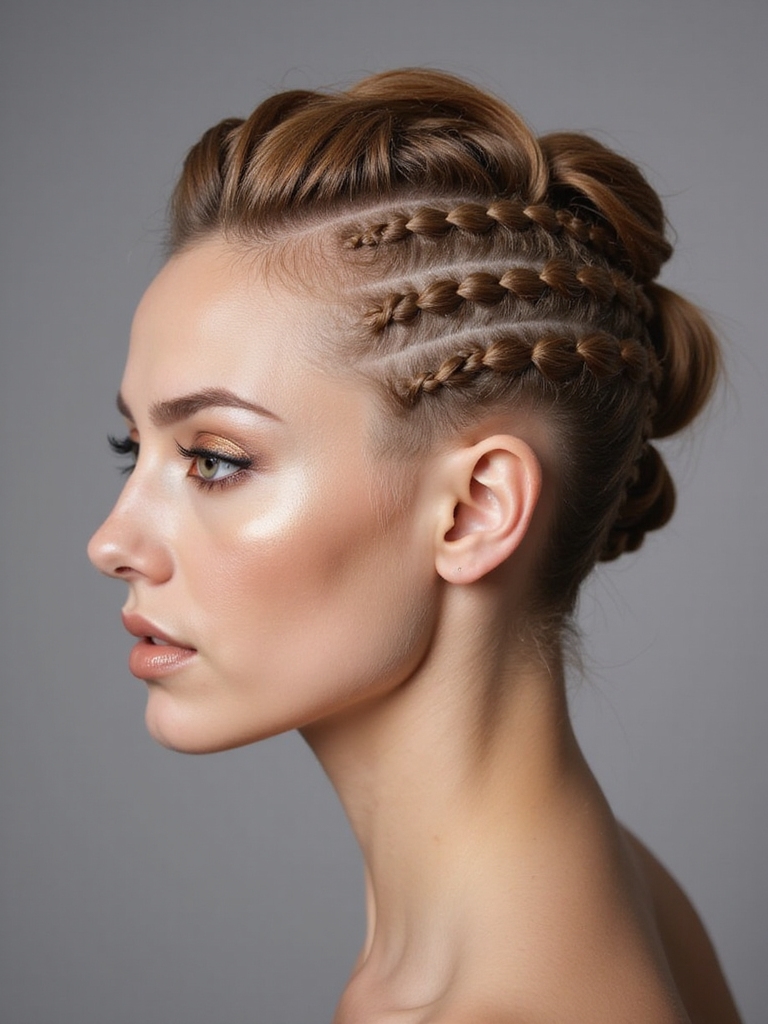
Middle-Split Braids
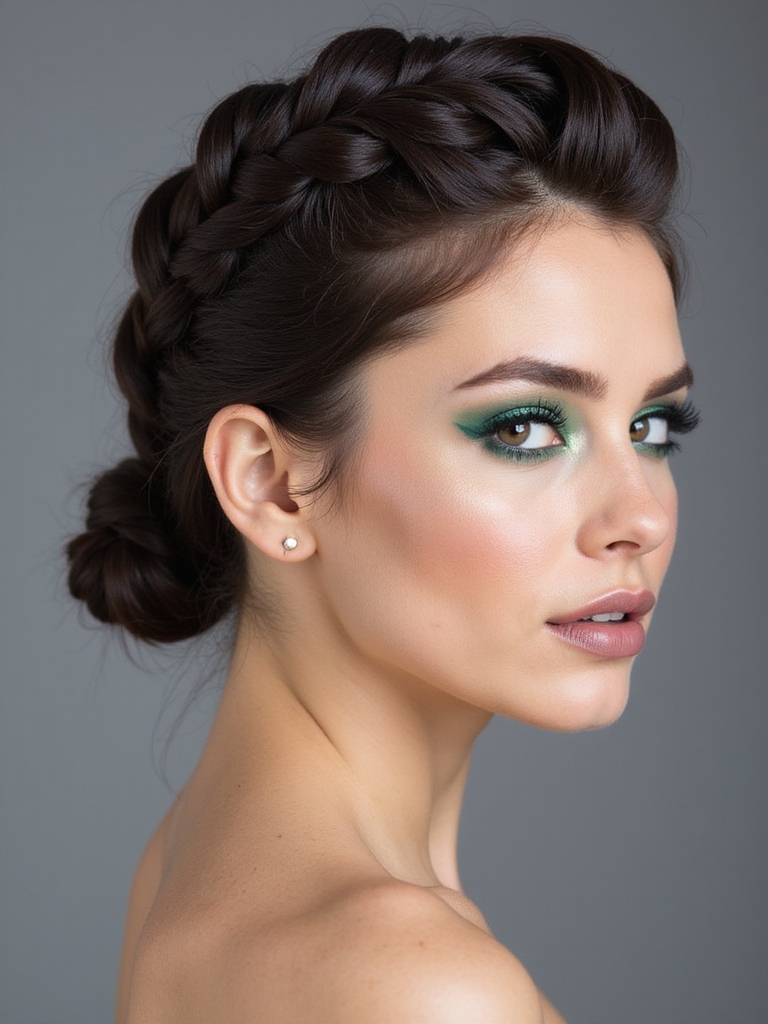
Two braids down a center part are sporty, sharp, and surprisingly grown-up on short hair, a quick nod to fuller braided styles. They keep everything secure for a workout or a long day, and they show off a clean part.
Short braids are easier than they look, since you only need a few crossovers per side. A few pointers:
- Part dead-center and braid each side close to the scalp.
- Secure the short ends with tiny clear elastics, then pin them under.
- Smooth the edges with a little gel for that sleek, polished finish.
| Updo | Effort | Best for |
|---|---|---|
| Low bun or chignon | Easy, 3 minutes | Work, weddings, anything formal |
| Faux hawk or quiff | Medium, 5 minutes | Edgy, going-out looks |
| Headband tuck | Beginner, 2 minutes | No-skill everyday polish |
Messy Faux Hawk
A faux hawk pins the sides in and pushes the center up into a soft peak, all illusion and no shaving. On short hair it is edgy, fast, and full of attitude.
It is one of my favorites for short, layered cuts that refuse to lie flat. Build it like this:
- Pin small sections of the sides in toward the center, stacking up the back.
- Pinch the center pieces up and out with a little paste for height.
- Tousle the peak with your fingers so it looks deliberately messy.
Knotted Headband
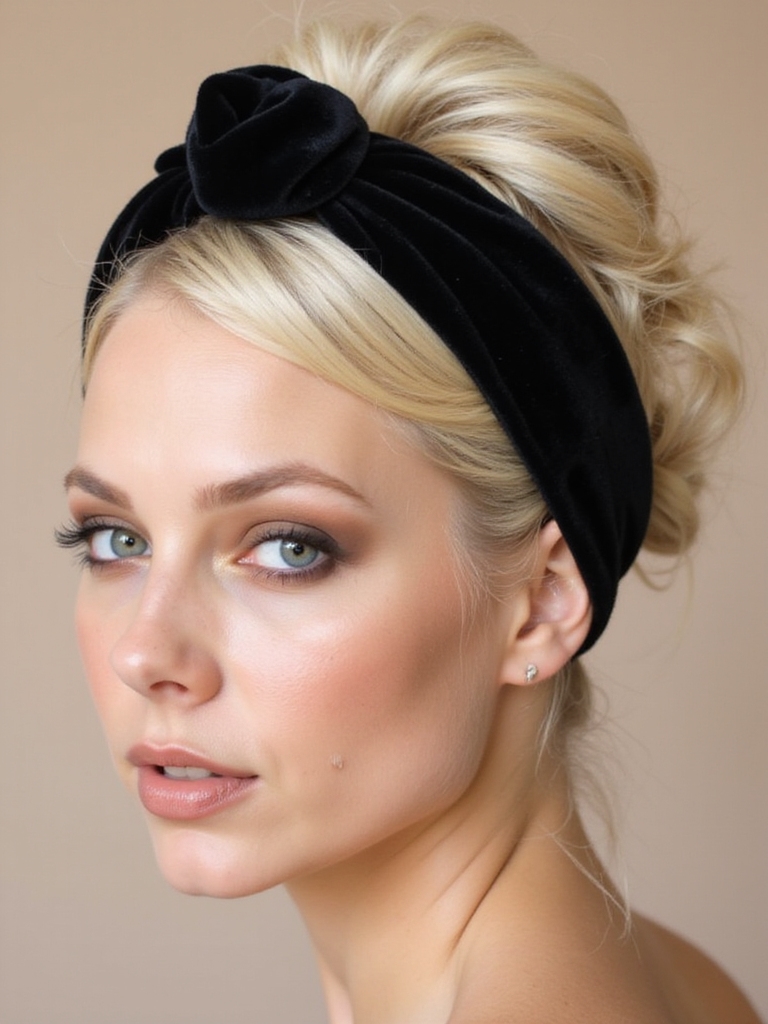
A knotted headband is the no-skill updo, and it looks chic anyway. You slip a wide, soft headband over your head, then tuck the hair up and around it for a faux-roll effect.
Clients ask me how to do an updo with zero technique, and this is the answer. The headband hides every pin and holds the shape for you. Tuck the back sections up over the band, secure a pin or two underneath, and leave a few face-framing pieces out. It works on a bob and even a longer pixie.
A few updo terms worth knowing:
📖Backcombing
Teasing hair at the roots to build volume and grip for height.
📖Chignon
A smooth, coiled bun worn low at the nape of the neck.
📖Bobby pin cross
Crossing two pins in an X to lock a section far more securely.
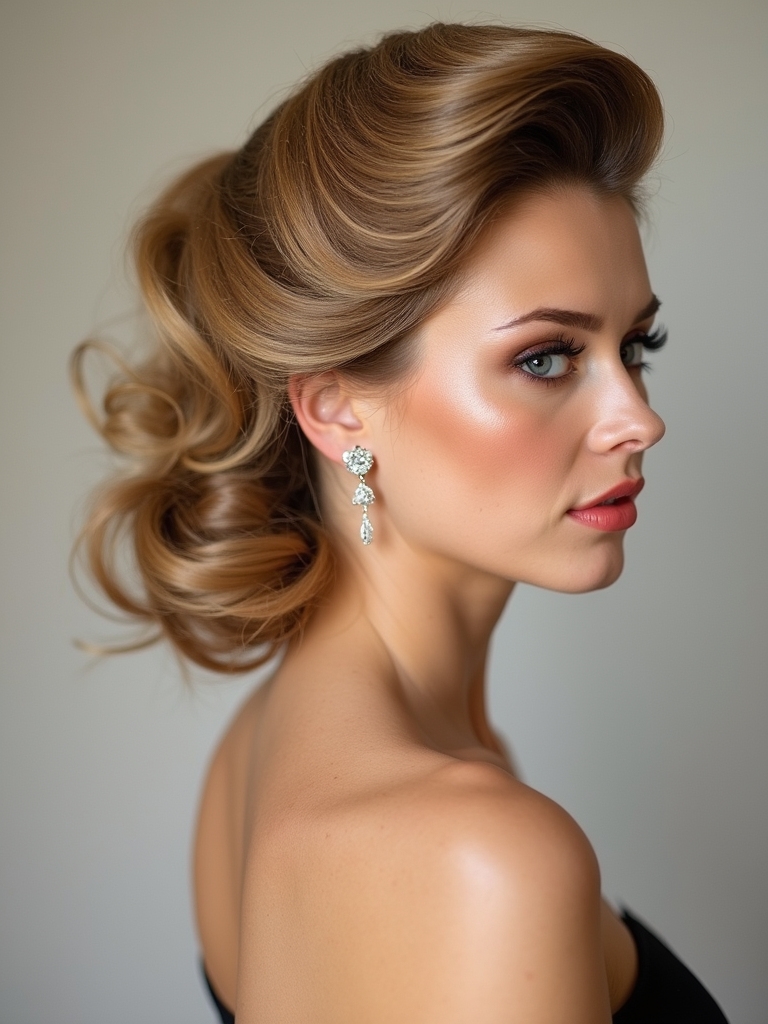
Elegant Roll Updo
This is the dressed-up cousin of the French roll, with the hair rolled into a smooth, sculpted shape at the back. It reads formal and polished, the kind of shape that holds up through a long black-tie event without a single pin working its way loose.
Short hair rolls neatly because the pieces are light. A few steps to keep it polished:
- Backcomb lightly at the crown for a little lift before you roll.
- Roll the lengths under and inward, pinning the seam as you go.
- Set it with a flexible-hold spray and tuck any stray ends out of sight.
Braided Bangs
Braiding your bangs back is the smartest way to grow out a fringe or just get it off your face. A tiny braid runs from the part along the hairline and pins behind the ear.
Growing Out a Fringe
It is practical and pretty at once, and it works even when the rest of your hair is down. The braid adds a delicate detail to an otherwise simple style.
Keep the braid close to the scalp so it lies flat, and pin it with a bobby pin that matches your hair. For more fringe ideas, see these braided bangs and other looks.
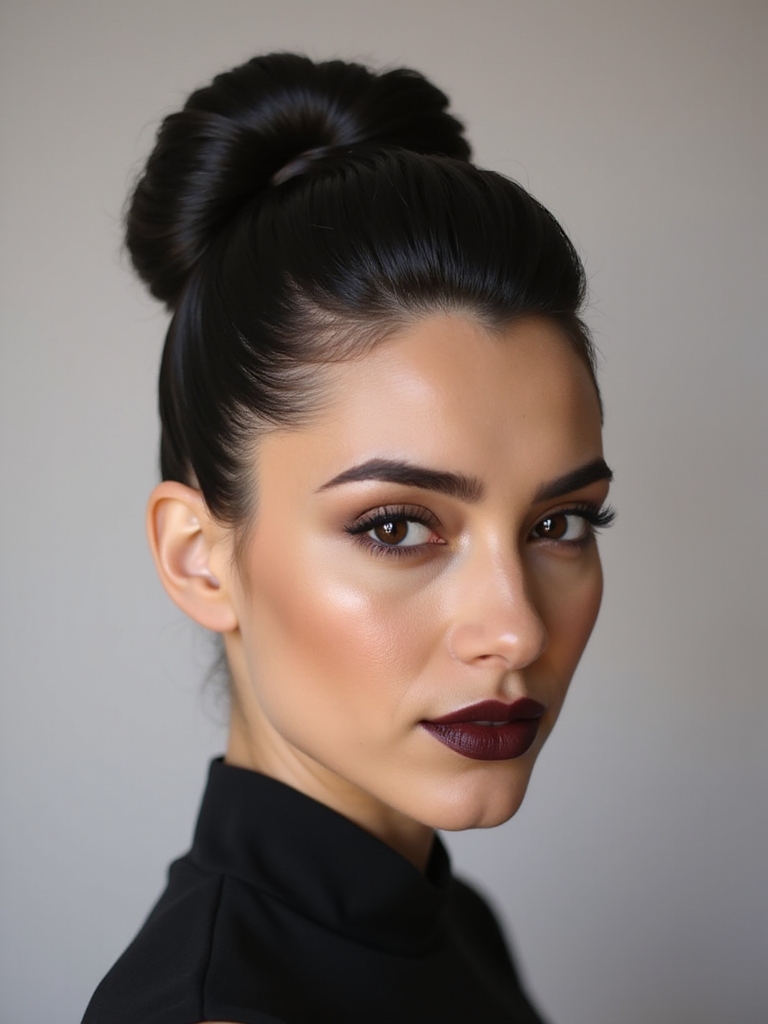
Accessorized Mini Bun
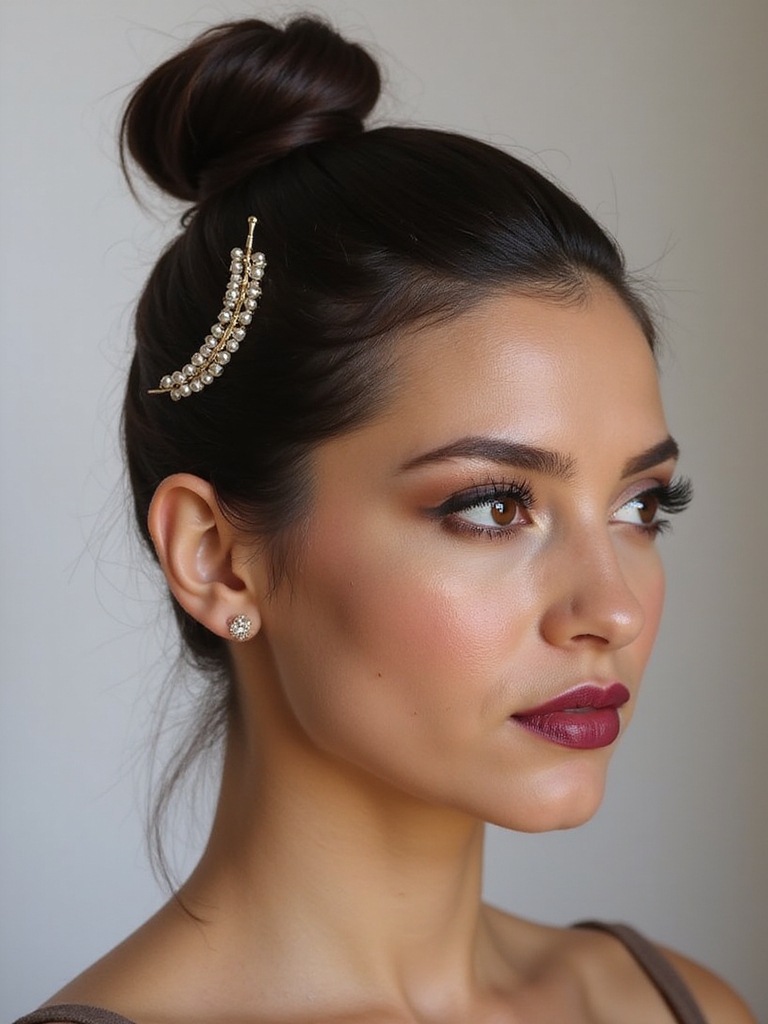
A mini bun is the workhorse of short-hair updos, and the right accessory turns it from gym to dinner in seconds. The bun itself is tiny; the accessory does the talking. Try this:
- Gather hair into a small bun, high or low, and pin it secure.
- Add a pearl pin, a small claw clip, or a ribbon wrapped around the base.
- Let a wisp or two fall free to keep it from looking stiff.
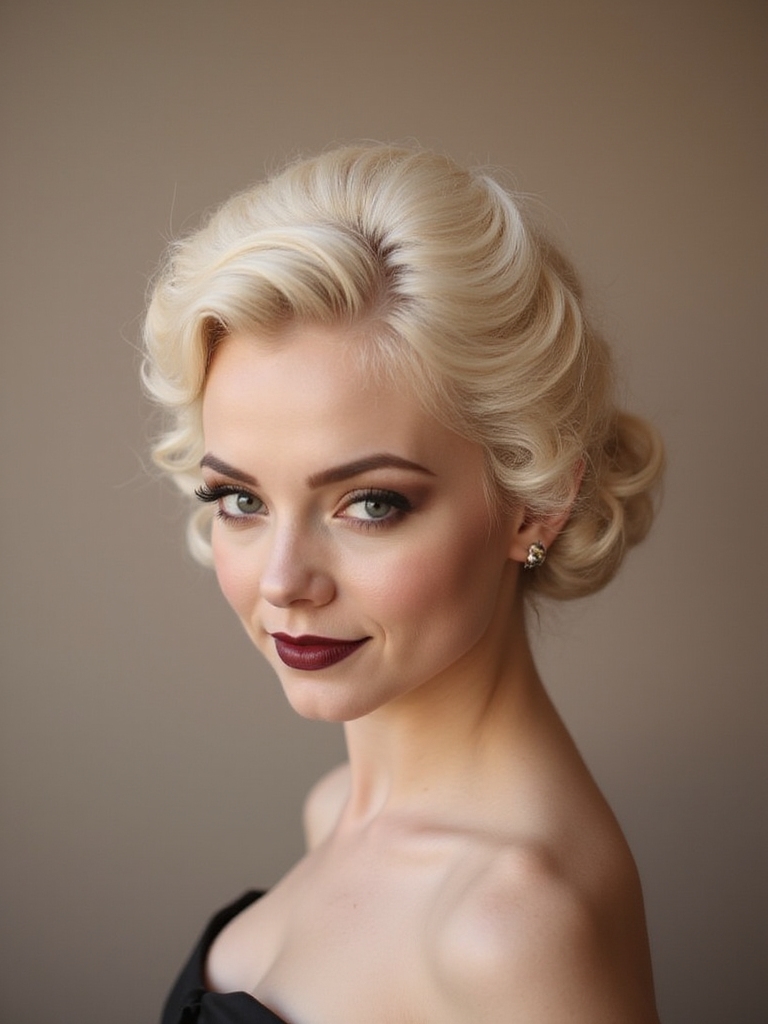
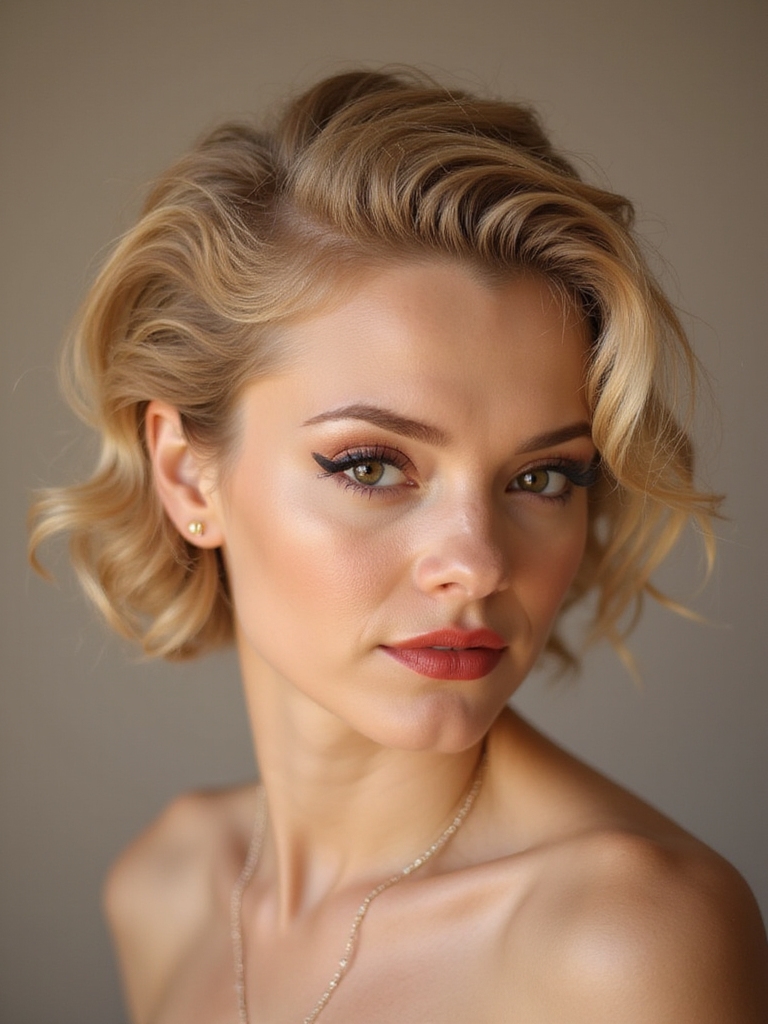
Vintage Charm Style
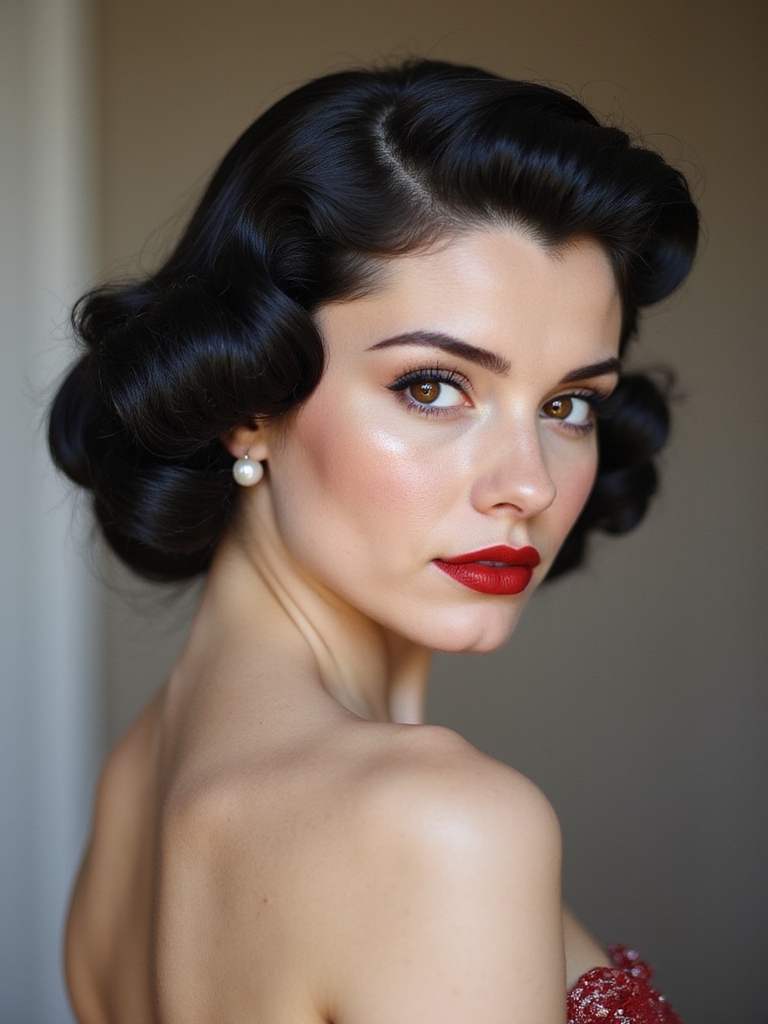
A vintage-inspired updo leans on soft waves, pin curls, and a deep side part for old-Hollywood charm. On short hair it feels intentional and a little glamorous.
It is what I turn to when an outfit calls for something special. A few moves get you there:
- Set soft waves with a flat iron, then pin one side up and back.
- Leave a sculpted wave across the forehead for that retro feel.
- Mist with a shine spray so the waves catch the light.
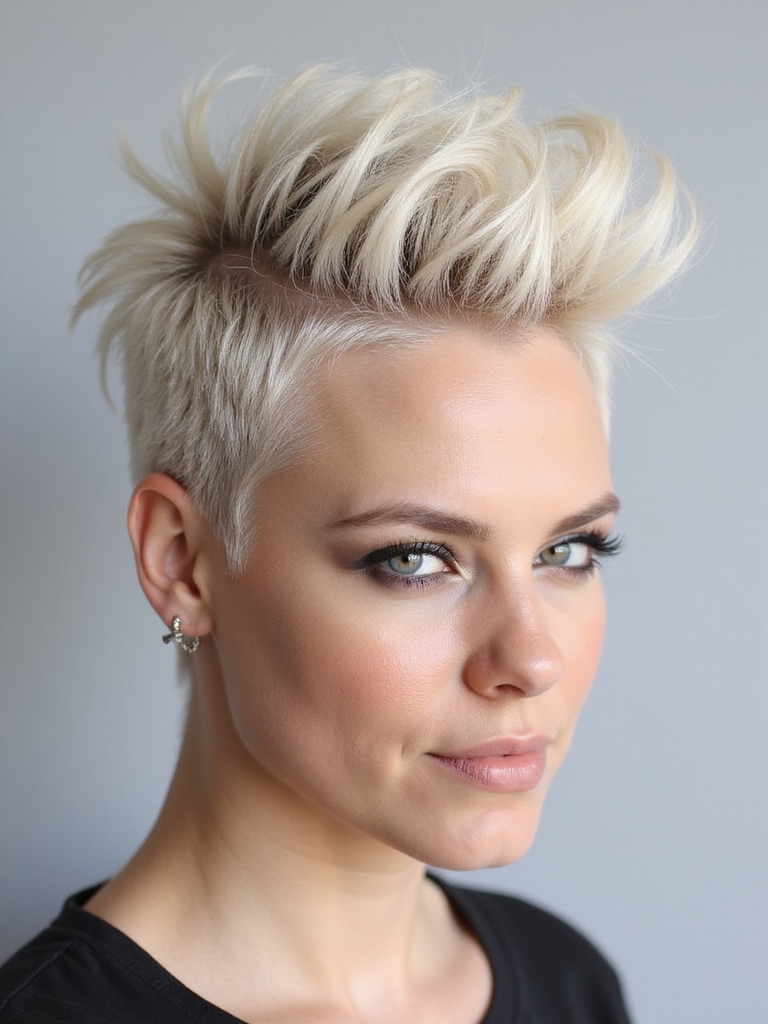
Textured Quiff
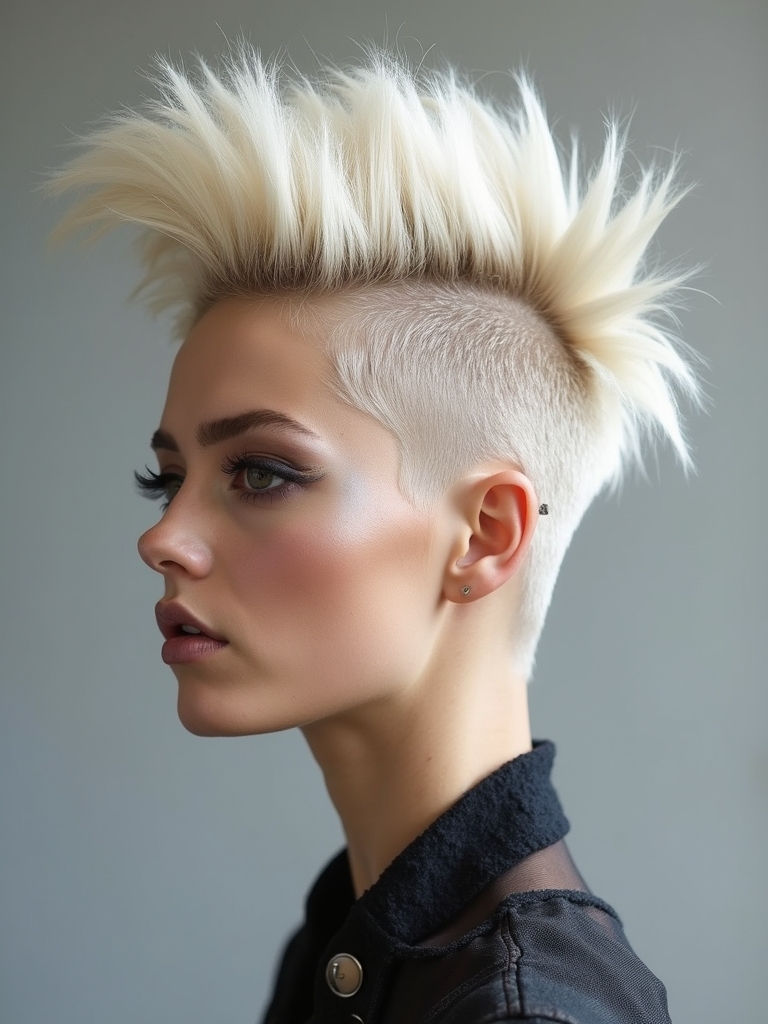
A quiff sweeps the front section up and back into a lifted, textured wave. It is bold and modern, and it is a brilliant way to add real height to short hair, whether you are dressing up for an event or just want to feel a little more put-together on an ordinary weekday.
Height is the whole point, so build it at the root. Here is how:
- Backcomb the front section at the roots for grip and lift.
- Sweep it up and back, then pin it underneath to hold the height.
- Break up the surface with a little paste so it looks textured, not stiff.
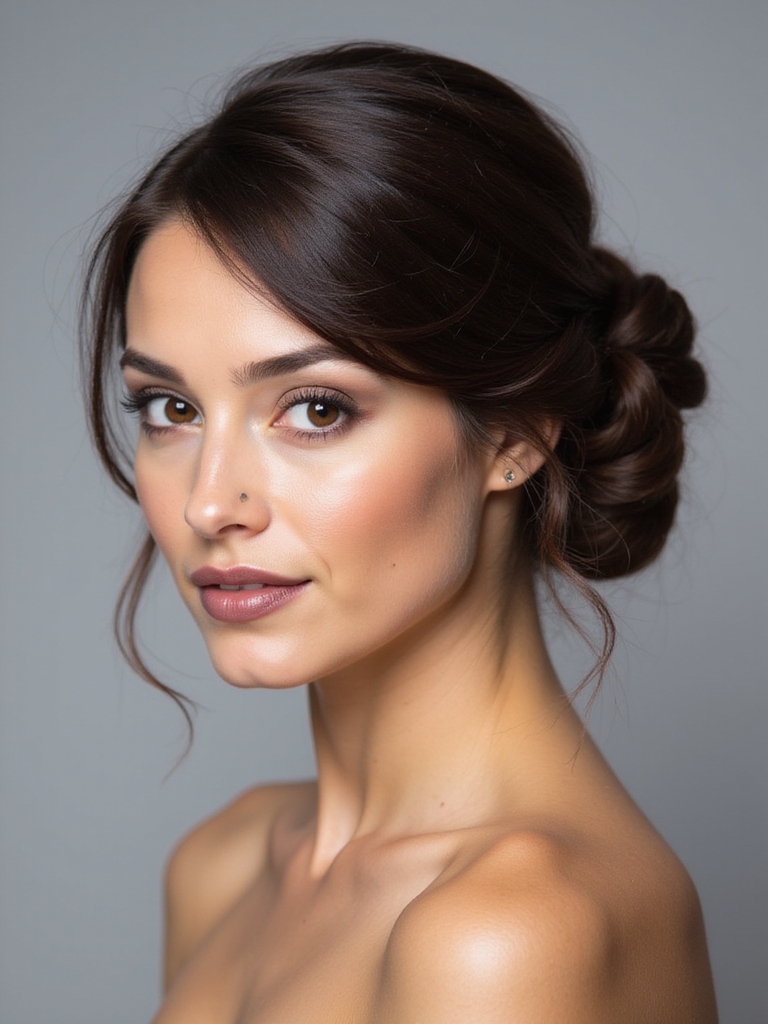
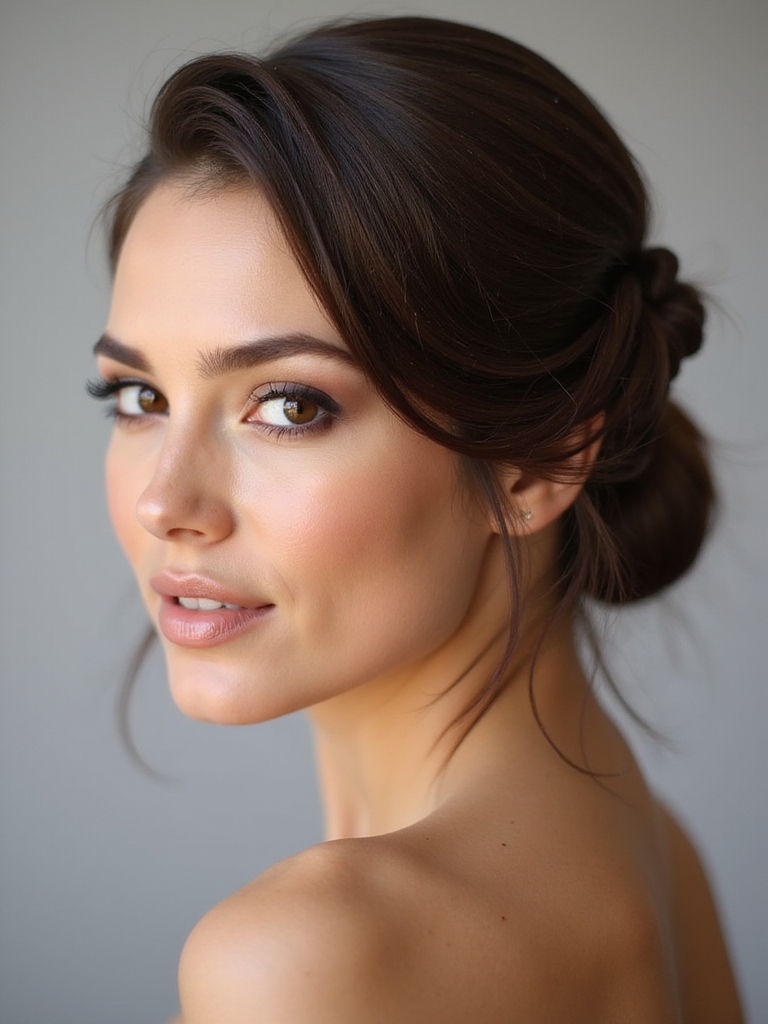
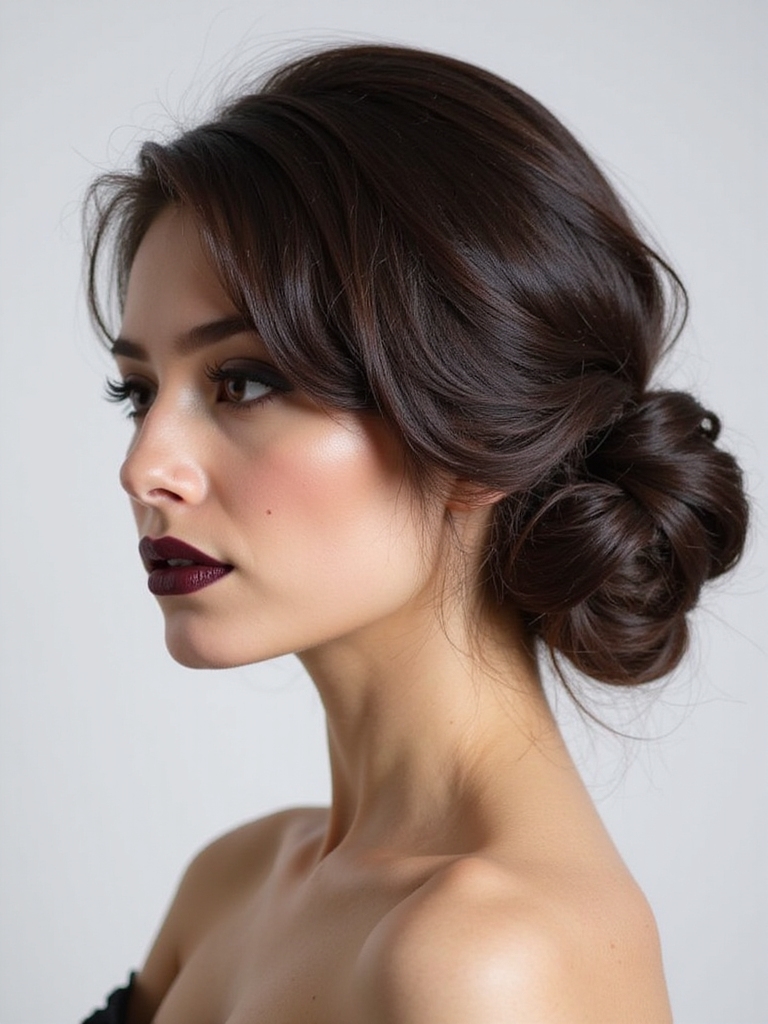
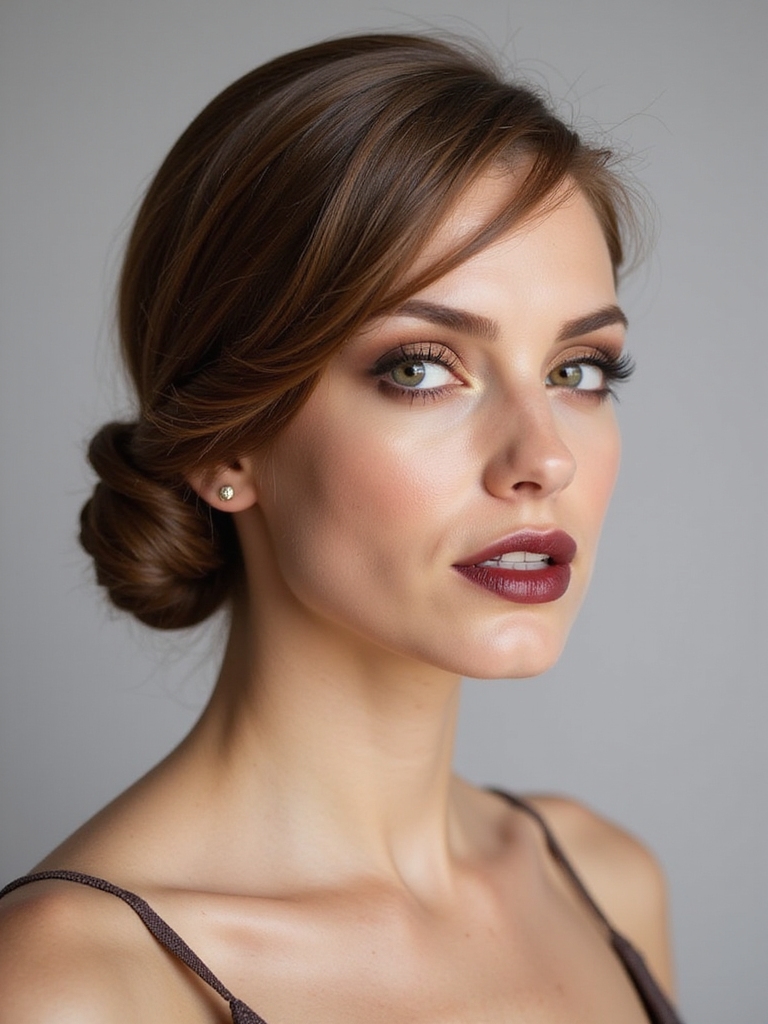
Twisted Side Bun
A twisted side bun gathers everything low and to one side. A soft twist adds the texture. It is romantic and off-duty elegant, and it is very forgiving of short, uneven lengths, which is exactly why it has become my default when a client wants pretty without a lot of fuss.
Sweep the hair to one side at the nape, twist it loosely, and coil it into a low bun behind one ear. Pin generously, since short pieces want to spring free.
Coax a strand or two down by each ear so the look stays soft. It is a go-to for weddings and date nights, and it takes under five minutes.
Finger Waves
Finger waves are the most striking thing you can do with a short, sleek bob. The S-shaped waves are molded flat against the head with gel and a comb, full old-Hollywood drama.
They take patience but no heat, which is gentle on your hair. You comb the gel-soaked hair into ridges and clip each wave until it sets.
This style flatters deep side parts and works beautifully on textured and relaxed hair alike. A strong gel and a fine comb are the only tools you need. Let it dry fully before you touch it.
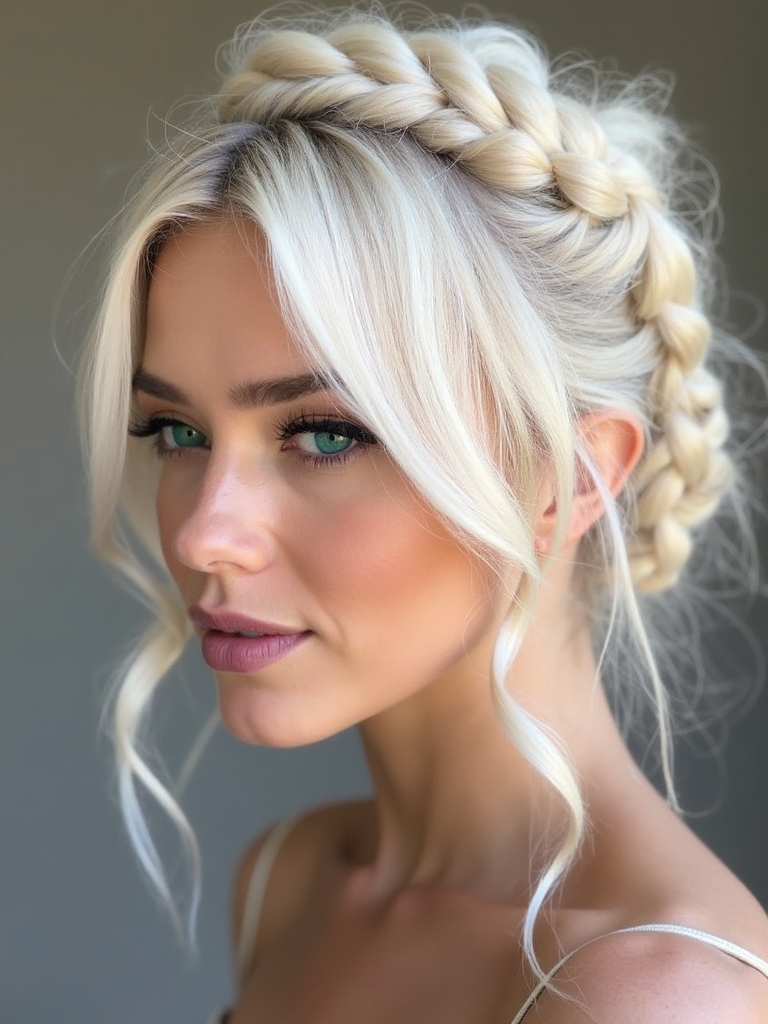
Fishtail Crown
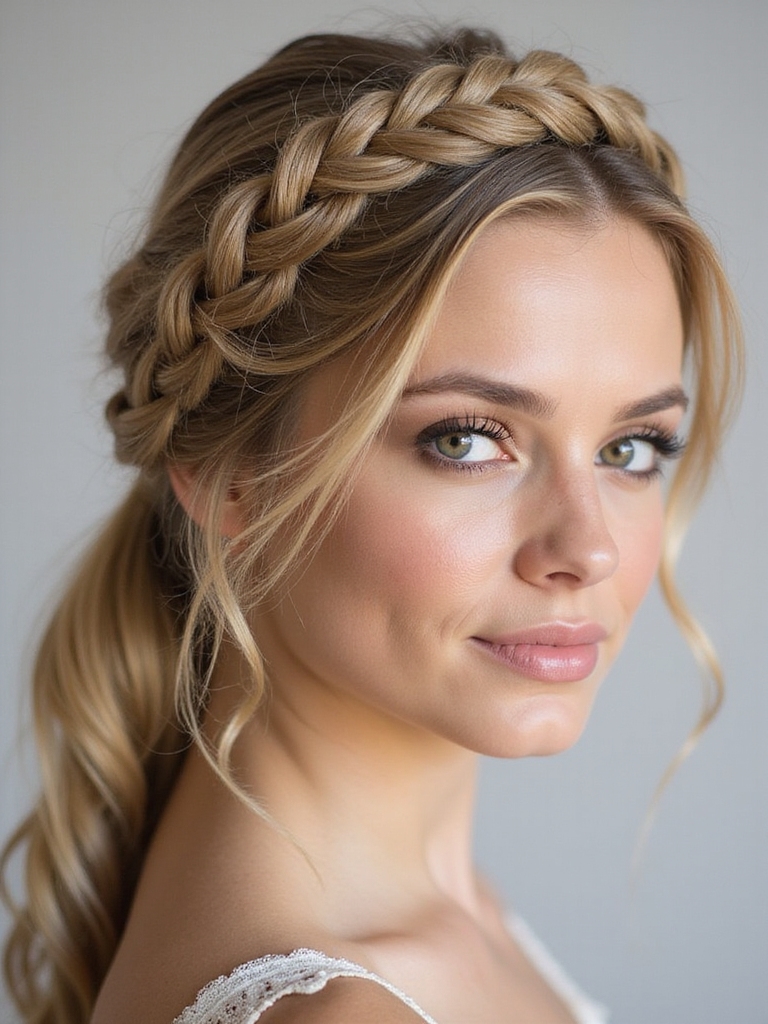
A fishtail crown runs a delicate braid around the back of the head. Think of it as a woven headband. It looks far harder than it is, since a fishtail is just two sections crossing over.
On short hair you braid small and pin as you go, adding pieces to keep the crown going around. The braid swallows the short ends inside its own weave, so none of those tricky little pieces stick out the way they do in a plain ponytail or a low bun.
It is a showstopper for a special event and holds well on day-old hair. Gently tug the edges of the braid wider once it is pinned to make it look fuller and softer.
Bouffant Half-Updo
A bouffant half-updo pins the crown up with volume. The rest stays down. It adds instant height and a little drama, and it suits short hair that needs lift up top.
The crown volume is what makes it. A few steps:
- Backcomb the crown section well at the roots for height.
- Smooth the top layer over the backcombing and pin it at the back.
- Leave the sides and lengths down for a soft, balanced finish.
Modern Tuck-and-Roll
The tuck-and-roll is the easiest polished updo there is. You add a headband or just use pins, then tuck the lengths up and under in a continuous roll.
Keeping It From Slipping
On short hair it gives a clean, modern shape with almost no skill required. The tucking hides every short end inside the roll.
Work in small sections so nothing slips, and pin each tuck before moving on. A light spray locks it down. Let a strand fall by each temple so it does not look too prim.
Braided Mohawk
A braided mohawk runs a braid or a row of braids down the center while the sides stay flat or pinned. It is bold, intricate, and a real statement on short hair.
This one rewards a little practice, but the payoff is huge. Braid the center section from front to back, keeping the sides sleek, and pin the braid down so it sits like a crest. For more braided ideas, look at these braided mohawk styles. It holds best on stretched, day-old hair with a little gel at the edges.
Sleek Low Chignon
The chignon is the most elegant updo on this list, a smooth coil pinned low at the nape. It is the one I steer brides and event-goers toward for timeless polish. To shape it:
- Smooth everything back with cream and gather it low.
- Twist into a coil and wrap it into a flat, round shape against the nape.
- Pin all around the edge and mist with a shine spray for a glassy finish.
Pompadour Puff
A pompadour puff lifts the front into a high, rounded puff and pins it back. The rest stays as it is. It adds serious height and a retro-cool edge to short hair. Build the puff like this:
- Backcomb the front section hard at the roots for a sturdy base.
- Smooth the top, roll it back into a puff, and pin it at the crown.
- Adjust the height with your fingers before locking it with spray.
Quick Elegant Twist
When you have two minutes and need to look pulled-together, this is the twist to know. You gather everything, twist it up vertically, and pin it into a simple French-twist shape.
It is the fastest dressed-up updo in the lineup, and short hair makes it even quicker since there is less to twist. Tuck the ends down into the twist and pin the seam. Add a clip if a few pieces refuse to stay. It carries you from desk to dinner without a redo, much like a quick low bob updo would.
Polished Slick-Back
The slicked-back look is having a major moment, and short hair wears it well. You comb gel through and sweep everything straight back for a sleek, wet finish.
Getting the Wet Look Right
It is the lowest-effort high-impact style here, no pins and no braiding. Just gel, a comb, and confidence.
Use a strong gel and comb in clean, even strokes from the hairline back. On a bob, pin the back so it stays put. Lately I see this requested for everything from the gym to the red carpet.
Messy Pin-Up
A messy pin-up is the undone updo. It is for days when polished feels like too much. You pin pieces up loosely, leaving plenty out, for a soft, lived-with shape.
The beauty is that it is supposed to look imperfect, so short, uneven lengths only help. Twist and pin random sections up toward the crown, pull pieces loose around the face, and mist with texture spray. It is the five-minute updo I lean on when I want effort-free, not effortful.
Bubble Ponytail
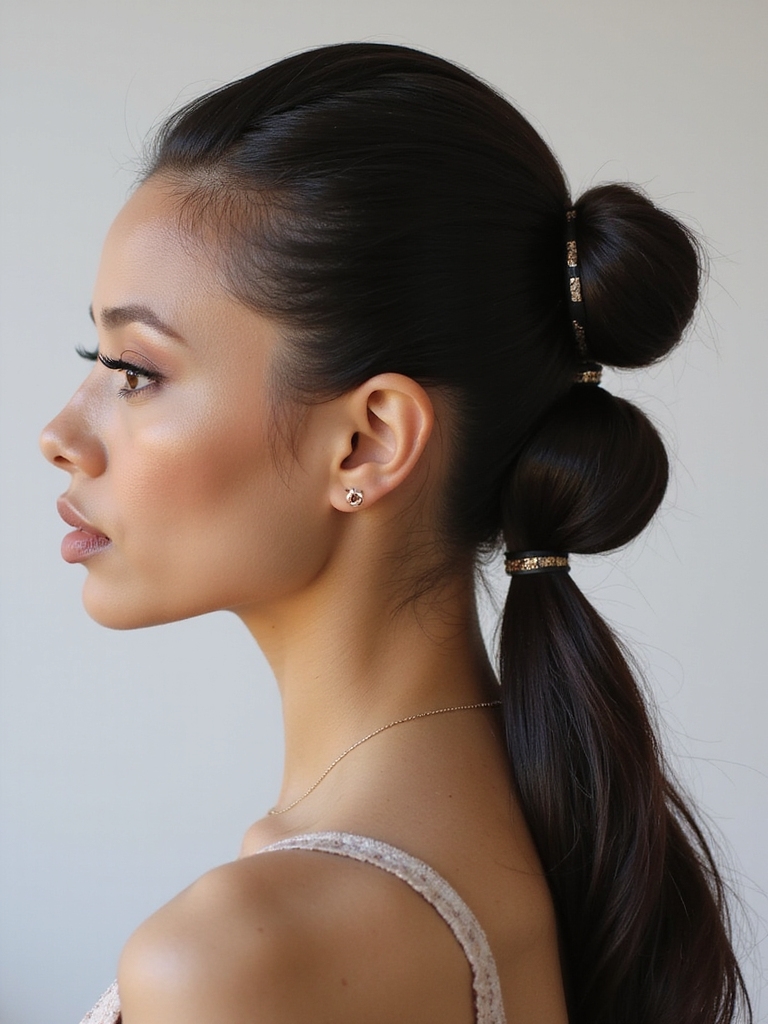
A bubble ponytail is the playful one. You segment a small pony into puffed bubbles with elastics. It works on short hair as a tiny half-up or a nub of a pony at the crown, a cousin of the longer braided ponytail.
It is a favorite for a youthful, festival-ready vibe. Build the bubbles like this:
- Tie a small pony or half-up with a clear elastic.
- Add elastics down the length every inch and gently puff each section.
- On very short hair, two or three bubbles are plenty for the effect.
Common Mistakes to Avoid
The number one reason short-hair updos fall apart is clean, slippery hair. Freshly washed hair has no grip, so updos slide loose within the hour. Work on day-old hair, or fake it with a mist of dry shampoo or texture spray at the roots, and everything holds far better.
The other slips are easy to dodge. Using too few pins is common; short pieces need more anchoring, not less, so be generous and use the cross-pin trick for grip. Skipping a finishing spray lets flyaways ruin a polished look, so set the style once you are done. And resist yanking short pieces too tight, which only makes them spring free. A looser, textured hold actually lasts longer on short hair.
Short Hair Updo Questions, Answered
?Is my hair too short for an updo?
Probably not. If you can gather a small section into a clip, you can do a half-up, a tuck, or a pinned twist. Pixies handle partial updos and accents like a quiff or a half-up; bobs can do nearly everything on this list with enough pins and a little texture spray for grip.
?How do I keep short pieces from falling out?
Texture and pins. Work on day-old or texture-sprayed hair, use more bobby pins than feels necessary, and cross them in an X to lock each section. A flexible-hold finishing spray then seals the deal and keeps flyaways from creeping out as the day goes on.
?What products do I actually need?
Very few. A texture or dry shampoo spray for grip, a pack of bobby pins, a few clear elastics, and a flexible-hold finishing spray. A little gel helps for sleek looks like the chignon or slick-back.
?Which updo is easiest for a total beginner?
The knotted headband tuck. You slip on a headband and tuck the hair around it, so it needs almost no skill and hides every pin. The half-up top knot is a close second.
?Can I do these updos on curly or textured hair?
Absolutely. Curly and textured hair grips beautifully and adds built-in volume to buns, twists, and crowns. Work with your natural texture, use a little edge control for sleek styles, and pin into the denser sections for the best hold.
Pin It Up and Try One
Short hair is not the limit on updos people think it is. With a little texture, a handful of pins, and the cross-pin trick, a bob or a pixie can twist, roll, and puff into almost anything on this list.
Pick the easiest one that caught your eye, the headband tuck or the low bun, and practice it once on a quiet evening. By the second try it will take two minutes, and you will have a go-to for every occasion.