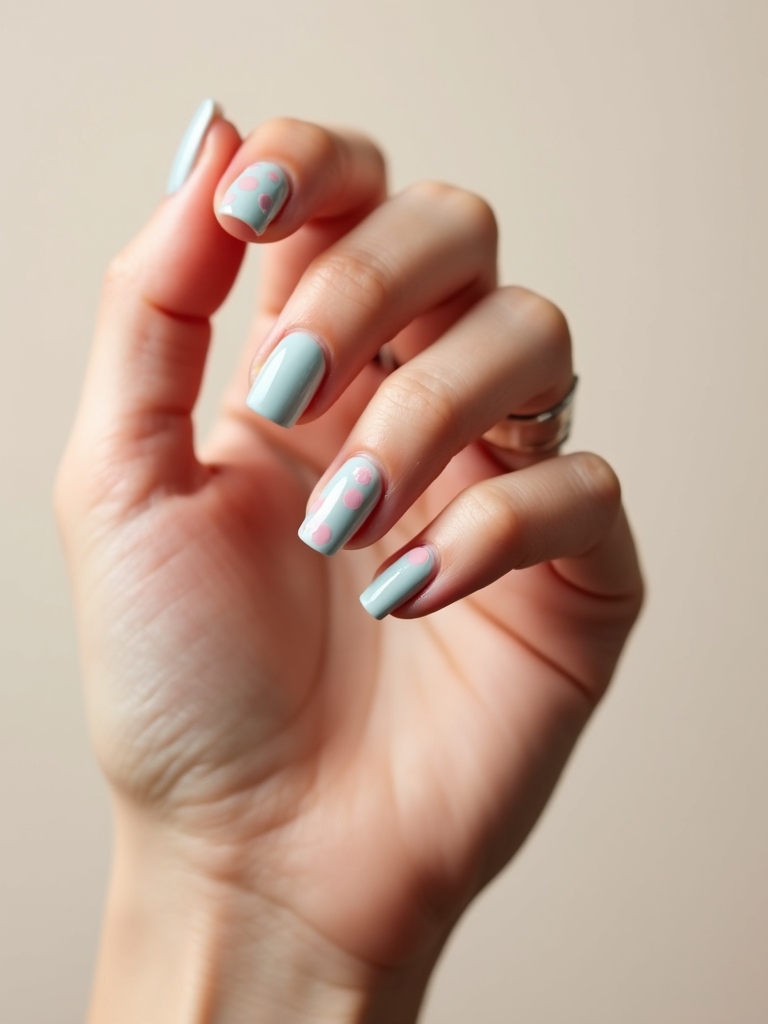
What separates a Valentine manicure that survives the whole date from one that chips over dessert? Almost always the prep, not the polish. The prettiest valentines day nails fall apart by the second drink if the base was rushed, so this guide is as much about technique as it is about the fourteen looks themselves.
Below are the sets I get asked for most around mid-February, from a classic siren red to a magnetic merlot velvet, each with the how-to that makes it last and a note on what trips people up. There is a Common Mistakes section at the end too, because the difference between a chic set and a cheesy one usually comes down to a few small calls.
Get It Right From the Base Up
- The base makes or breaks a Valentine set. Push cuticles, buff lightly, and use a ridge-filling base before color, then cap the free edge so the manicure survives past date night.
- Pick one texture and one focal point. A glossy red, a velvet merlot, or a single chrome heart looks chic; stacking five effects looks busy. A gel set runs $40-60, and a top-coat refresh midweek buys extra days.
- Most of these work at home with the right tools: a dotting tool for hearts, a damp sponge for ombré, striping tape for clean lines, and press-on chrome powder for shine.
Classic Glossy Blue-Red

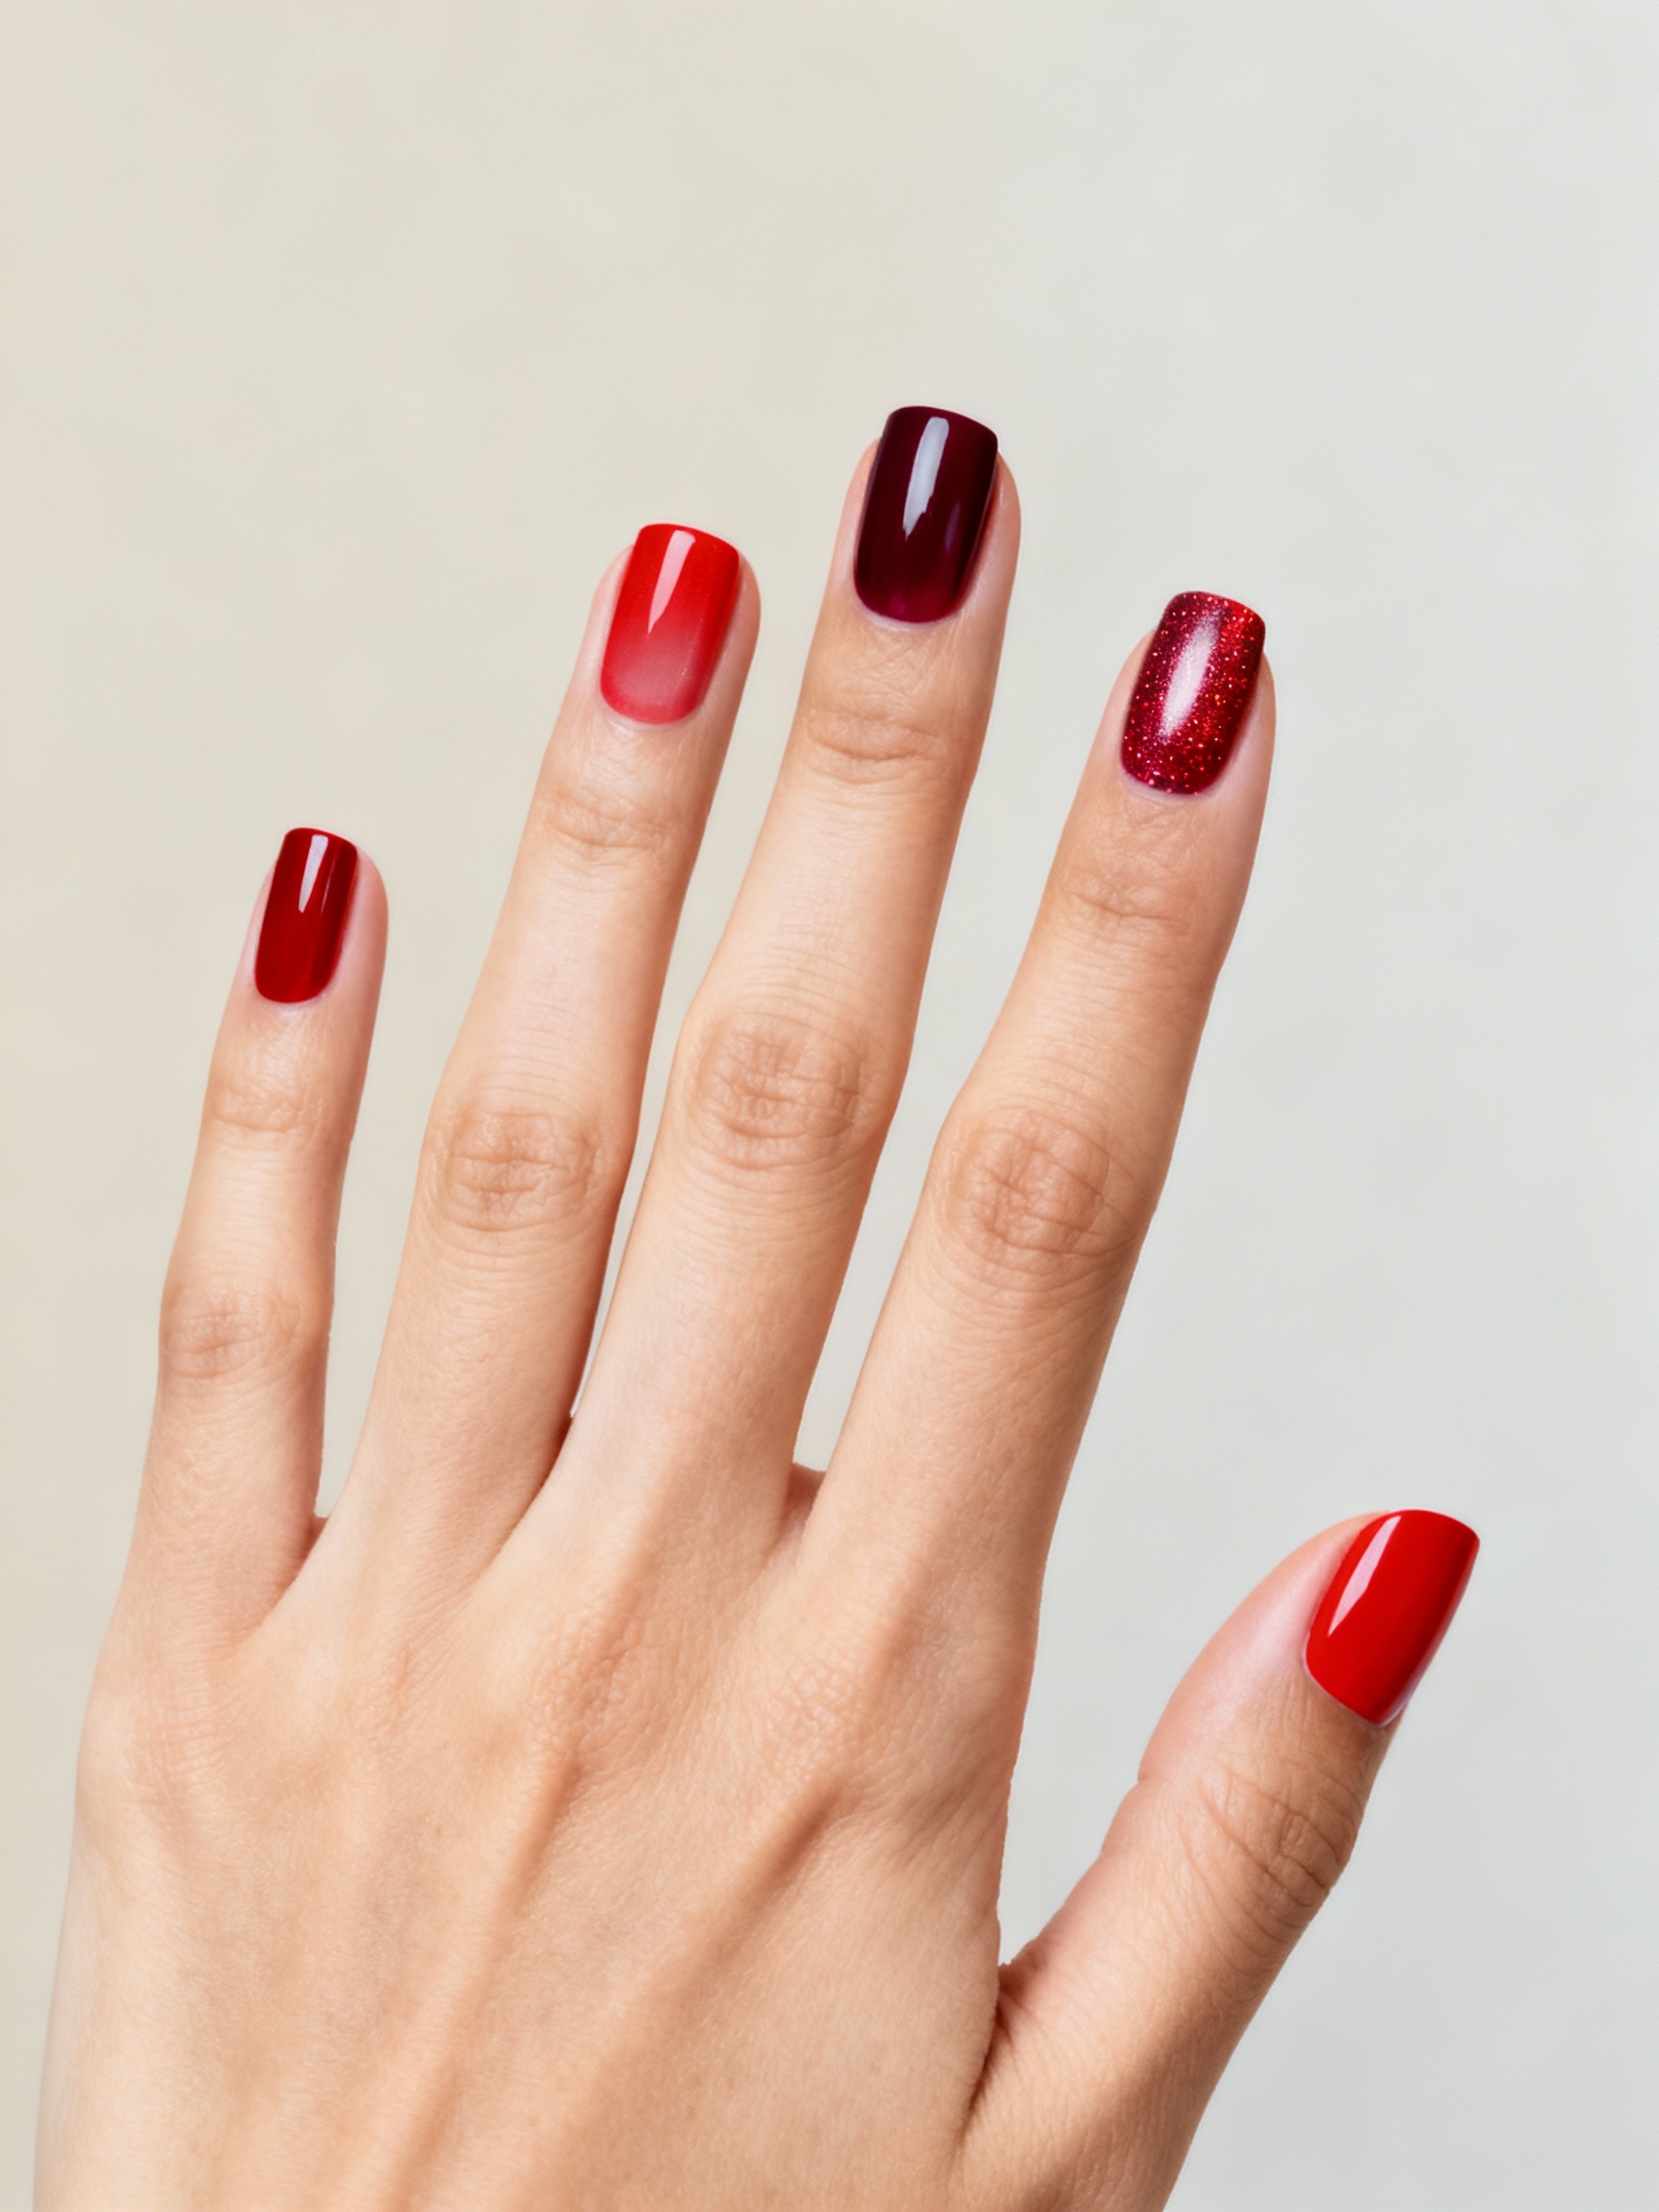
Siren red never dates. A glossy finish makes it look instantly expensive. I steer most clients to a blue-red rather than an orange one, because the cool undertone brightens teeth and flatters every skin tone.
Cool Red Flatters Everyone
Prep is the whole story with a solid color like this. Push the cuticles and buff lightly. Lay a ridge-filling base so the surface is glass-smooth before any color goes on. Then two thin coats, sealed with a gel-effect top.
Cap the free edge of every nail and reapply a top coat midweek, and a simple red holds its shine far longer than people expect. It is the most timeless set here, and the easiest to get wrong by skipping the prep.

Soft Rosy French Tips

A pink French is the gentle alternative to red, an easy, fresh alternative. You lay a sheer milky base, then paint blush-toned tips, rounded for a classic feel or micro-thin for a modern one.
A translucent rosy wash over the tips adds depth. Short oval nails wear this best, clean and ladylike.
For a romantic gleam, dust a little chrome powder over the tips before you seal, which catches light without shouting. I recommend it to clients who want the holiday only hinted at, the way a soft baby-pink set keeps things quiet.
| Red type | Best for | The vibe |
|---|---|---|
| Blue-red (cool) | Every skin tone; brightens teeth | Classic and polished |
| Orange-red (warm) | Warm and tanned skin | Fresh and lively |
| Deep merlot | Drama lovers; glows on deep skin | Sultry and rich |
A Single Heart on Sheer Nude

When you want pared-back, a nude base with one tiny heart as the hero is the most elegant route. The restraint is the whole charm, and it takes thirty seconds of art. Here is the trick:
- Choose a sheer beige that matches your undertone for the base
- Dot two tiny red spots side by side, then pull them down into a heart with a toothpick
- Place it off-center, near the cuticle or the tip, for balance
- Try black, white, or chrome hearts on short rounded nails to keep it modern
Deep Merlot Velvet
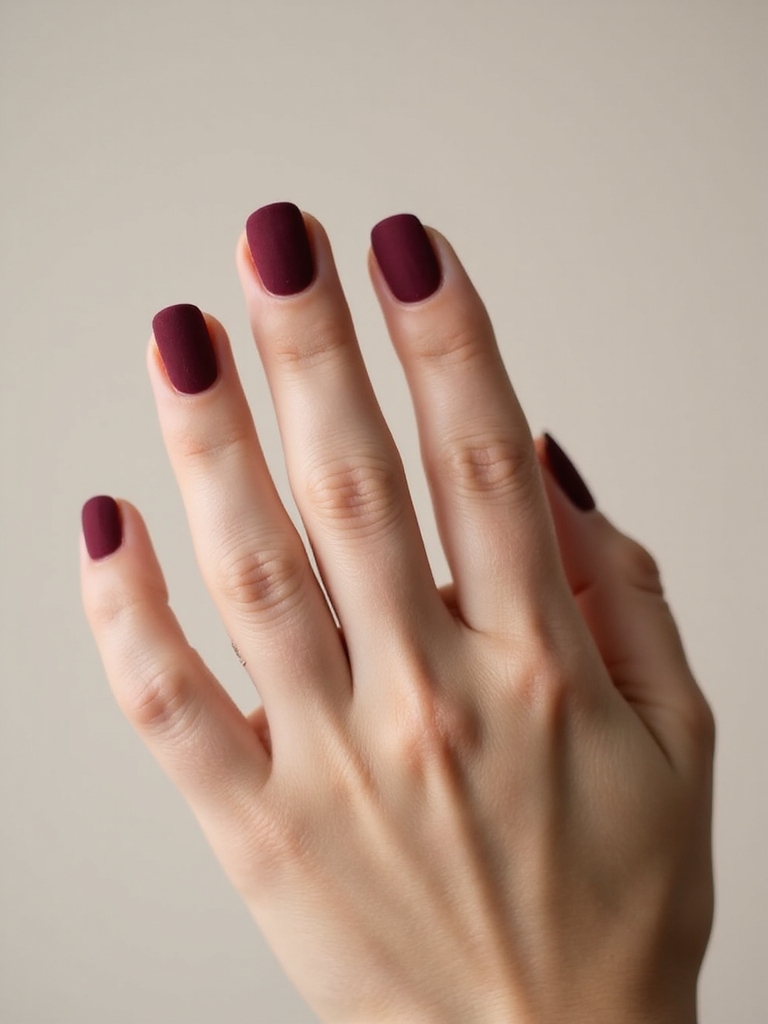
Merlot velvet looks like crushed berries under candlelight, plush and soft-focus. The texture comes from a magnetic velvet powder, which is the part most people get wrong; here the technique matters more than the color.
Apply a deep burgundy gel, then press the magnetic velvet powder on while the gel is still tacky, holding a magnet to draw the particles up into that velour sheen. Seal only the edges with a thin no-wipe top, since a full topcoat flattens the texture.
To keep it, wear gloves for chores, skip heavy oils on the surface, and refresh the velvet with a gentle buff every few days. Treated well, it stays plush, the kind of classy set that earns a second look.
Two Valentine nail myths worth busting:
❌ Myth: Hearts always look childish.
✅ Reality: Scale is everything. One tiny off-center heart on a nude base looks grown; a full hand of big cartoon hearts is what reads young.
❌ Myth: You need a salon for nail art.
✅ Reality: A single heart comes together from two red dots and a toothpick. Most of these designs are more about restraint than skill.
Chrome Hearts on a Blush Base

A soft blush base keeps everything fresh, and mirror chrome details give it a cool, reflective pop. You can run slim chrome cuticle lines or micro outlines, then add tiny chrome heart accents on the ring fingers as the focal point.
Crisp edges are the make-or-break here, so use a dotting tool and press-on chrome powder rather than a brush. A ridge-filler under the blush gives that plush, cushioned look the chrome sits best on.
- Start with a sheer, milky pink over a smoothing ridge-filler
- Apply chrome with a dotting tool for clean heart edges
- Keep the hearts to one or two accent nails, not the whole hand
Milky Pink-to-Red Gradient

An ombré that sweeps from blush at the cuticle to cherry at the tip is romance without much effort. You start with a milky pink base, then dab rosy polish and true red onto a damp makeup sponge.
Bounce the sponge lightly from cuticle to tip so the colors melt together. Then clean the edges and seal glossy. Want sparkle? Add micro-glitter. Want drama? A matte topcoat turns the fade velvety instead.
- Use a damp sponge so the color diffuses softly, with no hard line
- Keep the lightest shade at the cuticle to lengthen the nail
- Clean the skin edges with a brush dipped in remover for a crisp finish
Chrome hearts on a blush base, step by step:
1Build a smooth base
Lay a sheer milky-pink over a ridge-filler so the surface is glass-smooth and cushioned, then cure or dry fully before any chrome.
2Press the chrome heart
Shape chrome powder into a heart with a dotting tool on one or two accent nails, then lock it under a no-wipe gel top right away, before it dulls.
Slim Negative-Space Love Lines

A little bare nail peeking through reads modern and flirty, and slim love lines are the easiest way to do it. You map thin curved lines across an otherwise bare nail, letting the skin show as part of the design. How to keep them clean:
- Use a striping brush and a glossy red or blush gel for the lines
- Anchor each curve from the sidewall to the tip, keeping spacing airy
- On short nails, go micro with one diagonal swoop per hand
- Seal the whole nail glossy so the bare areas stay clean and shiny
Sheer Pink Glittered Tips

This is the subtle take on sparkle, a glitter dip that kisses only the tips rather than coating the whole nail. Over a sheer pink base, you fade micro-glitter from the midpoint out to the edge for a soft, radiant finish.
Working in thin layers is what keeps it from going chunky. A makeup sponge gives the most gradual fade, and a glossy topcoat locks it down so it lasts through date night and beyond.
- Pick rose-gold, blush, or champagne glitter for a warm glow
- Fade the glitter with a sponge from the midpoint to the tip
- Build in thin layers and clean the edges with a brush
Two quick negative-space calls:
1Short nails, can I still do love lines?
Yes, go micro. One diagonal swoop or a couple of fine parallel arcs suit short nails, and the bare space actually looks cleaner on a smaller canvas.
2How do I keep the bare areas from staining?
Seal the whole nail, including the bare parts, under a non-yellowing topcoat, and oil daily. Exposed natural nail stains without a clear seal over it.
Matte Mauve With Glossy Heart Outlines
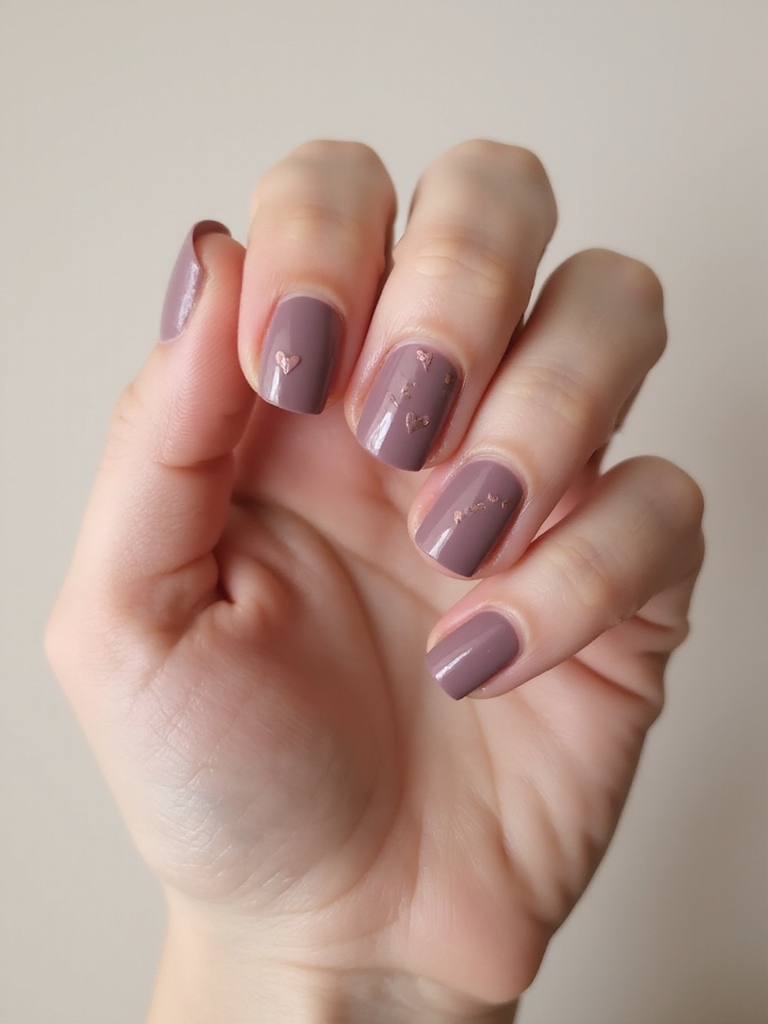
The contrast trick here is texture: a velvety matte mauve base with slim, glossy heart outlines traced on top, so the shine pops against the soft finish. It is understated and clever at once. Here is how to draw clean hearts:
- Lay a matte mauve base and let it set fully before any art
- Use a fine liner and clear topcoat to sketch each heart: start at the apex, pull two mirrored curves, connect them
- Keep the spacing asymmetrical for a modern, scattered feel
- Seal only the hearts so the matte base stays soft around them
Soft Pink Rose-Quartz Marble

Rose-quartz marble looks luxe but stays soft and romantic, like a little love stone on each nail. The veining is delicate work, but the payoff is a finish that looks far more expensive than it costs. Build it like this:
- Sheer a blush jelly base across the nail
- Feather thin pale-white veins with a liner brush, then blur them with a tiny brush dipped in acetone
- Tap subtle shimmer at the cuticle or along one vein for a quartz glow
- Anchor with milky edges and seal under a glossy topcoat
Crimson With Black Lace Filigree
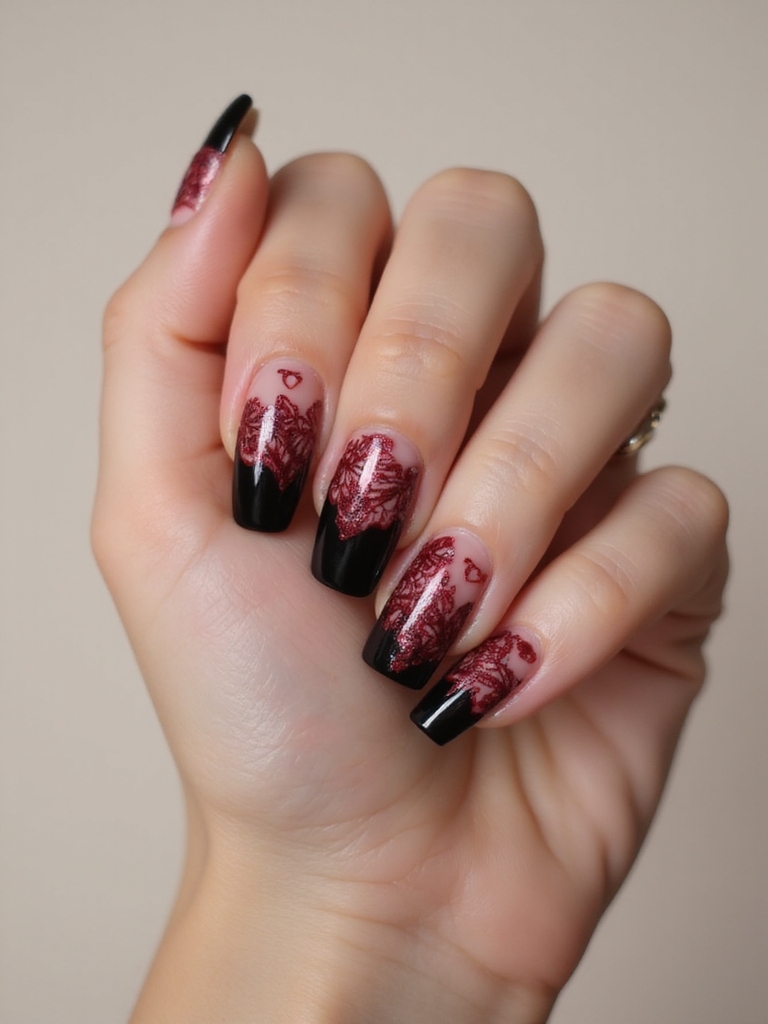
For something sultrier, black and red lace-inspired nails bring real drama, like lingerie for your fingertips. A glossy deep-cherry or crimson base carries delicate black filigree, and the high contrast is what gives it impact.
Keep the edges crisp, whether you stamp the lace or hand-draw it, and lean on negative-space cutouts so it stays light. A matte topcoat on one accent and a tiny crystal at a few centers finishes the look. It is the boldest, most grown-up set here. Nothing about it reads sweet.
Pastel Candy-Heart Mix

On the sweet end, a candy-heart pastel mix puts one soft shade on each nail, mint, lilac, butter, baby pink, and sky, for a playful set that still stays chic. The variety is the fun, and keeping shapes short and glossy is what keeps it grown.
Tiny white decals seal the theme: little hearts, an XO, or a be-mine. Dot gold studs at the cuticles for a touch of polish, then glaze the whole thing. It is nostalgic and modern at once, the most lighthearted look on the list.
- Use one pastel gel per nail for a varied, candy-shop hand
- Add small white heart or word decals to tie in the holiday
- Keep nails short and glossy so the sweetness stays chic
Holographic Pink Shimmer
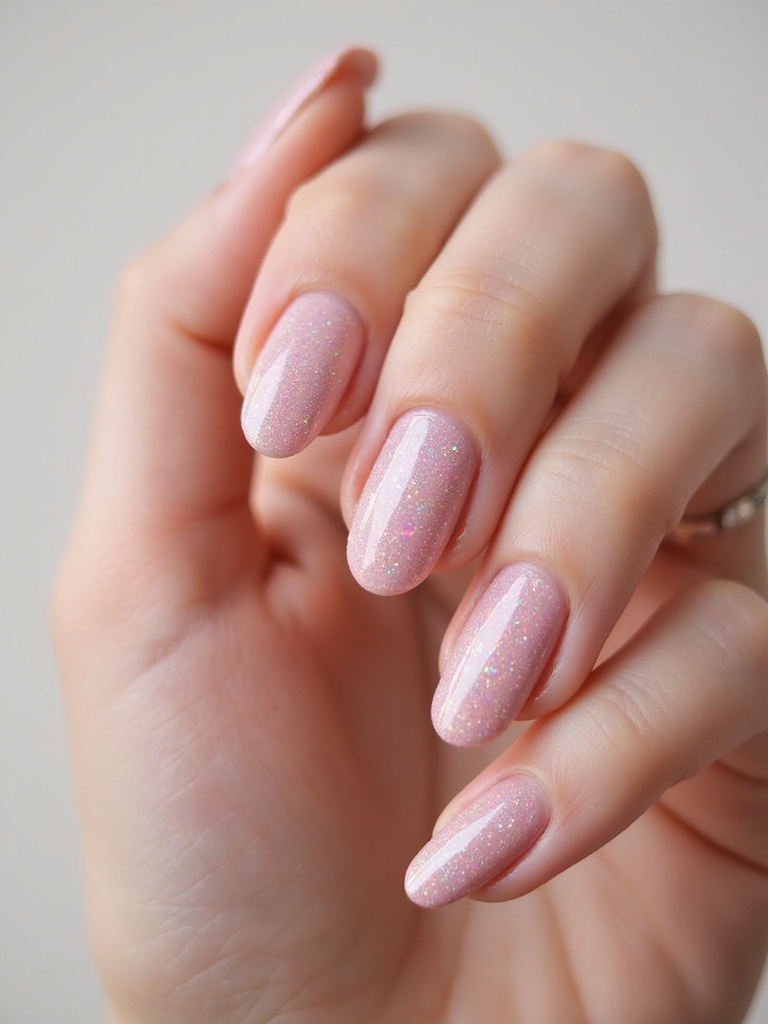
Holographic pink throws an iridescent rose sparkle that catches light like crushed sugar with every flick of the wrist. Call it modern romance with a wink. You control the intensity with how many coats you build. How to wear it:
- Sweep one sheer coat for a soft glow, or two to three for full shimmer
- Add prismatic heart accents on two nails with a thin brush or stickers
- Seal with a glassy topcoat so the holo effect stays bright
- Pair with silver or rose-gold rings to echo the iridescence
Berry Chrome With Micro Hearts

Berry chrome is glossy, flirty, and Valentine-ready in minutes, which makes it my pick when a client is short on time. You sweep a deep berry gel, rub on chrome powder for that slick mirror finish, then pop micro hearts near the cuticles or tips.
Fast, but Looks Expensive
Decals or a dotting tool both work for the hearts, so this is an easy DIY. Anchor everything with a clear builder gel and finish with a high-shine top.
The deep berry against the bright chrome looks expensive. The tiny hearts keep it from feeling like an everyday set. It is the fast track to romantic without the chair time.
Common Mistakes to Avoid
The fastest way to ruin a Valentine set is to skip the base. Polish over unprepped, oily nails lifts within a day, so push cuticles, buff, dehydrate, and use a ridge-filler before any color. The second mistake is forgetting to cap the free edge, which is exactly where chips start; running the color and topcoat over the tip seals it. And whatever the look, a midweek top-coat refresh keeps the shine alive past the weekend.
On the design side, two errors come up again and again. Big cartoon hearts on every nail read juvenile, so shrink the motif and use one accent instead. And pastel candy shades go chalky when applied too thin, so use a gel formula or build patient coats over an opaque base. Choose one texture, one focal point, and prep like it has to last, and your romantic set will look salon-made whether a pro did it or you did.
Valentine Nails, Answered
?Which Valentine nail color flatters every skin tone?
A cool, blue-based red is the safest universal choice; it brightens teeth and suits fair to deep skin alike. For deeper tones especially, rich merlot, berry chrome, and true crimson glow beautifully. Warmer skin can also lean into an orange-red. The shade to approach carefully is a muddy mauve, which can look dull on some undertones.
?How do I make Valentine nail art last past one date?
Prep is everything: push cuticles, buff, dehydrate, and use a ridge-filling base before color, then cap the free edge with your color and topcoat. A gel set sealed this way holds two to three weeks. Reapply a glossy top midweek and oil your cuticles daily to keep the shine and protect any bare negative-space areas.
?What is the easiest Valentine nail design to do at home?
A single heart on a nude base. Dot two red spots side by side and drag them into a heart with a toothpick, then place it off-center. It needs no special brushes and looks intentional even on a first try. An ombré with a damp sponge is the next easiest step up.
Romance That Actually Lasts
Across all fourteen, the looks that win share two things: a properly prepped base and a single, confident focal point. The color and the art get the attention, but the prep is what carries them through the date, the dishes, and the days after. Pick the texture that fits your mood, keep the rest of the hand calm, and seal it like it matters.
So think about whether you want classic, sultry, or sweet, then start with one set from that lane and give the base the time it deserves. Do that, and whether you book it or do it yourself at the kitchen table, your valentines day nails will look like they cost twice what they did and last long enough to enjoy.
Next Up