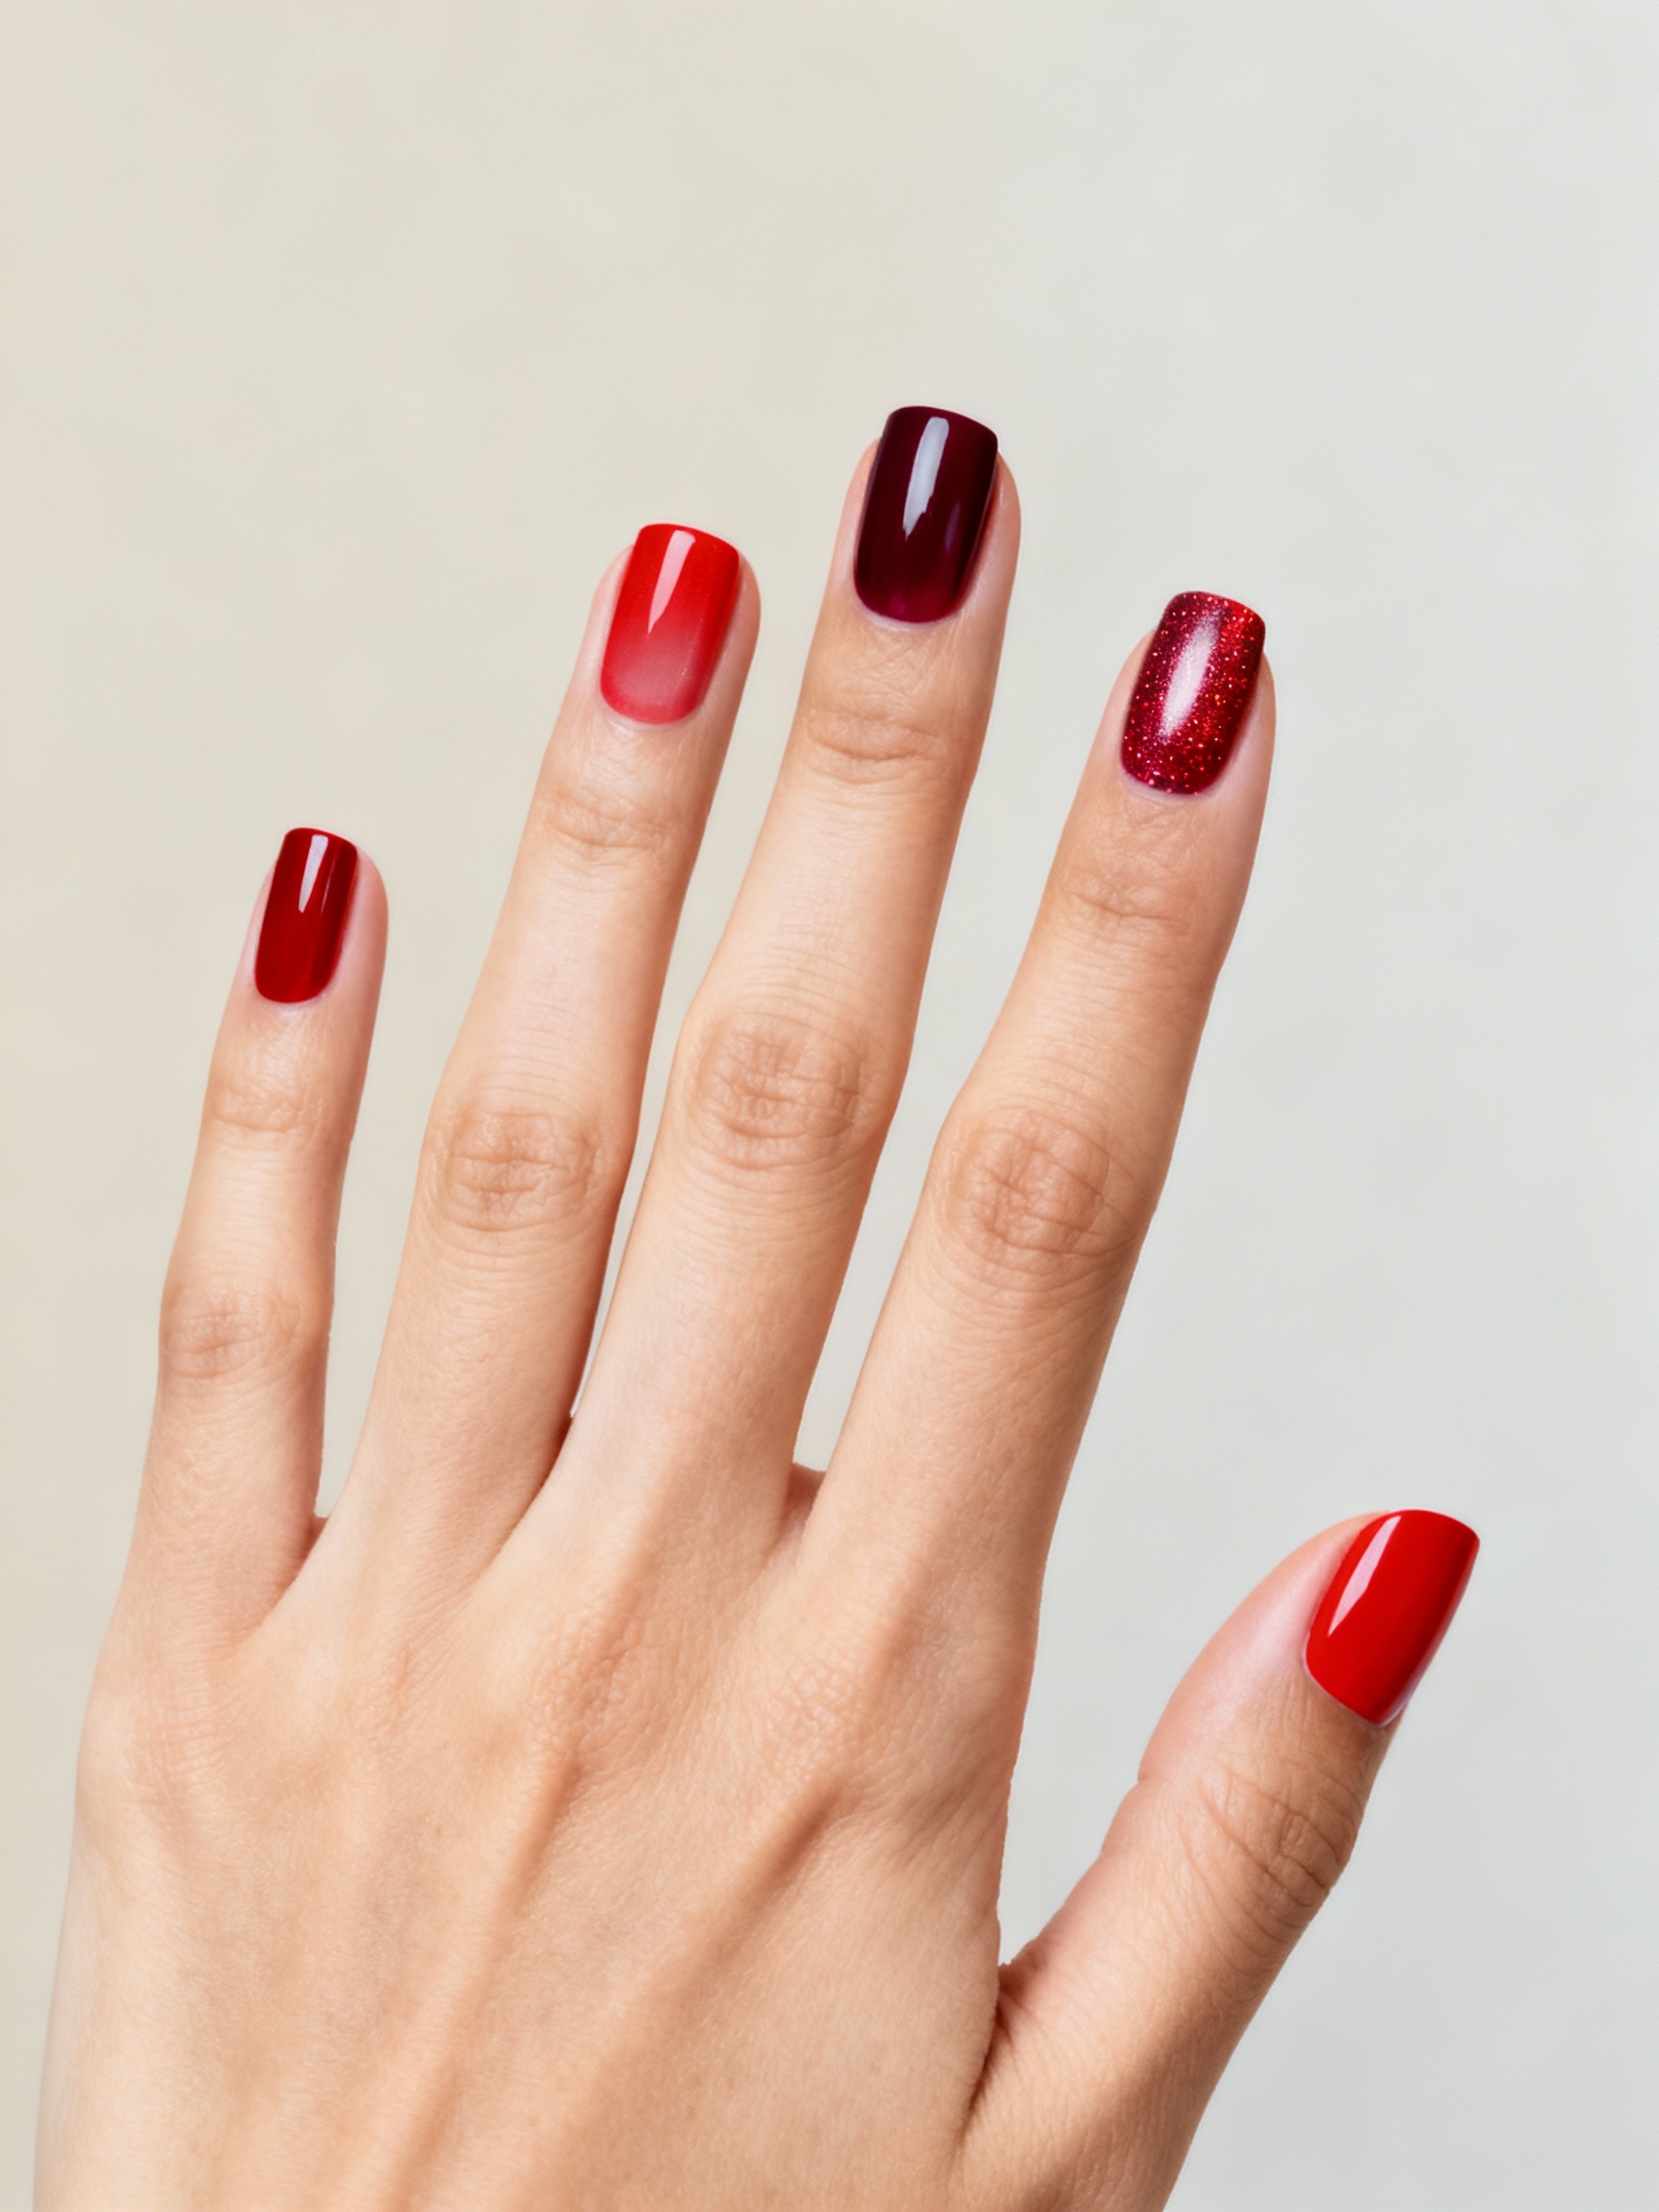
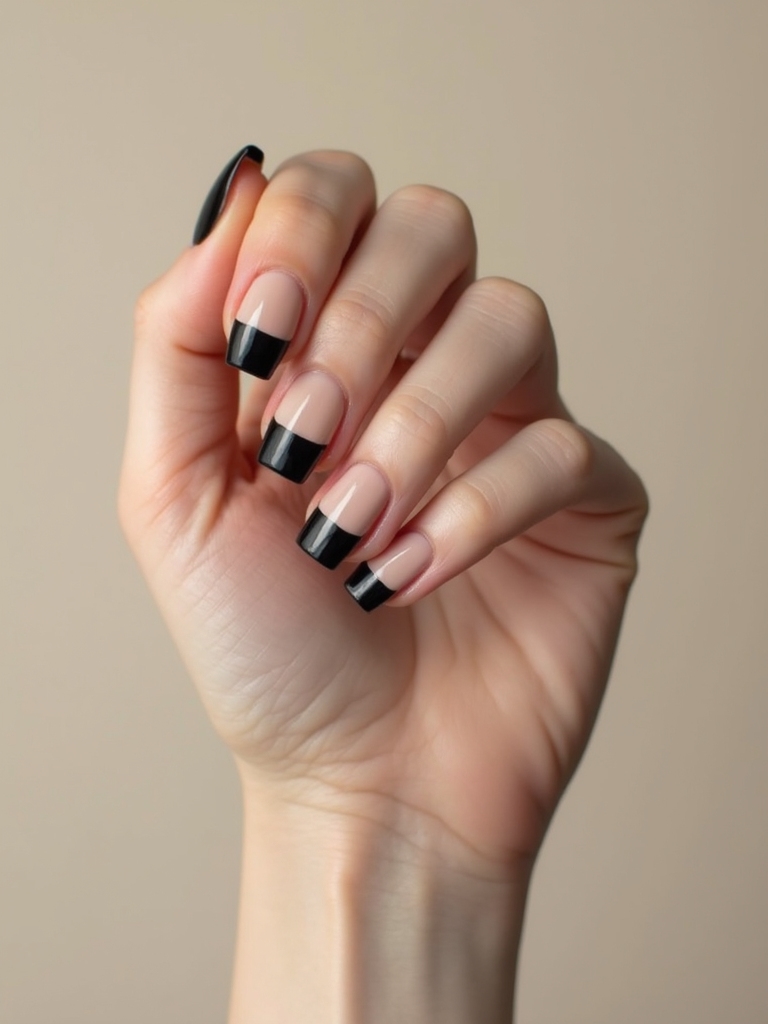
Run a finger along the edge of a fresh set of square acrylics and you feel it before you see it: that flat, clean top and the sharp ninety-degree corners of square acrylic nails that catch the light like cut glass. There is something deeply satisfying about the square shape. All crisp lines and bold structure, it is the geometric opposite of a soft almond or a round tip.
Square acrylics are the canvas that suits clean, graphic design best, since the flat surface and straight edges give art real room to sit. These ten styles run from glazed chrome to floating jelly decals, each with the technique, a rough cost, and the detail that keeps those clean lines crisp. Pick the set that matches your energy and how bold you want to go.
Square Acrylics, Quick Answers
- The square shape suits short to medium length best, where the straight edges stay strong and snag less.
- A full set of square acrylics runs roughly $40 to $70, more with detailed art, and lasts two to three weeks before a fill.
- Clean lines are the whole point, so the shape filing and a glossy or matte top coat matter as much as the color.
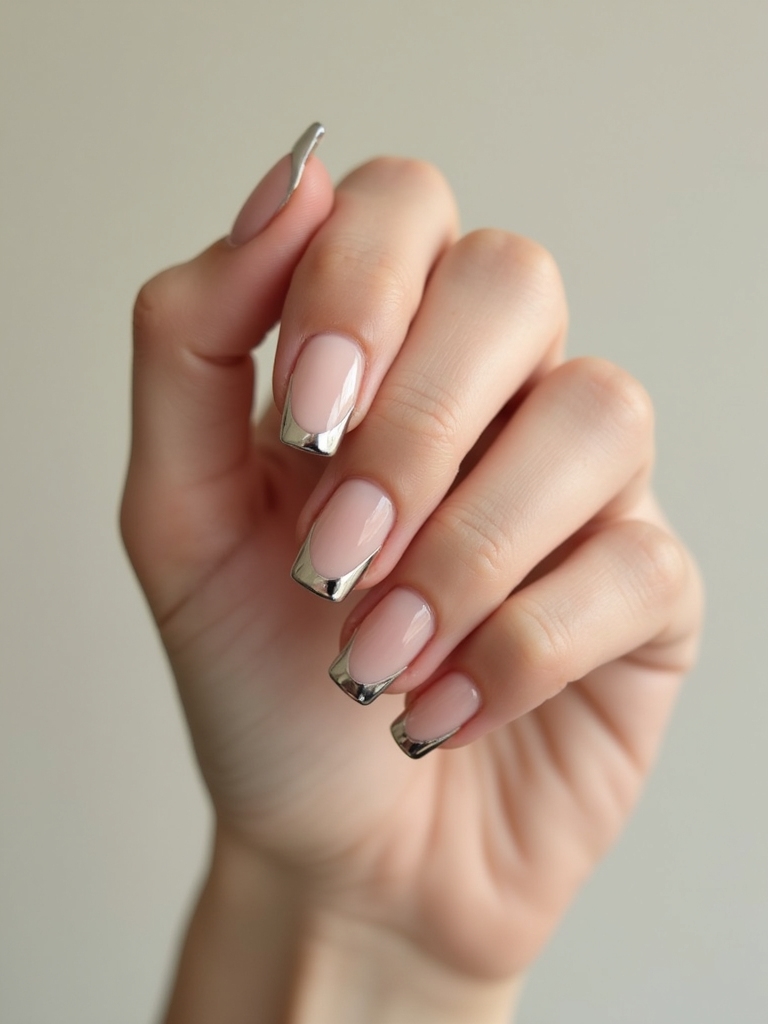
Glazed Chrome Square Acrylics
A glazed chrome finish on a square shape is where mirror-bright shine meets sharp structure, and the flat top shows off the chrome like a polished metal tile. The square edges give the reflective finish clean borders. The whole nail looks like a little piece of jewelry on each finger.
Chrome is buffed as a fine powder over a cured gel or acrylic base until it turns to liquid metal, which is why it is almost always a salon finish. Clients ask me for the pearly, glazed-doughnut version most, a soft white chrome over a milky base, the gentlest take, while silver and gold go full disco.
The honest catch is that chrome shows wear at the tips first, so a glossy top coat refreshed at home keeps the mirror from clouding. On the flat square surface, that shine lasts and photographs beautifully.

Monochrome Negative-Space Blocks
Negative-space color blocks use the bare nail as part of the design, painting geometric sections of one color and leaving the rest clear. The square shape is made for this, since the straight edges let you line up crisp blocks and rectangles that would warp on a curved tip.
Let the Bare Nail Be Part of It
Working in a single color keeps it modern and minimal, a clean block at the base, a stripe down one side, or a corner filled while the rest stays bare. The contrast of solid color and clear nail is the whole effect. Nothing else needed.
It is the design I steer minimalists toward, since it looks like real nail art while staying understated. Tape or a steady hand keeps the block edges sharp, which is what makes the geometry land.
Heads-Up
Very long square acrylics are the most breakage-prone shape, since the sharp corners and straight edges catch on everything. If you are hard on your hands or new to acrylics, ask for a short to medium square, which keeps the clean lines while staying far stronger and more practical for daily life.
Chrome-Framed Negative Space
Take the negative-space idea and outline it in a fine line of chrome, and the bare areas suddenly look intentional and luxe. A thin metallic frame around a clear section turns simple negative space into something that reads expensive and editorial.
- Map the clear sections first, then outline them with a chrome or metallic liner.
- Keep the chrome line thin so it reads as a frame, not a block.
- Seal with top coat so the metallic outline does not lift at the edges.
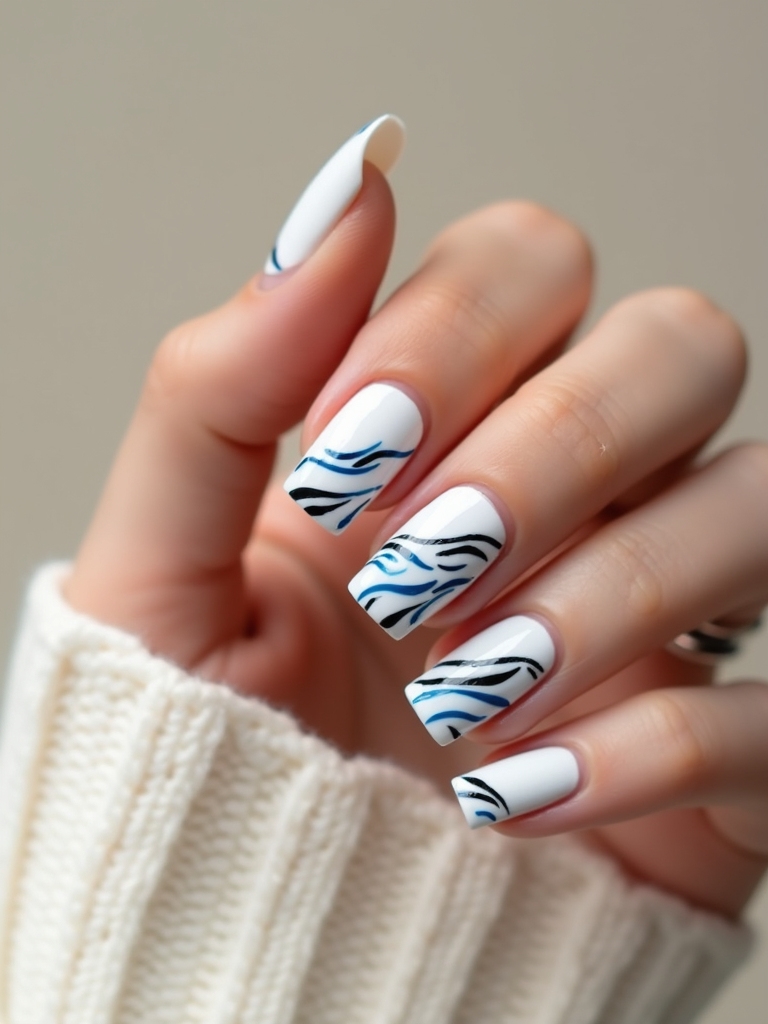
Matte Black With Glossy Stripes
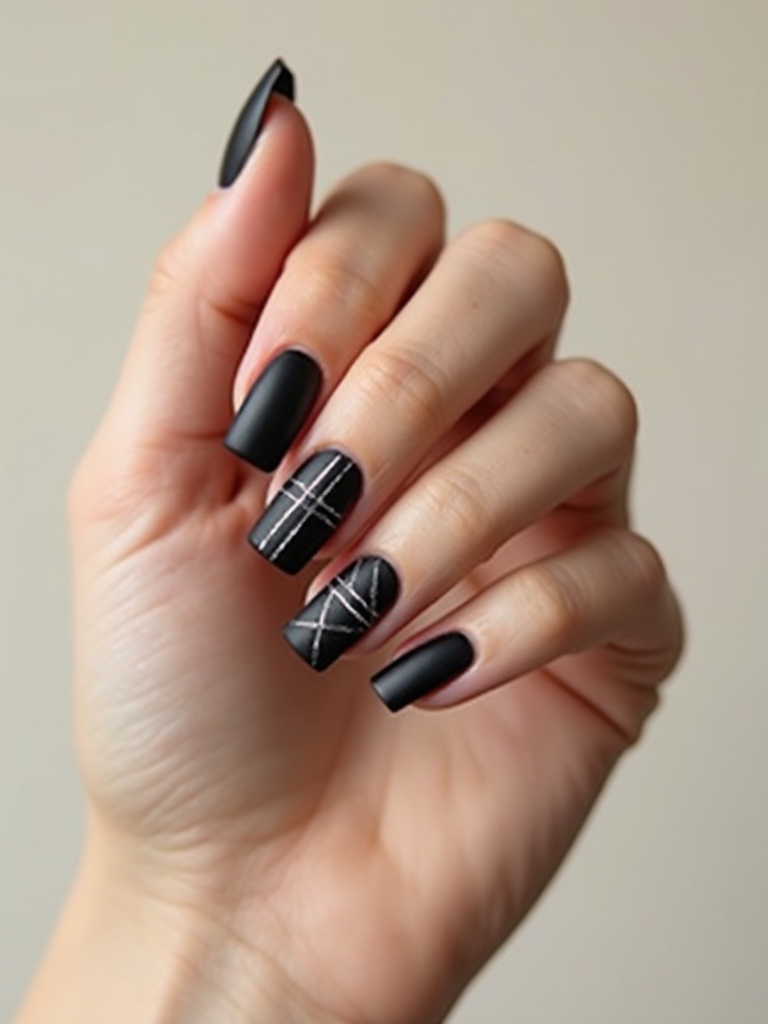
Playing two finishes against each other, matte black with glossy black stripes is pure textural drama on a square shape. The whole nail is black, but a matte top coat over most of it with glossy stripes left shining creates a tone-on-tone pattern you feel more than see at first glance.
The flat square surface is what makes this work, giving the matte and glossy areas clean, defined borders. Paint the nail glossy black, mask off your stripe pattern, and matte the rest, so the shine peeks through in sharp lines. It is bold, modern, and surprisingly wearable, since it is all one color, just two finishes.
Which square acrylic set is yours? Match your style.
1You want bold, graphic, and modern.
Go for chrome, matte-and-glossy black, or a monochrome checkerboard for maximum clean-lined drama.
2You want soft but still polished.
A milky base with waves, sheer blush dots, or sorbet color blocks keeps it gentle and wearable.
Crisp Sorbet Color Blocks
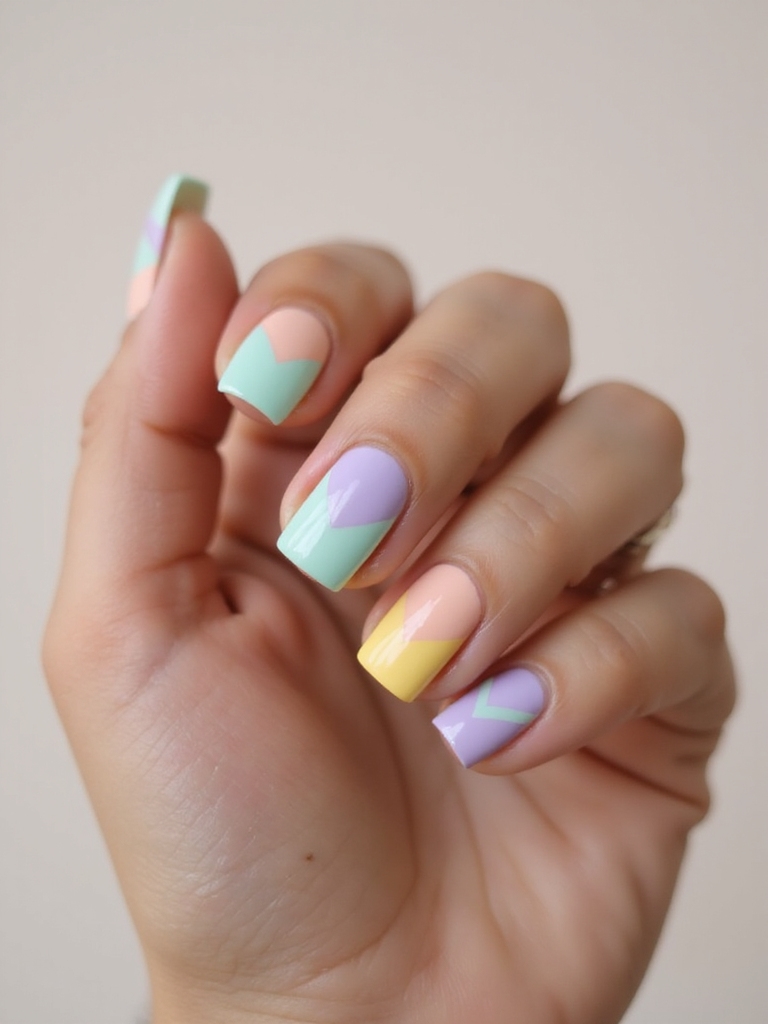
Soft sorbet color blocking brings a fresh, playful energy to square acrylics, dividing each nail into clean sections of pastel orange, pink, and yellow. The square shape gives the color blocks crisp, straight borders, so the candy shades look graphic rather than messy.
Same Palette, Different Blocks
You can block each nail differently, half and half, a corner, or thirds, while keeping all the nails in the same sorbet palette so the set stays cohesive. Tape makes the dividing lines sharp if a free-hand edge feels risky.
It is a cheerful, modern set for spring and summer, the soft shades keeping the bold color blocking from feeling harsh. The sorbet palette flatters most skin tones and reads sweet without being childish.
Crisp Monochrome Checkerboard
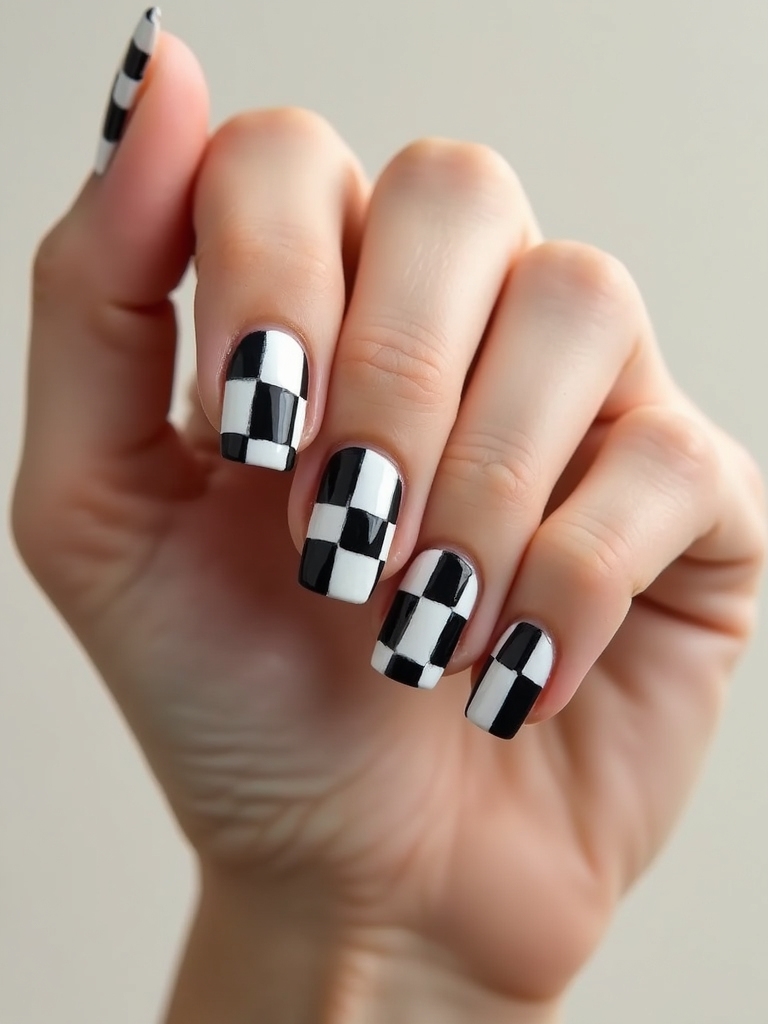
The checkerboard is the pattern square acrylics were born for, since the flat surface and straight edges let you lay a grid that actually looks square. A monochrome black-and-white checkerboard is graphic, retro-cool, and endlessly versatile.
- Paint a white base, then use thin tape or a brush to grid out black squares.
- The flat square nail keeps the grid lines straight where a curve would warp them.
- Do the full check on one or two accent nails and solid color on the rest.
A few terms that come up when booking square acrylics.
📖Negative space
Leaving sections of the bare or clear nail unpainted as part of the design, which the square shape frames cleanly.
📖Fill
A salon appointment every two to three weeks to fill the grown-out gap at the base and keep the set strong.
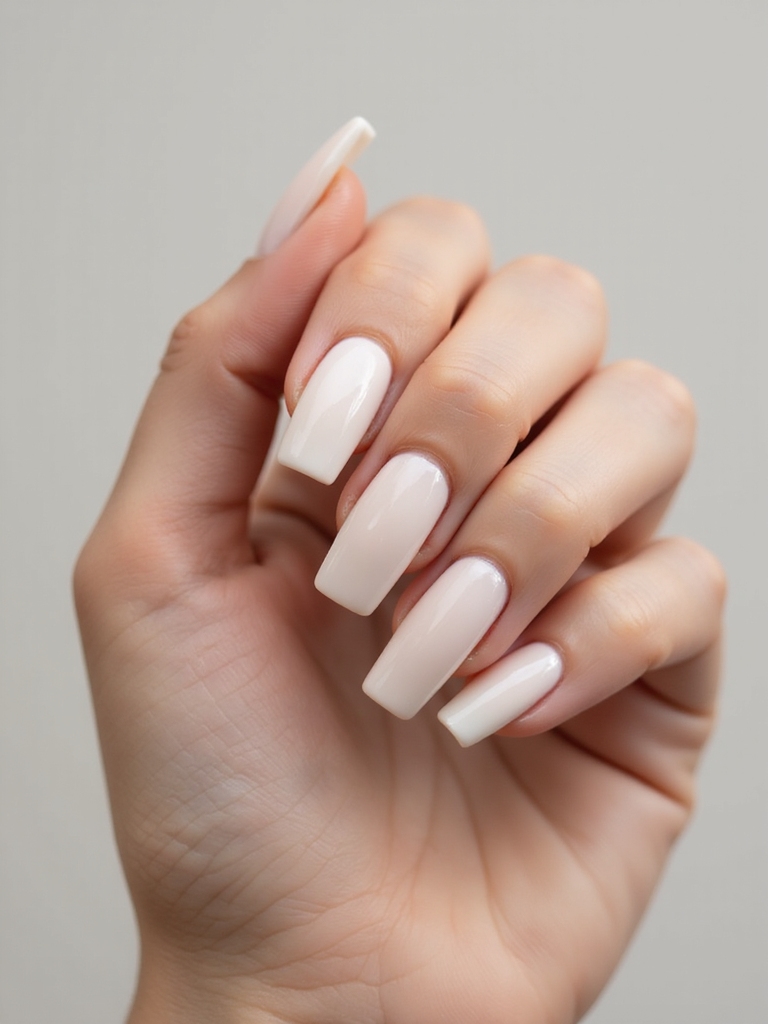
A Milky Base With Waves
A milky base with soft waves is the dreamy, sophisticated side of square acrylics, a translucent off-white nail traced with gentle wavy lines. The milky finish glows soft and expensive, while simple wave lines in white, gold, or a pastel add quiet movement to the clean square canvas.
Build the milky base in two or three sheer coats over the acrylic, then draw loose, curving lines with a thin striping brush. The waves should be soft and a little irregular, like ripples, which keeps the look organic against the sharp square shape. It is modern, calm, and far easier to wear than a busy design.
Sheer Jelly With Floating Decals
A sheer jelly finish with tiny floating decals is the playful, of-the-moment square acrylic, the see-through tint suspending little charms or flowers like they are floating in glass. The jelly base is translucent and squishy-looking. Decals sealed under a clear top layer appear to hover inside the nail.
Sealing the Floating Effect
Build a sheer jelly color, place small decals, stickers, or dried flowers where you want them, then encase everything under a clear builder layer so they sit suspended. The flat square surface gives the floating effect a clean, glassy window to live in.
I love this one for clients who want a real conversation piece, fun and modern, the kind of set that looks complex but mostly comes down to placing decals and sealing them well. Keep them few so the jelly stays the star.
Clear Acrylics With Holographic Tips
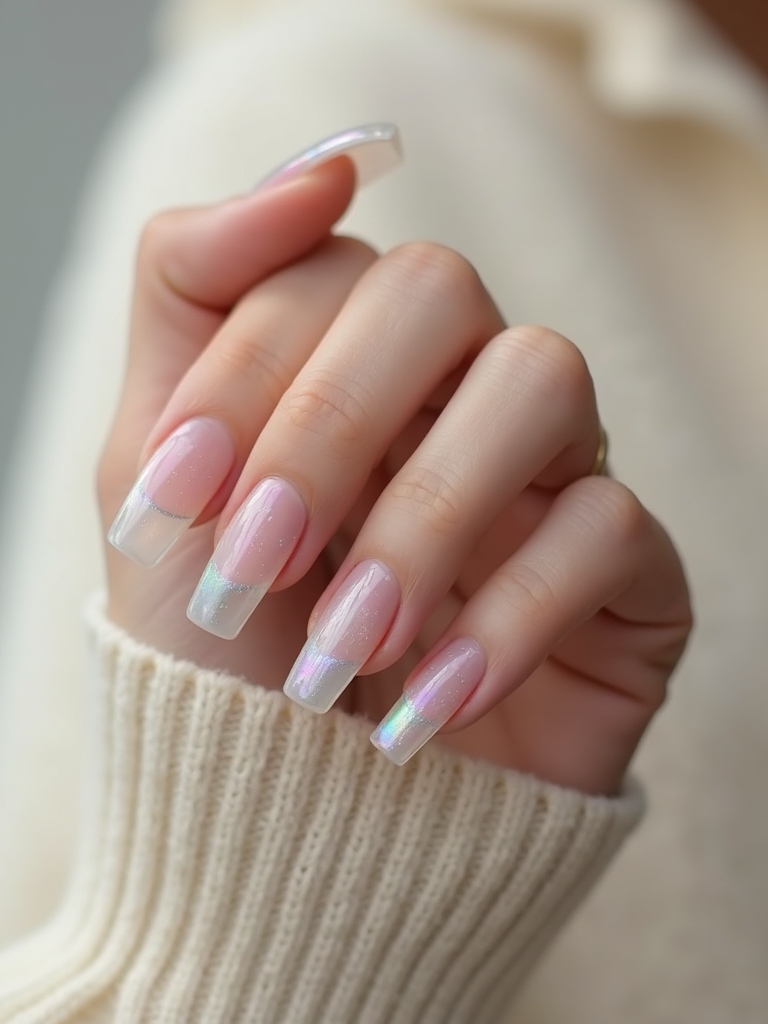
Clear acrylics with holographic tips are the futuristic, light-catching take, the transparent nail finished with a shimmering rainbow tip that shifts color as you move. The clear base feels modern and weightless. The holographic French tip brings all the sparkle.
- Keep the acrylic truly clear and clean, since smudges show through it.
- Apply holographic powder or flakes to the tip for the color-shifting glow.
- A glossy top coat over the whole nail keeps the clear base glassy.
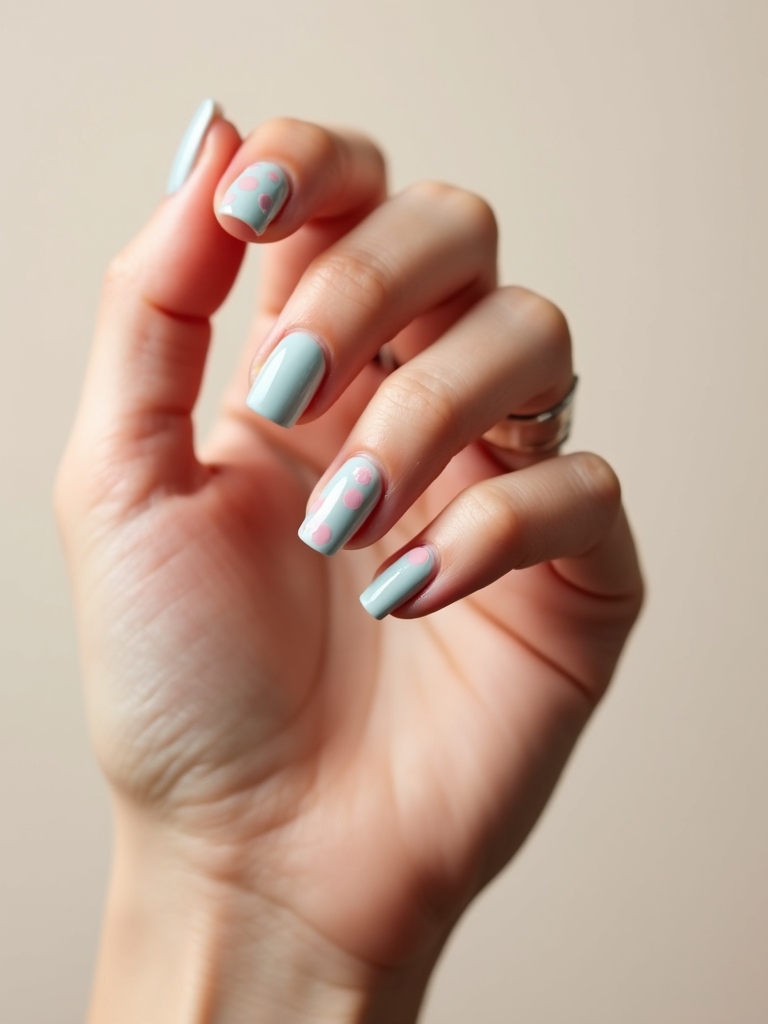
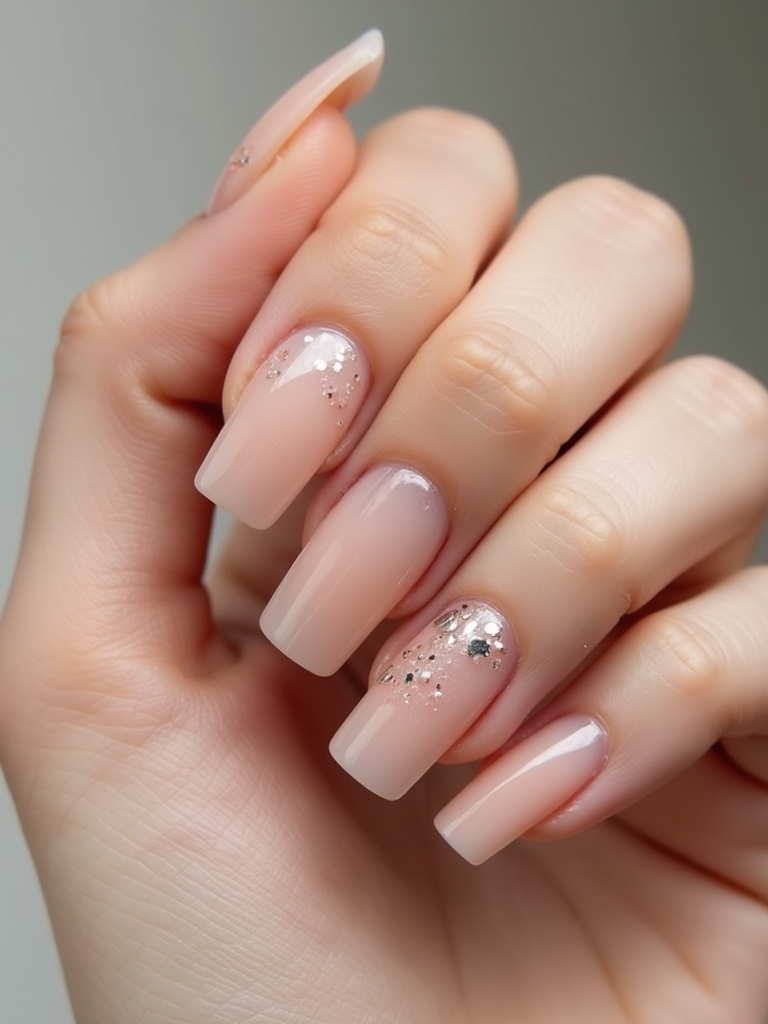
Sheer Blush With Scattered Dots
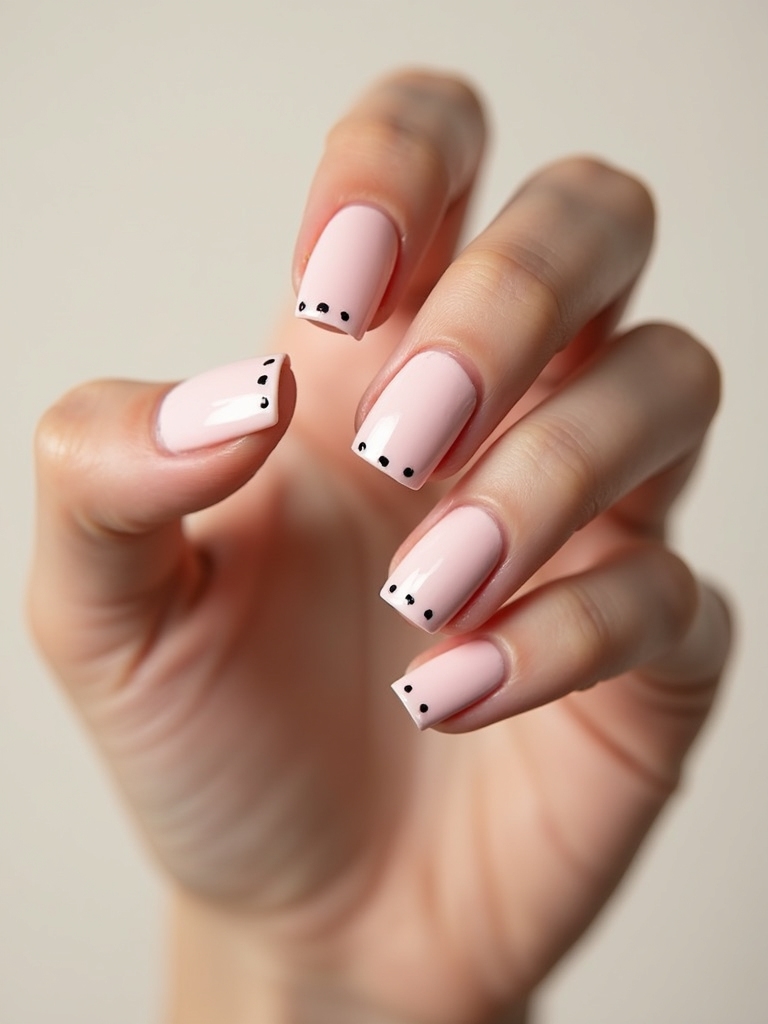
For the softest square acrylic, a sheer blush base scattered with tiny dots is minimal, sweet, and office-friendly. The barely-pink base reads as healthy, polished nails, while a light scatter of small white or gold dots adds the gentlest playful detail.
Lay the sheer blush in two or three coats, then place small evenly spaced dots with a dotting tool across one or two nails. The dots keep it from being plain while the soft base keeps it grown-up, a nice middle ground for anyone who wants square acrylics without a bold statement.
- A dotting tool makes even, round dots far easier than a brush.
- Scatter the dots loosely so they look playful, not regimented.
- Keep dots to one or two accent nails for a subtle, wearable finish.
Common Square Acrylic Mistakes to Avoid
The most common square acrylic mistake is going too long for the shape. Square nails look sharpest at short to medium length, where the straight edges stay strong; very long squares catch on everything and the corners snap, so keep them modest unless you are ready to baby them.
The second slip is uneven side walls. A true square needs perfectly straight, parallel sides filed at a sharp ninety degrees, and a stylist rushing the filing is what leaves them looking lopsided, so speak up if the shape is not clean before the color goes on.
Care matters as much as the set itself. Lifting at the base is usually down to prep, so a thorough cuticle push and dehydration before application keeps them stuck longer. Resist the urge to use your nails as tools or to pick at any lifting, since prying acrylic off takes a layer of your natural nail with it.
Book a fill every two to three weeks rather than letting the grow-out gap stress the nail, oil your cuticles daily, and have them soaked off properly rather than popped at home. Treat them well and a square set stays sharp and strong for its full life.
Questions About Square Acrylic Nails
?How long do square acrylic nails last?
Roughly two to three weeks before you need a fill to cover the grow-out gap, and a full set can last a couple of months with regular fills. The shape itself stays sharp as long as you keep the length modest and avoid using your nails as tools.
?Are square acrylics more likely to break than other shapes?
Long square acrylics are among the more breakage-prone shapes, since the sharp corners catch on things. Kept at a short to medium length, though, the square is actually quite sturdy, with the straight edges and flat surface holding up well to daily life.
?How much do square acrylic nails cost?
A full set runs roughly $40 to $70 depending on your area, with detailed art like chrome, checkerboard, or floating decals adding to the price. Fills every two to three weeks cost less than a full new set and keep them looking fresh.
Clean Lines, Bold Energy
The square shape gives you something no other tip does: a flat, sharp-edged canvas that makes graphic art look crisp and clean. Whether you reach for glazed chrome, a monochrome checkerboard, or a soft milky base with waves, the straight lines of a square acrylic are what give every design that bold, structured energy.
Save the set that matches your style, keep the length modest so those clean lines stay strong, and book a fill every few weeks to keep them sharp. For more, browse other square nails ideas or a few acrylic nails designs when you want to take the shape in a new direction.