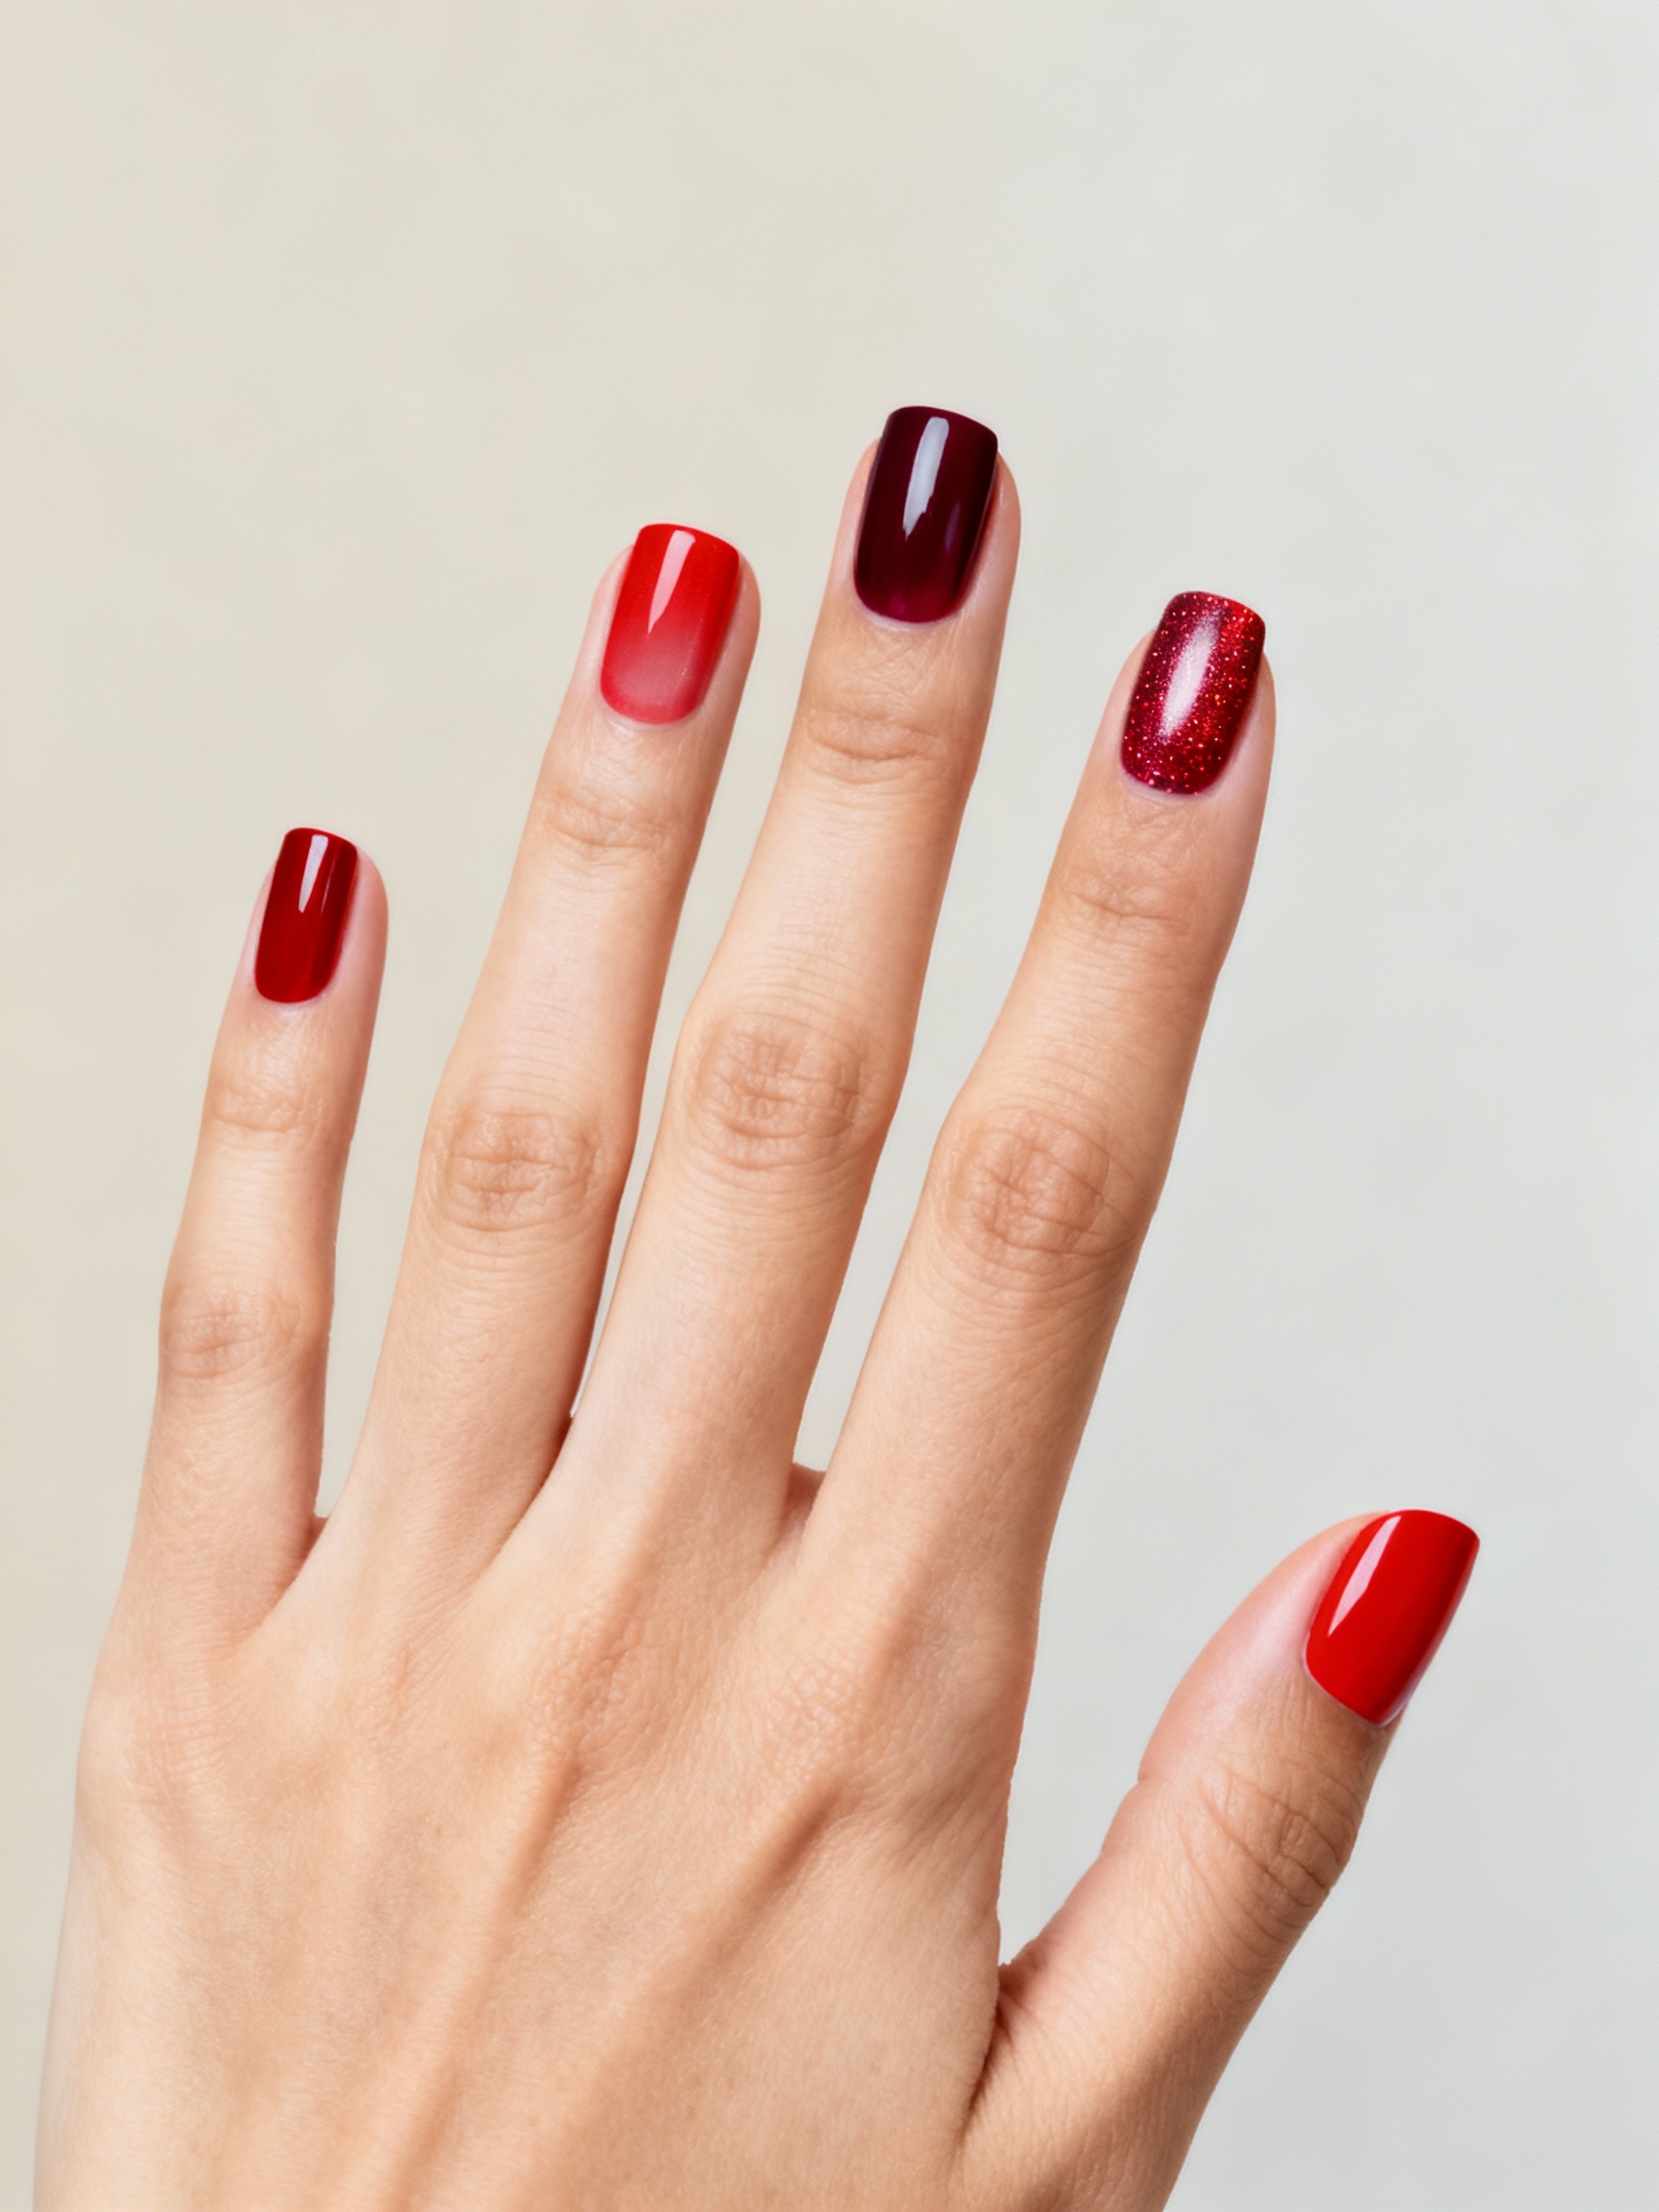
Halloween nails do not have to mean orange and black. Swap that for red, and the whole mood shifts from cute to sinister: a deep, bloody crimson is the most quietly menacing color there is, the shade of vampires, roses, and horror-movie posters. It is Halloween for someone who wants elegant and eerie rather than pumpkins and cartoons.
These thirteen red Halloween looks run from a moody vampy crimson to dripping blood, fine-line spiderwebs, thorned vines, and ember flames. Each comes with how to get it, and most start from the same deep red base, so you can mix the simple and the spooky however you like.
Red Halloween Nails, the Quick Version
- Red Halloween nails skip orange and black for a darker, bloodier theme: vampy crimson, dripping blood, spiderwebs, and flames.
- A deep, blue-based crimson looks more sinister and elegant than a bright red, and it is the base for most of these looks.
- Keep art to one or two accent nails against solid red so it stays chic, not costume.
- Gel holds the detailed art crisp through a long night of parties.
Vampy Crimson
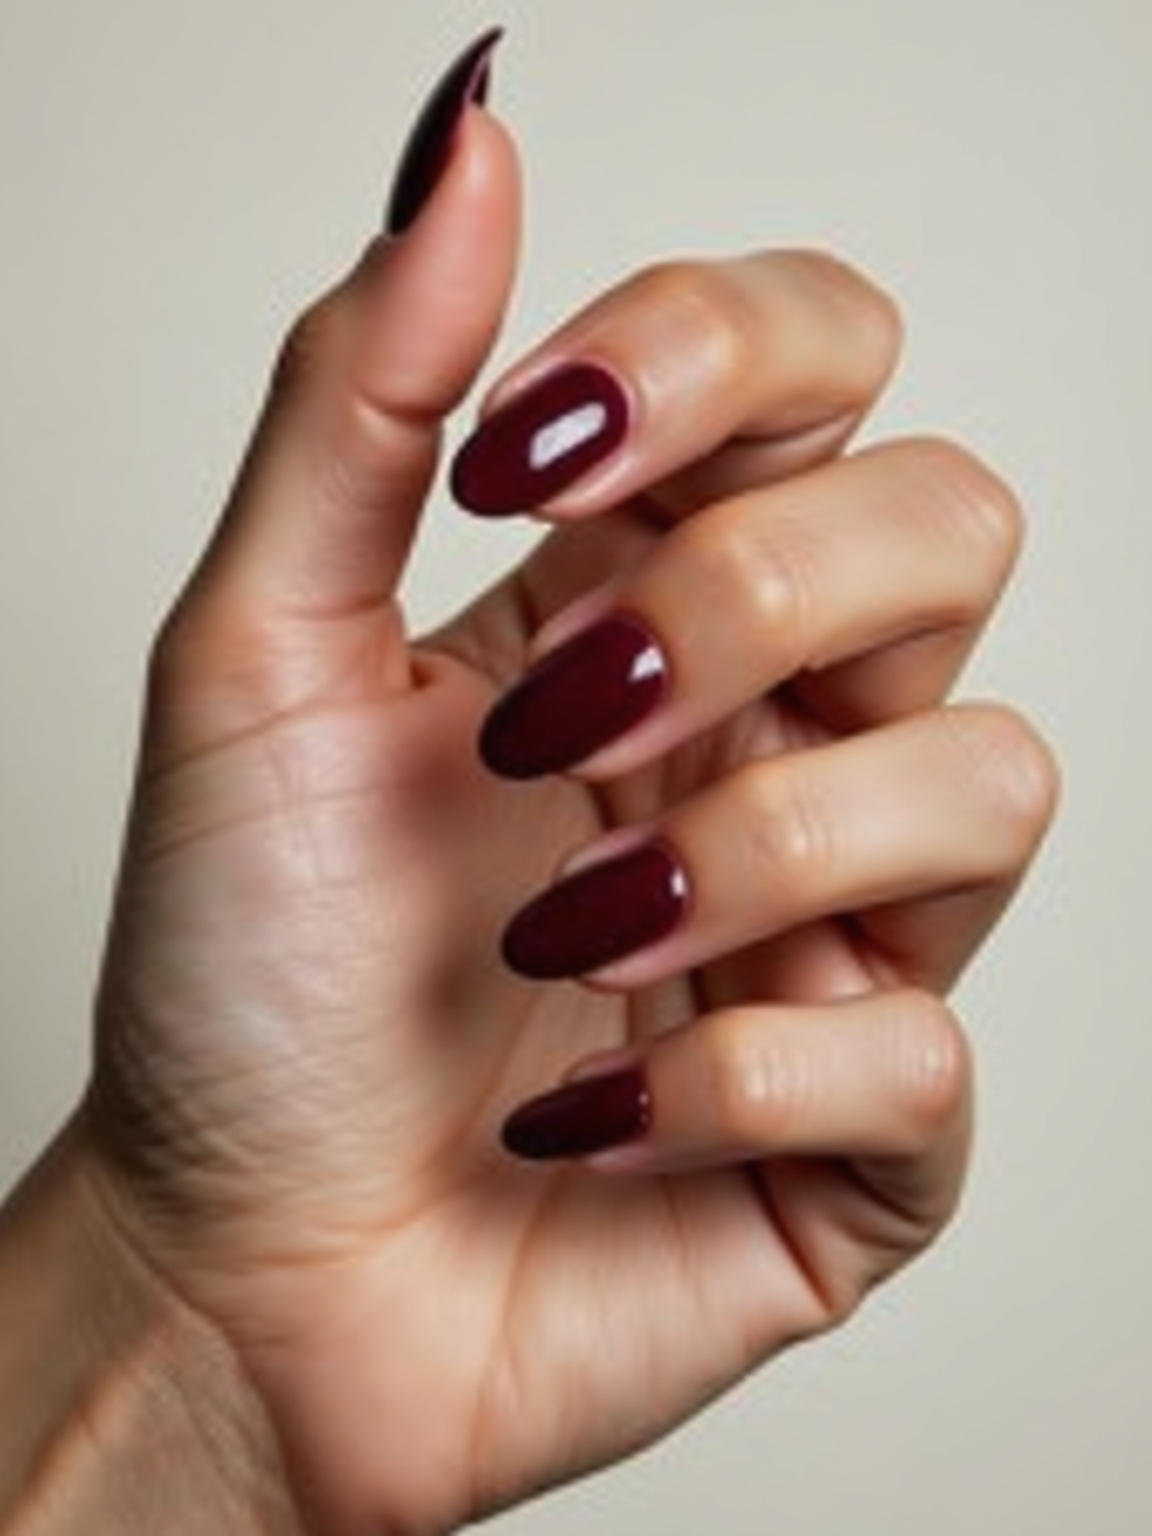
The foundation of red Halloween nails is a moody vampy crimson, a deep, blue-based crimson that is almost black, worn plain with a high gloss. It needs no art to feel Halloween; the darkness of the red does it all, like dried blood under glass. It is the most wearable of these, the one I see worn well past the night, and the deep crimson looks especially rich on deep skin.
- Choose a deep, near-black crimson with a blue base.
- Seal it glossy for that wet, blood-like shine.
- Wear it plain or as the base for the spookier looks. See dark red nails.

Dripping-Blood Accent
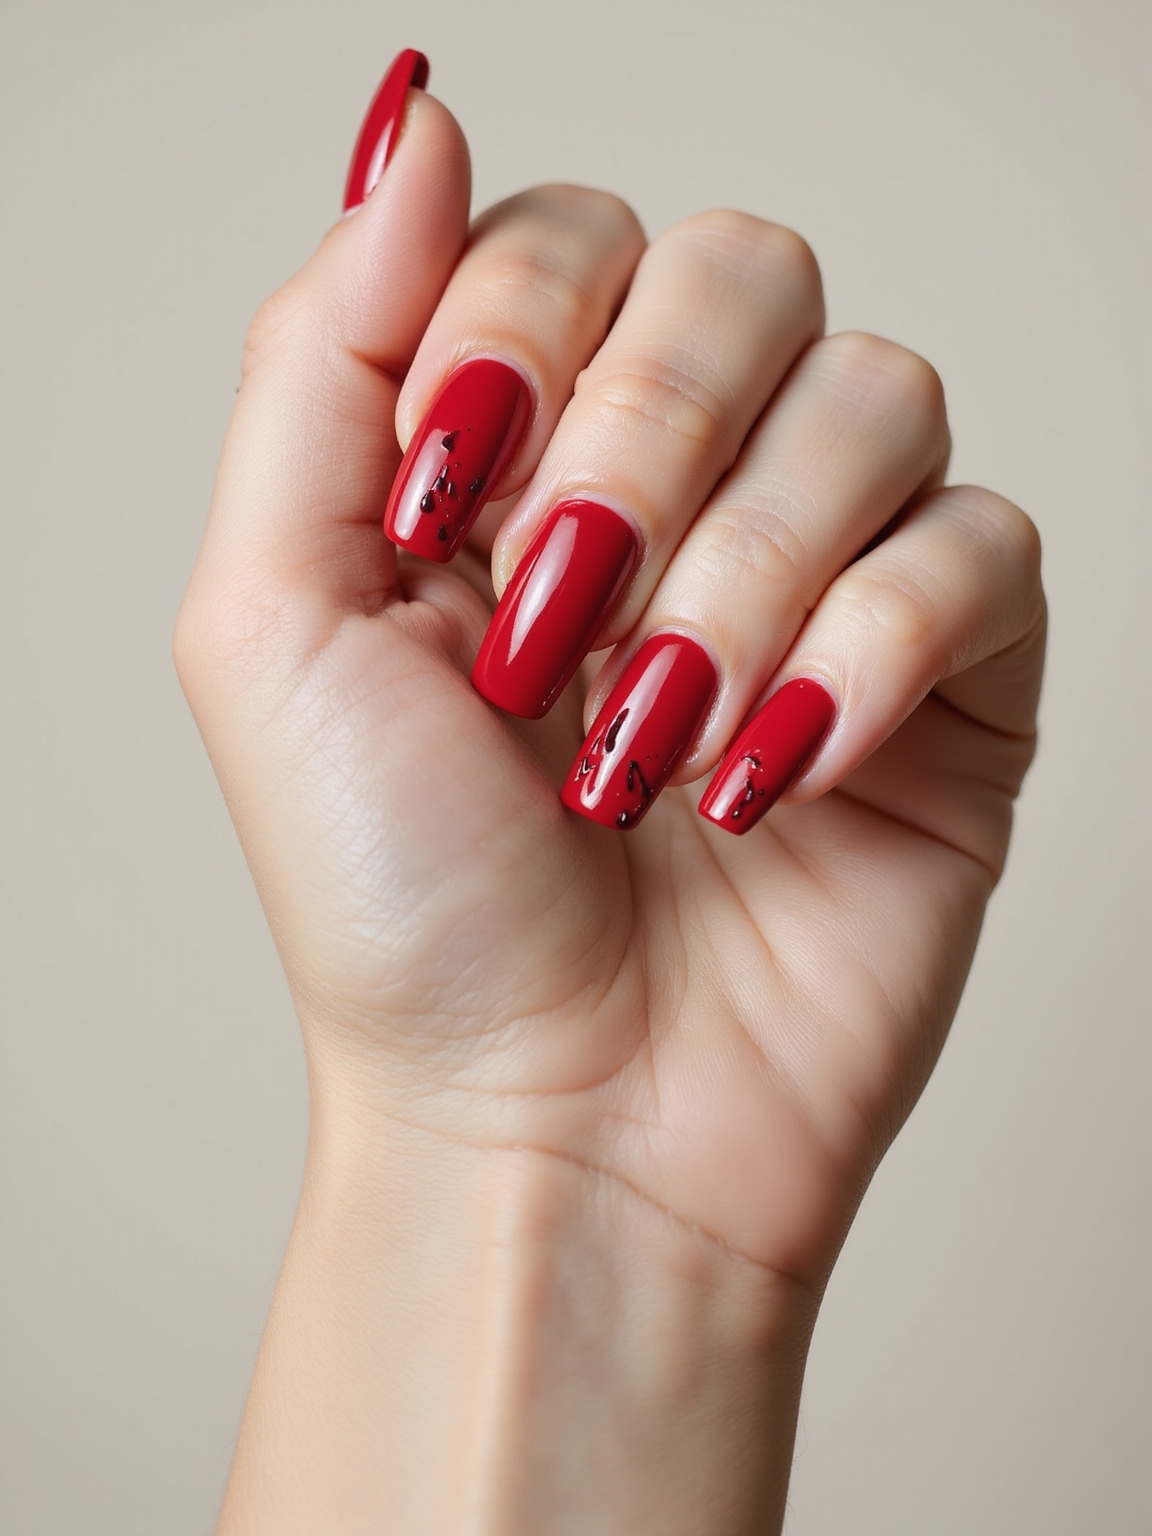
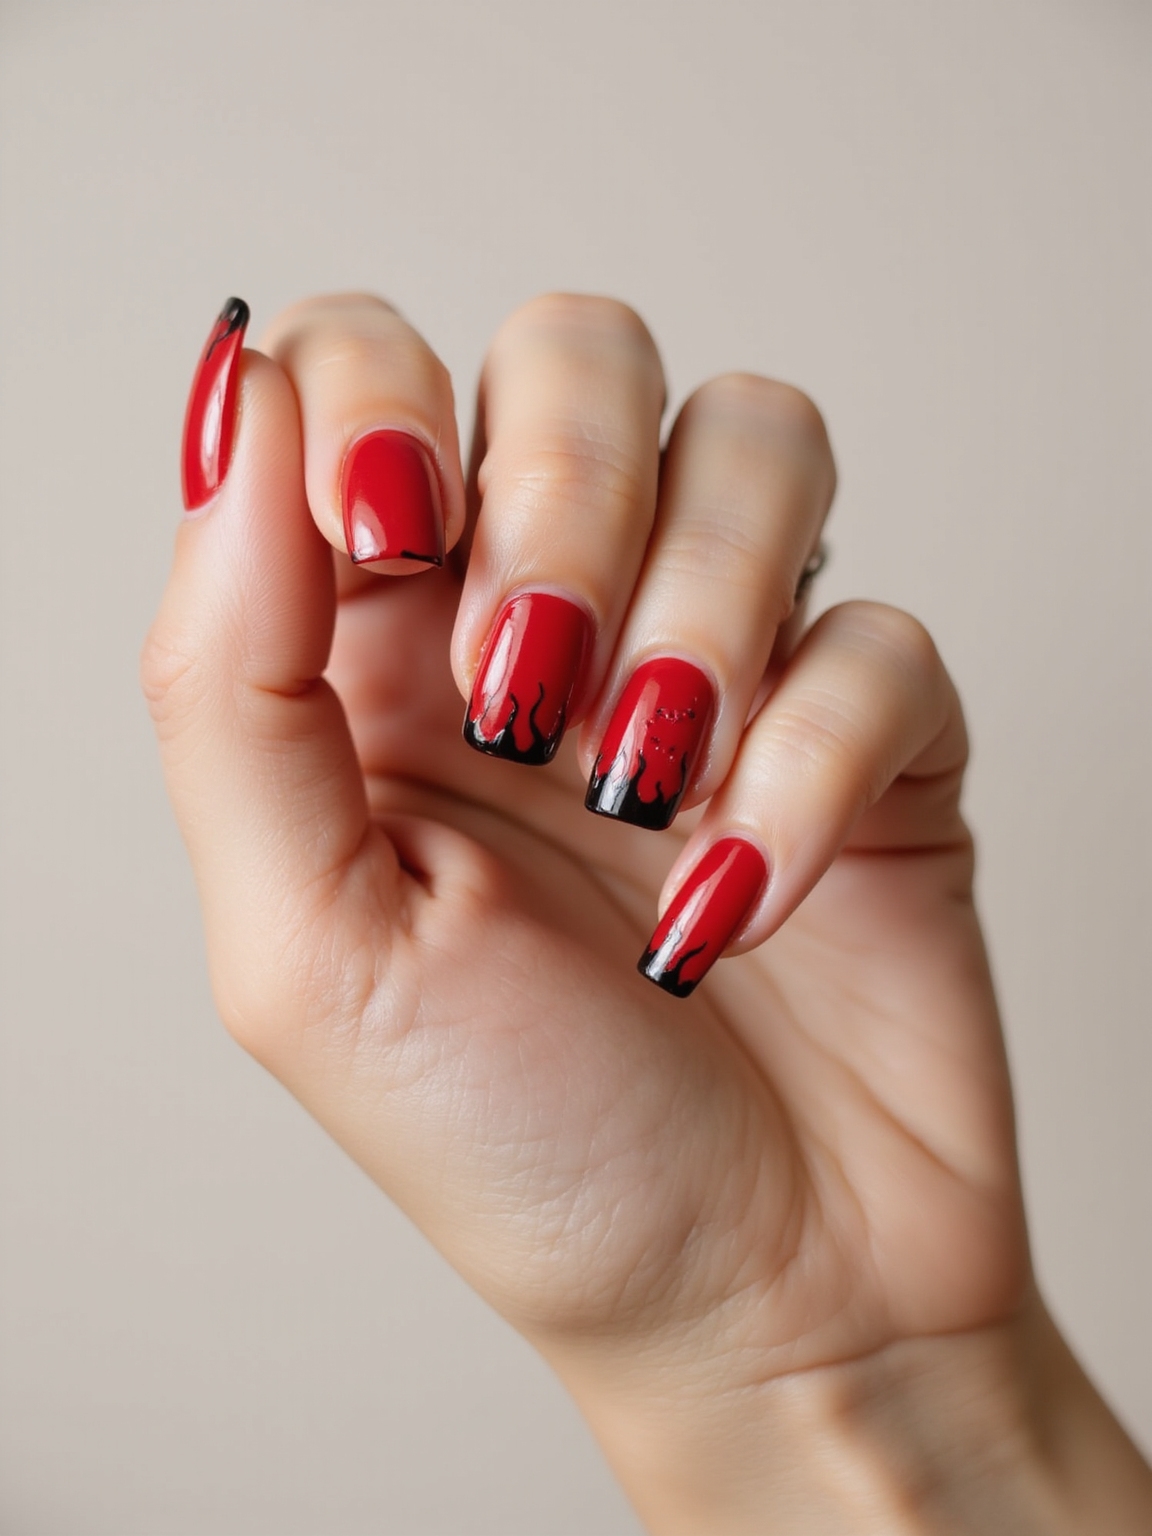
A dripping-blood accent paints glossy red drips running down from the cuticle or tip, like blood trickling down the nail. It is the most classic-horror red Halloween look, gory in the best, most playful way.
Paint thin red drips with uneven, rounded ends over a nude or sheer base, keeping them glossy so they look wet. Limit them to one or two accent nails against solid red, or the effect tips into too much.
How to build a red Halloween nail at home:
1Lay the base
Paint a deep, glossy crimson on every nail; this alone reads Halloween and grounds any art.
2Pick your accent nails
Choose one or two nails for the spooky motif and leave the rest solid red so it stays chic.
3Paint the art last
Add drips, webs, or vines with a thin brush over the dry base, keeping the lines delicate.
4Seal and cap
Top coat everything and cap the free edge so the art and shine survive the night.
Candy-Apple Crimson
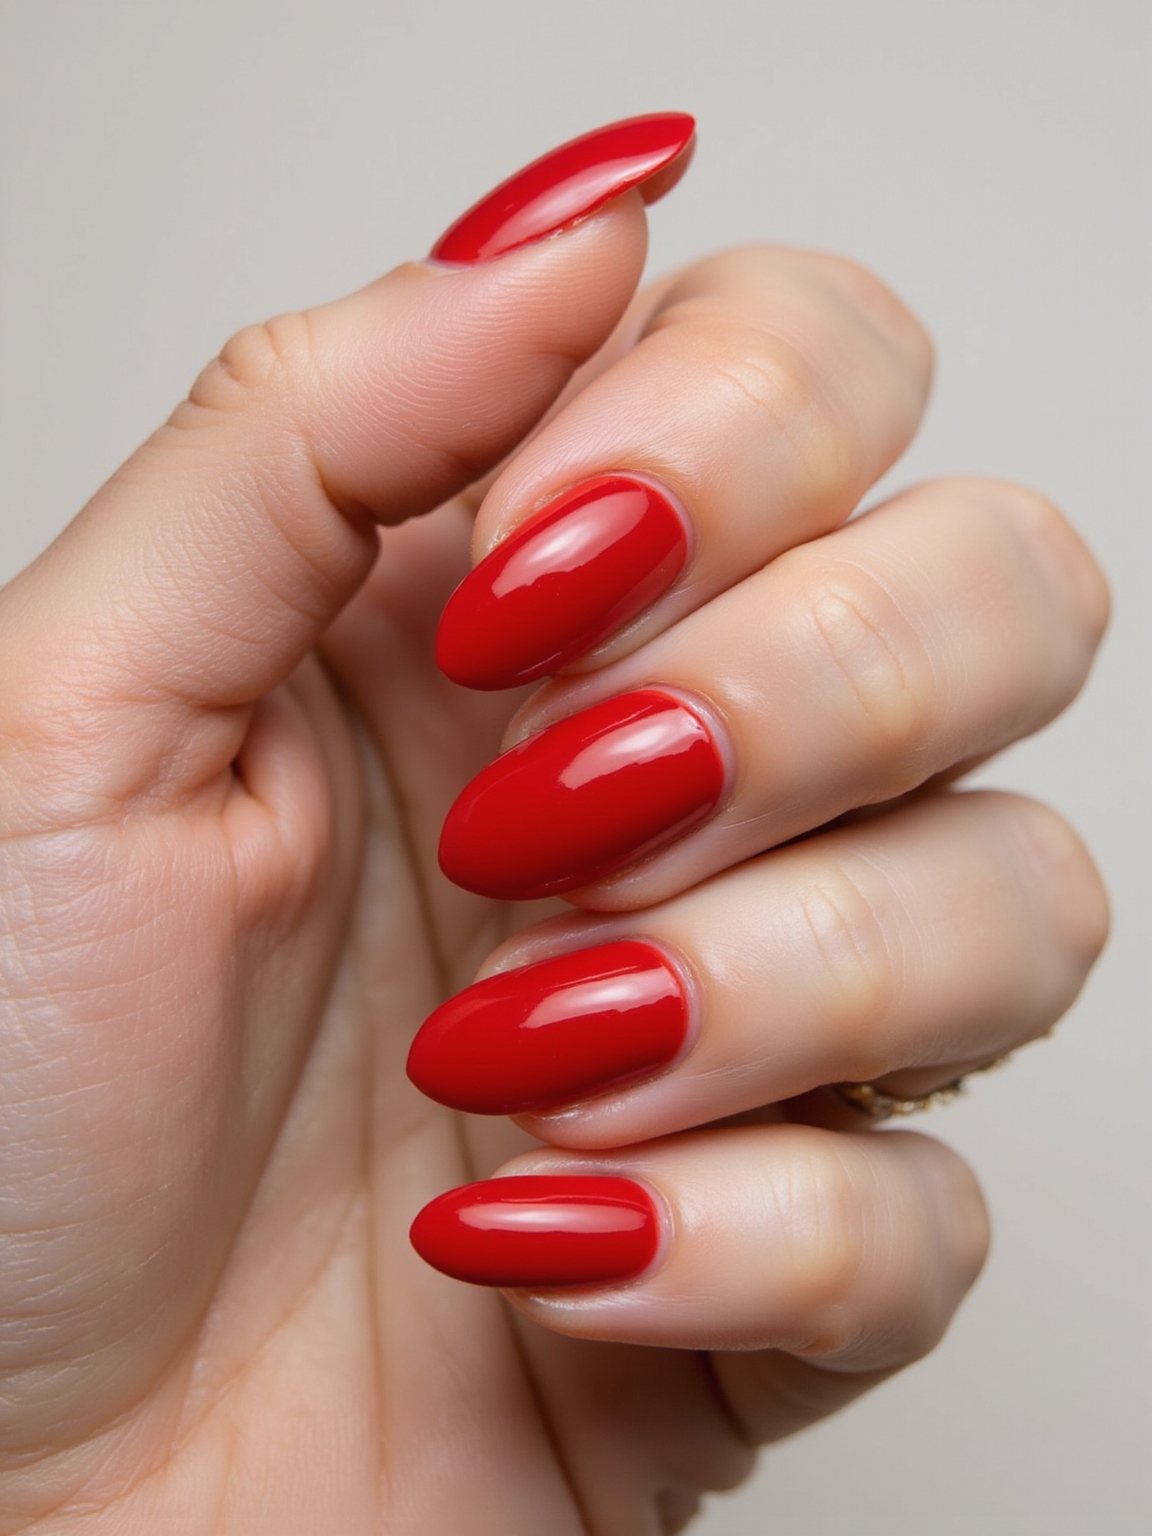
A glossy candy-apple crimson is the brighter, juicier end of red Halloween, a high-shine true red that nods at poison apples and carnival candy. It is festive and fun rather than scary, for someone who wants red Halloween without the gore.
Use a bright, glossy red and a thick top coat for that wet candy look. It pairs well with a single witchy accent nail if you want a touch of spook.
It is the red I reach for when the costume is more fun than frightening. See cherry red nails.
Ember Flame Ombré
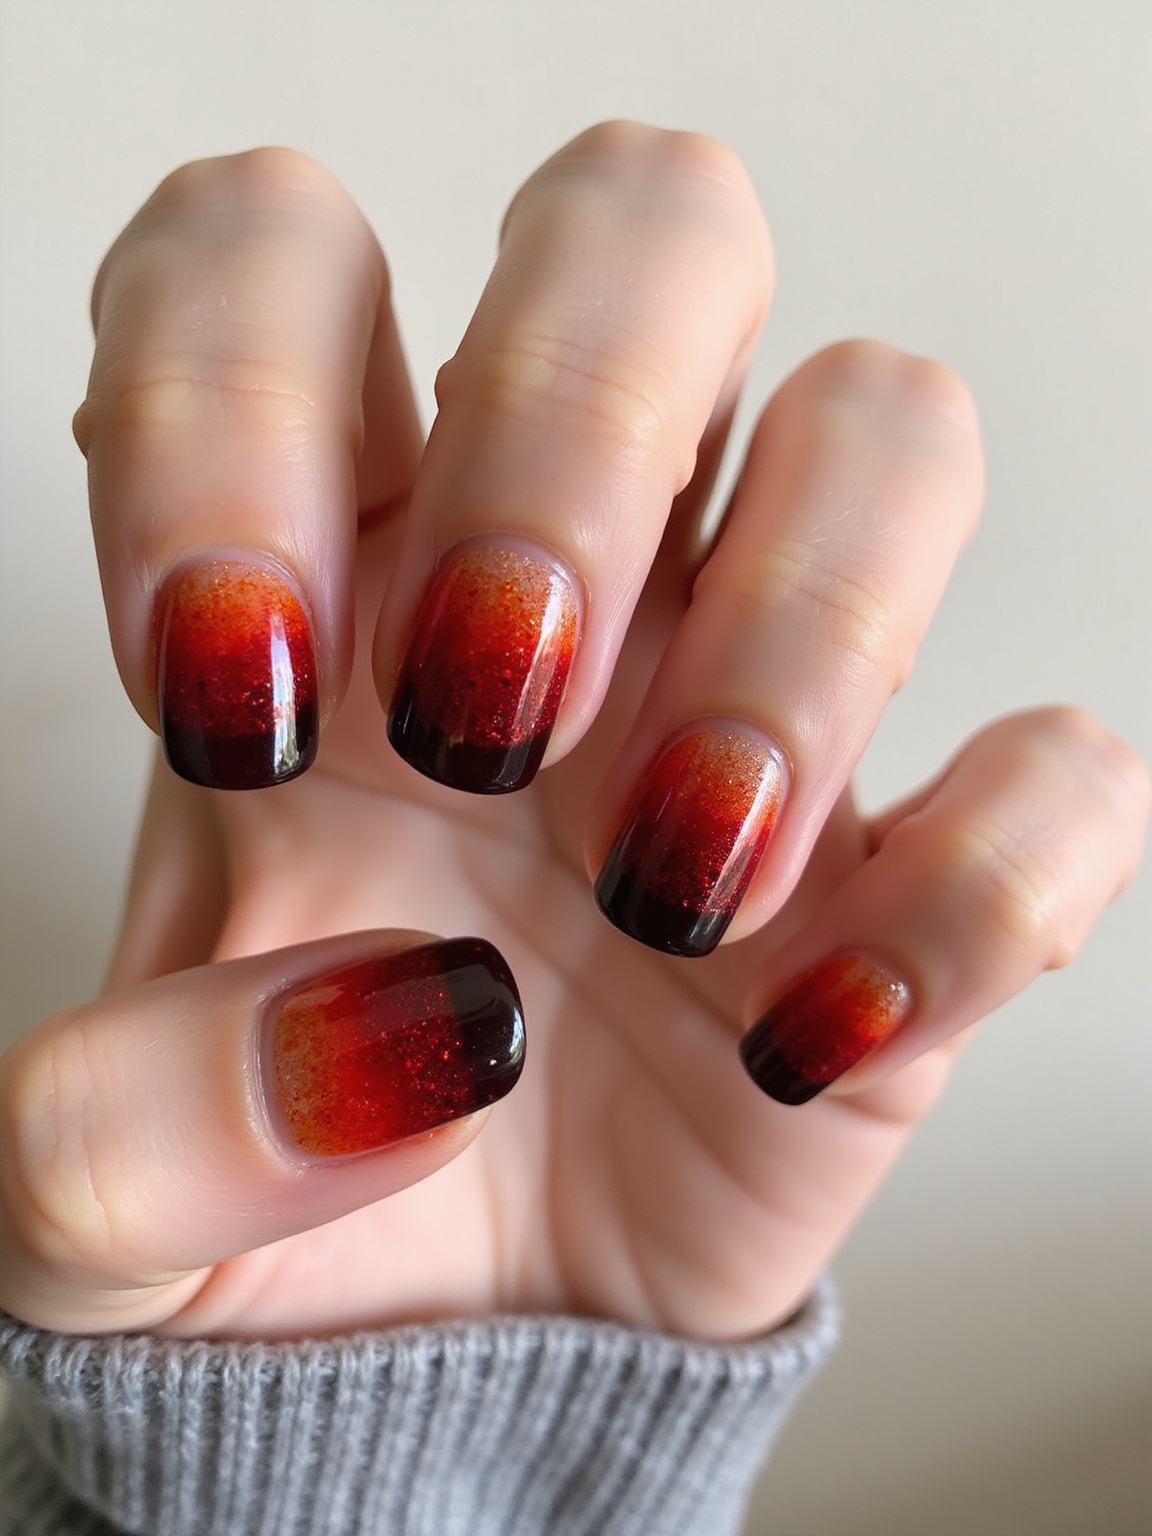
An ember flame ombré licks red, orange, and gold up from the cuticle like flames, with a sparkle through it for glowing embers. It is the fiery, dramatic red Halloween look, all heat and movement.
Build the flames from the cuticle up
Sponge red into orange into gold from base to tip, then add fine sparkle for the ember glow. Keep the flames concentrated at the base so they look like they are climbing the nail.
It is bold and warm, the look for a devil or fire-themed costume.
Keep it chic, not costume
The line between elegant and tacky is the amount of art. Keep the spooky motif to one or two accent nails against solid deep red. A whole hand of dripping blood or webs tips from chic into Halloween-store territory fast.
Red-to-Black Ombré
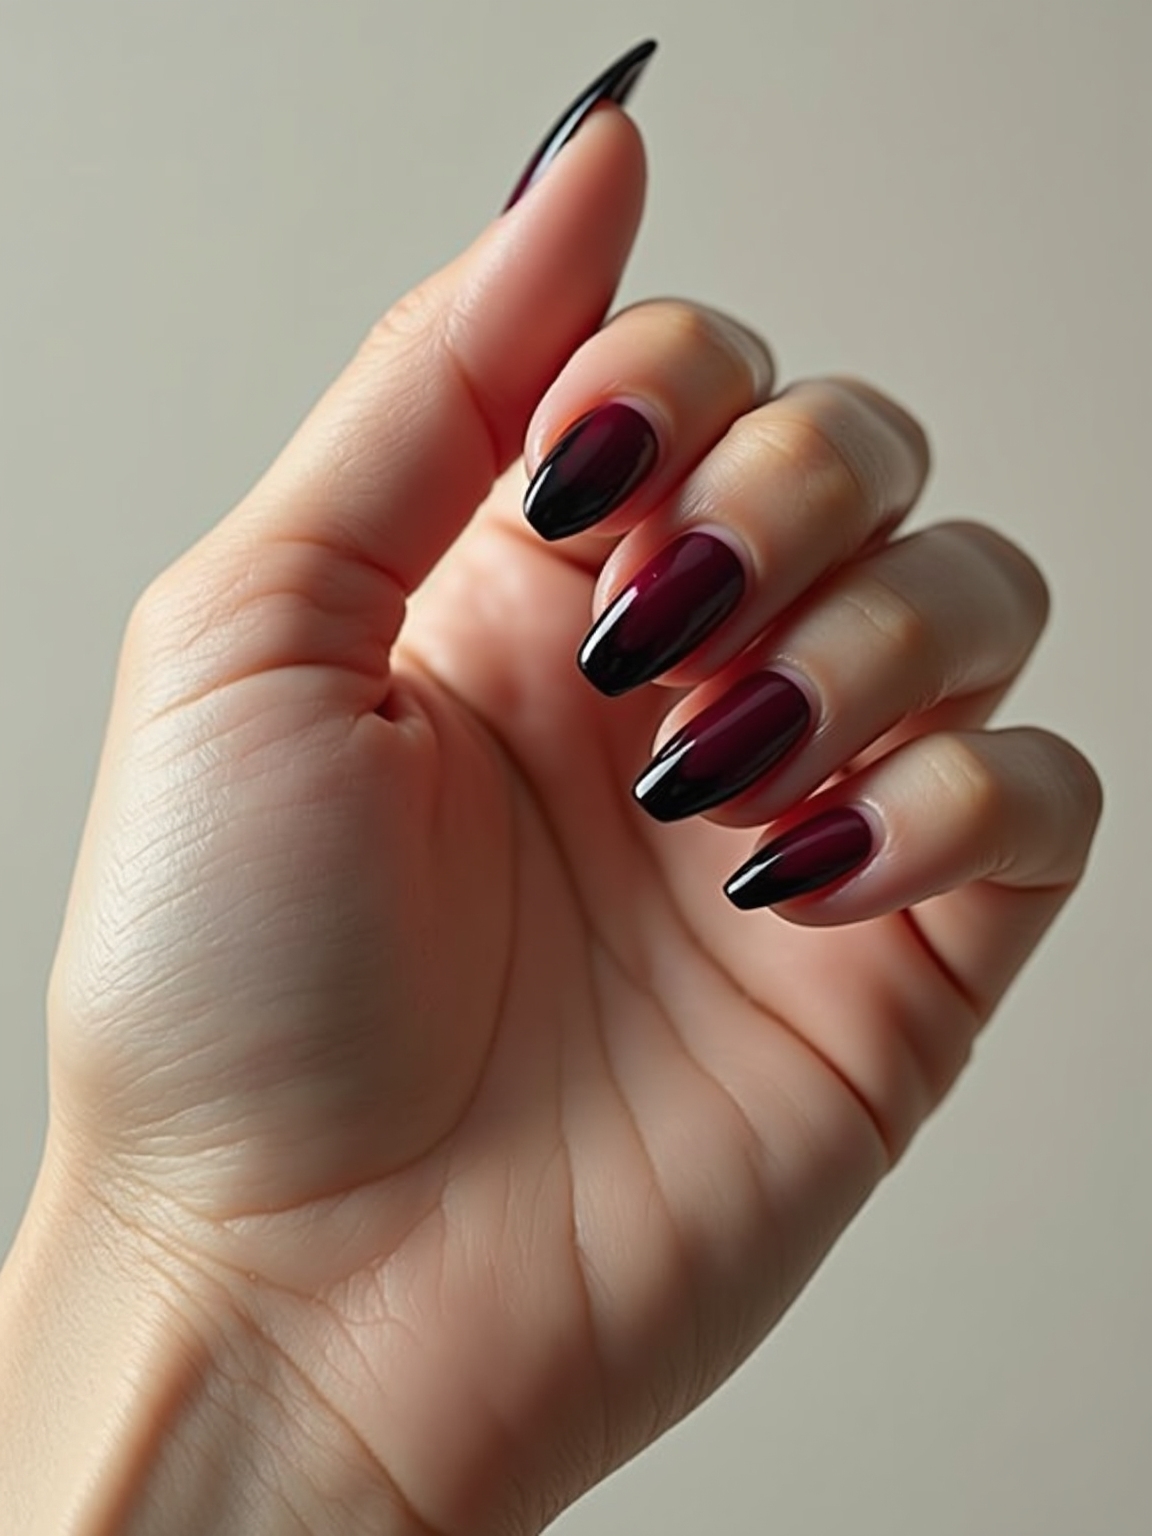
An eerie red-to-black ombré melts a deep red at the cuticle into solid black at the tips, for a dark, gothic gradient. It is moody and elegant, the most goth-friendly red Halloween look, equal parts pretty and sinister.
- Fade deep red at the base into black at the tips.
- Blend the middle so there is no hard line.
- Keep it glossy for depth. See red nails.
Haunted Crimson Marble
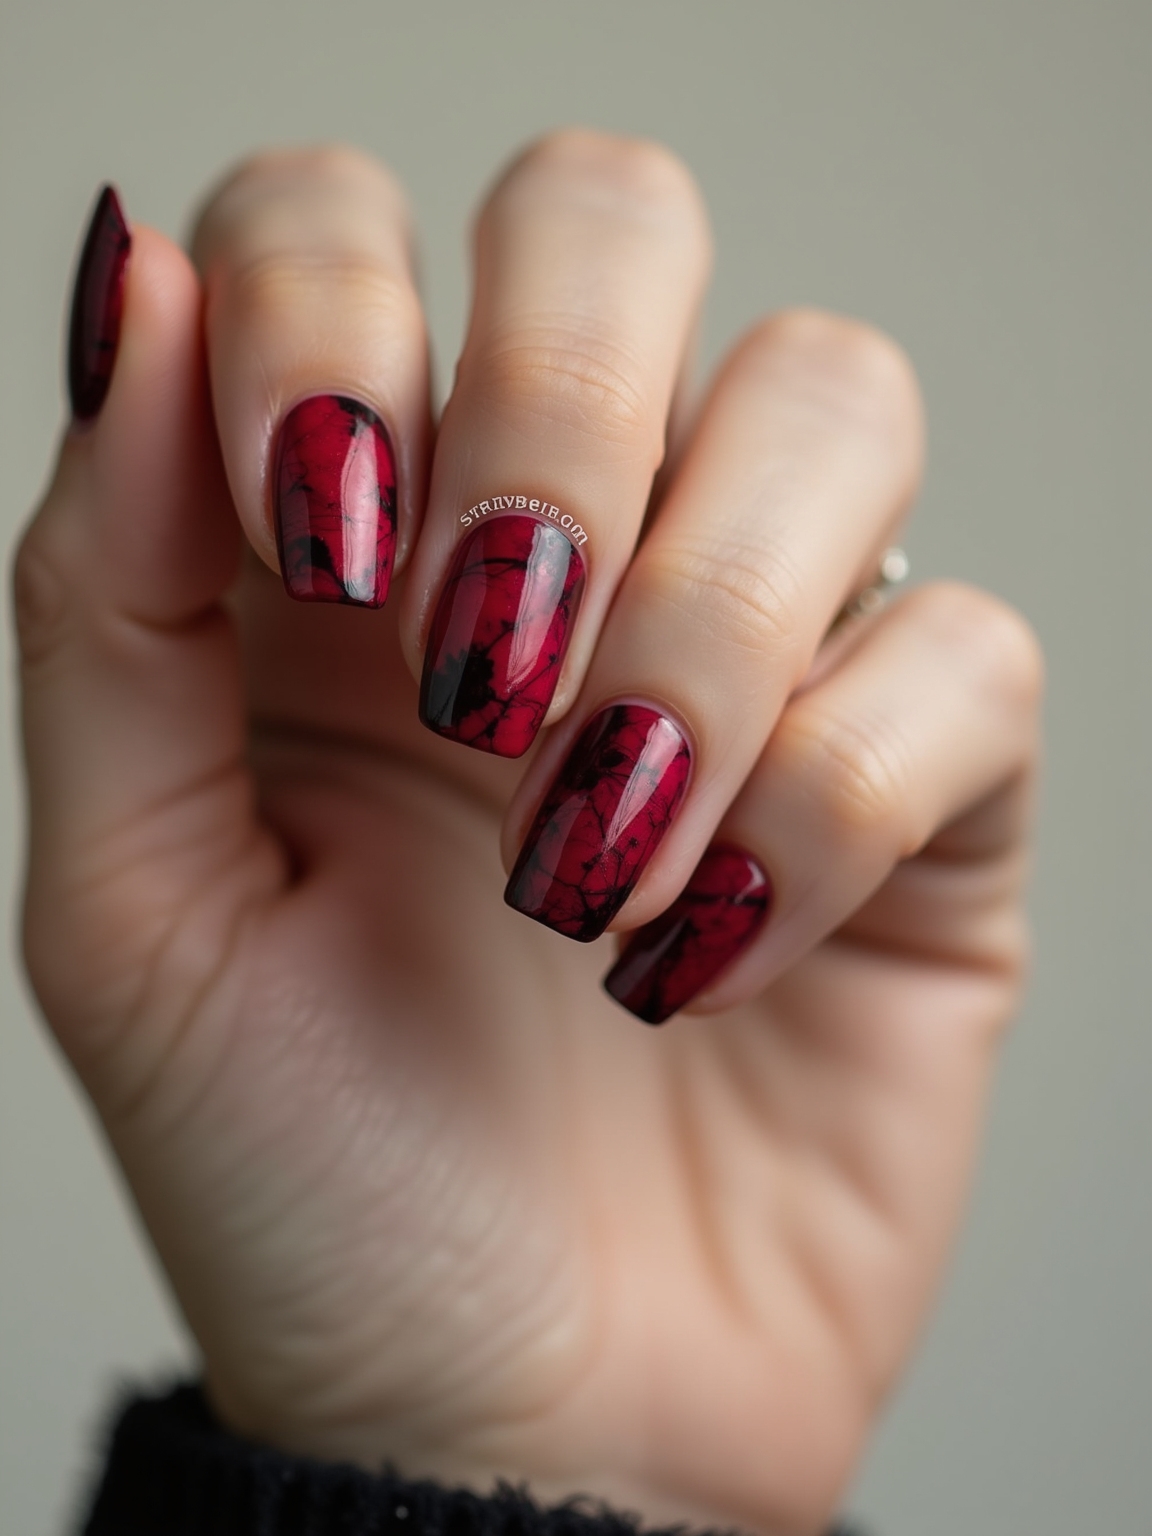
Haunted crimson marble swirls deep crimson with black and a thread of grey into a smoky, marbled pattern, like blood swirled in dark water. It is the artsy, dimensional red Halloween look, eerie without any obvious motif.
Swirl crimson and black together while wet, dragging a fine brush through for the veined marble effect. Keep the swirls loose so each nail comes out a little different.
It is the marble I love for someone who wants eerie without a literal bat or web on the nail.
| Mood | Look |
|---|---|
| Elegant and moody | Vampy crimson, red-to-black ombré, or haunted marble. |
| Full horror | Dripping blood, spiderwebs, or thorned vines. |
| Glam and jeweled | Crimson mirror or ruby-studded red. |
Spiderwebs on Crimson
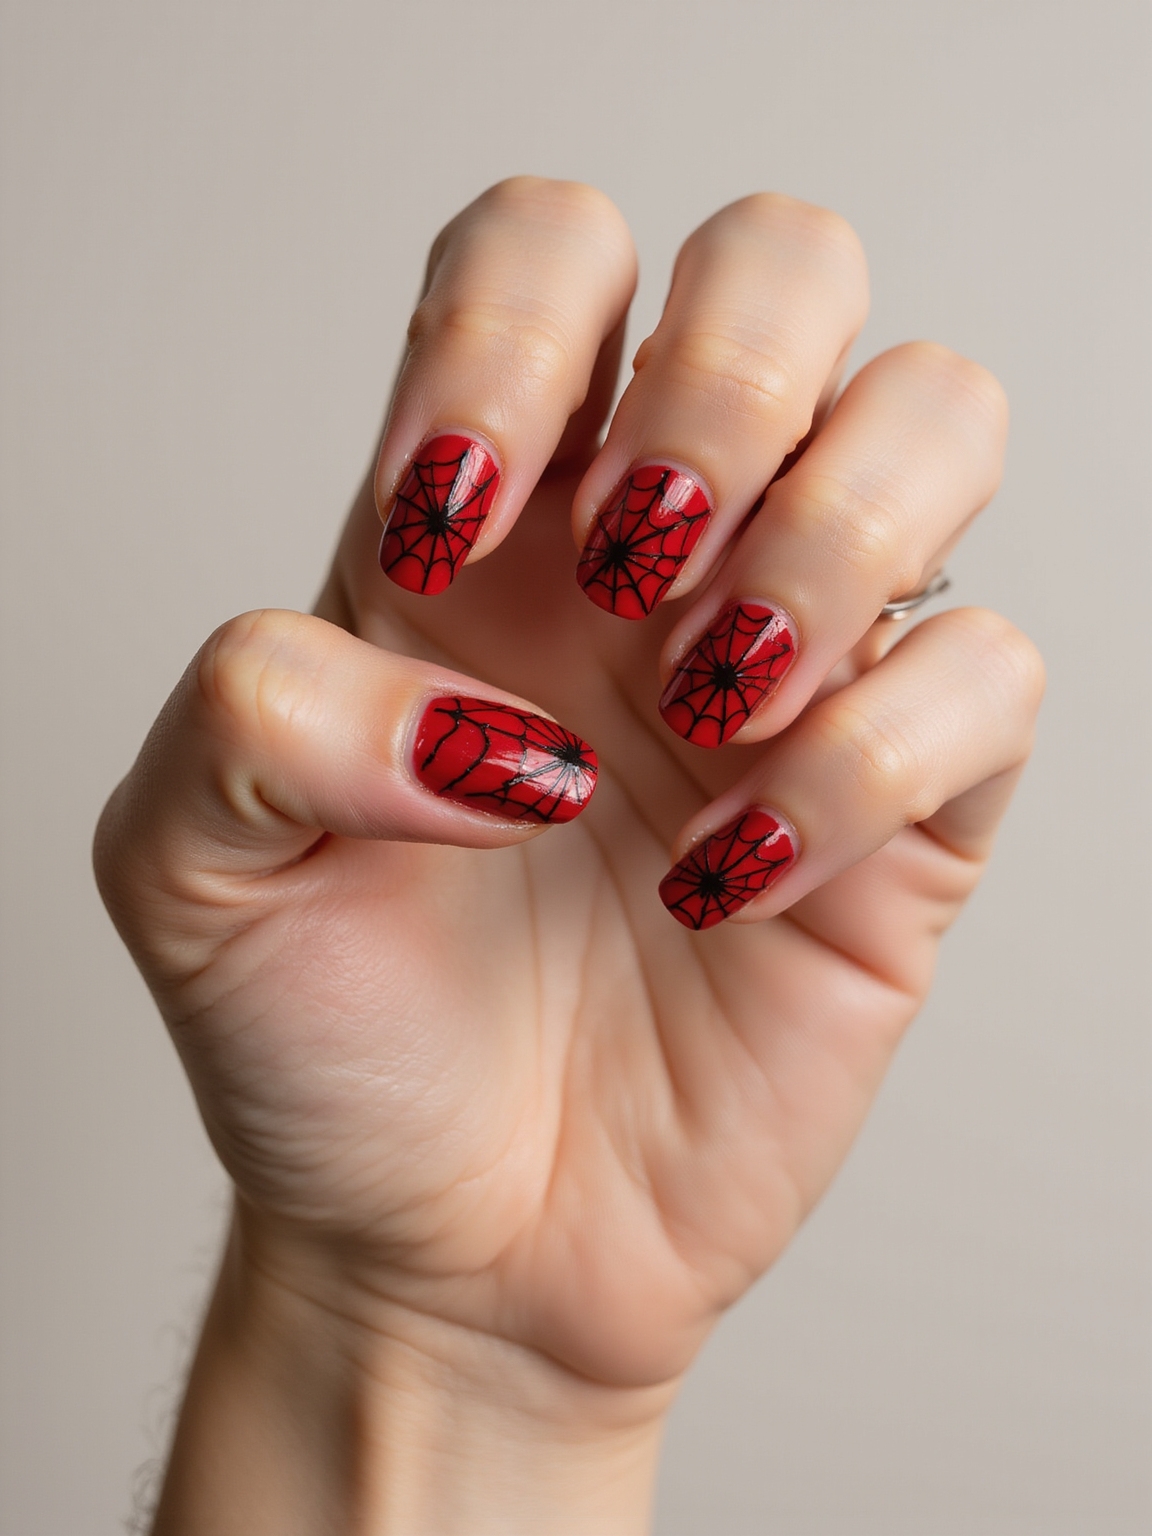
Fine-line spiderwebs draw delicate black webs over a deep crimson base, the most iconic Halloween motif done in an elegant, minimal way. The thin black lines against rich red look chic rather than cheap.
Paint fine black web lines with a thin brush over a glossy crimson base, anchoring the web in a corner. Keep the lines delicate and limit the web to one or two nails.
It is the look clients ask me for most every October, the one that says Halloween instantly. See red nails.
Crimson Vines and Thorns
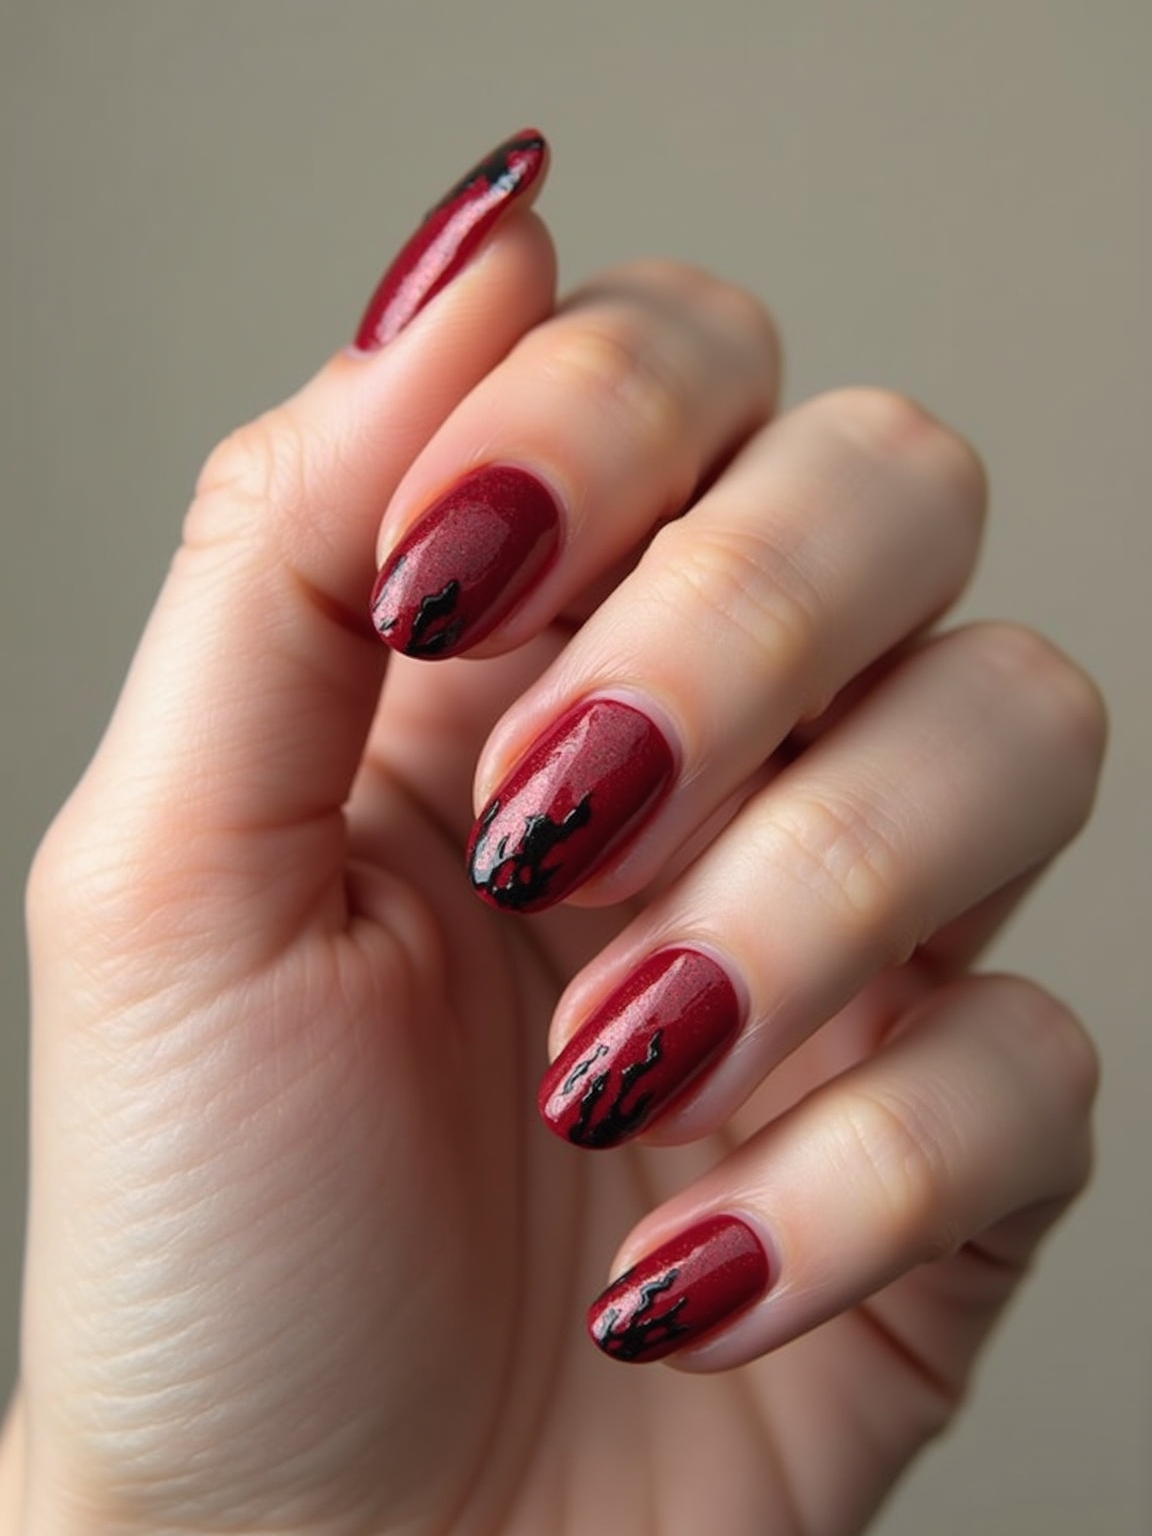
Crimson vines and thorns trail dark, thorned vines across a deep red base, like a haunted rose garden. It is the romantic-gothic red Halloween look, all dark fairytale, equal parts beautiful and a little dangerous.
- Paint fine dark vines with small thorns over deep red.
- Add a tiny rose or two for the dark-garden effect.
- Keep it to a couple of nails so it stays elegant.
Red is the most underrated Halloween color. Orange and black read costume, but a deep, bloody crimson reads like a vampire who has very good taste, eerie and elegant at the same time.
Matte-and-Gloss Contrast
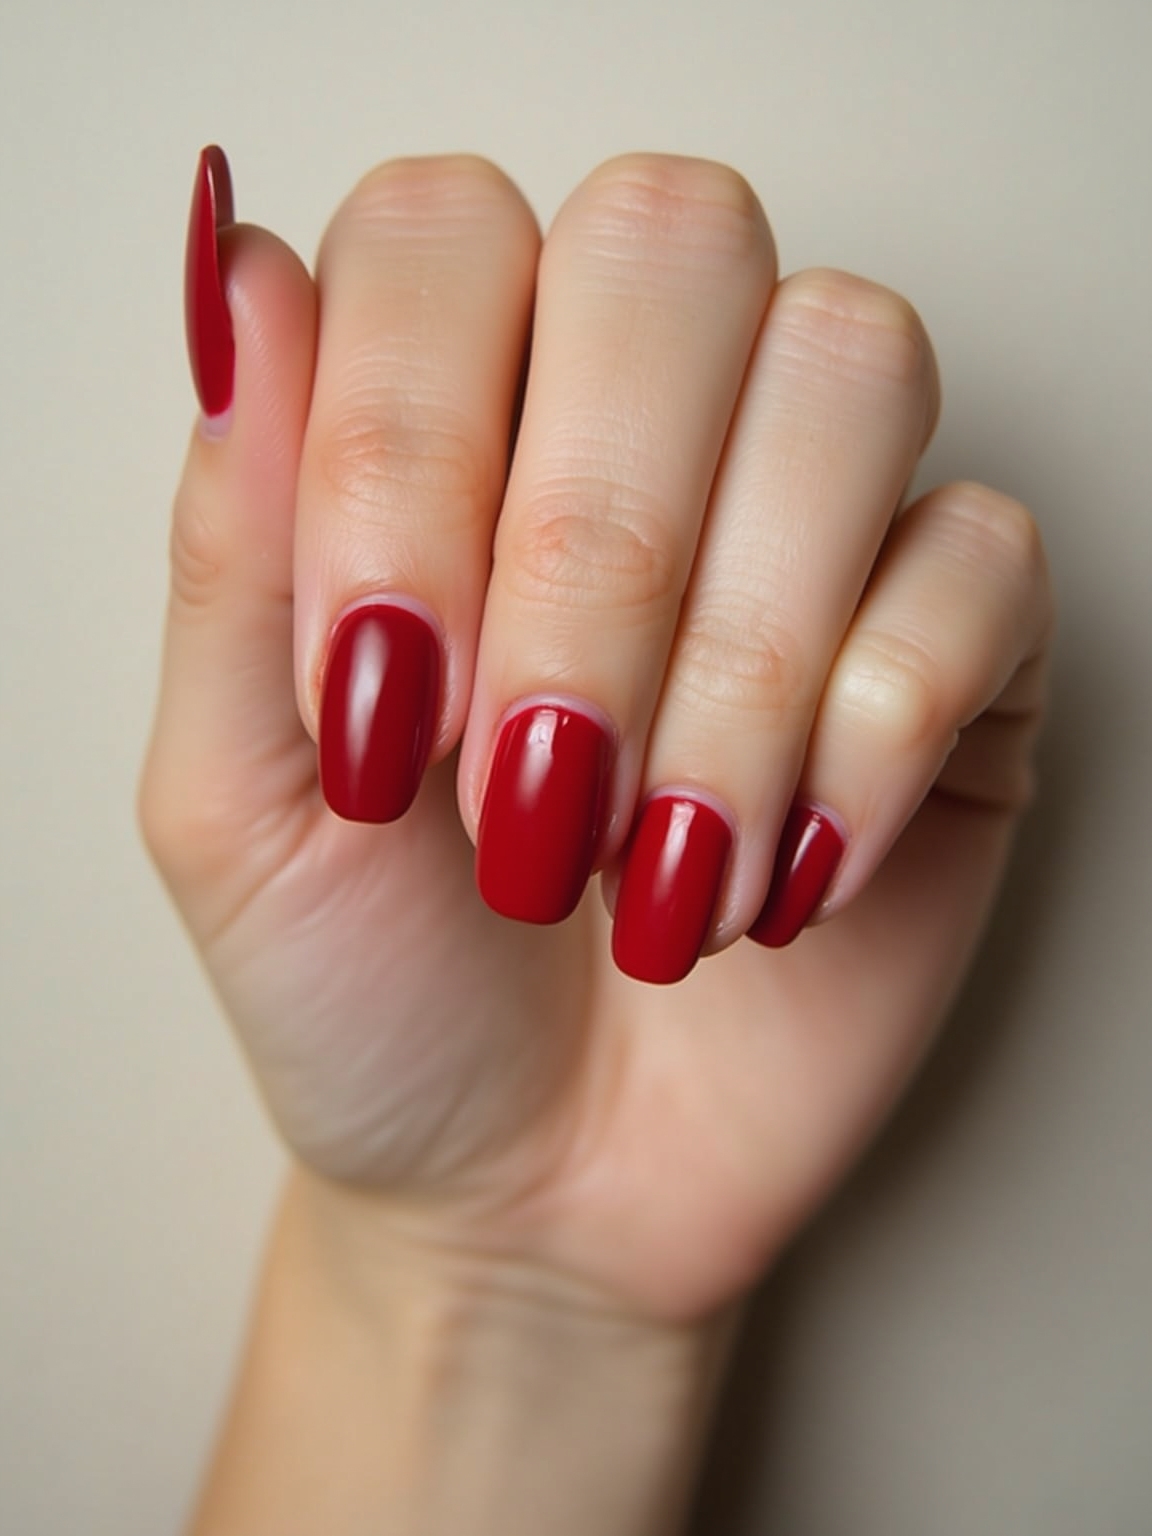
A matte-and-gloss contrast uses one deep red in two finishes, a matte base with glossy detail on top, or glossy nails with a matte motif, so the design shows up through texture alone. It is the subtlest, most modern red Halloween look, all about finish rather than color.
Paint the nail matte, then add a glossy bat, web, or drip in the same red on top, so the shine catches light where the matte does not. It is sophisticated and barely-there until the light hits it.
- Use one red in both matte and gloss finishes.
- Add a glossy motif over a matte base, or the reverse.
- Let the texture, not the color, carry the design.
Crimson Mirror
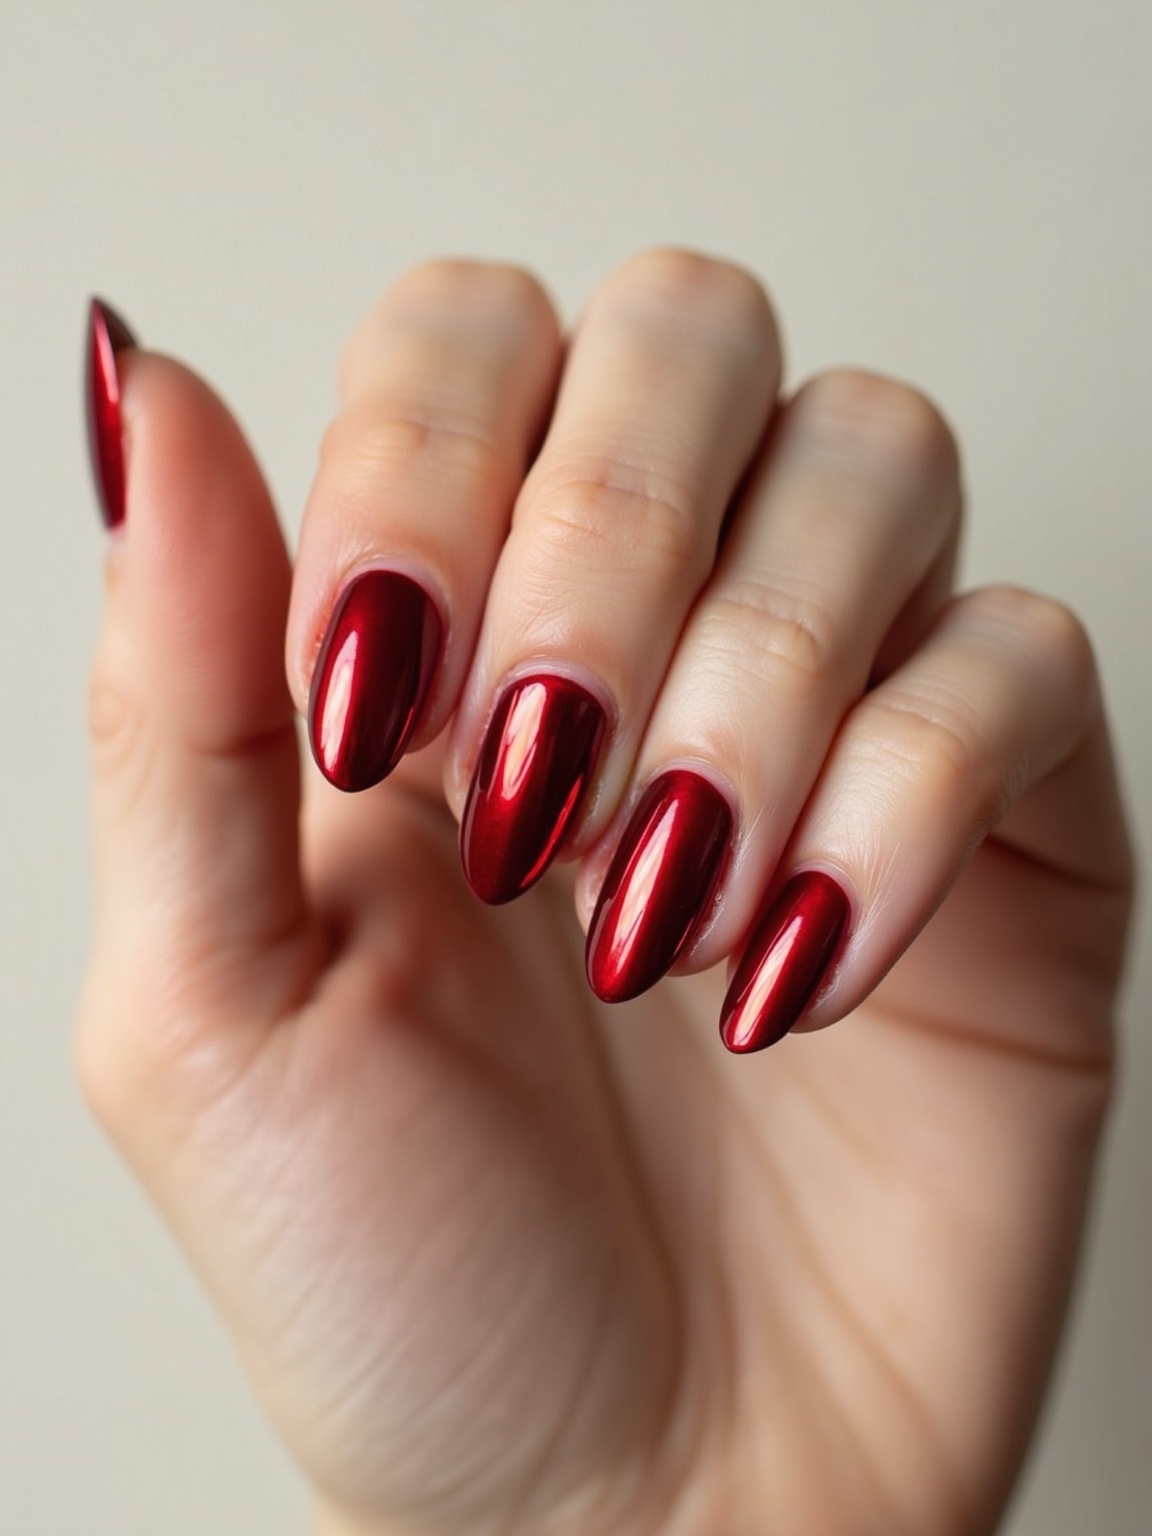
Crimson mirror nails take a deep red to a full chrome mirror, so they catch every light like polished metal. It is the glam, high-shine red Halloween look, less spooky and more vampire-at-the-gala.
Chrome a deep crimson base to a mirror finish for maximum shine. It needs gel to hold the chrome, and it pairs well with a sleek, all-black outfit.
- Chrome a deep crimson to a mirror finish.
- Keep it plain so the shine is the statement.
- For more chrome reds, see red chrome nails.
Ruby-Studded Red
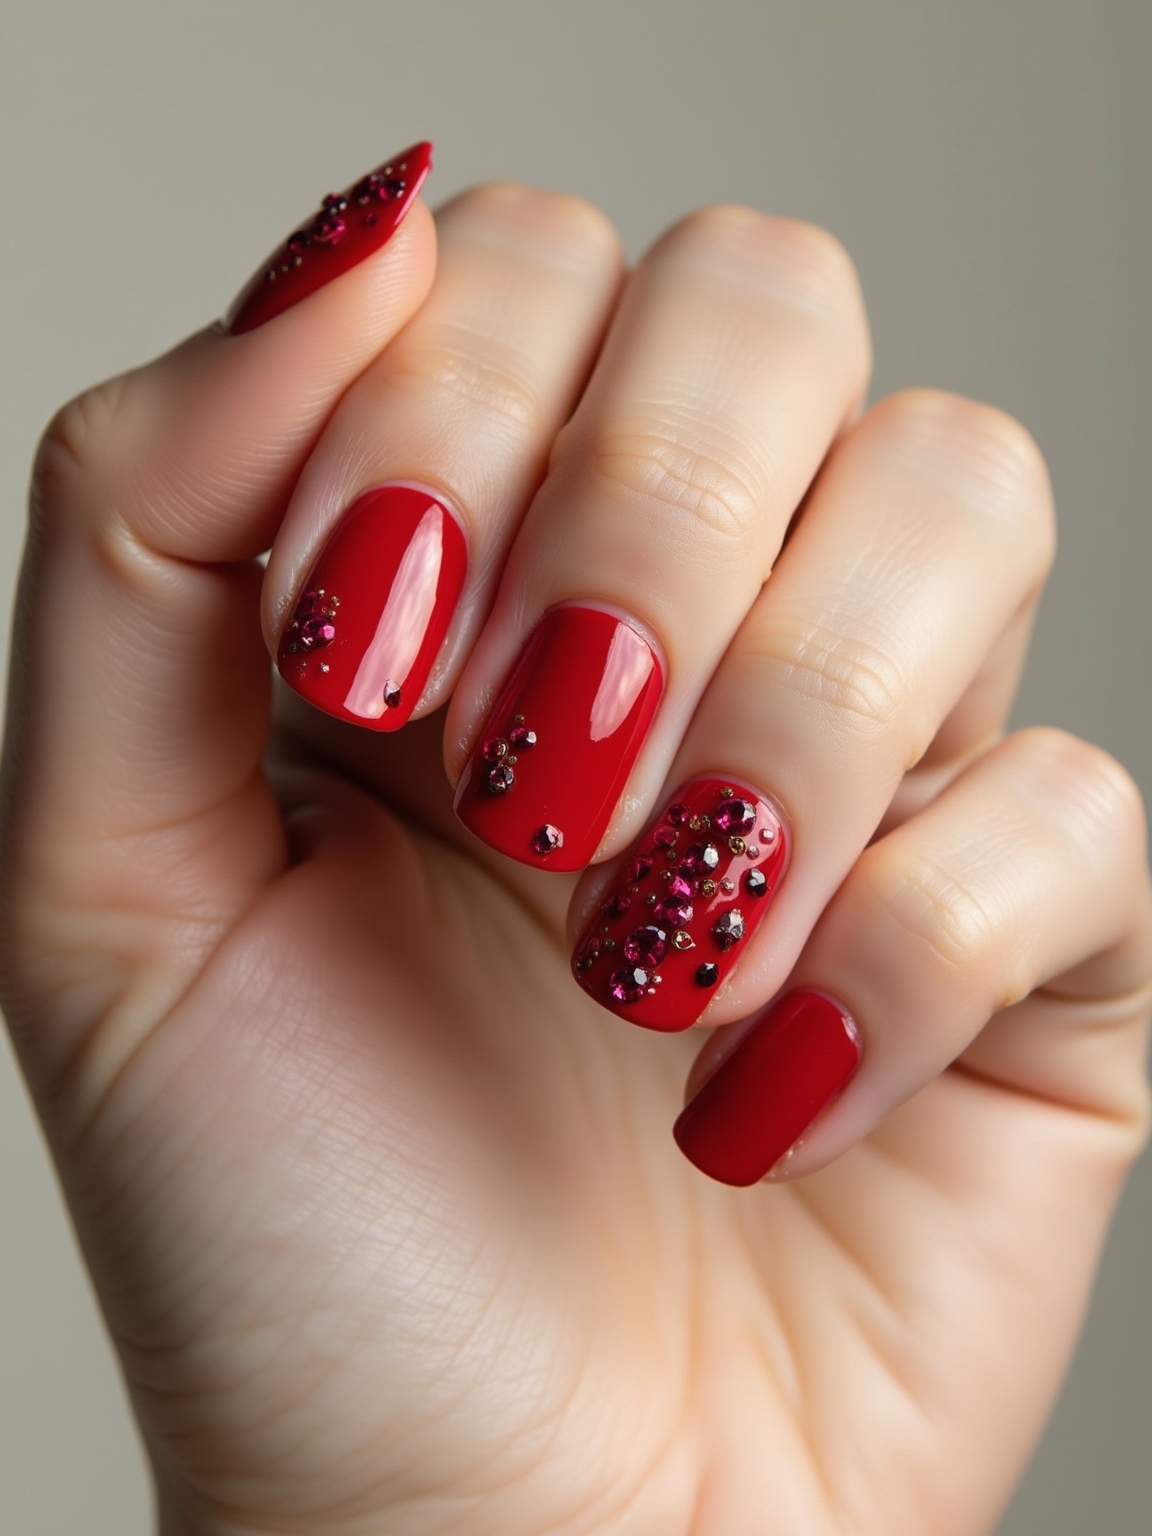
Ruby-studded red nails press tiny red rhinestones into a glossy red base, for a jeweled, opulent take, like a vampire queen’s manicure. It is the most glamorous red Halloween look, all sparkle and richness.
Set small red or black crystals in clusters on a glossy red base, using gel so they hold through the night. Keep the studs to one or two nails so it stays luxe, not heavy.
Sheer Dripping Tips
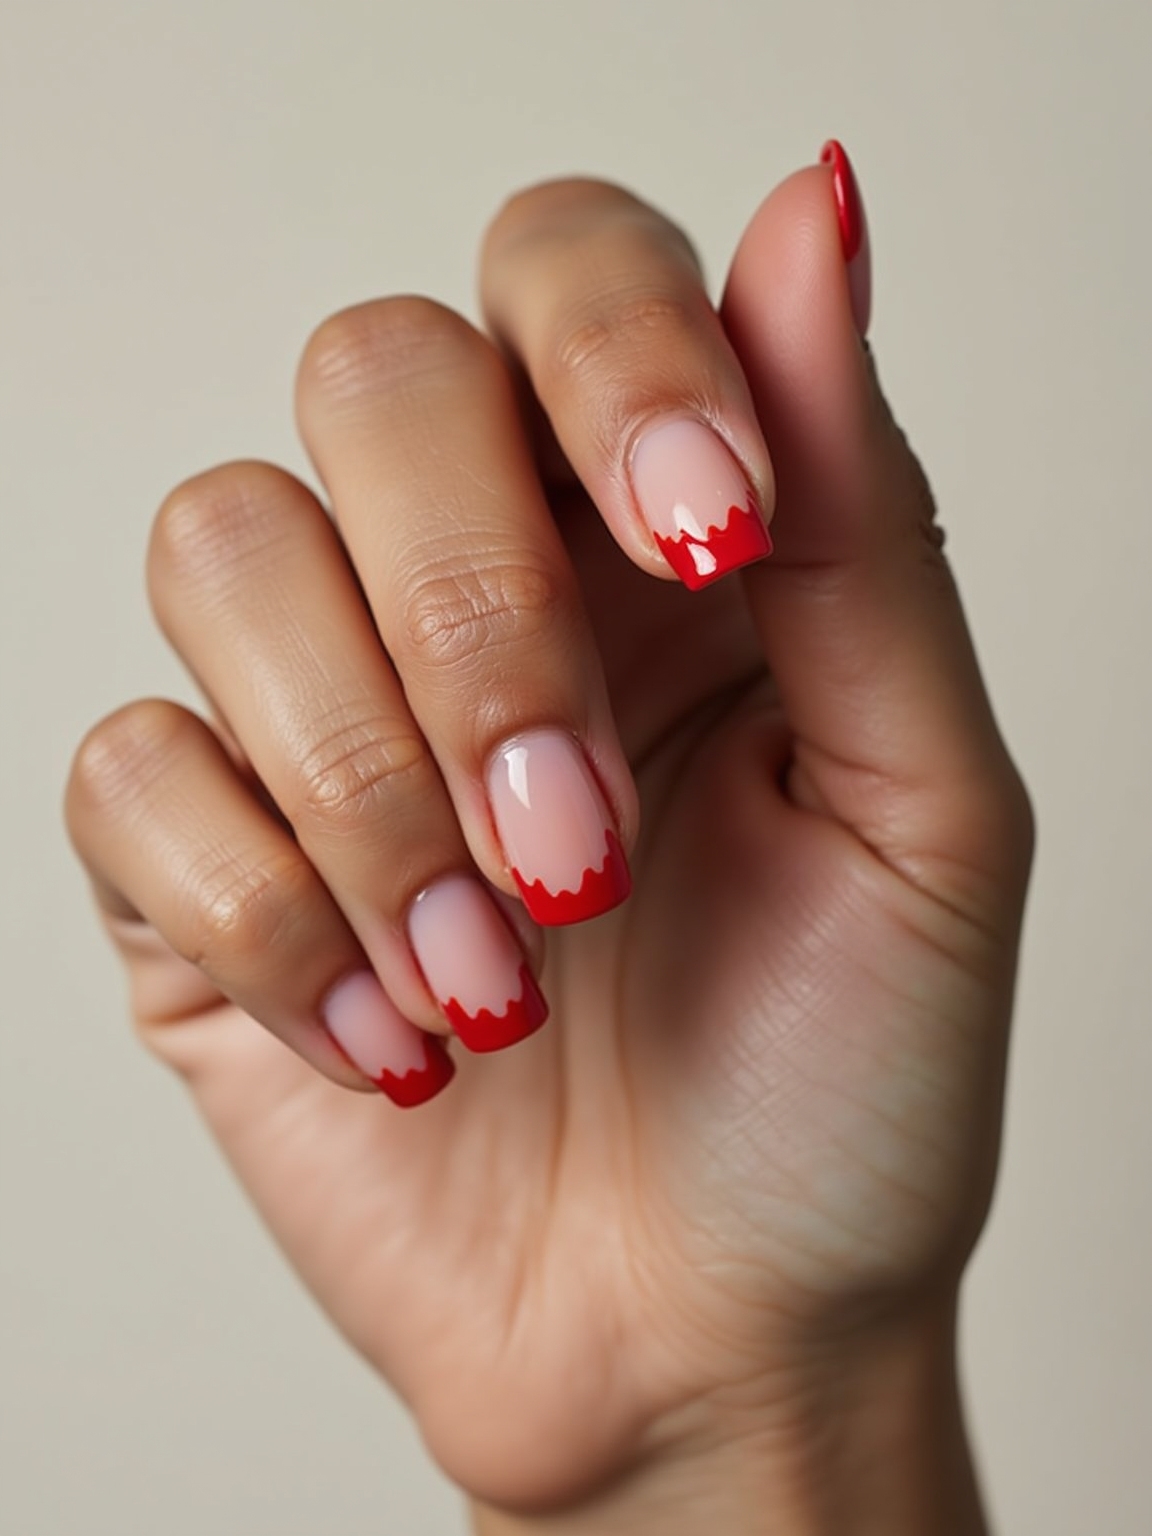
Sheer dripping tips run crimson drips down from the tips over a barely-there nude base, so the red looks like it is bleeding onto clean nails. It is the most delicate, modern take on the blood-drip idea, minimal and a little unsettling.
Keep the base sheer and nude, then drip glossy crimson from the free edge downward. The contrast of clean nude and bloody red is what makes it eerie.
- Use a sheer nude base for contrast.
- Drip crimson from the tips, not the cuticle.
- Keep the drips thin and glossy.
Long-Lasting Vampy Red
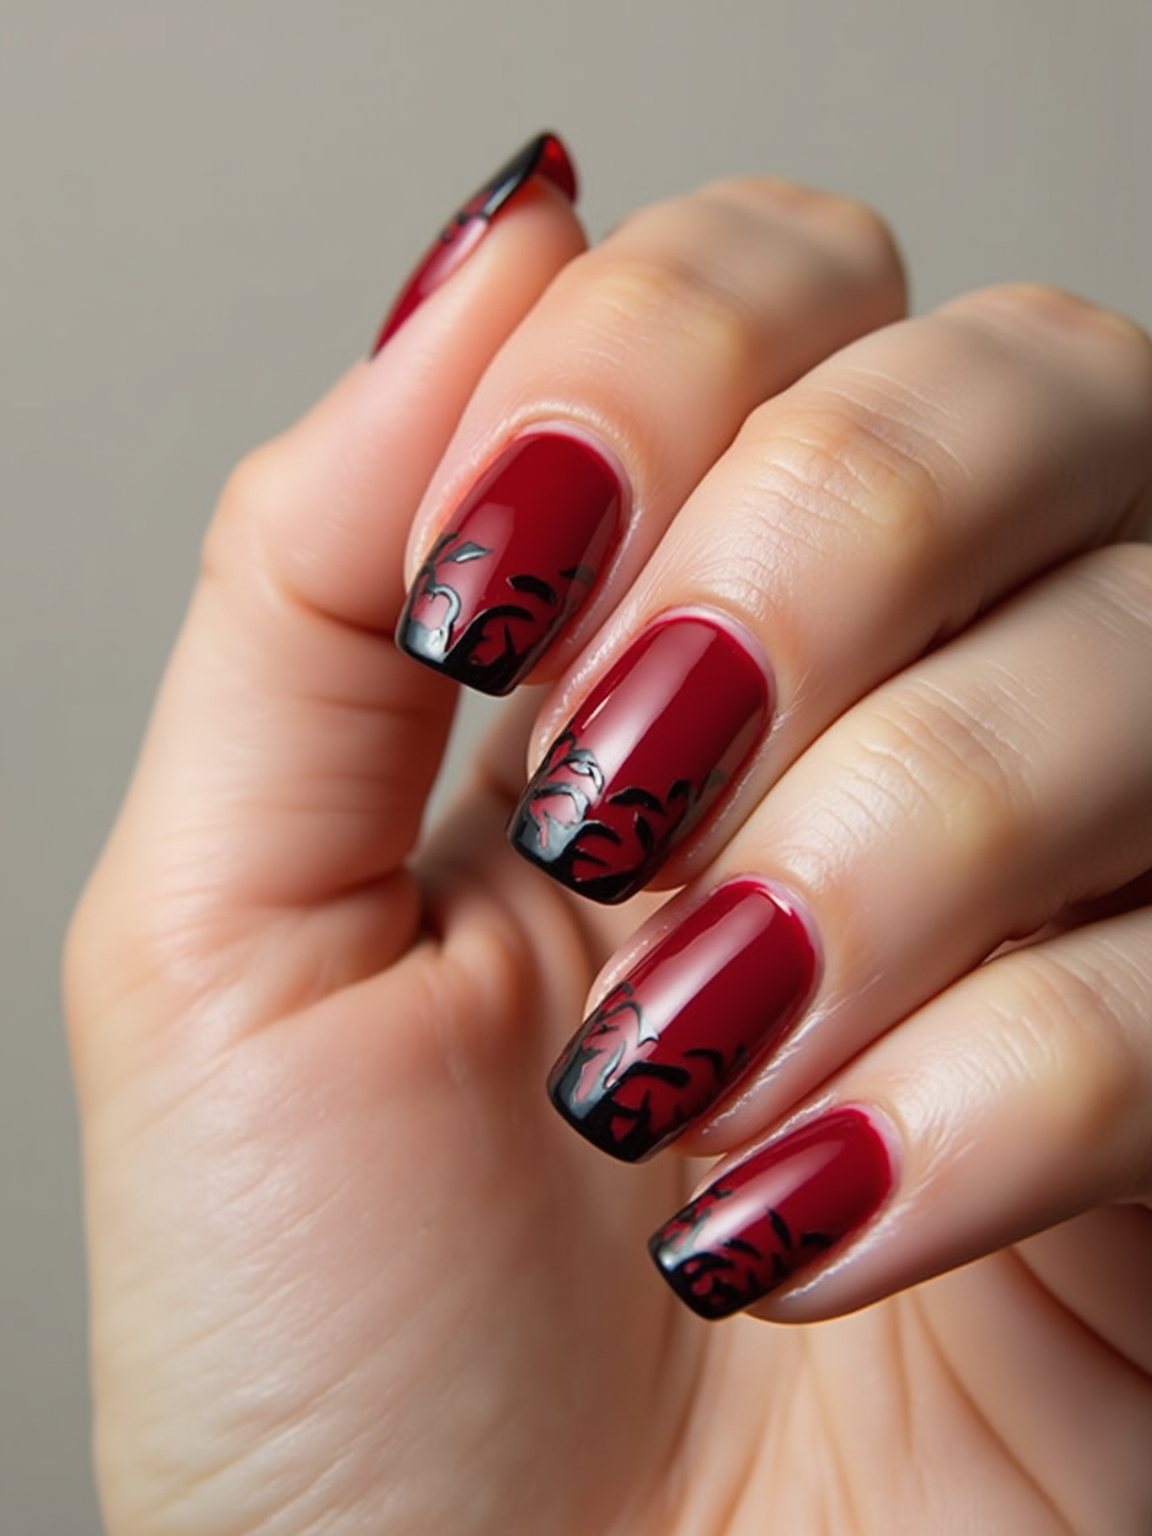
If you want your red Halloween nails to survive the whole season of parties, a gel vampy red is the most durable choice, holding its shine and any art for two to three weeks. It is the practical pick, the one that lasts from the first party to the last.
- Choose gel for art that lasts two to three weeks.
- Cap the free edge so the tips do not chip.
- Keep cuticle oil handy through the dry fall air.
How to Ask Your Stylist
Booking red Halloween nails is easiest with a photo, since ‘red Halloween’ covers everything from a plain vampy crimson to a full dripping-blood, spiderweb set.
The call that matters most is how far into spooky you want to go, from a plain moody gloss to a full horror motif, and which base red carries it, since a deep, blue-based crimson looks sinister and elegant while a bright candy red looks playful. Be clear about how many accent nails carry the art, because one or two against solid red is what keeps it chic.
Gel is worth it if the art has to survive a packed run of parties, since it keeps its shine for two to three weeks while polish starts flaking after a night or two; budget around $40 to $70 for a hand-painted set that takes roughly an hour at the salon.
If you are doing it yourself, paint the spooky nail first and keep the rest simple, so one wobble does not sink the whole look. Deep reds flatter almost everyone, so the only real choice is how much Halloween you want on your hands. See red nails.
The Eerie, Elegant Side of Halloween
Red is the grown-up way to do Halloween nails, trading orange and black for a deep, bloody crimson that reads sinister and chic at once. Whether you keep it a plain vampy gloss or pile on drips, webs, and thorns, the secret is the same: a rich red base, art on just one or two nails, and gel to carry it through the parties.
So pick the red Halloween look that matches your costume and your nerve, from a quiet vampy crimson to full dripping horror, and let your nails do the haunting. Start the spooky nail first, keep the rest simple, and you will look eerie and elegant all at once.
More Styles to Try