Once that ring is on, your left hand becomes the most photographed thing you own. Friends will grab it, your phone camera will not stop, and you will notice your nails in a way you never did before. The right manicure makes the ring look brighter and the hand look longer, and it does it without stealing the spotlight.
These engagement nails lean on soft neutrals, milky finishes, and a few delicate accents chosen to flatter both the diamond and your fingers on camera. Pick by your skin tone, your nail length, and how soon the photos are happening.
How to Pick Ring-Ready Nails
- Neutrals and milky shades make a diamond look brighter than bold colors do.
- Longer shapes like almond and oval elongate the finger in close-up photos.
- Keep accents subtle so the ring stays the star, not the manicure.
- Book two or three days ahead so any redness around the cuticles settles.
Sheer Neutral Pink
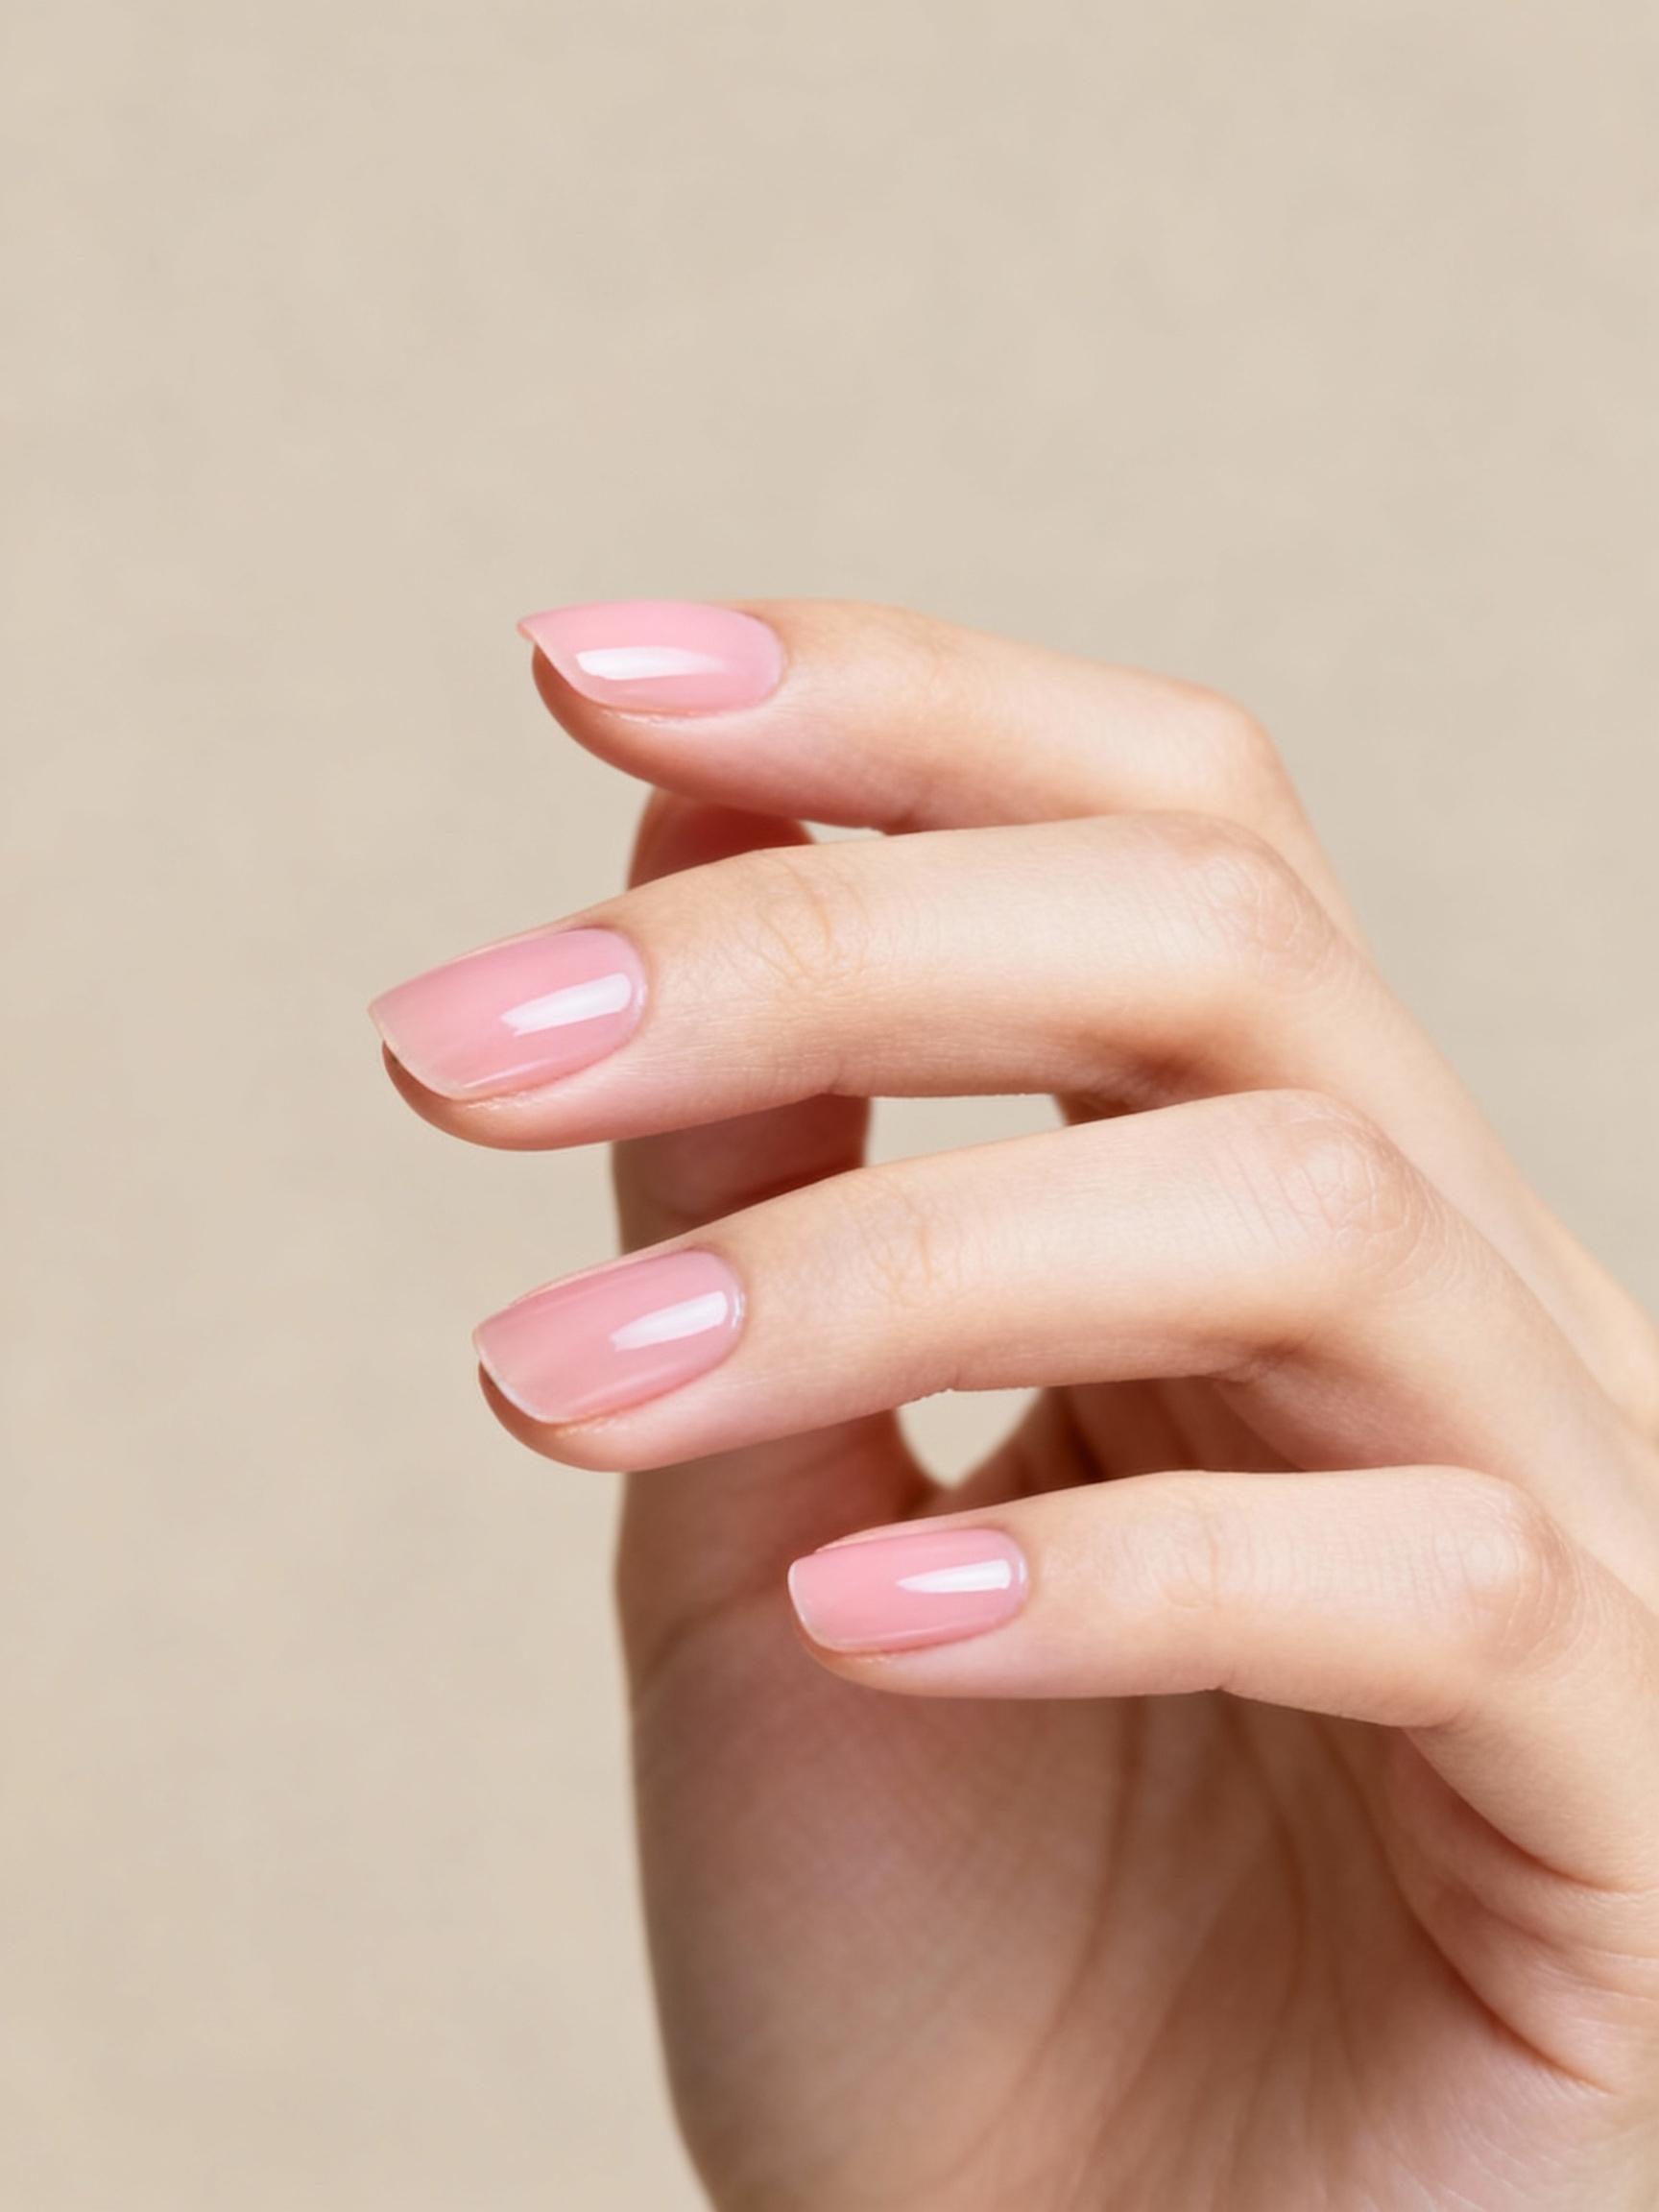
A sheer, glossy pink is the most requested engagement manicure for good reason. It looks clean and timeless in every photo. The ring stays the star.
Choose a wash with a hint of your own nail tone in it, applied in two thin coats and sealed with a high-shine top coat. The transparency keeps it looking natural rather than painted on.
This is the shade I steer most brides-to-be toward, because it photographs the same in every light and grows out invisibly between the proposal and the party. It flatters every skin tone with a slightly warmer or cooler pink.

Soft Milky White
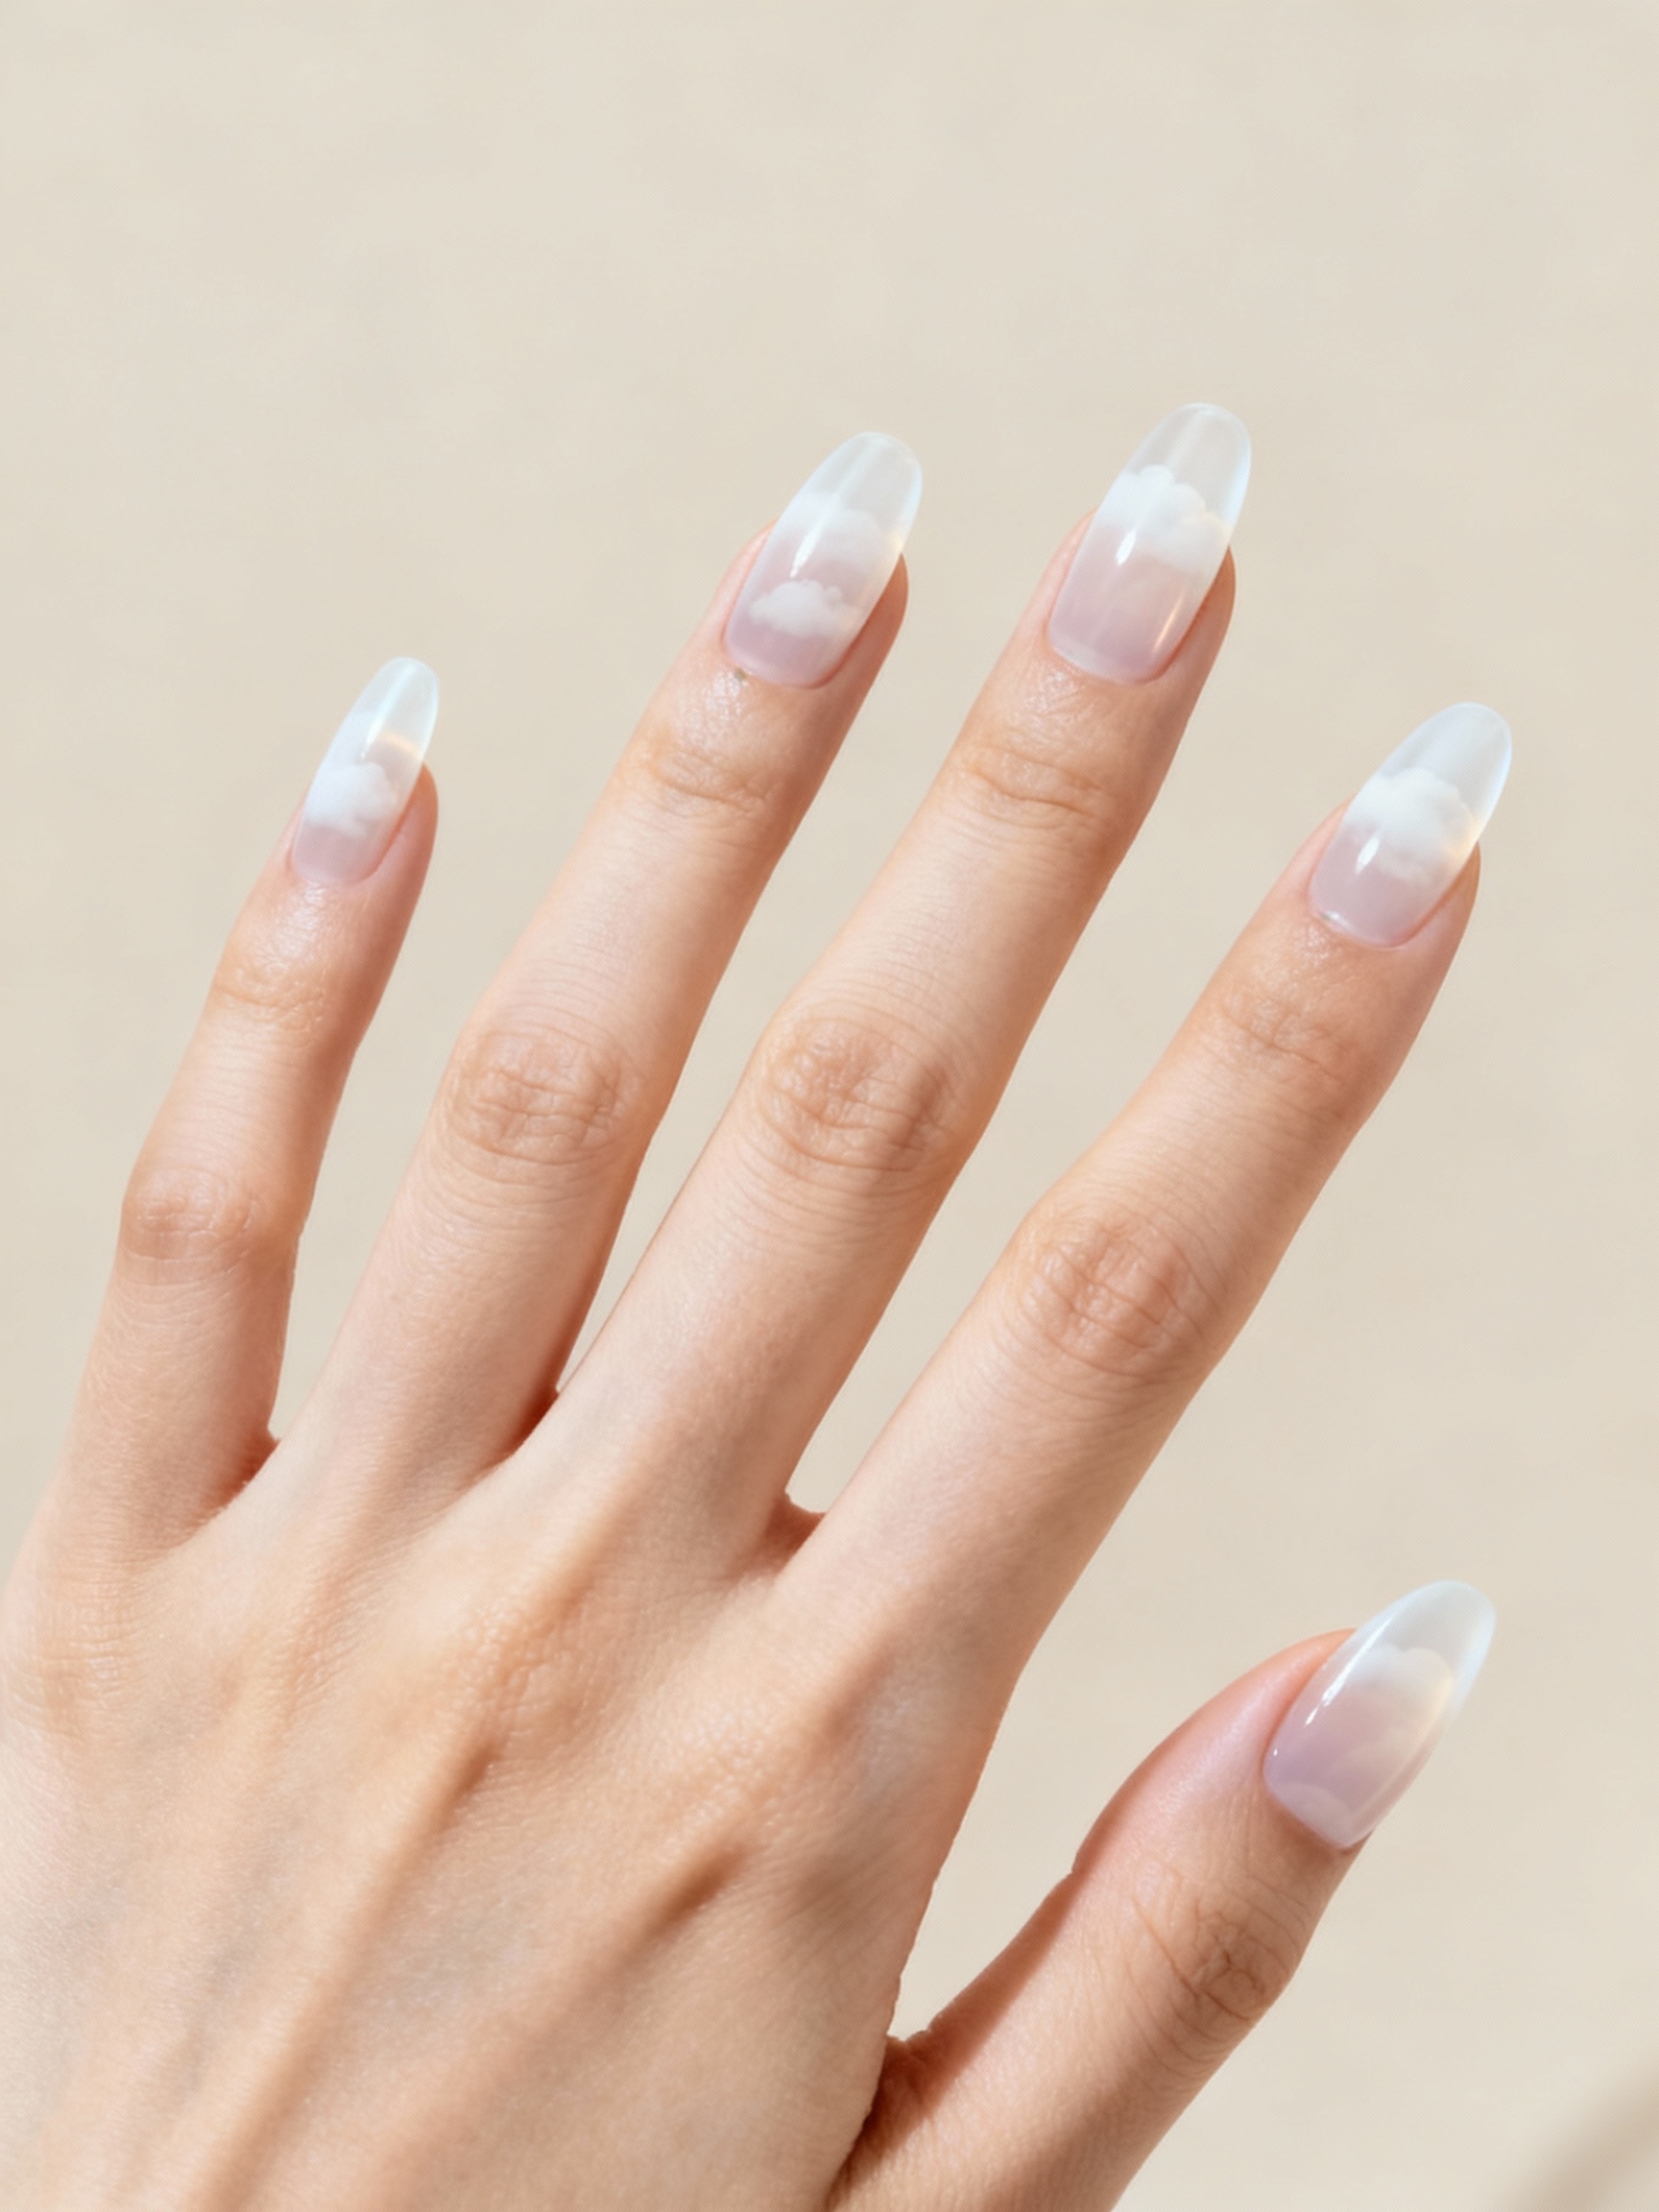
A milky white, the soft, translucent kind rather than stark opaque white, makes a diamond look noticeably whiter and brighter. It is the secret weapon of every good ring selfie.
Milky White Without the Chalk
Build it in thin layers so it stays sheer and even, never chalky. One coat reads barely-there; two gives that frosted-glass effect that flatters the stone.
It suits short and long nails alike and looks especially fresh on deeper skin, where the contrast makes both the ring and the manicure pop. Keep the finish glossy for the most expensive look.
Pro tip
Take a test photo of your hand before you commit to a shade. Some whites flash too bright and some nudes go grey under a phone flash, and the camera always tells the truth faster than the mirror does.
Chrome-Tipped Nude
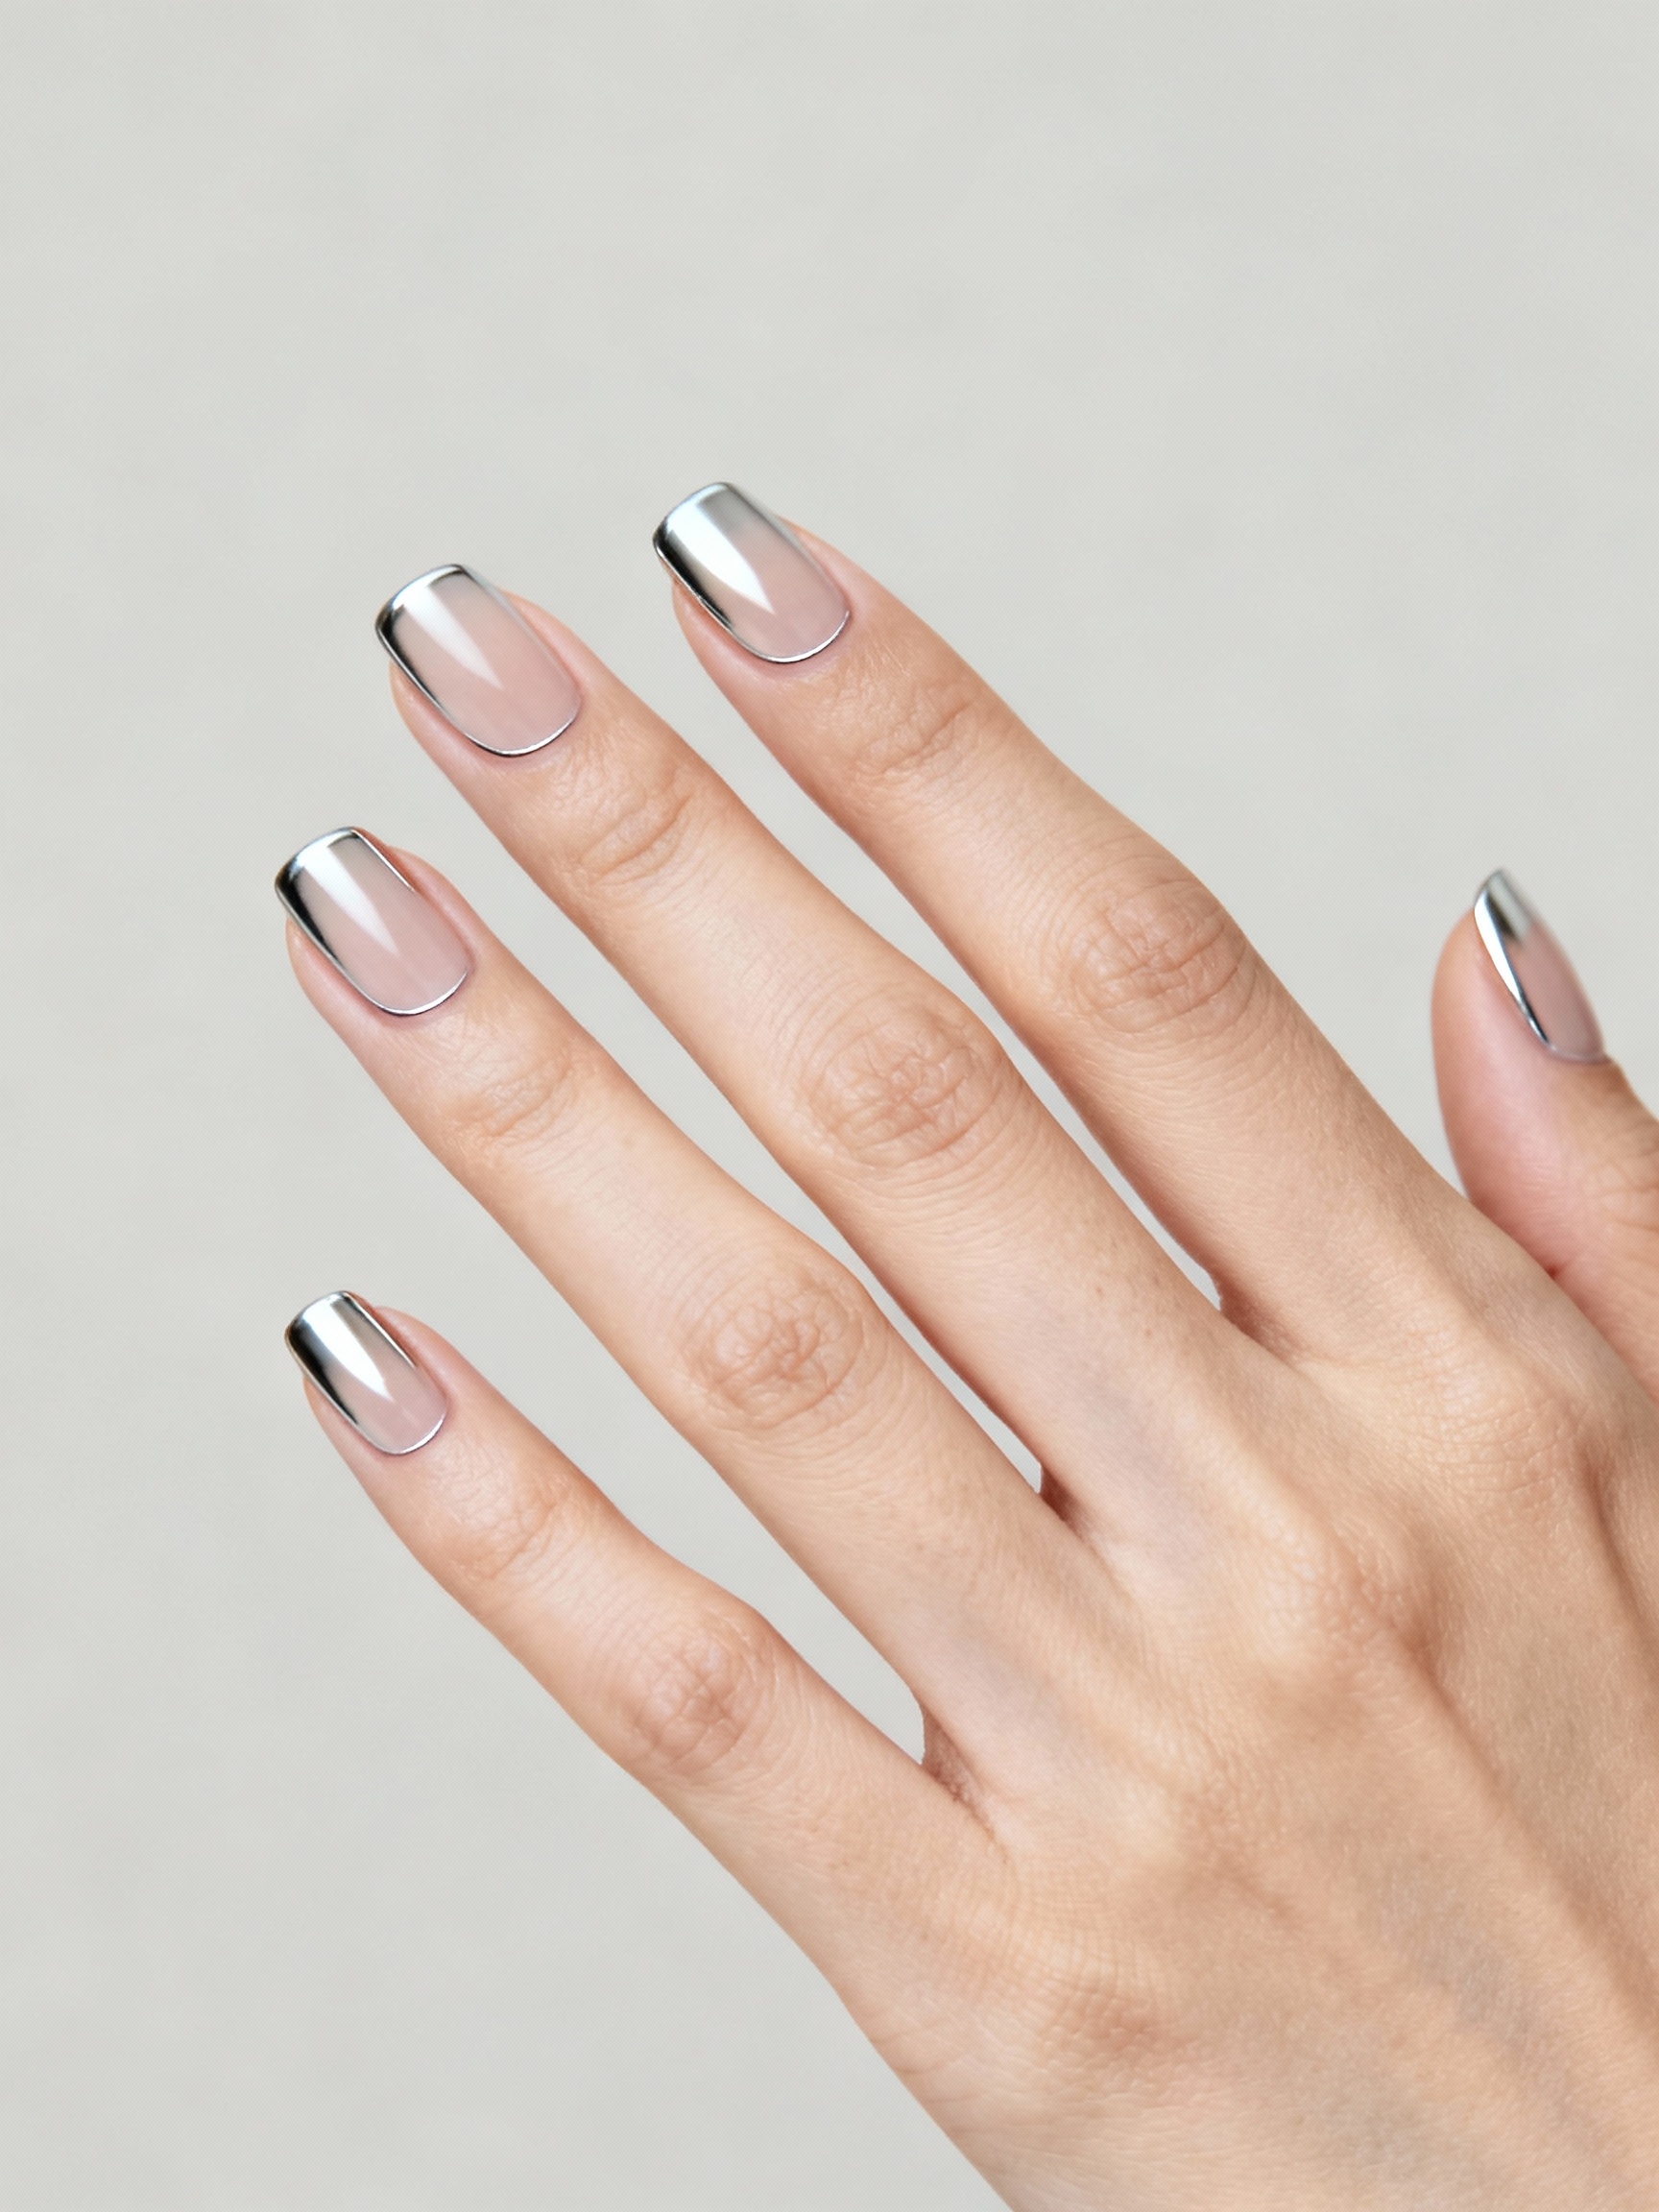
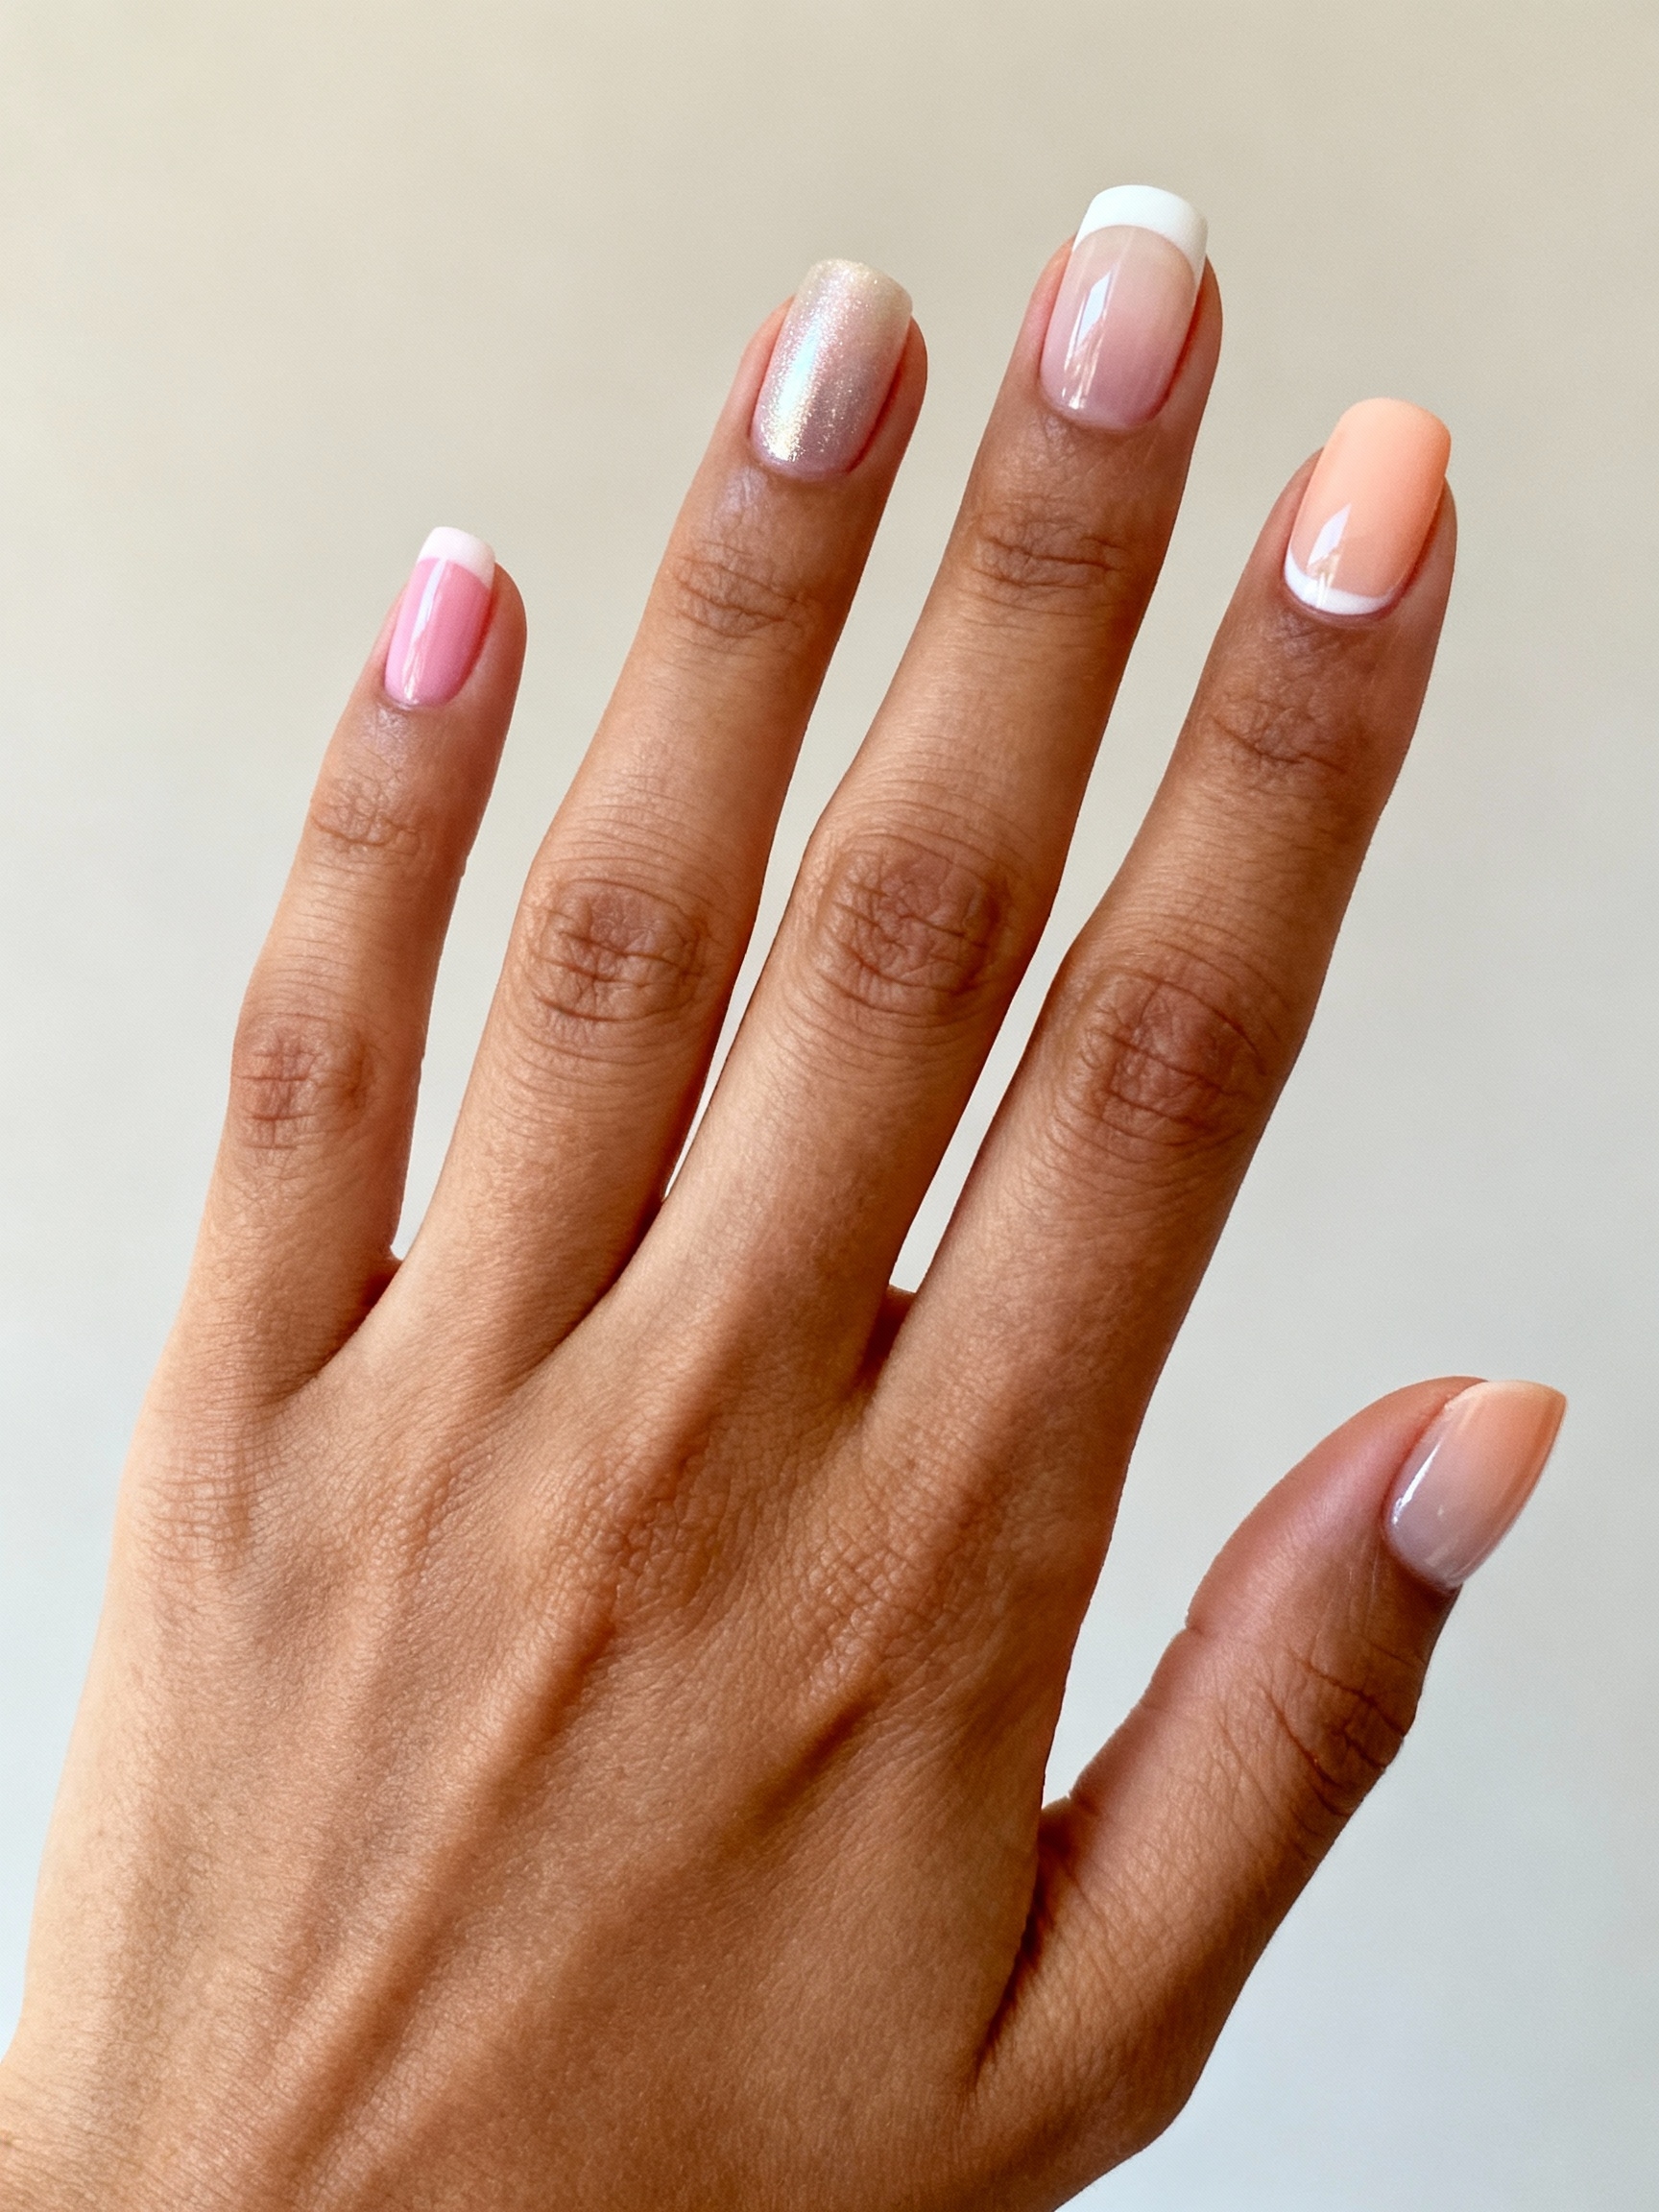
A nude base with a chrome tip is the modern, glamorous update to the French, and the mirror finish picks up the sparkle of the ring beside it. It feels current without being trendy enough to date the photos.
Keep the chrome to a thin tip so it stays elegant rather than disco.
- Base the nail in a soft nude that suits your skin.
- Add a fine chrome line at the tip with a rubbing pigment.
- Seal well, since chrome dulls fast without a good top coat. See more chrome nails.
Metallic Micro French
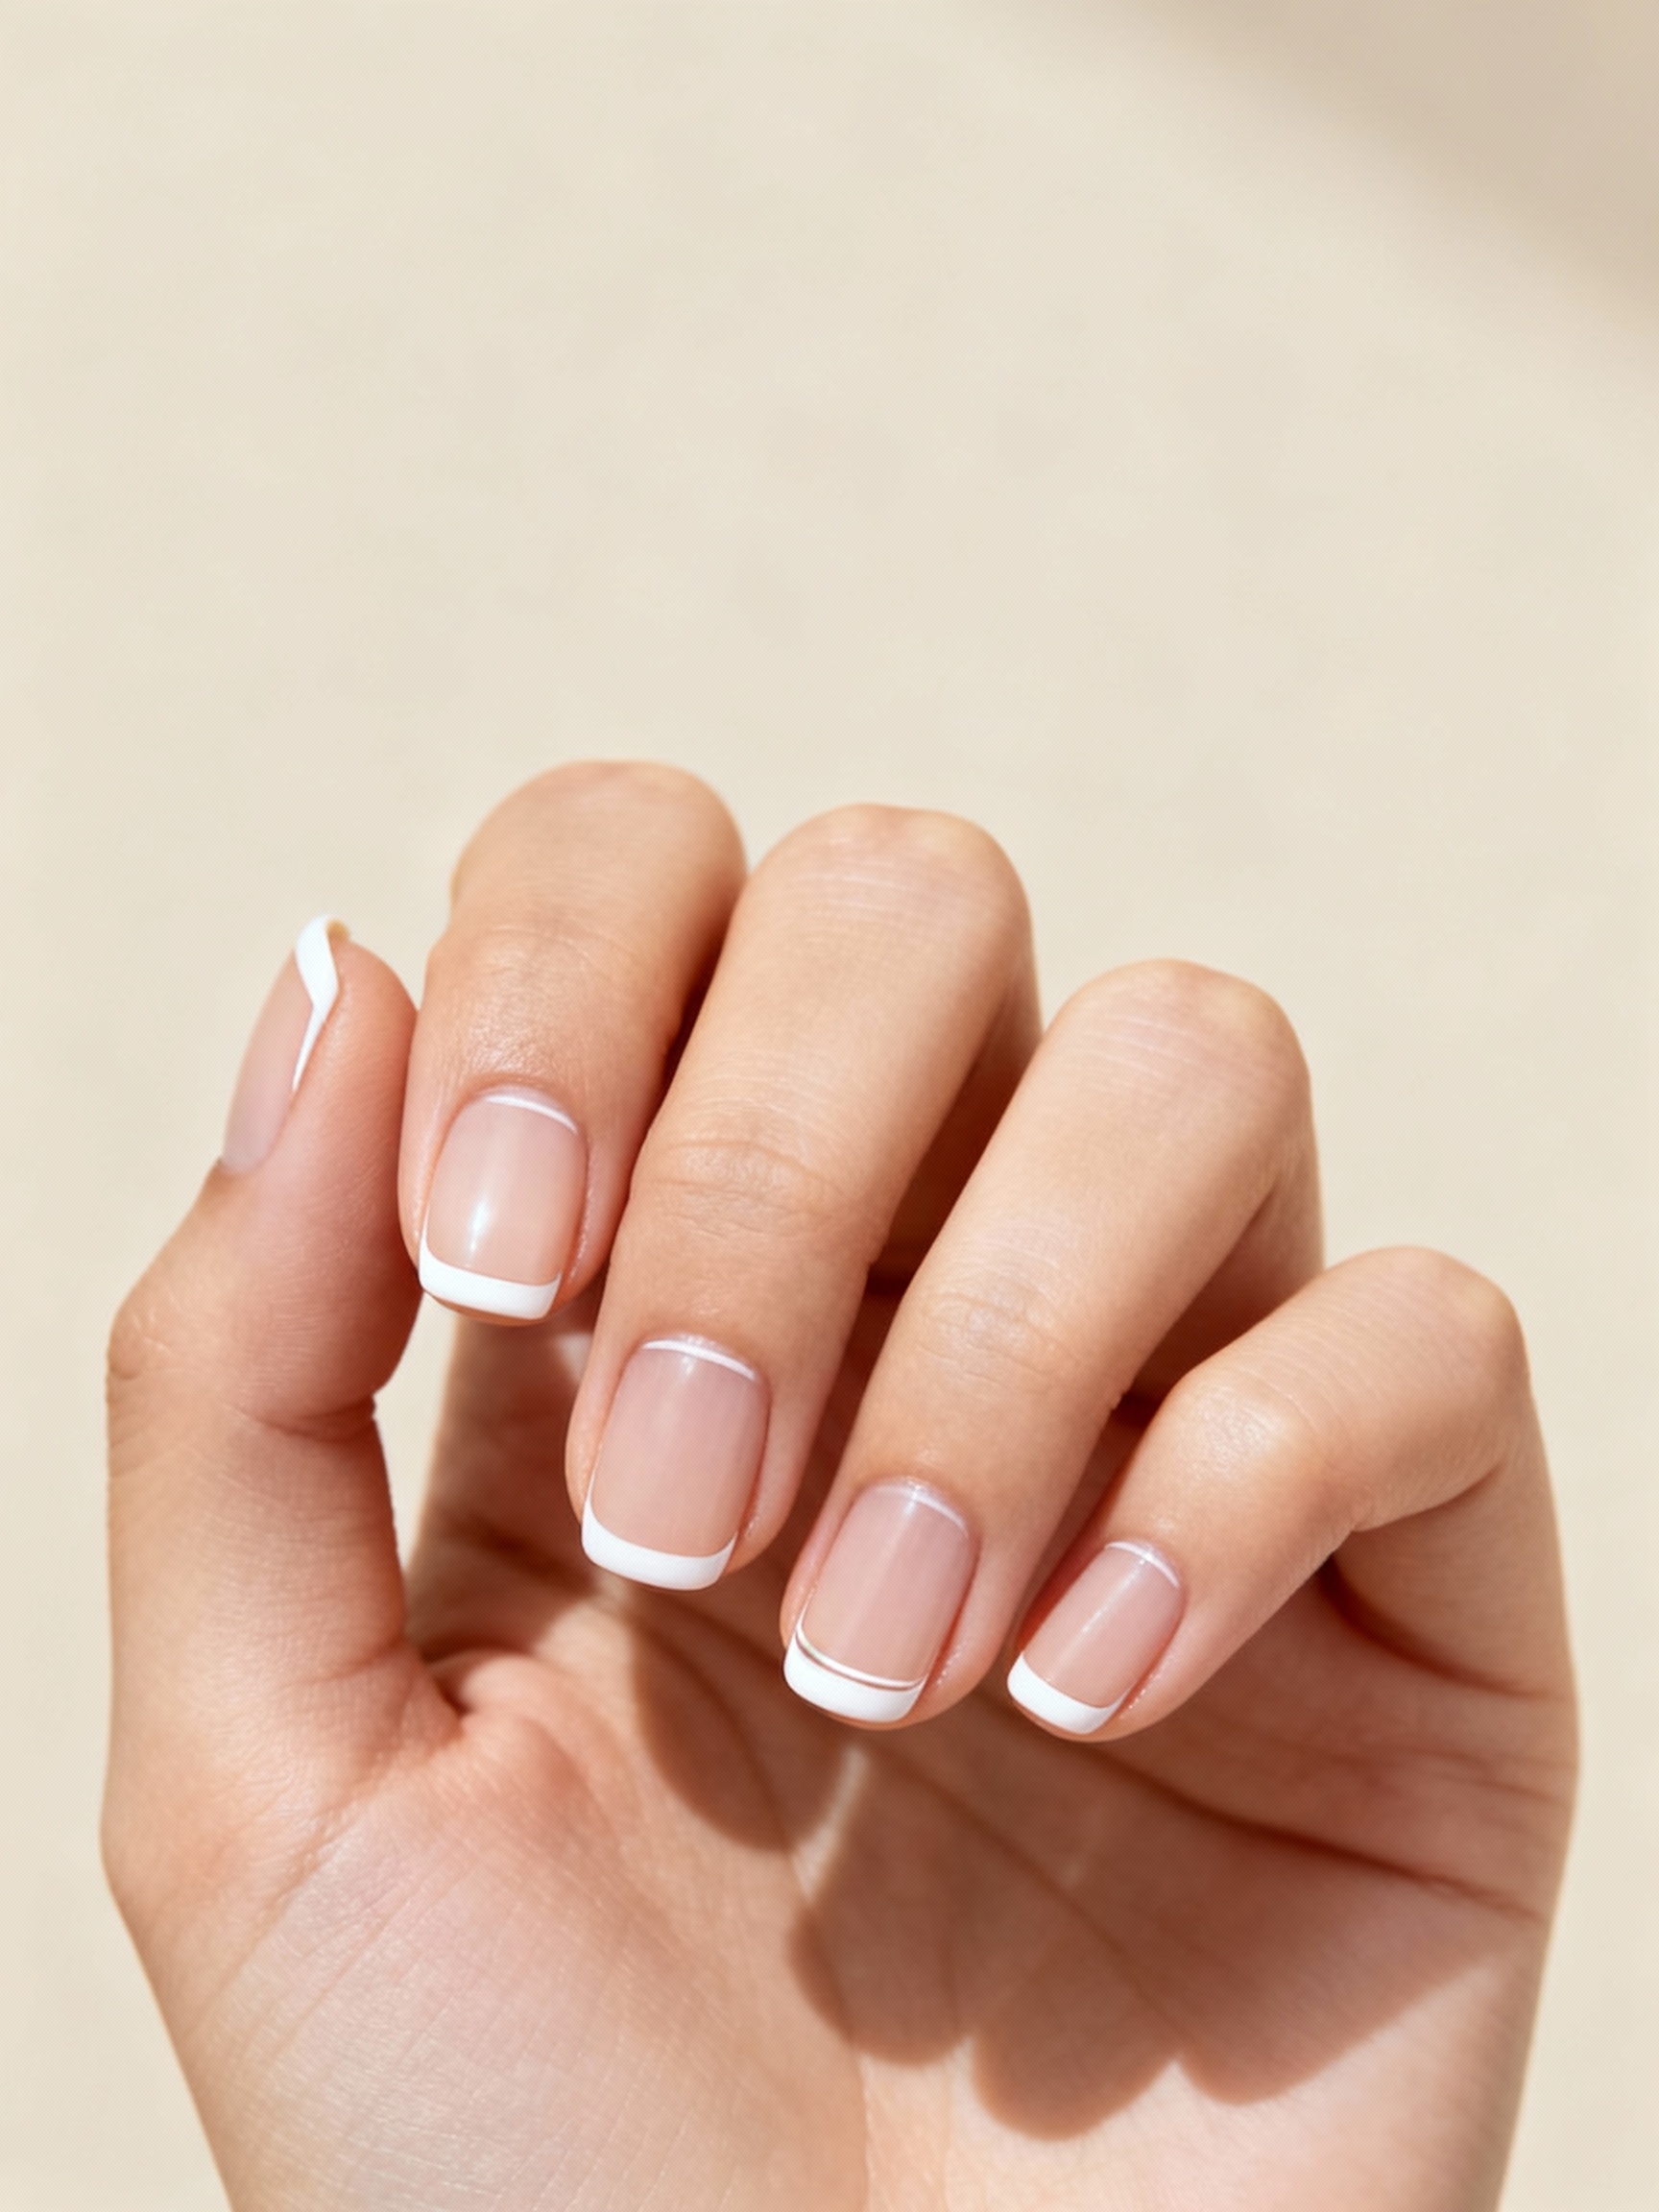
A barely-there metallic micro French swaps the white tip for a fine gold or silver line. Subtle wins here. It stays quiet enough for daily wear yet catches the light next to a ring in close-ups.
- Pick gold to warm up the hand or silver to match white-gold settings.
- Use a striping brush for the thinnest possible line.
- Match the metal to your ring so the two read as a set.
- Keep the base sheer so the line stays the only detail.
A few terms worth knowing before you book.
📖Milky white
A soft, translucent white that brightens a diamond without looking opaque or chalky.
📖Baby-boomer ombré
A nude-to-white gradient that elongates the nail bed for a longer-looking finger.
📖Chrome
A mirror-finish pigment buffed over color that catches light like the ring beside it.
Nude Ombré That Elongates
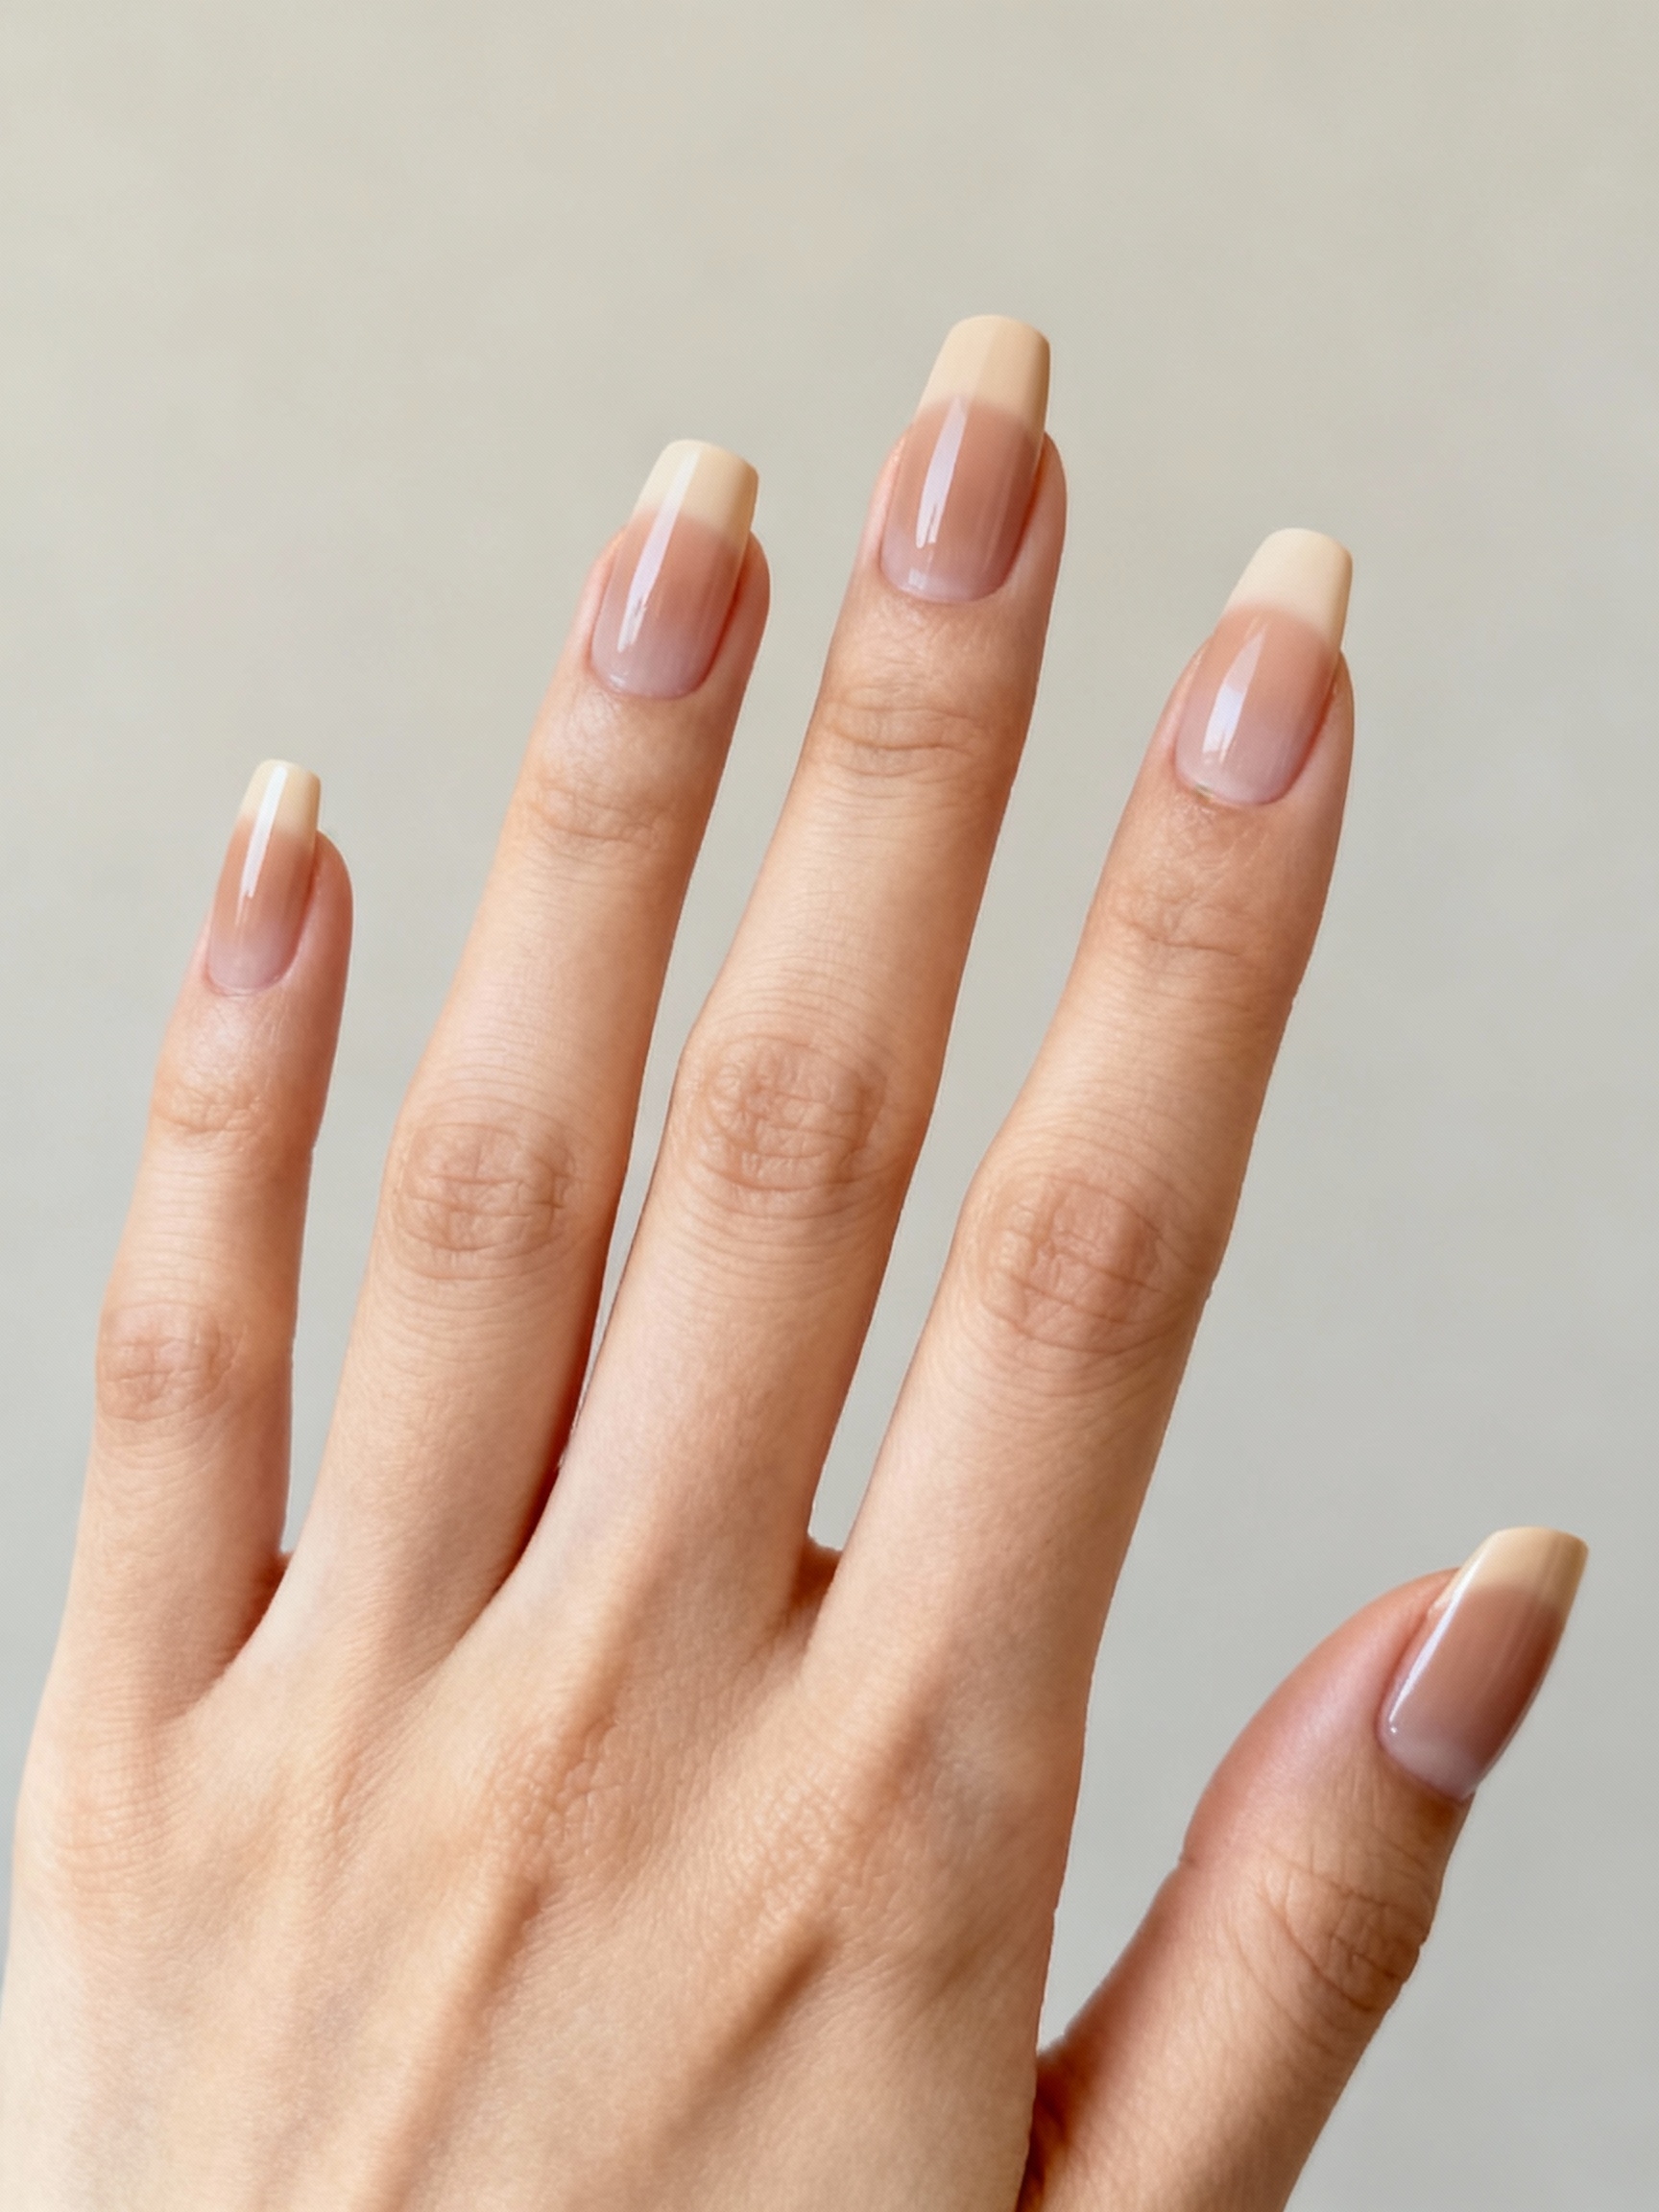
A nude-to-white ombré stretches the look of the nail bed, which makes short fingers look longer in photos. It is the most flattering option here for anyone self-conscious about their hands on camera.
- Blend a nude base into a lighter tip with a damp sponge.
- Keep the gradient soft so there is no hard line.
- Choose an almond or oval shape to maximize the lengthening effect.
- It hides regrowth well, buying you an extra week before a fill.
Iridescent Pearl Shimmer
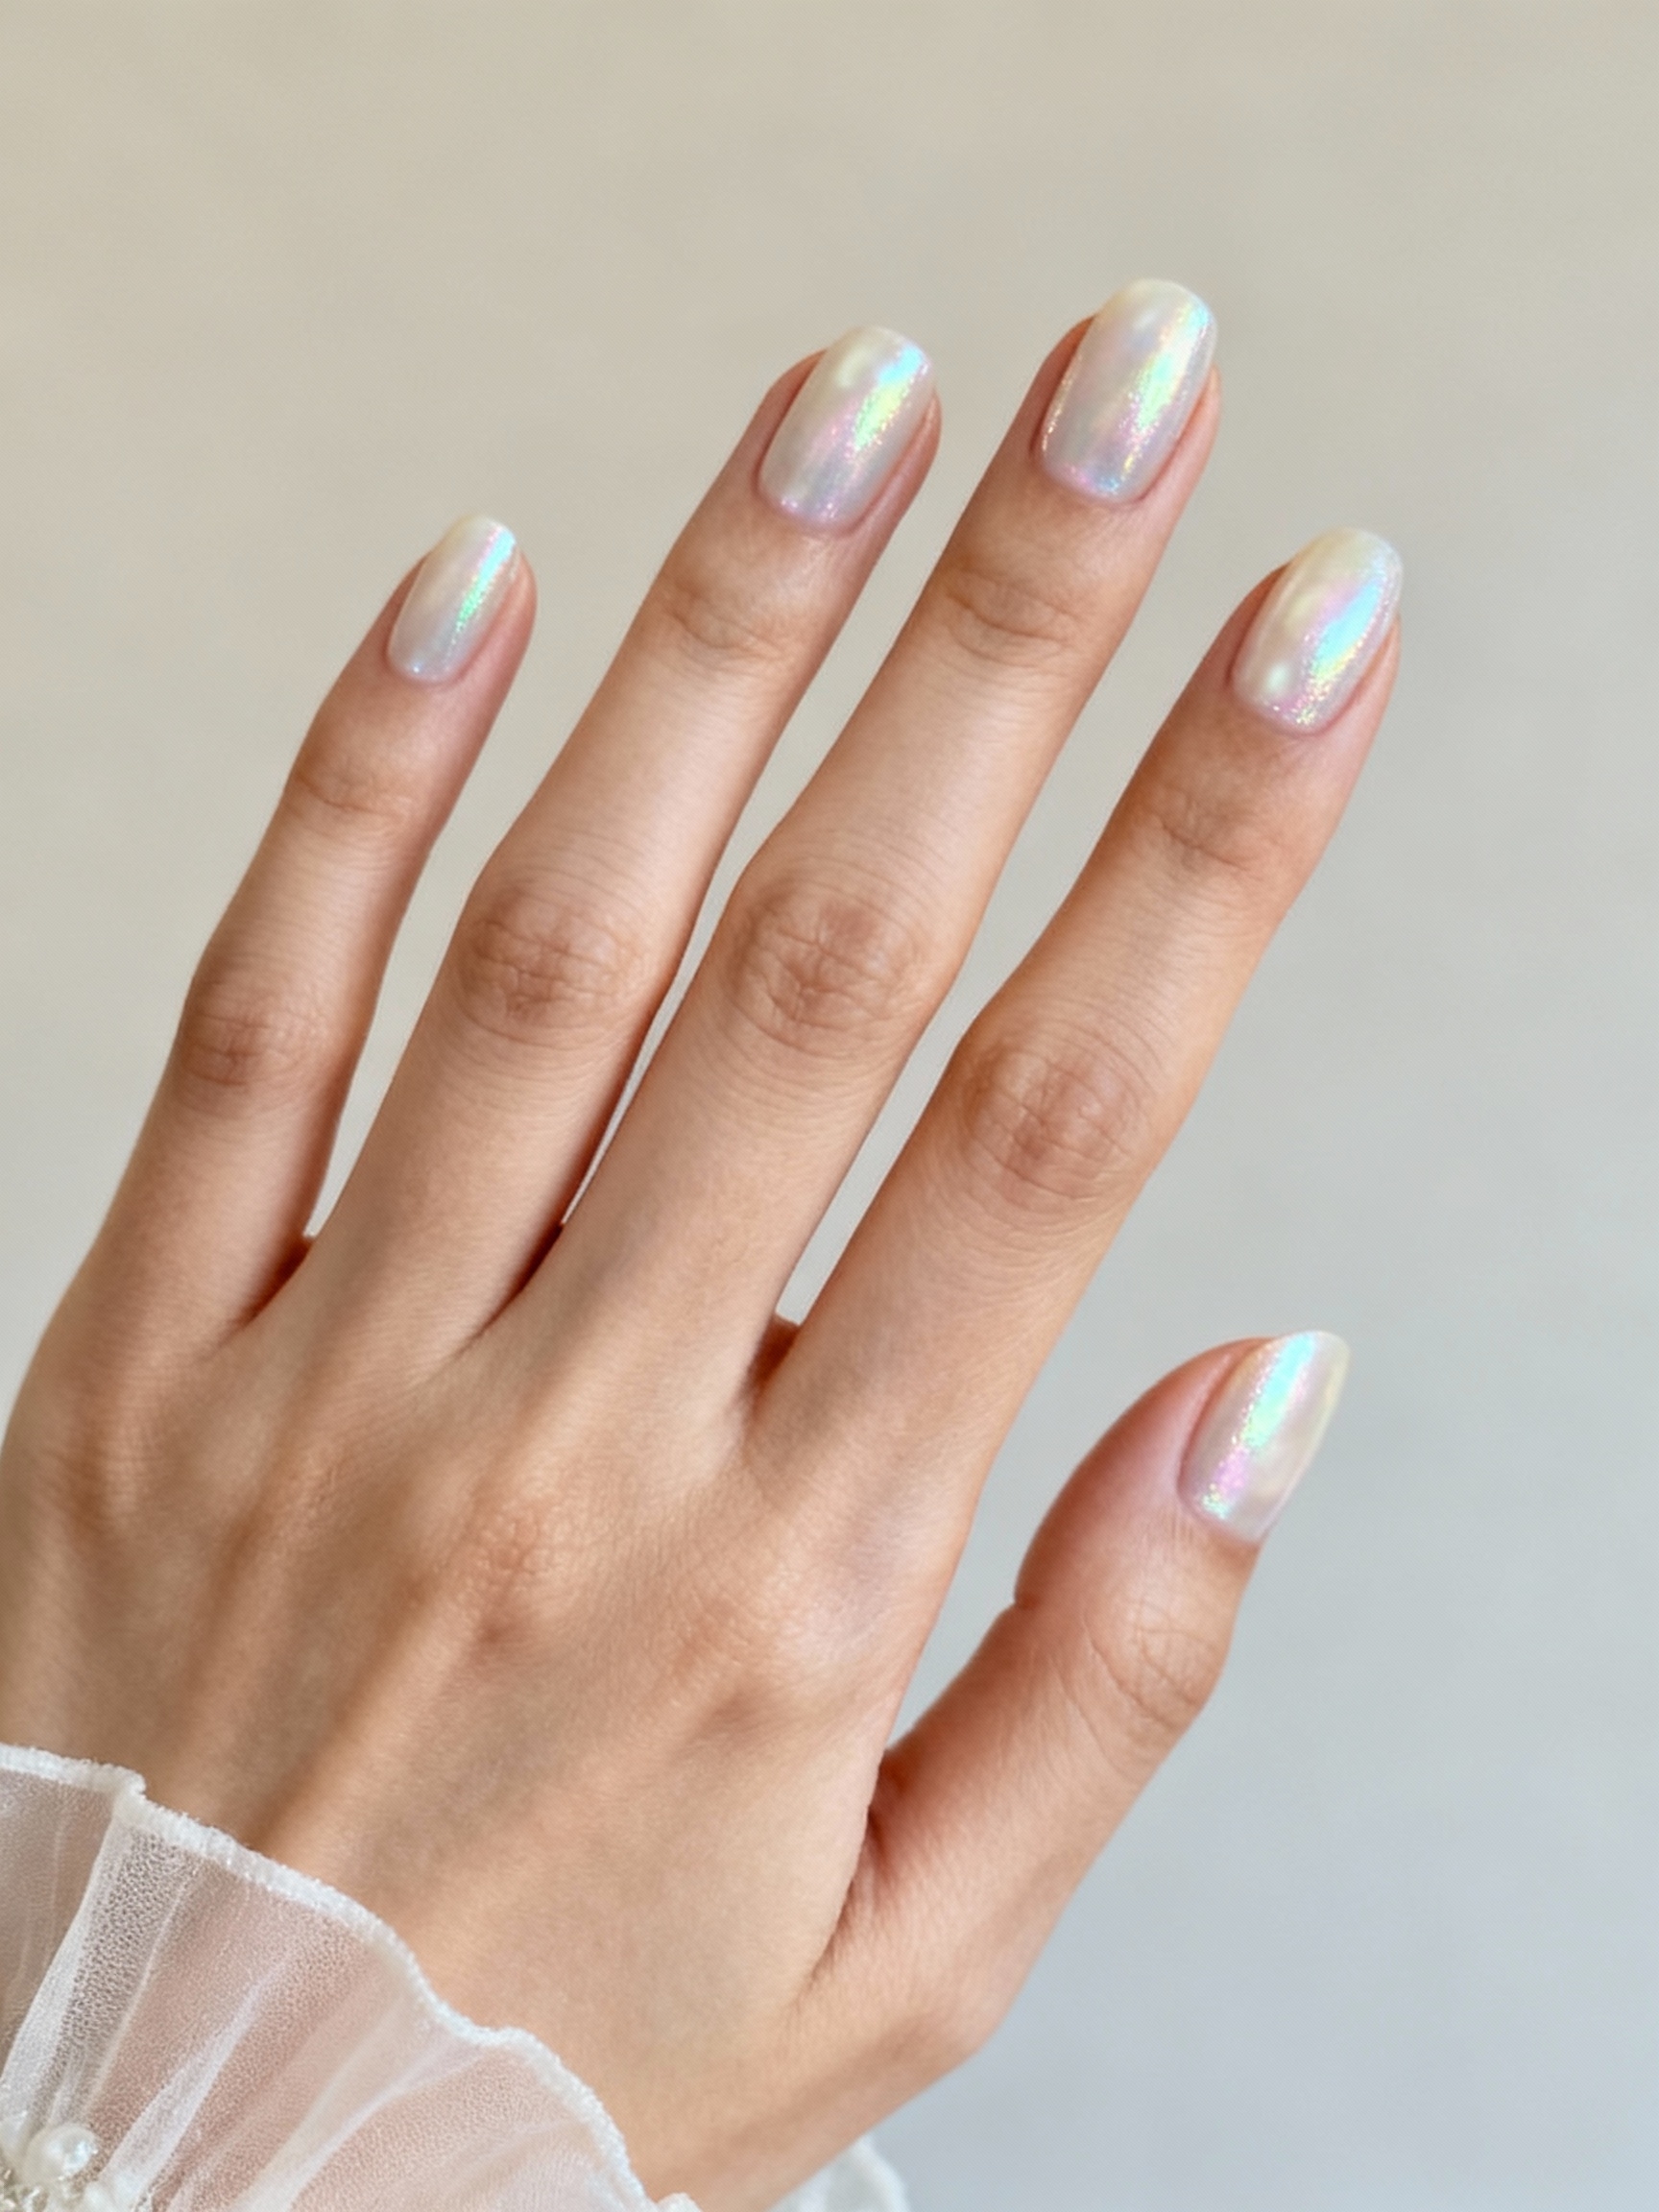
An iridescent pearl finish shifts gently in the light, adding a soft glow that echoes the sparkle of the ring without any glitter. It is romantic and a little dreamy, perfect for the just-engaged glow.
- Layer a pearl topper over a milky or nude base.
- Keep it to two coats so it stays subtle.
- Choose a warm pearl for deeper or warm skin, cool for fair.
- A glossy top coat smooths the shift so it looks lit, not frosty.
Match the manicure to your ring.
🎯White-gold or platinum setting
Cool milky white or a silver micro French keeps the metals consistent.
🎯Yellow or rose-gold setting
Blush beige with gold foil or a warm champagne tip ties it together.
Soft Almond Neutrals
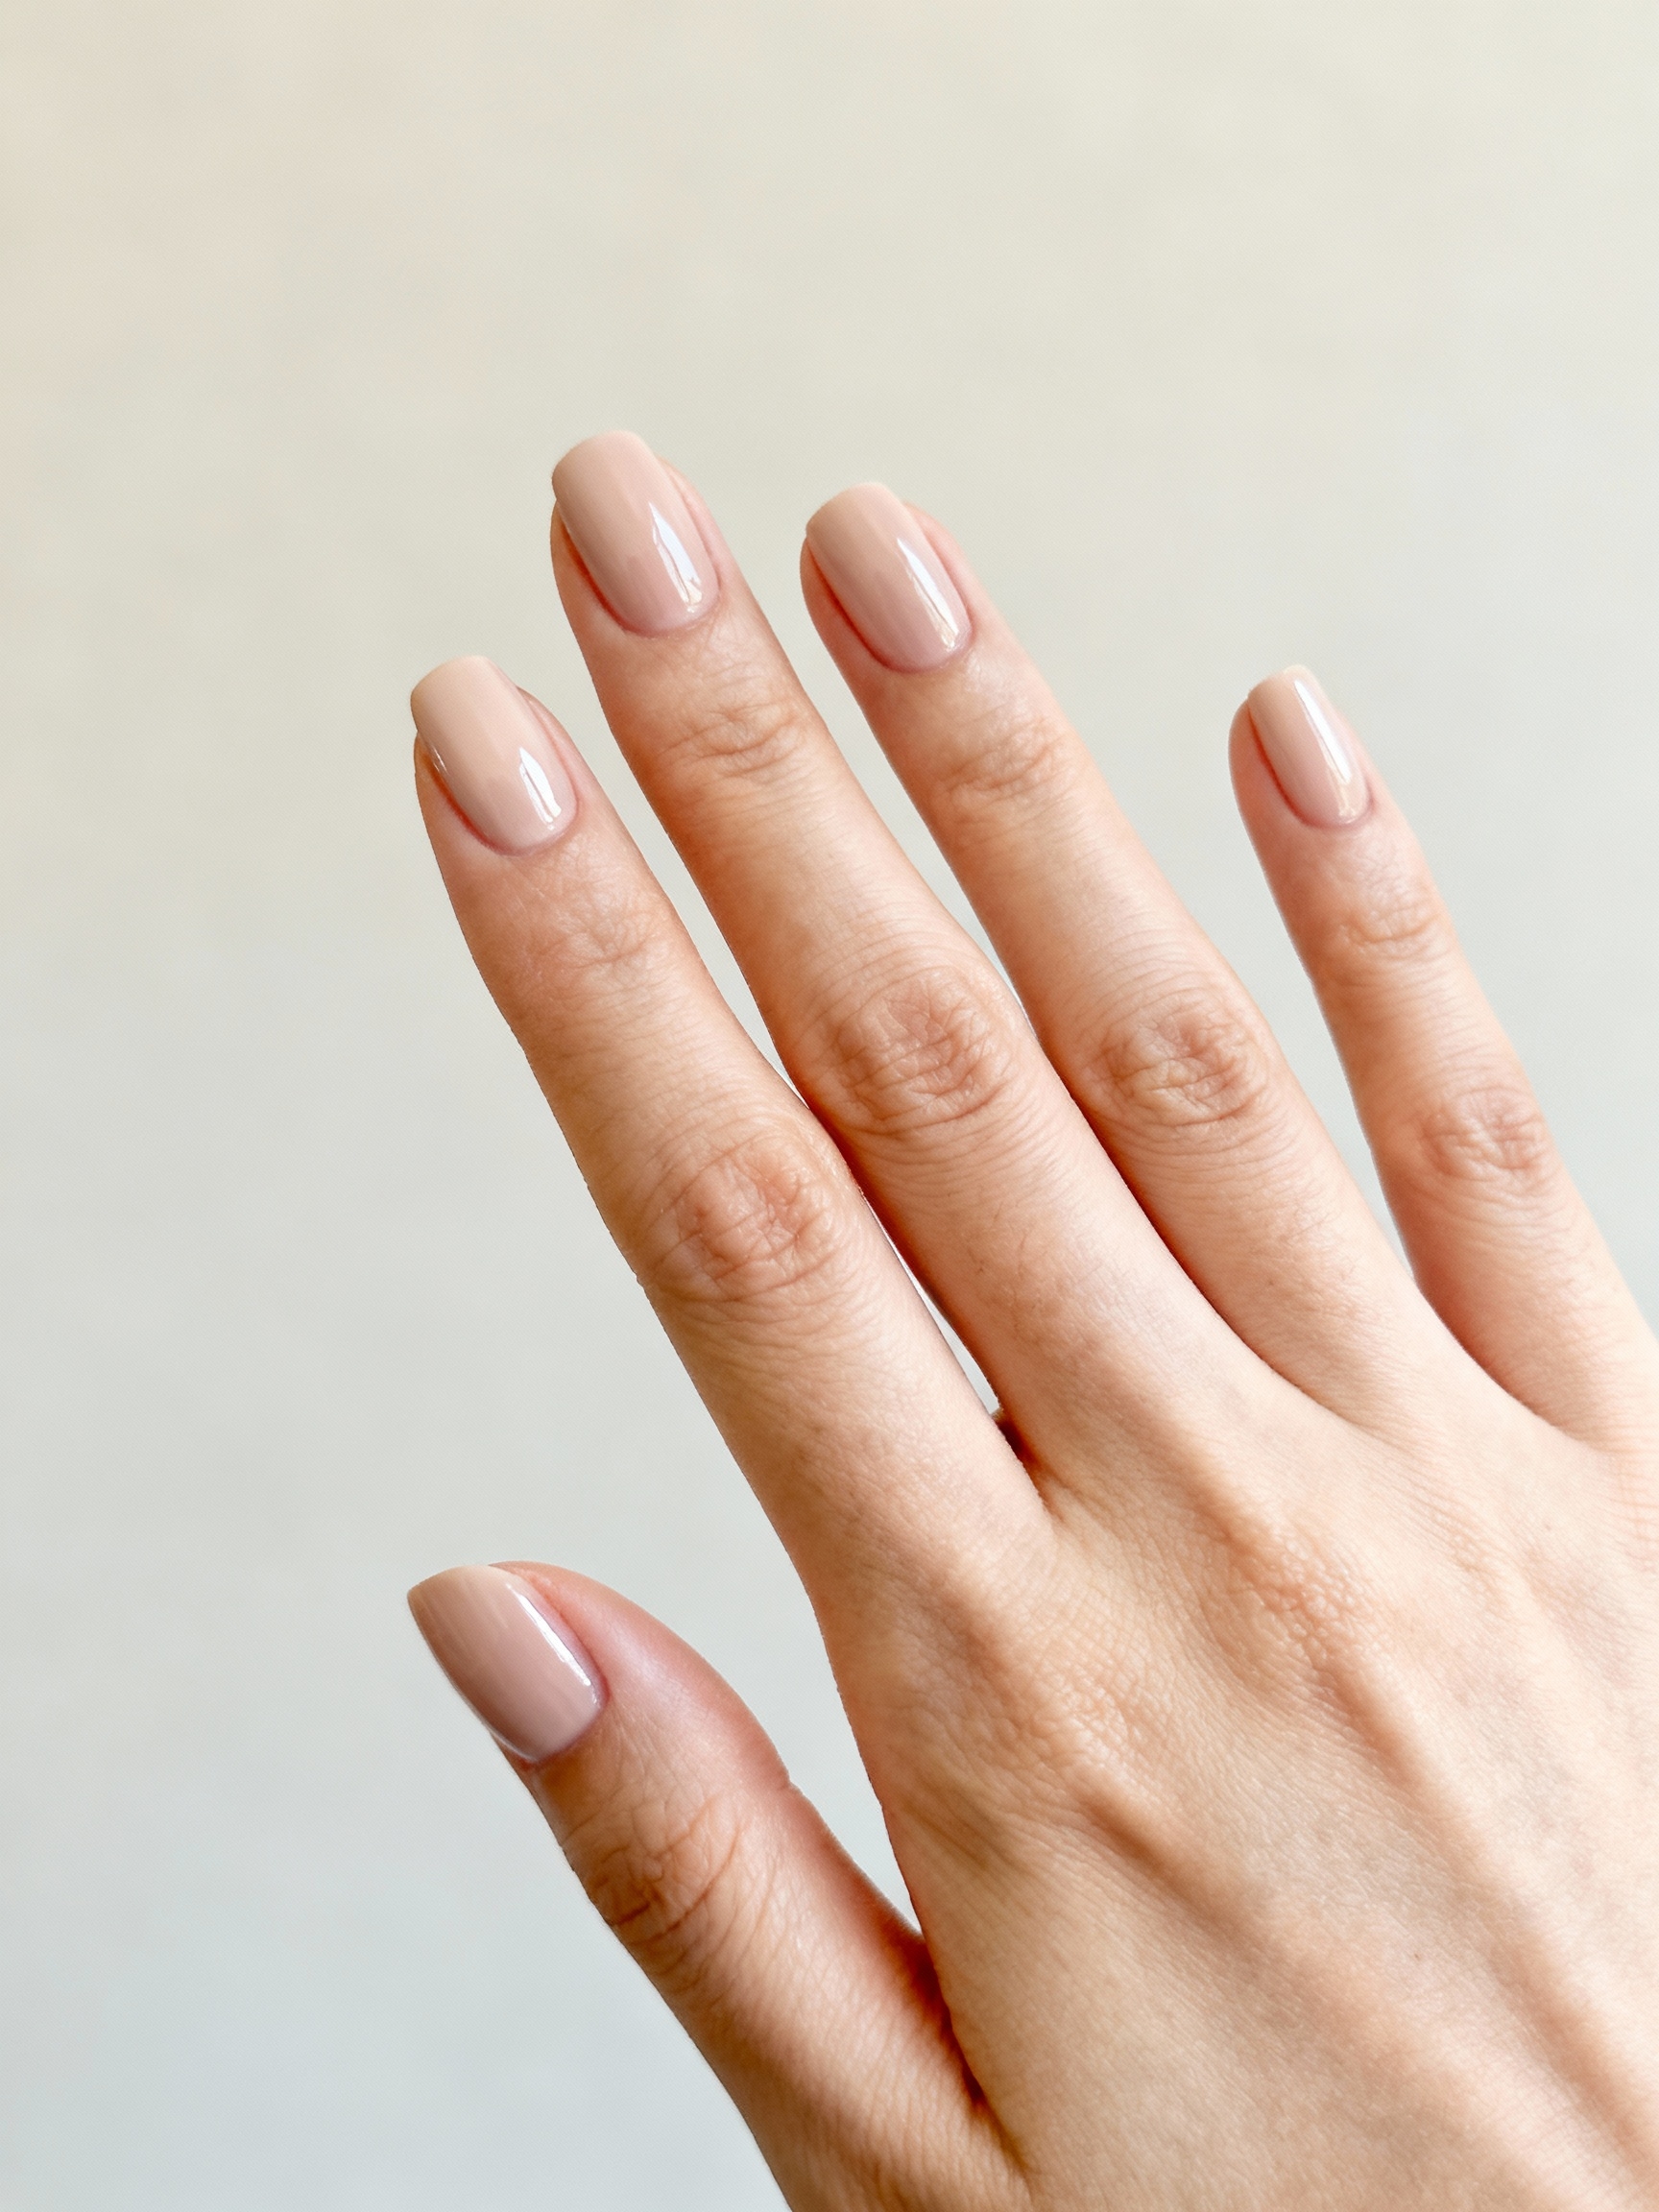
Sometimes the shape matters more than the color. A soft almond in a glossy neutral is the most universally flattering engagement manicure, since the tapered tip slims and lengthens the whole hand.
Why Almond Flatters Hands
File into a gentle almond, not a sharp point, and keep the length moderate so it stays practical for daily life. A creamy beige or greige looks expensive on every tone.
Almond is the shape I recommend most for ring photos, because it draws the eye down the finger toward the stone. For more on the shape, see our almond nail designs.
Minimalist Glittered Tips
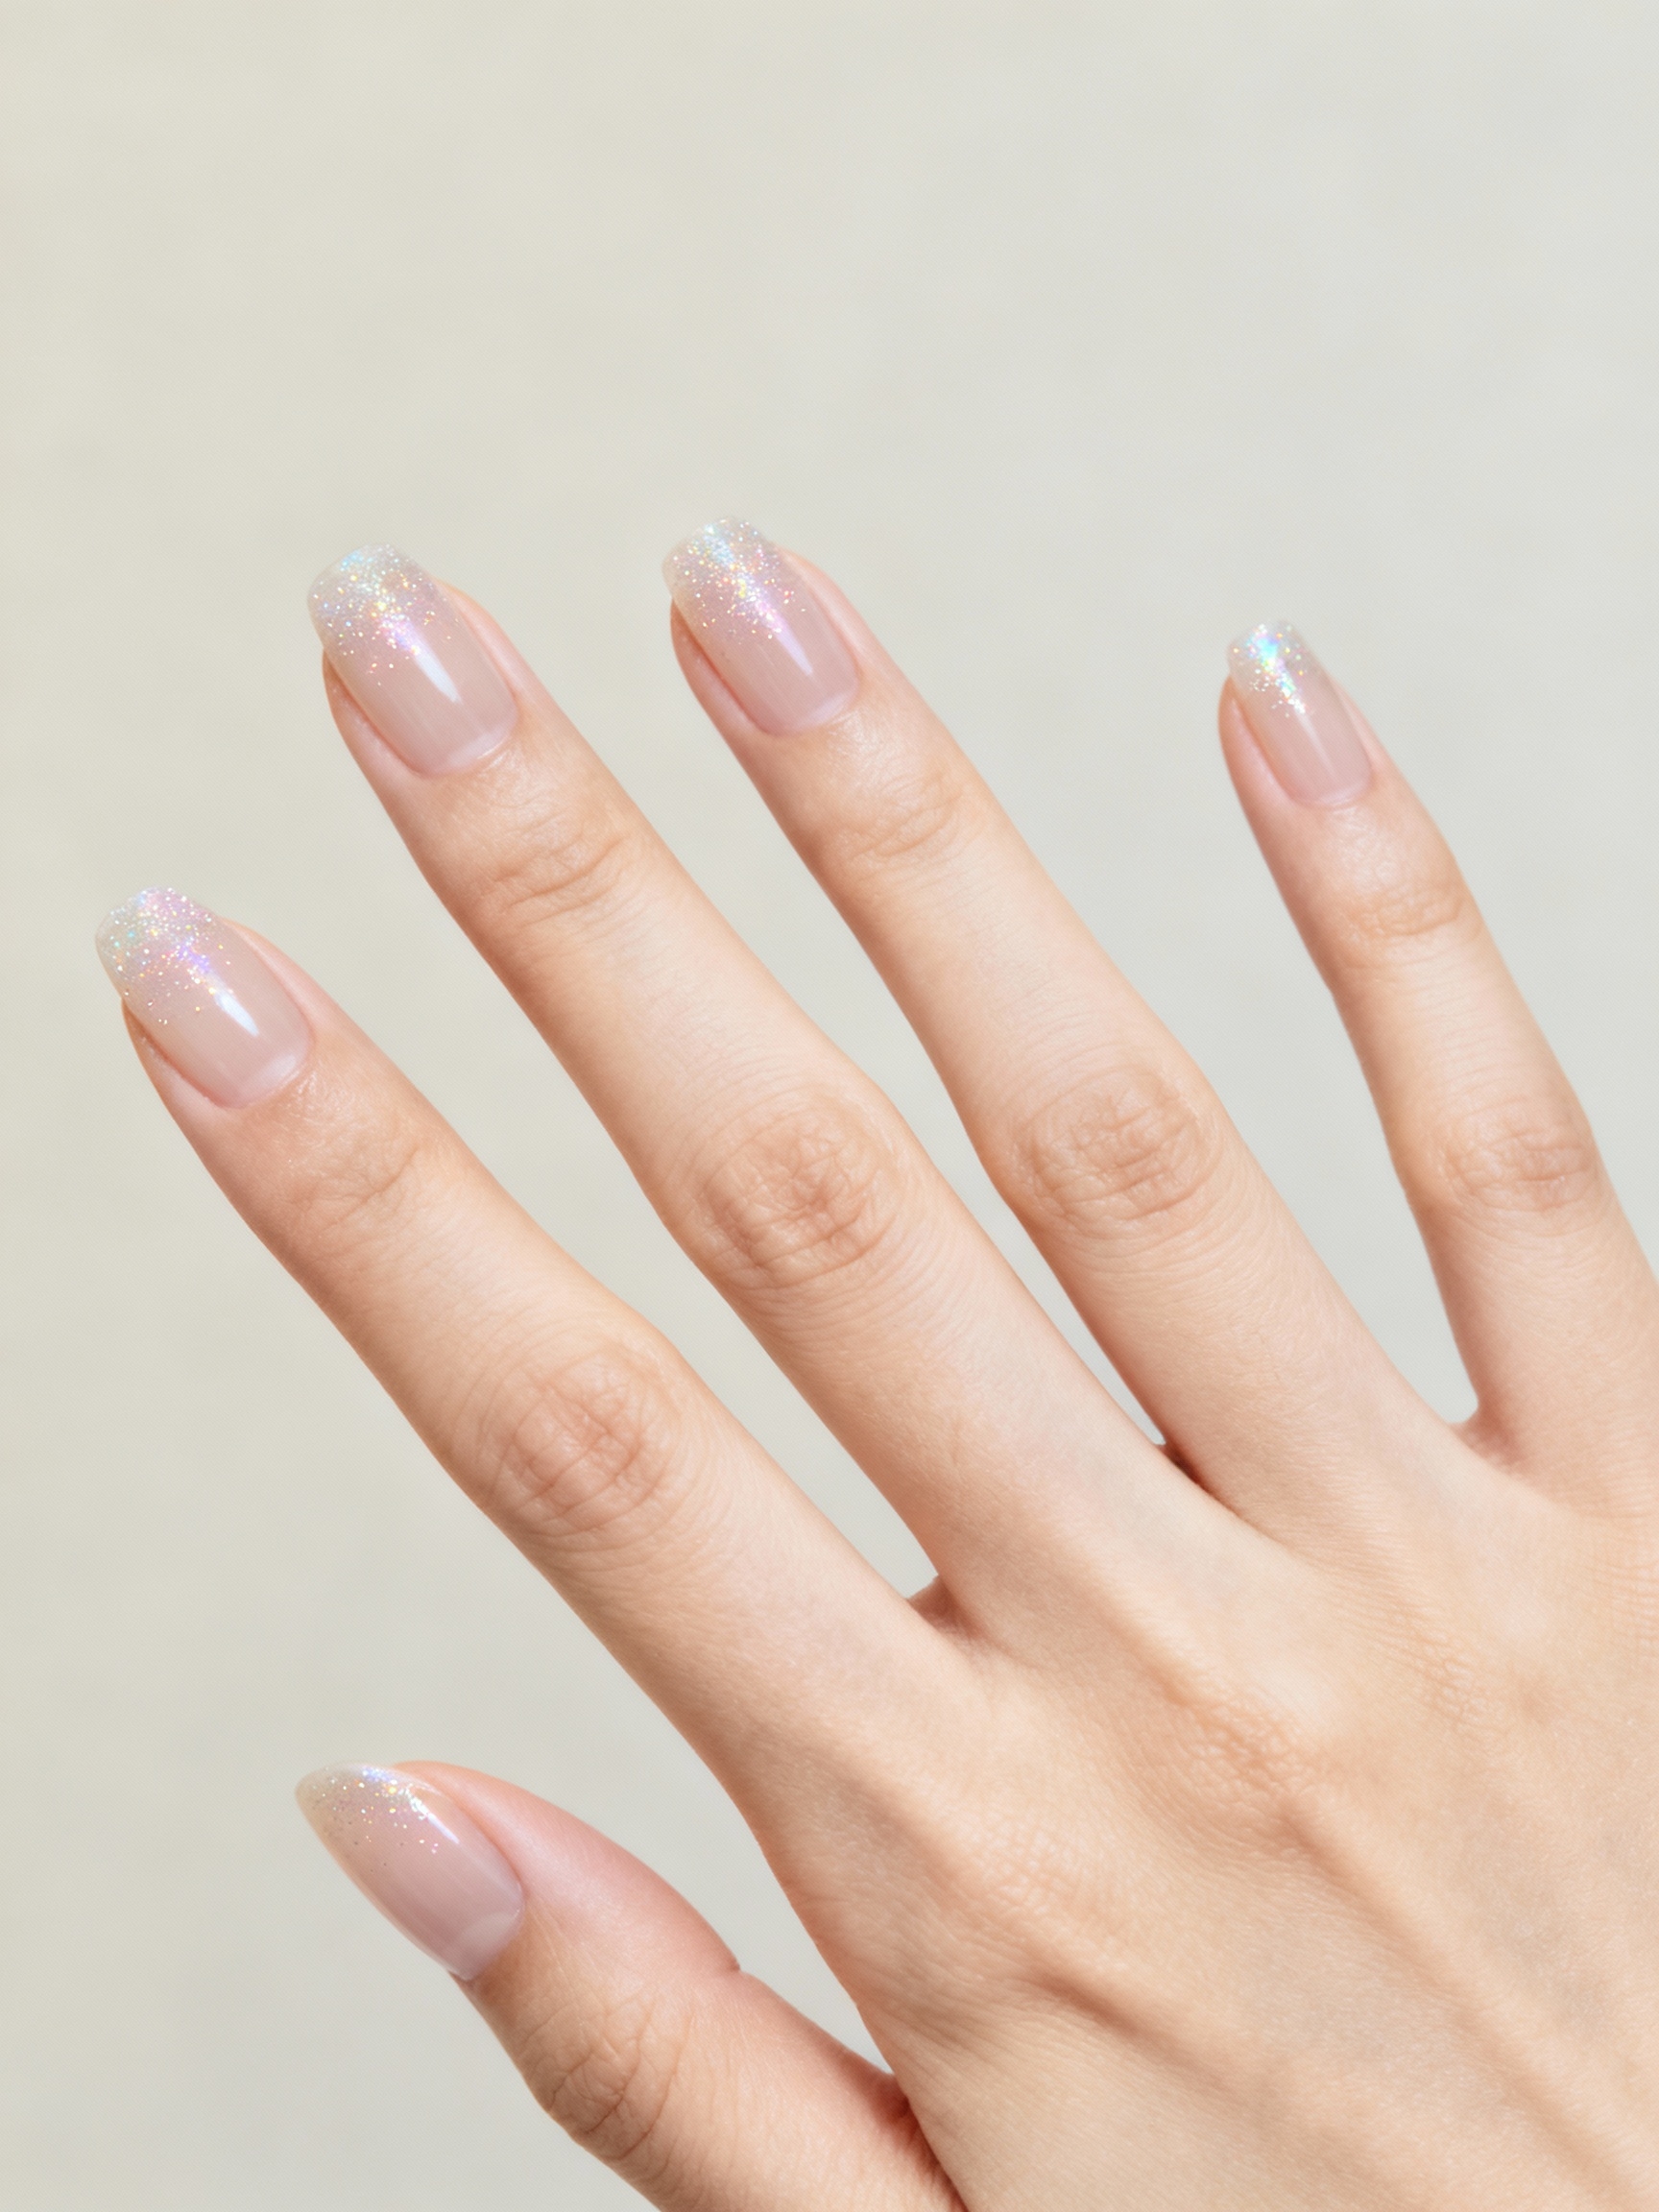
If you want a touch of sparkle to match the ring, a fine glitter concentrated at the tips keeps it tasteful. The sparkle stays where it catches the most light and fades into a clean base below.
Use a fine micro-glitter rather than chunky flakes, and keep it to the very tip in a soft gradient. A sheer pink or nude base lets the glitter feel like an accent, not the whole show.
This is a lovely choice for an engagement party where you want a little glamour. Day to day, the sheer base means chips at the tip are easy to touch up.
Blush Beige and Gold
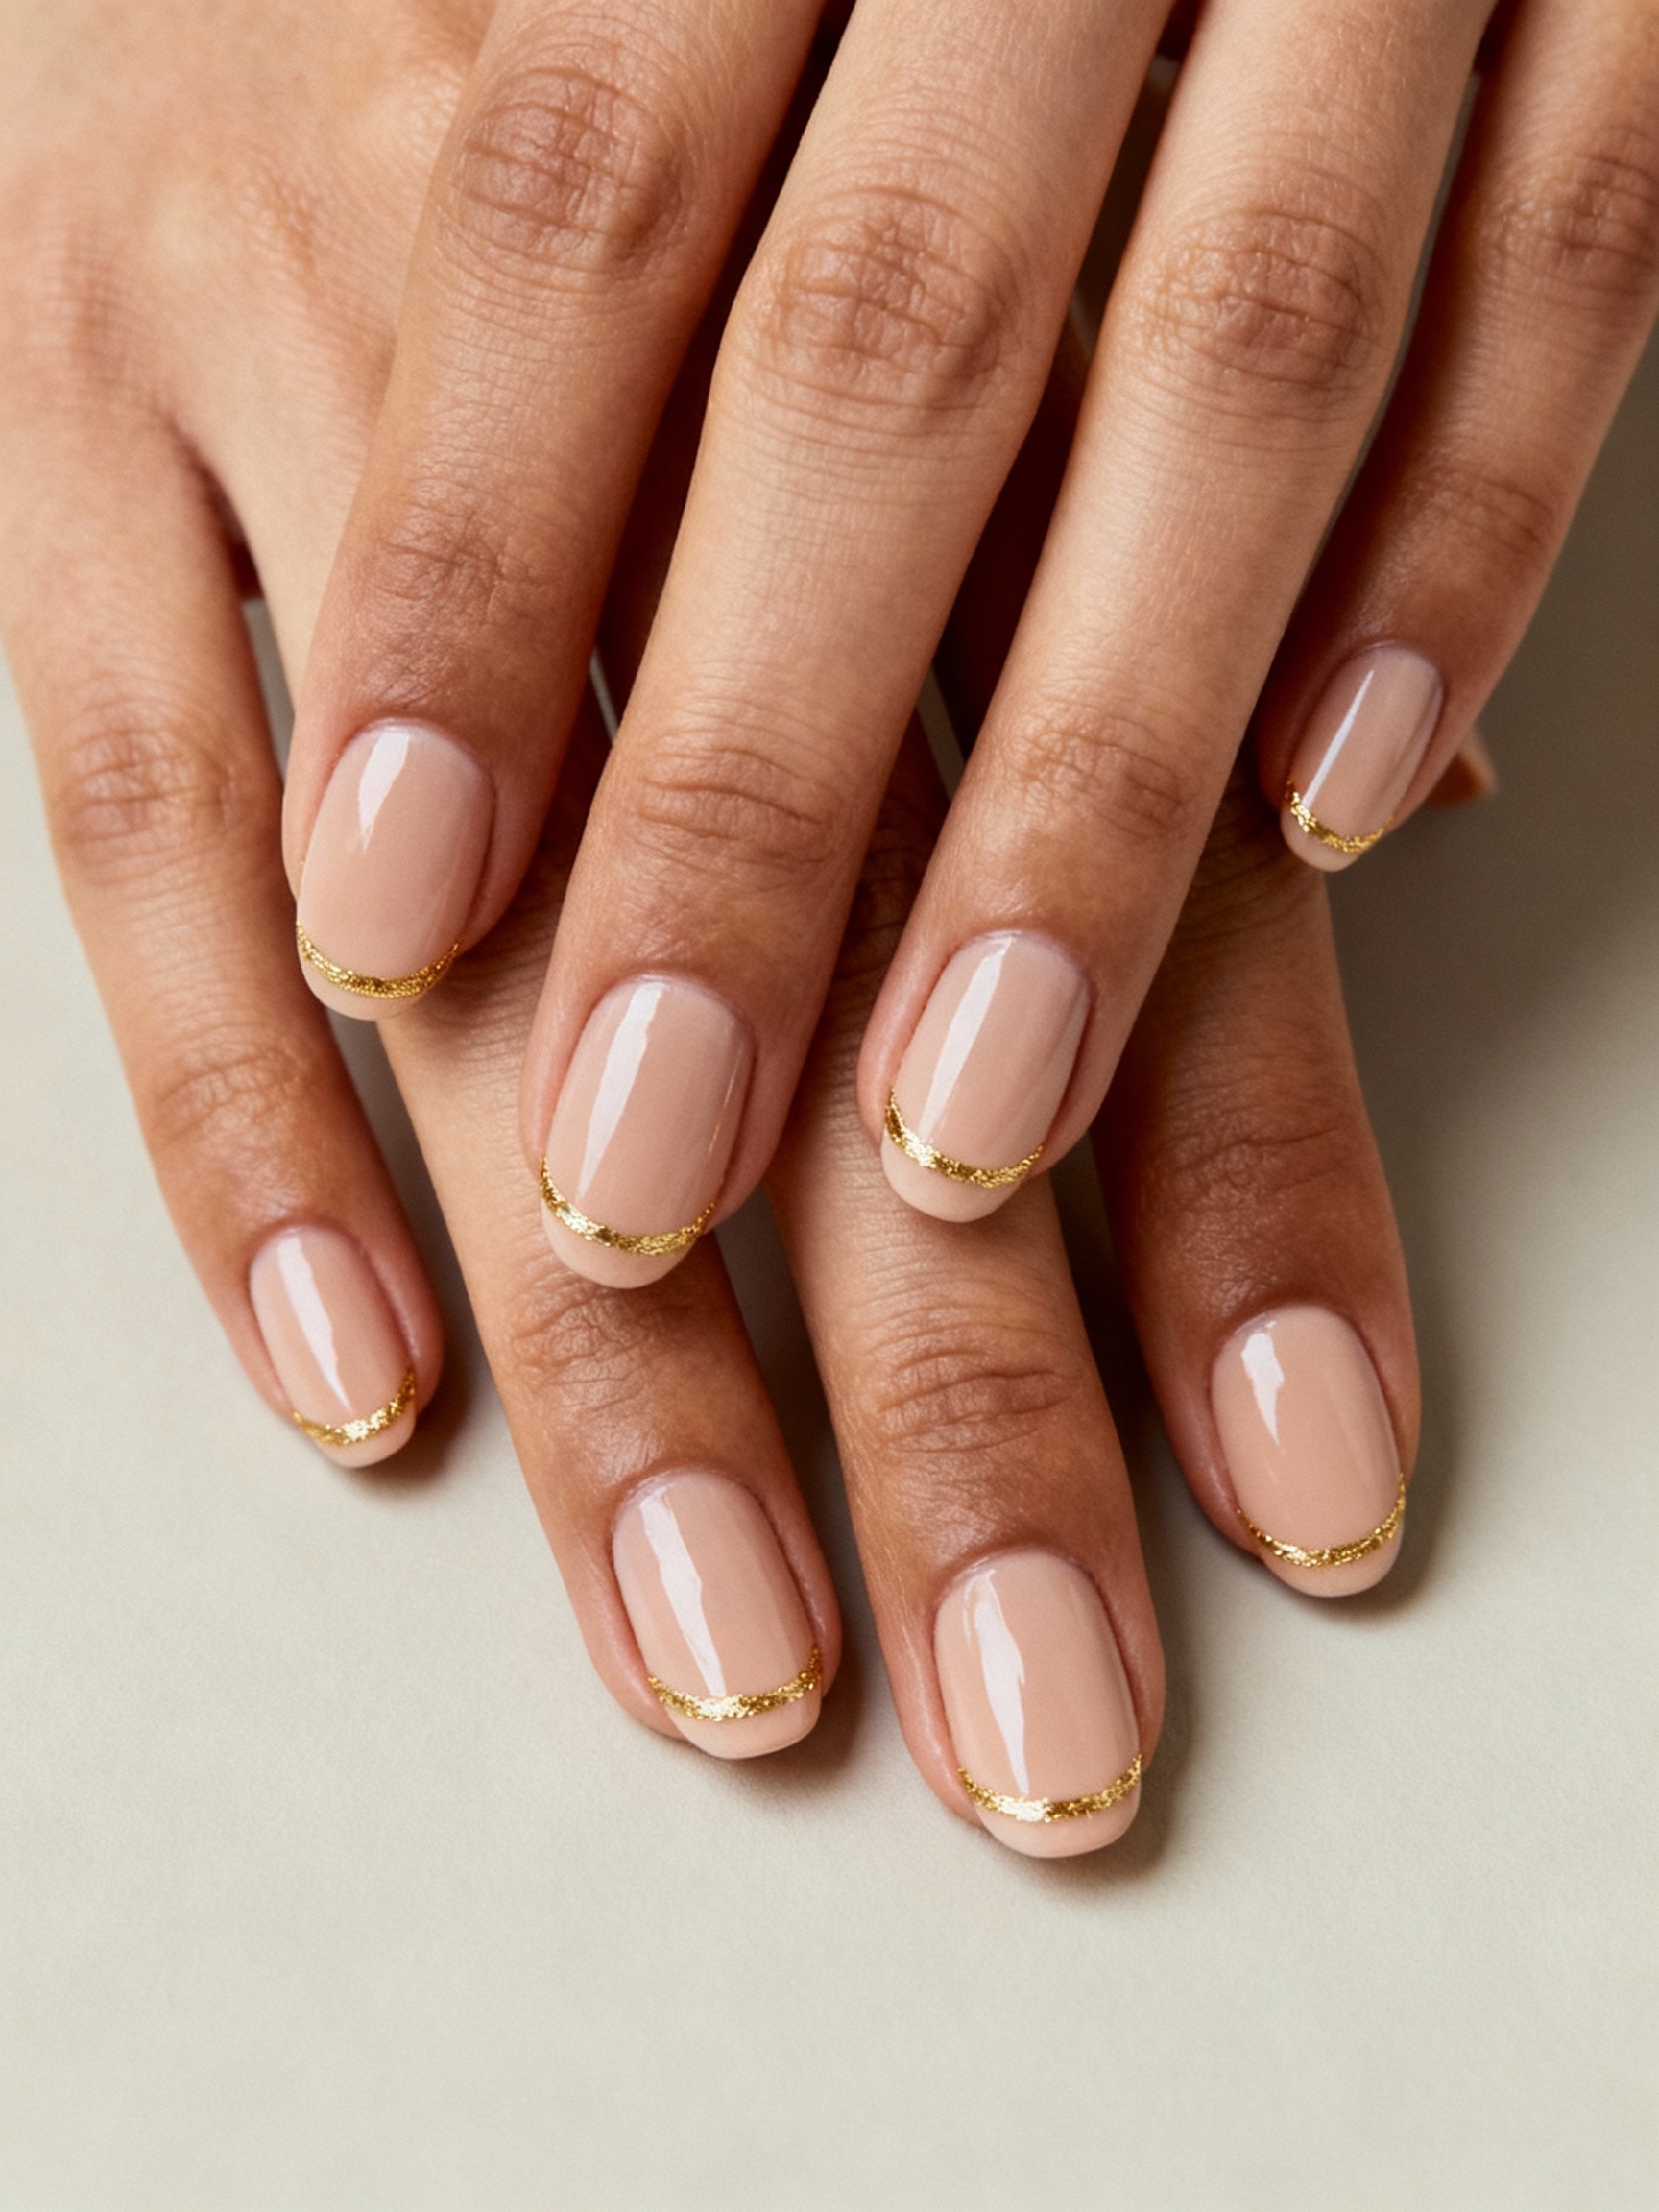
A blush-beige base with a tiny fleck of gold foil reads warm and quietly luxe, especially next to a yellow-gold or rose-gold setting. The foil adds interest without tipping into nail art.
Place the foil near the cuticle or along one edge of an accent nail, not across the whole hand. A single accented nail per hand is plenty.
The warmth of blush beige flatters medium and deep skin beautifully, and the gold ties the manicure to a warm-toned ring. Seal the foil well so the edges do not lift.
Milky Pink Hearts
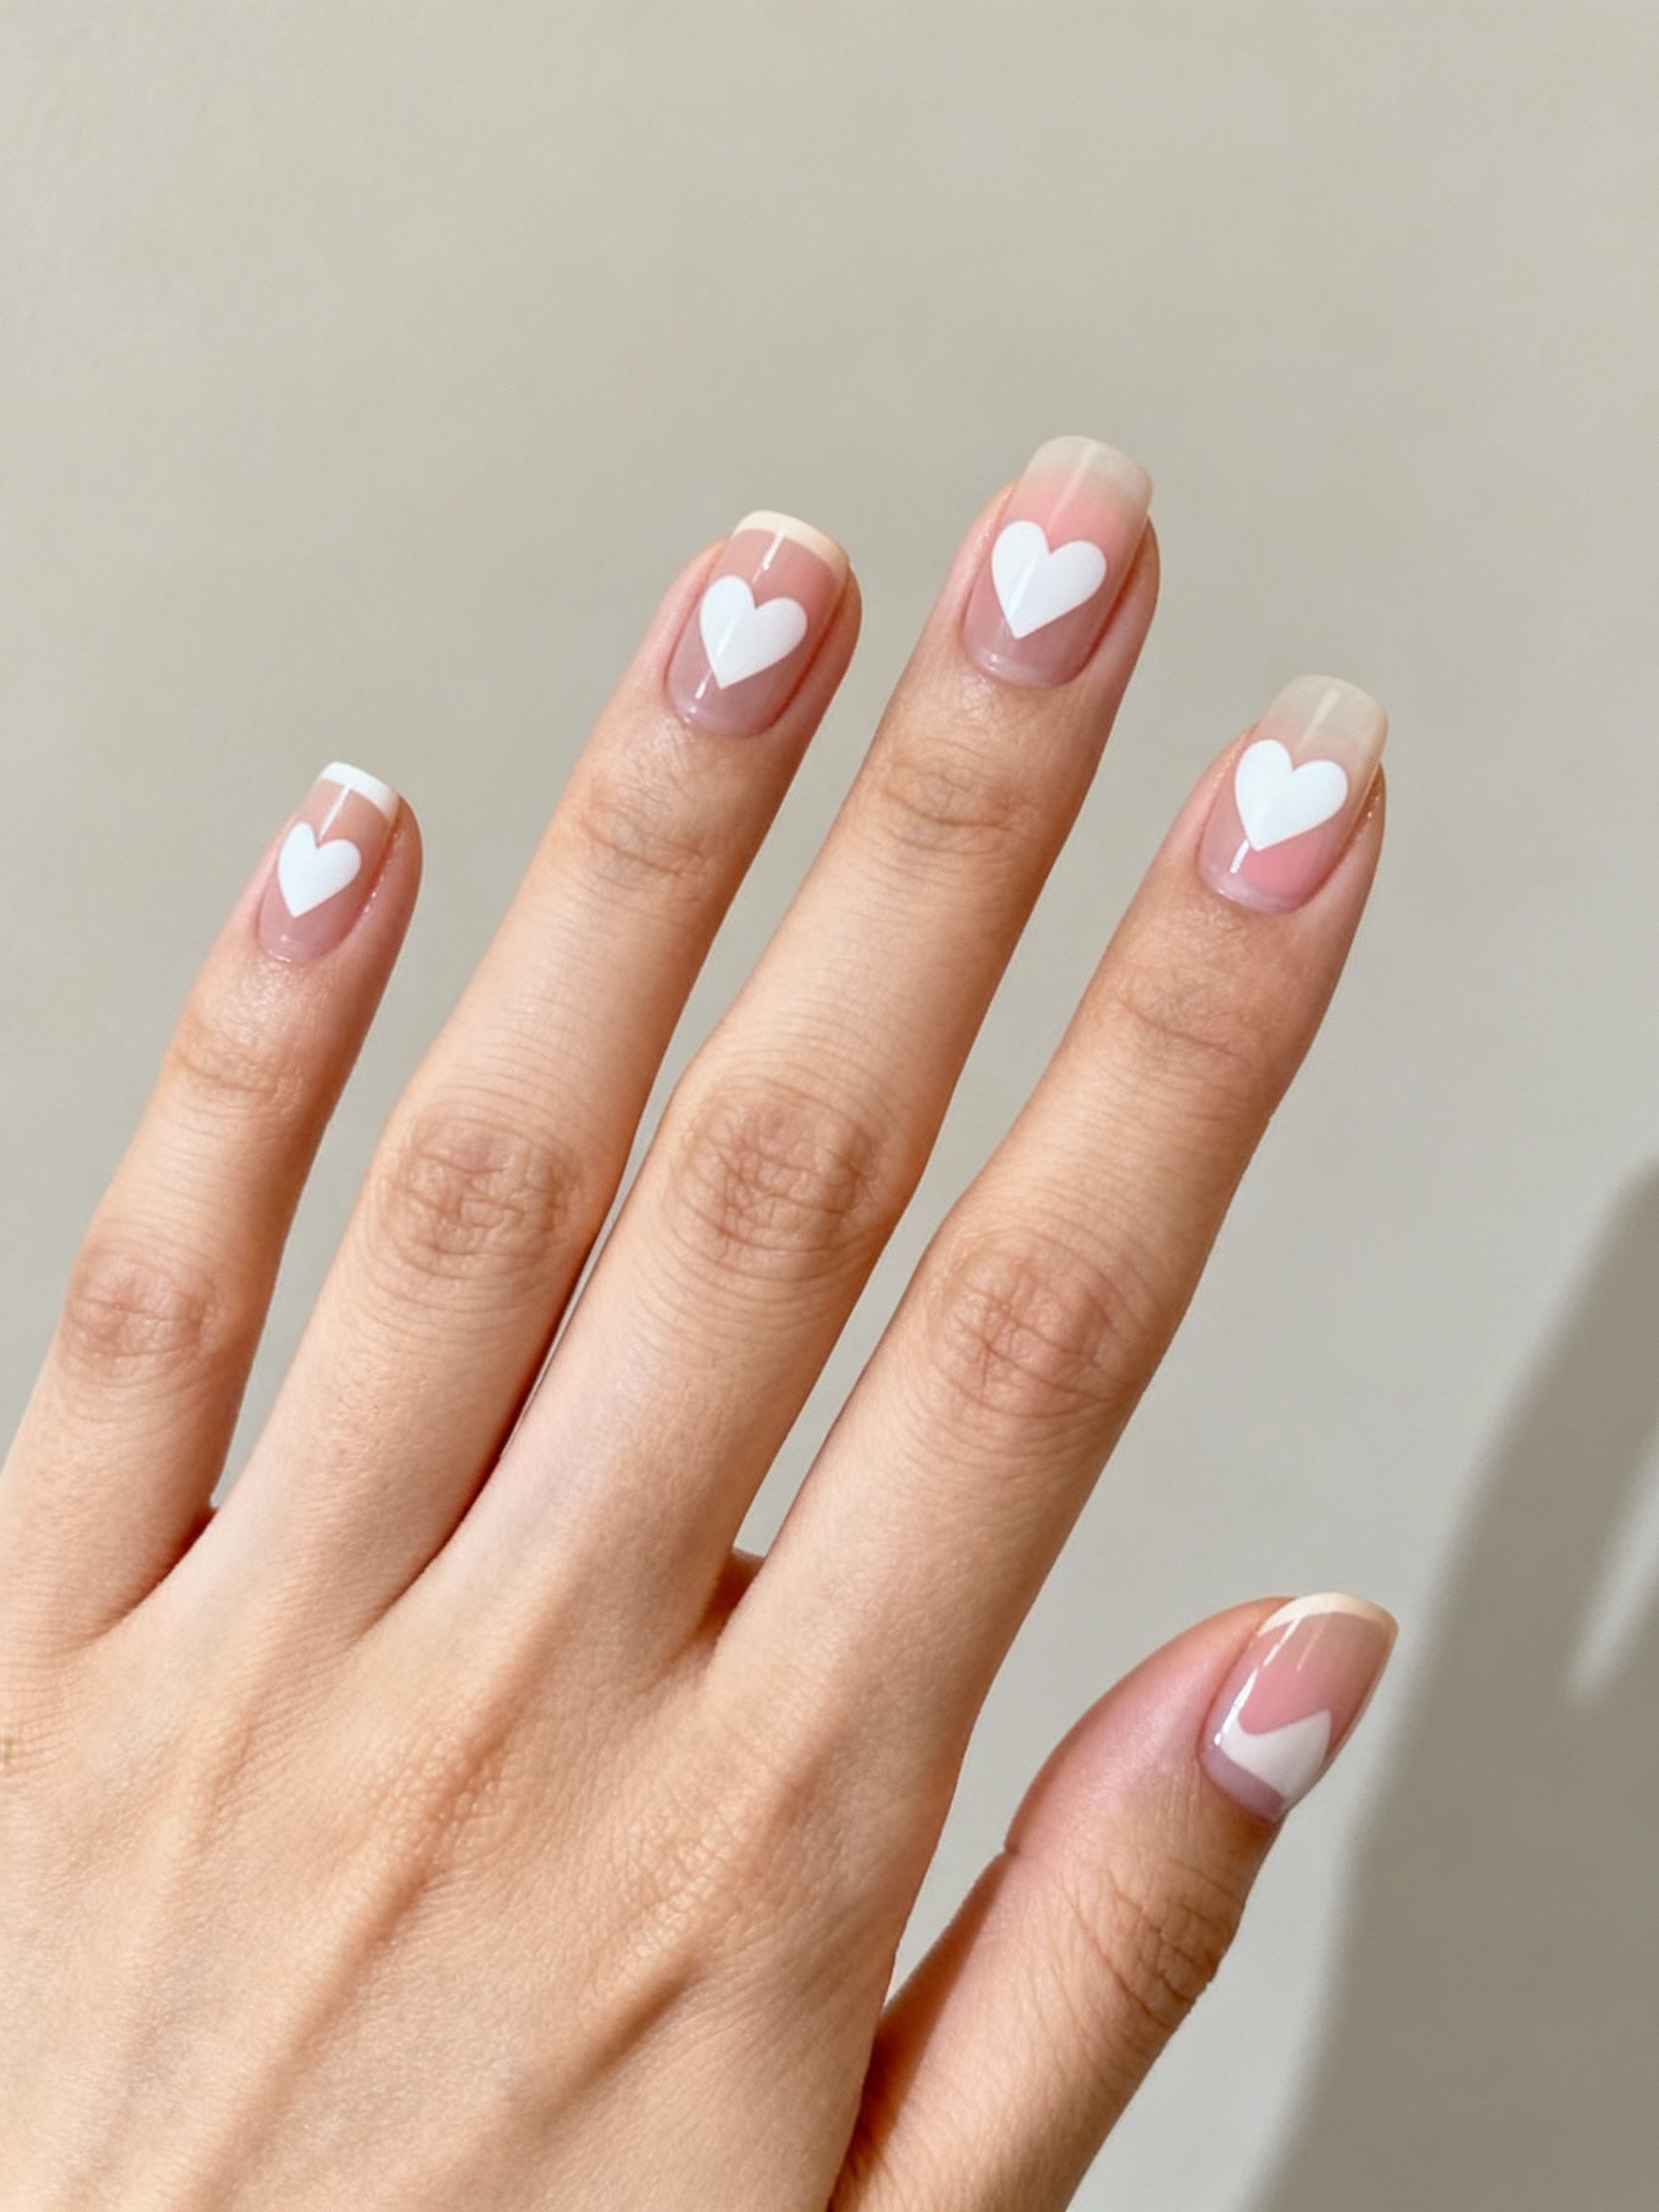
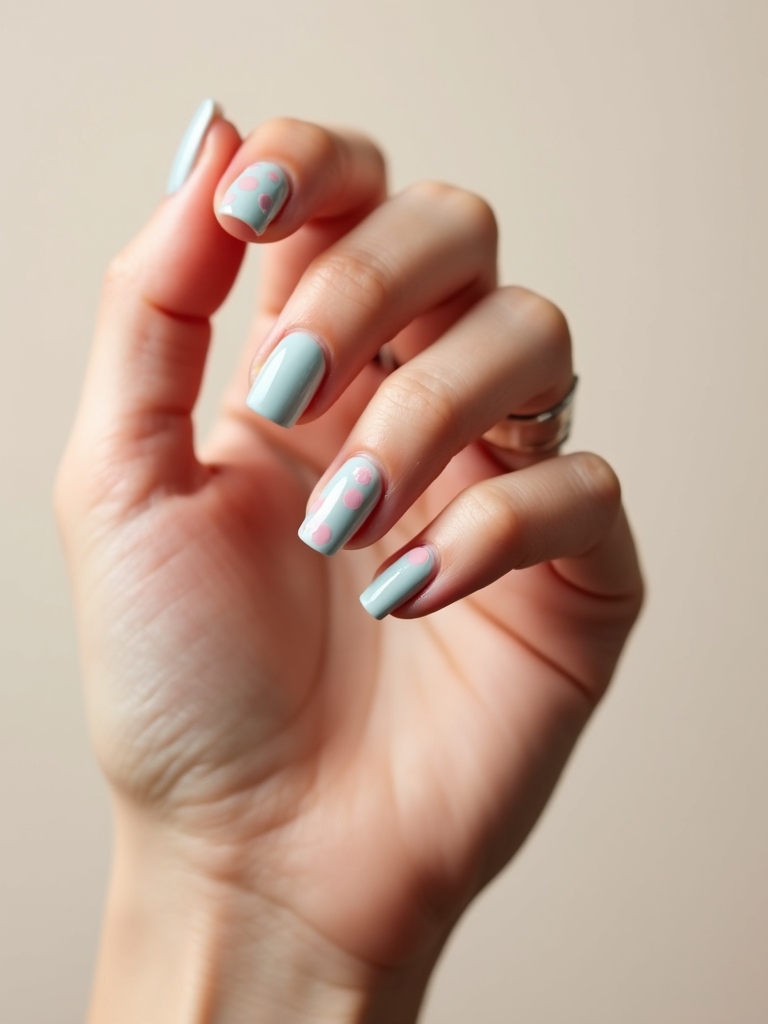
A tiny heart or two over a milky pink base brings a sweet, celebratory touch that suits the moment. Kept small and tonal, it stays subtle enough for the office and cute enough for the proposal post.
Keeping Hearts Tasteful
Paint a milky pink across all nails, then add one small heart on a single accent nail with a fine brush. A tone-on-tone heart, just a shade deeper than the base, is the most elegant version.
Reach for this when you want a little romance baked into the design, not just the moment. Keep the rest of the hand plain so the heart does not get lost.
Short Square Neutrals
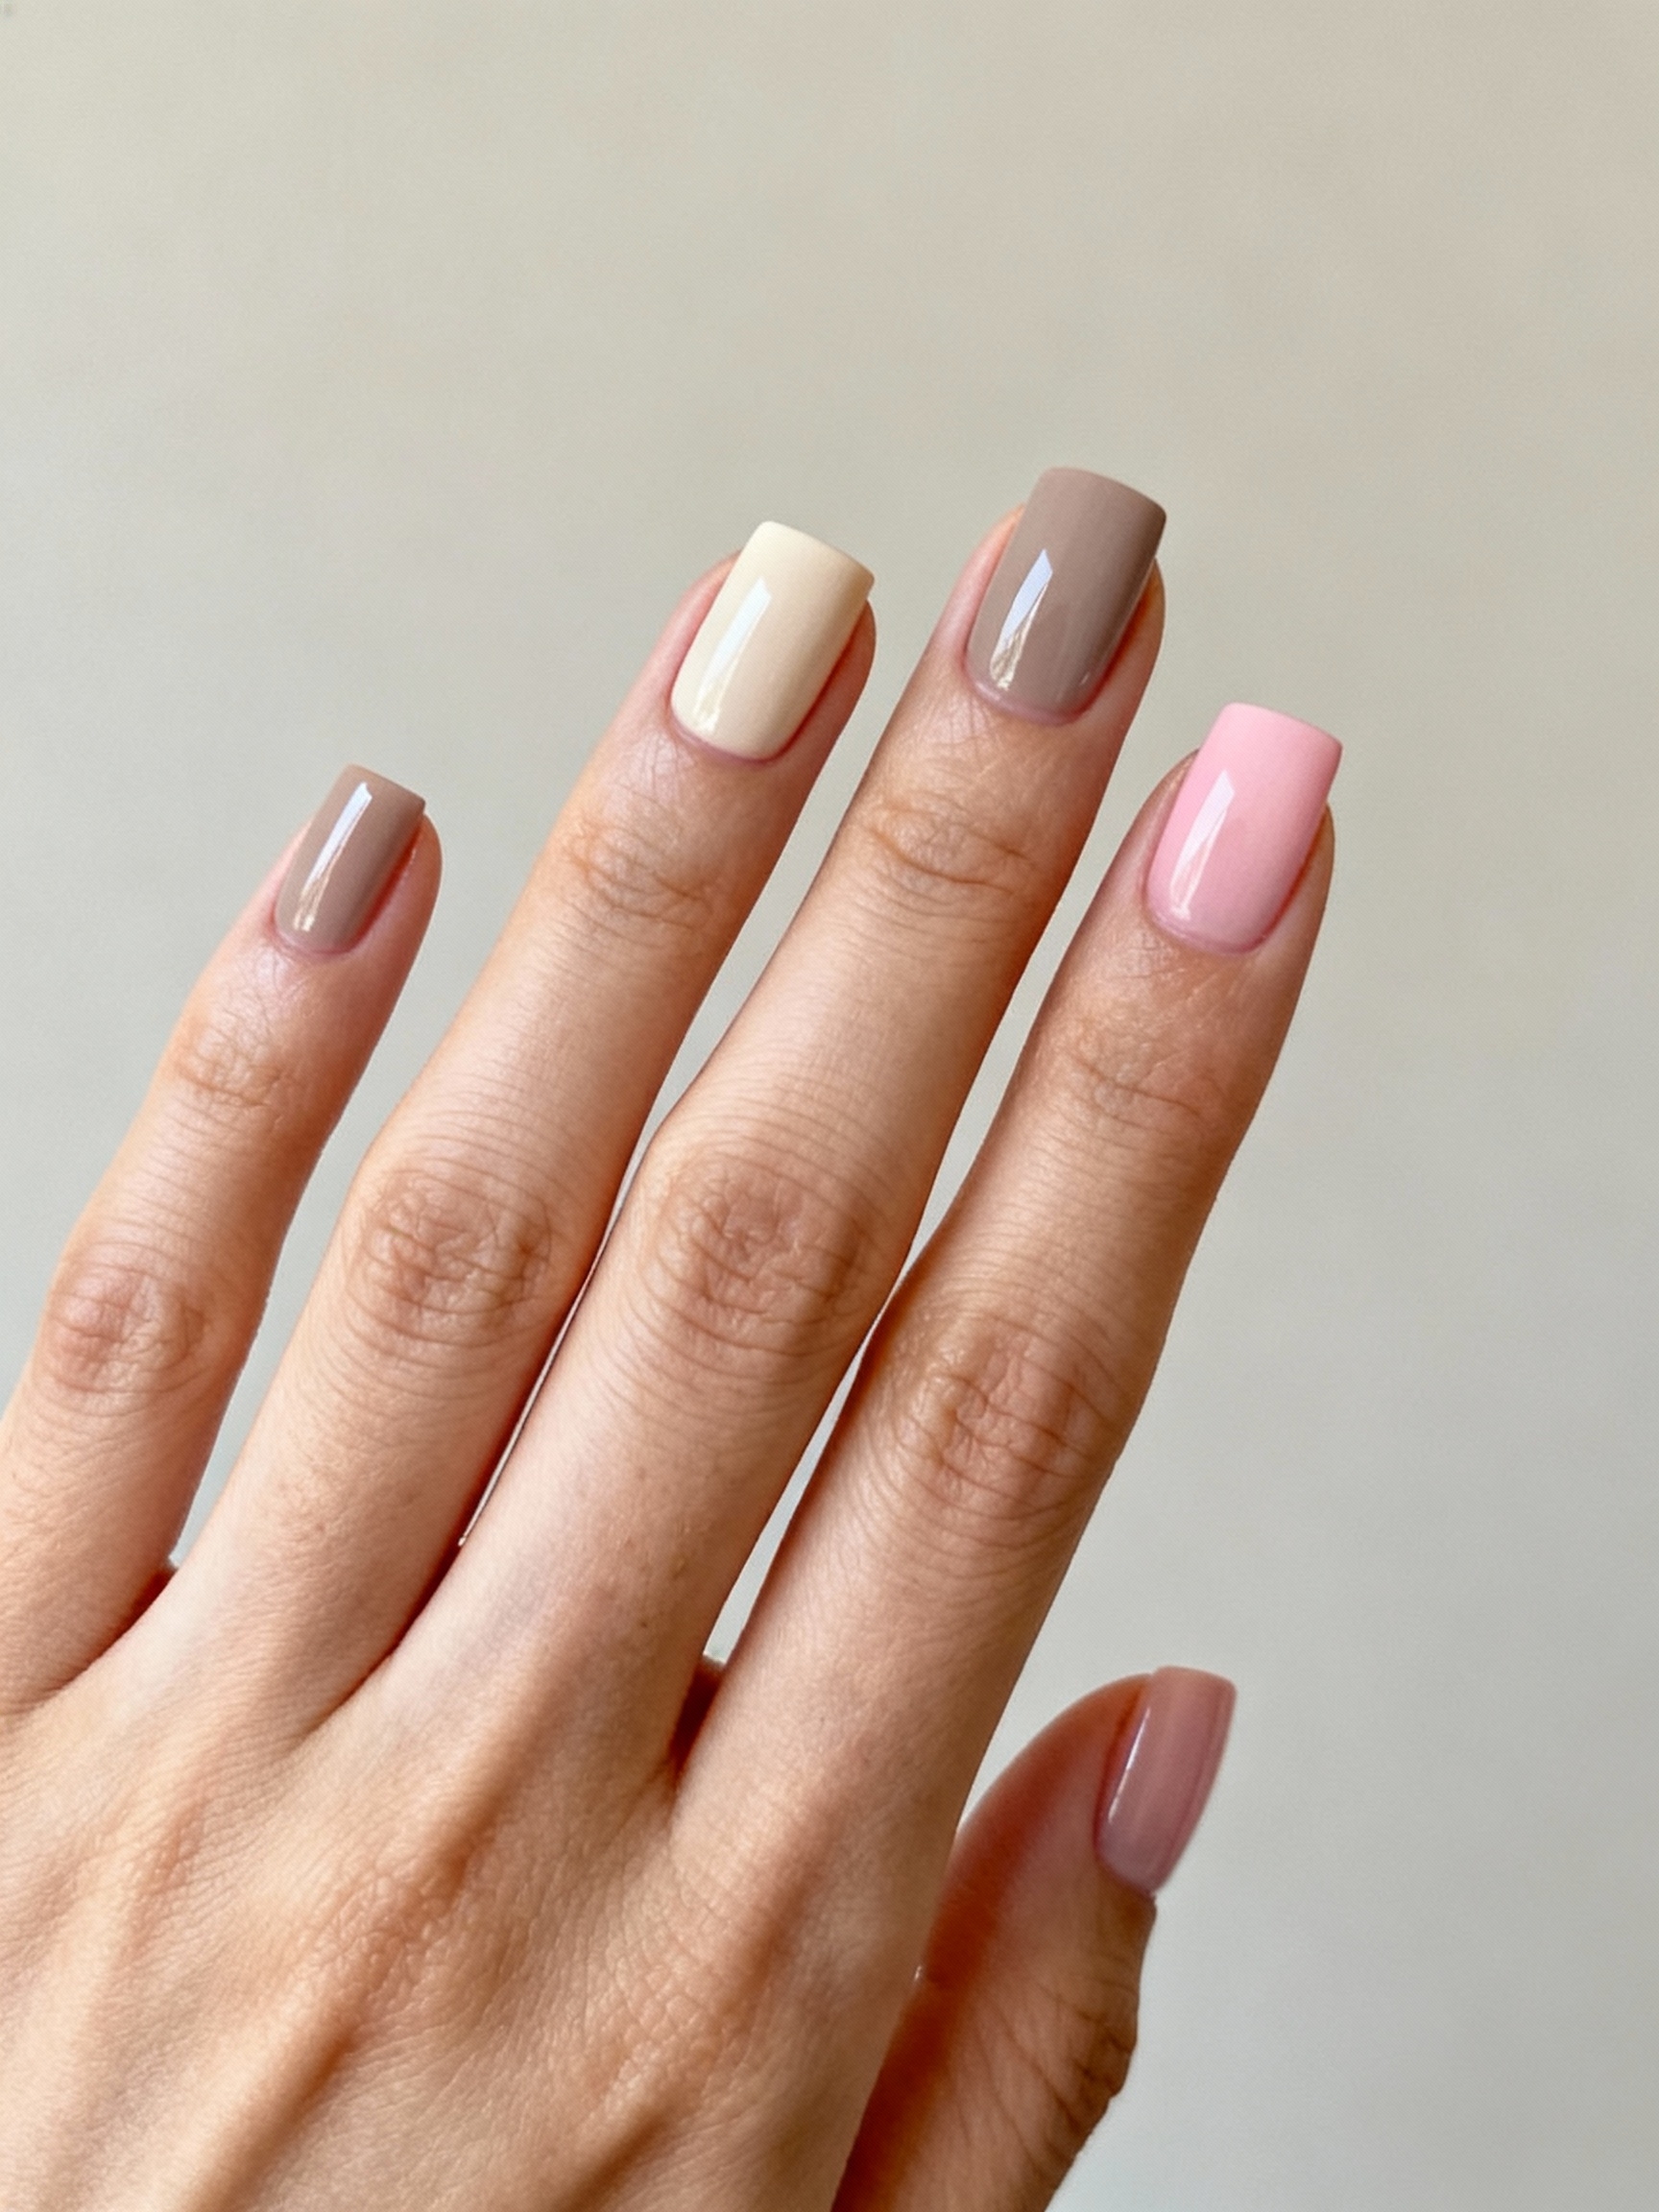
Not everyone wants length. A short square in a clean neutral is crisp, modern, and practical. It suits anyone who works with their hands and still wants the ring to look its best.
- Keep the length short and the edges softly squared.
- Choose a creamy nude or pale greige for a clean look.
- A glossy top coat keeps short nails from looking bare.
- This shape resists breaks, which matters in those busy first weeks.
Champagne Glitter Tips
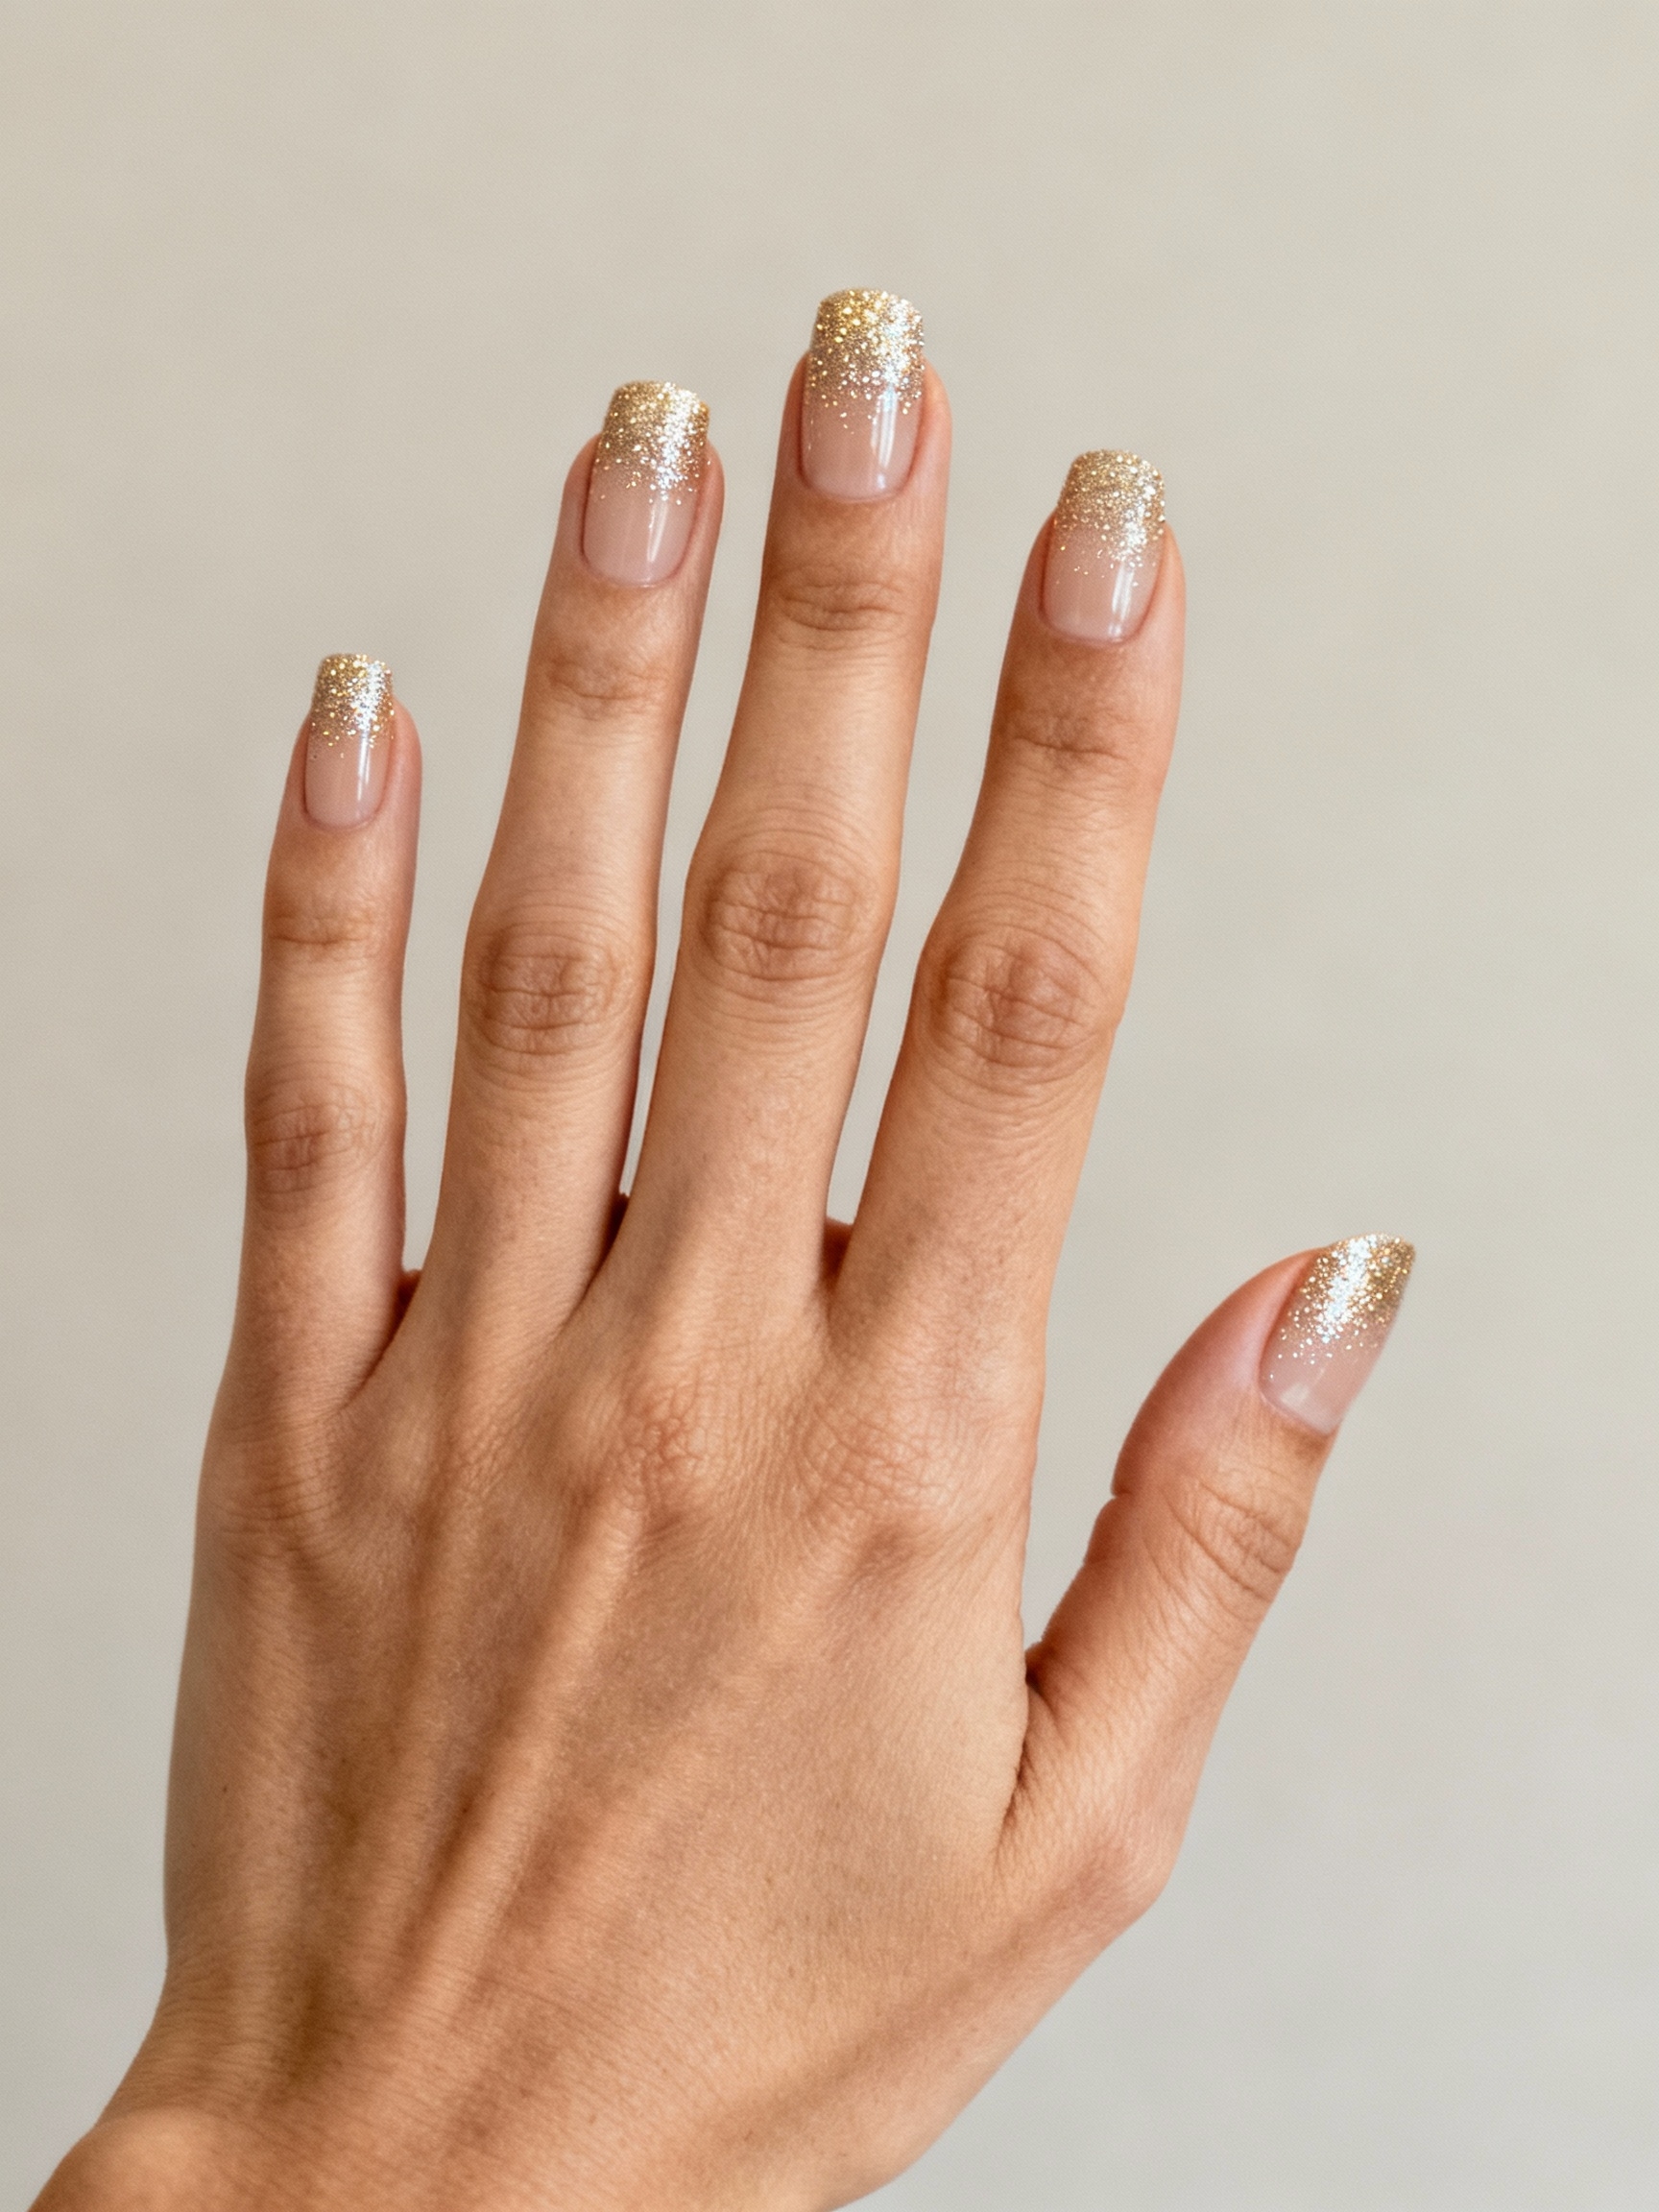
Champagne glitter tips feel festive and celebratory, a nod to the toasts ahead, while staying soft enough to wear for weeks. The warm champagne tone flatters more skin tones than a cool silver glitter.
- Fade fine champagne glitter from the tip toward the middle.
- Keep the base sheer or nude so it stays wearable.
- Press the glitter on rather than brushing for better payoff.
- Seal with a thick top coat so the texture stays smooth.
Shapes and Lengths for Ring Photos
Shape changes how the ring reads in a photo more than most people expect. Almond and oval taper the fingertip and draw the eye down the finger toward the stone, which is why they flatter nearly everyone in close-ups. Square and squoval look crisp and modern but widen the tip, so they suit longer nail beds best.
Length is a personal call, but moderate beats dramatic here. A medium nail keeps the focus on the ring and survives the busy first weeks of being newly engaged, when your hands are constantly out being admired. Very long sets photograph well but break easily and need a fill every two to three weeks.
If you are deciding under pressure before a party, go almond and medium in a soft neutral. It is the most forgiving combination and the most universally flattering on camera.
Keeping Your Nails Photo-Ready
Healthy hands matter as much as the polish when your ring is on display. In the days before any photos, oil your cuticles morning and night, push them back gently rather than cutting, and use a hand cream so the skin looks smooth on camera. A gel manicure takes about 45 minutes, runs about $35 to $60, and lasts two to three weeks, which usually carries you from the proposal through the first round of celebrations.
The most common mistake I see is booking the manicure the same morning as the photos, when the cuticles can still look pink and irritated. Give it two or three days to settle. For more neutral inspiration, browse our classy nude nails, baby pink nails, almond French tips, and French nails.
Nails Worthy of the Moment
The best engagement manicure is the one that makes your hand feel like yours, only a little more polished. A flattering shape and a soft neutral will carry every photo from the proposal to the party without ever upstaging the ring.
Pick the shade that suits your skin and the shape that suits your days, book it a few days ahead, and then enjoy showing it off. That part takes no skill at all.
Worth a Look