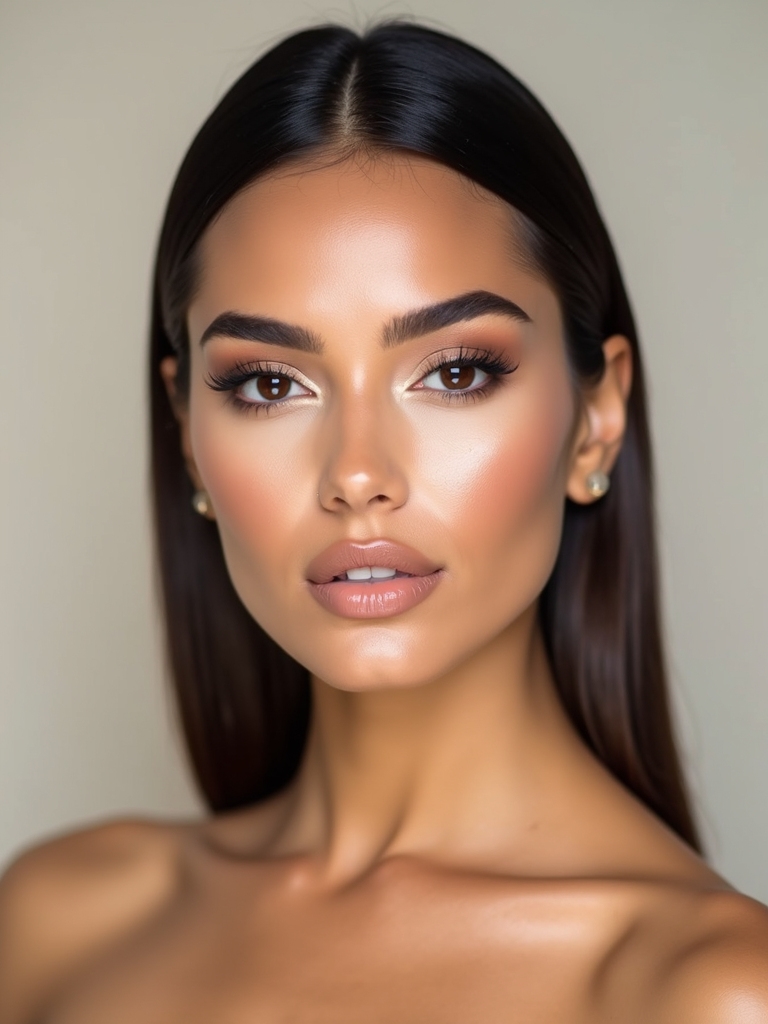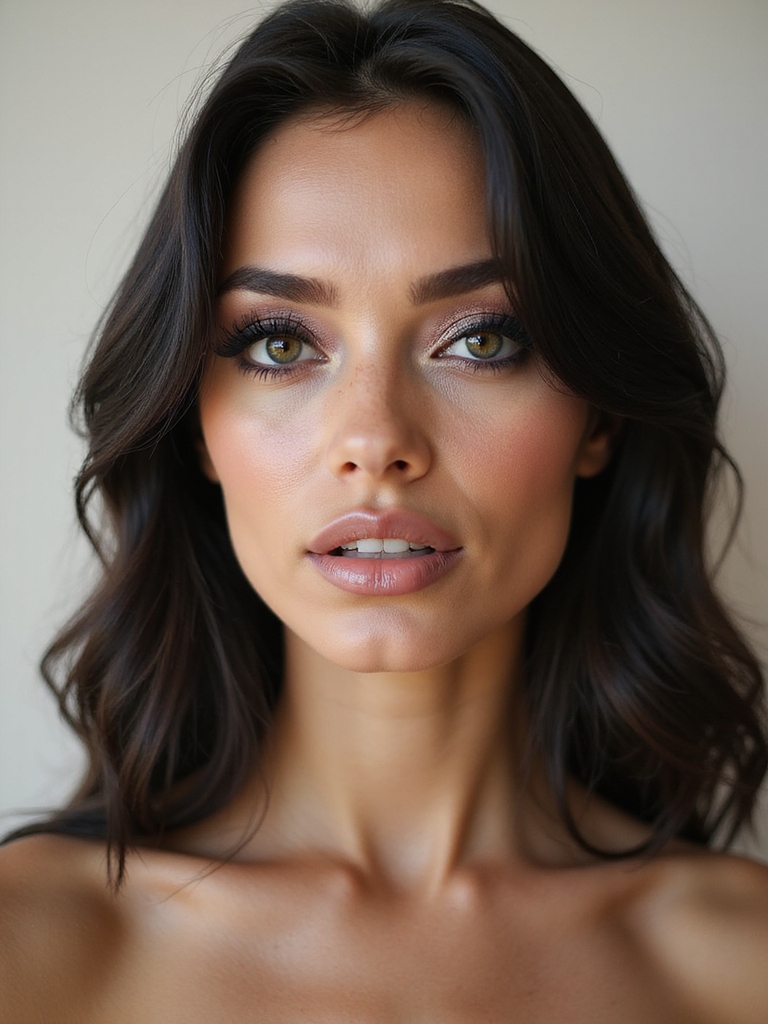
Elegant makeup is the kind people cannot quite diagnose. They see you, not your foundation, not your contour, just a face that looks rested and considered. After years working on shoots and at the makeup chair, I can tell you that the secret is restraint and good placement, not a fuller kit.
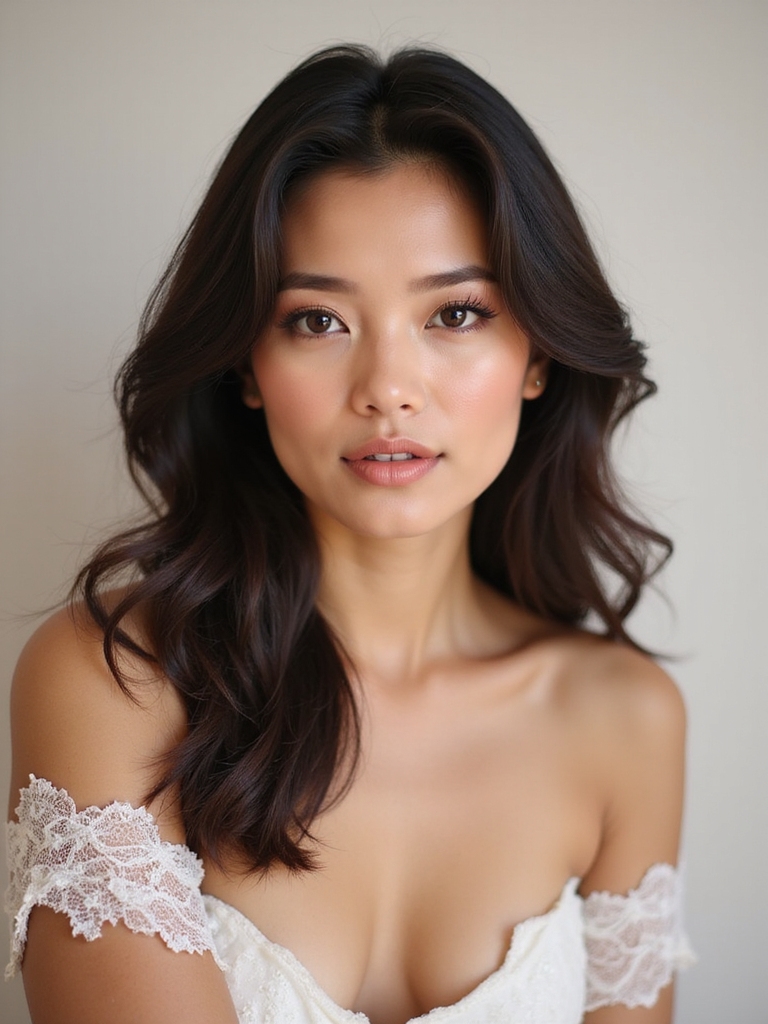
These elegant makeup ideas build a timeless look one feature at a time, from a sheer base to a soft wing and a velvety lip. Every step works across skin tones; only the shades change, so take what fits your face and skip the rest.
The Short Version
What makes makeup look elegant? Skin that still looks like skin, balanced features, and one focal point. Elegant makeup is edited, not piled on.
How long should it take? About 15 minutes once you know your shades. The polish comes from blending and placement, not from more product.
Does it work on every skin tone? Yes. The principles are universal and only the shades shift. Matching your undertone matters far more than chasing a single nude standard.
Sheer, Buildable Base

Elegant makeup lives or dies on the base. A second-skin finish, applied thin and built only where you need it, beats full coverage every time. The faces I make up always start here, with the lightest product that still evens things out.
- Match your foundation to your jaw in daylight, and mind your undertone: warm, cool, or neutral matters more than light or dark.
- Apply a few dots and press in with a damp sponge, leaving the center of the face fullest.
- Spot-conceal redness and under-eyes instead of coating the whole face.
- A good foundation runs $15 to $45; for deeper skin, look for ranges with true depth and warm-to-neutral options, not just one token dark shade.

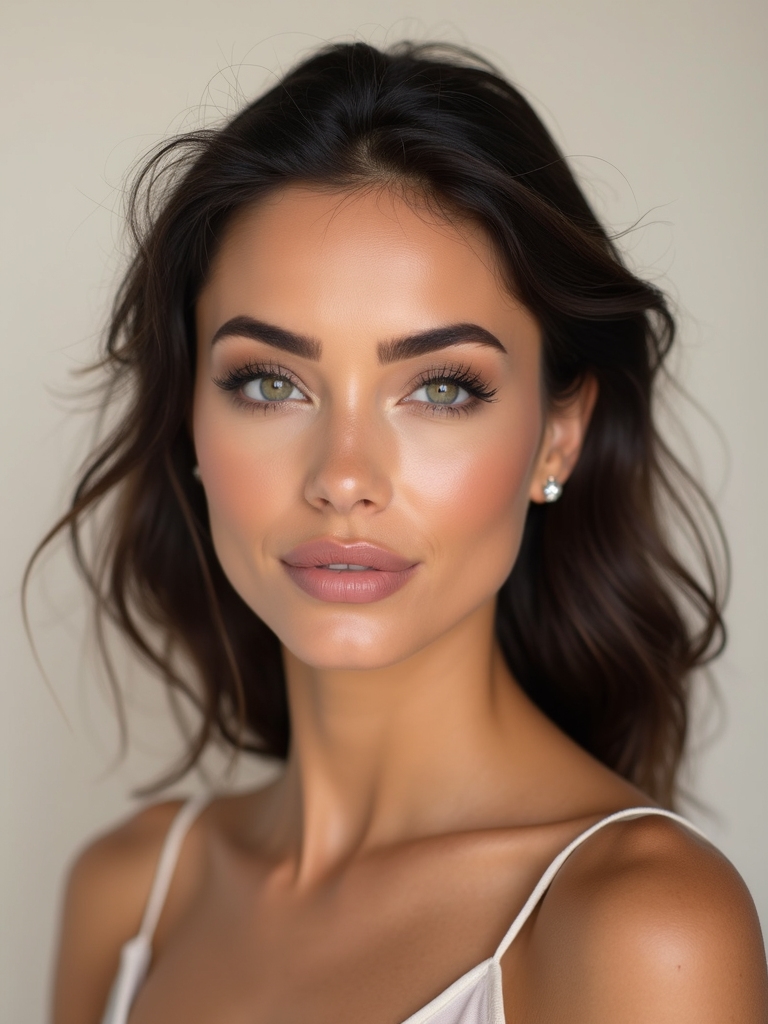
Sculpted Cream Radiance

Cream products give the most natural dimension because they melt into the skin rather than sitting on top. A soft sculpt under the cheekbones plus a little glow on the high points reads as good lighting, not heavy contour.
- Place cream bronzer under the cheekbone, along the hairline, and at the jaw.
- Buff upward with a damp sponge so there are no hard edges.
- Tap a cream highlight on the tops of the cheeks and the brow bone.
- Choose a bronzer one to two shades deeper than your skin, with a neutral tone so it does not turn orange.
A quick way to sculpt with cream products.
1Map
Place cream bronzer under the cheekbone, along the hairline, and at the jaw.
2Blend
Buff everything upward with a damp sponge until there are no hard lines.
3Lift
Tap cream highlight on the tops of the cheeks and the brow bone.
4Set
Press a little powder only where you tend to get shiny.
Feathered Natural Brows

Brows frame the whole face. Elegant ones look groomed, not drawn on. The goal is to fill the gaps and follow the natural shape you already have, because a brow that fights your own bone structure is the fastest way to make a careful face look harsh.
Picking Your Brow Shade
Brush the hairs up first, then use light, hair-like strokes with a fine pencil only where the brow is sparse. Set with a clear or tinted gel so they stay all day.
Clients ask me how to make thin brows look fuller without looking blocky, and the answer is almost always lighter pressure and a sharper pencil. Match the shade to your roots, going a touch lighter if your hair is dark.
Clean, Lifted Wings

A soft, lifted wing opens the eye without tipping into drama. Keep it short and angled toward the tail of the brow, and it flatters almost every eye shape.
- Start thin at the inner lash line and build thickness toward the outer corner.
- Flick the wing along the line from your lower lash to your brow tail.
- Clean up any wobble with a flat brush and a little concealer.
👍Why reach for liquid liner
- +Gives the sharpest, most precise line
- +Long-wearing once it dries down
- +Best choice for a defined wing
👎Where it gets tricky
- –Has a steeper learning curve
- –Hard to soften or smudge later
- –Shows every wobble on textured lids
Neutral Taupe Wash

A single wash of taupe across the lid is the most useful elegant eye there is. It adds soft definition that works with any outfit and looks polished in seconds.
Sweep a satin taupe over the lid and blend it just above the crease with a fluffy brush. One shade. Well blended. That looks more refined than the busiest full palette ever could, because elegance on the eyes is about shape and softness rather than a parade of colors.
Taupe flatters every eye color because it sits in the neutral middle. On deeper skin, reach for a warmer, richer bronze-taupe so it shows up rather than disappearing.
Waterline Eyeliner
Lining the waterline is the quietest way to define the eye. A waterproof pencil there makes lashes look denser without an obvious line of liner on the lid.
For bigger, brighter eyes, tightline the upper waterline with a brown or black pencil and leave the lower bare. For a moodier look, line both and smudge.
Always use a waterproof formula here, since the waterline is damp and regular pencil slides off within the hour. A nude or soft brown on the lower waterline keeps tired eyes looking awake.
Not sure how much liner to use? A quick check.
1Want eyes to look bigger and more awake?
Tightline the upper waterline with brown and leave the lower bare.
2Want a deeper, smokier eye?
Line both waterlines with a waterproof pencil and smudge gently.
Curling and Lengthening Lashes

Curled, separated lashes do more for an elegant eye than any amount of shadow. The order matters more than the mascara you choose.
- Curl first, squeezing at the base, the middle, and the tips for a rounded lift.
- Wiggle a lengthening mascara from root to tip in one or two thin coats.
- Comb through with a clean spoolie while the formula is still wet.
- Skip the second coat on the lower lashes so it stays soft, not spidery.
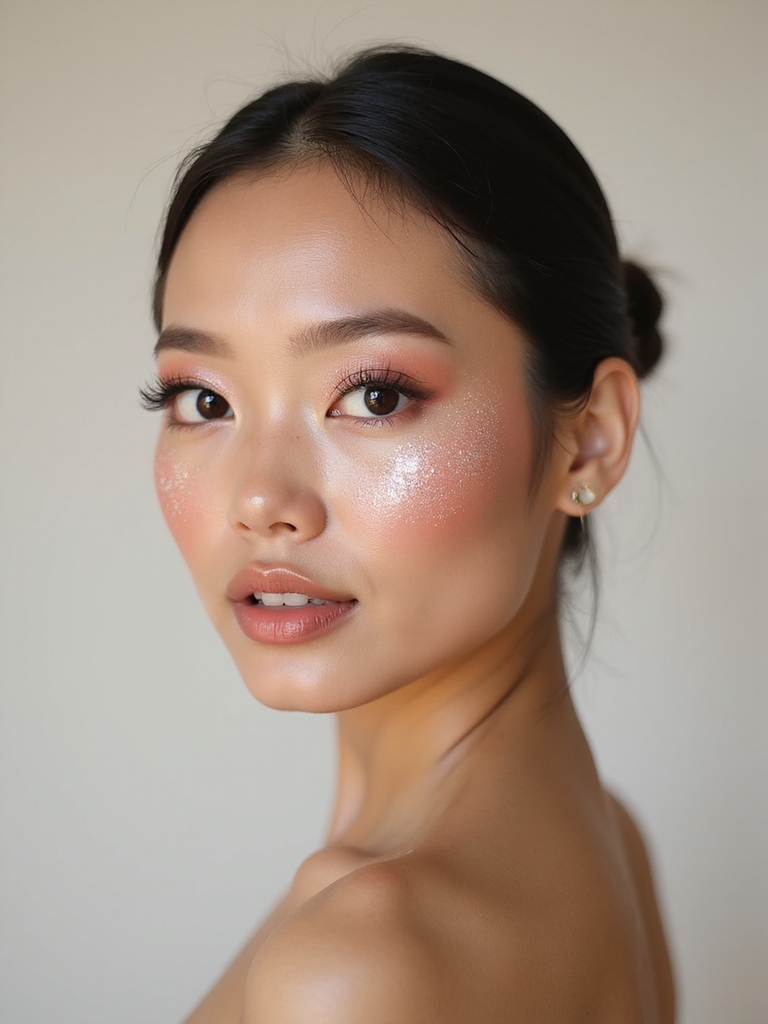
Rosy Cream Blush

Blush is what makes a face look alive. Cream blush gives the most natural flush because it sinks into the skin instead of dusting over it. Placement is everything. Keep it high on the cheeks and blend back toward the temple, never low and round.
Tap it on with your fingers and build slowly; you can always add more. A good cream blush runs $18 to $30, and one in a true rose or soft berry flatters nearly everyone. On deeper skin, richer berry and brick tones show up far better than pale pinks.
🅰️Cream blush
Melts into the skin for a natural, lit-from-within flush. Best on normal to dry skin and applied with fingers.
🅱️Powder blush
Builds easily and lasts on oily skin. Sits best over a powdered base and applied with a soft brush.
Satin Nude Lip

A satin nude lip finishes an elegant face without competing with the eyes. The trick is choosing a nude with a hint of your own lip tone in it, so it enhances rather than washes you out.
Skip anything too pale or concealer-toned, which can look ashy on most people.
- Line with a shade close to your natural lip color.
- Fill with a satin or cream nude, then blot once.
- Add a dab of gloss in the center for soft fullness. See more everyday makeup ideas.
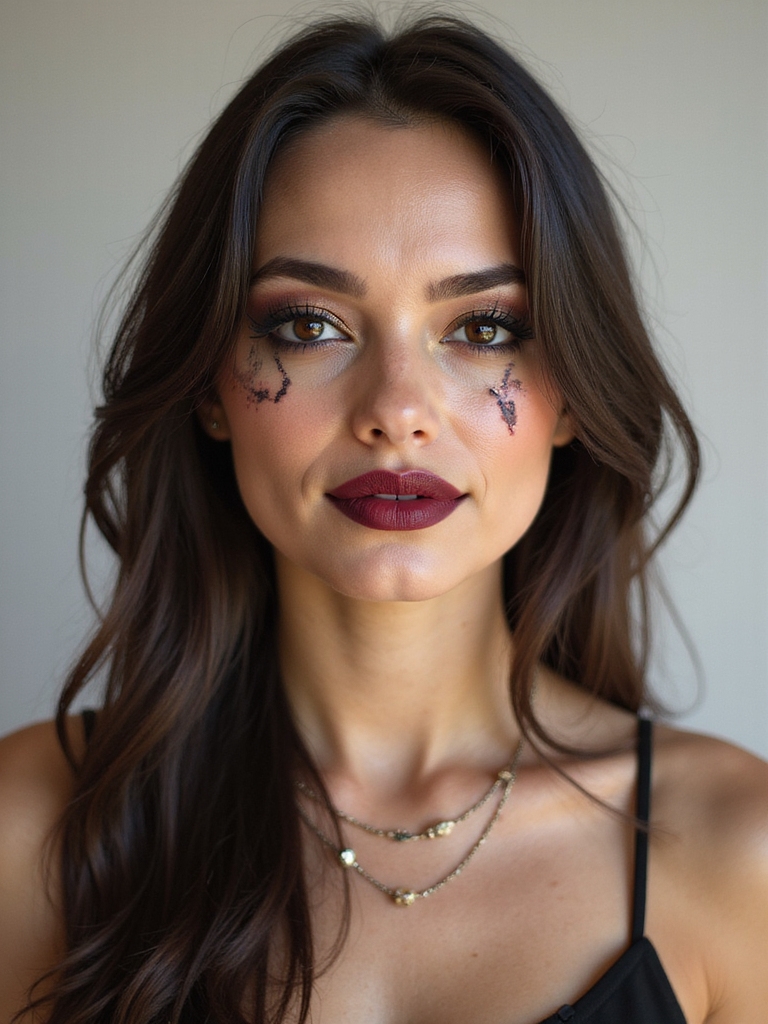
Velvety Red Lip
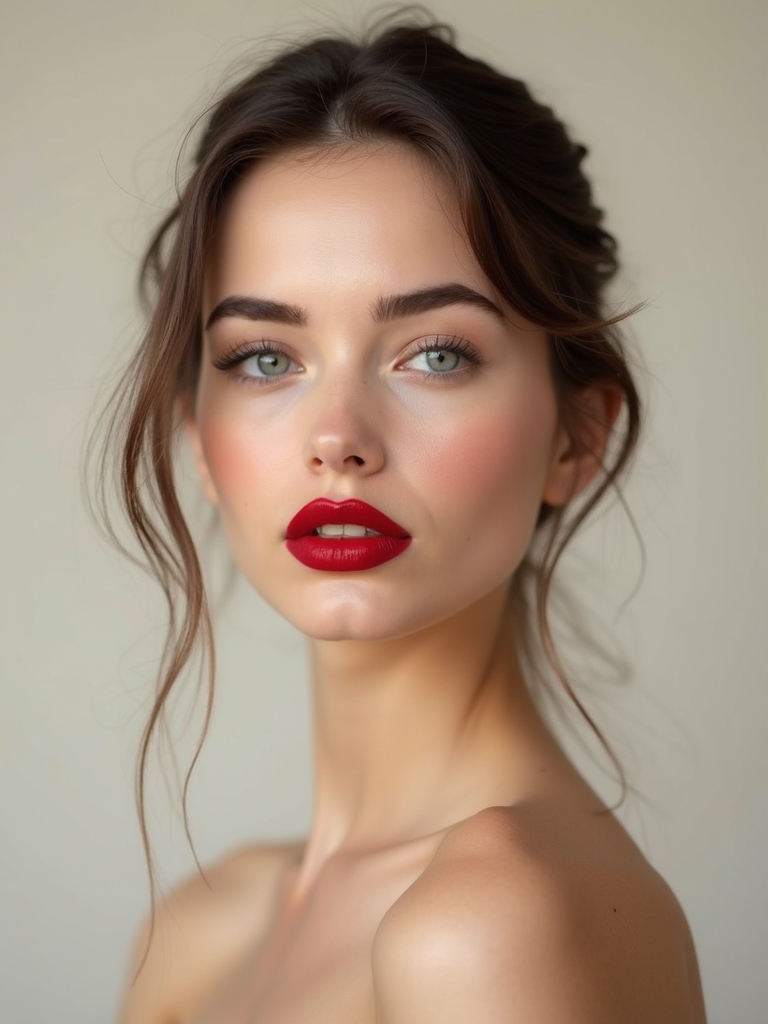
A red lip against bare, glowing skin is the most timeless elegant look there is. Keep the rest of the face simple, and the lip becomes the single focal point.
Finding Your Red
Blot, layer, and blot again for a velvety, long-wearing finish that will not bleed. A lip liner in the same family keeps the edges crisp through dinner.
On set, I see a red lip pull a whole look together in one stroke. Red works on every skin tone; the key is undertone. A blue-based red brightens cooler complexions, while warm brick and true reds look rich on deep and warm skin.
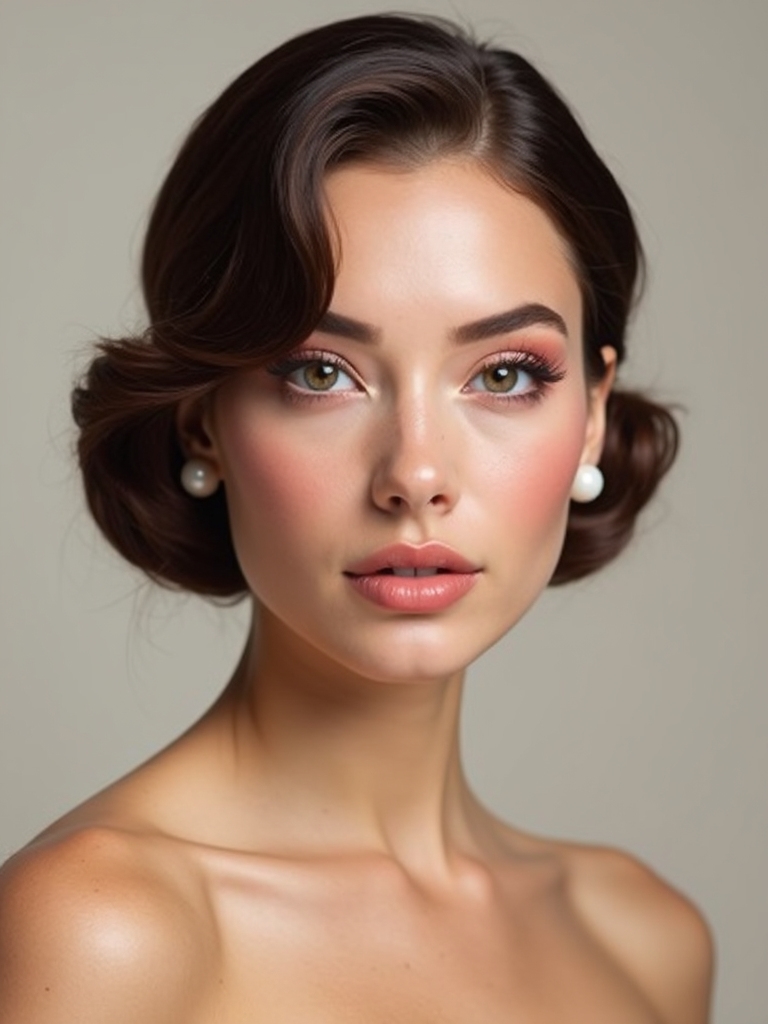
Dusty Rose Monochrome

Pulling one soft tone across the eyes, cheeks, and lips creates a pulled-together look in minutes, and it works because the eye reads a single harmonized color family as intentional rather than as three separate decisions competing for attention. Dusty rose is the most wearable monochrome because it flatters almost every complexion.
- Sweep a rosy cream over the lids and blend.
- Tap the same family of blush on the cheeks.
- Finish with a rose-toned lip in a matching depth.
- Vary the intensity so the three features still read as separate.
Inner-Corner Highlight

One small dot of highlight in the inner corner of each eye makes you look instantly more awake. It is the cheapest trick in the kit and takes five seconds.
- Tap a champagne or pearl shade into the inner corner with a small brush.
- Blend a touch onto the center of the lid for extra light.
- Keep it subtle; a pinpoint glow looks elegant, a full shimmer lid does not.
- On deeper skin, a warm gold reads brighter than a cool silver.
Soft-Focus Matte Glow

Elegant skin is rarely fully matte or fully dewy. It sits in between, soft-focus and balanced. The aim is skin that looks lit, not greasy, and the way you get there is by setting only the spots that actually move into shine while leaving the rest of the face alone.
Matte Where It Counts
Set only the areas that get shiny, usually the forehead, nose, and chin, and leave the cheeks alone so they keep their natural glow. A finely milled powder blurs pores without flattening the whole face.
If you tend oily, a thin layer of powder lasts longer than a thick one, which can cake by afternoon. Dry skin often needs no powder at all beyond the T-zone.
Smudged Smoky Eye

A soft smoky eye is elegant when it stays diffused and low-key rather than heavy and graphic. A creamy pencil makes the easiest version, no shadow brushes required.
- Draw a thick line of creamy pencil along the upper lash line.
- Smudge it up and out with a small brush or your fingertip before it sets.
- Press a matching powder shadow over the top to lock it in.
- Keep the smoke close to the lashes so the eye still looks open.
Weightless Setting Mist

A fine setting mist melts powder into skin and takes makeup from sitting-on-top to looking like part of your face. It is the step most people skip and the one that separates polished from done.
- Hold the bottle an arm’s length away and mist in an X and a T.
- Let it dry naturally instead of touching your face.
- Choose a luminous mist for dry skin and a matte one for oily skin.
- A second light mist after blush keeps everything in place for hours.
Making Elegant Makeup Last
Longevity starts before makeup goes on. Prep with moisturizer suited to your skin, let it sink in, and use a primer only where you need grip, like the T-zone or around the nose. Skin that is balanced underneath holds product far better than skin that is too dry or too oily.
The most common mistake I see is too much of everything: heavy foundation, low blush, and a powdered-flat finish that ages the face. Build thin, keep one focal point, and the whole look takes about 15 minutes. For more polished routines, see our soft glam looks, natural makeup, formal makeup, and a true red lipstick look.
Your Timeless Face
Elegant makeup is not a single look so much as a habit of restraint: good skin, soft features, one thing that stands out. Pick the steps that suit your face and your tone, and leave the rest in the drawer.
Practice your base and your blush placement first, since those carry the whole look. Once those feel easy, everything else, the wing, the red lip, the soft smoke, takes only a minute more.