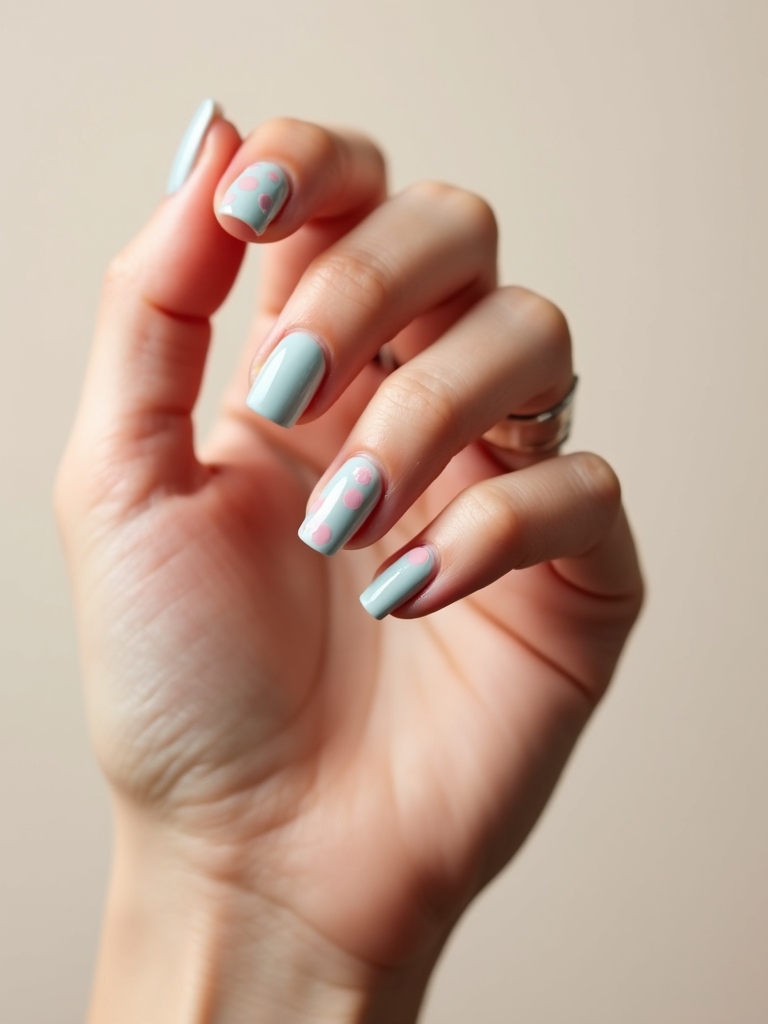
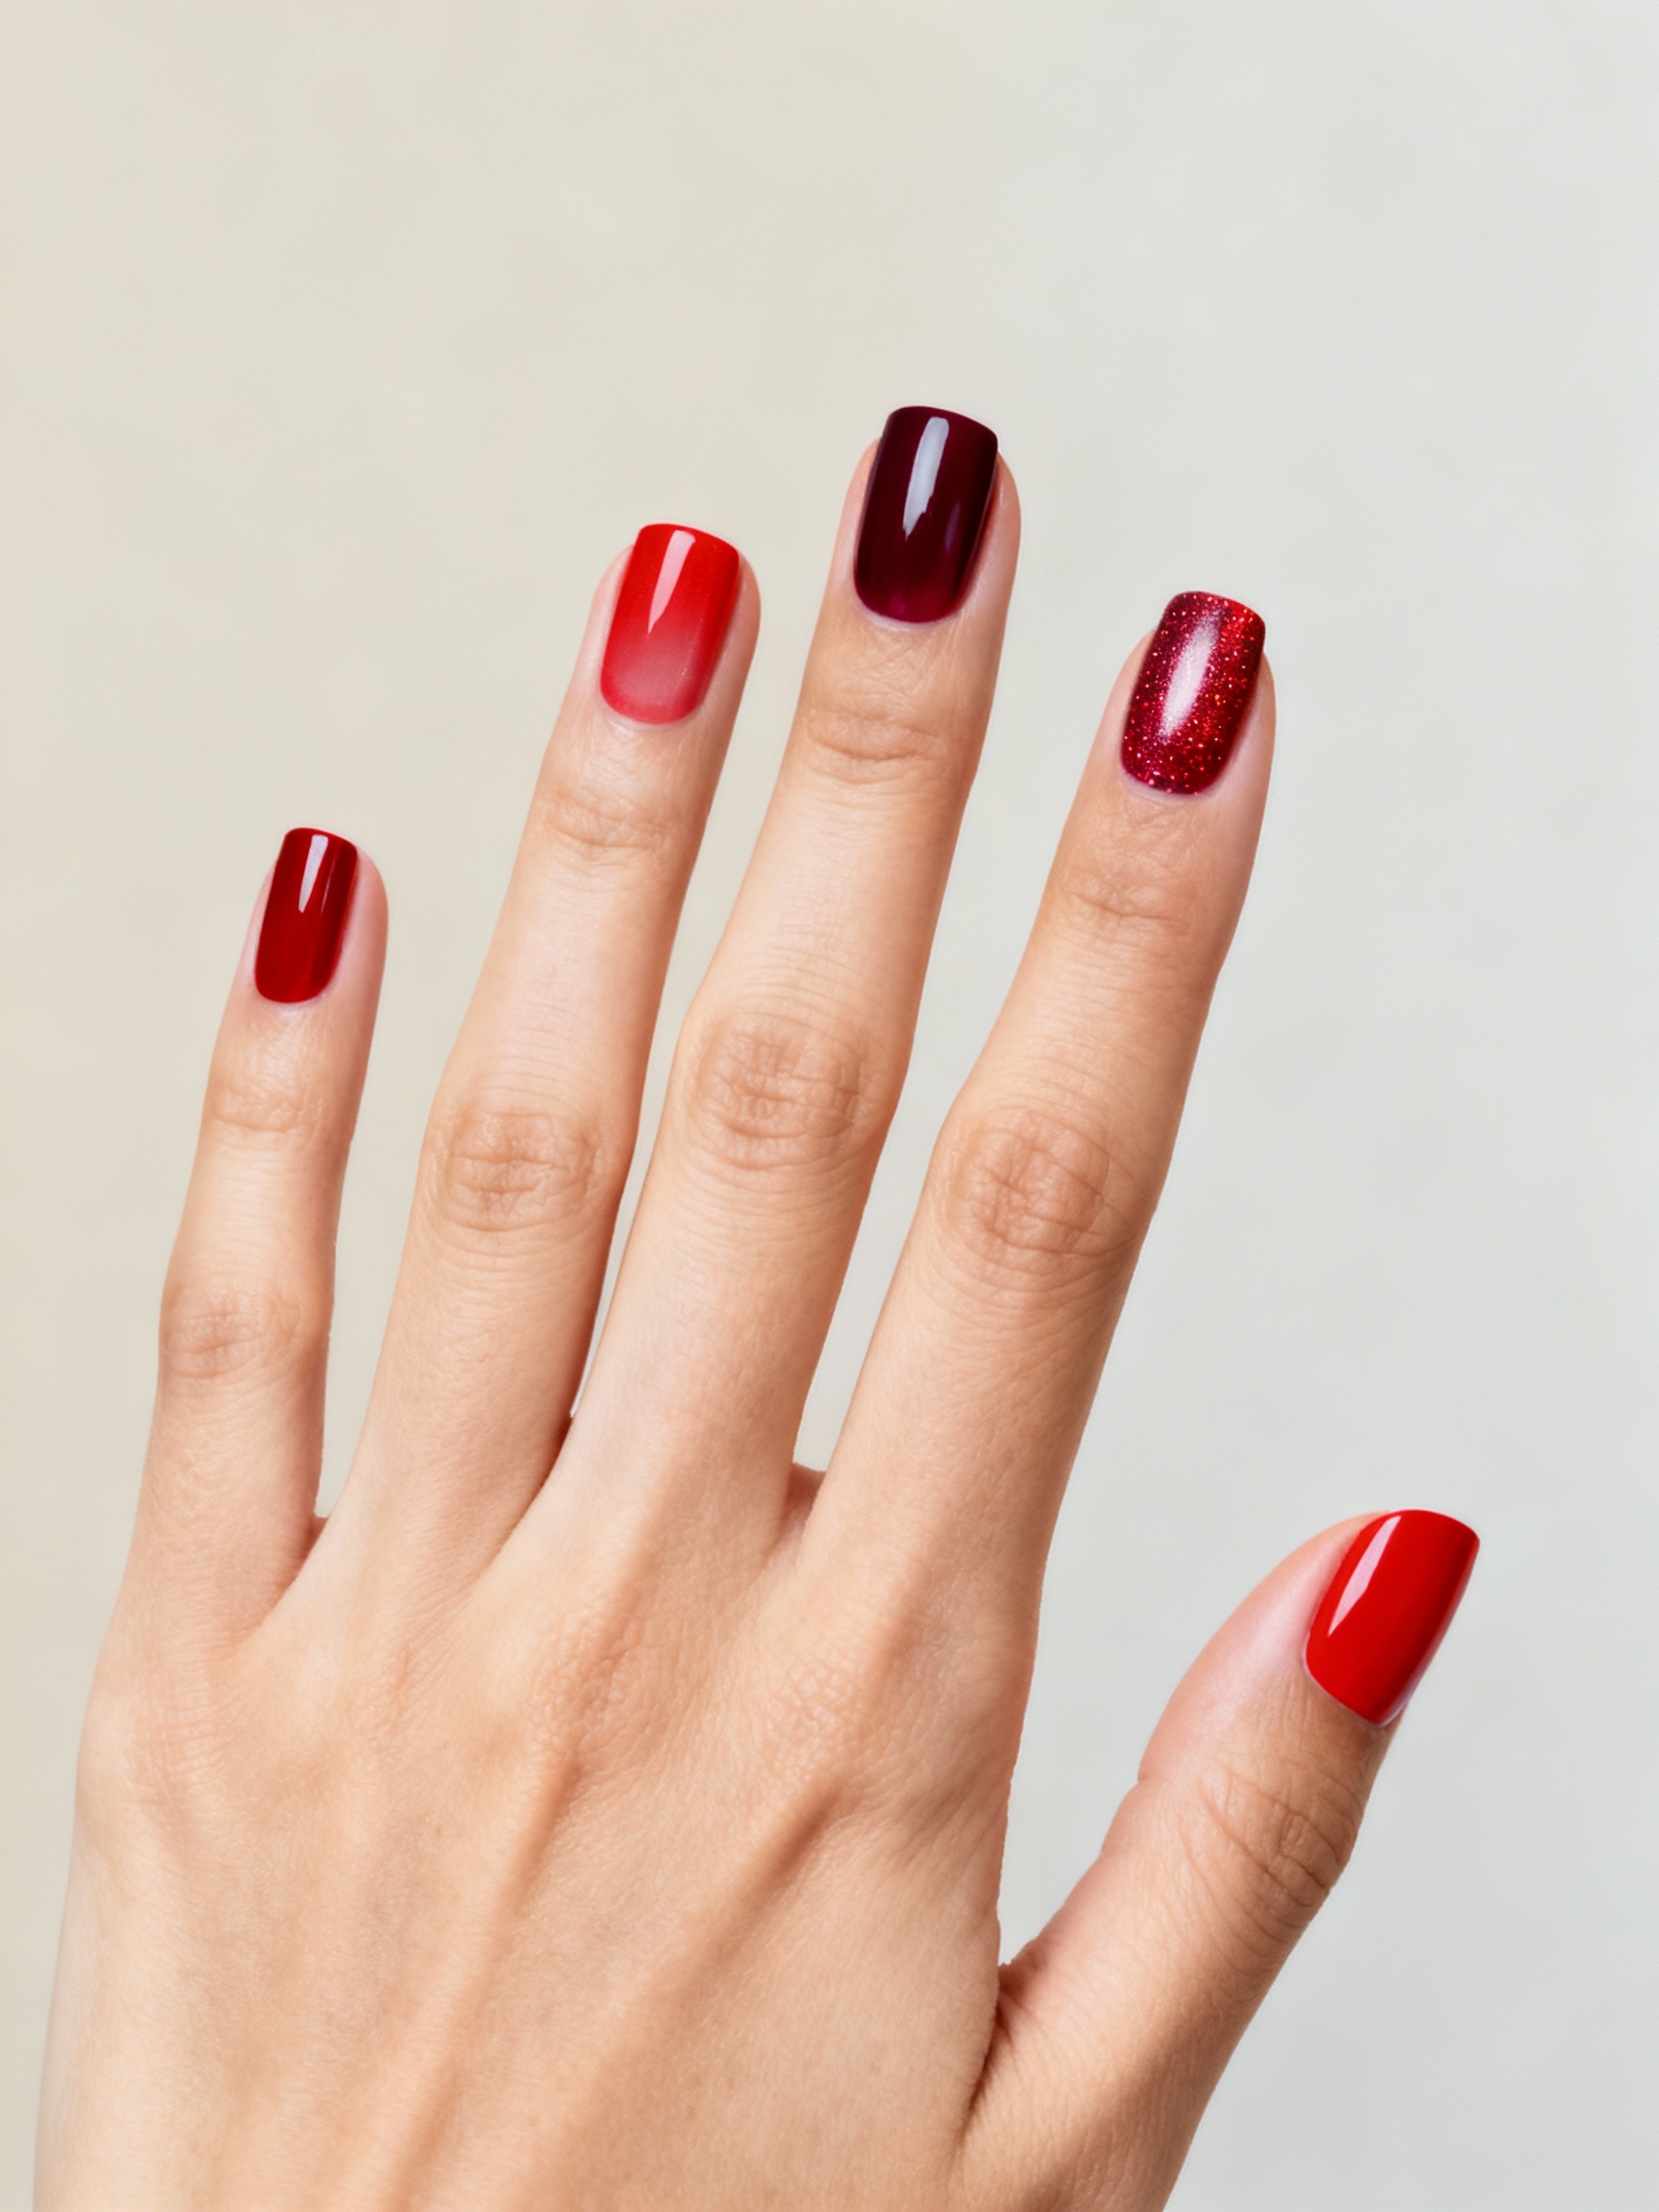
Most holiday manicures shout. Easter nails do the opposite: they whisper in pastel, lean soft, and look better the more restrained you keep them. The trap is going too literal, a tiny painted bunny on every nail tips more craft-fair than spring brunch. The looks that actually work pull the holiday in sideways, through sherbet color and milky finishes, with maybe one playful accent.
The fourteen ideas below run from barely-there sheer tips to a fuzzy velvet bunny set, so there is something whether you want subtle or full Easter-basket. For each one I will tell you the shade, the finish, and how it sits on different skin tones, because pastels are the one palette that truly shifts depending on your undertone.
The Quick Version
- Easter nails live in soft pastels: lavender, sherbet, milky pink, sky blue, and buttery neutrals.
- Keep it subtle with sheer tips or milky neutrals, or go playful with a single bunny or floral accent.
- Pastels shift with undertone; deeper skin glows under saturated sorbet shades, while sheer milky tones read fresh on fair hands.
- Most gel sets run $40 to $70 and last two to three weeks, easily carrying you through the spring season.
Sheer Pastel French Tips

If you want Easter on your nails but nothing that announces it, a sheer pastel french is where I send most first-timers. Instead of a crisp white tip, you paint a soft lavender, mint, or baby pink line over a milky base, so the whole thing says spring without a single literal motif. It is the most office-safe set on this list and the one I book most for clients who say subtle.
- Paint a sheer milky base in one or two thin coats and let it cure fully.
- Add a soft pastel tip freehand or with a guide, keeping the line thin and a little imperfect.
- Seal with a glossy top coat; the shine is what keeps a pale french from looking chalky. The french tip nails guide covers the tip line in detail.

Speckled Oat Milk Neutrals
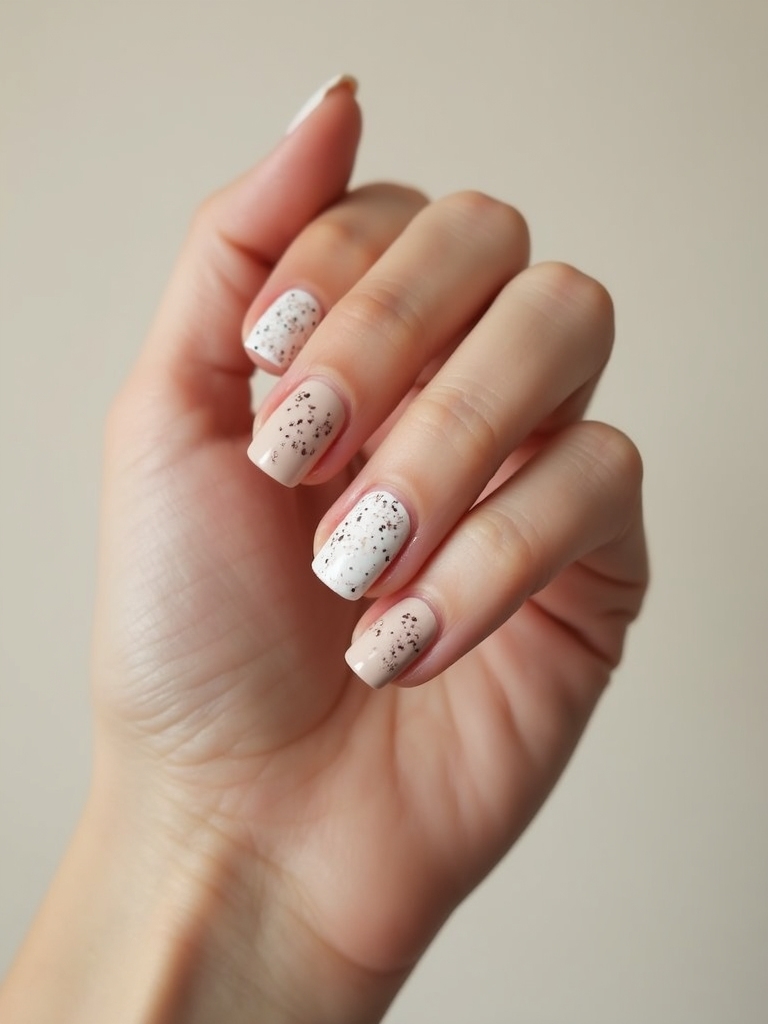
Think of a robin’s egg, but warm: a creamy oat-milk neutral flecked with tiny brown or pastel speckles. It is the grown-up way to nod at Easter eggs without painting actual eggs, and the texture does all the work while the color stays wearable past the holiday.
A few things that make the speckle look intentional rather than messy:
- Start with a warm oat or greige base, not a stark white, so the speckles look soft.
- Dab speckles with a thin liner brush or a speckled top coat, keeping them sparse and uneven.
- On deep skin, a richer caramel base makes the flecks pop more than a pale oat does.
👍Why Sheer Pastels Win
- +Office-safe and subtle, so they work past the holiday
- +Flatter almost every skin tone with a small shade tweak
- +Grow out gracefully without an obvious line
👎Where They Fall Short
- –Pale shades can streak and need two thin coats
- –Sheer finishes show ridges, so prep matters
- –Too-pale tones can wash out very fair hands
Minimalist Milky Bunny Accent

Here is how you do a bunny without it looking like a kids’ party: keep every nail a clean milky pink, then add one tiny line-drawing bunny on a single accent nail, usually the ring finger. The restraint is the whole point. One small motif against a quiet base feels styled, while ten of them feel like a sticker sheet.
A simple white outline bunny, no fill, no face, is far chicer than a detailed one. I tell clients the rule is one accent nail per hand at most. This milky-with-one-accent formula works on any skin tone, since the milky pink base flatters across the board and the line art is just a wink.
Watercolor Pink Florals
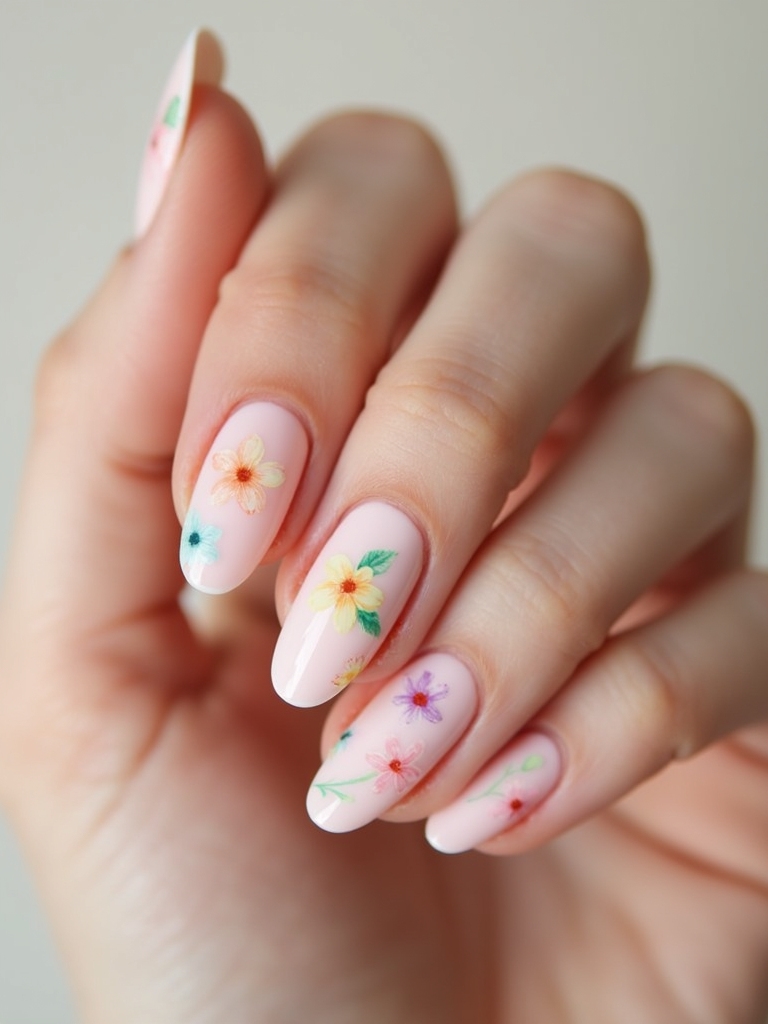
Watercolor florals trade crisp nail art for something softer: pastel petals that bleed into each other like ink on wet paper. It suits spring better than a sharp graphic flower because the edges stay hazy and romantic. This is a salon ask, not really a home job, since the blur takes a gel-and-alcohol technique most kits cannot match.
- Ask for a sheer pink wash base so the florals look like they float on the nail.
- Keep flowers to two or three nails; a full set of them gets busy fast.
- Florals show beautifully on deeper skin when the petals lean saturated rose rather than pale, which can disappear against richer tones.
Not sure which direction to take? Match your vibe to a set:
1You want Easter nobody clocks as Easter
Sheer pastel french or speckled oat-milk neutrals
2You want one playful wink
A milky base with a single line-drawing bunny accent
3You want full holiday with zero subtlety
Velvet fuzzy bunny ears or a sorbet checkerboard
Candy Sorbet Glossy Mani

When you want color and only color, a glossy sorbet mani is the answer, each nail a different candy pastel under a mirror-shine top coat. No art. No motifs. Just a row of melted-popsicle shades that feel like spring on sight, the kind of set you can do in under an hour and still have people ask where you got your nails done. It is my favorite low-effort, high-payoff look.
Choosing Your Sorbet Palette
The trick is choosing pastels that share a tone so the hand looks cohesive instead of random. Stay all-cool (lilac, mint, sky) or all-warm (peach, butter, coral) rather than mixing. A high-gloss top coat is non-negotiable here; matte would flatten the candy effect entirely.
This one is striking on deep and tan skin, where saturated sorbets turn almost neon and glow. On very fair hands, slightly muted versions of the same shades stop them from looking acidic. For more pastel color play, see cute fall nails.
Gilded Pastel Half-Moons

For something a touch dressier, a gilded half-moon keeps the pastel soft but adds a slice of gold at the base of each nail. It is the set I steer brides and brunch-hosts toward, since it looks polished without going full glitter. The metal warms the pastel up just enough to feel special.
- Paint a soft pastel base, lavender or pale peach, in two thin coats.
- Add a thin gold half-moon at the cuticle with a striping brush or a fine decal.
- Keep the gold delicate; a heavy band tips the look from spring into holiday-party. Gold flatters every skin tone, but warmer gold sits especially well against deep skin.
A few terms worth knowing before you book:
📖Jelly polish
A translucent, candy-like formula that needs three coats for depth and lets your nail show through.
📖Negative space
A design that leaves part of the bare nail exposed as part of the pattern.
📖Flocking powder
A fine fiber pressed into wet gel to create a plush, velvet-textured finish.
Matte Lavender With Glossy Dots

Texture, not color, makes this one interesting. You paint a matte lavender base, then add glossy clear dots on top, so the design only catches the light when you move your hand. It is subtle in photos and quietly fun in person, which is exactly the energy I want for a low-key Easter.
The matte-and-gloss contrast does the heavy lifting. The color stays calm. A matte top coat over the lavender, then dots of glossy gel, is all it takes. Keep your cuticles oiled, since matte finishes show every bit of dryness. This works on any tone, though a slightly deeper lilac keeps the matte from looking dusty on richer skin.
Pastel Striped Negative Space

Negative space is the modern way to wear color without coating the whole nail. Here, thin pastel stripes run across a bare, glossy nail, so your natural nail becomes part of the design. It feels fresh and a little editorial. Better still, it grows out gracefully, which is a real perk if you are the type who books one set and then cannot find a free hour to rebook for a solid month.
- Prep with a clear base so the bare negative space still looks finished and shiny.
- Tape off thin lines and fill with two or three pastel shades, then peel before it cures.
- On deeper skin, the exposed nail shows up as a warm natural tone that frames bright pastels beautifully.
Heads-Up
Velvet and heavy glitter sets are short-lived and hard to remove cleanly. Treat them as one-event looks rather than a set you expect to wear for three weeks.
Delicate Micro Florals

Micro florals are the tiny, scattered cousin of the watercolor set: minuscule five-dot flowers dotted across a sheer base, finished glossy. They are the daintiest design here and the one clients save the most photos of. Small enough to feel delicate, simple enough that a steady-handed person can attempt them at home.
- Use a fine dotting tool; five dots in a circle plus one center makes each flower.
- Scatter them unevenly across two or three nails rather than lining them up in rows.
- Pastel flowers on a sheer base flatter fair hands; on deep skin, swap to white or cream florals so they stay visible against the richer nail.
Soft Sherbet Ombre
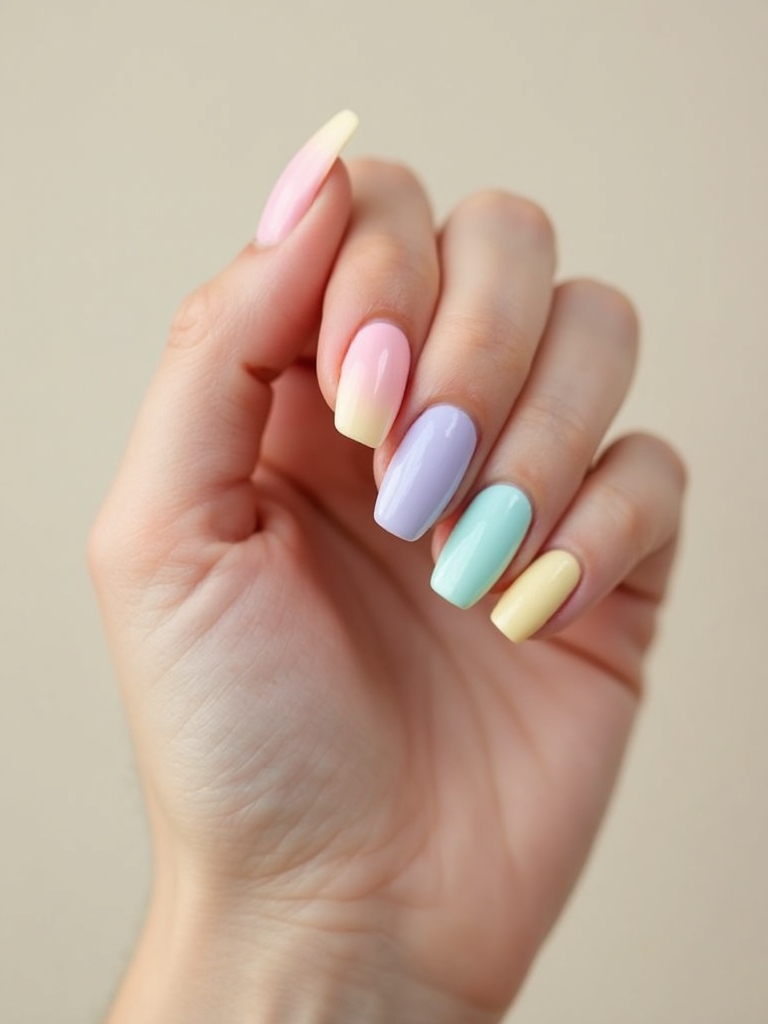
An ombre that melts one sherbet shade into another is the dreamiest set on this list, peach fading to pink, or lilac into blue, blended so softly there is no visible seam. It captures spring’s whole color story on a single nail. The payoff looks far more complex than the polish actually is.
Getting a Smooth Fade
The blend is what separates a good ombre from a muddy one. A makeup sponge dabbed on while the gel is wet, then refined, gives the cleanest fade. I tell clients to keep the two shades close in tone so the gradient stays soft rather than stripey.
Sherbet ombres are striking on deep skin, where the saturated middle of the fade glows; on fair hands, paler sherbets keep it airy. For a warmer take on the gradient technique, the early fall nails guide breaks it down.
Jelly Pastel Glittered Tips

Jelly polish is having a real moment, and it suits Easter perfectly: a translucent, candy-like pastel that lets a bit of your nail show through, finished with a dusting of fine glitter at the tips. It is playful without being loud, the kind of set that catches the light at an egg hunt.
Jelly formulas are sheer, so they need building:
- Build the jelly pastel in three thin coats for that glassy, see-through depth.
- Add fine glitter only at the very tips, like a soft gradient, not all over.
- The translucent finish looks especially good on deeper skin, where the natural nail tone warms the jelly from underneath.
Sorbet Checkerboard Nails

Checkerboard went big a couple of seasons back, and the pastel version is how you keep it current for spring. Two soft sherbet shades in a small checker pattern feel retro and sweet rather than graphic and harsh. It is the most playful design here short of an actual bunny.
Keeping the Checker Clean
Scale matters. More than anything else here, in fact. A tiny, tight checker looks intentional and modern, while a big-square version can veer toward picnic-blanket. I usually keep the checker on one or two accent nails and leave the rest a solid sorbet so the hand does not get noisy.
Two pastels with a little contrast, like lilac and mint, read cleaner than two that are too close. On deep skin, slightly more saturated sorbets keep the pattern crisp; pale-on-pale can blur. For more pattern ideas, see duck nails.
Easter Ribbon Swirls

Swirls are the easiest freehand art to make look good, which is why I love them for Easter: pastel ribbon-like lines that curl across a milky base, no precision required. The slight wobble of a hand-drawn swirl is part of the charm. That forgiveness is exactly why this is a doable home look even if your lines are not perfectly even, as long as you have a steady-ish hand and a thin brush.
- Start with a milky or sheer base so the swirls have room to read.
- Use a thin liner brush and pull soft S-curves in two or three pastel shades.
- Vary which nails get swirls; an all-over swirl set is busier than a few accent nails. Saturated pastels keep the ribbons visible on deep skin.
Velvet Fuzzy Bunny Ears

This is the full-commitment Easter set, and I save it for clients who want maximum holiday: a plush velvet finish, made with a special flocking powder, sometimes shaped into tiny bunny ears on an accent nail. It is a novelty look, undeniably, but the velvet texture is really lovely up close and looks more luxe than you would expect.
Velvet sets are short-lived, so go in with expectations:
- The flocking powder is pressed into wet gel, so this is a salon-only finish.
- Velvet flattens with wear, so treat it as a one-event look, not a three-week set.
- The plush texture shows up beautifully on every skin tone, since it is all about the finish, not the color underneath.
Styling Tips for Easter Nails
A couple of things make Easter nails feel styled rather than costumey. First, restraint: pick one idea and commit, rather than putting a different motif on every finger. A whole hand of soft sherbet with one bunny accent always beats five competing designs. Second, match the finish to your week, glossy for a fresh just-done look, matte if you want it quieter, jelly or velvet only when you actually have an occasion to wear them to.
On budget and timing, a simple pastel gel set runs about $40 to $50, while detailed art like watercolor florals or velvet pushes $60 to $70 and adds salon time. Gel lasts two to three weeks, so booking the week before Easter carries the color comfortably through the holiday and into spring. If you want a deeper seasonal palette later in the year, the fall nails guide has the warm end of the spectrum.
Easter Nails, Answered
?What colors are best for Easter nails?
Soft pastels lead: lavender, milky pink, sherbet peach, sky blue, mint, and buttery neutrals. The key is keeping them soft rather than primary-bright, which is what makes them read spring instead of birthday-party.
?How do I do Easter nails without them looking childish?
Restraint is everything. Keep most nails a clean pastel and limit any motif, a bunny or flower, to one accent nail per hand. A simple line-drawing accent always looks more styled than a detailed, fully painted one.
?Which Easter nail looks flatter deeper skin tones?
Saturated sorbet shades, jelly finishes, and gilded gold accents all glow against deeper skin. Very pale, sheer pastels can wash out, so lean into richer, more pigmented versions of the same colors.
?How much do Easter nails cost and how long do they last?
A simple pastel gel set runs about $40 to $50, while detailed art like watercolor florals or velvet runs $60 to $70. Gel lasts two to three weeks, so booking the week before Easter carries the color through the holiday.
?Can I do Easter nails at home?
Some of them, yes. Sheer french tips, swirls, micro florals, and speckled neutrals are doable with a steady hand. Watercolor florals, ombres, and velvet finishes really need a salon and gel technique to look right.
Picking Your Easter Set
The throughline across all fourteen is restraint: Easter nails look best when the holiday is a whisper, not a shout. Whether you land on a sheer french, a milky bunny accent, or a melted sherbet ombre, pick one idea, choose pastels that suit your undertone, and let the finish set the mood.
If you take one thing away, let it be that subtle wins. Save this list, screenshot the two or three sets that caught your eye, and bring them to your next appointment so your tech can tailor the shade to your skin and the season.
Next Up