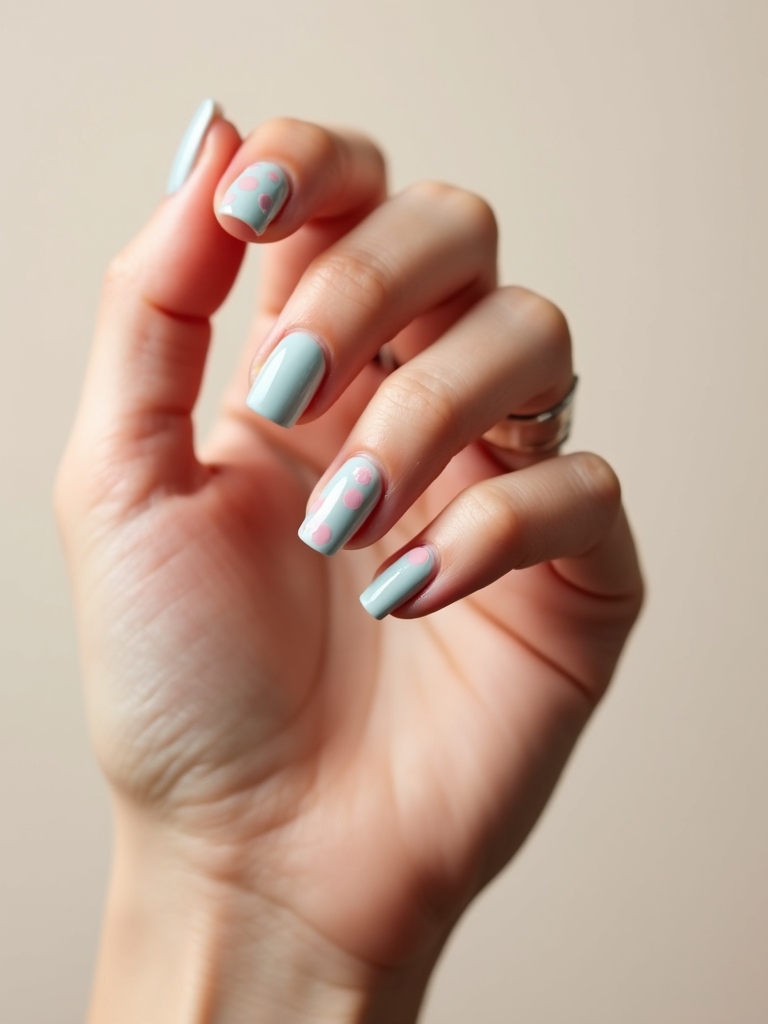
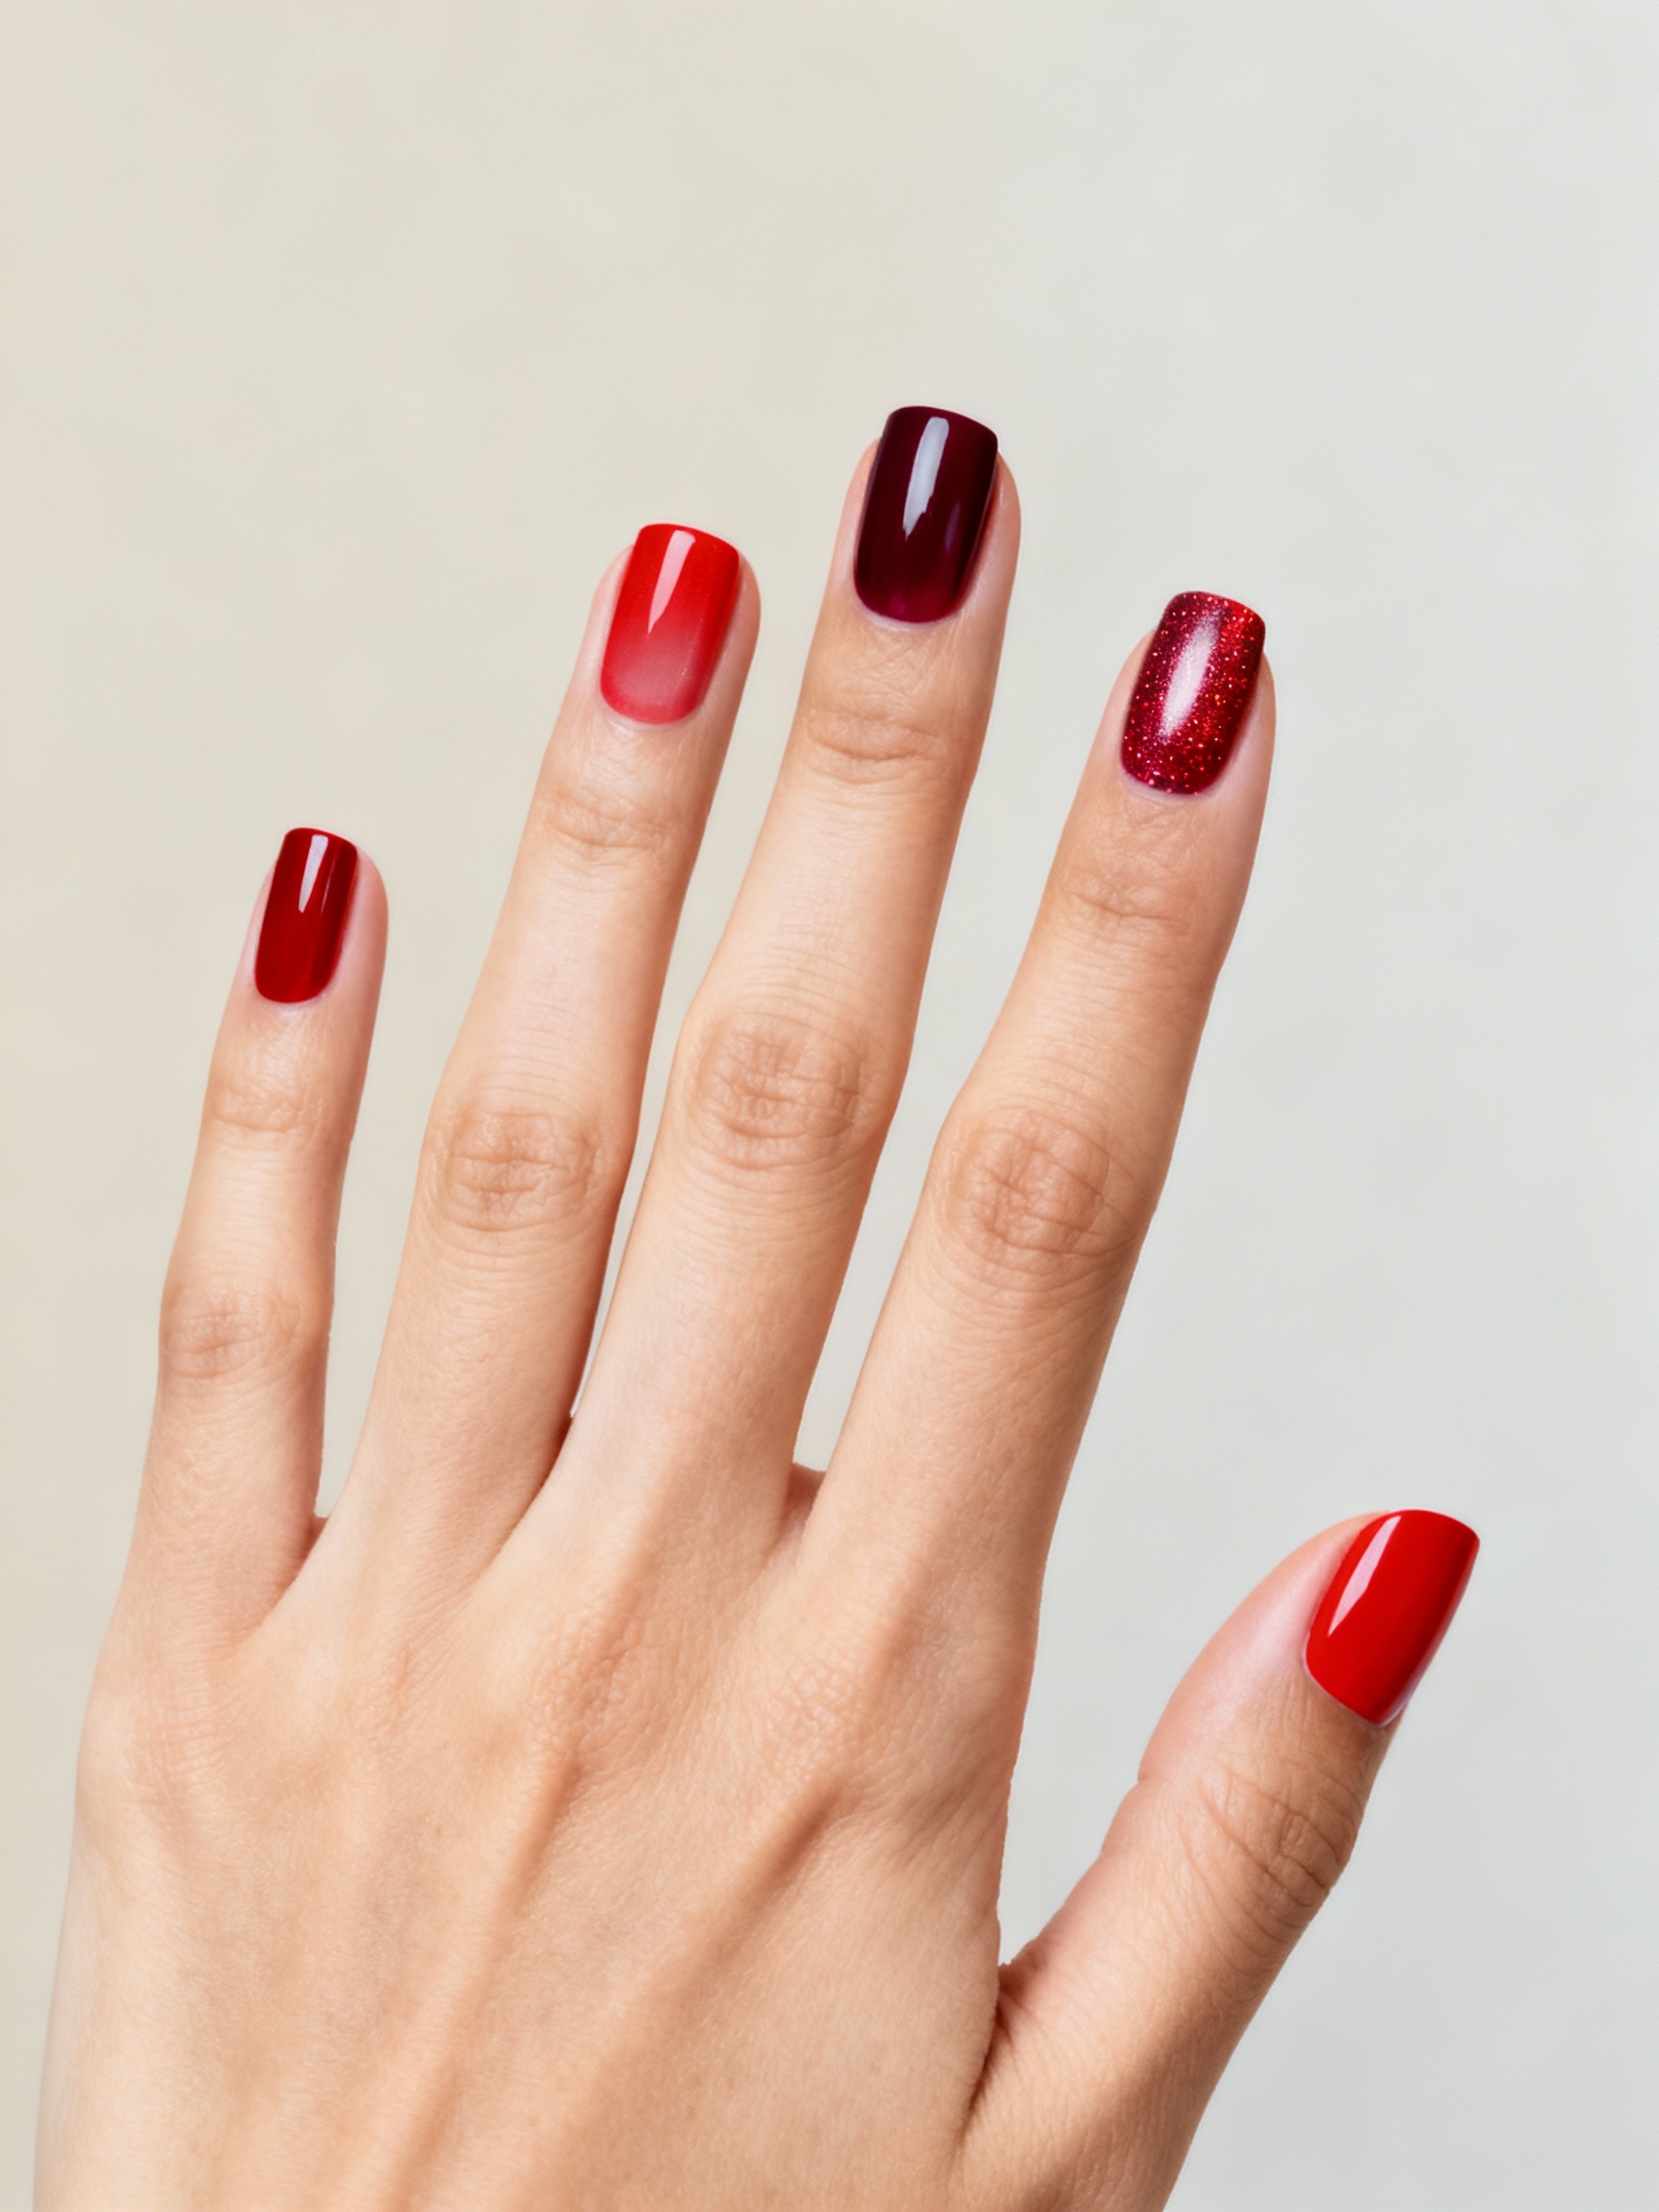
Disney Halloween nails are where two of the most fun things collide: the spooky season and a little movie nostalgia. These designs nod to the films we grew up on, the haunted rides, the villains, the fairies, but they stay grown-up and wearable rather than costume-y. Done well, they read as art with a wink rather than a kids’ party.
The fourteen looks below run from a subtle nod, like a candy-corn tip, to a full hand-painted scene. For each I will tell you how it comes together, how much is realistic at home versus the salon, and where to keep it simple, since some of these are real nail-art projects.
The Short Version
Disney Halloween nails work best as accents, not all ten fingers. A single hand-painted character or motif on one or two nails, with the rest in a coordinating solid or simple pattern, reads chic rather than crowded.
Be honest about the difficulty. Stripes, drips, swirls, and decals are doable at home; detailed character portraits and silhouettes really want a skilled nail tech. A gel set holds the art for two to three weeks and runs around $50 to $80 for detailed work.
Haunted Mansion Stripes

This look nods to the famous haunted-ride wallpaper, with its purple and black stripes and a hidden portrait. It is one of the easier scene-setting designs, since stripes are forgiving and the spooky charm comes from the color story rather than fine detail.
Build the haunted look like this:
- Use a striping brush to lay even purple and black vertical lines over a sheer base.
- Add a tiny portrait or a small bat decal on one accent nail if you want the hidden detail.
- Keep the rest of the hand in solid purple or black so the stripes stay the focus.

Enchanted Emerald Meets Poison

This pairs an enchanted emerald green with a poisoned purple for a witchy, potion-bottle color story that feels villainous in the best way. It is the most wearable design here, since it is really just two rich shades played against each other with no fine art required.
Alternate emerald and deep purple across the nails, or fade one into the other for a smoky, brewing effect, then seal high-gloss so they look like glass bottles.
Add a single gold accent nail if you want a touch of glamour. Both jewel tones glow against deep skin, and they read rich and moody on fair hands too. For more deep shades, the dark nails guide has plenty.
🅰️Decals and Stickers
Give you detailed character art with zero painting skill, quick and beginner-friendly. Best for portraits and fine detail you could not freehand.
🅱️Hand-Painted Art
Fully custom and more impressive, but needs a skilled hand and more time. Best for stripes, drips, and silhouettes, or a talented tech for full scenes.
Pumpkin Polka-Dot Minnie

This sweet design leans on the classic polka-dot-and-bow motif in autumn pumpkin tones, a gentle nod to a certain famous mouse without being too literal. It is cute rather than spooky, perfect if you want festive but not frightening.
Keeping the Dots Even
Paint an orange or cream base, then add black polka dots and a small bow shape on one or two accent nails.
Keep the dots evenly spaced and the bow simple. It is one of the more beginner-friendly designs, since dots are forgiving and a slightly wobbly one only adds to the hand-painted charm.
Black-and-White Swirls

Black-and-white S-swirls give a hypnotic, slightly eerie effect that nods to spellbound, spiraling magic. The monochrome palette keeps it chic and graphic rather than cartoonish, which makes it the most grown-up look here.
Get the swirls clean like this:
- Over a white base, draw loose black S-curves down each nail with a fine detail brush.
- Keep the swirls flowing and slightly irregular so they look hand-done, not stamped.
- Seal glossy for a sharp finish. It suits every skin tone and grows out more gracefully than a busy scene.
A few nail-art terms, decoded:
📖Silhouette
A solid black outline of a shape or character, simpler and more forgiving than a detailed portrait.
📖Water-slide decal
A thin printed transfer you slide onto the nail for detailed art with no painting.
📖Striping brush
A long, thin brush for clean lines like stripes, webs, and drips.
📖Accent nail
One or two feature nails carrying the design, with the rest kept simple.
Candy Corn Decals

If freehand art intimidates you, decals are the shortcut, and candy-corn or character decals give you a detailed festive look with zero painting skill. It is the lowest-effort design here and the most beginner-friendly. Apply them like this:
- Paint and cure your base color first, whether a solid or a simple gradient.
- Place water-slide or sticker decals where you want them, smoothing out any bubbles.
- Seal the whole nail with a thick gloss so the decal edges do not lift or catch.
Tinker Bell Glow Accents

This look captures a fairy’s glow with luminous green shimmer and a scatter of gold fairy-dust. It is a magical rather than spooky take, and the one I suggest when a client wants charm without fright. Whimsical and pretty, it never tips into anything scary.
Trailing the Fairy Dust
Build a shimmery green base, then dust fine gold glitter from the cuticle outward so it looks like trailing fairy dust.
Add a tiny wing or star on one accent nail if you want the detail. The green-and-gold sparkle glows on every skin tone and looks especially luminous against deep skin.
Pro Tip
Keep character art to one or two accent nails and the rest of the hand simple. A full ten fingers of detailed scenes looks crowded and busy, while a single hand-painted nail against coordinating solids reads intentional and chic. Restraint is what keeps themed nails grown-up.
Velvet Spellbook Silhouettes

This nods to a trio of famous witchy sisters with simple black silhouettes against a velvet-matte base, all moody storybook charm. The silhouette style is more forgiving than a detailed portrait, since you are painting a shape rather than a face.
- Lay a deep purple or green velvet-matte base across the nails.
- Paint simple black silhouettes, a pointed hat, a broom, a cat, on one or two accent nails.
- A silhouette reads clearly even when simplified, so keep the shapes bold and uncluttered.
Poison Apple Drip

The poison-apple drip is one I love to do, a glossy blood-red dripping down from the tip over a dark base, like venom running off a cursed apple. It is dramatic and a little vampy. The drips are forgiving, too, since they are meant to look uneven and run at different lengths down each nail.
Shaping the Drips
Over a black or deep base, paint uneven glossy-red drips falling from the tips with a detail brush, varying the lengths.
Layer a thick glossy top coat so the red looks wet and venomous. The deep-red-on-black contrast looks striking on every skin tone. The french tip nails guide has more tip-focused ideas.
Good to Know
Decals have come a long way and now rival hand-painting for detail. If you love a complicated character but cannot paint, a good water-slide decal sealed under gloss looks polished and lasts the life of the set, which is why even pros reach for them on intricate designs.
Pumpkin-Ear Spiderweb Tips

This combines a delicate spiderweb with a glittered tip and a little pumpkin-ear nod, festive and sparkly at once. The web looks intricate but is truly simple once you know the trick of it. Build it like this:
- Paint a glittered or orange tip, then add fine black web lines radiating from one corner.
- Connect the radiating lines with small curved arcs to form the web.
- Keep the web on one or two nails so it stays delicate, and seal glossy to lock the glitter.
Celestial Spooky Mickey

This pairs the instantly recognizable three-circle mouse shape with a celestial, star-dusted night-sky base for a dreamy, slightly spooky effect. The familiar silhouette keeps it playful while the celestial background keeps it grown-up.
A few pointers to keep it chic:
- Over a deep navy or black base, scatter tiny gold or silver stars across all nails.
- Add the simple three-circle silhouette on one accent nail in black or gold.
- Keep the silhouette small and the stars sparse so it reads celestial, not crowded.
Neon Oogie Boogie

This leans bright and playful, with neon green and little skeleton or burlap-sack motifs that nod to a certain singing villain. The neon palette makes it fun and a touch creepy at once, perfect for a Halloween party rather than the office.
- Use neon green polish, or a glow-in-the-dark top coat, for that eerie, electric base.
- Add simple black stitching lines or a small skeleton on one accent nail.
- Neon greens pop hard against deep skin; on fair hands, a slightly deeper neon reads less harsh. Keep the motifs to one or two nails.
Vampiric French Tips

The vampiric French swaps the classic white tip for a deep blood-red or black, sometimes with a tiny dripping detail. It is the most wearable spooky look here, and the one I book most for October clients who still have to go to work. It keeps the elegance of a French while turning it gothic, which makes it office-appropriate even in October.
Paint a crisp deep-red or black tip over a sheer base, keeping the line clean with a guide if you need it.
Add a small drip from one tip if you want the vampire nod, or leave it clean for pure elegance. The deep tip flatters every skin tone and grows out gracefully, with no harsh regrowth line.
Pearly Tentacles on Lavender

This nods to a certain sea villain with pearly tentacle swirls over a soft lavender base, dramatic but pretty rather than scary. The pearly finish keeps it elegant, and the curling tentacle shapes are forgiving since they are meant to flow.
Get the tentacles right like this:
- Over a lavender base, paint curling tentacle swirls in a deeper purple or pearly white.
- Add tiny dots along the tentacles to suggest suckers, keeping them delicate.
- Seal with a pearly or glossy top coat. The soft lavender flatters every skin tone, leaning a touch deeper on rich skin.
Twilight Haunted Castle

This is the most ambitious design here. A haunted castle silhouette sits against a twilight gradient sky, the kind of scene that turns heads, and I will be honest that it is the one I send clients to my most detail-focused colleague for. It is truly a nail-art project, so it is the one I would book a skilled tech for rather than attempting freehand at home.
The base is a twilight gradient, deep purple fading to orange, with a black castle silhouette and a tiny moon on the focal nail.
Keep the castle to one or two accent nails and the rest a solid twilight shade, since a full hand of scenery overwhelms. This is the design where paying for a talented tech truly pays off. For more polished sets, the classy nails guide has plenty.
How to Ask Your Stylist
Character nail art lives or dies on communication, so bring a clear reference photo rather than describing it, since what you picture and what your tech imagines can be very different.
Point out exactly which nails you want detailed, because most of these look best with the art on one or two accent nails and the rest kept simple. Ask honestly whether the design suits their skill set, and look at their portfolio for fine line work before booking a detailed scene.
Be realistic about time and budget too. Decals, stripes, and drips are quick and cheap, but a hand-painted castle or silhouette can take an hour and push a set toward $60 to $90. A gel finish is worth it for the art, since it holds the detail for two to three weeks without chipping the painting. If you are doing it at home, start with the decals and the simple two-color designs, and save the freehand scenes for when your hand is steady and confident.
A Little Movie Magic for October
Disney Halloween nails are proof that festive does not have to mean childish. Whether you go for a subtle vampiric French or a full twilight castle, keeping the art to accent nails and the palette grown-up turns movie nostalgia into something truly chic for the season.
Start with the design that matches your skill and your patience, decals and two-color looks for a quick festive moment, a booked tech for the painted scenes. Bring a clear photo, keep it to one or two feature nails, and you will have a little movie magic at your fingertips all October.
More Hair Ideas