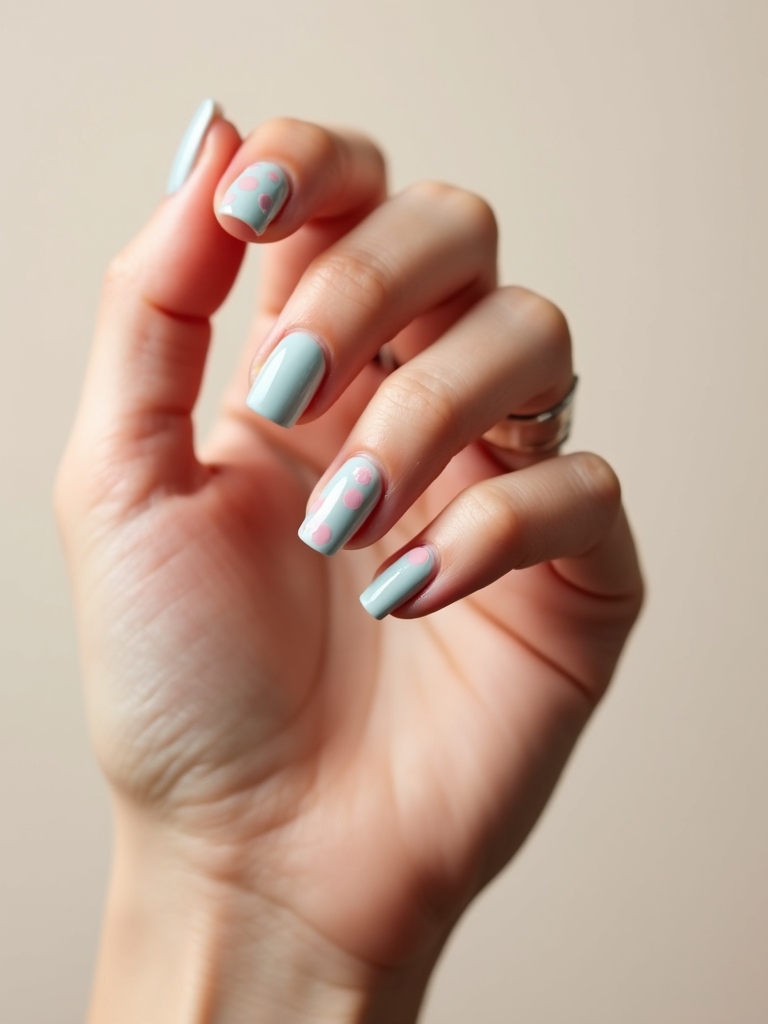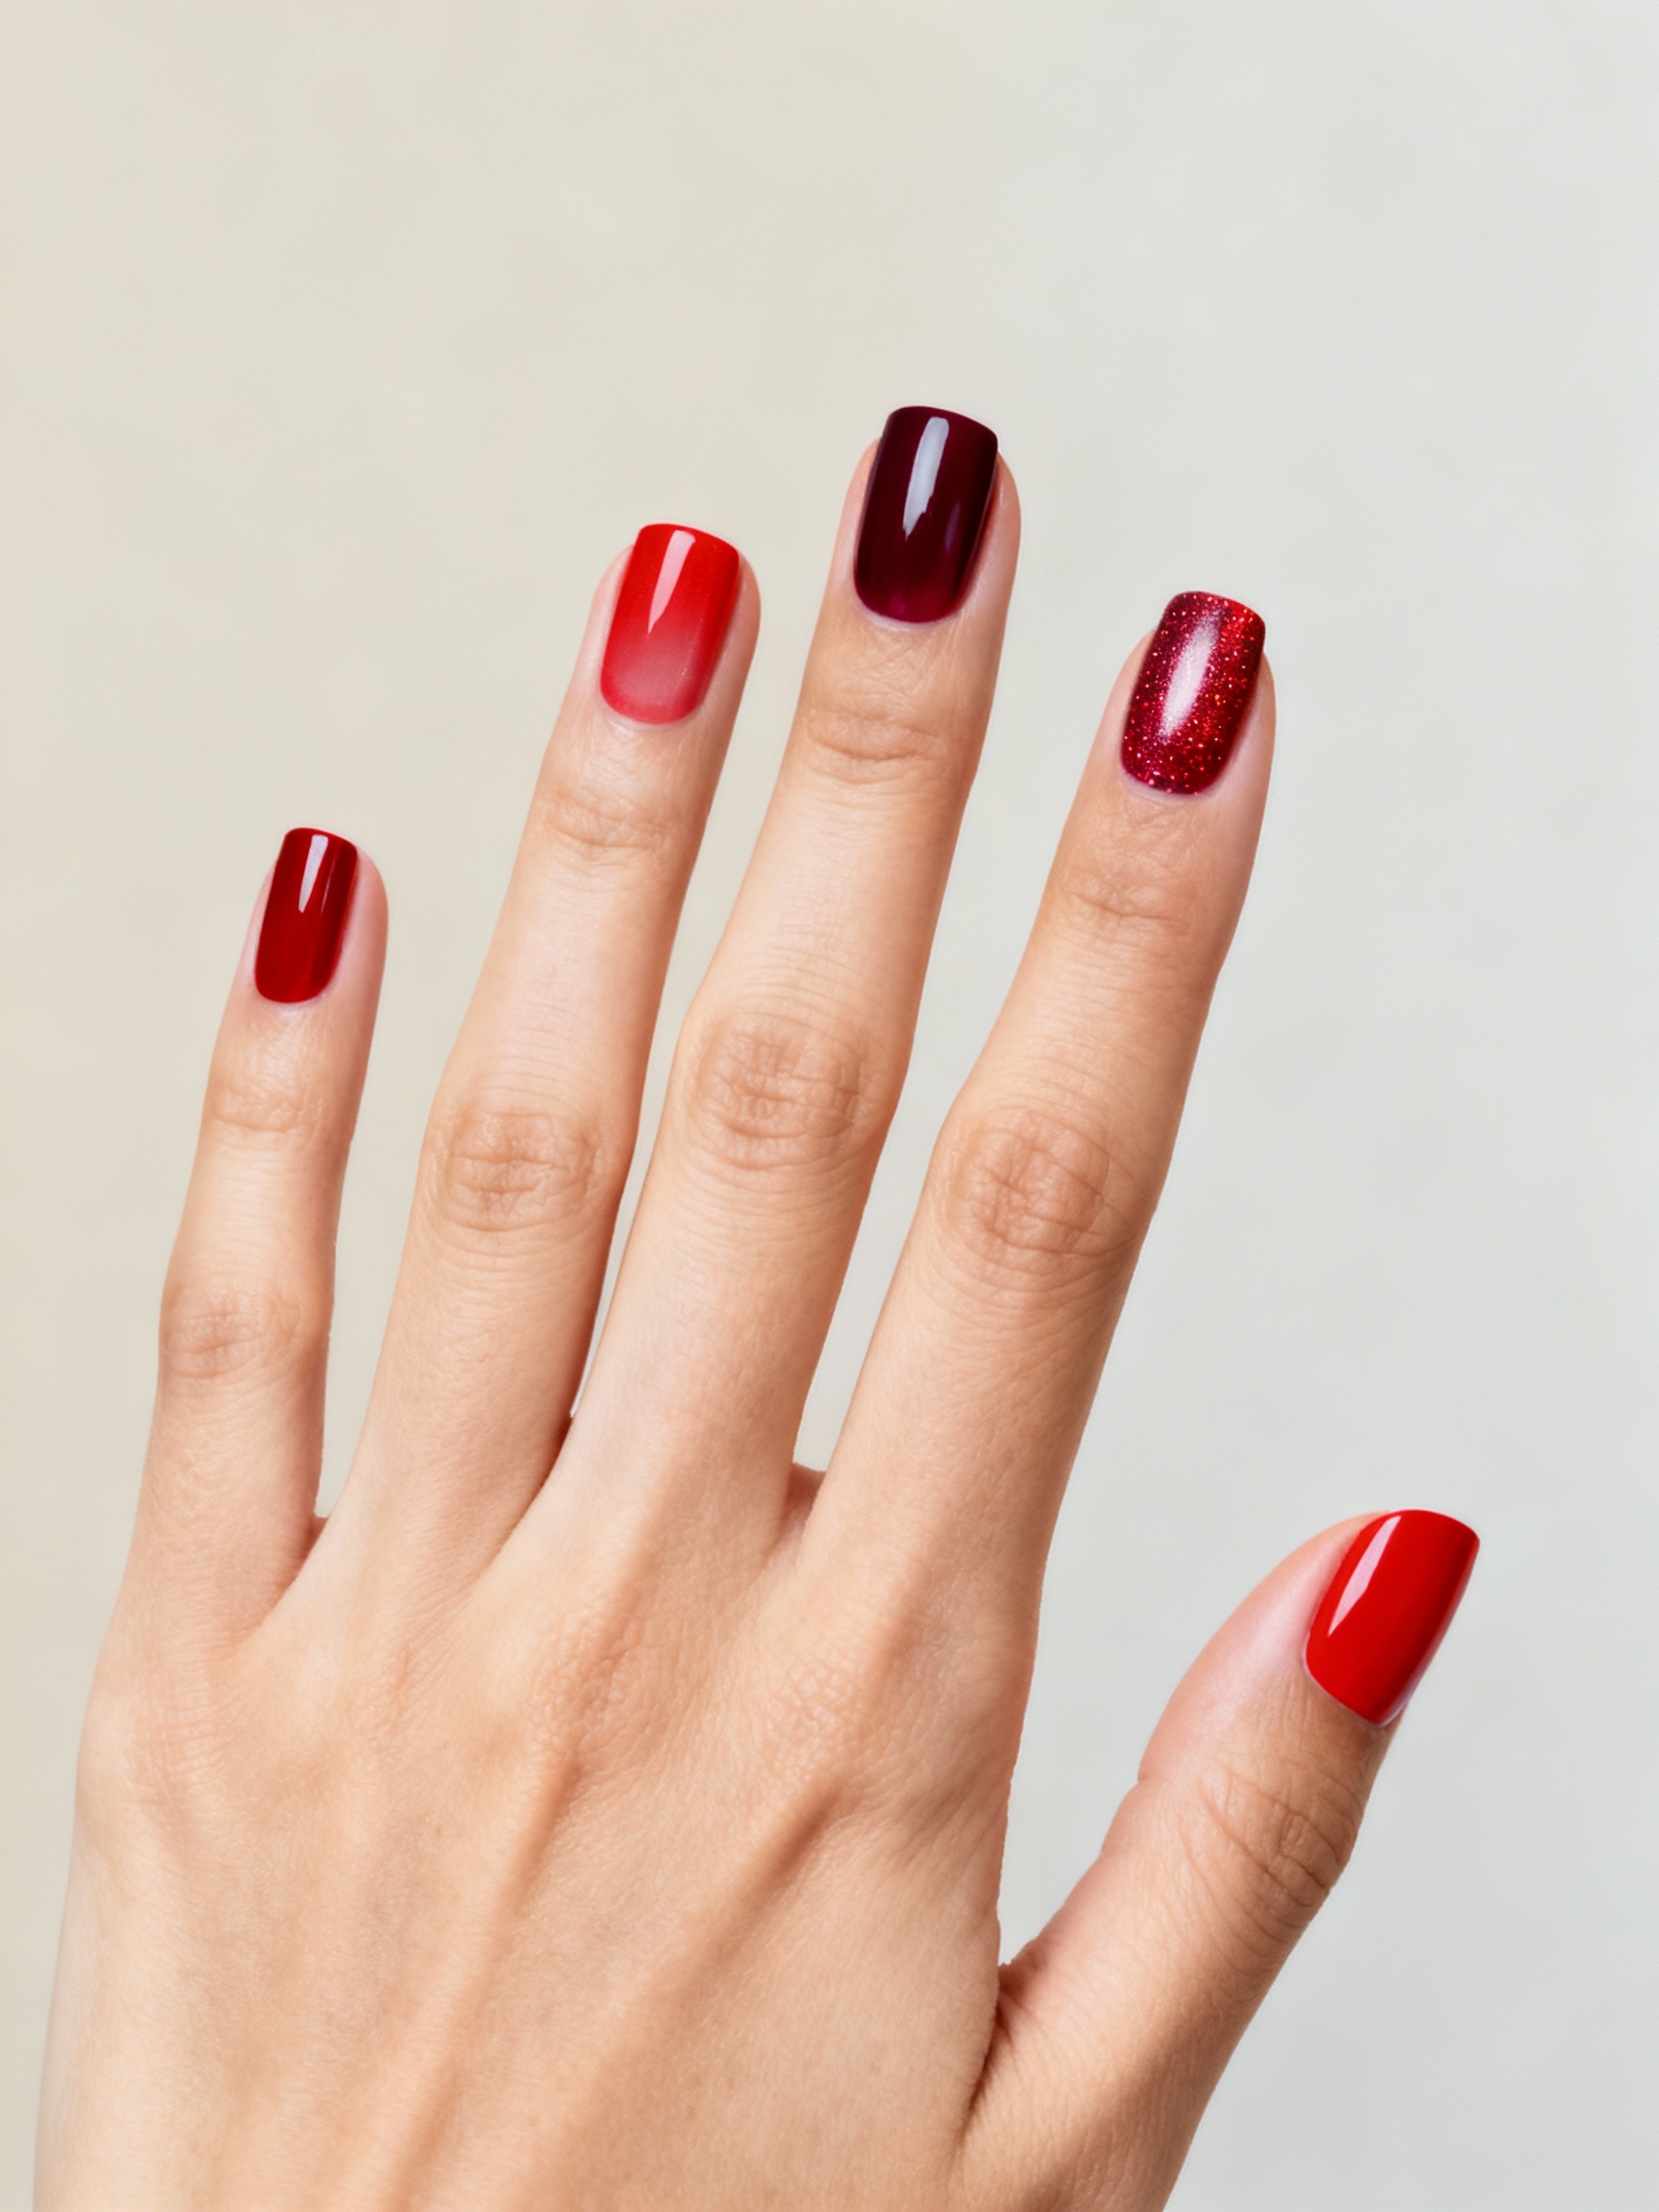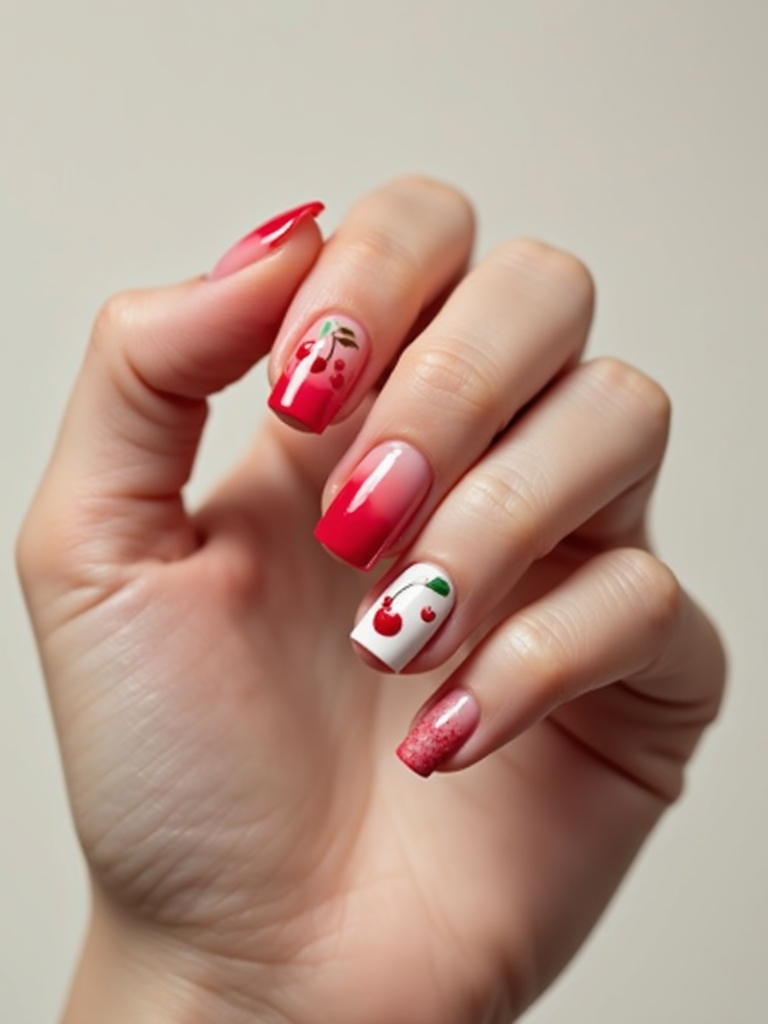
Cherry nails are the rare fruit manicure that never looks juvenile, and the reason is the cherry itself: two round berries, a thin curved stem, one little leaf. That simple shape sits somewhere between retro pin-up and modern minimalism, which is why it works on a teenager and a CEO alike.
Get the stem right, a single confident curve drawn in one smooth motion from the berries up toward the cuticle, and absolutely everything else about the design falls into place around it.
These thirteen designs run from a sheer-pink classic to chrome, gingham, and gilded baroque, so there is a cherry for every mood and skill level. For each one I tell you the base that flatters it, where to place the fruit, and how it holds up day to day. Find the pair that suits your week.
Cherry Nail Basics
- The stem makes or breaks it: one thin, confident curve, not a thick scribble.
- Two cherries on a couple of accent nails reads chicer than fruit on all ten.
- A glossy topcoat is non-negotiable; cherries want that wet, plump shine to look ripe.
Classic Red Cherries on Sheer Pink

This is the cherry nail everyone pictures. It is the one I paint most. A barely-there sheer pink base lets two glossy red cherries pop without the nail looking crowded, so it stays delicate and grown-up. The sheer base helps it last, too, since regrowth barely shows against it.
It suits any nail length and almost every skin tone, which is why I paint it most when a client wants something sweet but office-safe. Keep the fruit to a couple of nails and let the rest stay clean pink.
- Lay one or two sheer pink coats for a milky, even base.
- Paint two red dots close together, then a single curved stem up to the cuticle.
- Add a tiny green leaf and seal with a high-gloss topcoat for ripeness.

Tiny Cherry Accents on Short Nails

Short nails can absolutely do cherries; you just shrink the fruit. A single pair of micro-cherries near the tip of one or two nails gives you the whole playful effect without overwhelming a small nail bed.
This is the version I hand to anyone who keeps their nails short for work or a hands-on life. It looks intentional and neat rather than cramped, and it grows out gracefully.
Use a fine dotting tool or the tip of a bobby pin to keep the berries tiny and even. On a short nail, restraint is what keeps the look polished rather than busy.
Ninety percent of a good cherry nail is the stem. One thin, confident curve looks ripe and intentional; a thick or hesitant line makes the whole fruit look flat.
French Tips With Cherry Clusters

Take a clean French manicure and drop a little cherry cluster at the base or corner, and you get a look that is polished from afar and playful up close. It is a clever way to wear fruit nails to somewhere semi-formal, since the French keeps it grown-up.
Keep the French line thin and modern, then add the cherries to just one or two nails so they read as a small, playful wink. These pair beautifully with the soft pinks you would use for french tip nails.
Retro Gingham and Cherry Combo

For full vintage charm, pair cherries with a red-and-white gingham print for a look that feels straight off a 1950s picnic blanket. The gingham nails and cherry nails play off each other, one busy and one simple, so the set stays balanced.
It is bold and nostalgic. Think summer, rockabilly, a themed party. Keeping the gingham crisp is the hard part, and it takes either a very steady hand or a thin striping brush worked slowly across each tiny square.
- Paint a couple of nails in a fine red gingham grid over white.
- Keep the cherry nails simple so they balance the busy gingham.
- Tie it together with a shared cream or white base across all nails.
A couple of terms used here:
📖Negative space
Bare, unpainted nail left as part of the design for a modern, airy look
📖Jelly charm
A translucent, domed 3D embellishment that sits raised off the nail
Glossy 3D Jelly Cherry Charms
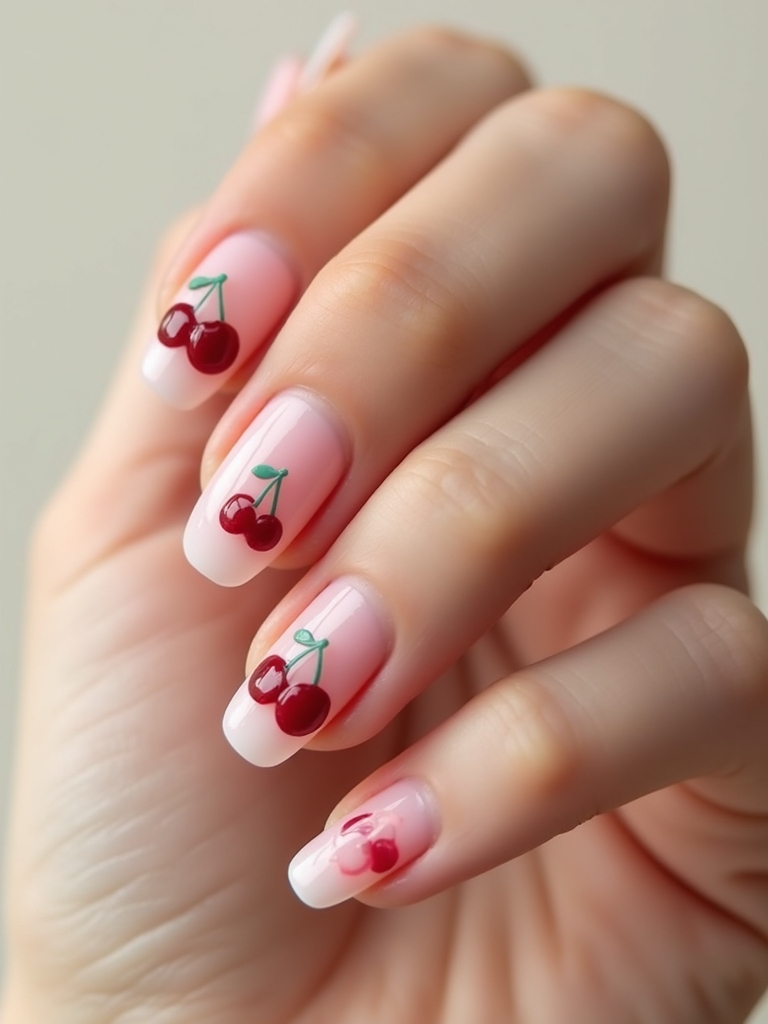
When you want maximum cuteness, 3D jelly cherry charms sit raised off the nail like tiny gummy fruits. The translucent, domed charms catch the light and add real texture, turning a flat mani into something playful and dimensional.
Be honest about your hands, though, since raised charms snag on hair and pockets. They suit a special weekend or an event more than a typing-all-day week, so save them for when you can baby them a little.
- Choose translucent jelly charms for a juicy, gummy-fruit look.
- Set them in plenty of gel so they actually stay put.
- Keep the base simple so the 3D fruit stays the star.
Minimalist Outline Cherry Art
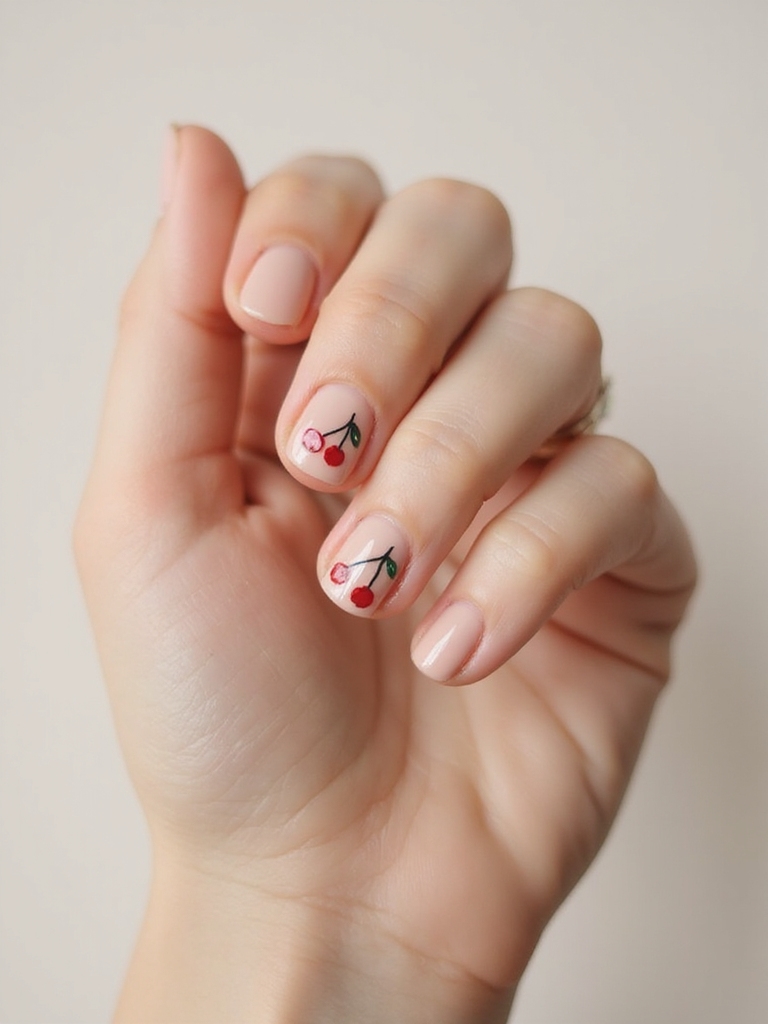
The most modern cherry is drawn in a single fine line, no fill, like a quick sketch on bare nail. It is chic and understated. Very of-the-moment, too, the kind of thing you see on the fashion crowd.
Drawing a Clean Outline
Because there is no solid red to get perfect, this version is surprisingly forgiving for a shaky hand. The whole look lives on one clean line and plenty of negative space.
Use a thin detail brush or a fine gel pen and commit to each stroke in one pass. Hesitation shows; a confident line reads as deliberate even if it wobbles slightly.
Which cherry suits your week?
1Office or everyday
Sheer-pink classic, micro-cherries, or a negative-space stem
2Night out or event
Chrome red, inky tips, 3D jelly charms, or baroque gold
Negative-Space Cherry Stems
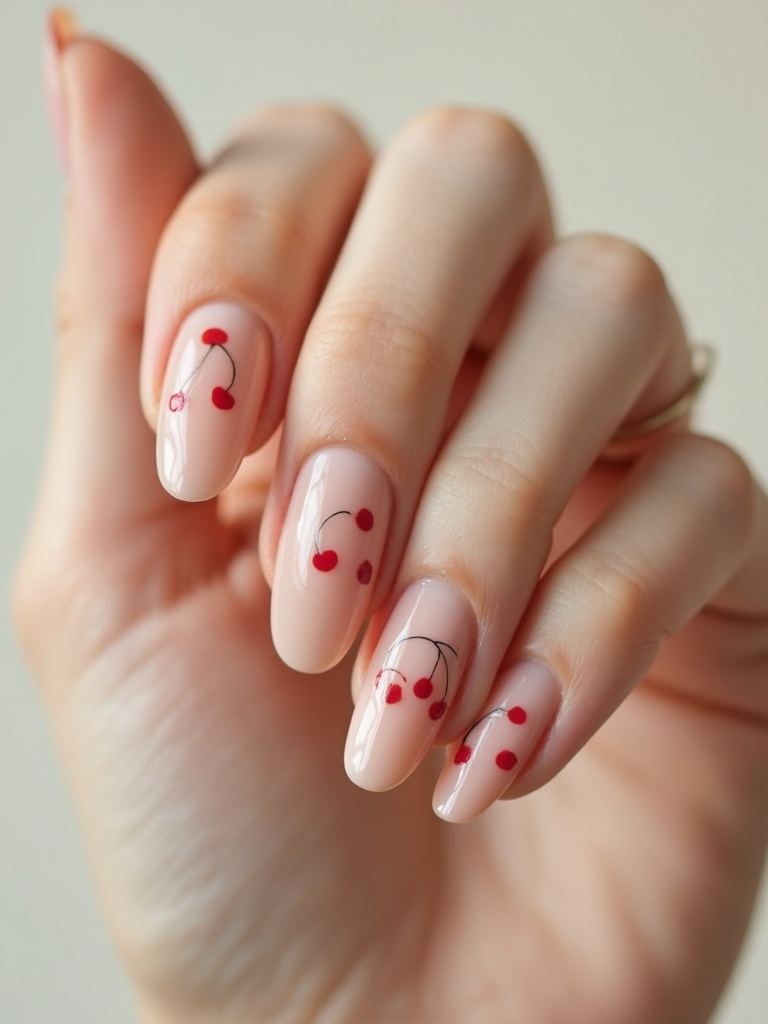
This design leaves most of the nail bare and lets a single cherry on a long curving stem do all the work, trailing from the cuticle toward the tip. It is graphic and gallery-like, the most editorial cherry on this list.
All that bare nail is doing the work, so leave it alone and trust the space. One well-placed cherry against clean nail reads far more expensive than a crowded design ever could.
- Leave the nail bare or barely tinted as the background.
- Paint one long, graceful stem curving up the nail.
- Anchor it with a single pair of cherries near the cuticle.
Glossy Chrome Red Cherries

Swap the sheer base for a mirror chrome red and the whole mani turns high-shine and modern. The chrome makes the nail look like polished candy, with the painted cherries sitting glossy on top.
Layering Chrome and Art
It is a bolder, going-out take that still keeps the playful fruit motif. The reflective finish photographs beautifully under any light.
Apply a mirror-red chrome over your cured base, then paint the cherries last in a slightly deeper red so the fruit reads against all that shine. If you love the finish, our chrome nails guide goes deeper on it.
🅰️Painted cherries
Flat, flexible, and office-friendly; lasts the full gel set
🅱️3D jelly charms
Cute and dimensional, but they snag and suit short-term wear
Sherbet Ombre With Cherries

Lay cherries over a soft sherbet gradient and the look turns sweet and summery, like fruit sorbet in a glass. A wash from peach to pink or coral to cream gives the cherries a dreamy backdrop.
Blending the Gradient
The gradient is gentler to achieve than it looks. A makeup sponge dabbed with two soft shades and pressed onto the nail blends them, then the cherries go on once it dries.
Keep the fruit sparse here so it floats over the gradient instead of fighting it. This is the cherry for someone who finds a stark red base too loud.
Inky Black Tips With Cherries

For an edgier cherry, swap the white French tip for inky black and let red cherries pop against it. The high contrast of black, white, and red is striking and a little rockabilly, perfect for someone who wants fruit nails with attitude.
- Paint a crisp black tip over a clean or sheer base.
- Add bright red cherries near the tip where they meet the black.
- Finish glossy so the black stays deep and the red stays vivid.
Sheer Glitter With Cherries

A sheer glitter base adds a soft sparkle under the cherries without overwhelming them. The fine shimmer catches the light around the fruit, giving the whole mani a festive, celebratory feel.
Choosing the Right Glitter
It is a lovely option for a party or the holidays, when you want a little extra shine. The key is fine, sheer glitter, since chunky flakes would bury the cherries.
Lay one coat of a sheer glitter polish over your base, then paint the cherries on top so they sit clean and crisp above the sparkle. A glossy topcoat smooths it all together.
Cherry Vines on Almond Nails

Almond nails give cherries room to trail, so a delicate vine of small cherries and leaves winding up the nail looks elegant and organic. The elongated shape stretches the design and flatters the fingers at the same time.
Keeping the Vine Natural
This is a more intricate, romantic take that suits longer nails especially well. The vine should look natural and a little asymmetrical, with uneven spacing.
Paint a fine green vine first, then add small cherry pairs and leaves along it. The almond shape and trailing vine together feel soft and feminine, much like these almond nails dressed up with fruit.
Baroque Gold Cherry Mani
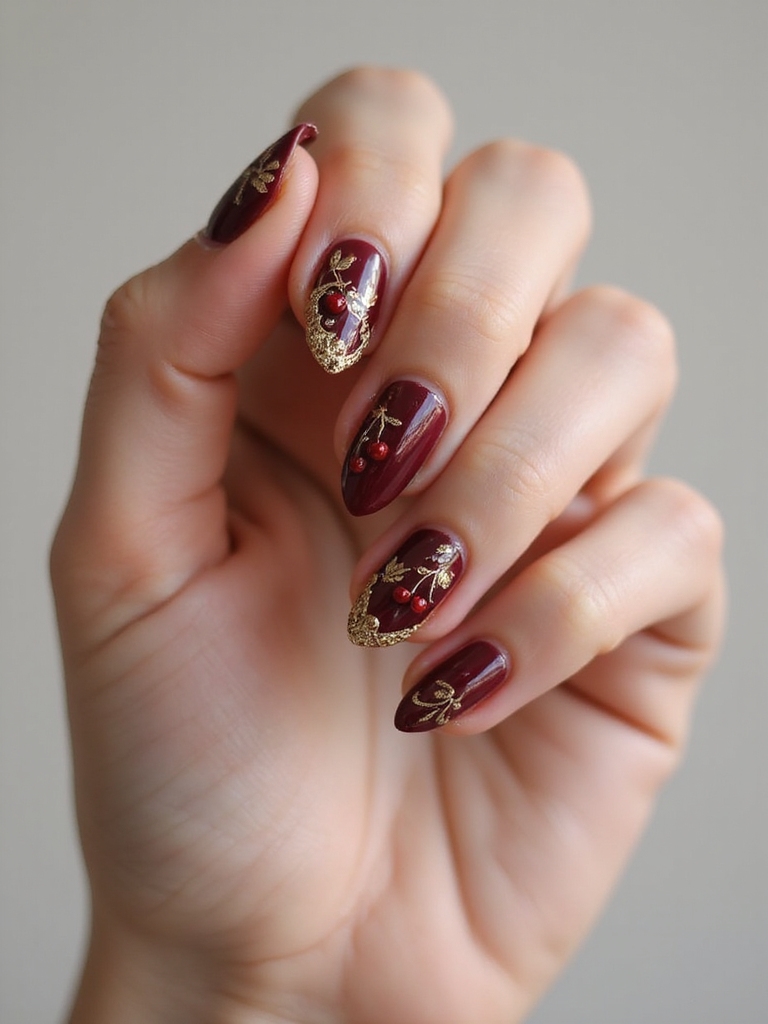
The most luxe cherry pairs the fruit with ornate gold filigree for an opulent, almost royal finish. Gold scrollwork framing the cherries lifts the playful motif into something rich and grown-up.
Adding the Gold Detail
It is the cherry for an event. Striking, unexpected, and high-fashion rather than cute, it is the version that makes people lean in to look closer at your hands across a crowded room. The gold does the lifting while the cherries keep it from feeling too serious.
Use a fine gold liner or a few flecks of gold leaf for the scrollwork, kept delicate so it frames the cherries. Pair it with a deep red or cream base for the richest effect.
Who It Suits Best
Cherry nails really do suit everyone, because the motif scales to any nail length and any vibe. Short, practical nails take a single micro-cherry near the tip; long almond and coffin nails carry trailing vines and baroque gold.
Sheer-pink classics flatter conservative settings, while chrome, gingham, and inky-black versions bring attitude for a night out. A hand-painted set holds the full 2 to 3 weeks of a normal gel manicure, and a salon set runs around $35 to $55, plus the 20 to 40 minutes of art time on top of a base manicure.
If you want to wear them everyday, lean on the sheer or negative-space versions, since they hide regrowth and stay subtle. Save the 3D jelly charms and gold baroque for weekends you can baby them. For more playful sets to pair or rotate with, our butterfly nails and bright red nails guides cover the same fun, fruity-bright territory.
Cherry Nail Questions People Ask
?How do I paint cherry nails so they look good?
Paint two red dots close together, add a small leaf, and seal with a glossy topcoat for that ripe shine. Keep the fruit to a couple of nails so it reads chic rather than crowded.
?Can short nails do cherry designs?
Yes. Scale the fruit down to micro-cherries near the tip of one or two nails. Short nails look neat and intentional with small cherries, and the design grows out gracefully.
?How long do cherry nails last?
Hand-painted cherries over gel last about 2 to 3 weeks, the same as any gel set. The art rarely fails first; what shortens a set is skipping cuticle oil and peeling the gel instead of a proper soak-off.
Pick Your Pair of Cherries
From a single sheer-pink pair to gilded baroque vines, cherry nails stay playful without ever crossing into childish, as long as you keep that stem clean and the placement restrained. The motif is forgiving enough for a first attempt and rich enough to go full glam, which is rare for a fruit design.
Match the look to where you are headed, practice the stem on one nail first, and add chrome, glitter, or charms only as far as the occasion calls for. A good pair of cherries is the kind of small, happy detail people notice all day.
More to Explore