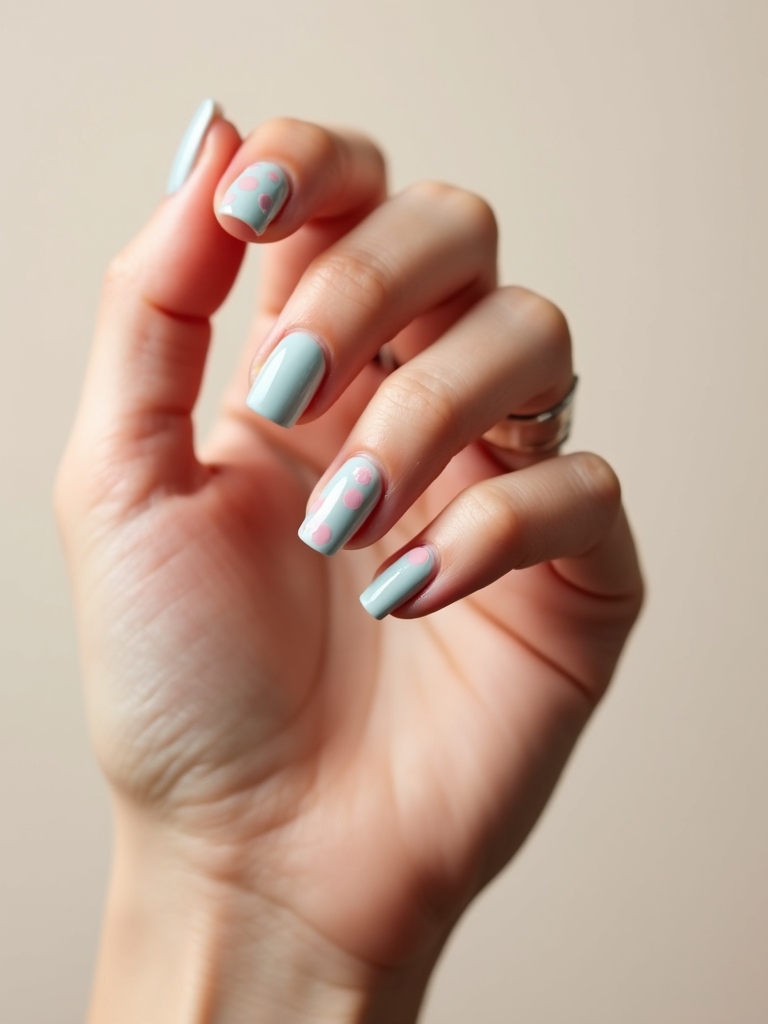
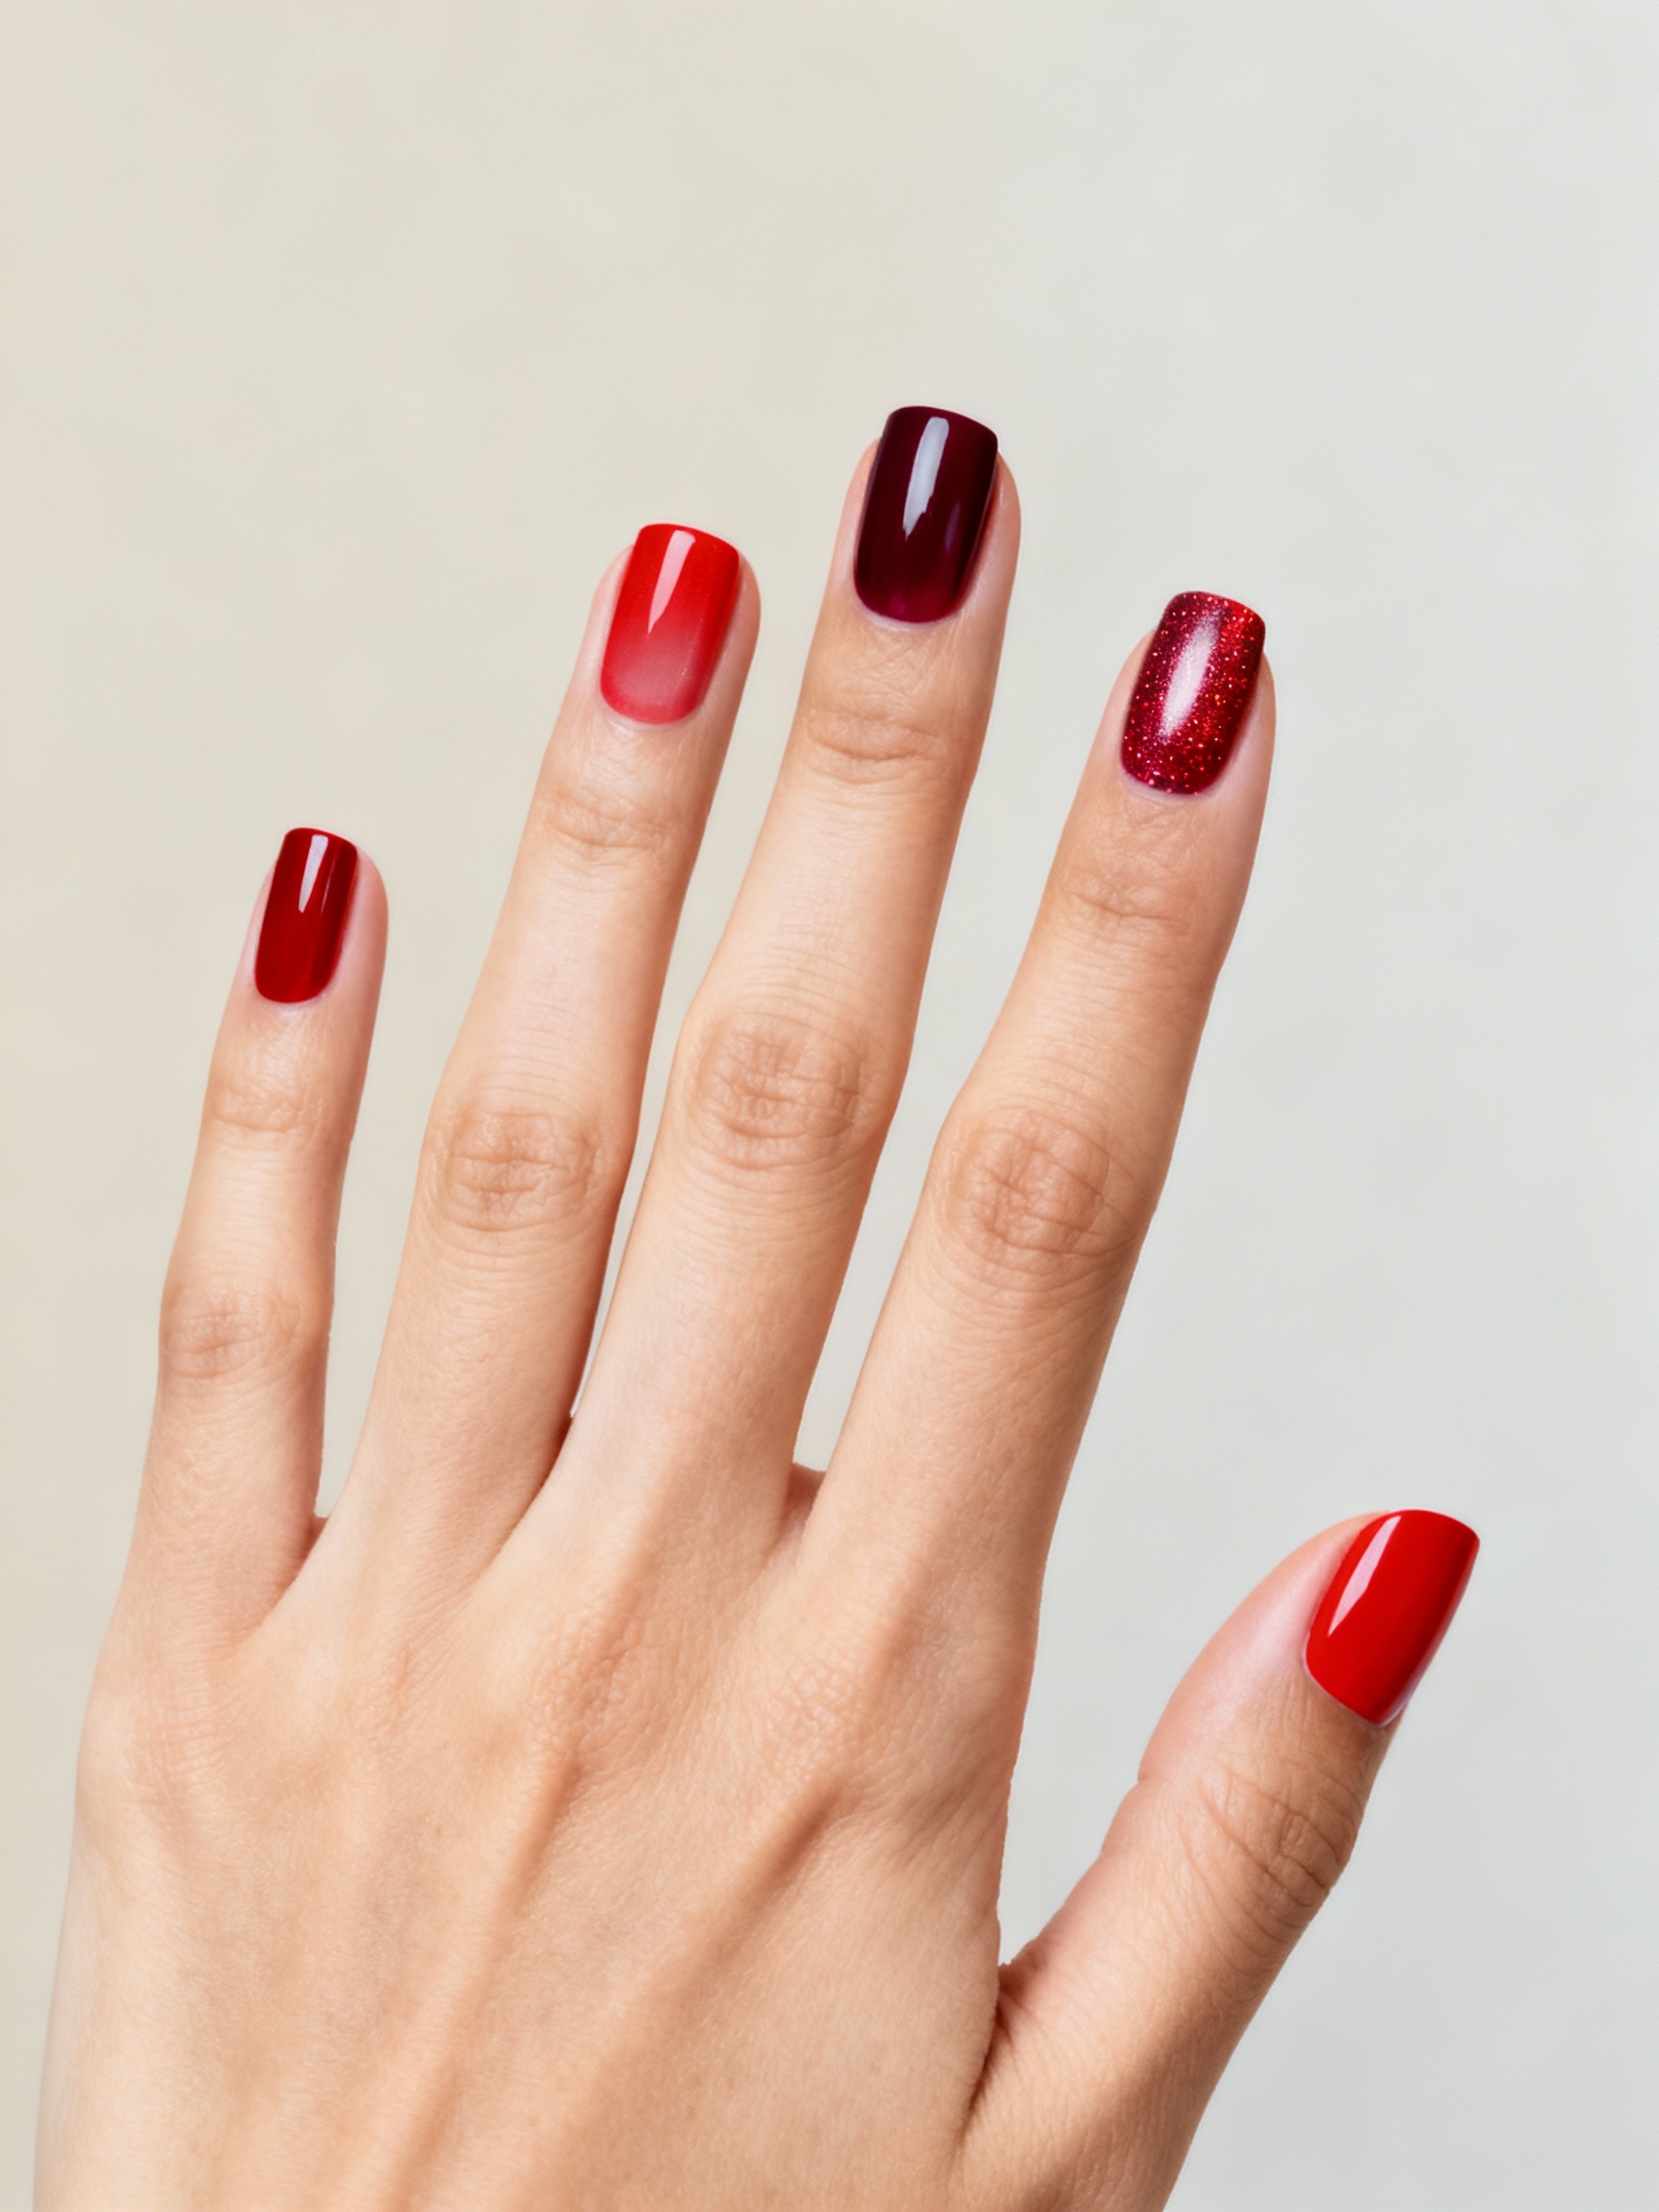
There is a particular satisfaction to a dotting tool dragging through wet black polish, the tiny tug as a cobweb line pulls thin and even. Halloween nails are the most forgiving nail art there is: spooky looks good a little wonky, a wobbly web reads as charm, and a slightly crooked spider just looks like it is scuttling. You do not need a steady surgeon’s hand here.
There are fourteen here, ordered from truly two-minute to worth-a-coffee-break, and almost every one works over polish you already own with a single fine brush or dotting tool. Each entry names the tool to reach for and the step that keeps it from looking like a kid did it on the bus.
The Quick Version
- Most of these need only black and white polish plus a dotting tool or a thin brush.
- The fastest, cobwebs or tiny spiders, take two minutes; the detailed ones take twenty.
- Spooky is forgiving, so slightly imperfect webs, drips, and dots all look intentional.
- A glossy top coat is the single step that lifts DIY Halloween nails from craft project to done.
Glossy Black Cobwebs
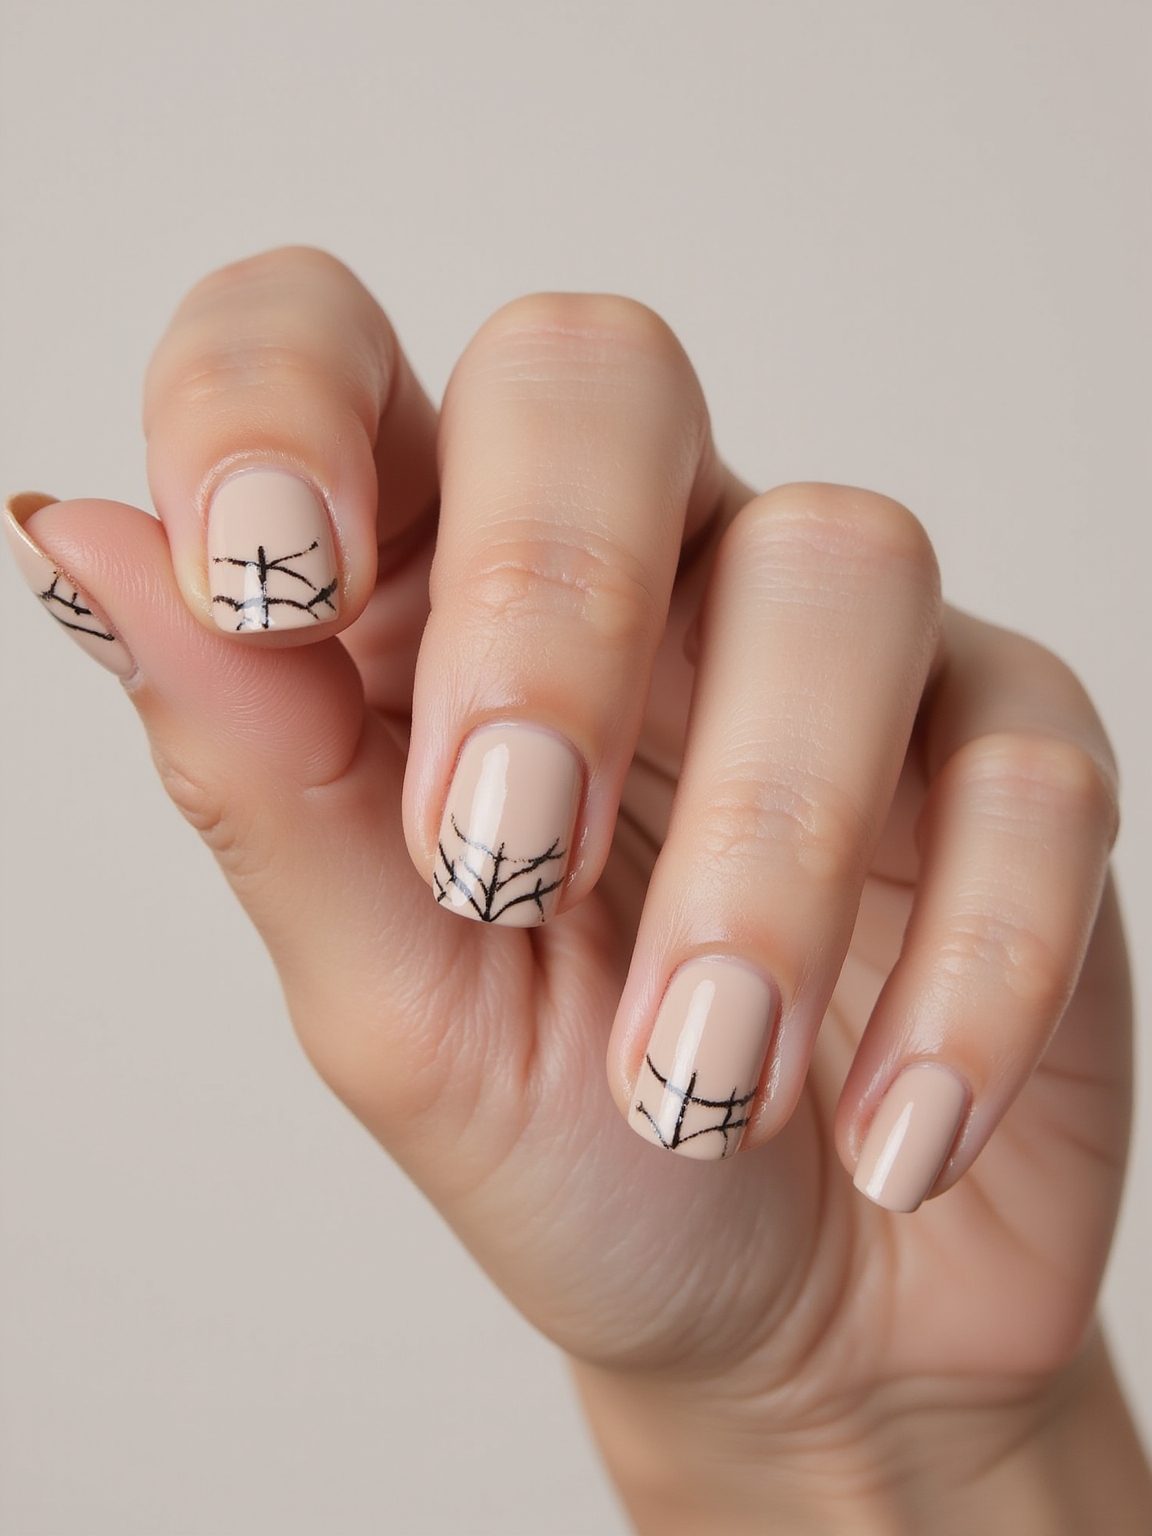
Cobwebs are the fastest real Halloween nail there is, and the one I start every beginner on. A few thin black lines crossed by connecting arcs read instantly as a web, and the wobblier they are, the more convincingly spidery.
- Over a sheer or black base, draw a corner anchor and pull three or four thin lines out from it.
- Connect them with small curved arcs, like a real web sagging between threads.
- Seal with a glossy top coat so the fine lines look crisp, not chalky. The french tip nails guide covers thin-line control.

Candy Corn Striped Tips
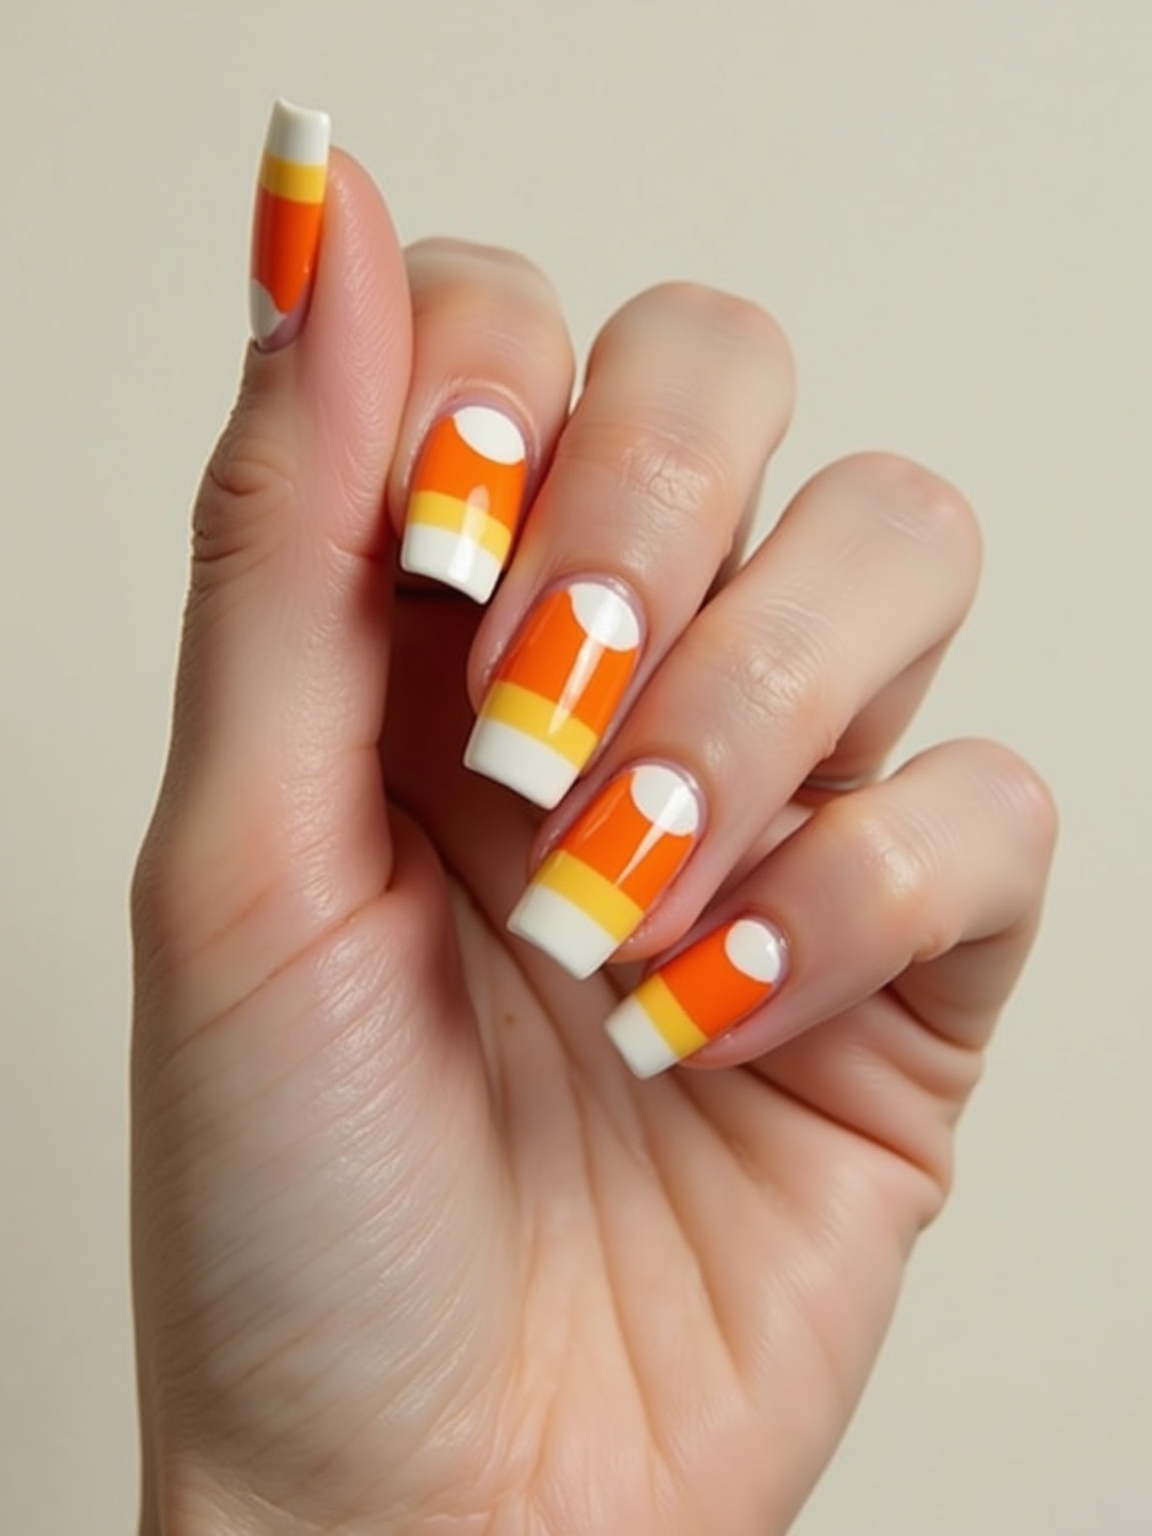
Candy corn nails borrow the colors of the divisive candy, a band of yellow, orange, and white, and turn them into a sweet, retro tip. It is cheerful rather than scary, for anyone who wants festive over frightening.
Over a sheer base, paint a band of yellow near the cuticle, orange in the middle, and a white tip, keeping the bands roughly even. A striping brush keeps the lines clean.
Keep it to the tips rather than the whole nail for a more grown-up version. A glossy seal pulls the candy effect together.
Not sure which to try? Pick by your skill and mood:
🎯Never done nail art
Star stickers, a tiny spider, or simple cobwebs
🎯Want cute, not scary
Candy corn tips, mini pumpkins, or ghost dots
🎯Want maximum drama
Glowing skulls, dripping gore, or a smoky night-sky ombre
Negative-Space Bats
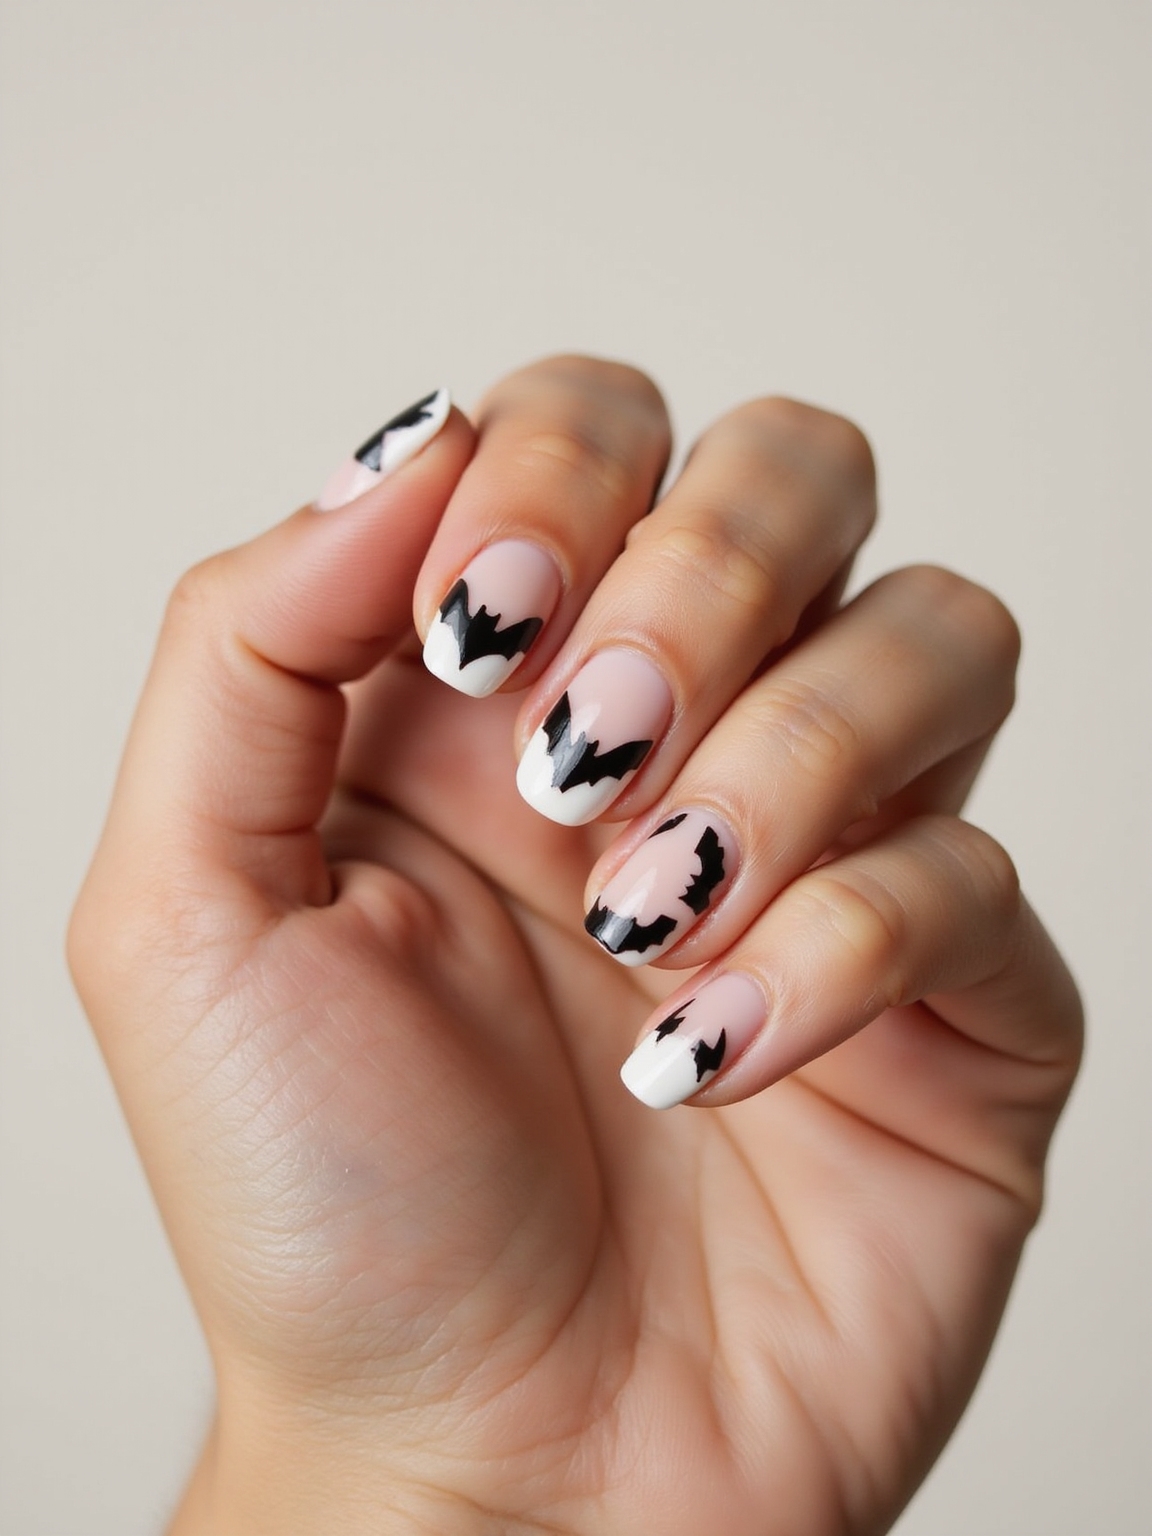
Negative-space bats let your bare nail show as the background, with small black bat silhouettes scattered across a glossy clear base. It feels modern and a little editorial rather than craft-fair.
- Keep the nail clear or sheer so the bare negative space stays part of the design.
- Paint small black bats, a fat body with two scalloped wings, on one or two nails.
- Scatter them unevenly and seal glossy so the bare nail still looks finished.
Crimson Dripping Gore
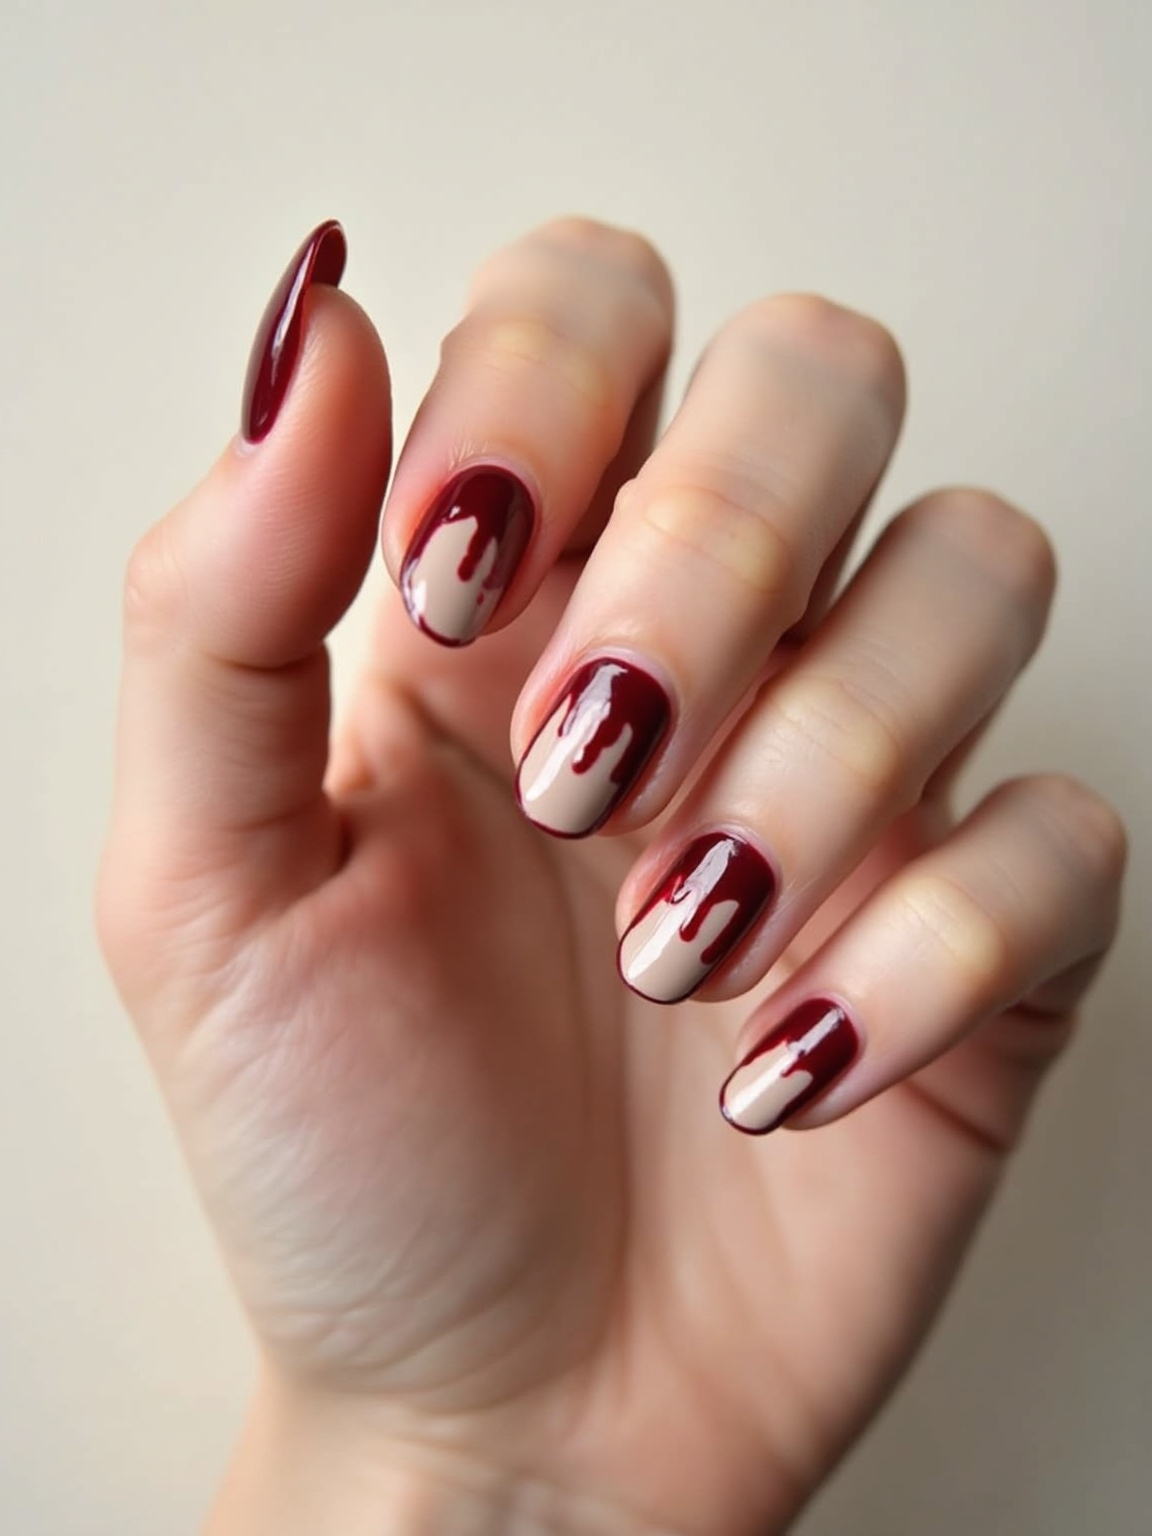
For the horror fans, dripping blood is the goriest easy look, red running down from the cuticle or tip like a fresh wound. The drips are meant to be irregular, which is exactly why they are forgiving to paint.
- Over a nude or white base, load a thin brush with glossy crimson and pull uneven drips.
- Vary the drip lengths so they look like real running blood, not a pattern.
- A high-gloss top coat keeps the blood looking wet and fresh. See dark red nails for the right crimson.
- ✓Black and white polish
- ✓A dotting tool (or a bobby pin end)
- ✓A thin striping or detail brush
- ✓A glossy top coat, non-negotiable
- ✓A few stickers or rhinestones for no-skill looks
Translucent Ghost Dots
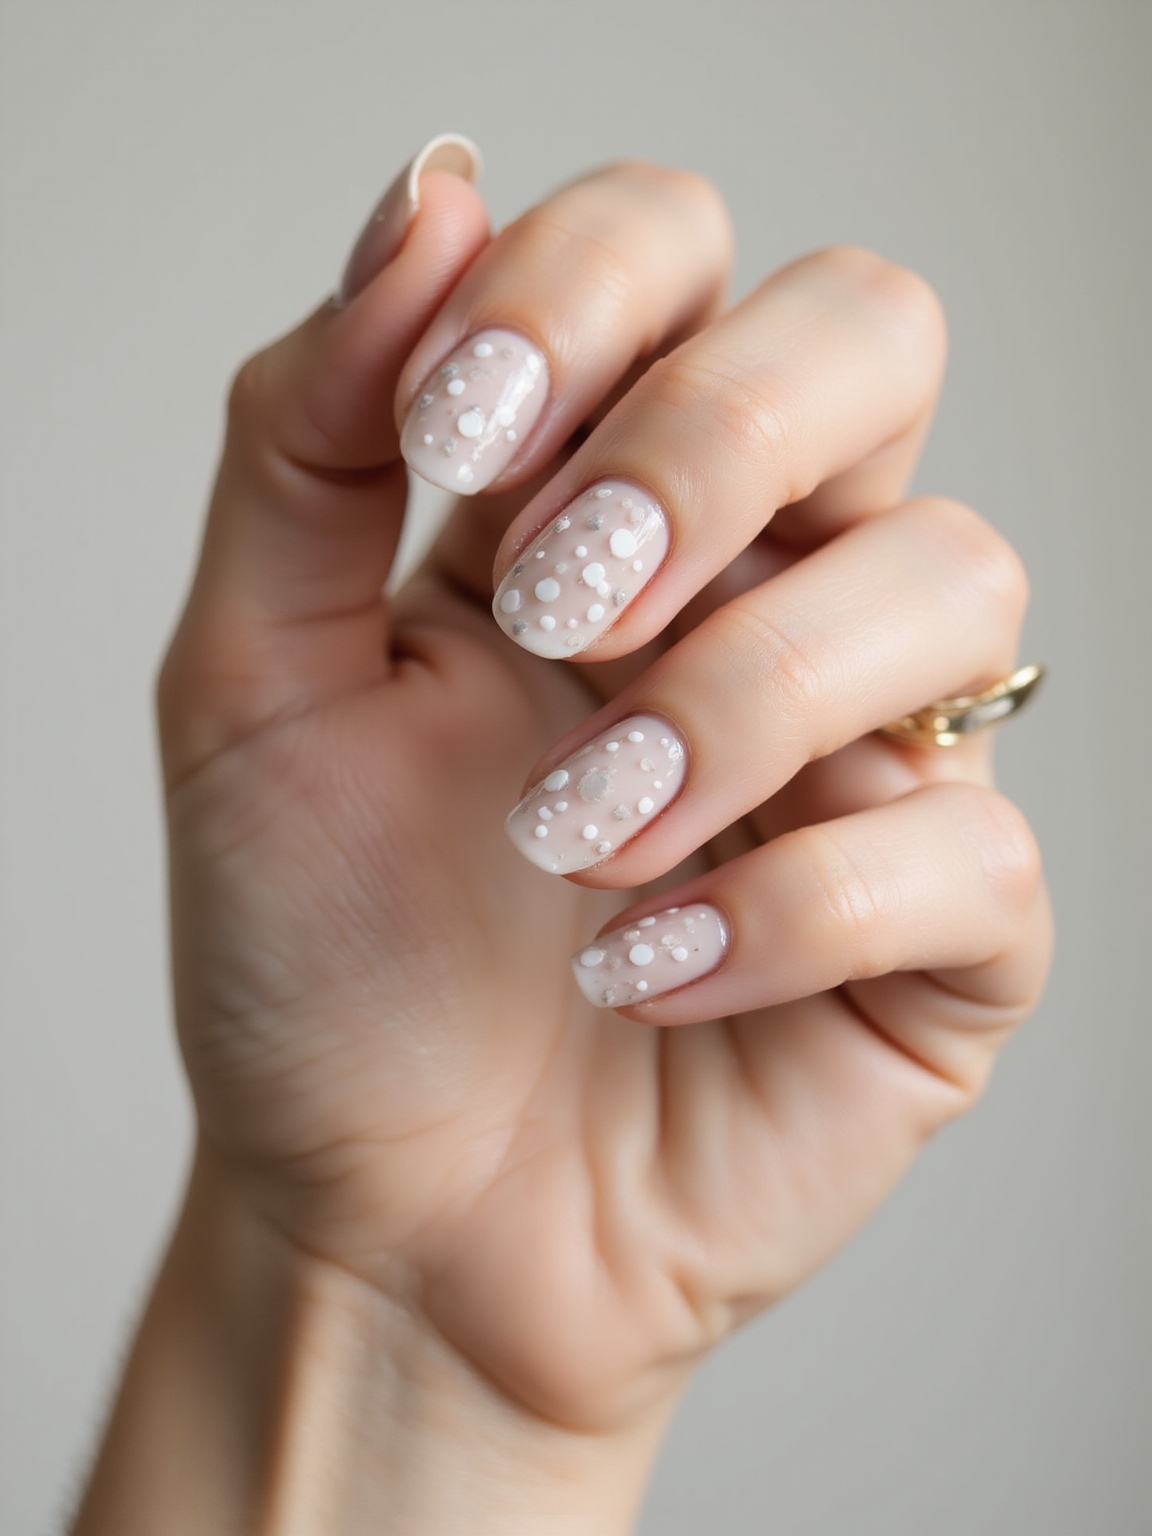
Little ghosts are the cutest Halloween nail, simple white blobs with two dot eyes that read instantly as friendly spirits. On a translucent base they look soft and minimal rather than loud.
Keeping the Ghosts Cute
Dab a white teardrop or blob shape with a dotting tool, leave a wavy bottom edge, and add two tiny black dot eyes once it dries.
Keep them to a couple of accent nails over a sheer base for restraint. The simplicity is the charm, so resist overcrowding the nail.
Mini Pumpkin Art
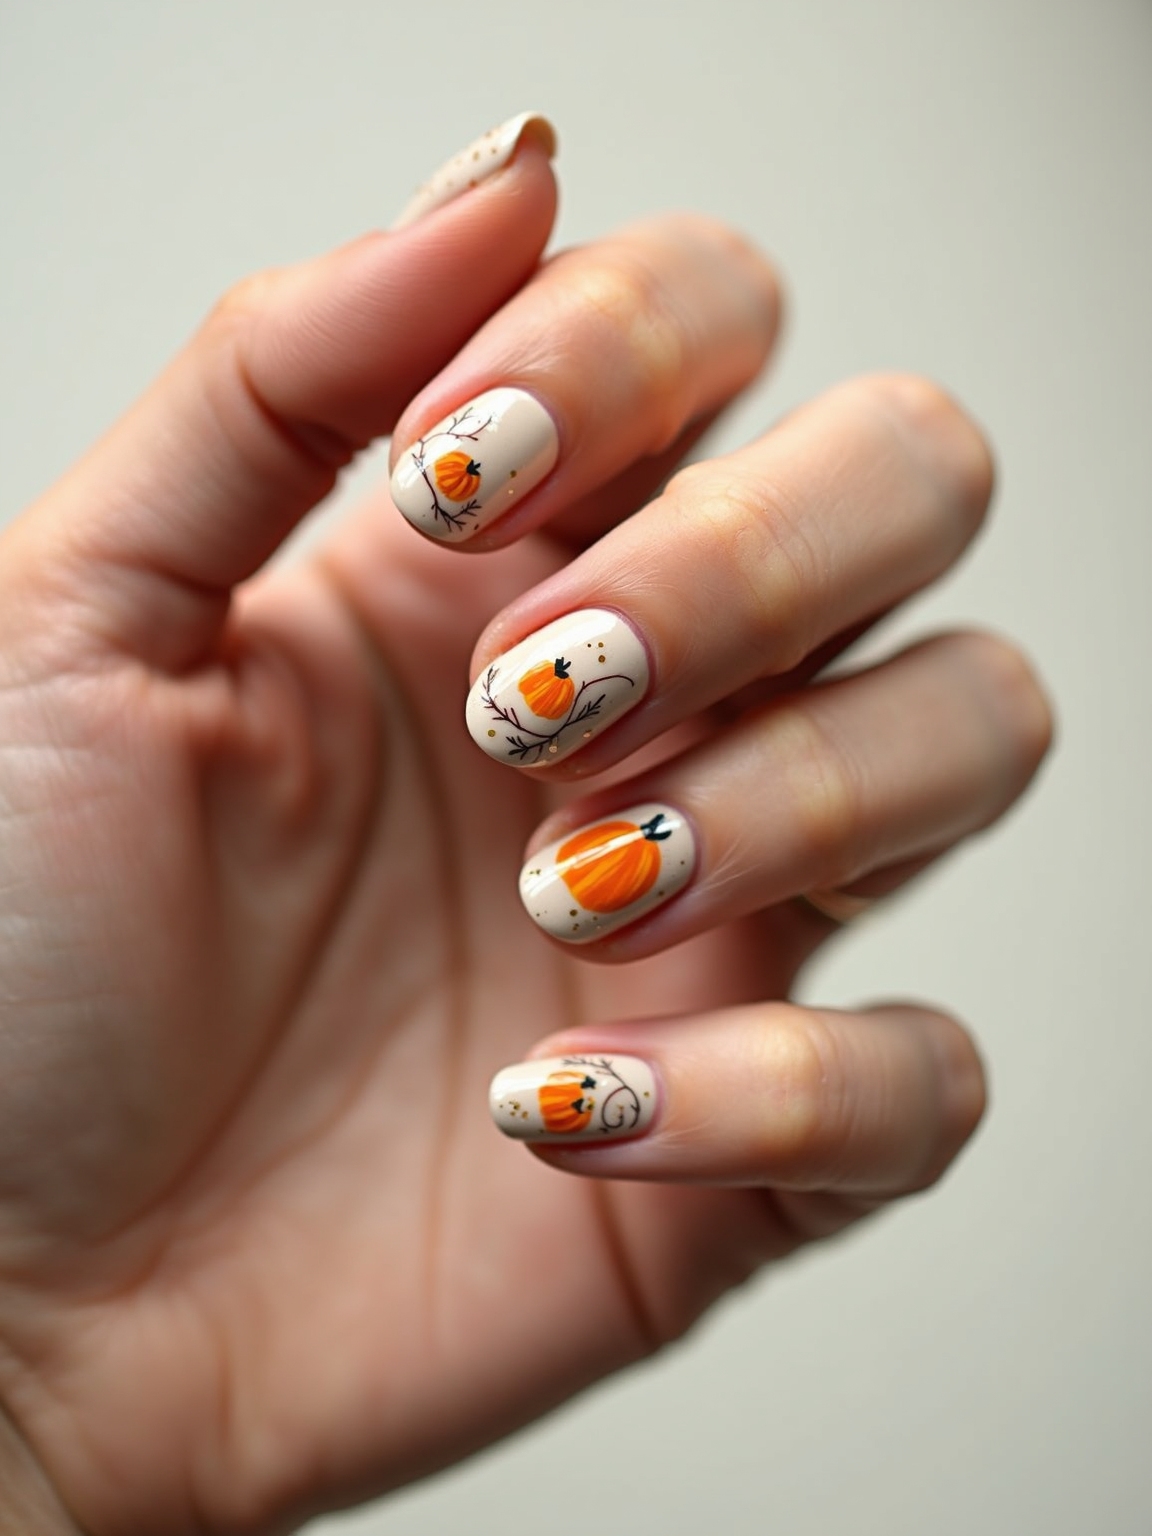
Mini pumpkins are the warm, autumnal side of Halloween nails, small orange jack-o-lanterns dotted onto a neutral or sheer base with a touch of sparkle. They lean harvest-cozy rather than spooky.
Painting Tiny Faces
Dot an orange round shape, add a tiny green stem and a few black lines or a face, then a hint of glitter top coat for warmth.
Cluster them on one accent nail and keep the rest simple. It is the look clients ask me for when they want festive but not frightening, and it carries happily through the whole of October.
“If you only buy one thing for Halloween nails, make it a dotting tool. Spiders, ghost eyes, pumpkins, polka-dot webs, and skull features all start with a dot, and the tool makes every one of them rounder and cleaner than a brush or toothpick will.”
Matte Black, Glossy Tips
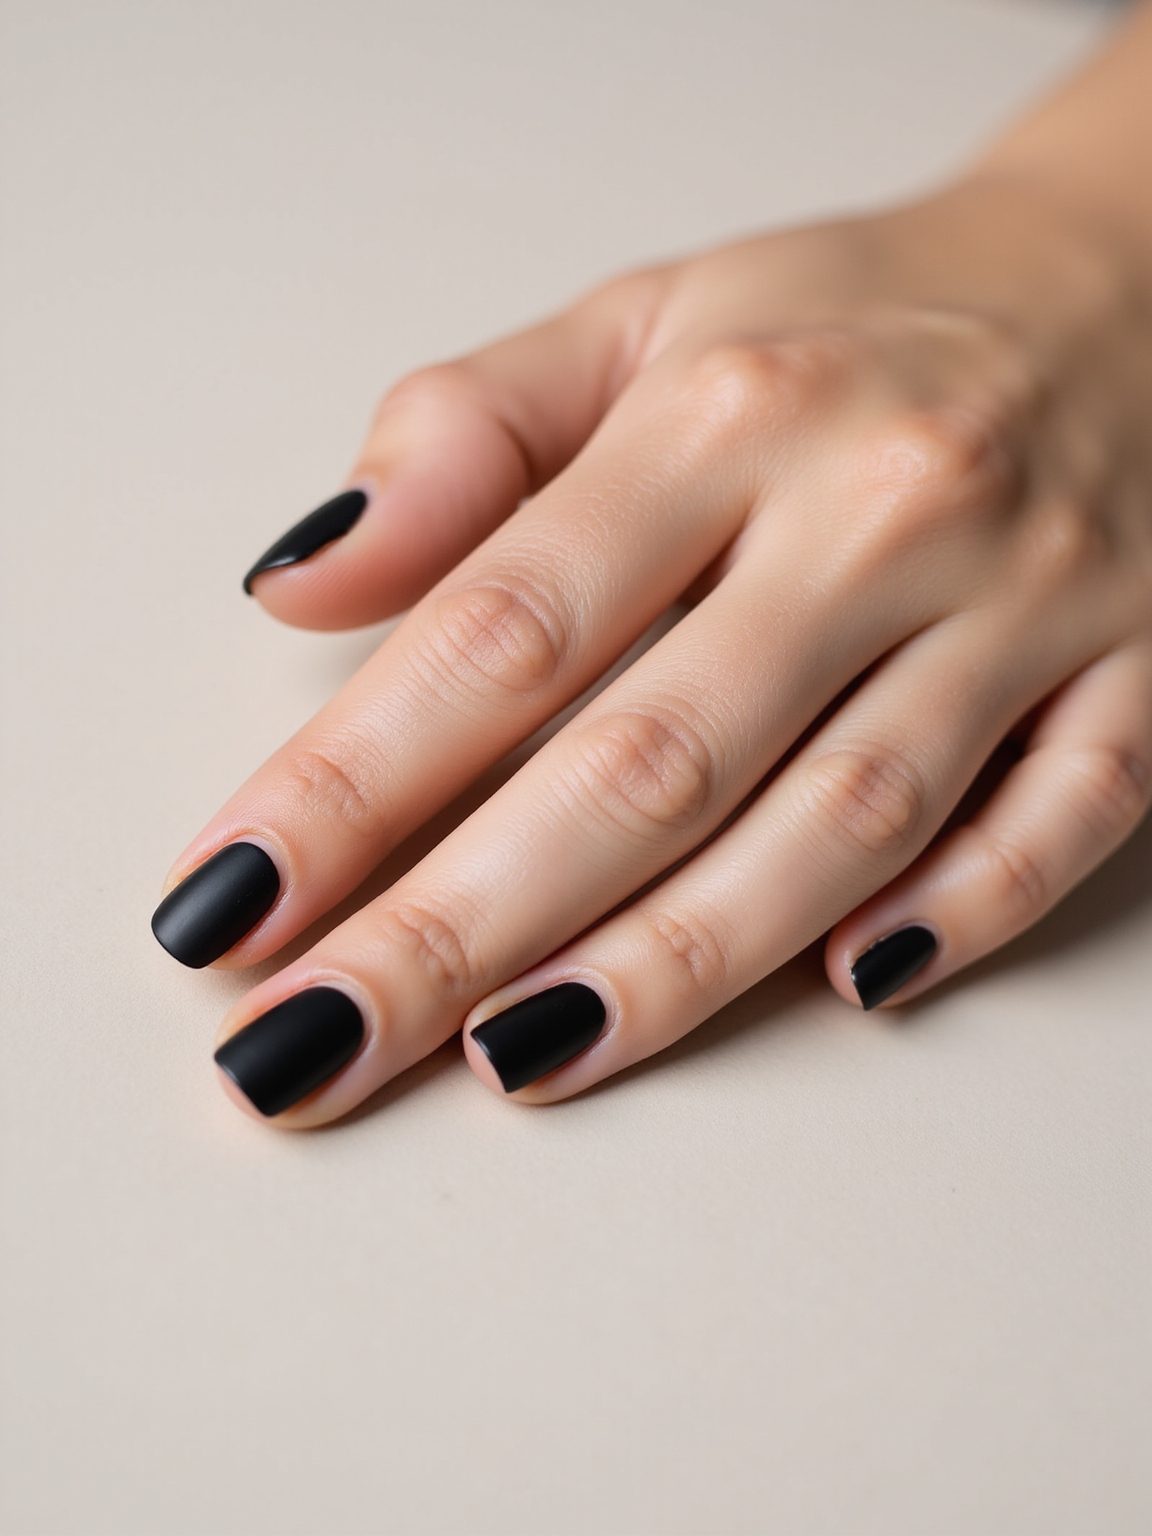
The chicest no-art Halloween nail is a matte black base with a glossy black tip or detail, so the design only shows when light hits it. It is moody, grown-up, and needs no drawing skill at all.
- Paint a black base and seal it with a matte top coat.
- Add a glossy black tip or a single glossy line over the matte for the tonal contrast.
- The matte-and-shine play does all the work, so the color can stay simple. Keep cuticles oiled, since matte shows dryness.
Matte Black Glowing Skulls
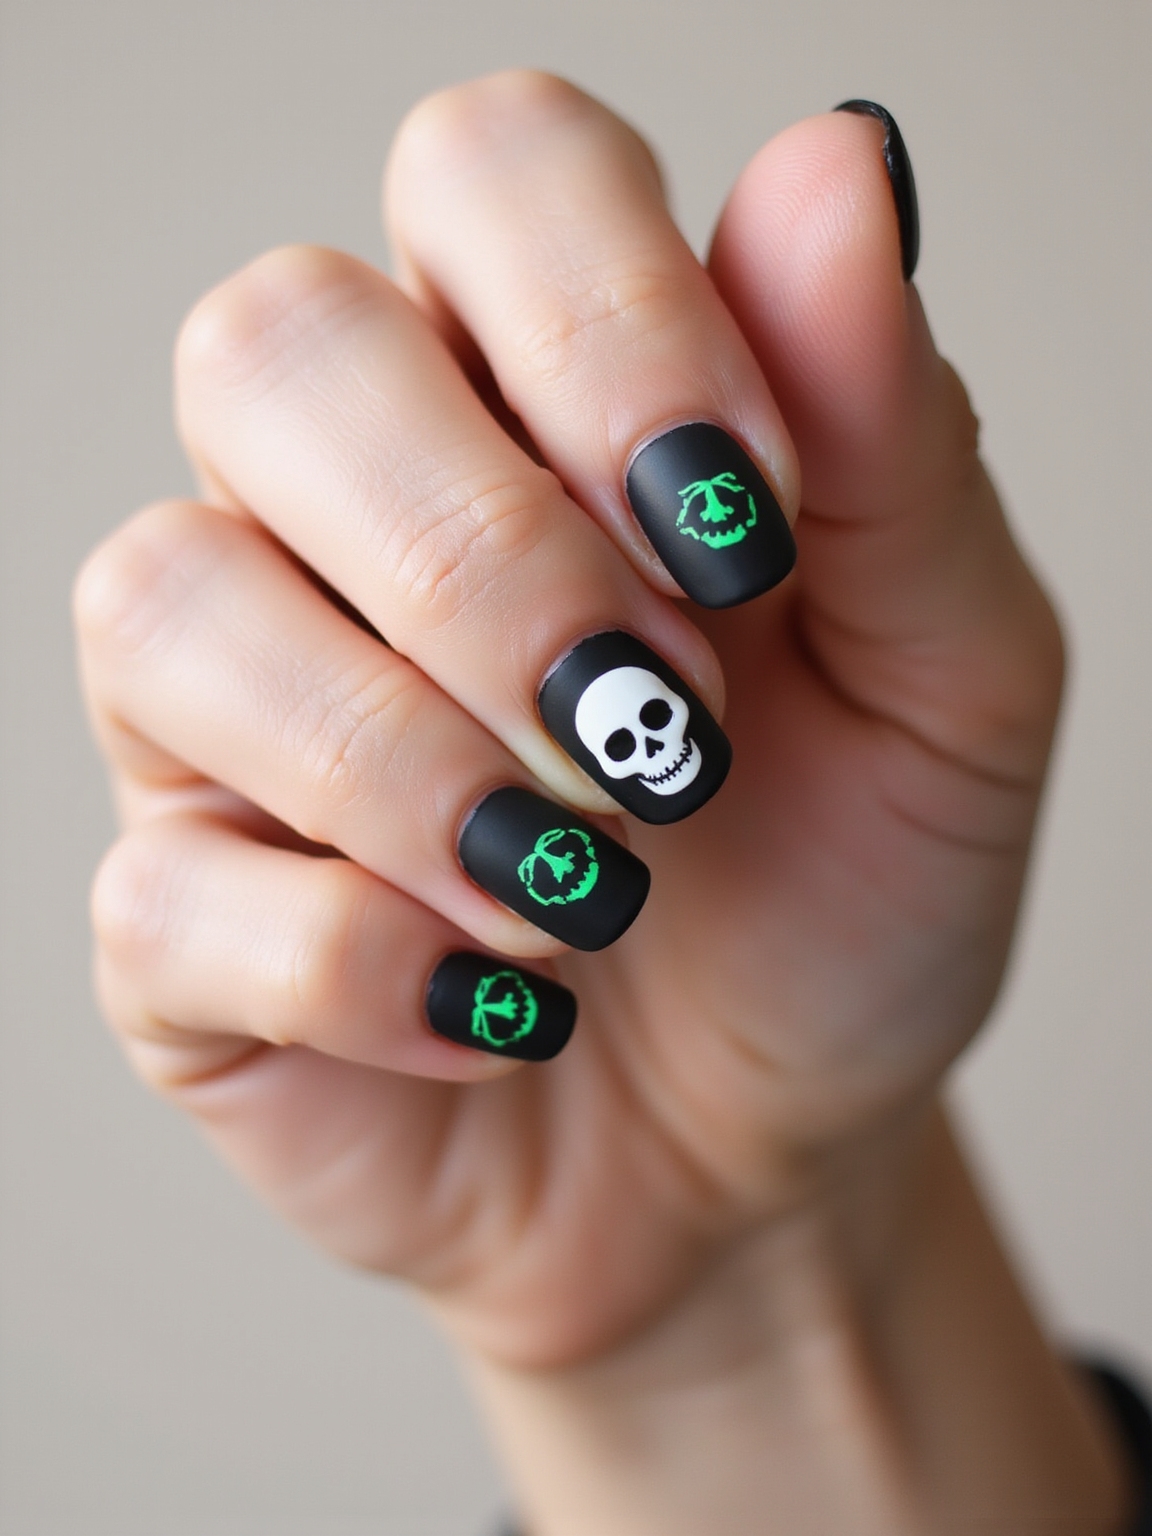
Skulls sound advanced but are mostly a white blob plus a few dots, and on a matte black base a glow-in-the-dark or neon white makes them pop dramatically. It is the most striking look here for the least real skill.
Simple Skull Shapes
Over matte black, paint a rounded white skull shape, then add two black dot eyes, a small triangle nose, and a few short teeth lines.
A glow or UV-reactive white turns them luminous at a party. Bright white skulls show beautifully on every base, and the neon glow reads especially hard against deep skin under blacklight.
| You have | Try | Time |
|---|---|---|
| Two minutes, no skill | Tiny spider or star stickers | Two minutes |
| Ten minutes, some skill | Cobwebs, ghosts, or candy corn | Ten minutes |
| Twenty minutes, steady hand | Skulls, mummy wraps, or gore | Twenty minutes |
Vampiric Bitten Accent
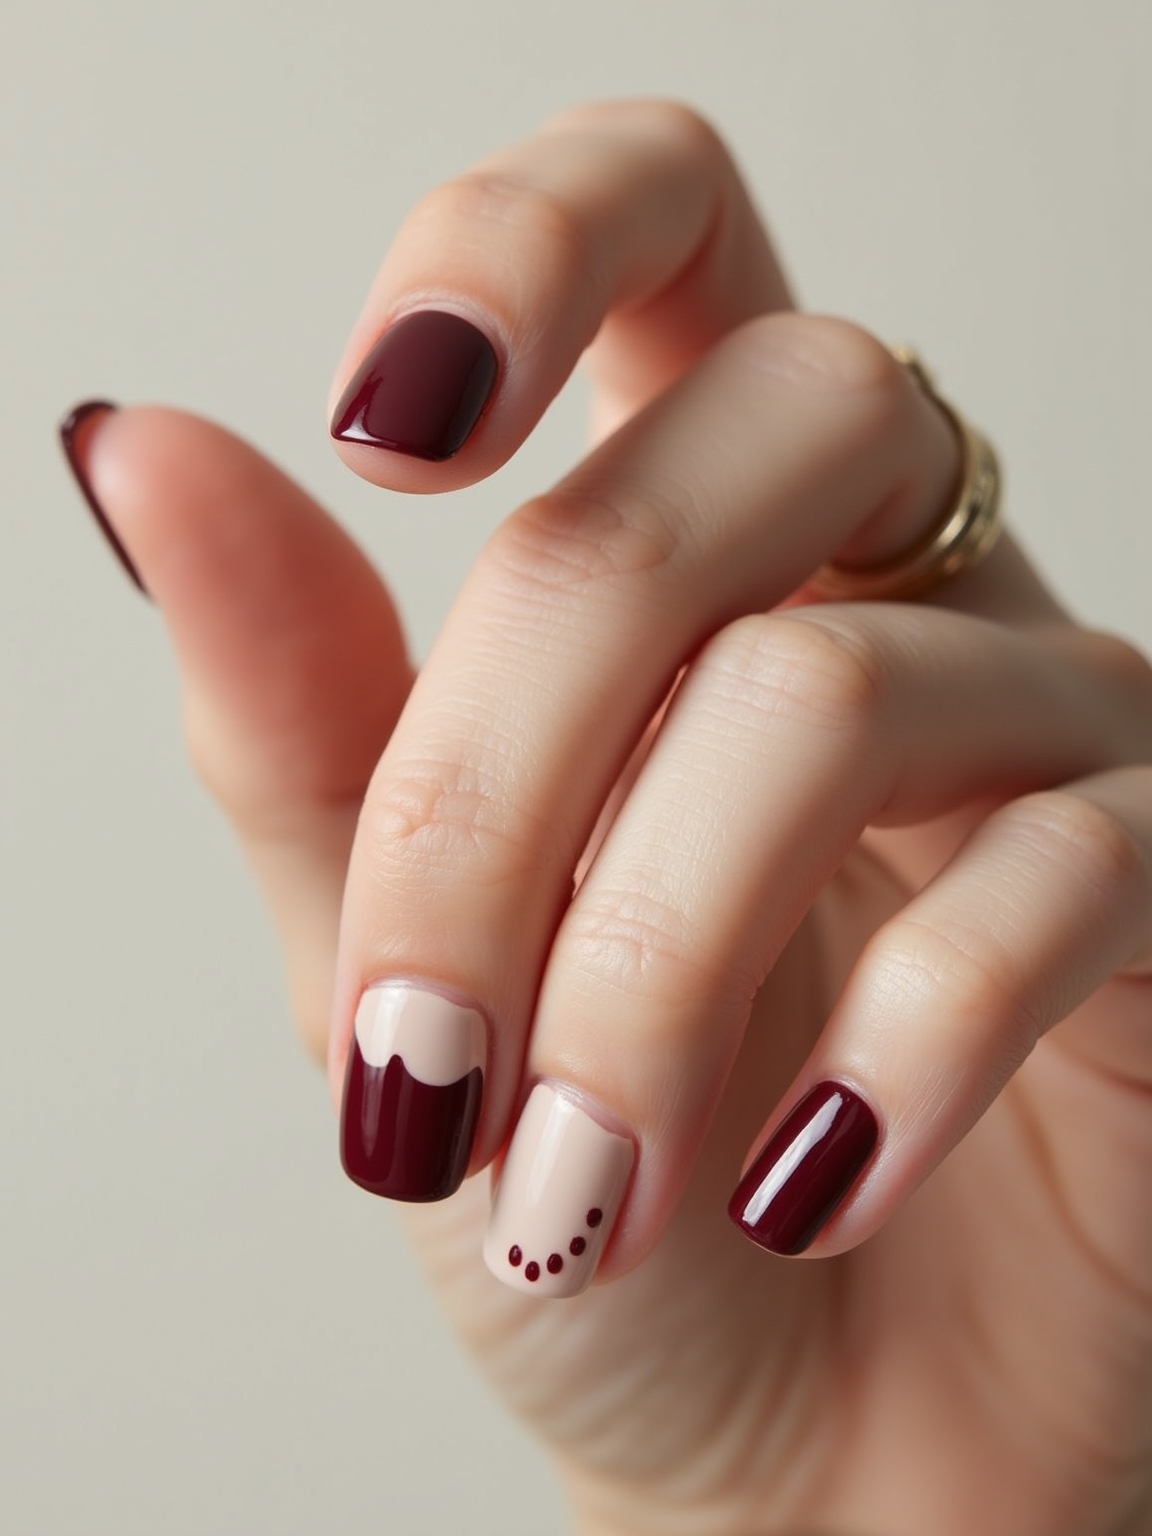
The subtlest Halloween nail here is a sheer nude with a tiny vampiric bite: two small red dots and a thin blood trickle on a single accent nail. It is the look for anyone who wants barely-there Halloween.
- Paint a sheer nude base on all nails for a clean, natural look.
- On one accent nail, dot two tiny red puncture marks and a short red drip.
- Keep it small and minimal; the restraint is what makes it chic rather than gory.
Bone-White Mummy Stripes
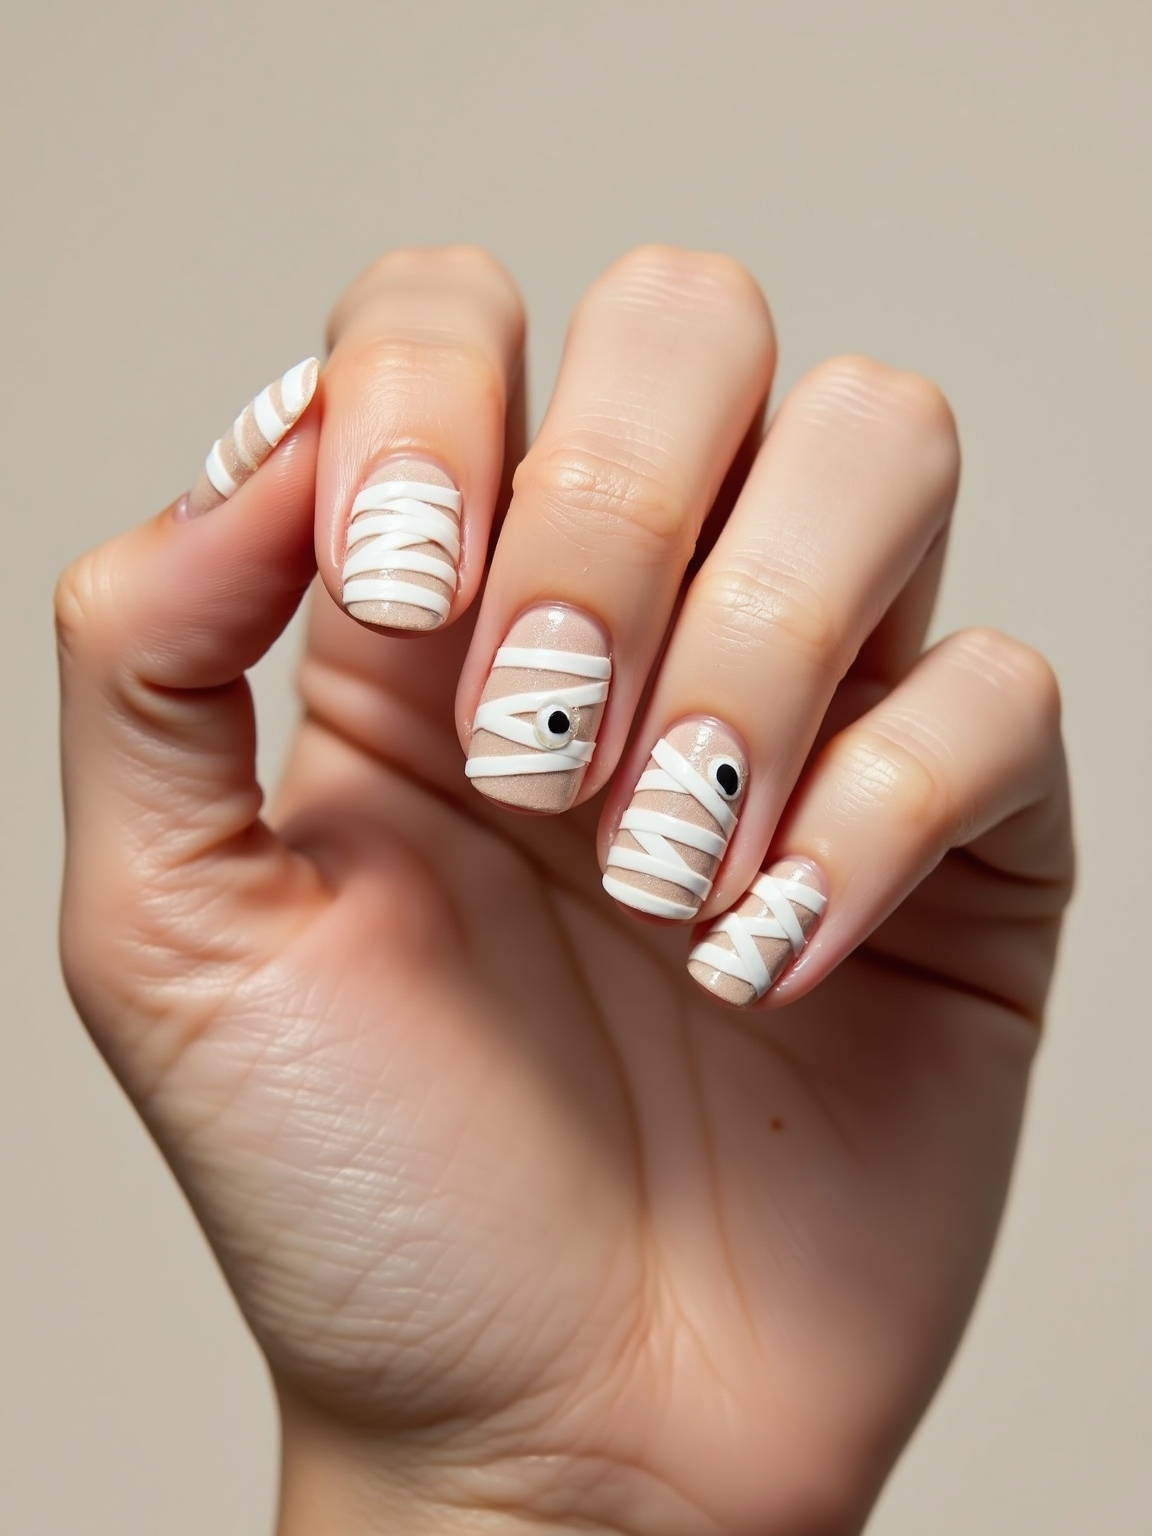
Mummy nails mimic wrapped bandages with crisscrossing off-white stripes over a base, finished with a couple of tiny eyes peeking through. The slightly messy wrapping is the whole point, so precision is not required.
Build the bandaged look:
- Paint a bone or off-white base, or a black one for contrast.
- Cross thin white stripes over each other at angles like wrapped bandages.
- Add two tiny dot eyes peeking out between the wraps on an accent nail.
Bewitched Star Stickers
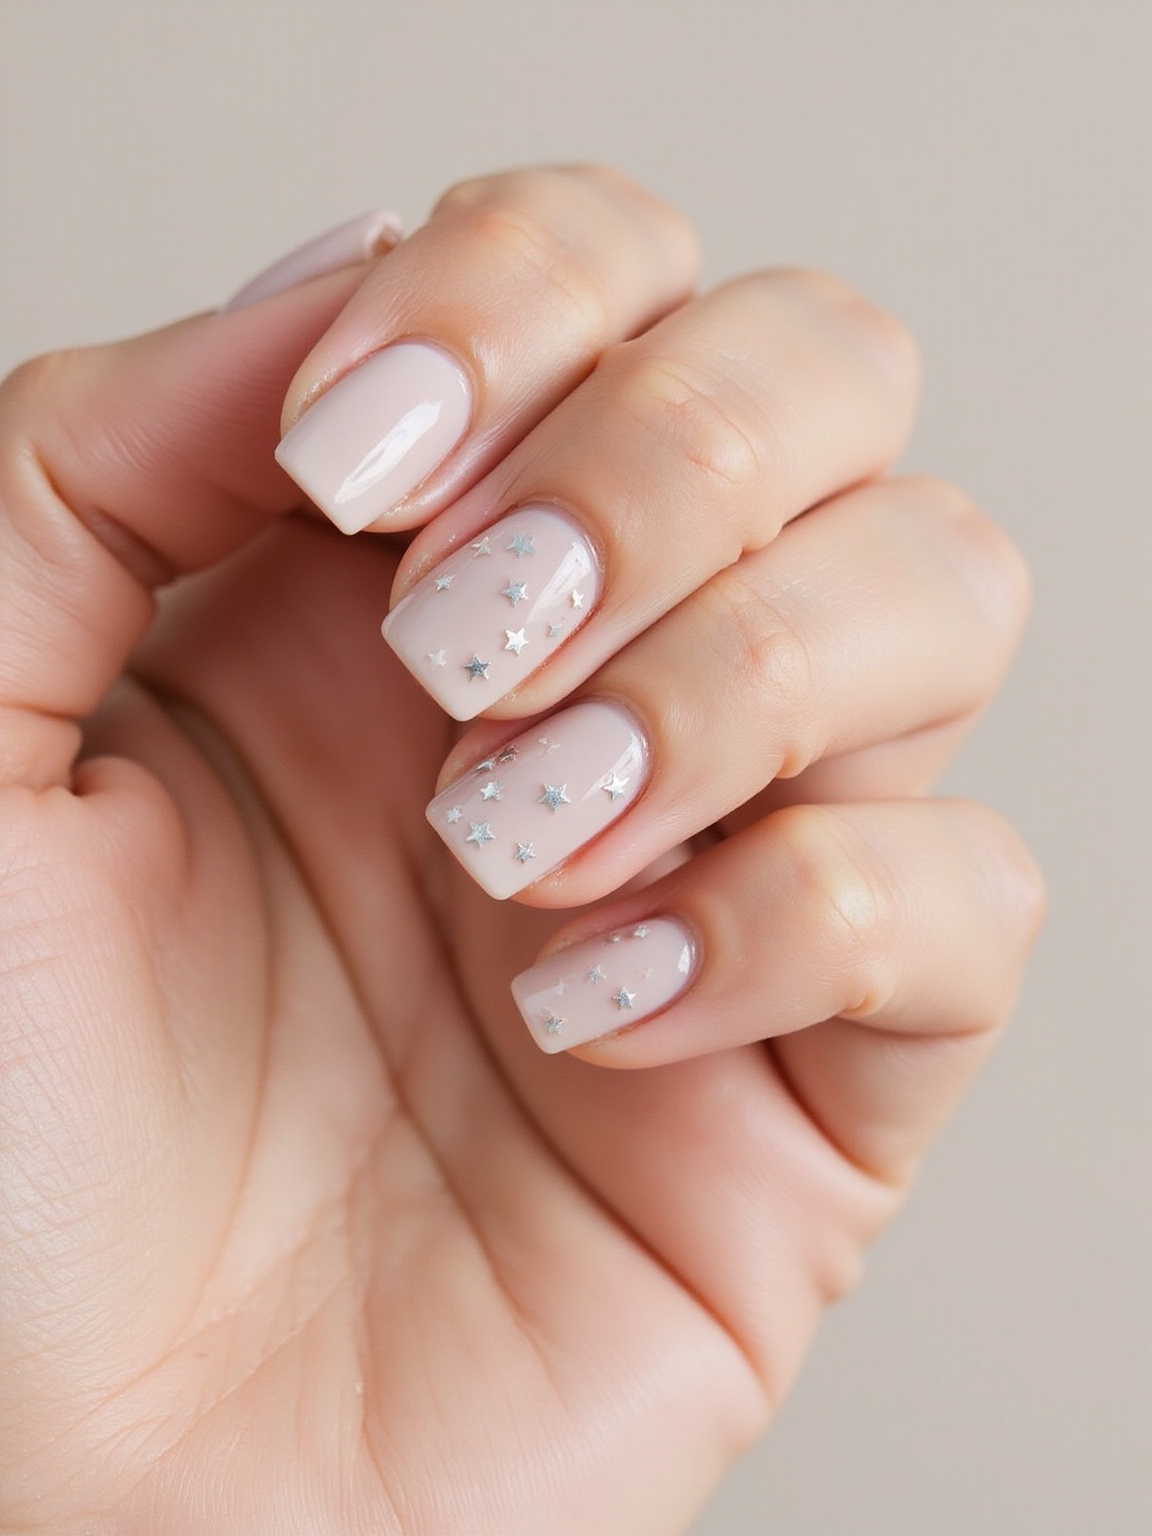
When you cannot paint a thing, star and celestial stickers do all the work, a witchy night-sky look with zero brush skill. Press-on nail stickers are the great equalizer of DIY nail art.
Over a black, navy, or sheer base, press gold or silver star and moon stickers wherever you like, then seal them under a top coat so they last.
The top coat is essential, since unsealed stickers peel within a day. It is the look I recommend to anyone who insists they have no nail-art skill, because there is none required.
Tiny Spider Accents
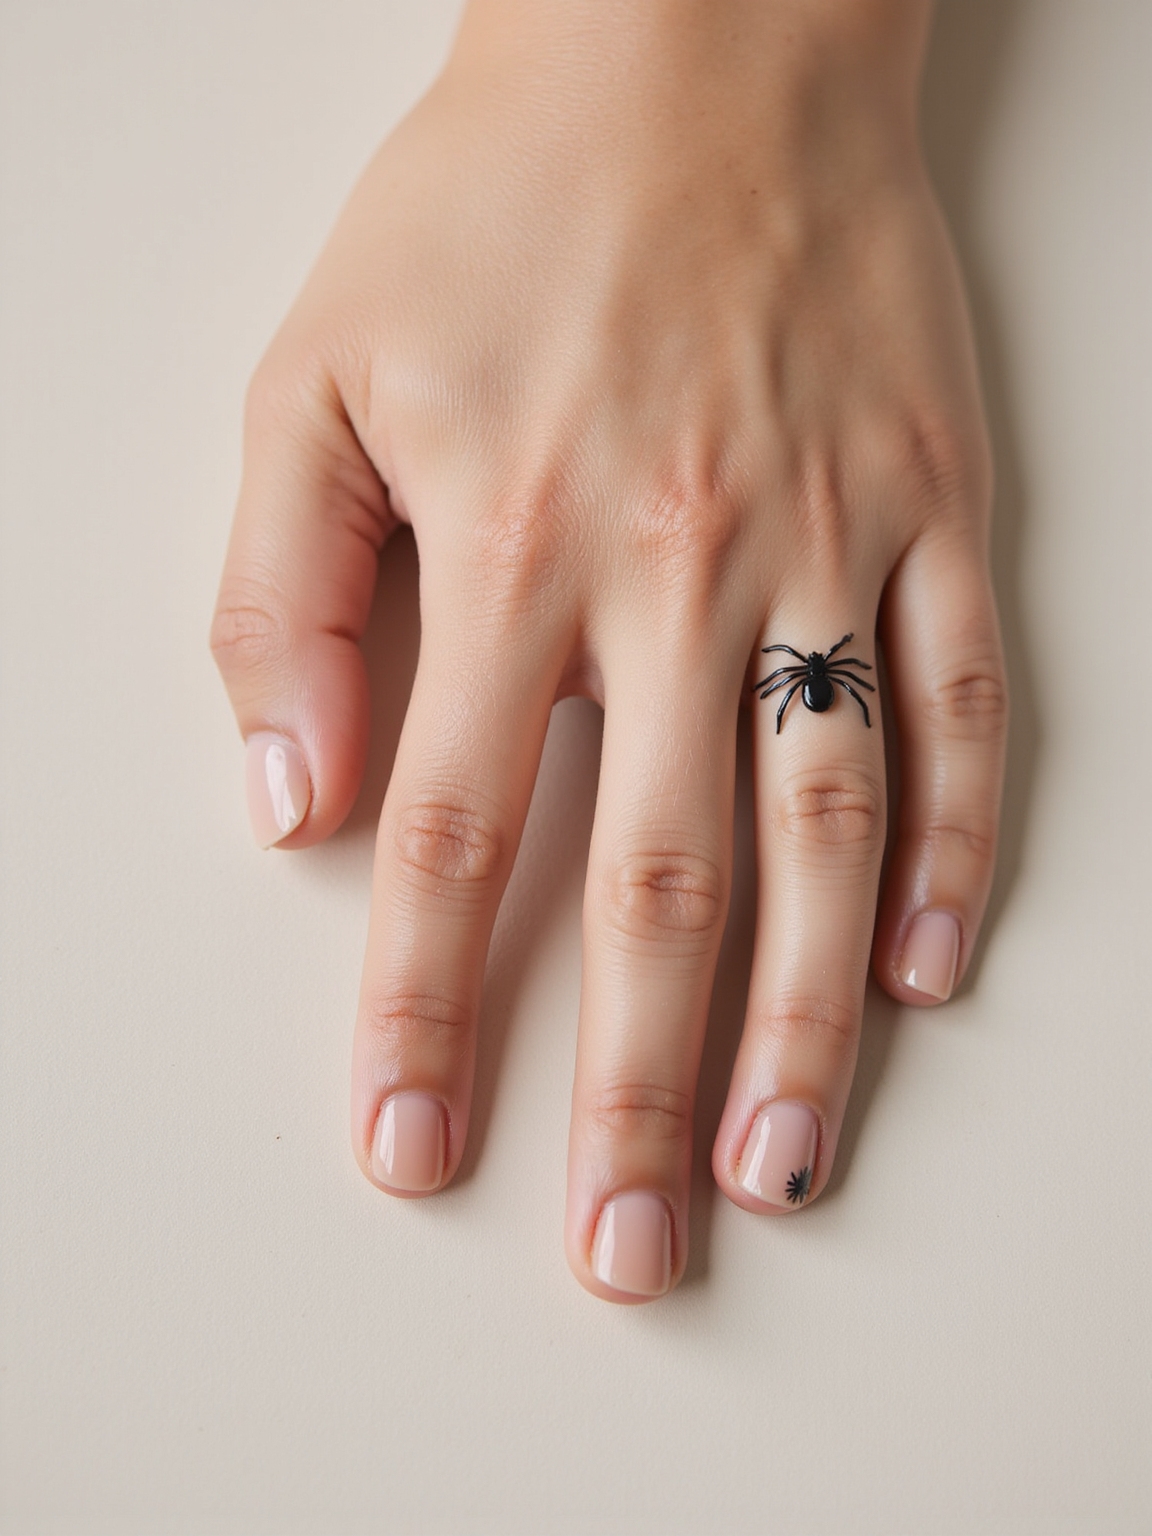
A single tiny spider on an accent nail is the most bang-for-effort Halloween look there is, instant drama from one little eight-legged dot. It pairs with almost any base color.
How to paint a convincing spider:
- Dot a small black body, then a smaller dot above it for the head.
- Add four fine legs on each side with a thin brush, bending them slightly.
- Pop it on one nail over your base color and seal glossy. A dangling web thread up to the cuticle adds extra drama.
Smoky Night-Sky Ombre
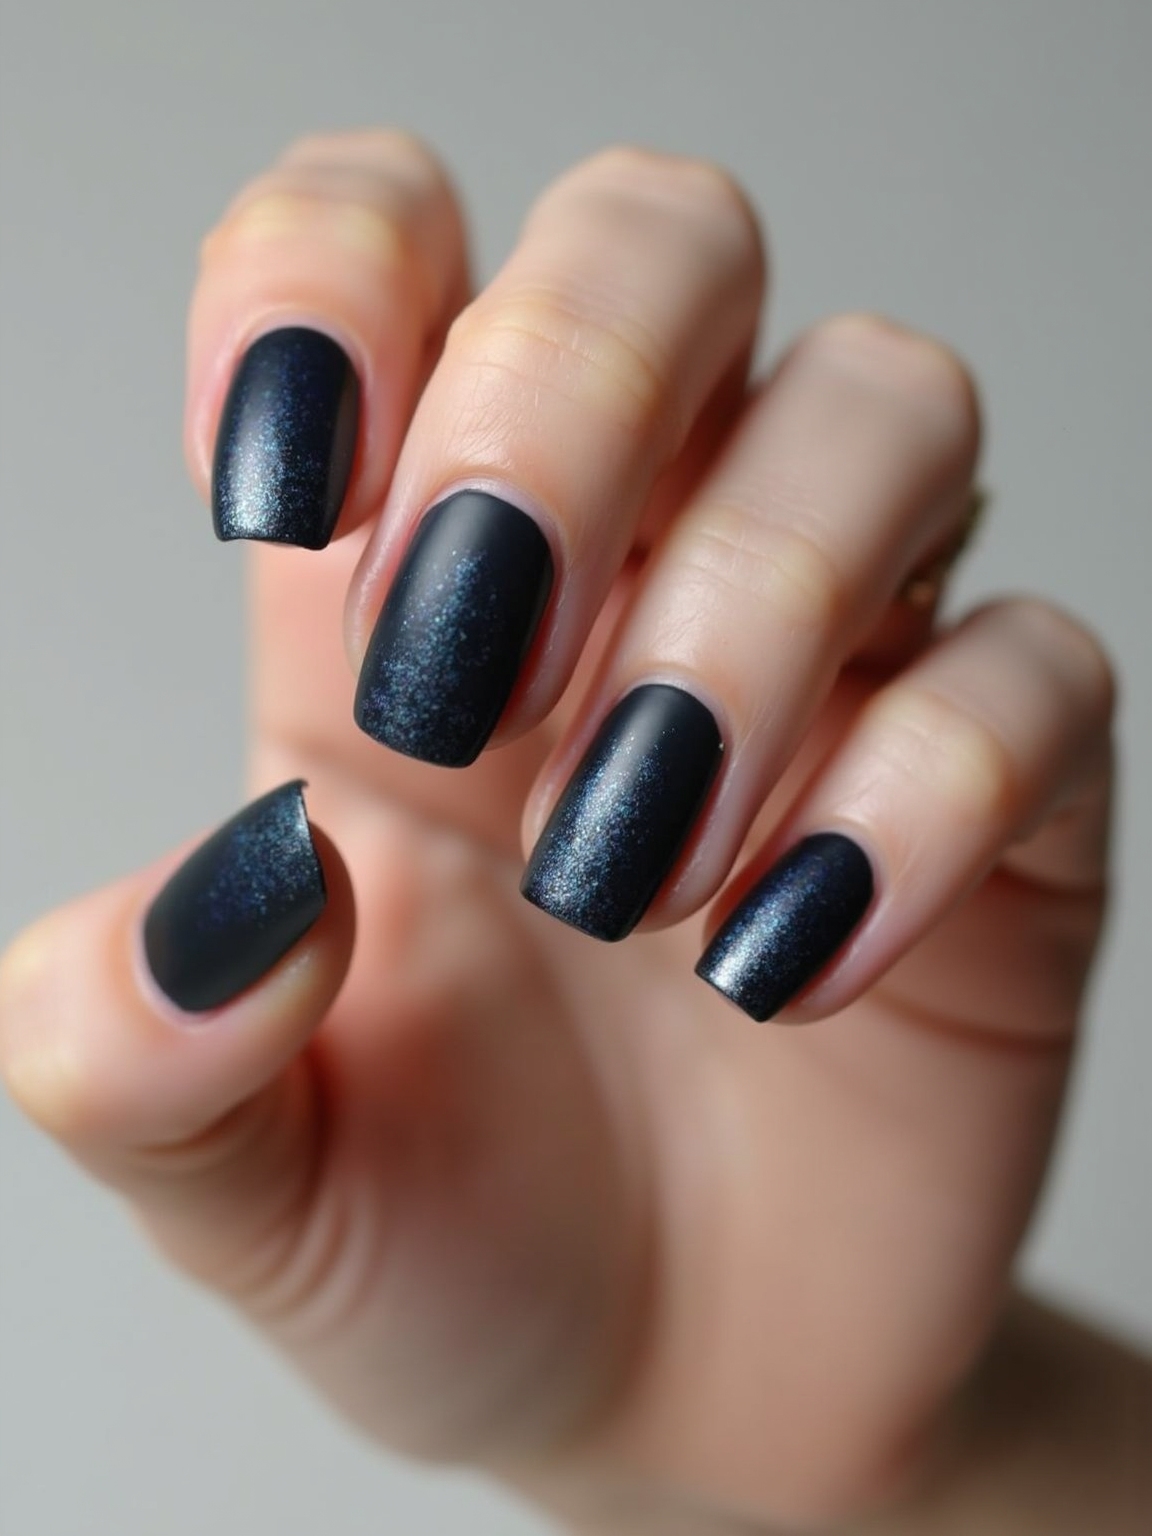
A smoky ombre fading black into deep purple or blue gives a moody night-sky base that needs no fine detailing at all, just a blended gradient. It is the sophisticated end of Halloween nails.
Sponge black at the tips and a deep purple or midnight blue at the base while wet, blending the seam into a smoky fade, then seal glossy.
Add a few tiny star dots if you want, or leave it as a moody gradient. The dark, blended look flatters every nail and pairs well with chrome nails for an accent.
Stitched Green Seams
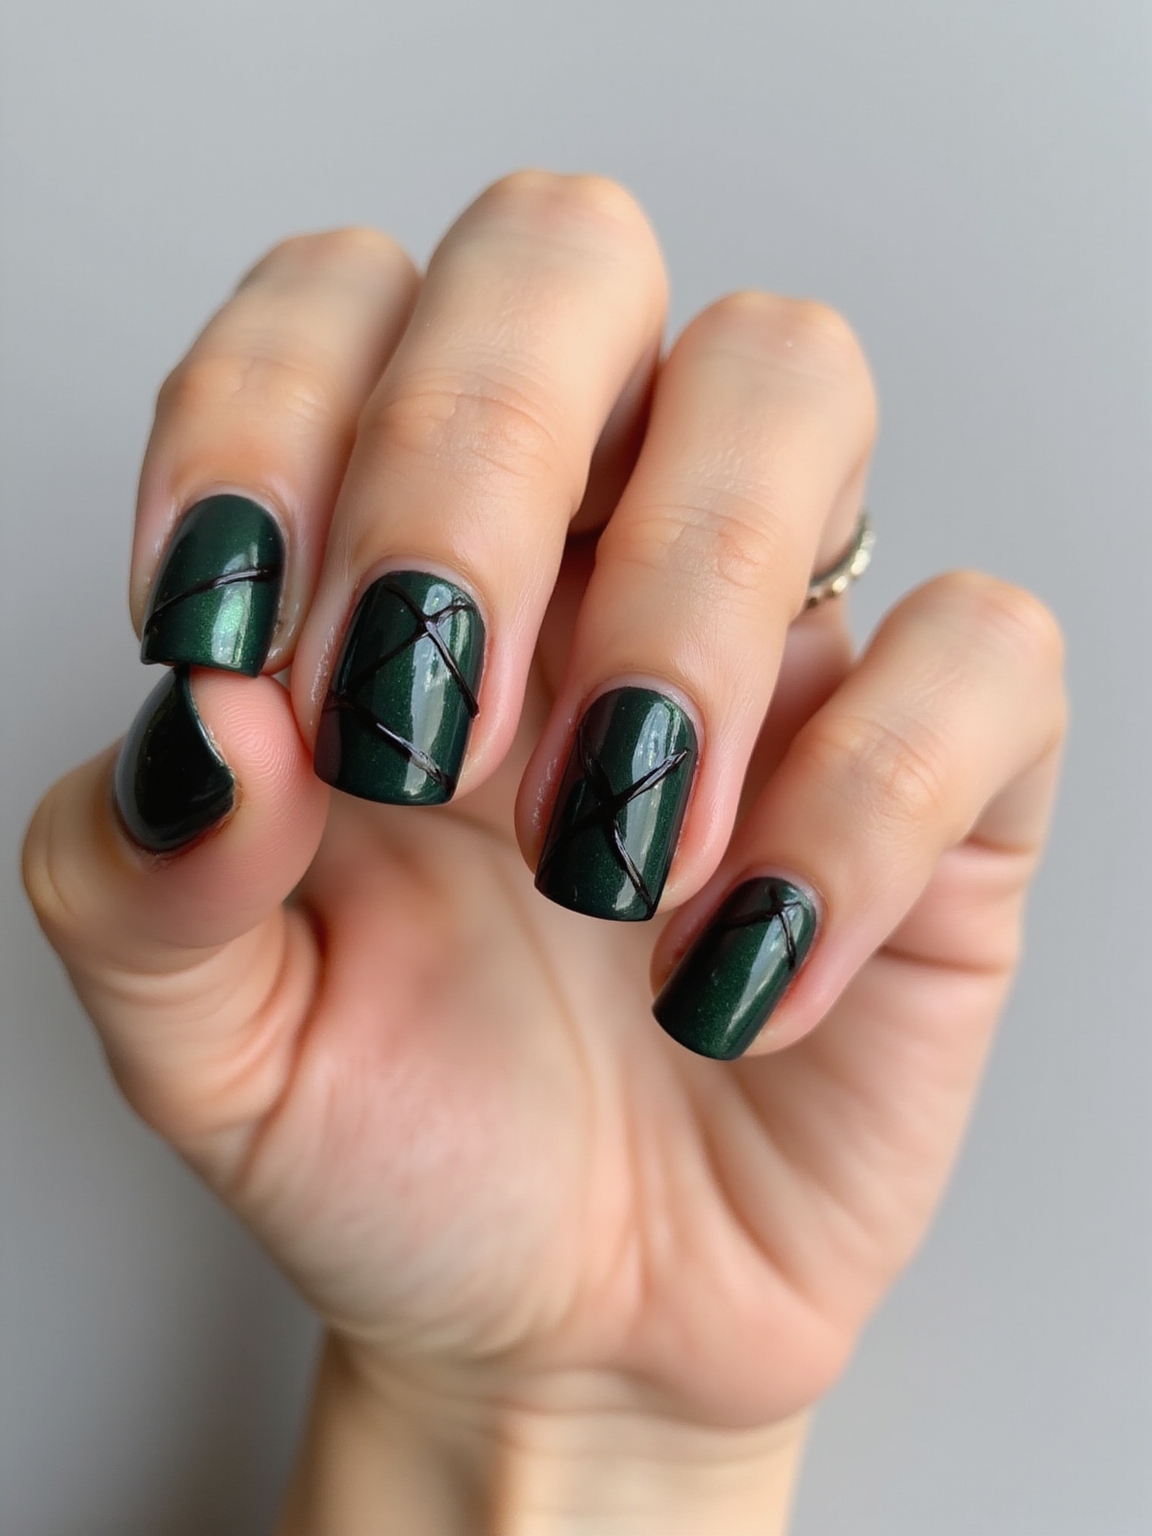
Stitched seams turn your nails into a Frankenstein’s-monster look, murky green with black stitch lines crossing the surface. The hand-sewn unevenness is forgiving, which makes it easier than it appears.
- Paint a murky, grayed green base on all or accent nails.
- Draw a thin black seam line across, then short stitch marks crossing it.
- Keep the stitches slightly uneven for that stitched-together look, and seal glossy.
What to Expect
DIY Halloween nails are cheap and quick, which is most of their appeal: a bottle of black, a white, and a dotting tool cover nearly every look here, and the whole thing costs less than a single salon visit. Budget two minutes for cobwebs or a spider and up to twenty for skulls or mummy wraps. Regular polish versions last a few days; if you want them to survive through the weekend, do the art over a gel base and seal with a gel top coat.
A few honest expectations. Your first web or skull will be wobbly, and that is perfectly fine for Halloween, where imperfection reads as character rather than error.
Work on one hand at a time so nothing smudges, let each layer dry before adding the next, and never skip the top coat, since it is the difference between art that looks done and art that looks like it is already flaking. If you want a salon set instead, a simple Halloween design runs roughly $40 to $70.
Halloween Nail Questions, Answered
?What is the easiest Halloween nail design for beginners?
Cobwebs, a single tiny spider, or pressed-on star stickers, all of which need almost no skill. Cobwebs are forgivingly wobbly, a spider is just a few dots and lines, and stickers need only a top coat to seal them.
?What do I need to do Halloween nails at home?
Very little: black and white polish, a dotting tool or a bobby-pin end, a thin brush, and a glossy top coat. A few stickers or rhinestones cover the no-skill looks. The top coat is the one thing you should not skip.
?How do I keep DIY Halloween nail art from smudging?
Work on one hand at a time, let each layer dry fully before adding the next, and seal everything with a top coat. For art that lasts the whole weekend, paint it over a gel base and cure it with a gel top coat rather than regular polish.
Spooky Is Forgiving
The best thing about Halloween nails is that the holiday rewards imperfection: a slightly crooked web, an uneven drip, a lopsided ghost all read as character rather than mistakes. That makes it the one time of year nail art is truly low-pressure, so it is the perfect moment to try a dotting tool for the first time.
Pick one look that matches your skill and the time you have, start with a single accent nail rather than ten, and always finish with a glossy top coat. If your first attempt is wobbly, lean into it; this is the one holiday where wobbly is the look.
Hand-Picked for You