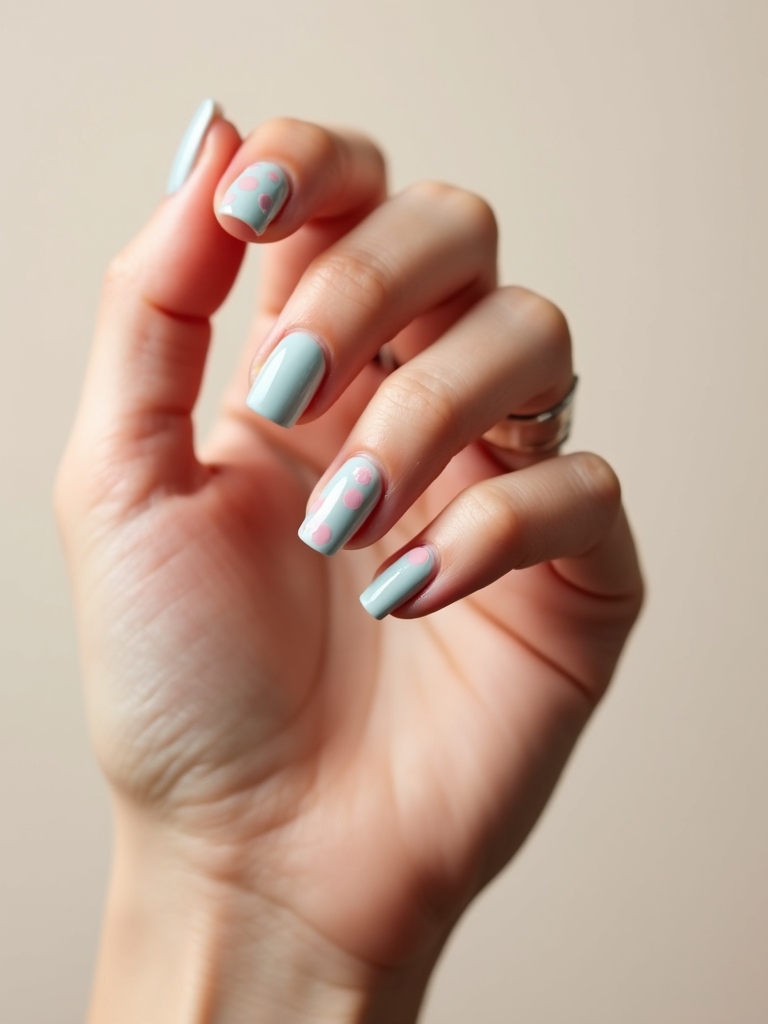
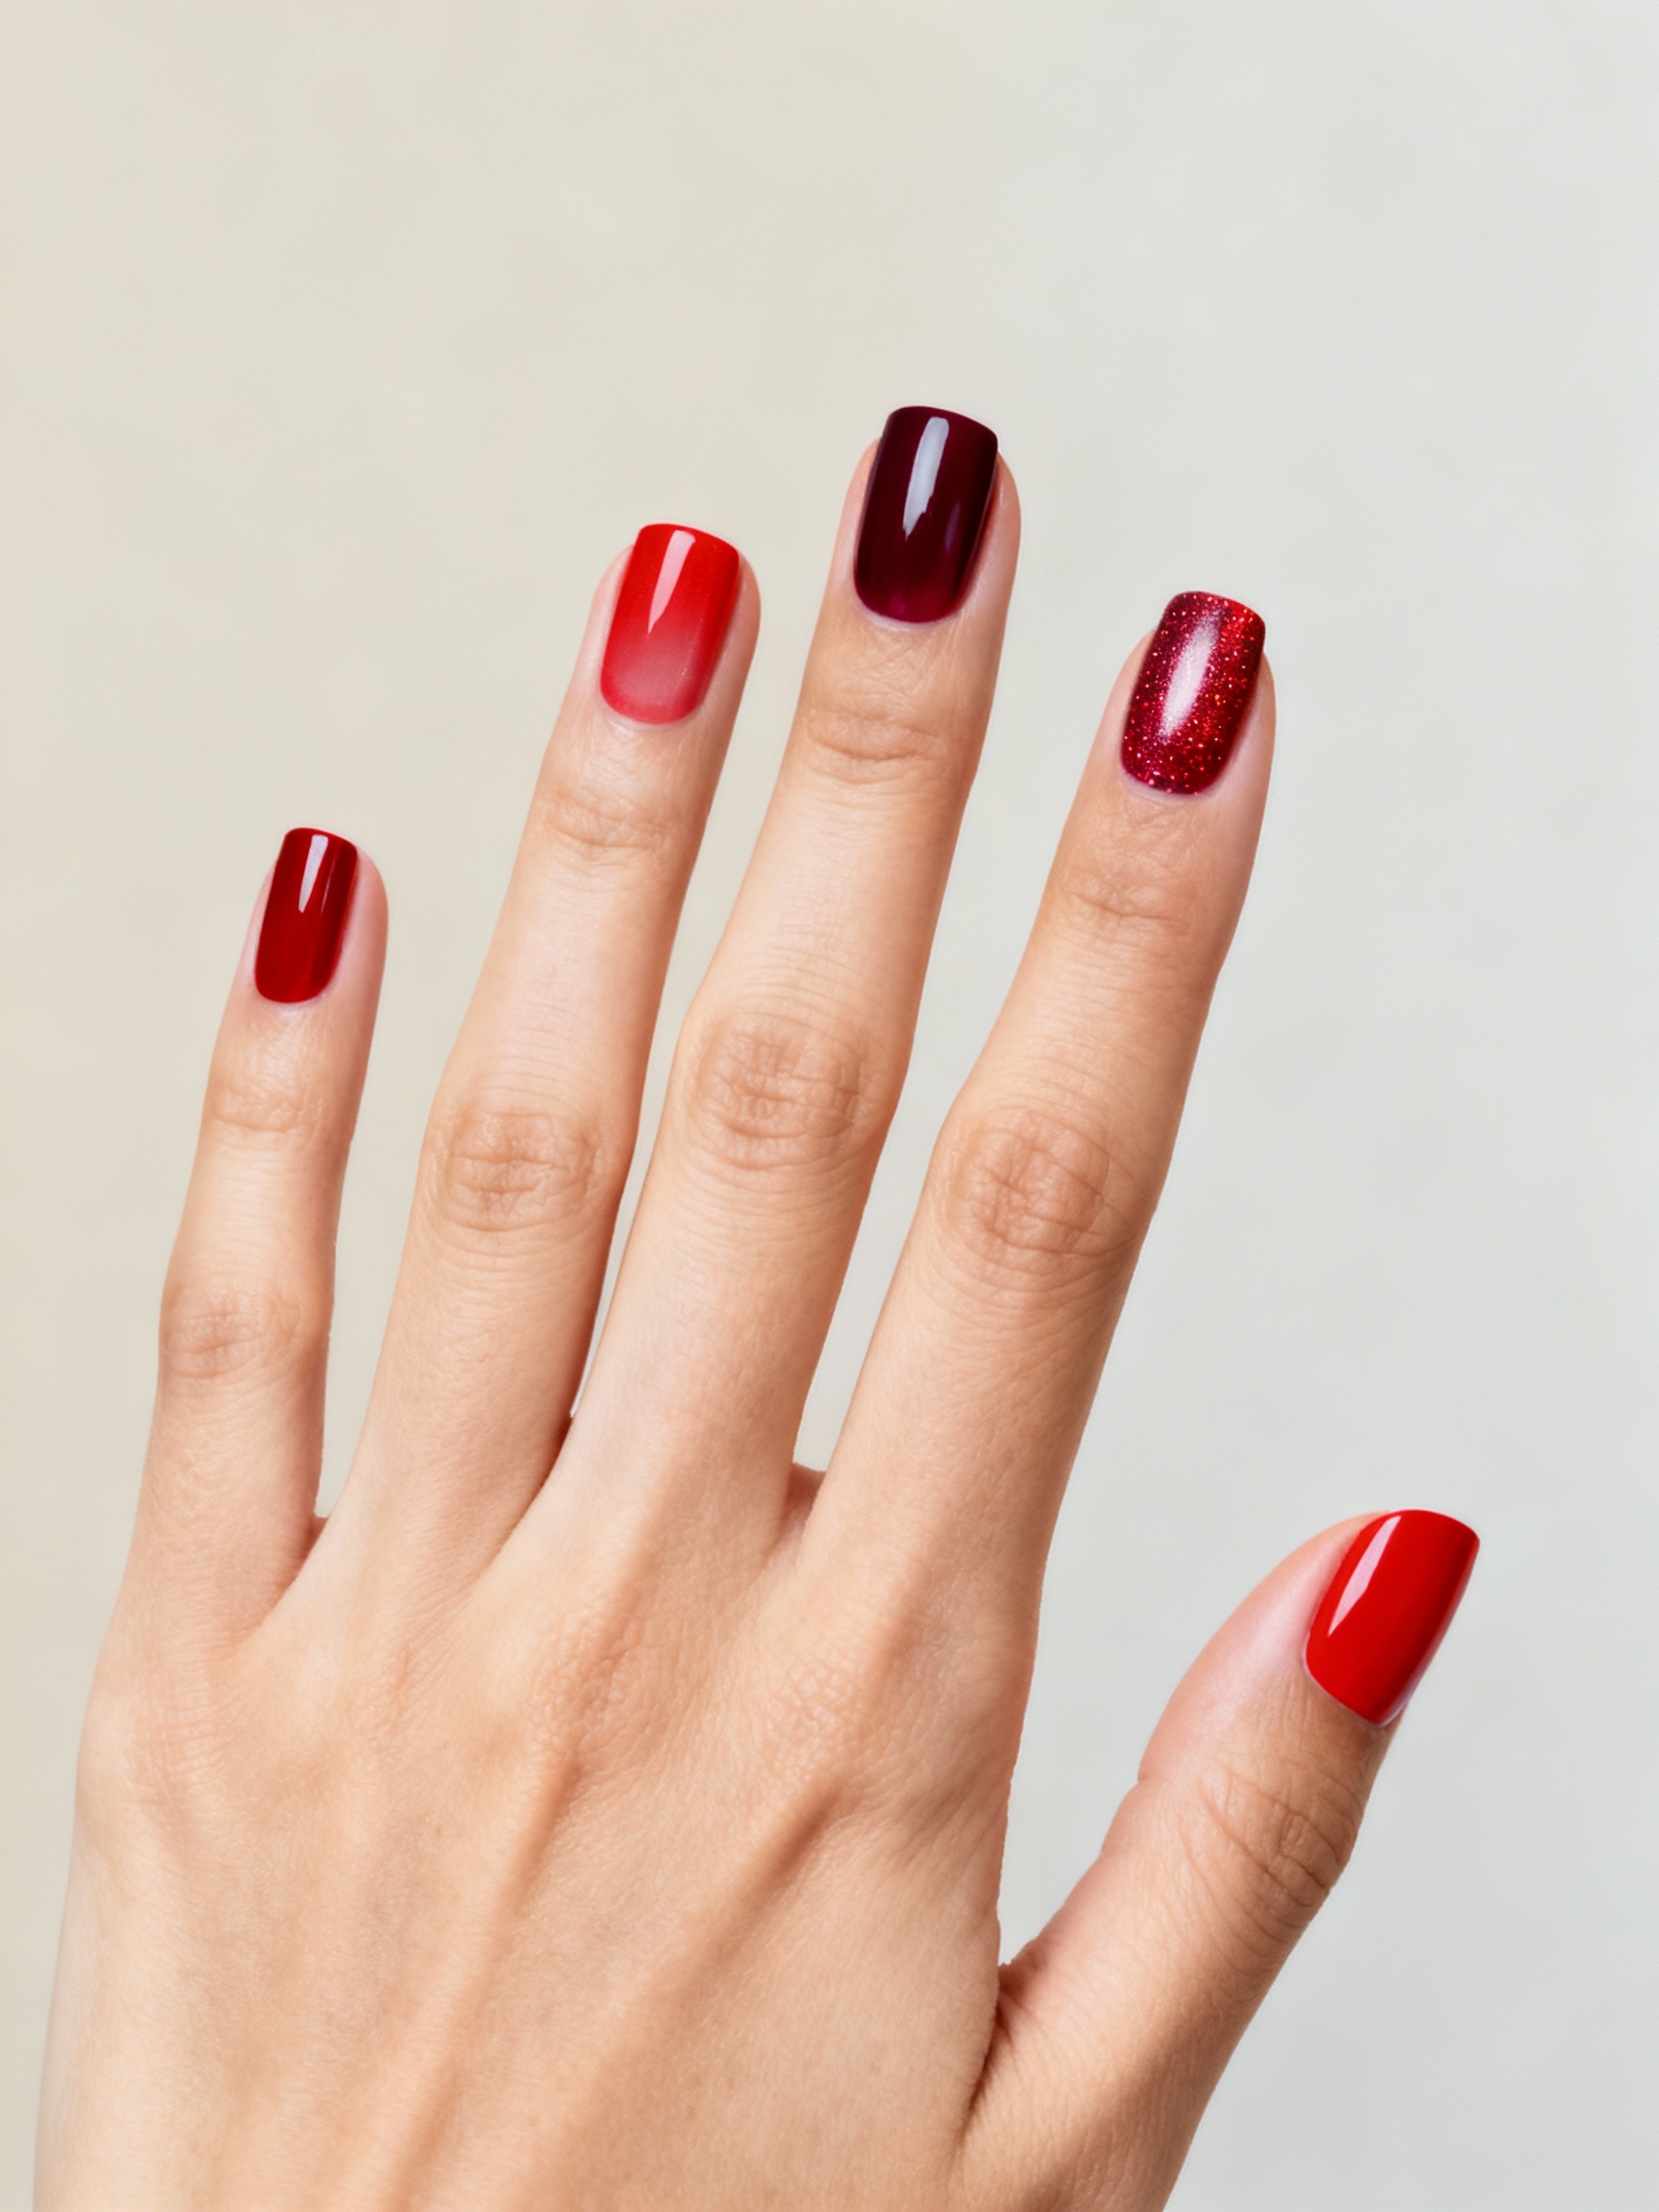
How do you wear brown nail art without it looking muddy or busy? That is the question I get the second a client wants more than a solid coat. The answer is almost always restraint. I tell clients to pick one technique, keep it clean, and let a warm brown base do half the work for them.
Brown is the easiest color to design on, because every accent reads as warm and intentional rather than loud. These ideas focus on the technique behind each look, with honest notes on how it is made, how hard it is, and what to ask for at the salon.
Designing With Brown
- Brown art forgives more than bright art, since every tone in the family blends warmly; the trick is keeping one technique as the focus.
- Negative space, dotting, and crescents are the beginner-friendly designs; chrome, cat-eye, and foil need a salon and a no-wipe top coat.
- A designed brown gel set runs about $50 to $80, with intricate art like tortie or hand-painted swirls adding $15 to $30.
- Keep busy art to one or two accent nails over solid brown, so the design looks deliberate rather than crowded.
Caramel-Glazed Minimalist Swirls

Minimalist swirls draw one thin caramel line curving across a glazed nude base, the most restrained brown art there is. The single stroke looks modern and quiet, which is exactly why it works.
Why One Line Is Enough
The swirl is hand-painted with a fine liner brush, so a steady hand matters more than length here. One line per nail is the whole design, and that simplicity is exactly why it never looks dated.
It is the brown art I steer minimalists toward, since it adds interest without a hint of clutter. A glazed top coat ties the swirl and base into one smooth surface.

Espresso Negative-Space Tips

Negative space leaves part of the natural nail bare and paints only the tips or edges in glossy espresso, a modern, graphic take on the french. The contrast of bare nail and dark brown is the whole design.
It is more forgiving than a full french because the line can be loose and asymmetric on purpose. The bare space also makes grow-out nearly invisible, so this is a smart pick if you stretch between fills. Ask your tech for a clean, slightly angled tip rather than a straight one for a more current look.
Nail Tech Tip
The fastest way to ruin brown art is to put a busy design on every nail. Keep the pattern to one or two accent nails over solid brown, and the whole set instantly looks more expensive and intentional.
Feather-Light Smoky Taupe Fade

A smoky taupe fade airbrushes or sponges a soft taupe out from the cuticle or tip, leaving a hazy, feathered blur rather than a hard line. The diffused effect is soft and a little ethereal. Nothing about it is sharp.
Because the edges melt into nothing, this design hides imperfections and grow-out beautifully, which makes it one of the lowest-stress to wear. The blur comes from building sheer layers, so it takes patience more than precision.
It is a gentle, grown-up alternative to a bold ombre, and it suits anyone who finds high-contrast art too much.
Glossy Molten Cocoa Chrome

Cocoa chrome buffs a reflective powder over a deep brown base until the surface turns to liquid mirror. It is the boldest design on this list. It needs no other art to make a statement, which is exactly the point.
The chrome powder requires a gel base and a no-wipe top coat to hold its shine, so this is firmly a salon job. Expect to add $10 to $15 to your usual gel price.
Chrome shows chips fast, so save it for a week you can get a quick repair, and know it reflects whatever color sits around your hands.
Two brown nail-art myths worth clearing up:
❌ Myth: Brown art always looks muddy
✅ Reality: Only when too many tones pile up. One clean technique on a warm base looks crisp and deliberate, never muddy.
❌ Myth: Nail art has to be complicated
✅ Reality: Some of the chicest brown designs, like a single swirl or a bare crescent, are the simplest and easiest to wear.
Amber Tortie Tips With Gold

Tortoiseshell tips with a thin gold line are the luxe end of brown art, mottling amber and dark brown at the edge and finishing with a gilded stripe. The gold lifts the warm tortie into something jewelry-like.
It looks intricate but the tortie blots are forgiving, since they are meant to be uneven.
- Dab amber and dark brown at the tips, blur the edges, then add a fine gold line.
- Keep the tortie to the tips so the design stays elegant rather than busy, and let the rest of the nail stay a clean amber or nude.
- A glossy top seals the gold and gives the tortie its translucent depth.
Mocha Matte With Glossy Accents

Pairing a matte mocha base with a glossy accent, a single shiny stroke, dot, or tip, sets texture against texture for a subtle, clever design. Matte against shine is the entire trick, no color change needed.
- Apply a matte top coat over mocha, then add a glossy detail with a no-wipe gloss.
- A glossy heart, line, or tip on a matte base looks modern and minimal.
- It is an easy design to ask for, since it relies on finish rather than fine art, which makes it a smart pick if your tech is short on time.
Brown is the most forgiving color to design on. Every accent reads as warm and intentional, so even a shaky line still looks like it belongs.
Buttery Brown Checkerboard

A checkerboard in two buttery browns is the playful, retro-leaning design, graphic but cozy thanks to the soft tonal shades. Keeping both colors in the brown family is what stops the grid from reading loud.
- Hand-paint a grid alternating a light and mid brown on one or two accent nails.
- A fine brush and steady hand keep the squares crisp, so this is a salon set.
- Balance the busy nails with solid brown on the rest of the hand.
Sheer Nude Espresso Dots

Scattering tiny espresso dots across a sheer nude base is the most delicate brown design, subtle from a distance and detailed up close. It is the grown-up version of polka dots, and one of the easiest patterns to attempt at home.
The dots are placed with a fine dotting tool, kept loose and organic rather than a rigid grid. Because the base is sheer, grow-out barely shows, and a single dotting tool plus a steady hand is all the equipment it takes, which is why I point DIY-curious clients here first.
Milky Caramel Marble

Milky caramel marble swirls a soft caramel through a creamy base in watery, organic lines that look like cream stirred into coffee. The marbling is artistic but tonal, so it stays soft and sophisticated.
Every nail comes out a little different, which is part of the charm of any marble.
- Drag a fine brush of caramel through a wet, milky base in loose lines.
- Keep the swirls organic rather than tight, so it reads watery and soft.
- Seal with a glossy top so the marble looks glassy. For solid shades, see our brown nail looks.
Chocolate Velvet Cat-Eye

A chocolate cat-eye hides magnetic particles that pull into a single glowing streak when a magnet passes over the wet gel. In a deep chocolate, the streak glows like light through dark amber, giving real drama with no hand-painted art.
How the Magnet Works
The whole effect lives in the gel, so it is quick for a tech to create but impossible to do without the magnet.
Ask for the streak angled toward the cuticle for the most flattering line, and keep the shape simple so the shifting light stays the star.
Burnished Bronze Foil Accents

Burnished bronze foil presses thin, torn flakes of metallic leaf onto a brown base for a broken-mirror, molten-metal effect. The irregular foil catches light and feels artistic and a little raw.
It is more forgiving than precise line work, since the torn foil is meant to look random.
- Press bronze foil flakes onto a tacky gel layer, then seal under a top coat.
- Keep the foil to one or two accent nails so it stays luxe, not overwhelming.
- A thick top coat smooths the foil edges so nothing snags.
Walnut Crescent-Moon Chic

A walnut crescent leaves a bare half-moon at the cuticle, a reverse-french detail that feels quietly retro and refined. The negative-space crescent is subtle, grown-up, and disguises regrowth as it shifts.
It is one of the most elegant brown designs and easier than it looks, since the crescent can be freehand.
- Leave a small bare crescent at the base and paint the rest in glossy walnut.
- The bare moon hides grow-out, stretching the set a little longer.
- Short, neat nails wear the crescent best. It can look fussy on very long tips, where the bare moon stretches out of proportion.
What to Expect
A designed brown set runs about $50 to $80, with intricate hand-painted art like tortie, swirls, or checkerboard adding $15 to $30 and extra chair time. Negative space, dotting, and crescents are the beginner-friendly designs you can attempt at home with a single tool, while chrome, cat-eye, and foil need a salon, a gel base, and a no-wipe top coat to hold.
Whatever you choose, the golden rule is restraint: keep the busy art to one or two accent nails over solid brown, so the design reads deliberate rather than crowded.
Brown art is the most forgiving place to experiment, since every warm tone blends rather than clashes, and grow-out hides easily in negative-space and faded designs. Match the difficulty to your patience and your budget, bring a clear reference photo for anything hand-painted, and your tech can tell you in seconds whether it is a quick add-on or a full art appointment.
For solid shades and finishes, see our brown nail looks, or browse seasonal ideas in our brown fall nails.
Designing Your Brown Set
Brown nail art proves that earthy can be anything but boring, from a single caramel swirl to a glowing chocolate cat-eye to torn bronze foil catching the light. The thread through all of it is restraint: one technique, kept clean, on a warm brown base, with the busy art held to an accent nail or two. Match the difficulty to your patience and budget, lean on negative space and dots if you want to try it yourself, and leave the chrome and foil to a tech.
So which design speaks to you, the barely-there crescent you could wear to work or the molten chrome you save for when you want your hands to do the talking?
Don’t Miss These