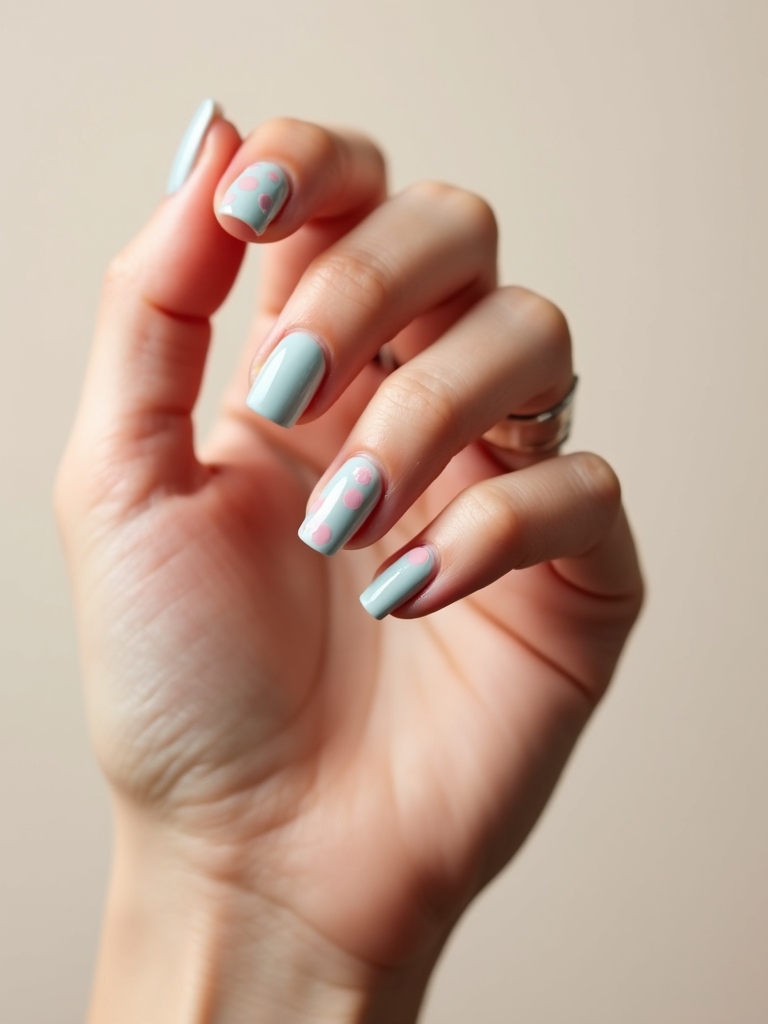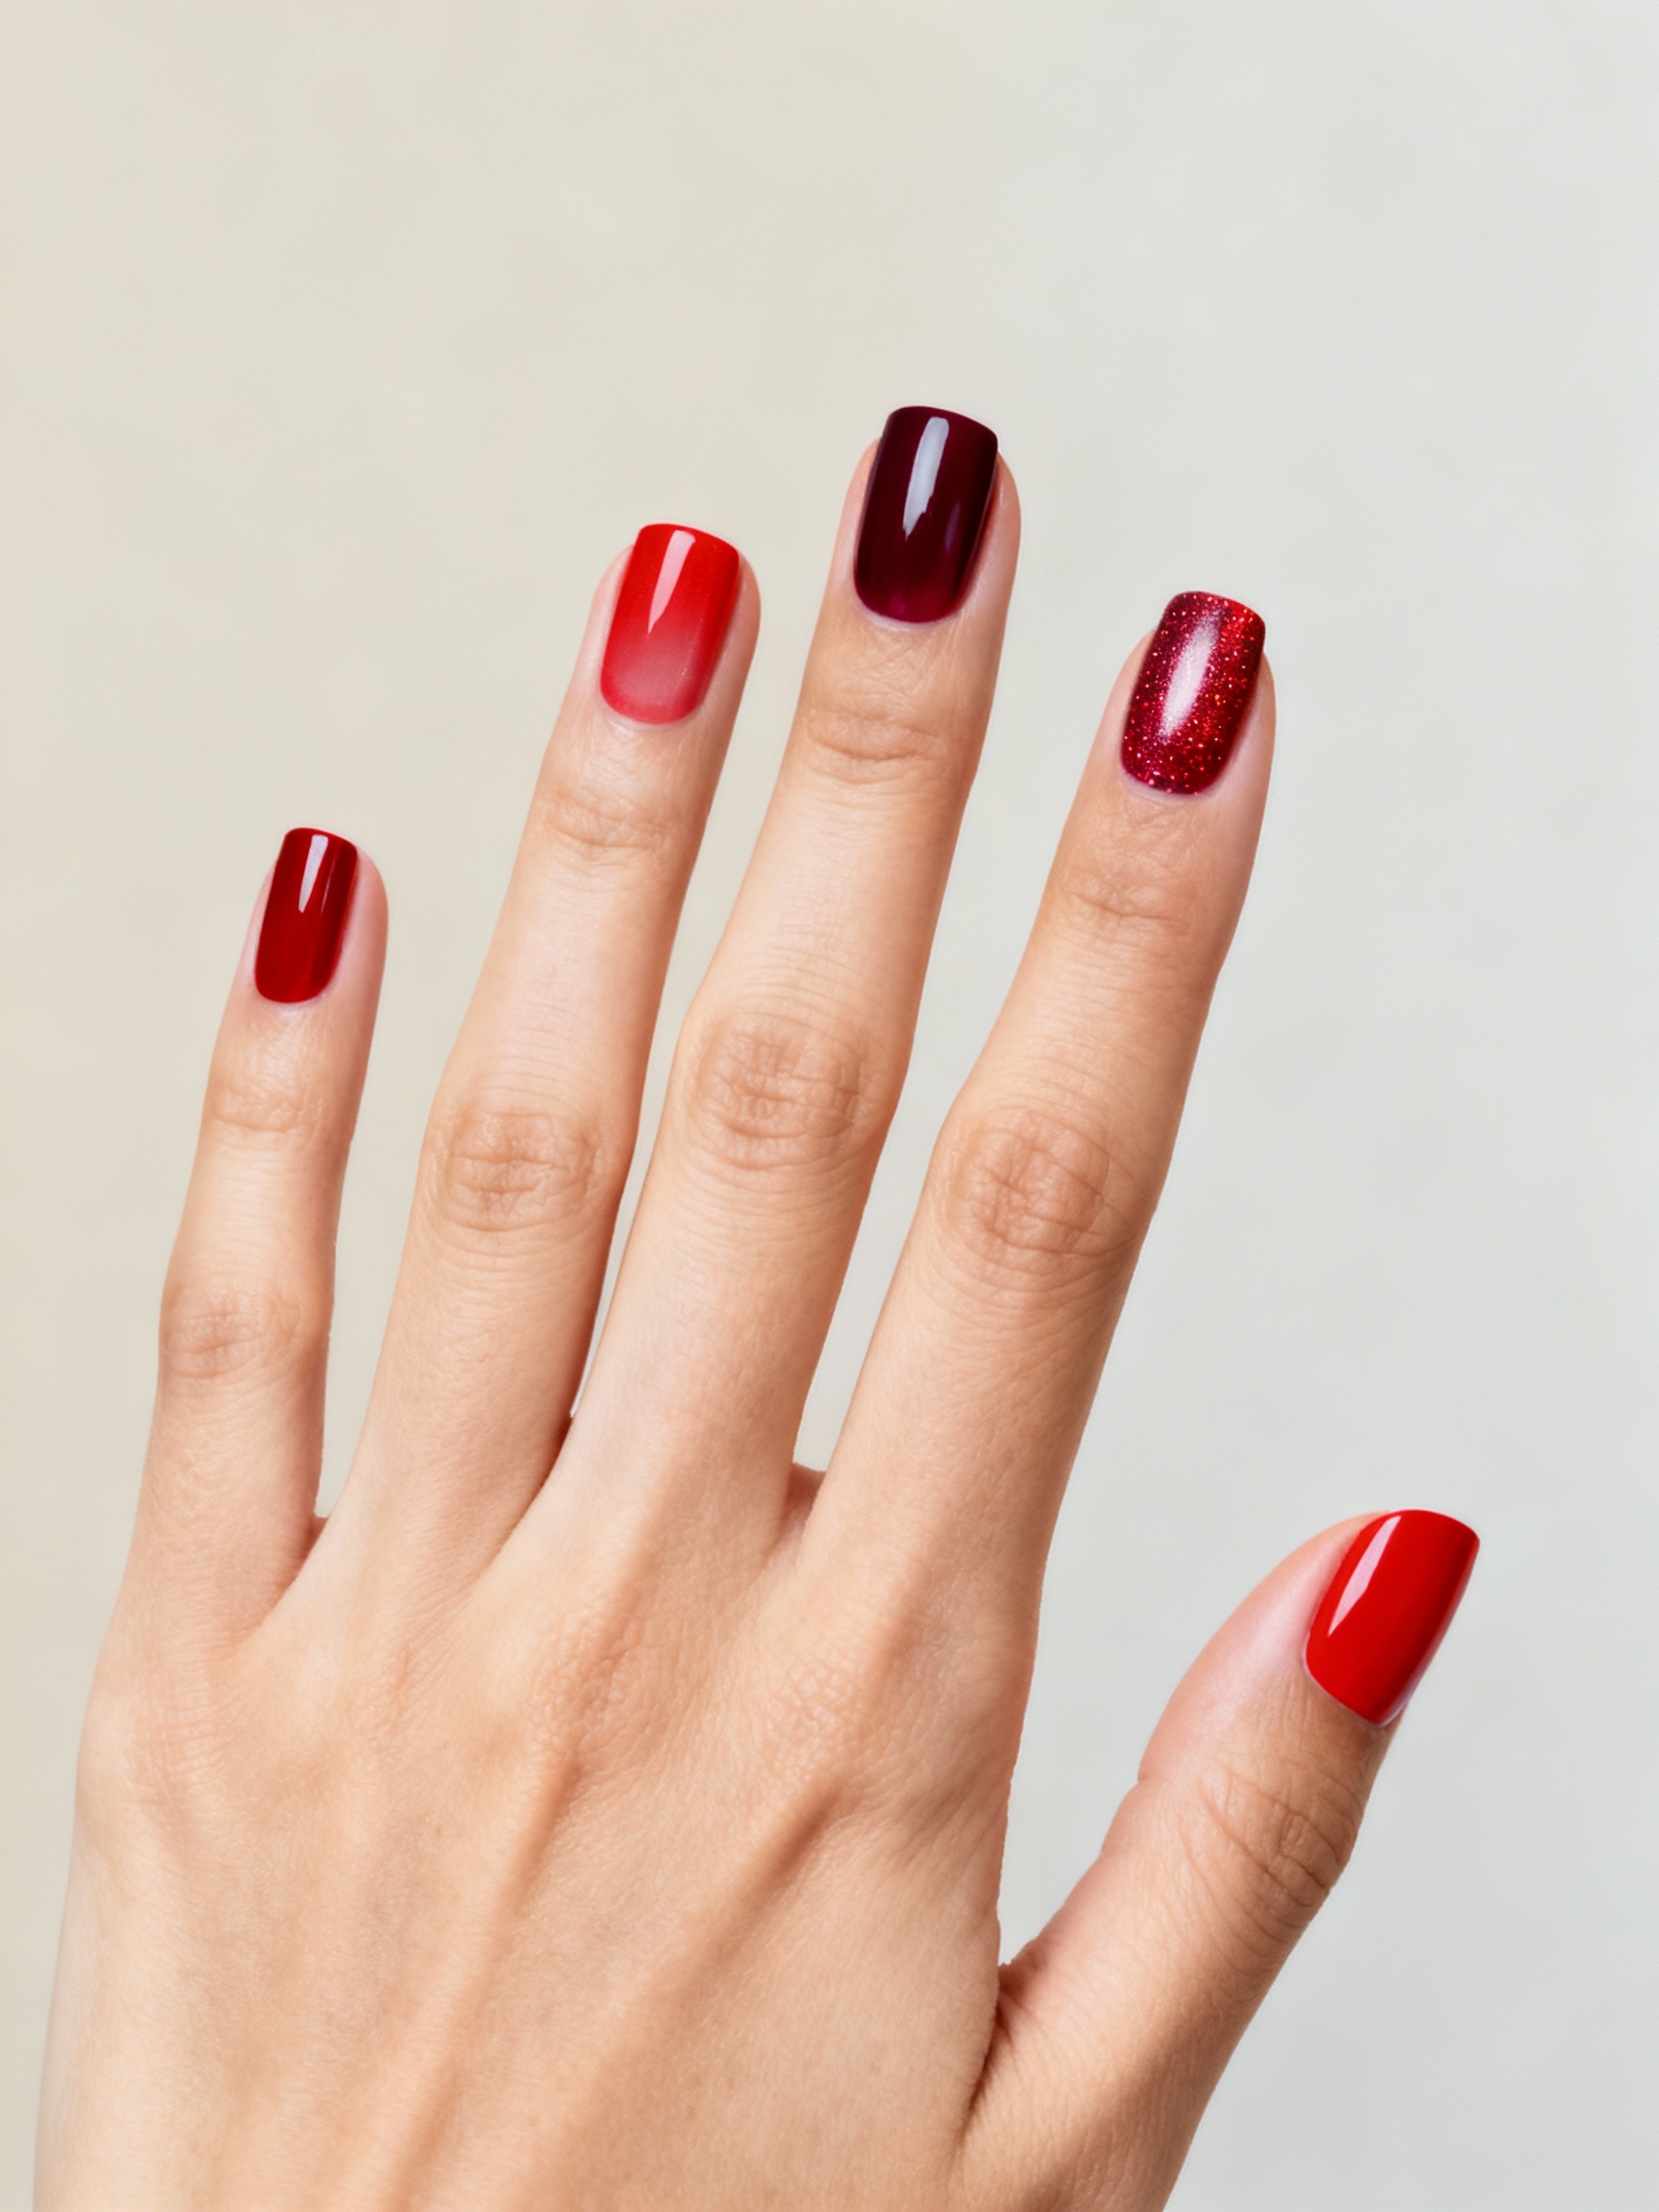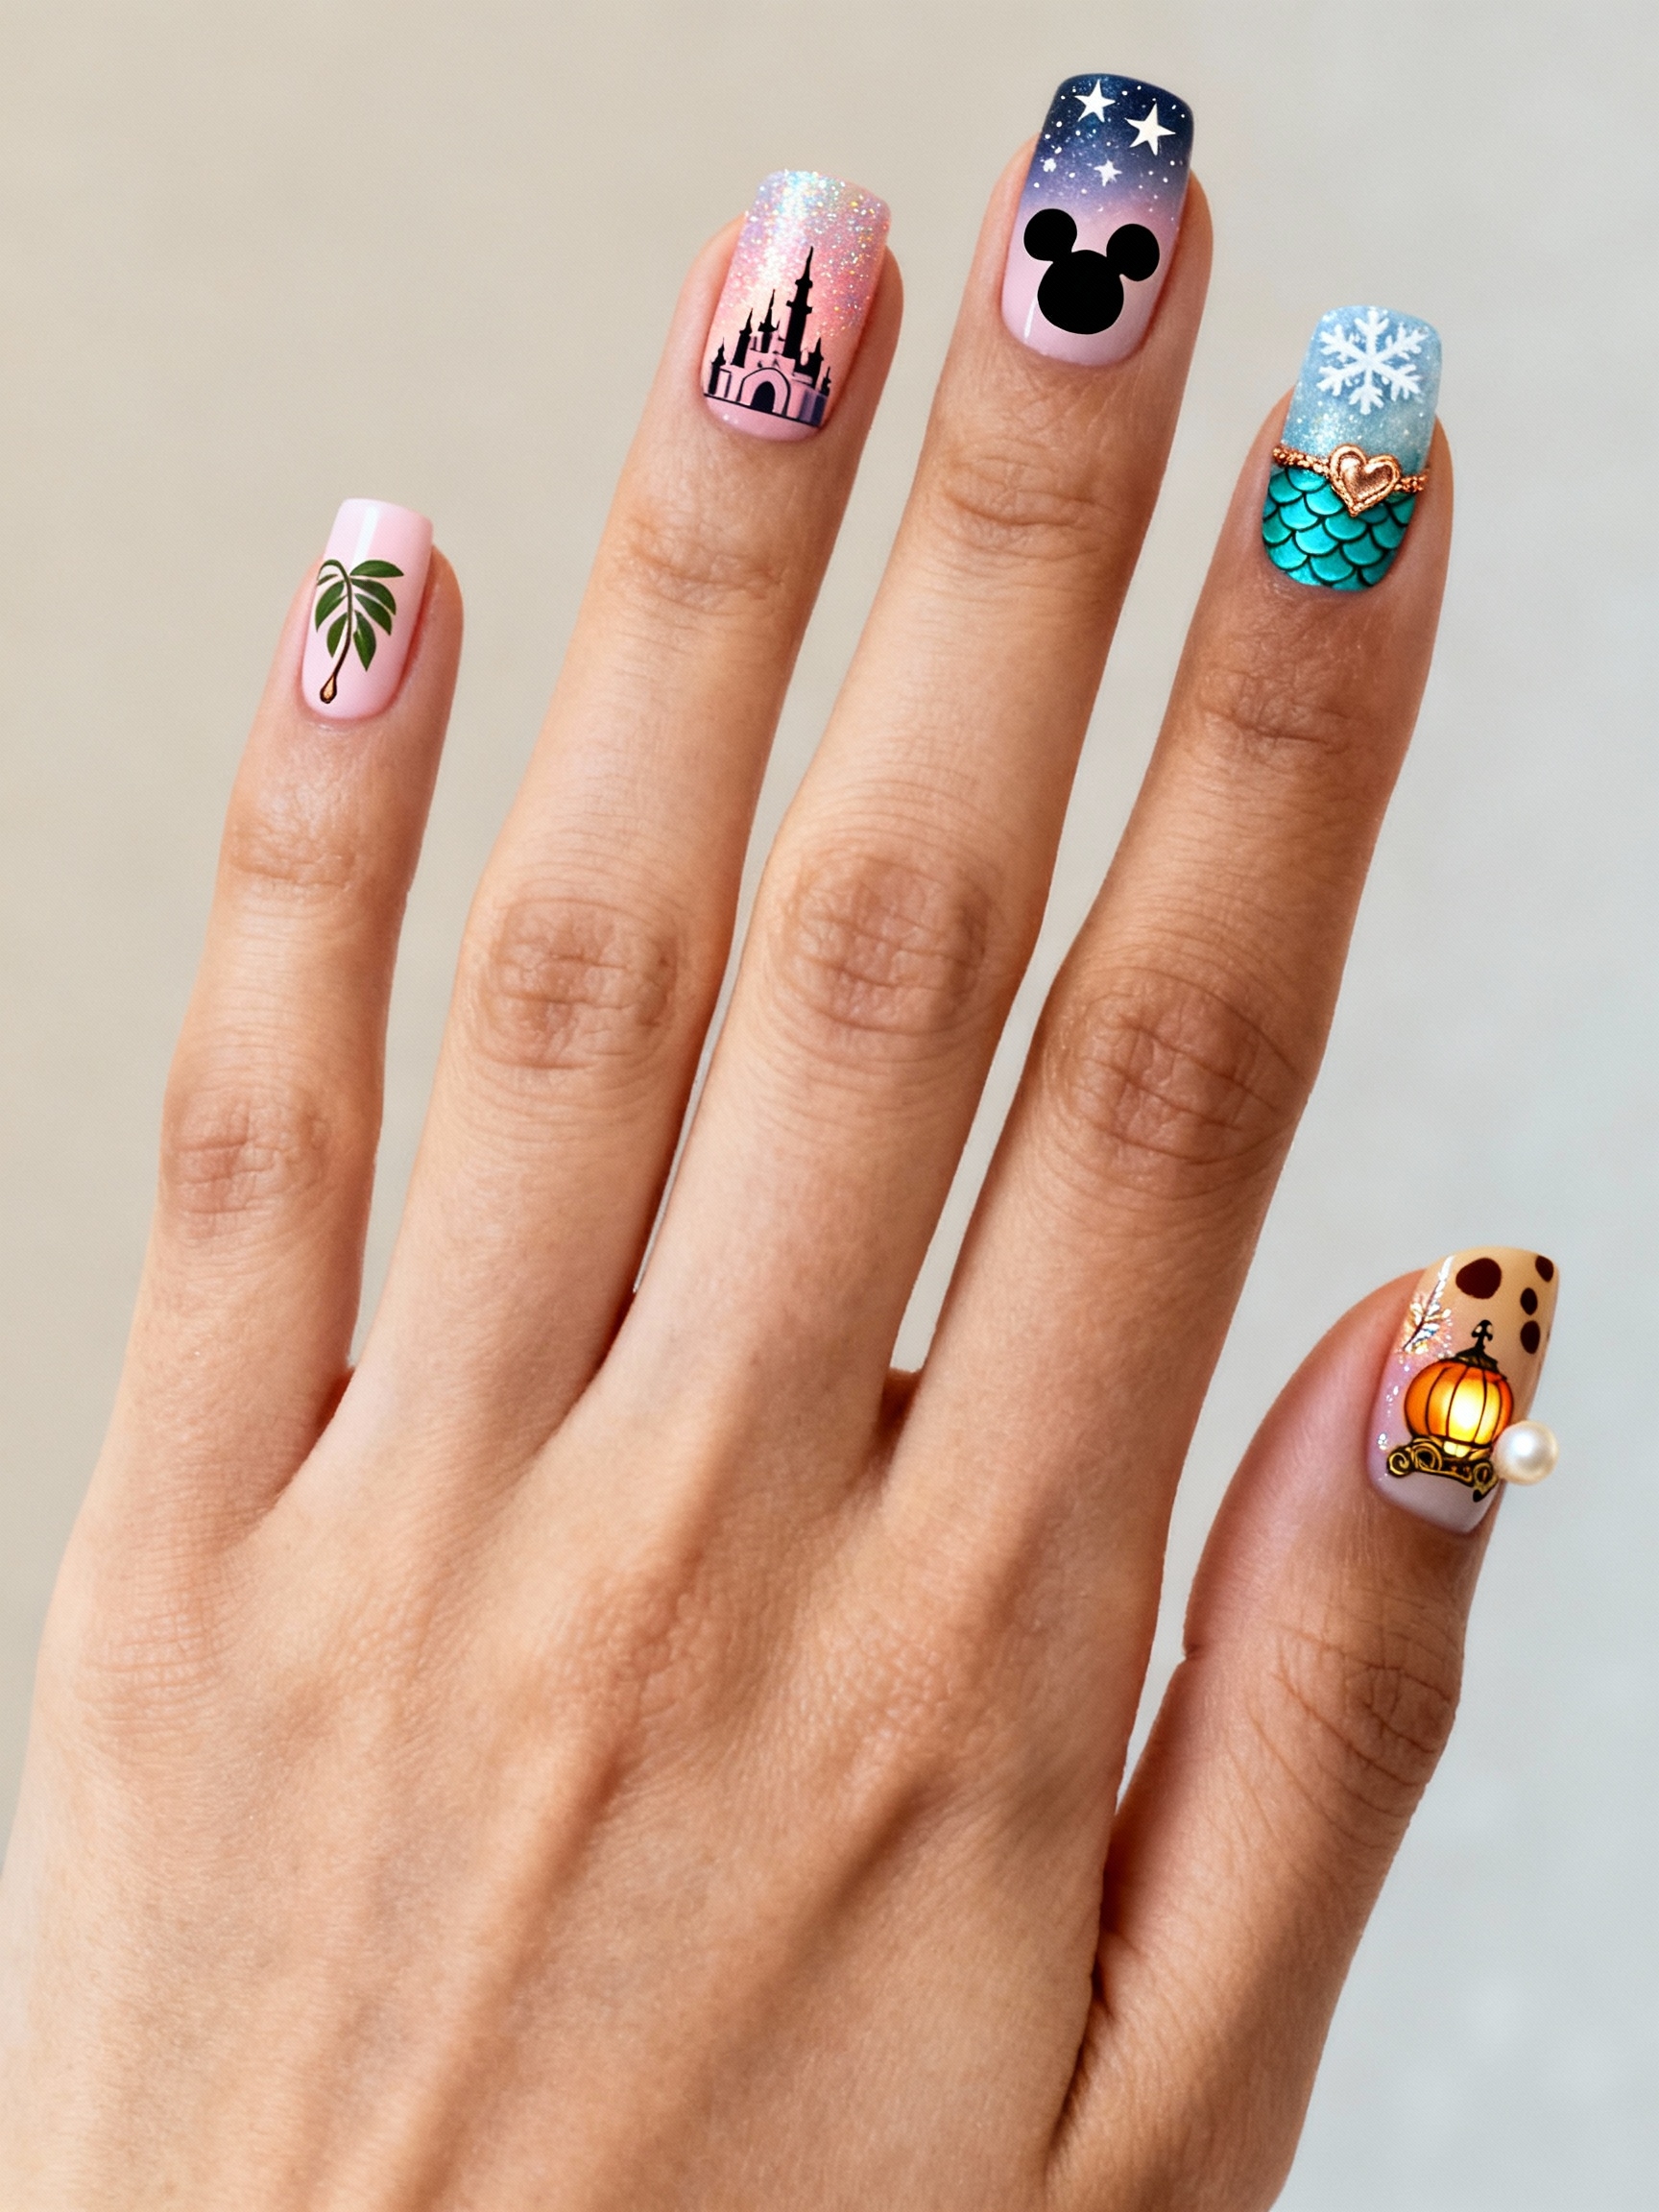
There is a way to wear Disney nails that does not look like you raided the kids’ section, and it comes down to restraint. A tiny taupe Mickey silhouette, a sweep of Cinderella blue, a single stained-glass rose: these nod to the magic without shouting it. Worn this way, themed nails feel like a private little wink rather than a costume.
The eleven designs below skew grown-up, perfect for a park trip, a Disney-loving bride, or just a day you want a bit of whimsy. For each I will tell you how it comes together, how much you can do at home, and where to keep it subtle, since the line between charming and childish is all in the styling.
The Quick Version
- Subtlety is everything. A small silhouette or a single themed accent nail looks chic; a full hand of characters tips into costume.
- Neutral and pastel bases keep Disney nails grown-up, even with a playful motif on top.
- Silhouettes, dots, and ombre are doable at home; detailed character art is better left to a skilled tech.
- A gel set holds the art two to three weeks and runs about $45 to $75 depending on the detail.
Soft Taupe Mickey Silhouettes

This is the design I recommend to anyone nervous that themed nails will look childish. A tiny tonal silhouette of the famous three-circle shape, in taupe on a nude base, is so subtle it passes as abstract art unless you know to look.
It is the grown-up gateway to Disney nails, office-appropriate and quietly magical at once. I do this one for clients who love the parks but work somewhere buttoned-up, and not one colleague ever clocks it as a character. Build it like this:
- Paint a nude or soft taupe base matched close to your skin so it reads polished.
- Add one small tonal silhouette, a shade deeper than the base, on a single accent nail.
- Keep it to one nail and skip any color, so the whole thing stays understated. The almond nails shape suits this minimal look.

Dreamy Cinderella Blue

Cinderella blue is one of those shades that carries a whole story in a color: a soft, dreamy periwinkle with a hint of sparkle that nods to the famous ball gown. You do not need any character art for this one. The shade does all the work, which makes it the easiest princess-inspired set here, and a favorite of mine for a soft, romantic everyday manicure that still carries a little story.
- Paint two coats of a soft periwinkle blue for an even, dreamy base.
- Layer a fine silver shimmer over the top so it glints like the gown under chandelier light.
- Keep it to the color alone, or add a tiny silver accent. The soft blue flatters every skin tone, leaning a touch deeper on rich skin for visibility.
A subtle Mickey silhouette at home, step by step:
1Nude base
Paint two coats of a nude matched to your skin and cure or dry fully.
2Dot the head
Use a large dotting tool to place one circle on an accent nail in a slightly deeper shade.
3Add the ears
Place two smaller dots at the top corners of the head to form the silhouette.
4Seal it
Finish with a glossy top coat so the tonal silhouette stays smooth and subtle.
Gold-Foiled Stained-Glass Rose

This nods to the enchanted rose under its glass dome, with a single rose outlined in gold foil like the leading in stained glass. It is romantic and a little opulent, the most elegant design here, and lovely for a Disney-loving bride who wants the nod kept refined. Build it like this:
- Lay a soft blush or sheer base, then paint a simple rose outline on one accent nail.
- Trace the rose and a few leading lines in gold foil for that stained-glass effect.
- Keep the rest of the nails solid blush or nude so the gold rose stays the focus, and seal high-gloss.
Sunrise Pastel Ombré

A sunrise ombré melts soft pastels, pink into peach into lilac, like the sky over a castle at dawn. It carries the dreamy Disney feeling through color alone, with no character art at all, which makes it both wearable and beginner-friendly.
Sponge the pastel shades onto each nail while wet, blending the seams into a soft sunrise fade, then dust a fine iridescent shimmer over the top.
Keep the colors soft and the blend smooth so it reads like a watercolor sky. The pastels suit every skin tone; on deep skin, choose slightly more saturated versions so the fade stays visible. The classy nails guide has more soft sets.
Heads-Up
Themed nails tip into costume fast when you put a character on every finger. Keep the art to one or two accent nails and the rest in a coordinating solid or pastel. If you want it truly subtle, go tonal, a silhouette only a shade deeper than the base reads as elegant abstract art.
Minnie-Inspired Red Dots

The red-polka-dot-and-bow motif is instantly recognizable, and kept minimal it stays retro and sweet rather than cartoonish. It is a playful, cheerful set that still looks deliberate, which is the whole trick with a recognizable theme.
Keeping It Retro, Not Cartoonish
Paint a white or cream base, then add evenly spaced red polka dots and a small red bow on one accent nail.
Keep the dots tidy and the bow simple. The red-on-white is crisp and flattering on every skin tone, and the look is forgiving enough to attempt at home, since a slightly uneven dot only adds charm.
Glossy Black and Poison Green

Not every Disney nail has to be sweet. A glossy black paired with a poison green channels the villains, all drama and mischief, for anyone who has always rooted for the bad guy. It is the edgiest set here, and the most grown-up. It works as a chic color story rather than a literal character.
Alternate glossy black and acid green across the nails, or pair a black base with a single green accent, and seal high-gloss so both look lacquered.
Add a thin gold line if you want a regal, villainous touch. The black-and-green contrast looks striking on every skin tone. For more moody sets, the dark nails guide has plenty.
A couple of Disney-nail myths worth clearing up:
❌ Myth: Disney nails always look childish
✅ Reality: Only when they are literal and crowded. A tonal silhouette, a single themed shade, or one accent nail reads grown-up and chic, even for a wedding.
❌ Myth: You need a pro for all of them
✅ Reality: Not at all. Silhouettes, dots, color fades, and a single shade like Cinderella blue are all doable at home; only detailed scenes really need a skilled tech.
Iridescent Mermaid Scales
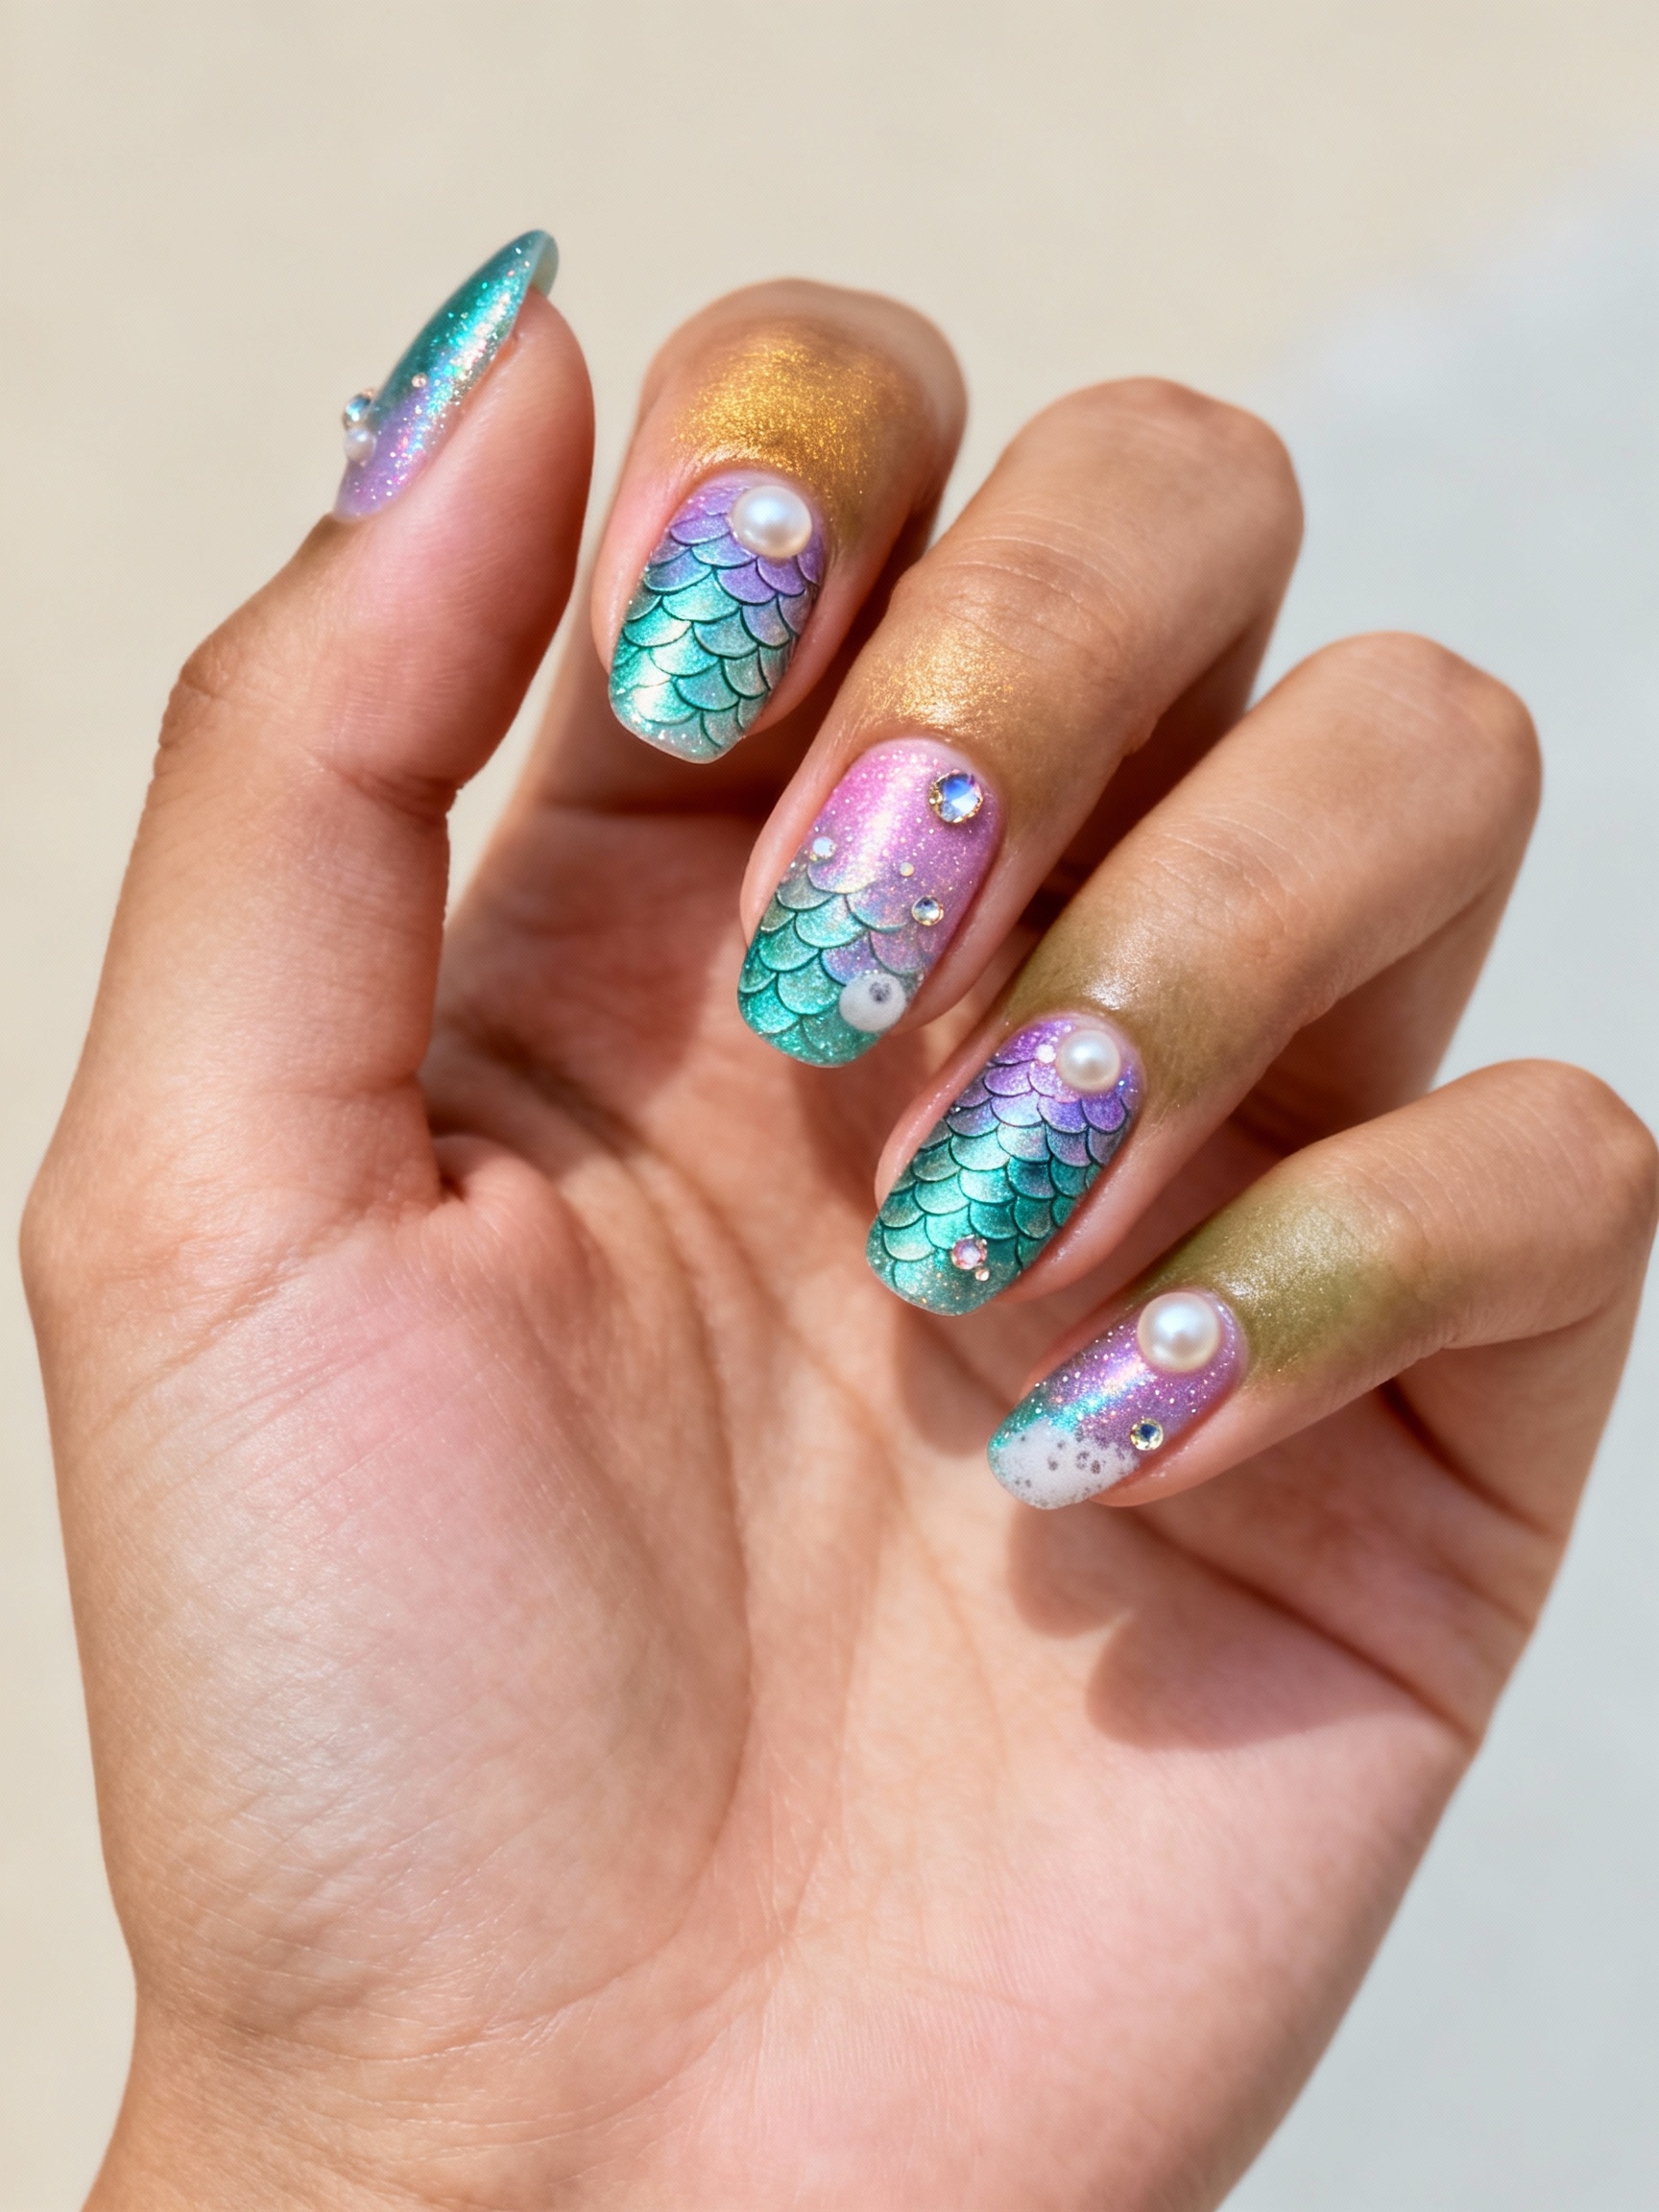
Mermaid-scale nails shimmer with an iridescent, scalloped pattern that nods to the under-the-sea princess, catching the light like fish scales as your hands move. It is magical and eye-catching. The scale effect is easier than it looks with the right tool.
- Over an iridescent teal or lilac base, press a small fishnet stencil onto the nail.
- Sponge a contrasting shimmer over the stencil, then lift it to reveal the scale pattern.
- Seal high-gloss so the scales catch the light. The shifting iridescence flatters every skin tone beautifully.
Glossy Nude With Tiny Icons

This keeps things office-ready with a glossy nude base and a few tiny hand-painted icons, a little lamp, a balloon, a star, scattered on one or two nails. The neutral base is what makes it work, letting the small icons feel like a secret rather than a statement. Build it like this:
- Match a glossy nude to your skin for a clean, polished base across all nails.
- Paint one or two tiny icons on a single accent nail with a fine detail brush.
- Keep the icons small and sparse so they read as a sweet detail, not a busy scene.
Royal Blue Apple Accent

This pairs a rich royal blue with a single glossy red apple accent, a fairytale nod that feels bold and a little storybook. The deep blue grounds the playful apple, so the whole thing reads chic rather than literal. Build it like this:
- Paint a glossy royal blue across most of the nails for a rich, grown-up base.
- Add a small, glossy red apple on one accent nail with a detail brush.
- Keep the apple simple and the rest solid blue. Royal blue looks striking on every skin tone, especially vivid against deep skin, where the saturated shade really comes alive.
Whimsical Milky Gold

A milky white base dusted with fine gold sparkle is whimsical without a single character, the polish equivalent of pixie dust. It is the most versatile set here. Dressy enough for a wedding, subtle enough for everyday, with all the magic carried by the soft shimmer.
A couple of pointers to keep it soft:
- Build a milky white in thin coats so it stays soft and semi-sheer rather than chalky.
- Dust a fine gold shimmer over the top, concentrating it near the cuticle so it fades out.
- The milky-and-gold combination flatters every skin tone; on deep skin, leave the base a touch sheerer so it glows rather than looking stark.
Moody Lilac Castle Silhouettes

This is the most ambitious design here, a delicate castle silhouette against a moody lilac dusk, the kind of dreamy scene that turns heads. I will be honest that it is the one I send to my most detail-focused colleague. The silhouette style keeps it more forgiving than a detailed portrait, but a full skyline is still a nail-art project, so it is the one I would book a skilled tech for.
When to Book a Pro
The base is a soft lilac-to-dusk gradient, with a fine black castle outline and a scatter of stars on the focal nail.
Keep the castle to one accent nail and the rest a solid lilac, since a full hand of scenery overwhelms. This is the one worth booking a skilled artist for, photo in hand. The chrome nails guide covers metallic accents if you want to add a glint.
Disney Nail Questions, Answered
?How do I make Disney nails look grown-up?
Keep them subtle and tonal. A small silhouette only a shade deeper than a nude base, a single themed color like Cinderella blue, or one painted accent nail with the rest solid all read chic. The childish versions are the literal, crowded ones with a character on every finger.
?Which Disney nail designs can I do at home?
Silhouettes, polka dots, color fades, mermaid scales with a stencil, and single-shade looks like Cinderella blue are all doable at home with a dotting tool, a detail brush, and patience. Detailed character portraits and full castle scenes are better left to a skilled nail tech.
?What colors are best for a Disney-inspired manicure?
It depends on the nod: Cinderella blue periwinkle, villain black and acid green, royal blue, soft pastels for a sunrise fade, or a milky white with gold for pixie-dust whimsy. Neutral and pastel bases keep the look grown-up while still carrying the theme.
?Are Disney nails okay for a wedding?
Absolutely, kept subtle. A gold stained-glass rose, a milky gold shimmer, or a tonal silhouette suits a Disney-loving bride beautifully without looking like a costume. The trick is an elegant base, refined metallics, and the motif kept to one or two accent nails.
?How long do detailed Disney nails last?
A gel set holds the art for two to three weeks before regrowth shows, and runs about $45 to $75 depending on the detail. Simpler tonal and single-shade looks grow out more gracefully, while intricate scenes look best refreshed sooner since the fine detail is the focus.
Magic, Kept Subtle
The secret to Disney nails that you can actually wear out is restraint. A whole hand of characters reads costume, but a single tonal silhouette, a sweep of fairytale color, or one painted accent nail turns the magic into something quietly chic. The more grown-up the base, the more playful the motif can be.
Pick the design that matches your moment, a subtle Mickey for everyday, a stained-glass rose for a wedding, and keep the art to one or two nails. Whether you do it yourself or book a tech for the scenes, a little movie magic at your fingertips is always within reach.
More Hair Ideas