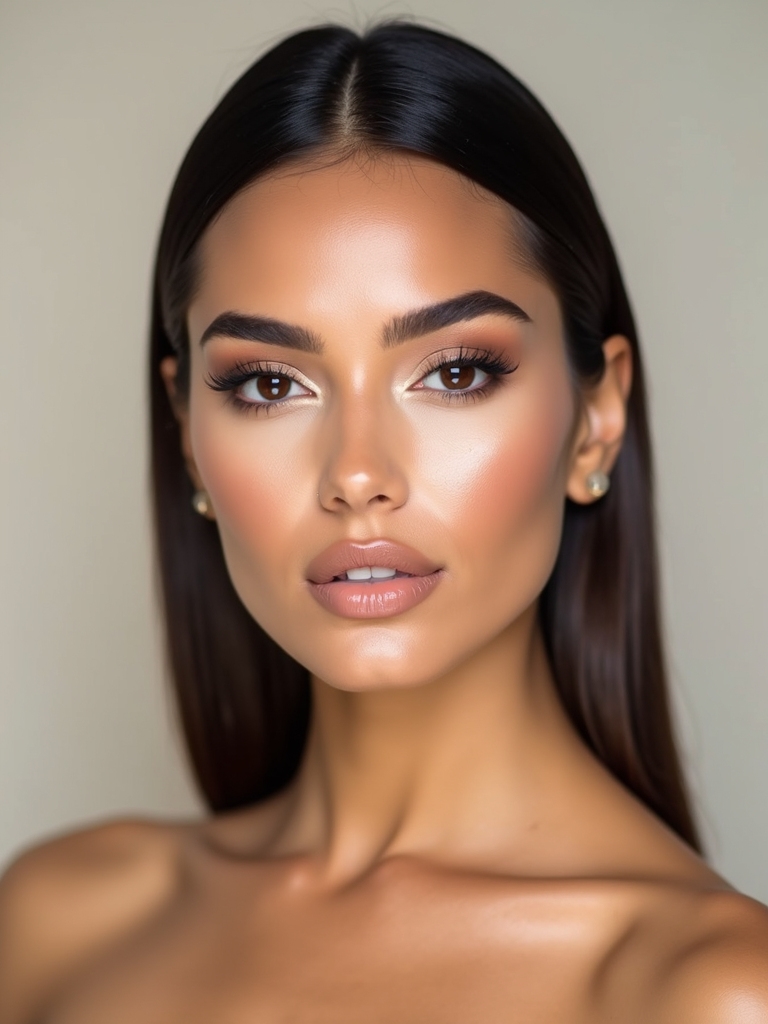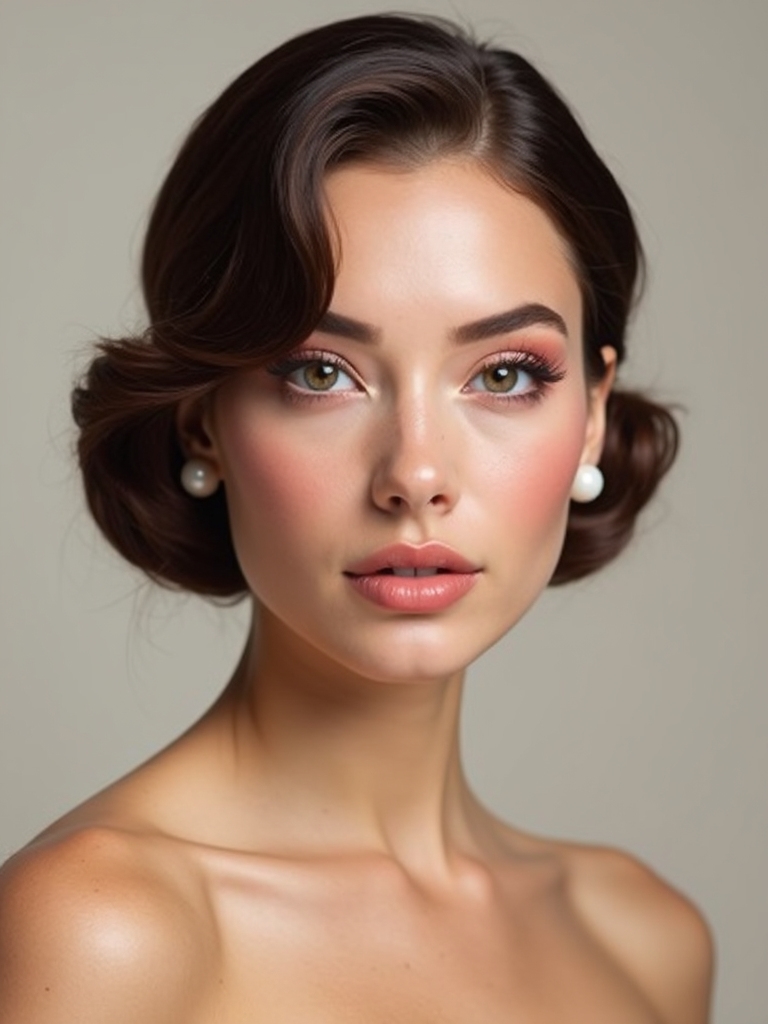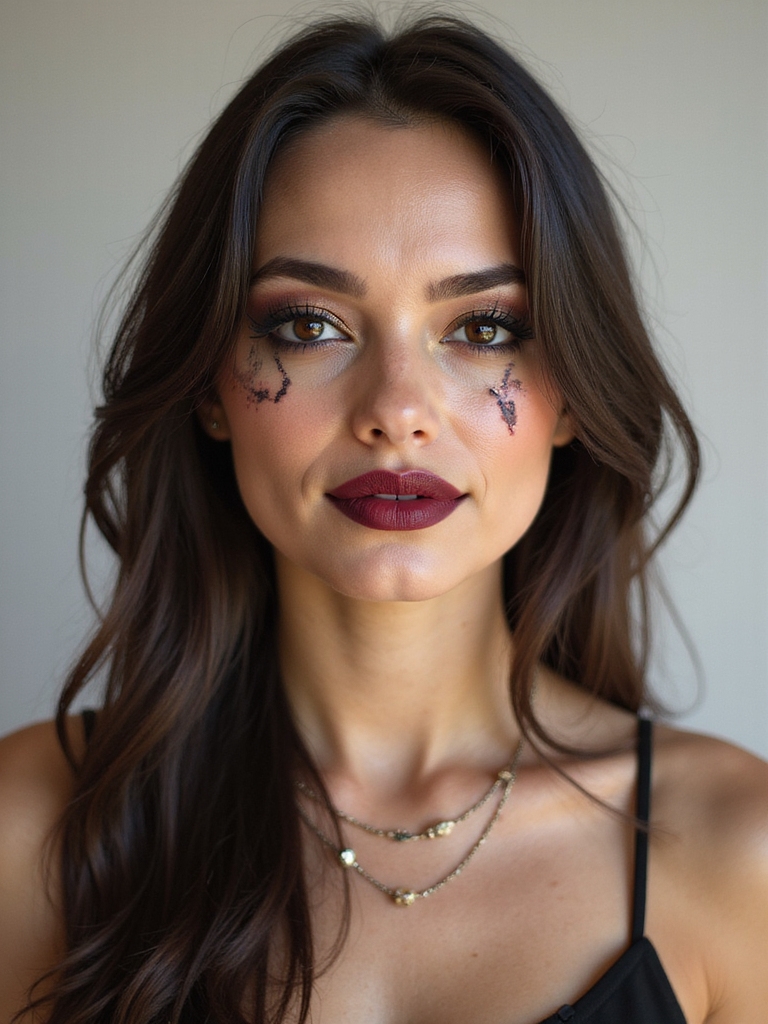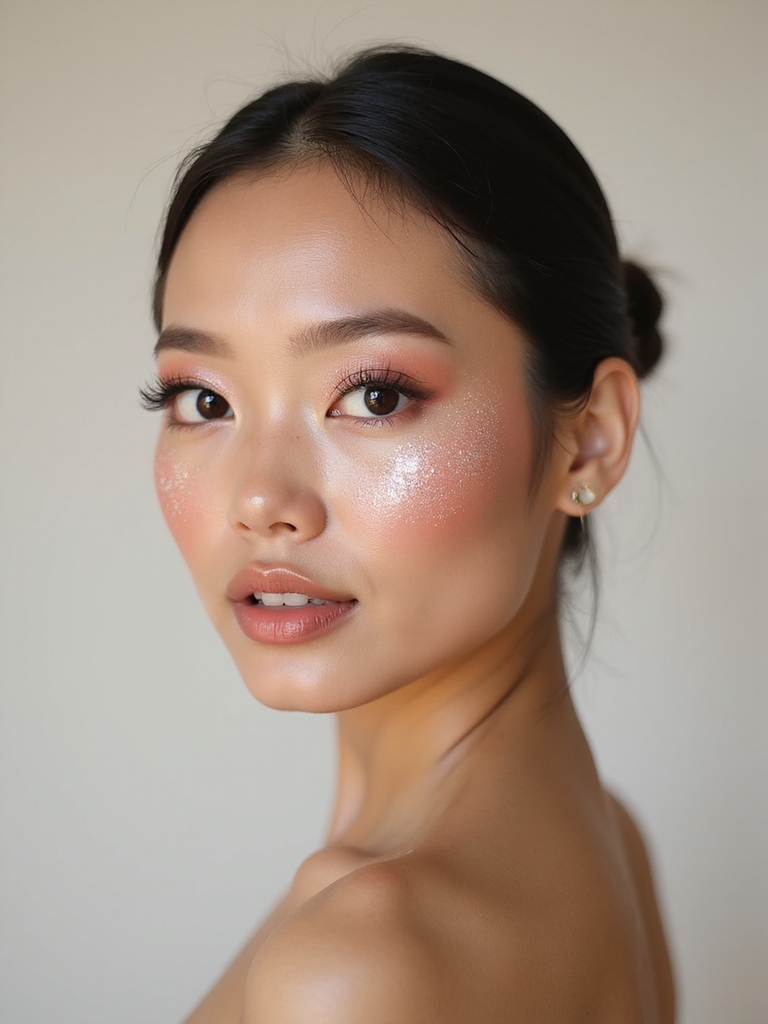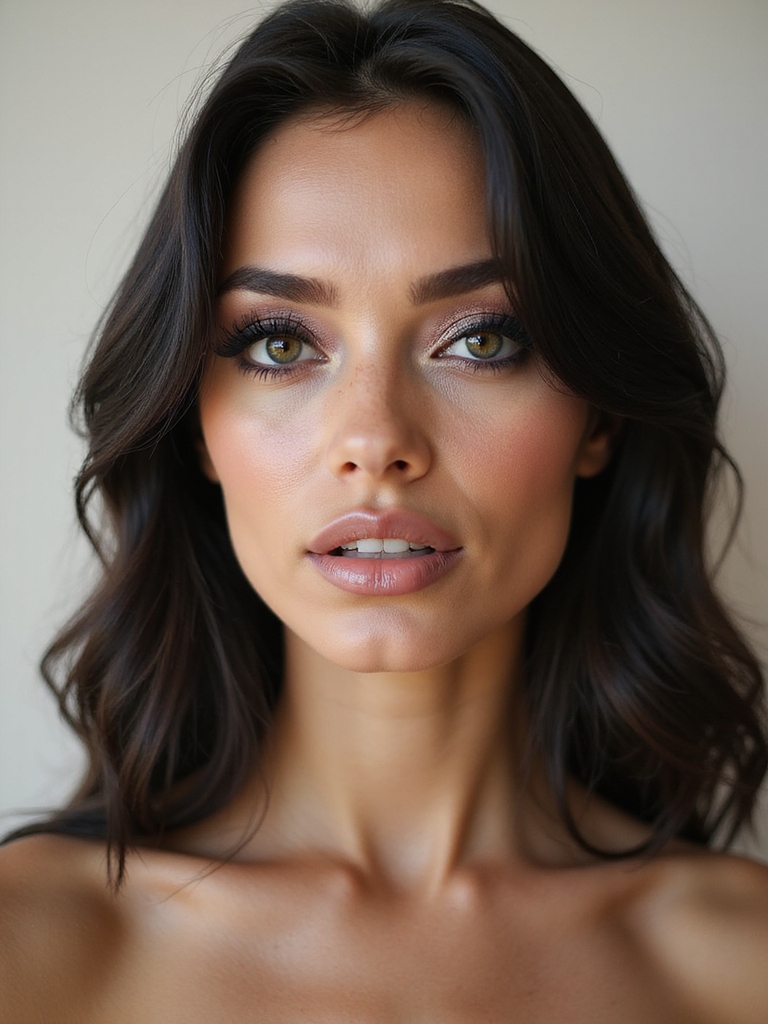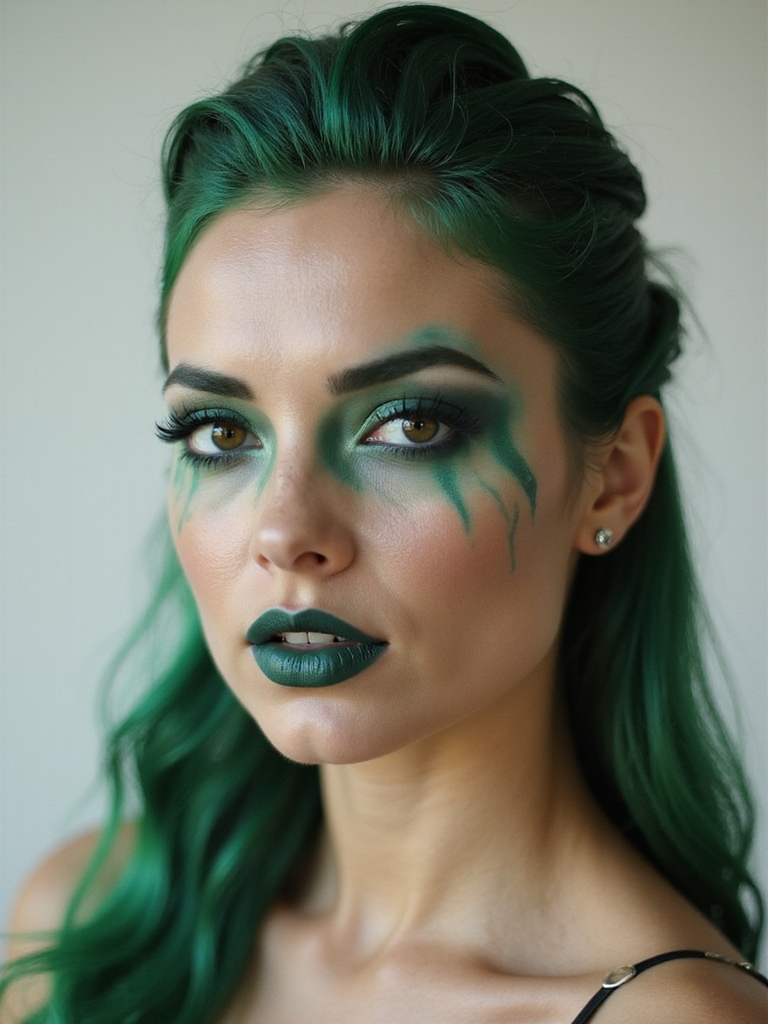
People assume a great Beetlejuice look means hours of professional SFX, and that scares them off before they start. The truth is most of these come down to three cheap things: a cream face-paint palette, a stippling sponge, and a setting powder so the whole thing survives a night of dancing and apple cider.
These are fifteen Beetlejuice makeup transformations I paint every October, from full moldy corpse to a soft pastel haunted glam you could wear to a low-key party. For each one I will tell you the technique, how scary or wearable it lands, and how to keep it from sliding off your face by midnight.
Quick Answers
Do I need special SFX products? For most of these, no. A water-activated cream paint palette in black, white, green, and purple covers the majority of the looks; only the textured corpse versions want liquid latex.
How do I make it last all night? Set every cream layer with a translucent powder and finish with a setting spray. Cream paint slides without powder, especially around the eyes and mouth.
Grimy Purple Eye Sockets
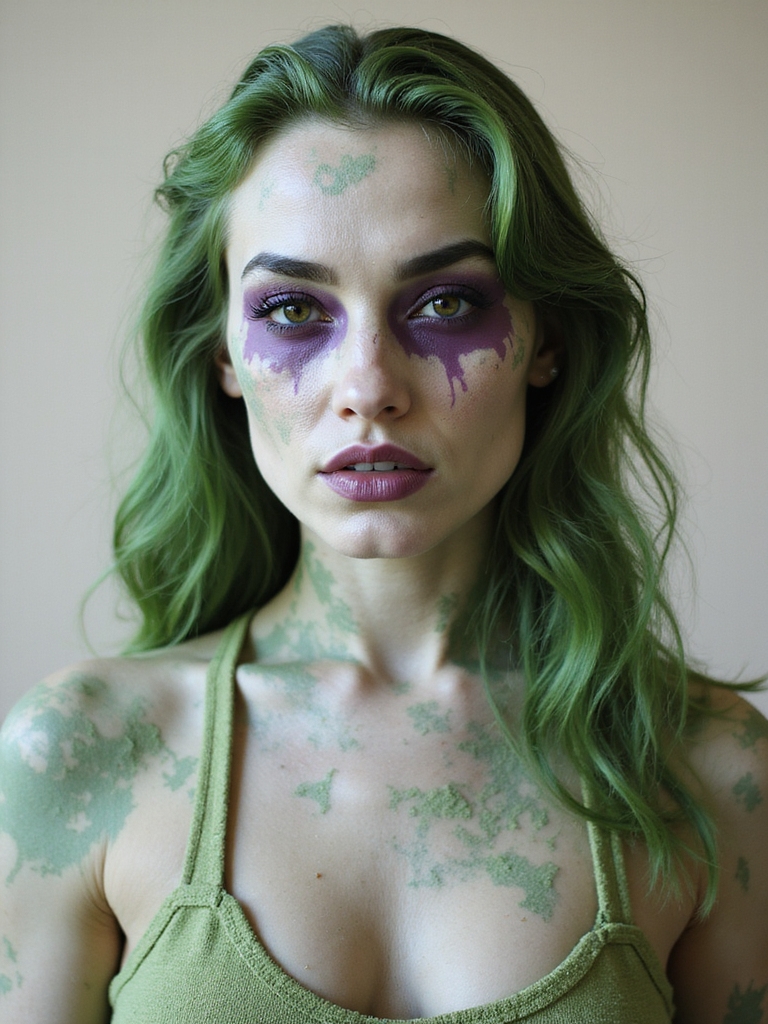
Say Beetlejuice and most people picture a sickly pale-green face with deep, grimy purple sockets carved around the eyes. It is the most recognizable version and the one I get asked for most every Halloween.
Carving the sockets
The whole effect lives in the sockets. You hollow out the eye area with plum and gray cream, then smudge it outward so it looks bruised and sunken rather than neatly shadowed.
On deep skin, swap the pale-green wash for a translucent gray-green over your own complexion and let the purple sockets and graphic detail carry the look, which lands far more striking than trying to lighten the whole face.

Monochrome Smoky Glam

For a chicer, less gory take, a full grayscale glam turns you into a faded black-and-white ghost. Think smoky charcoal eyes, gray-toned skin, and a deep matte lip, all in shades of black, white, and gray like an old film still.
Going desaturated
This one is truly wearable, the look I recommend to anyone who wants spooky but still pretty in photos.
It leans on regular makeup skills more than SFX: a strong smoky eye, sharp gray contour, and a desaturated complexion. If you can do a smokey eye makeup, you can do this.
Pro Tip
Map any graphic shape, a wing, stripes, or sockets, with a white eyeliner pencil first. It wipes away clean, so you can perfect the placement before you commit with paint you cannot easily undo.
Smoky Plum Goth Gaze

A nod to Lydia more than Beetlejuice himself: a moody, smoky plum eye with a pale matte face and a dark lip. It is the goth-glam middle ground, spooky in spirit but soft enough for a dinner party.
- Pack a plum and black smoky eye, winging it downward for a sadder, haunted droop.
- Keep the complexion pale and matte, with a hollowed gray contour under the cheekbones.
- Finish with an oxblood or near-black lip. The full goth makeup guide has more wearable dark looks.
Neon Ooze Winged Halo
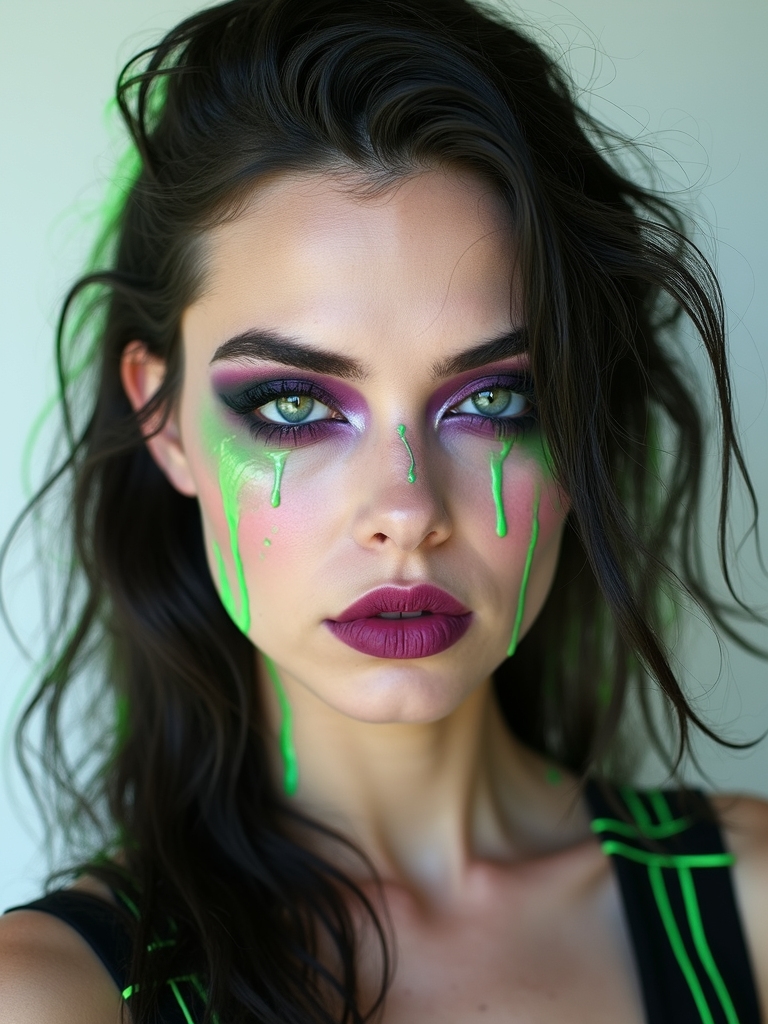
This trades gore for color: a glowing neon-green graphic wing that arcs up and around the eye like dripping ooze caught mid-air. It is bold, modern, and a great pick if a full face of paint feels like too much.
- Map the wing with a white pencil first so you can fix the shape before committing.
- Pack neon-green pigment over the pencil with a damp brush for the brightest payoff.
- Extend a few drip shapes down the cheek for the ooze effect.
- Set with powder and a spritz of setting spray so the neon does not smear.
👍Cream face paint
- +Blends like makeup and layers for dimension.
- +Water-activated palettes are cheap and reusable.
- +Easy to remove with an oil cleanser.
👎Worth knowing
- –Slides without setting powder, especially in heat.
- –Needs a setting spray to survive a full night.
- –Some bright pigments stain pale skin briefly.
Half-Skinned Glam and Exorcist Split

The drama queen of the bunch: one side of the face is full glam, the other is a rotting bio-exorcist. It is a brilliant way to show off your makeup skills, because the contrast does all the talking.
Keep a clean vertical line down the center of the face, blend your prettiest glam on one half, and go full moldy green with sunken sockets on the other. The sharper the divide, the better it photographs. This one takes time, so block out a good hour.
Mossy Cheekbones and Rotting Detail

For maximum scare factor, this layers mossy green texture over the cheekbones and adds grimy detail around the mouth for a properly decayed corpse. It is the goriest look here and the most fun if you love a horror moment.
- Stipple two or three greens over the high points so the moss looks uneven and real.
- Dab a tiny bit of liquid latex and tissue for raised, peeling texture if you want dimension.
- Use a brown-black around the lip line and on the teeth with tooth-safe paint for the rot.
- Patch-test latex on your arm first, since some skin reacts to it.
The moldy corpse base, step by step:
1Prime
Start with a gripping primer so paint adheres and lasts.
2Pale the canvas
Stipple a thin green or gray wash over the skin, keeping it sheer on deeper tones.
3Carve the sockets
Press plum and gray into the eye hollows and blur outward for a sunken look.
4Add decay
Stipple mossy greens on the high points and detail the mouth.
5Set and spray
Lock every layer with powder, then mist setting spray to finish.
Striped Winged Pin-Up Glam

A retro spin: a black-and-white striped graphic eye paired with a sharp pin-up wing and a bold lip, nodding to Beetlejuice’s iconic suit. It is playful, polished, and not remotely gory.
Painting clean stripes
The stripes are the signature, painted in alternating black and white across the lid or brow bone like the costume.
This is a smart costume look for work or a daytime event, since it looks like creative makeup more than horror. A red or black lip finishes it.
Graphic Green Brows With Ashy Contour

A minimalist, editorial take: bold graphic green brows over an ashy, slightly sunken complexion. It is the look for someone who wants a fashion-forward nod to the film over a literal costume.
Block your natural brows with glue and paint exaggerated green arches above them, then carry a cool ashy contour through the temples and cheek hollows so the face looks faintly drained. It is quick, striking, and surprisingly wearable for a party where you do not want a full mask of paint.
Heads-Up
Only use cosmetic-grade and UV-safe paints near the eyes, and patch-test latex and adhesives on your arm a day before. Never use craft or industrial pigments on your face, and remove everything with an oil cleanser rather than scrubbing.
Neon Slime Tears
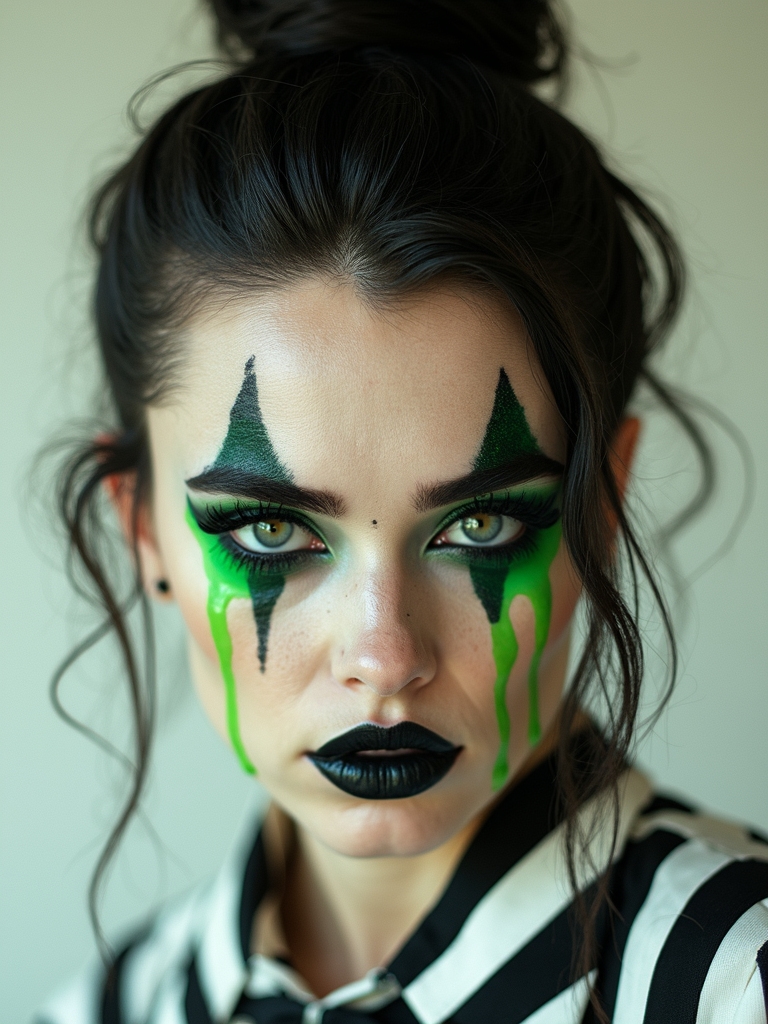
Glowing slime tears dripping from the eyes are equal parts creepy and cute, the kind that photographs incredibly under a flash. This is a beginner-friendly look that still gets a reaction.
The trick is a glossy topper over neon pigment so the tears actually look wet and slimy, not flat.
- Pack neon-green pigment along the lower lash line and pull it down in tapered drip shapes.
- Layer a clear lip gloss or special-effects gel over the drips for a wet shine.
- Add a few rhinestones in the slime for sparkle if you want it prettier.
- Keep the rest of the face simple so the tears stay the star.
Slime-Green Rhinestone Mold Glam

This is moldy decay reimagined as full glam: clusters of slime-green rhinestones and gems scattered like glittering mold across a green-tinged complexion. It turns the gross concept into something honestly pretty and very Instagram.
- Build a soft green smoky eye and complexion as the base.
- Glue rhinestone clusters with lash adhesive along the cheekbones and temples like spreading mold.
- Vary the gem sizes so the clusters look organic and uneven.
- Press each stone for ten seconds so it sets and survives the night.
Soft Pastel Haunted Glam

The gentlest look on the list: a dreamy, washed-out pastel ghost in lilacs and pale greens with soft, hazy edges. It is haunted in a fairy-tale way and perfect for anyone who wants the theme without the fright.
- Wash a pale lilac over the lids and blend a soft green into the sockets, keeping everything diffused.
- Add a cool, faintly gray complexion so it reads ghostly, not just colorful.
- Finish with a frosted or pale lip and a dusting of highlighter for an ethereal glow.
- This one suits all skin tones beautifully; on deep skin the pastels pop against your complexion rather than washing it out.
Penciled Crosshatch Contours
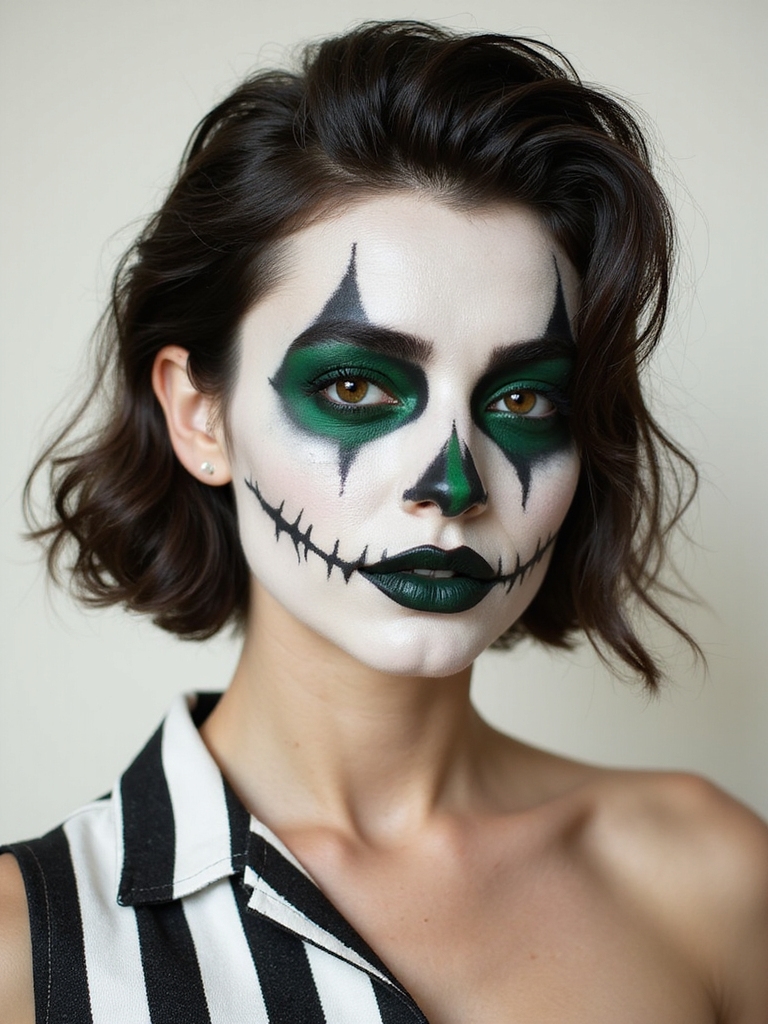
An art-school favorite: the whole face drawn on with sketchy, crosshatched pencil lines so you look like a living charcoal drawing of Beetlejuice. It is striking, graphic, and cheaper than any other look here since it mostly needs an eyeliner pencil.
Loose, deliberate strokes that mimic shading do more than solid color here.
- Pale the face first with a light cream or powder so the lines stand out.
- Sketch crosshatched lines into the cheek hollows, temples, and around the eyes with a soft black pencil.
- Smudge a few areas with a finger so it looks hand-drawn.
- Set well, since pencil smears easily through the night.
Veiled Beetlejuice Bride

Inspired by the red wedding scene, this is a glamorous ghost-bride: dramatic eyes, a pale haunted complexion, and a romantic-but-eerie finish under a veil. It is elegant, editorial, and a beautiful couples or solo costume.
The haunted-bride balance
It balances glam and ghost, so you get pretty makeup with just enough death to sell the theme.
A bold smoky or red-toned eye, a sculpted pale face, and a deep lip do the heavy lifting; the veil and a little faux dust on the brows finish the story.
UV-Glowing Corpse Paint

Built for a blacklight party, this uses UV-reactive paint so your moldy corpse look glows electric under the lights. By daylight it is a green-and-black corpse; under UV it comes alive. It is the showstopper for a club or rave Halloween.
- Use cosmetic-grade UV paint only, never industrial pigment, near the eyes.
- Build your corpse design in normal cream first, then accent the cracks and drips with UV paint.
- Test the glow under a blacklight before you leave so you know what shows.
- Set heavily; UV paints can be thin and prone to sliding.
Playful Mint Beetlejuice Makeover

The most lighthearted version: a fresh mint-green glam with cute graphic touches in place of decay, the friendly cartoon cousin of the corpse looks. It is great for kids-at-heart, teens, or anyone who wants color instead of scare.
Keeping it cheerful
Mint shadow, a playful graphic liner, and maybe a few stripes or stars keep it cheerful while still reading Beetlejuice.
Because there is no latex or heavy paint, it wipes off easily and works for a daytime event or a costume you need to wear to class or work.
Maintenance & Care
Two things make or break a Halloween look: setting it and taking it off safely. Set every cream layer with translucent powder as you go, not just at the end, and finish with a setting spray so the paint survives sweat and drinks. For anything around the eyes, use cosmetic-grade products only, and patch-test liquid latex and adhesives on your arm a day ahead, since reactions are common and you do not want to find out on your face.
On cost and timing, a water-activated cream paint palette runs about $15 to $30 and covers nearly every look here, with rhinestones, latex, and UV paint as cheap add-ons. Plan on forty-five to ninety minutes for the detailed corpse versions and as little as fifteen for the graphic-liner looks.
To remove it, melt everything with an oil-based cleanser or micellar water before you wash, since scrubbing pigment off dry irritates the skin. For more themed ideas, the halloween makeup and skeleton makeup guides have plenty.
Beetlejuice Makeup Questions, Answered
?What products do I actually need for a Beetlejuice look?
For most versions, a water-activated cream paint palette in black, white, green, and purple, a stippling sponge, a fine liner brush, translucent setting powder, and a setting spray. Only the textured corpse looks call for liquid latex, and the glow versions need cosmetic UV paint.
?How do I adapt these looks for deep or dark skin?
Skip the idea that you must paint the whole face pale. Use a sheer gray-green wash over your own complexion and let the graphic elements, purple sockets, neon wings, green brows, do the work. Bright Beetlejuice colors actually pop more against deep skin than they do on a fully whitened base.
?How long does a full Beetlejuice transformation take?
The detailed corpse and half-face looks take forty-five to ninety minutes, while graphic-liner versions like the neon wing or striped eye can be done in fifteen to twenty. Give yourself extra time the first time you attempt latex texture.
?How do I keep the makeup from melting at a party?
Set each cream layer with powder as you build, not only at the end, and finish with a setting spray. Blot, do not wipe, if you sweat, and carry a little powder for touch-ups around the eyes and mouth where paint moves most.
?Is this safe to wear on sensitive skin?
Use cosmetic-grade paints, prime first, and patch-test any latex or adhesive a day ahead. Take everything off with an oil-based cleanser instead of scrubbing, and moisturize after, since paints and removers can be drying.
Pick Your Level of Spooky
The beauty of Beetlejuice is how far it stretches. You can go full rotting corpse with latex and sockets, or keep it to a striped wing and a bold lip you could wear to the office party. The character is recognizable enough that even a small nod lands clearly.
So which way are you leaning this year, the gory corpse paint or the soft pastel ghost? Pick the level that matches your night, set it well, and the look will carry you to midnight.
Next Up