Here is the truth most tutorials skip: a round face is not a problem to fix, it is one of the most youthful, photogenic shapes there is. The techniques here are not about hiding anything; they add a little length and lift when you want a more sculpted look, the same way a high ponytail or a V-neck does.
These fifteen round-face techniques, soft upward contour, vertical blush, an elongating winged eye, a lifted brow, work with the natural softness of a round face rather than against it. Use one or stack a few; either way, the goal is to draw the eye upward and lengthen, gently.
Round Face Makeup, the Quick Answers
What flatters a round face most? Anything that adds vertical length and lift: upward contour along the cheekbone, blush swept up rather than round, a winged eye, and a slightly lifted brow. The goal is to draw the eye up and elongate.
Should I contour a round face? It is optional, but it helps. A soft contour under the cheekbone and along the hairline adds the angles a round face is naturally soft on. Keep it soft and blended, never harsh stripes.
What should I avoid? Round shapes that echo the face: a circle of blush on the apples, a heavy rounded brow, or contour only under the chin. Reach up and out instead.
Soft Upward Contour

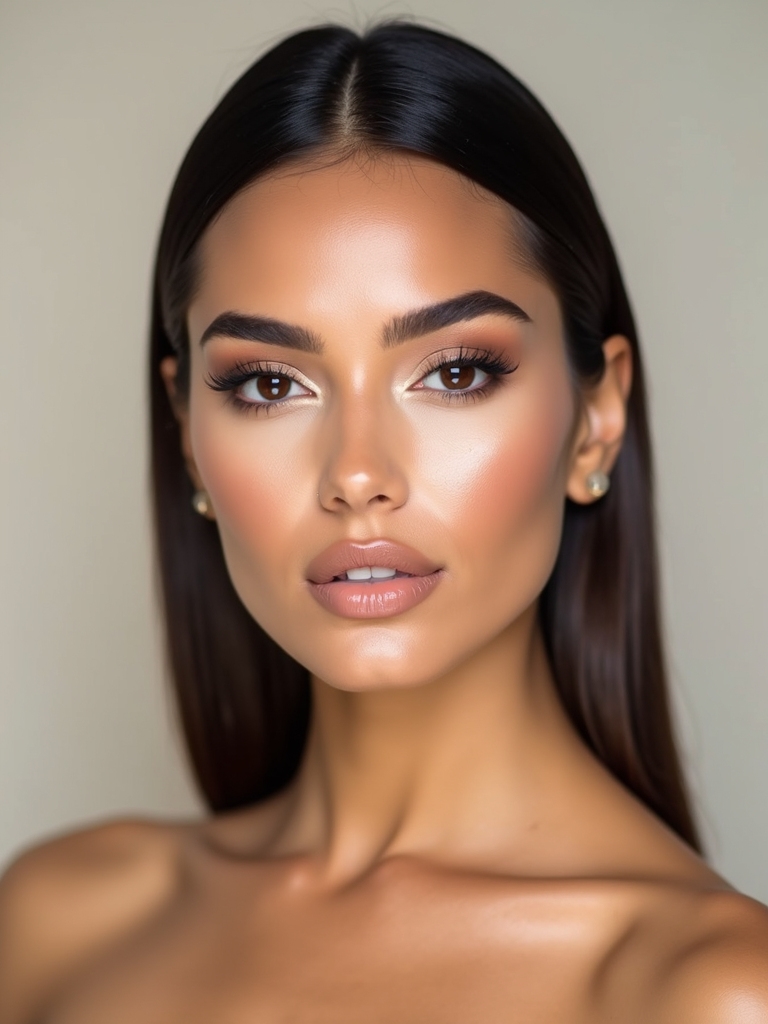
The single most flattering thing for a round face is a soft contour swept up along the cheekbone toward the temple, which adds the angle a round face is naturally soft on. Keep it warm-neutral and blended, never a hard stripe, so it reads as a shadow rather than makeup.
It is the lift I love most for a round face, and on deep skin it just means reaching for a contour several shades deeper with a cool or neutral undertone, since a too-warm one can go ashy or orange.
- Sweep contour up under the cheekbone toward the temple.
- Use a warm-neutral shade and blend it soft.
- Match the depth to your skin, deeper and cooler on deep skin.

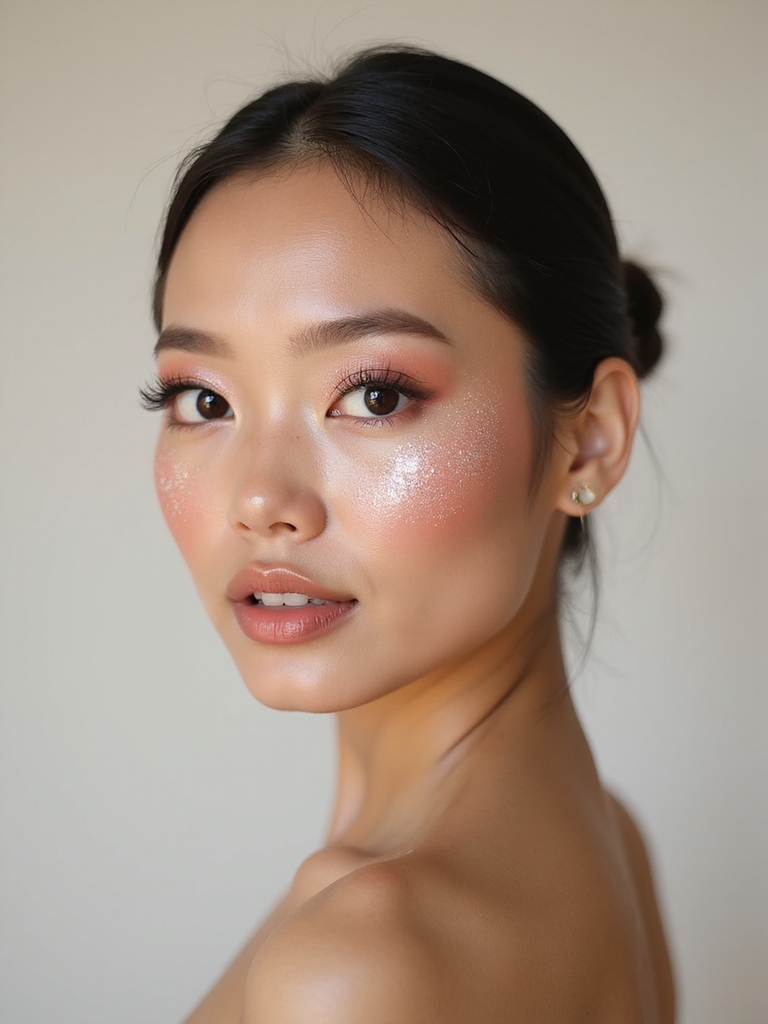
Satin Sheen on the High Points

A satin highlight placed high, on the tops of the cheekbones, the brow bone, the bridge of the nose, pulls light upward and draws the eye to the highest points of the face. On a round face, lifting the light is as powerful as adding shadow, since it elongates by catching the eye up high.
- Place a satin highlight high on the cheekbones and brow.
- Add a touch down the bridge of the nose to lengthen.
- Keep it satin, not glittery, for a natural lift.
📖Contour
A soft shadow, usually cool-toned, used to add the look of angles and depth.
📖Depth mapping
Using two foundation shades to build subtle dimension before contour.
📖Tightlining
Lining the very base of the upper lashes to define the eye without heaviness.
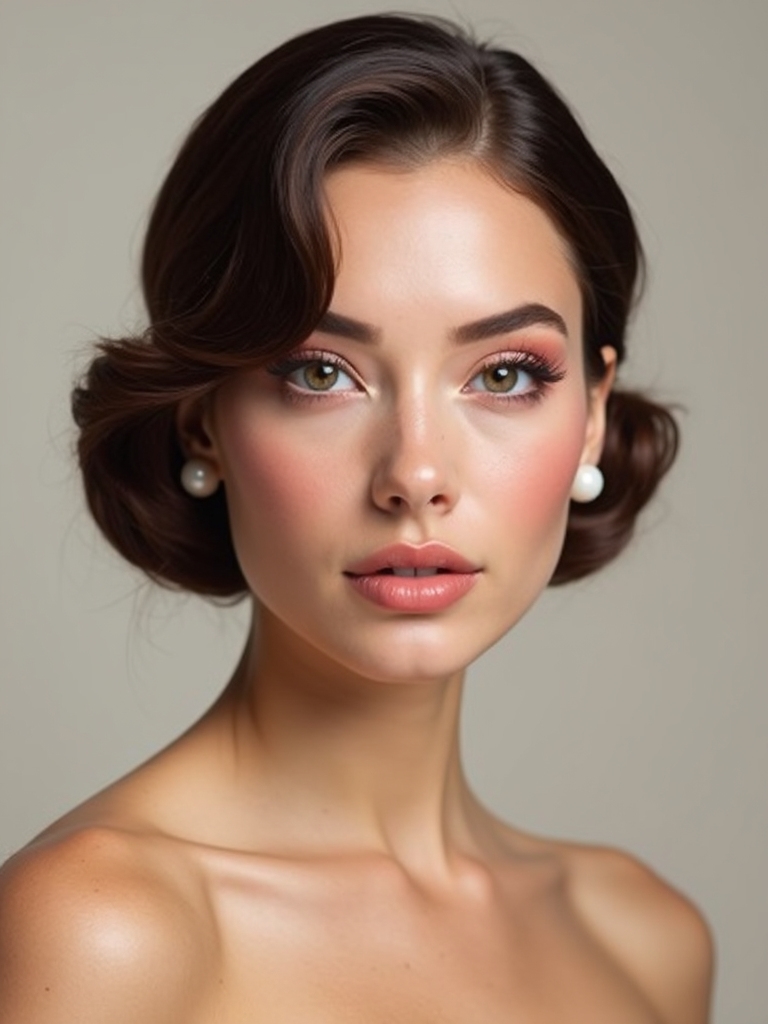
Vertical Blush Lift
How you place blush matters more than the color on a round face. Instead of a round circle on the apples, which echoes the roundness, sweep blush up toward the temple in a vertical ribbon. The upward direction lifts the face where a round blob widens it.
Sweep blush up, never in a circle
Smile, find the top of the cheekbone, and sweep the blush up from there. It is the fix I make most often, since so many people default to the apples.
This one change, blush up instead of round, does more to lengthen a round face than almost anything else.
Lifted Feathered Brow

Clients ask me whether brows really matter for face shape, and on a round face they do: a brow with a little lift and a slightly higher arch adds vertical structure, opening the eye area and drawing it upward. A flat or very rounded brow echoes the face, while a softly lifted one counters it.
Brush the brows up and feather in a slightly higher arch toward the tail, keeping it soft and natural. Even a small lift at the arch changes how long the whole face looks.
A round face is not a flaw to contour away. It is a youthful, soft shape, and the most flattering makeup just adds a little lift and length when you want it, never a whole new face.
Elongating Winged Shadow

Pulling eyeshadow out and up toward the temple, rather than rounding it around the eye, stretches the eye and the face with it. An elongating winged shadow adds the line that lengthens a round face.
Smoke the shadow outward past the outer corner and lift it slightly, keeping the inner eye clean and bright. The outward pull is what does the work. See prom makeup.
- Draw shadow out and up, not around the eye.
- Keep the inner corner light and the outer corner deep.
- Lift the outer edge toward the end of the brow.
Soft Lifting Liner Flick

A soft winged liner flick, angled up toward the tail of the brow, lifts the outer eye and adds a lengthening diagonal to a round face. Unlike a heavy black wing, a soft mapped flick keeps it subtle while still pulling the eye upward.
- Angle the flick up toward the end of the brow.
- Keep it soft and thin for an everyday lift.
- Map the angle first so both eyes match.
“If you remember one thing for a round face, make it direction: everything goes up and out. Blush up, contour up, liner up, brow up. You do not need more product, you need to aim it toward the temples. That single habit lifts a round face more than any amount of heavy sculpting.”
Upper-Waterline Tightline

Tightlining the upper waterline, lining right at the base of the upper lashes, defines the eye and makes lashes look fuller without adding heaviness below, which would drag a round face down. It opens and lifts the eye instead.
- Press liner into the upper waterline, not the lower.
- Keep the lower lash line clean to avoid closing the eye.
- It makes lashes look fuller and the eye more lifted.
Outer-Corner Lash Lift

Concentrating mascara or a few false lashes at the outer corners of the eyes pulls the eye outward and up, the same elongating effect as a winged liner but with lashes. It lifts the outer eye and counters the roundness.
- Load mascara heavier at the outer corners.
- Add a few corner lashes for an outward lift.
- Keep the inner lashes lighter and more natural.
👍What sculpting a round face does
- +Adds the illusion of length and gentle angles.
- +Lifts and opens the eye area.
- +Photographs more sculpted, where round can flatten.
👎What to watch
- –Easy to overdo; harsh contour looks worse than none.
- –The wrong undertone, too warm, can look muddy.
- –In person the effect is subtle, not a face transplant.
Taupe Contour, Bright Center

Pairing a soft taupe contour around the edges of the face with a brightened center, light on the forehead center, under the eyes, and the chin, creates the illusion of a longer, more oval face. The dark edges recede while the bright center comes forward and lengthens.
Use a cool taupe shade for the most natural shadow, since taupe mimics a real shadow better than a warm bronzer for contouring. Brighten the center vertical of the face with concealer a shade lighter.
The contrast of receding edges and a lifted center is the core of sculpting a round face.
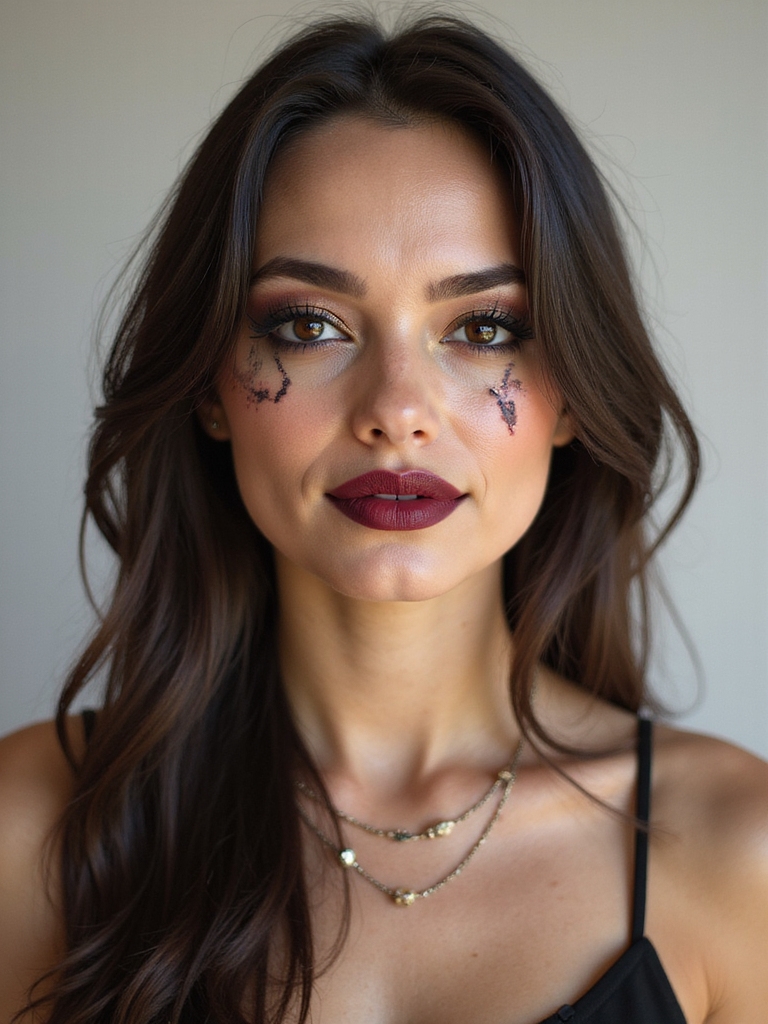
Soft Lifted Lip Overline

A subtle overline at the cupid’s bow and the top lip adds a little height to the lips, which draws the eye upward and balances a round face. It is a small lift, not a dramatic change, just enough to add vertical interest.
Lift the cupid’s bow, just a little
Overline the cupid’s bow slightly and the top lip a hair, blending the liner in so it looks natural. Keep it subtle, since a heavy overline reads obvious.
Paired with a soft lip color, it adds the gentlest lift to the lower face. See red lipstick makeup.
Foundation Depth Mapping
Using two shades of foundation, your exact match through the center and a slightly deeper one around the perimeter and hairline, builds soft dimension into a round face before any contour. This depth mapping is the base layer of sculpting, subtle but effective.
- Use your exact match through the center of the face.
- Tap a slightly deeper shade around the hairline and jaw.
- Blend the two so there is no visible line.
Upward C-Shape Bronzing
Sweeping bronzer in a C-shape, from the temple, around the top of the cheekbone, and up, warms and lifts the face at once. The C-shape hugs the high points and pulls warmth upward, where a round face benefits from lift rather than width.
- Sweep bronzer in a C from temple to cheekbone.
- Keep it high so it lifts rather than widens.
- Use a deeper, neutral bronzer on deep skin. See fall makeup.
Matte Hairline Shading

A light dusting of matte contour along the top hairline visually shortens a round forehead and frames the face, pulling the perimeter in. It is a subtle trick borrowed from editorial makeup, easy to overdo, so keep it sheer.
- Dust a matte shade softly along the top hairline.
- Keep it sheer so it reads as a shadow.
- Blend up into the hairline so there is no line.
Precision Powder Placement

Where you set powder shapes the face all day. Setting only the center of the face, the T-zone, and leaving the outer edges with a dewy finish keeps light in the center and softness at the edges, which lengthens a round face and keeps it from looking flat.
Powder the forehead center, nose, and chin, and leave the cheeks and perimeter dewy. The contrast of a matte center and luminous edges adds dimension that lasts. See red makeup.
Subtle Everyday Sculpting
For an everyday face, you do not need every technique here, just three, and they are the three I tell every client to learn first: a soft upward contour, blush swept up, and a lifted outer eye. Those three together lengthen a round face in under five minutes, no heavy contouring required.
- Contour soft and up along the cheekbone.
- Sweep blush up toward the temple.
- Lift the outer eye with shadow or liner.
What to Expect
A few honest notes before you start. None of this changes your face; it adds the gentlest illusion of length and lift, and in person the effect is subtle, more noticeable in photos where a round face can flatten. So go lighter than you think, especially with contour, since harsh stripes look worse than none at all, and a round face is lovely as it is. The point is options, not correction.
Match every shade to your skin: a contour should be a soft shadow, not a stripe of brown, and on deep skin that means a deeper, cooler shade, while on fair skin a taupe reads most natural. A contour stick or powder and a blush run about $10 to $30, and once you learn the upward direction, it takes only a couple of extra minutes.
The mistake I see most is contouring down instead of up, so reach for the temple, and a round face lifts on its own. See red eye makeup.
Round Face Makeup Questions, Answered
?How do I contour a round face without it looking harsh?
Use a soft, cool-toned shade, sweep it up along the cheekbone and lightly at the hairline, and blend thoroughly so there is no visible line. Build it slowly, since a sheer shadow flatters where a heavy stripe looks obvious. On deep skin, go deeper and cooler so it reads as a real shadow.
?Where should I put blush if I have a round face?
Up and back along the cheekbone toward the temple, in a soft vertical ribbon, never a round circle on the apples. The upward placement lifts and lengthens the face, while a round blob of blush echoes and widens the roundness.
?Does makeup really change how round my face looks?
Subtly, and mostly in photos, where a round face can flatten. The techniques add an illusion of length and lift, not a transformation. A round face is youthful and lovely as it is; this is about options for the days you want a more sculpted look, not correcting a flaw.
Lift, Don’t Hide
The whole approach to round-face makeup comes down to one word: up. Contour up along the cheekbone, blush up toward the temple, liner and brow lifted at the outer edge, and a round face gains the gentle length and structure that flatter it, without ever losing the softness that makes it youthful.
So try one technique at a time, the vertical blush first, since it does the most, and see how it feels before stacking more. A round face was never something to fix; these are just the tools for the days you want a little more lift, and they take only minutes once the direction becomes habit.