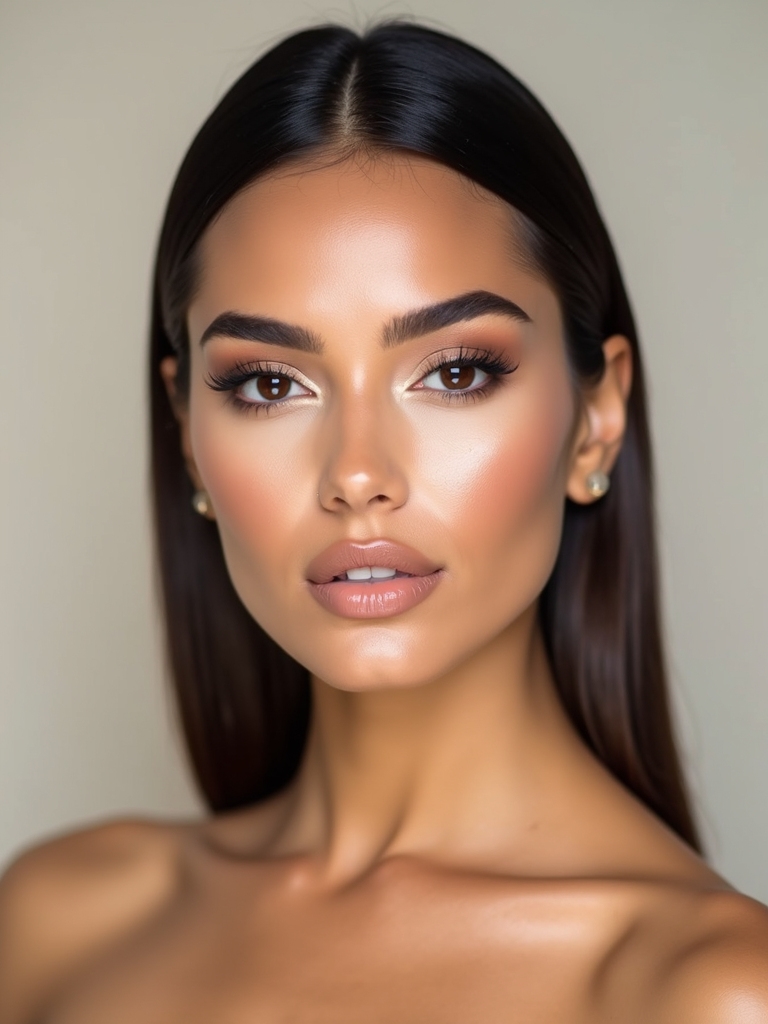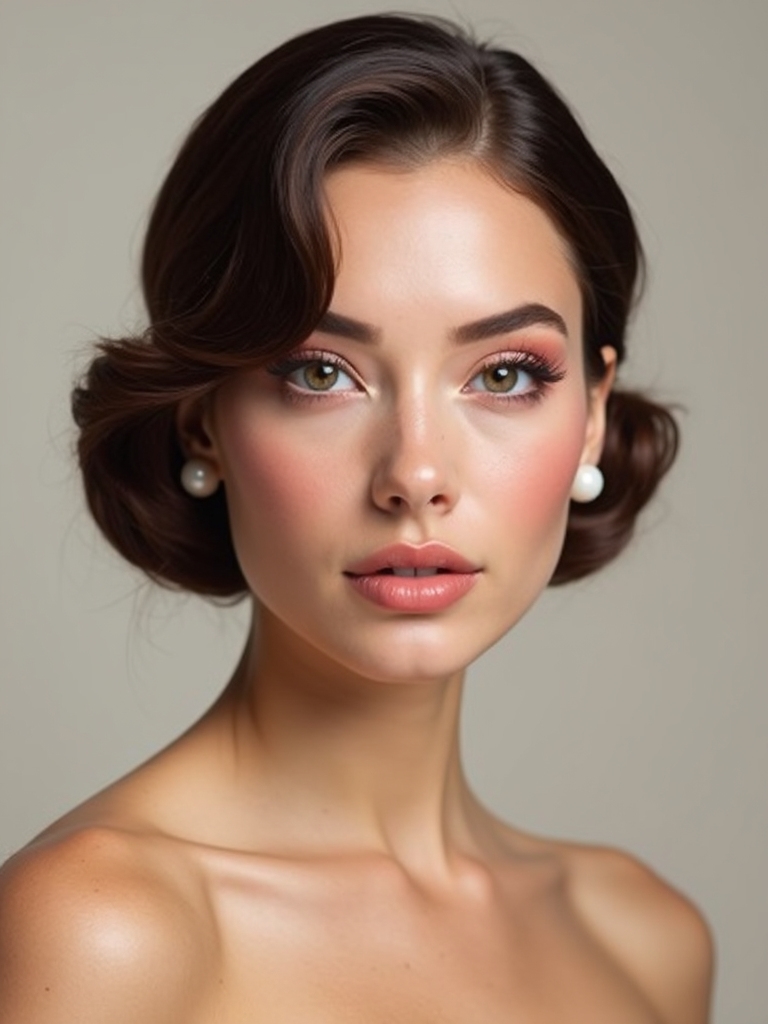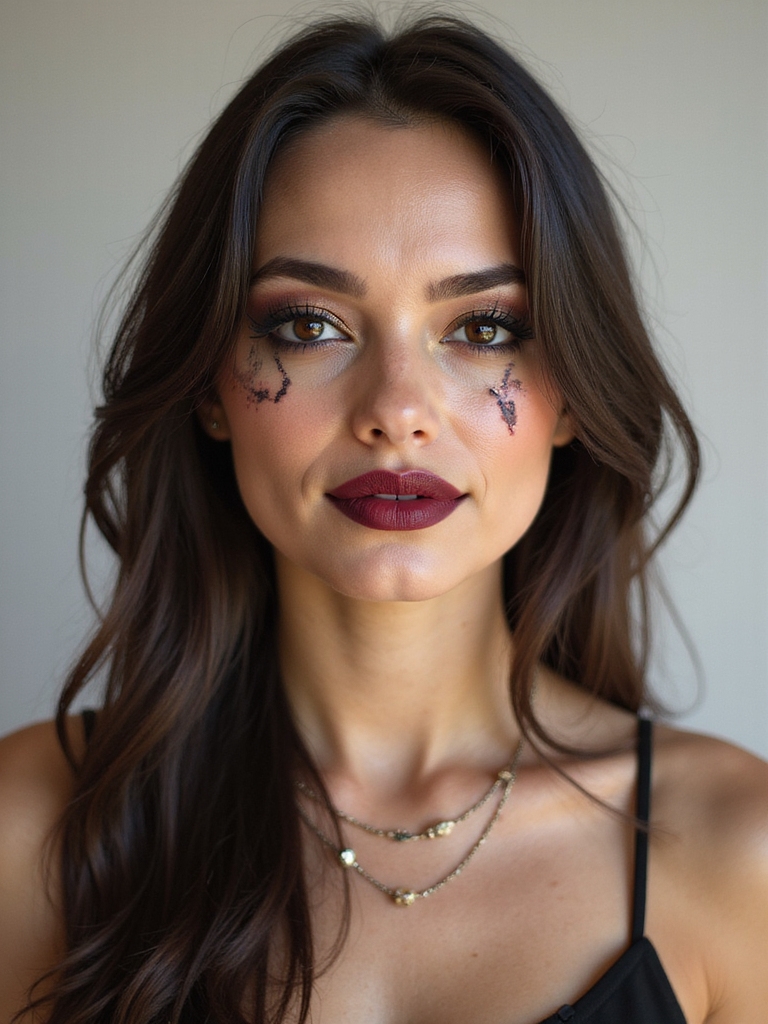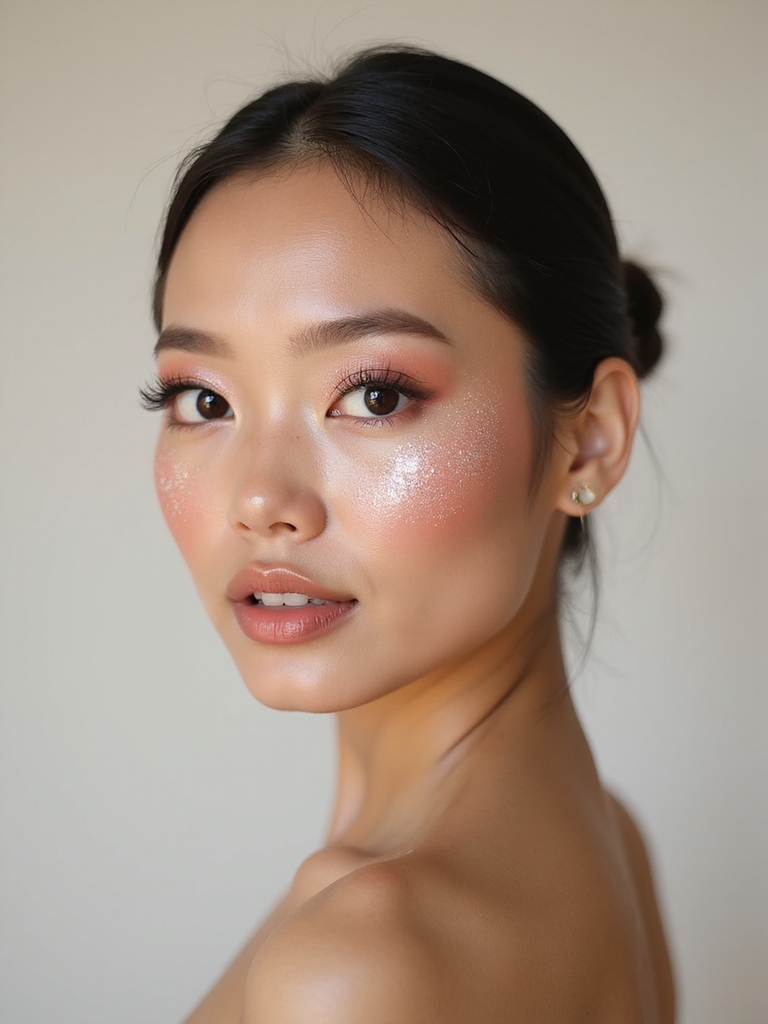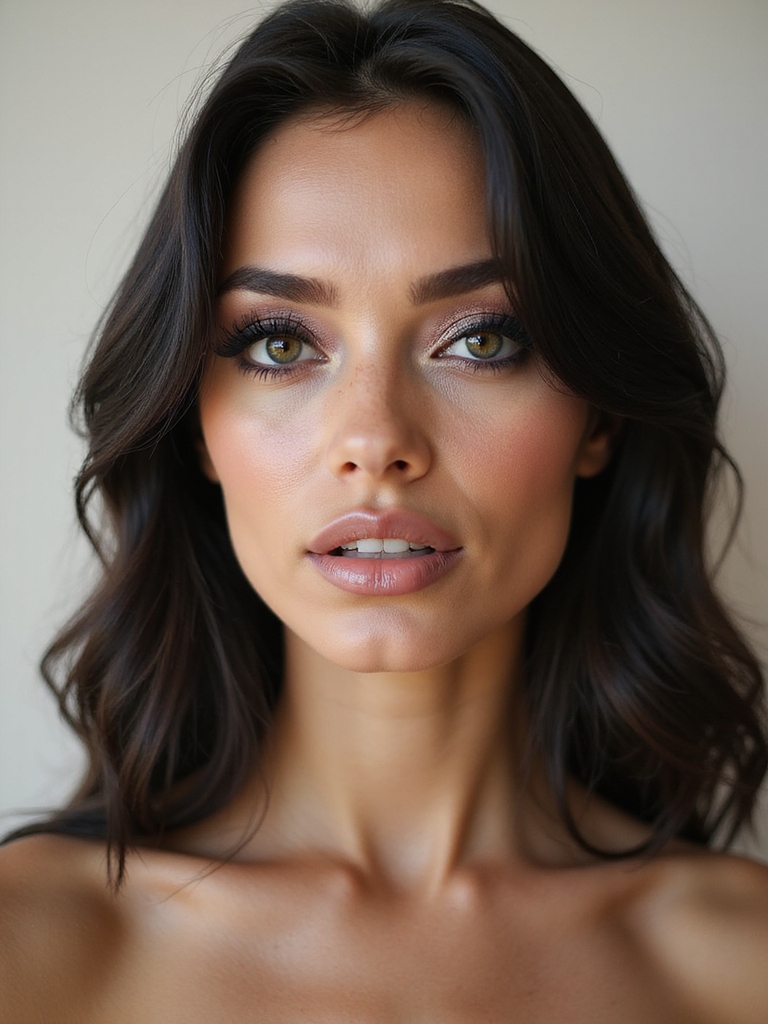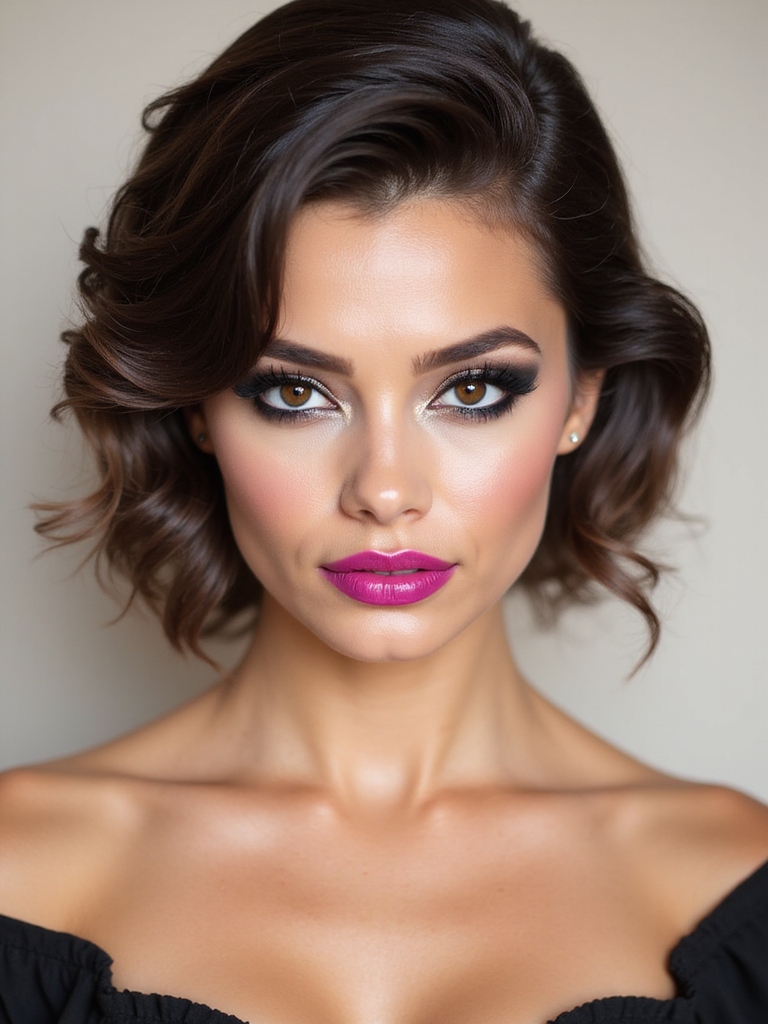
People assume 2011 makeup was all harsh wings and chalky color. It was not. The year actually leaned soft underneath the drama, with dewy skin, draped blush, and glossy nude lips doing most of the quiet work while one bold feature got all the attention.
That balance is exactly why these looks feel wearable again. The textures have improved, the prep is better, and the trick is the same as it always was. Pick one statement, keep the rest of the face fresh, and let the 2011 nostalgia come through without the costume. Here is my edit of what is worth bringing back.
The 2011 Cheat Sheet
| Look | Who it flatters | Modern tweak |
|---|---|---|
| Bold winged liner | Most eye shapes; lifts hooded eyes | Map with pencil first, then ink it |
| Glossy nude lips | Every skin tone, matched to lip color | Match nude to your lips, not your skin |
| Draped blush | Lifts and slims most face shapes | Cream first, swept high to the temple |
| Colorful waterline | Warm and deep eyes pop most | Use a waterline-safe creamy pencil |
Bold Winged Liner Mapped With Precision
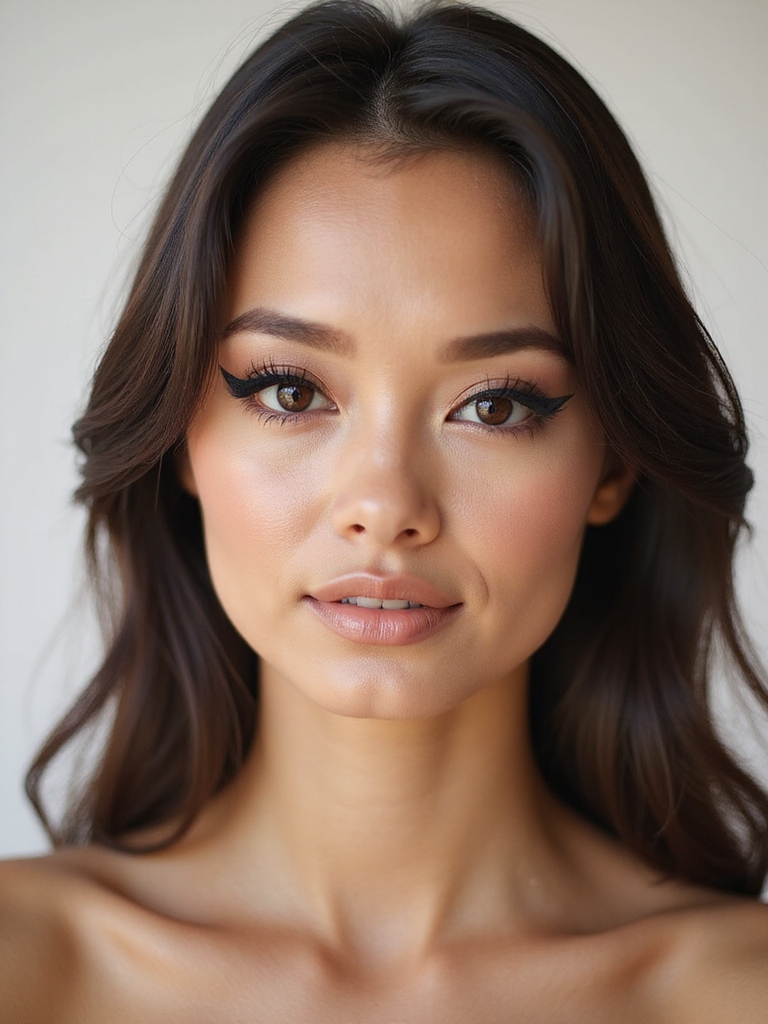
Sometimes a bold wing is all it takes to make a whole face click. The 2011 version was sharp, and the modern one is just as sharp with a smarter method underneath it.
Map First, Then Commit
I map the wing in soft pencil first, tracing from the lower lash line up toward the tail of the brow, so I can see the angle before I commit. Then I lock it in with liquid in short strokes, eyes open, lifting at the outer corner and keeping the inner line thin.
Clean the underside with a little concealer on a flat brush for that razor edge. A smudge of the outer corner softens it into a sultry cat eye when you want less precision. A good liquid liner runs $9 to $18.

Soft-Lined Glossy Nude Lips
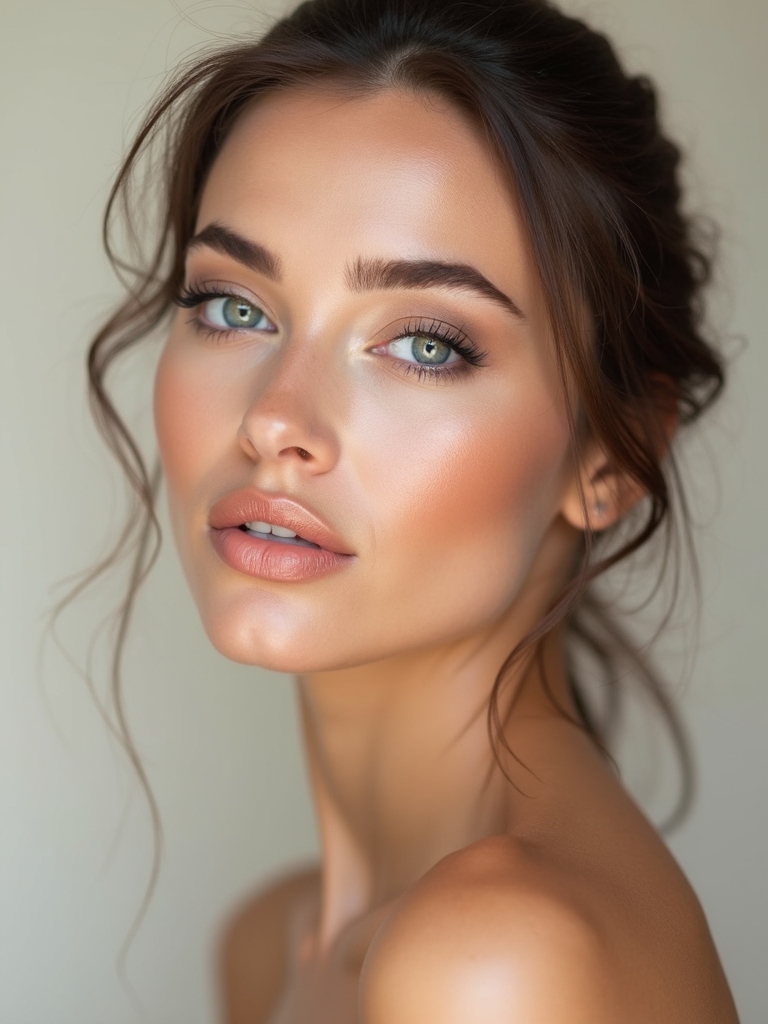
A sharp wing sets the stage, and a glossy nude pulls the whole look into something modern. I soft-line the lips with a nude pencil, sketching it just slightly past the Cupid’s bow for a fuller shape, then press a beige-peach lipstick over the top and blot the whole thing down once with a folded tissue.
Top it with a high-shine gloss and keep the center extra juicy for dimension. The one rule that matters here is shade. Match your nude to your own lip tone, because matching it to your skin is what makes a nude look gray and washed out. A nude lipstick and gloss pair costs about $12 to $25.
Heads-Up
If you are lining your waterline with color, only use a pencil clearly labeled safe for the waterline. The inner rim sits close to the eye, so skip craft glitters and any liner that stings or flakes into the eye.
Stacked Hydrating Glow Finish
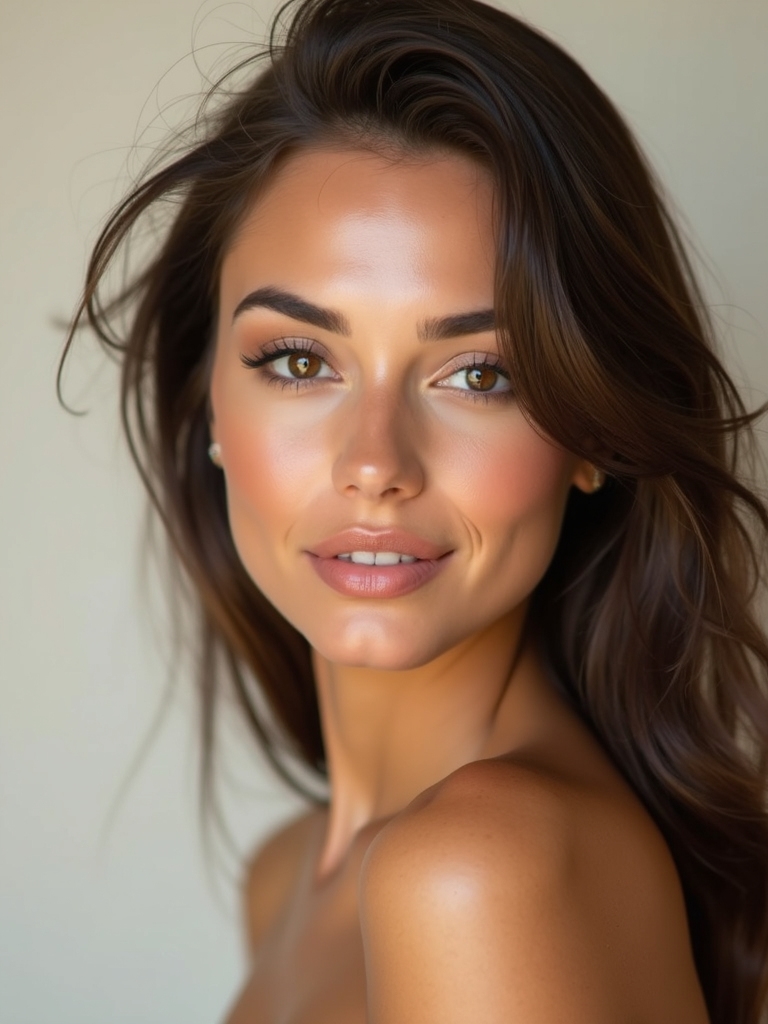
The 2011 glow came from skincare, and that is still where it starts. You stack hydration in light layers so the skin plumps without going greasy, then let a luminous base show your real skin through it.
After the base, I tap a cream highlighter on the cheekbones, the bridge of the nose, and the Cupid’s bow for a fresh finish. The whole point is light that looks like it is coming from inside the skin.
- Layer an essence, a serum, and a gel moisturizer before any base goes on.
- Choose a sheer, luminous foundation or skin tint so skin shows through.
- A cream highlighter costs about $10 to $28 and gives the most skin-like glow.
Colorful Tightlined Waterlines
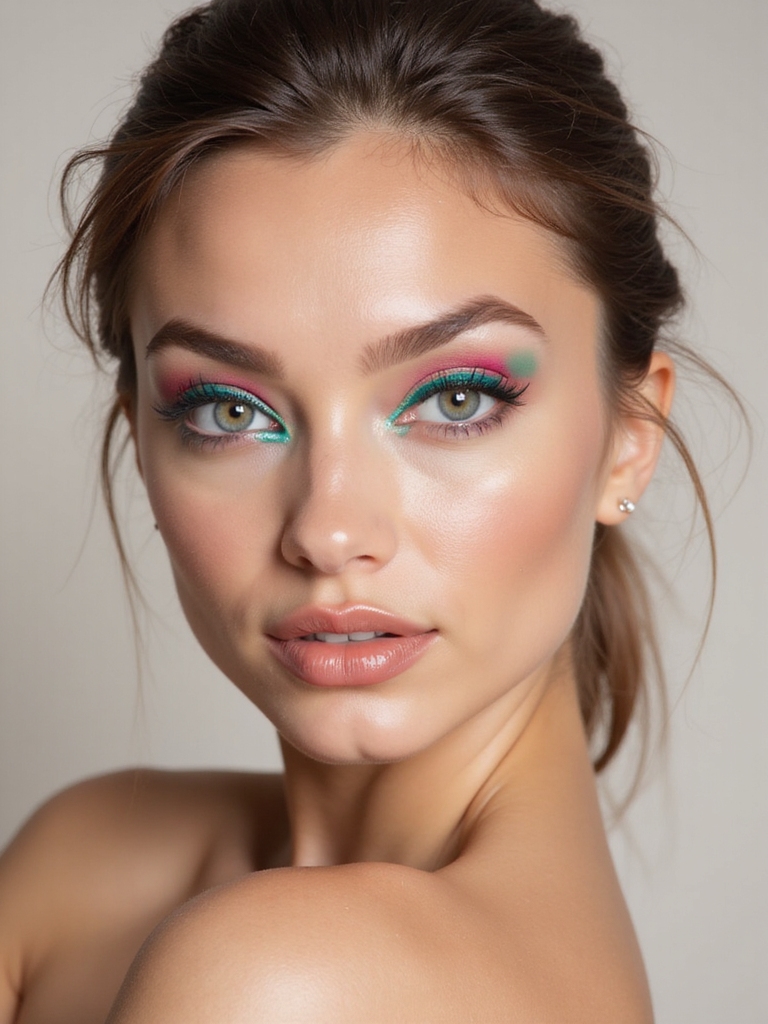
Colorful waterlines were a 2011 signature, and they wake up the eyes in seconds. Teal, cobalt, and plum pencils all pop against your natural eye color, and the right shade can make brown eyes look richer or green eyes brighter.
Formula is everything on the waterline. Choose a creamy pencil labeled safe for the waterline so it does not tug or sting, then tightline and press a matching shadow over it so the color holds.
Seal it with a setting mist for an all-night punch. A bright cobalt is the easiest entry point because blue flatters nearly every eye, and a waterline-safe pencil costs about $8 to $16.
Good to Know
A nude lip looks gray most often because the shade matches the skin instead of the lips. Pick a nude one or two steps warmer and browner than your natural lip color and it instantly looks healthy.
Statement Blush Draping Swept Upward
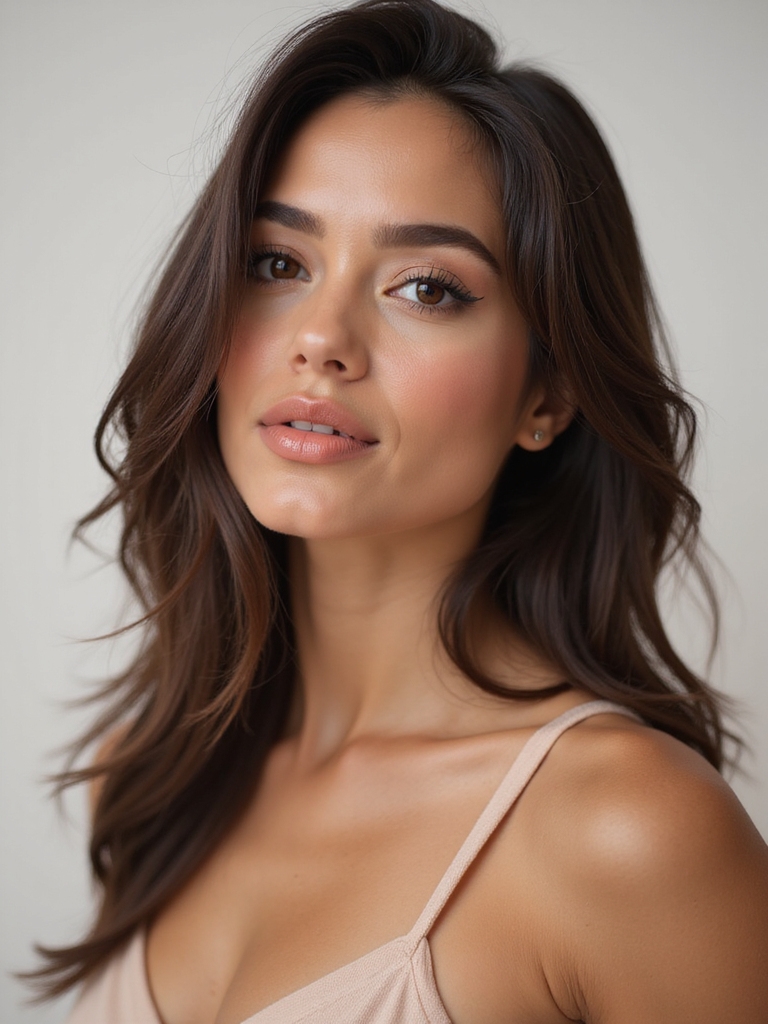
Draped blush was peak 2011, and it lifts the whole face in seconds. You sweep color from the cheekbone up into the temple so it sits like a soft gradient that pulls everything up.
I choose a creamy formula, tap it along the cheekbone, then blend upward and out toward the temple. A clean sponge diffuses the edges so nothing looks like a stripe.
Pair it with skin-first makeup so the color gets to be the statement. Coral, berry, and rose all drape beautifully, and on deep skin a brick-rose or warm berry glows where a pale pink can disappear. A cream blush runs $8 to $20.
Full, Feathered Natural Brows
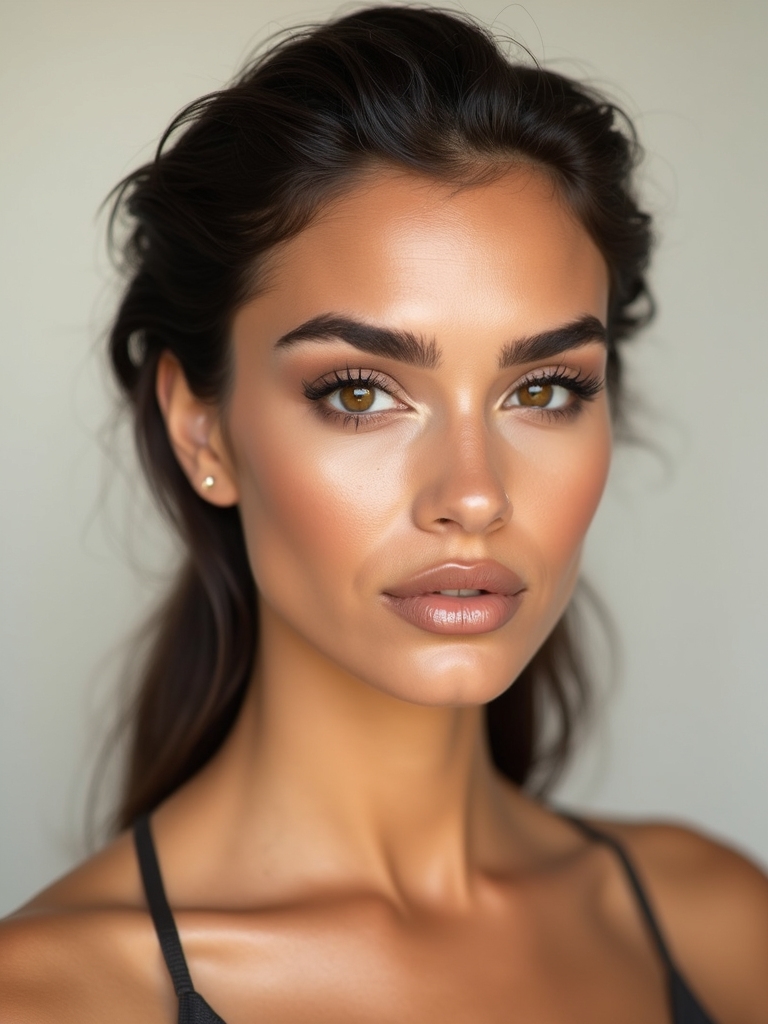
After years of thin arches, 2011 brought back the full, feathered brow, and it frames the face without looking overdone. The whole approach is gentle. You enhance the shape you have rather than drawing a new one.
- Brush the hairs up with a spoolie and a touch of soap-brow gel for soft hold.
- Spot-fill only where the brow is actually sparse, then brush through again.
- For longer wear, a tint adds depth and lamination locks the lifted shape; a brow tint runs $15 to $30 at a salon.
Gloss That Lasts
Lay a lip stain or matching lipstick down first, then top it with gloss. When the shine wears off through the day, the color underneath stays, so your lip never goes completely bare.
Molten Copper Smoky Eyes
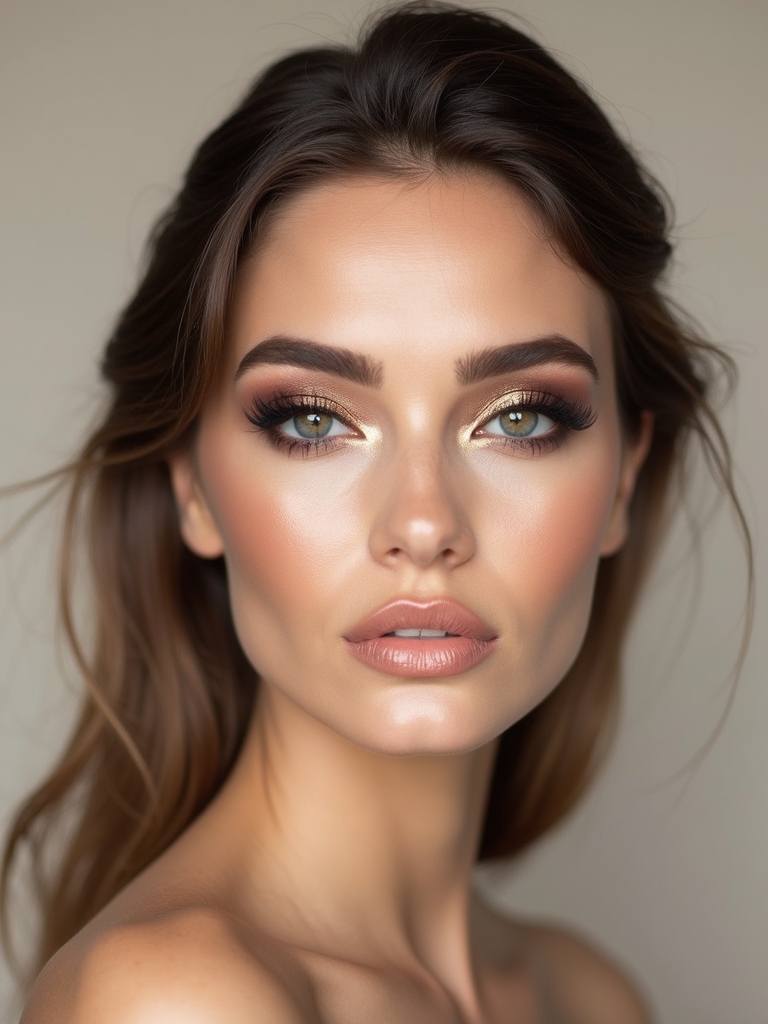
Swapping charcoal for molten metals is what made the 2011 smoky eye feel fresh, and copper is the most flattering of the bunch. It warms up almost every eye color and looks rich under evening light.
Why Copper Flatters Almost Everyone
I prime, smudge a bronze cream along the lash line, then pack a foiled copper over the lid. I deepen the outer corner with an espresso shimmer and tap champagne at the inner corner to keep it bright.
Tightline, curl, and add an inky mascara, then finish with brushed brows and clean skin. Copper and warm bronze look especially striking on deep skin. The smokey eye method has the full blend.
Soft Overlined Glossy Lips
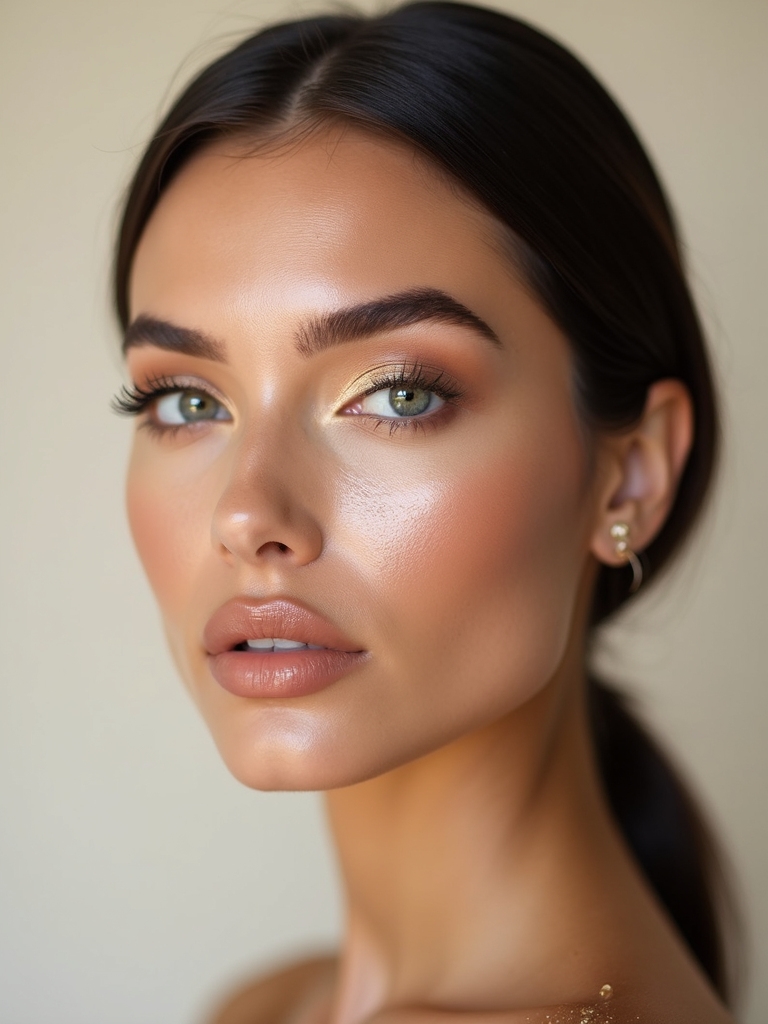
Overlining got a cushiony, glossy upgrade in 2011, and the soft version adds volume without looking drawn-on. I sketch just past the natural edge with a neutral pencil, then blur the line inward with a fingertip so there is no hard ring.
Layer a cushiony oil-gloss over the top for plush volume, keep the bow soft, and define the corners. Reapply through the day for bounce, because gloss is a finish you keep topping up. A good oil-gloss costs about $8 to $18.
📋Before you try a bold 2011 wing
- ✓Map the angle in soft pencil before you reach for liquid.
- ✓Keep a cotton bud and a little micellar water nearby for cleanup.
- ✓Do both eyes open, looking straight into the mirror, so they match.
Champagne Inner-Corner Shimmer Pop
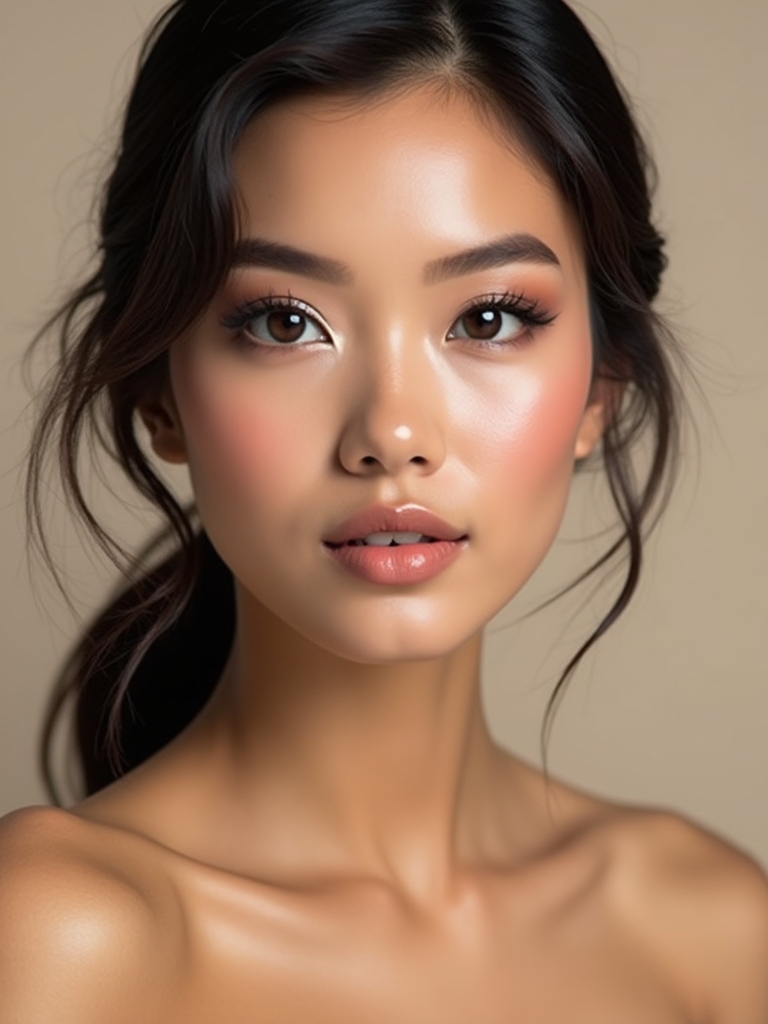
The fastest way to look awake is a tiny pop of light at the tear duct. It is the cheapest trick in the kit. It works every single time.
Pencil For Control, Powder For Brightness
I tap a fingertip into a champagne shimmer, then press it right at the inner corner so there are no streaks, just a clean pinpoint glow that bounces light back at the camera every time you so much as glance sideways. Blend it slightly onto the lower lash line to open the eye further.
Use a pencil for control and a powder for brightness, then pair it with defined lashes and tidy brows. On deep skin, a warm gold or rose-gold catches the light more than a pale champagne.
Soft Pastel Lid Wash
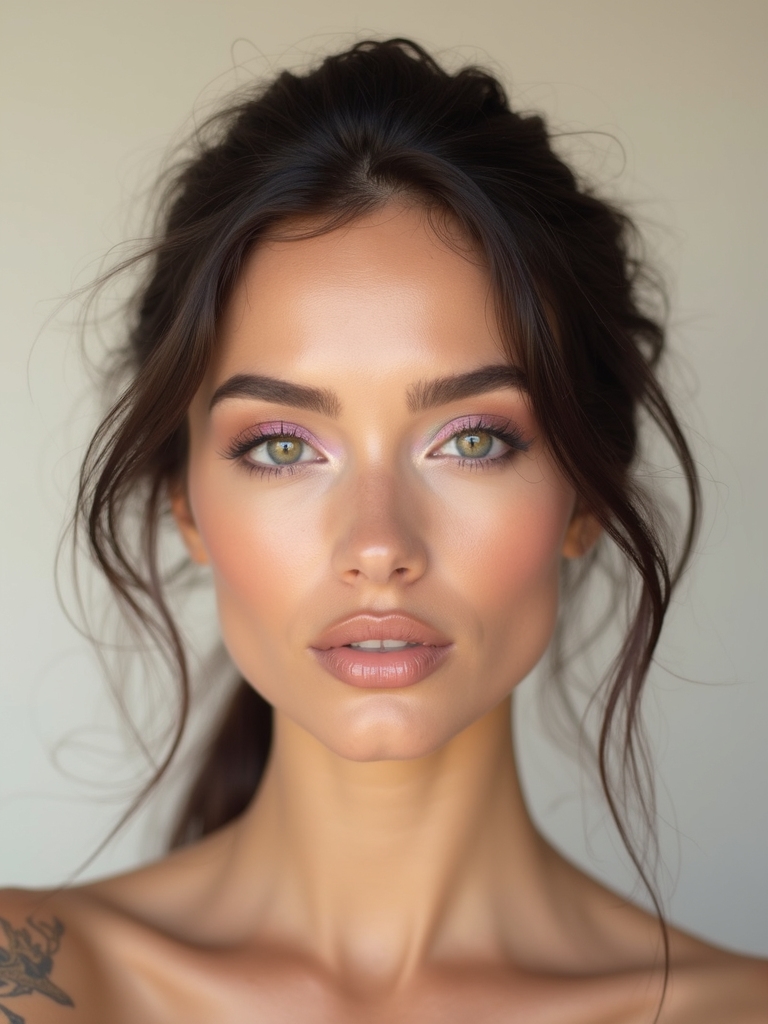
A pinpoint of glow sets the stage for a soft pastel wash, the airy kind that never goes chalky. A whisper of lilac or mint across the lid feels weightless and is surprisingly office-friendly when you keep it sheer.
- Tap a cream pastel with a fluffy brush, then diffuse the edges so it floats.
- Use one shade across the whole lid and keep it satin, not glittery.
- Build a slightly more pigmented layer on deep skin so the pastel actually shows.
Stacked Irregular Lash Clusters
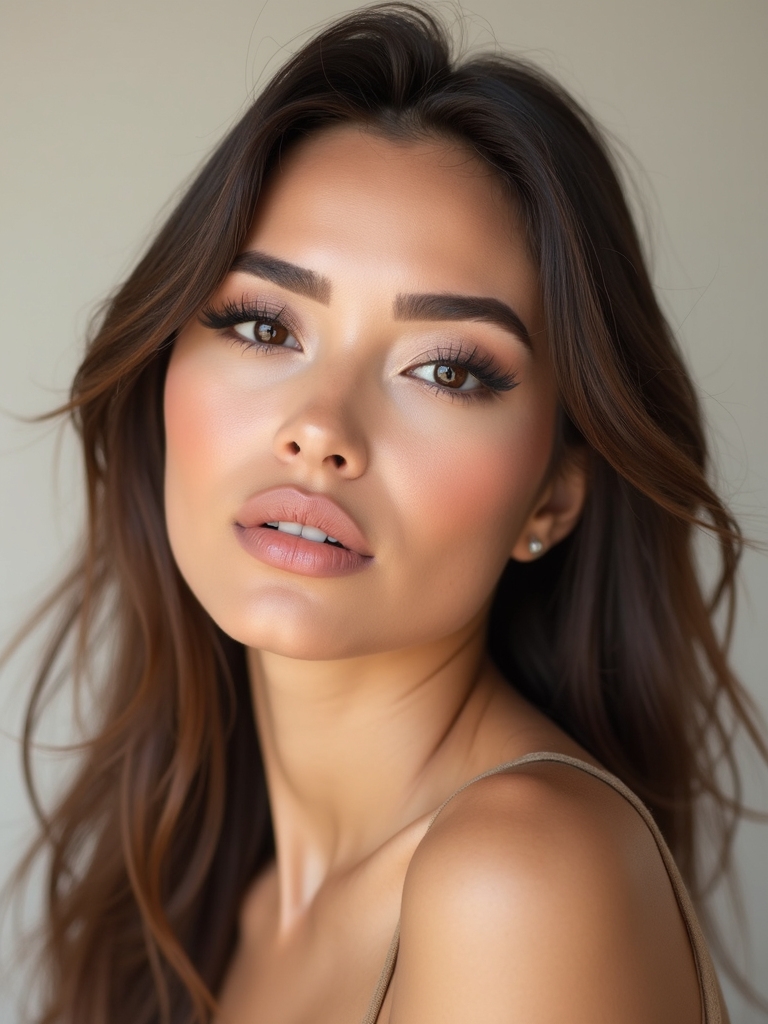
Individual lashes give the flirty, fluttery 2011 eye, and the irregular placement is what makes them look real. You stack clusters where your eyes actually need lift instead of laying one uniform strip across the whole line.
I map the placement with a few dots of mascara first, then nestle short clusters where I want the eye to open and slightly longer mediums where I want a bit of flare at the outer edge. Keeping the spacing a little uneven is the secret to a natural result.
- Place clusters along the outer third for a coy wing, or mid-lash for a wide-open eye.
- Pinch to blend them with your real lashes, then brush through with a spoolie.
- A box of individual clusters runs $6 to $15 and lasts several applications.
Soft Sculpted Contour Glow
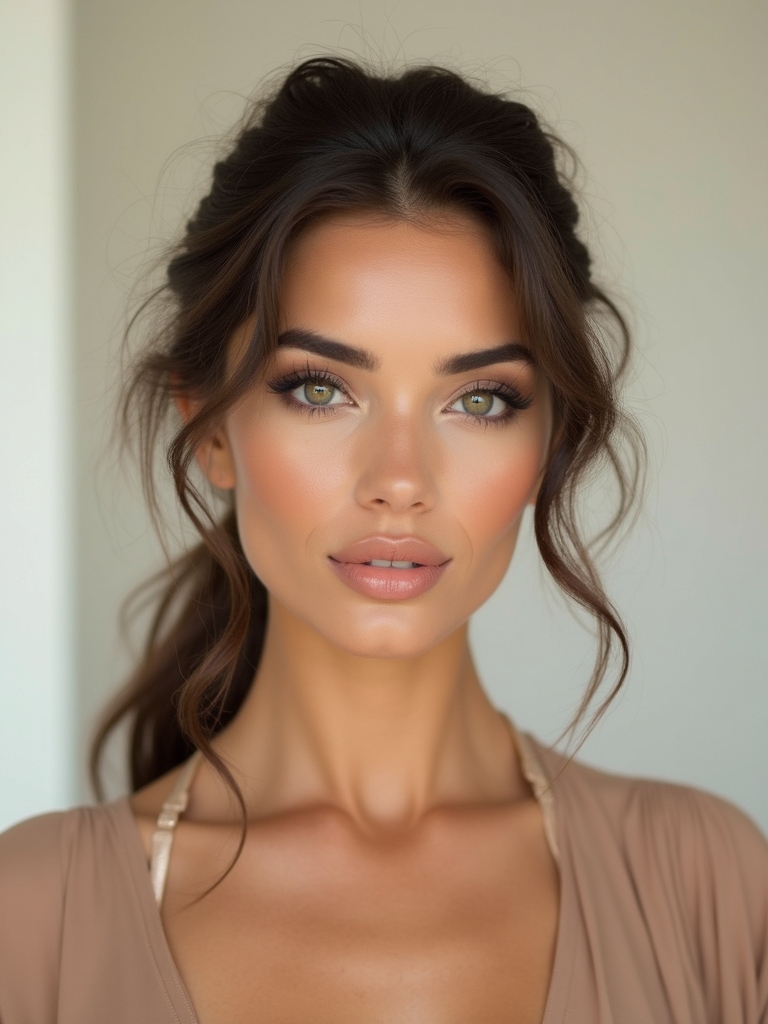
The 2011 contour-and-strobe combo sculpts softly so the skin still looks like skin. You skim warmth where shadows naturally fall, then add light on the high points, and the face lifts like it is sitting in candlelight.
- Sweep a sheer cream contour under the cheekbones, along the temples, and at the jaw.
- Tap a liquid highlight on the tops of the cheeks, the bridge of the nose, and the Cupid’s bow.
- Blend everything with a damp sponge so the edges vanish; placement matters more than pressure.
All-Over Cohesive Monochrome Pink
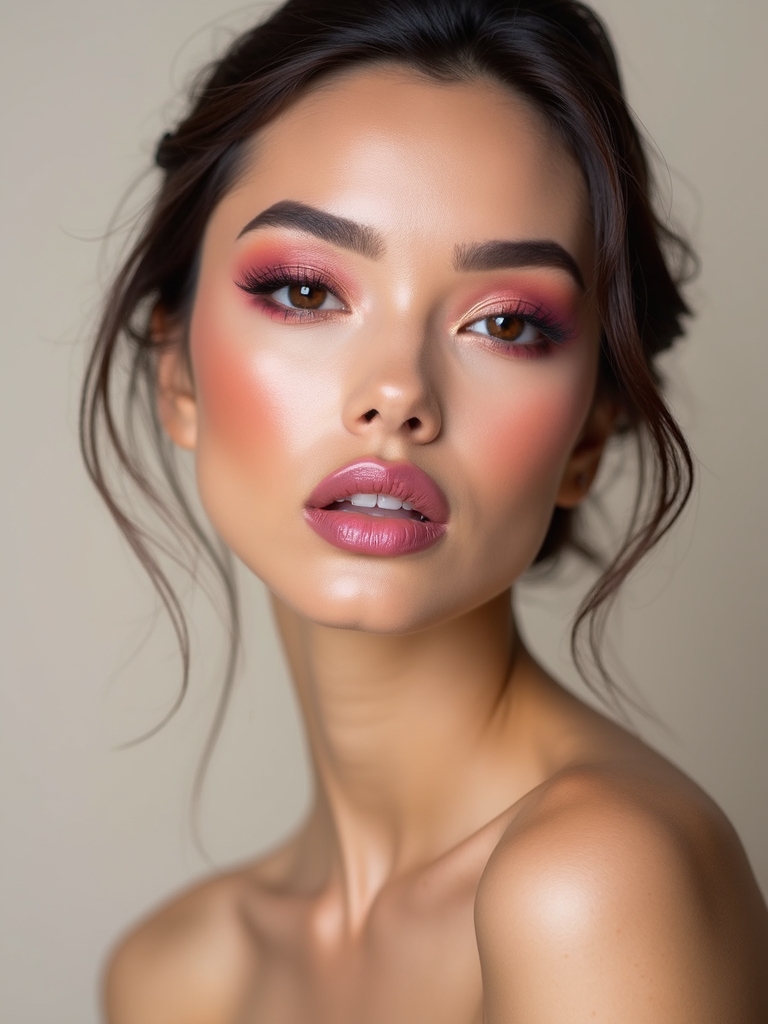
Monochrome pink pulls a whole look together with one color family, and it is the look I recommend to anyone short on time. You echo a single rose across the lids, cheeks, and lips so everything feels cohesive in a few minutes.
Keeping One Color From Going Flat
I tap a rose cream on the lids and blend it through the crease, then mirror it on the cheeks. A cool pink pencil tightlines the eyes and a coat of mascara lifts them.
Press a satin pink on the lips, dab a little gloss, and finish with a whisper of pearly highlight. On deep skin, a berry-rose keeps it glowing. The pink makeup playbook has more pairings.
Graphic Floating-Crease Liner
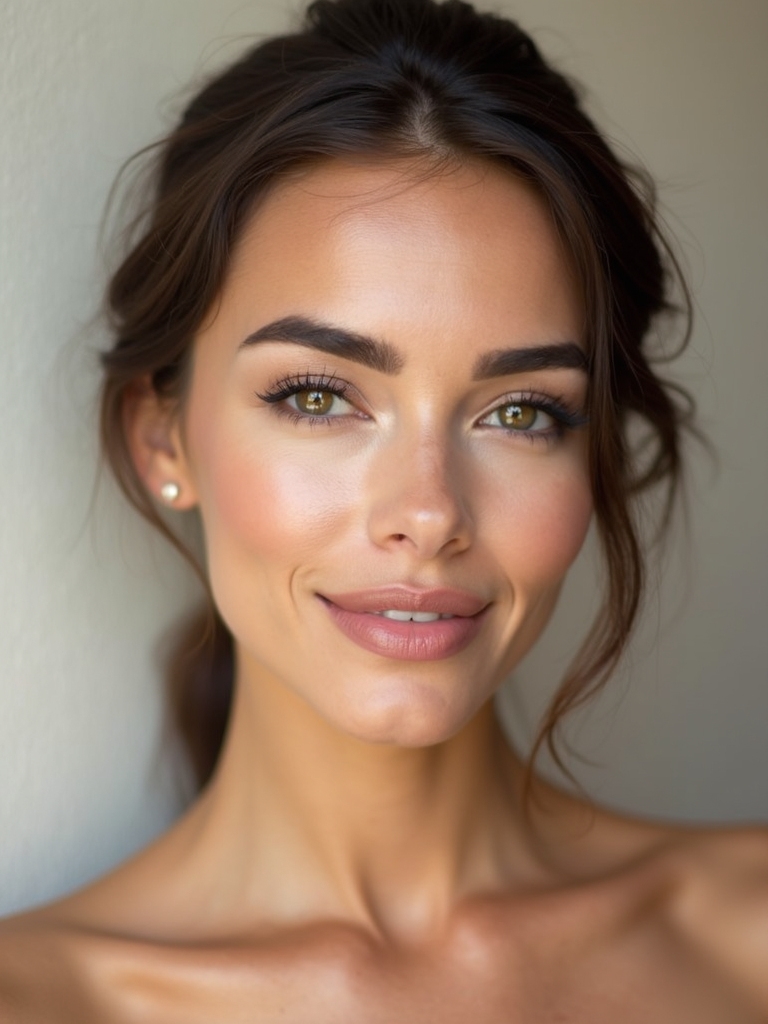
The floating crease is the most graphic thing 2011 gave us, and it frames the eye without touching the lid. You draw a clean line that sits above your natural fold, which lifts and opens the eye in a way liner on the lid cannot.
Map where your crease floats first, above the fold, so the line looks crisp and intentional. Then pick your shape, whether that is a classic arc, a subtle wing, or a bolder graphic version chosen to suit the particular shape and hood of your own eye.
Gel pots, felt-tip liners, and long-wear pencils all work, in inky black, a metallic, or a punchy bright. This is a practice-on-a-quiet-day look, so go slow the first few times until the placement becomes second nature.
Halo-Focused Glitter Accents
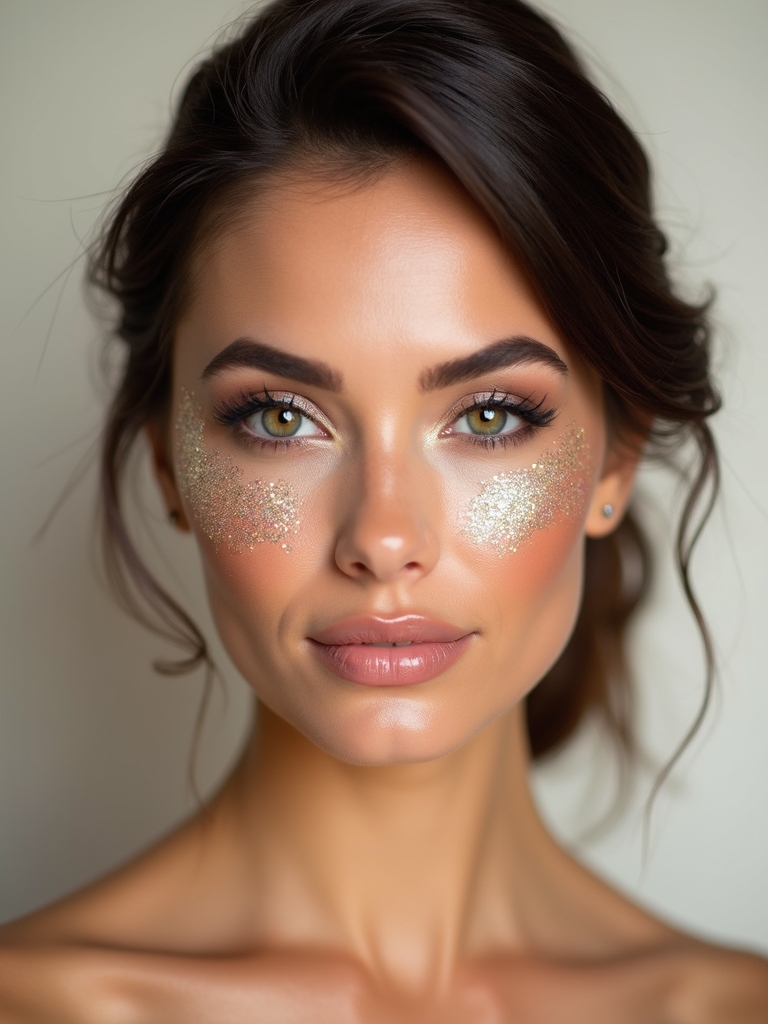
Glitter on the eyes and cheeks is the instant 2011 pop, and focusing it at the center creates a soft halo that looks deliberate. The placement does all the work, so a little goes a long way here.
- Tap a thin balm on the lid, then press loose glitter with a ring finger, concentrating it at the center.
- For cheeks, blend a cream highlight first, then dot a micro-glitter on the very tops.
- Set with a mist, pair with glossy lips, and clean any fallout with a strip of tape.
Picking The Right 2011 Look For You
If you are not sure where to start, match the look to your day and your features. Bold wings and floating creases suit anyone who wants drama and has a few minutes to map a line, and they especially help lift hooded or downturned eyes. Glossy nudes, dewy skin, and draped blush are the low-effort wins that work on every face and look polished in under five minutes.
Skin tone should steer your color choices more than any trend rule. Deep and melanin-rich skin looks striking in copper smoke, berry-rose draping, and warm gold inner corners, while the sheerest pastels need a more pigmented layer to register. When in doubt, wear one statement, keep the rest soft, and you cannot really go wrong with any of these.
2011 Makeup Questions Worth Answering
?How do I keep a bold winged liner from looking dated?
Pair it with fresh, dewy skin and a soft nude lip so the wing is the only bold thing on the face. Mapping it in pencil first keeps the line clean, and a slightly softened outer edge feels more current than a stark, hard flick.
?Which 2011 looks flatter deep skin tones?
Copper and bronze smoky eyes, berry-rose draped blush, warm gold inner corners, and a teal or plum waterline all look striking on melanin-rich skin. For nude lips, choose warm brown and caramel shades, and build pastels in a more pigmented layer so they register.
?What is the easiest 2011 look for a beginner?
A glossy nude lip or monochrome pink. Neither needs a precise line, so there is little to go wrong. You match one color to your features, blend it with a finger, and you are done in a few minutes.
2011, With Better Skin Prep
What makes 2011 worth revisiting is the balance it struck between one truly bold feature and a soft, dewy, deliberately quiet everything-else that let that one choice breathe and take all the attention. The pieces still hold up. The creamier textures and better prep we have now only make them easier to pull off.
So start small. Try a bold wing, a glossy nude, and a dewy base, then play with pastel lids, a colorful waterline, or a soft contour-and-strobe when you want more. Wear it your way, and 2011 turns into something that feels current rather than nostalgic for its own sake.
Don’t Miss These