Green eye makeup is the most underrated trick in the kit, and the moment you swipe a sage or emerald across the lid you see why: it makes the whites of your eyes look brighter and your iris sharper, especially if your eyes are brown or hazel. There’s a green for every mood, from a barely-there mossy wash to a neon chartreuse cut crease.
These fifteen green eye looks run that whole range, with the formula, the technique, and which greens flatter your eye color and skin tone. Green plays by color theory, so the right shade can make your eyes really pop, more than any outfit can.
Green Eyes At A Glance
| Green look | Best for | Eye-color note |
|---|---|---|
| Soft sage wash | Everyday, work | Suits every eye |
| Emerald smoky | Night out | Pops brown and hazel |
| Neon lime, chartreuse | Bold, festival | Striking on deep skin |
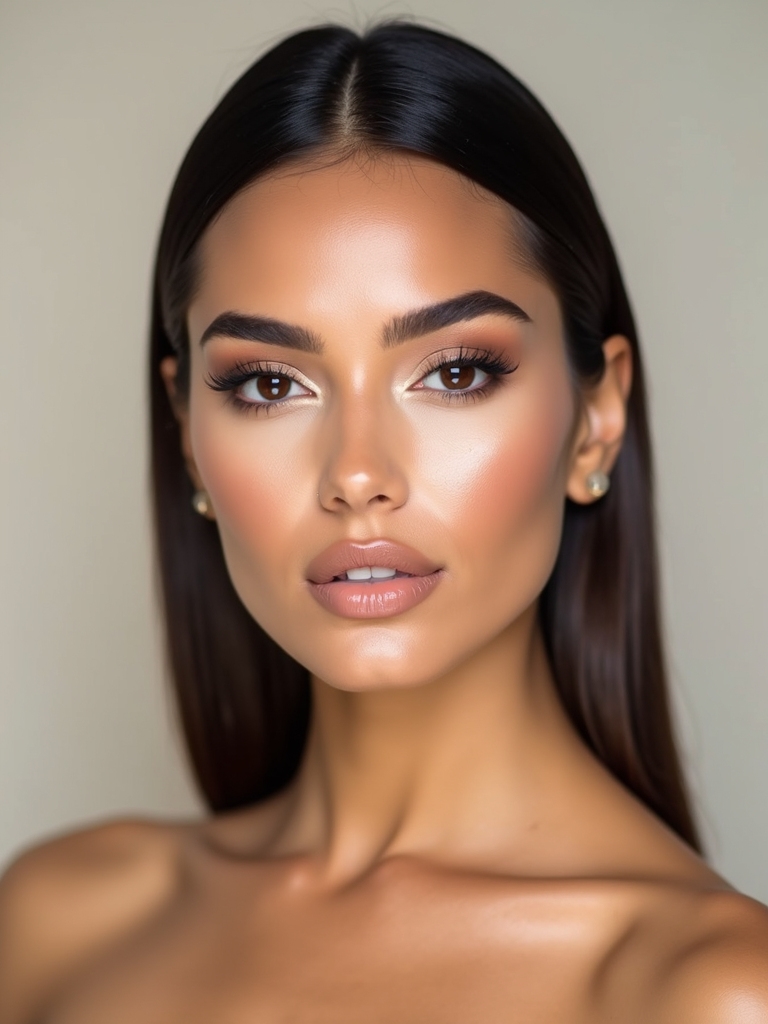
Soft Sage Eye Wash
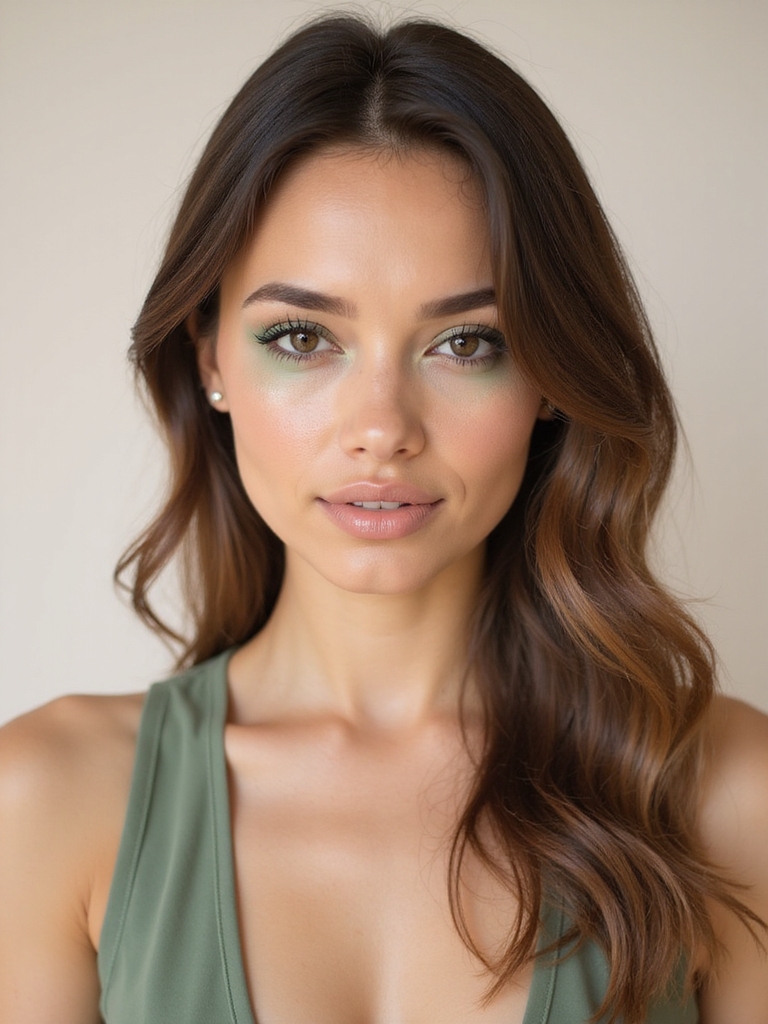
A soft sage wash is the gateway green: a muted, grayed green swept across the lid for color that’s subtle enough for work. It looks quietly sophisticated, which makes it the green I recommend to anyone unsure about wearing it. Sage suits every eye color and skin tone because it’s so muted.
I wash it on with a finger or a fluffy brush, blended soft, then tightline to anchor it. A little champagne in the inner corner lifts it. On deep skin, a deeper olive-sage looks richer.

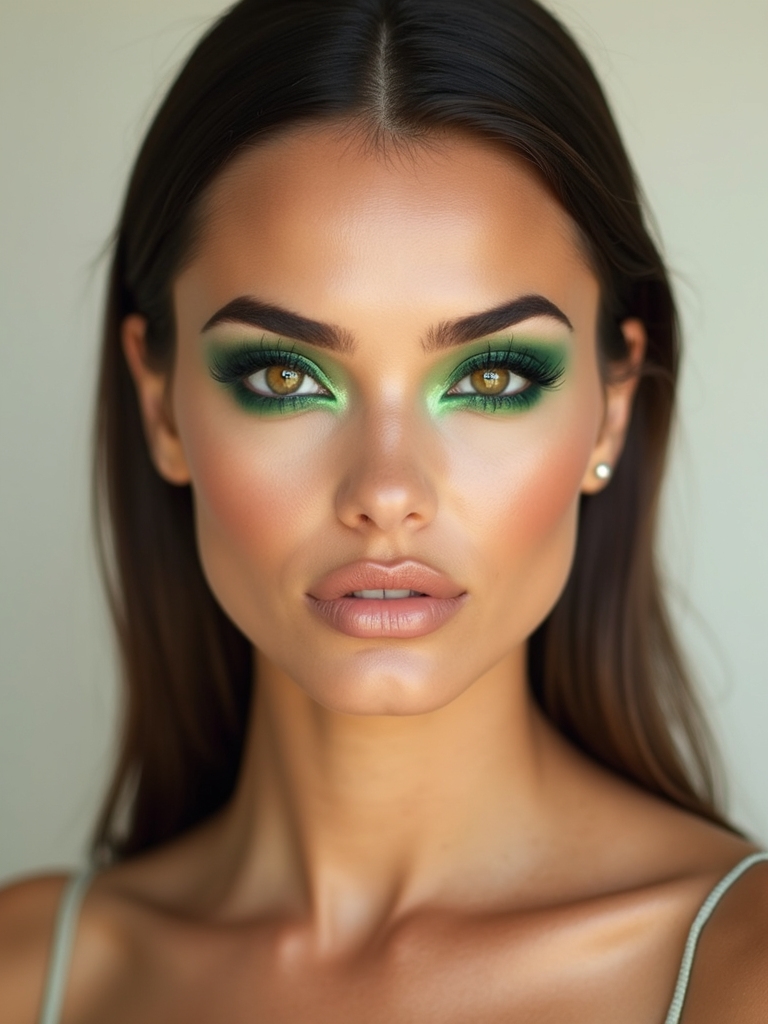
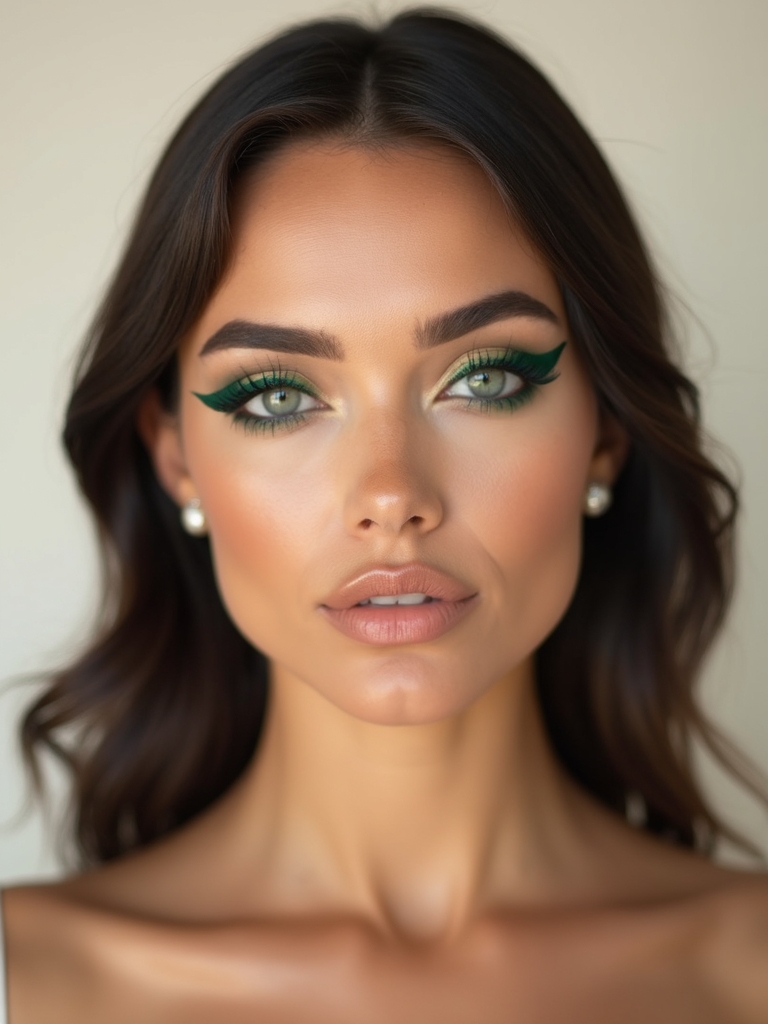
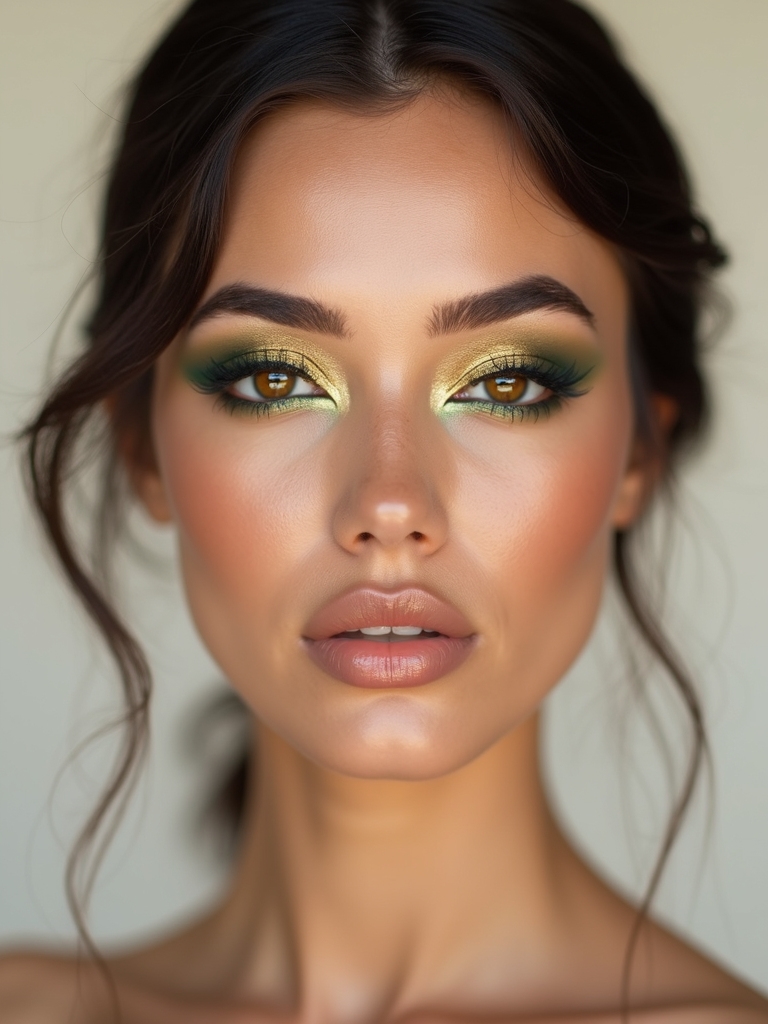
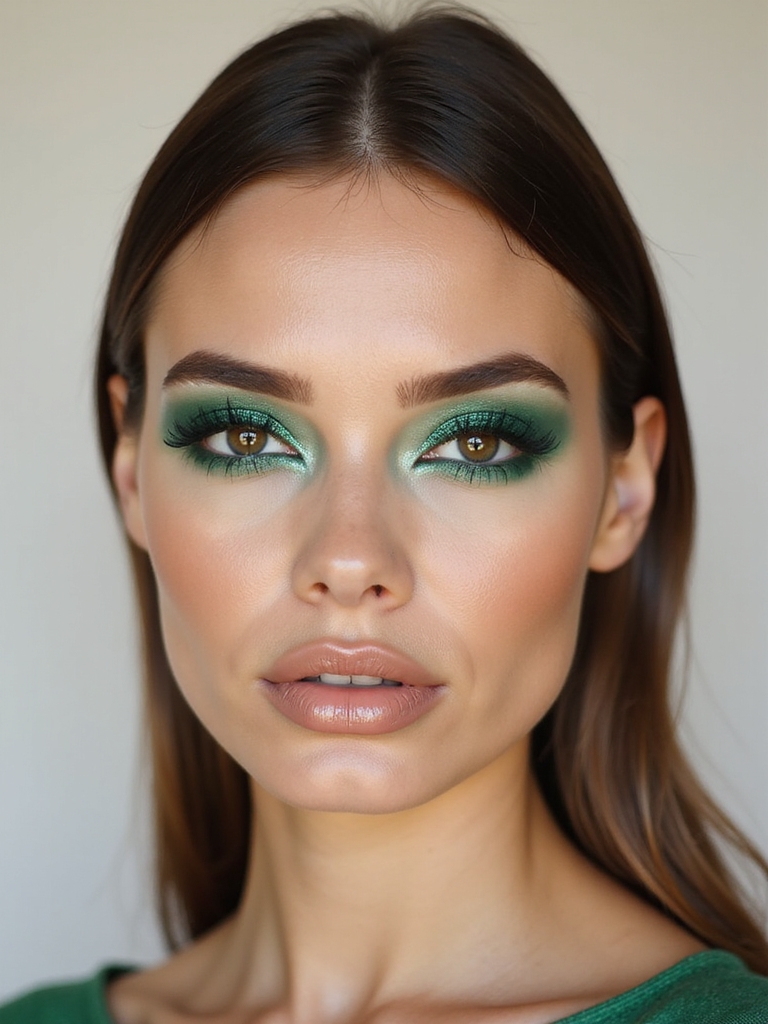
Emerald Smoky Eye
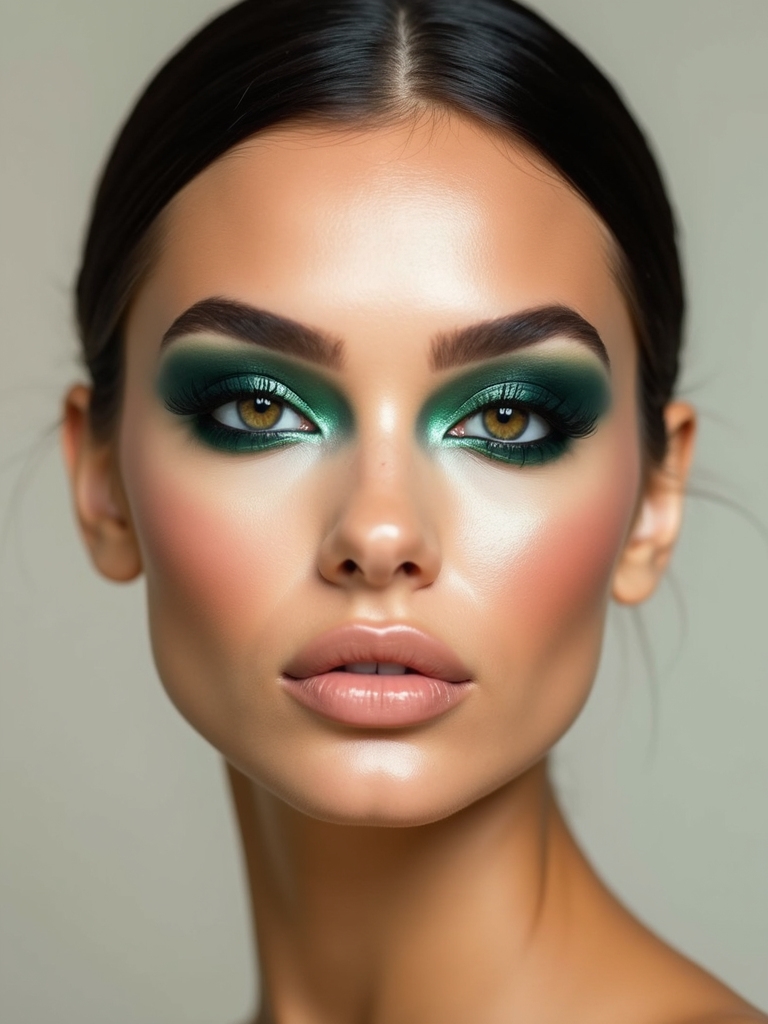
An emerald smoky eye is the jewel-toned upgrade to a black smoke: deep emerald blended at the lash line and up into the crease for rich, glamorous color. It is dramatic without the harshness of black, and emerald especially makes brown and hazel eyes pop.
Why Green Makes Eyes Pop
I build the depth with a deep emerald and a black in the outer corner, then blend up. A touch of gold or lighter green on the center adds dimension.
Green sits opposite red tones on the color wheel, so it brightens the warm flecks in brown and hazel eyes and makes the whites look clearer. For more on flattering brown eyes, makeup for brown eyes covers warm tones, and for the classic dark version, smokey eye makeup builds the base.
A soft sage wash, in order:
1Prime
Prep the lid so green grips and lasts
2Wash
Sweep sage across the mobile lid
3Blend
Diffuse the edges soft
4Anchor
Tightline and add mascara
Neon Lime Inner Corner
A neon lime inner corner is the smallest hit of green with the biggest punch: a bright lime tapped at the tear duct that electrifies the whole eye. It is the modern, fashion-forward way to wear green without committing to a full lid.
I press the lime on with a flat brush so it stays vivid, then pair it with a clean liner so the eye looks sharp. A neutral lid lets the lime be the only color.
Neon lime is striking on deep skin especially, where the brightness glows. It also works on every eye color since it’s an accent, not an overall wash. For more bold-color eyes, y2k makeup plays in the same space.
Olive Matte Crease Sculpting

Olive in the crease is a clever trick: a matte olive used like a contour shade to sculpt and deepen the eye in place of the usual brown. The green-brown tone adds warmth and a subtle, unexpected color that looks almost neutral.
I blend the olive through the crease and outer corner, keeping the lid clean, so it shapes the eye without looking like a full green look. It works on any eye color as a daily, wearable green, and on hooded eyes you blend it slightly above the crease so it shows when open.
Good to Know
Neon shades need a white or pale base under them to read true; over bare skin or a dark lid, neon green turns dull and muddy. A quick swipe of white pencil first keeps it electric.
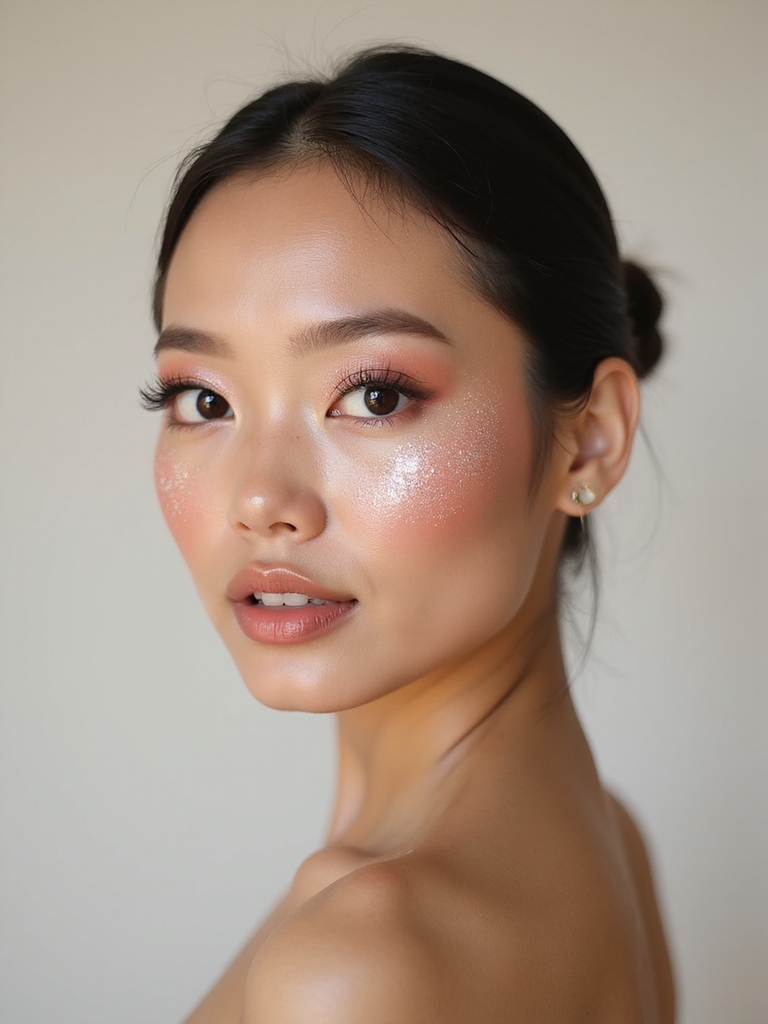
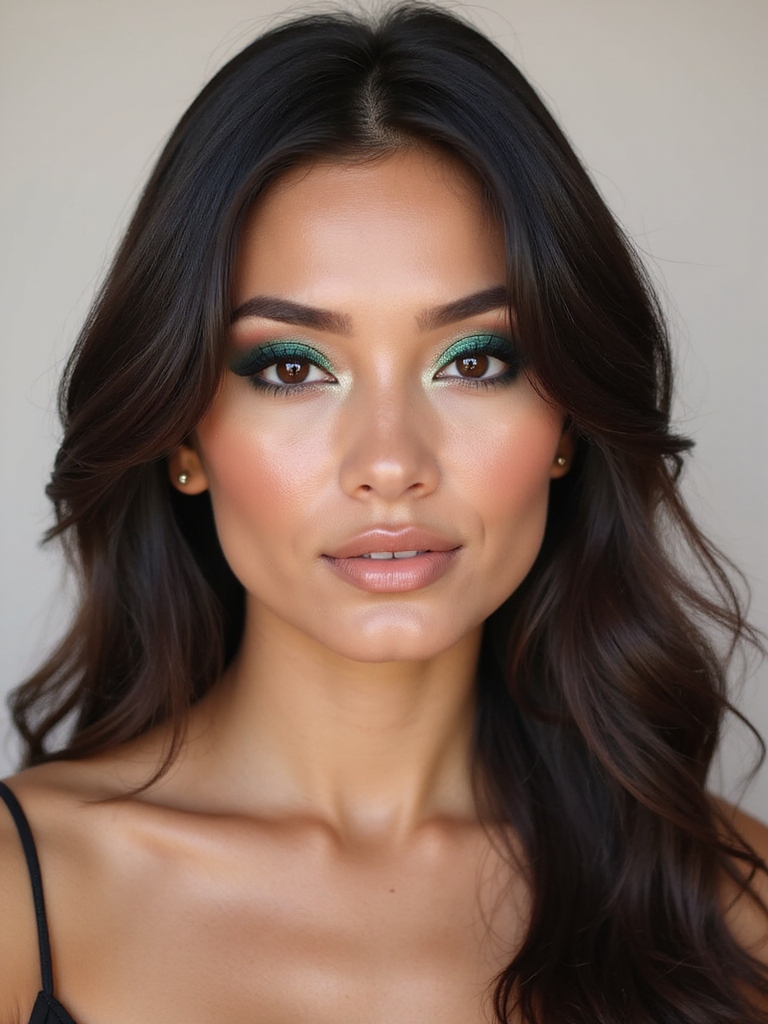
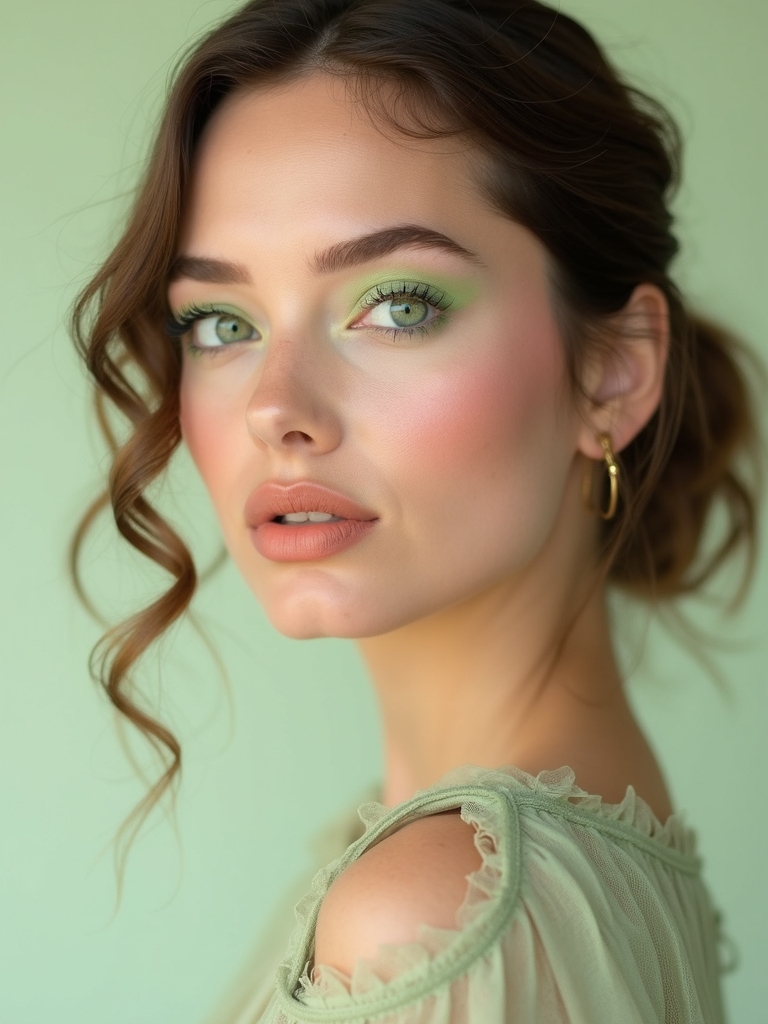
Shimmering Mint Halo
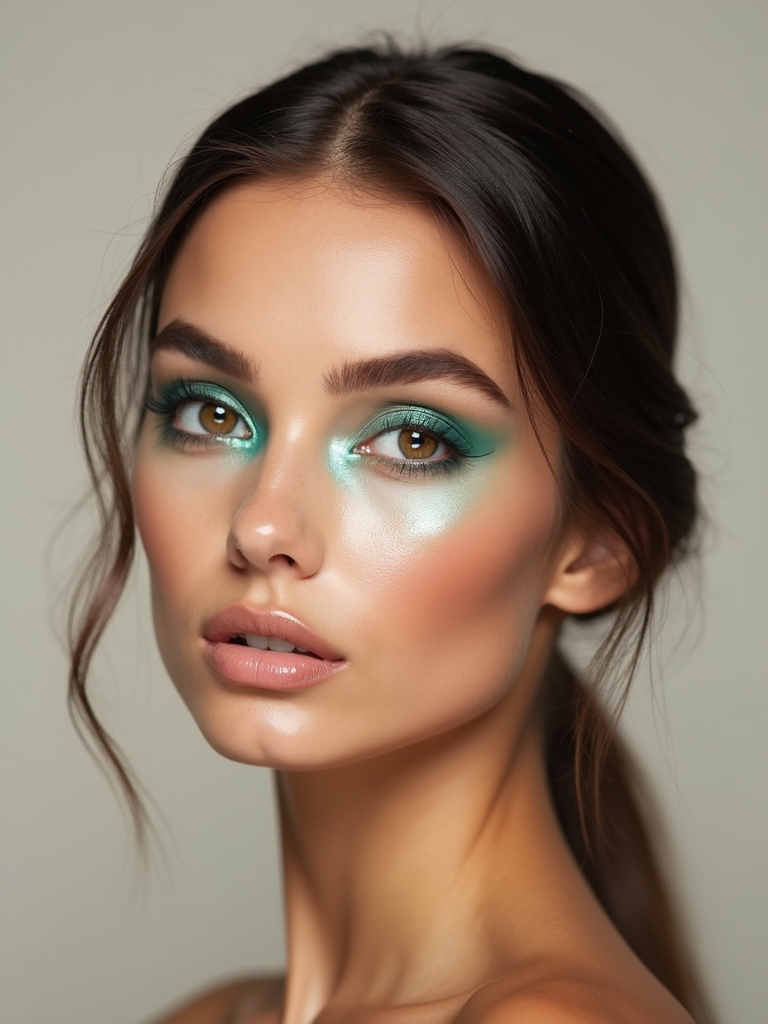
A mint halo glows a soft, cool mint from the center of the lid with deeper green at the corners, for a fresh, lit-from-within green eye. The pale mint catches light like water, which makes it feel springy and bright.
I deepen the inner and outer corners, leave the center clean, then tap shimmering mint in the middle. It’s the prettiest green for a soft, glowy look.
- Deepen the corners first, then spotlight mint in the center.
- Use a shimmer, not a matte, mint so it catches light.
- Keep the rest of the face soft so the eye leads.
Forest Green Winged Liner
A forest green winged liner is the subtle way to wear green: a deep, almost-black green liner that comes across as a soft surprise where you would expect black. From a distance it looks like a classic wing; up close the green shows.
I draw it like any wing, anchored at the outer corner and flicked up, in a deep forest gel liner. It defines the eye while adding a quiet hit of color.
Forest green is especially rich against brown eyes, and it’s office-appropriate because it’s so deep, the green only reveals itself in good light. Keep the lid bare so the liner is the focus.
Green eye terms, decoded:
📖Halo eye
Dark corners with a bright center for a glowing, hollow effect
📖Cut crease
A sharp, carved crease line with color packed above it
📖Duochrome
A shade that shifts between two colors as the light moves
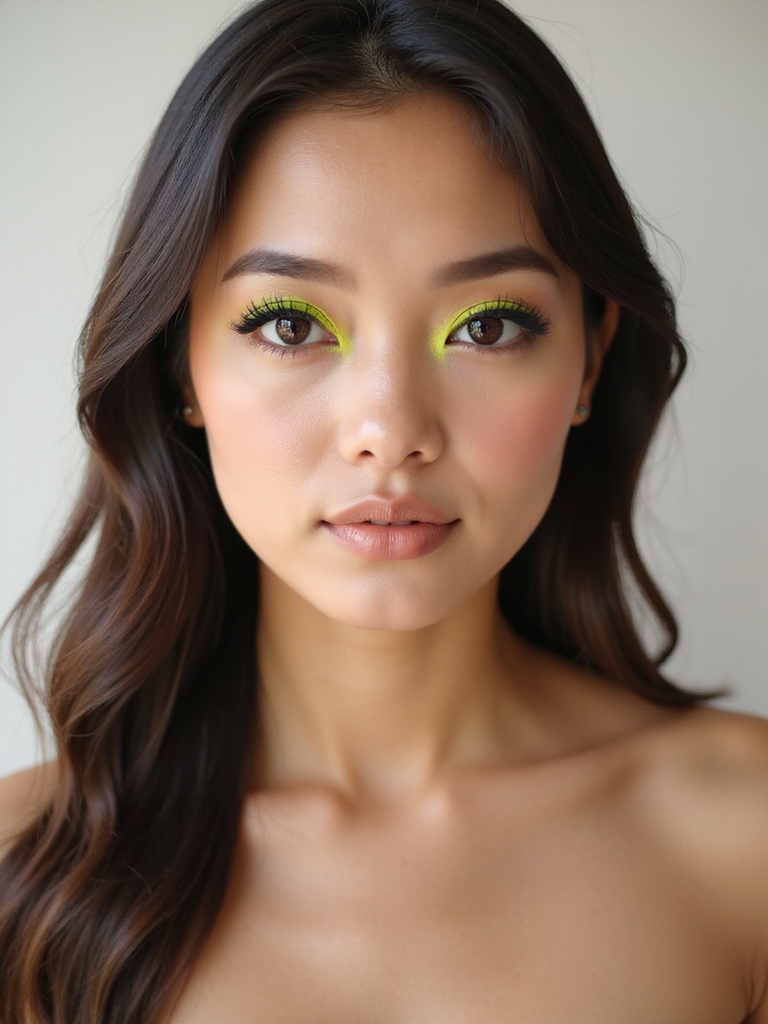
Neon Chartreuse Cut Crease
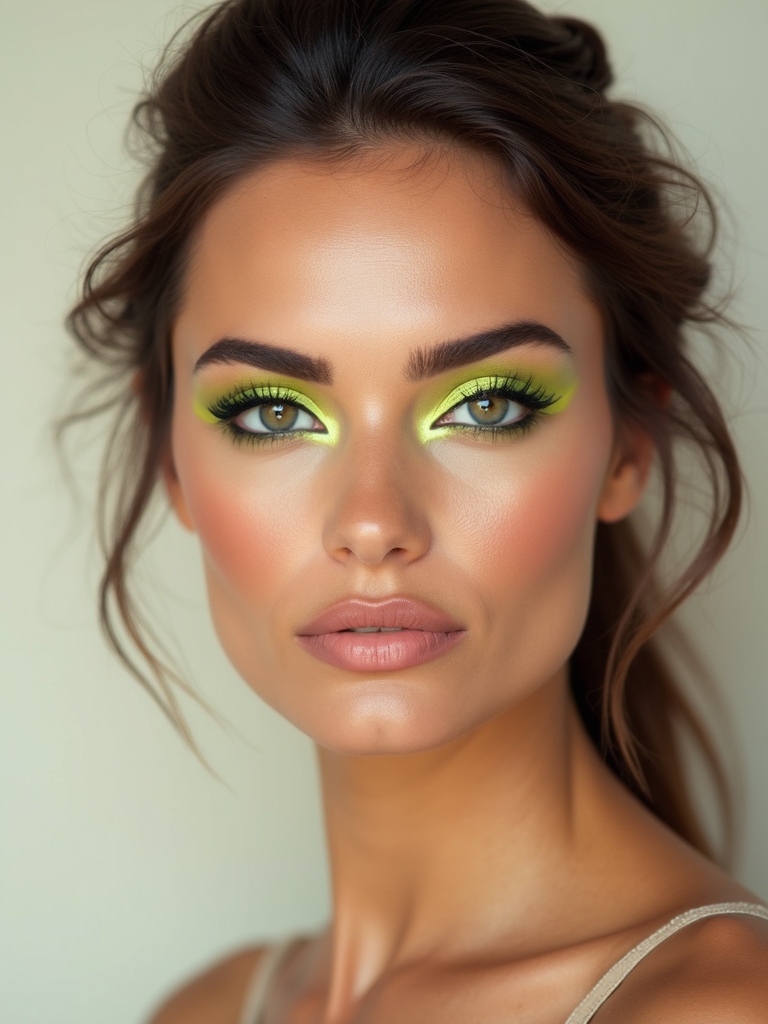
A neon chartreuse cut crease is green at full volume: a sharp, carved crease packed with electric yellow-green for a bold, editorial eye. It is a statement look, the kind for a festival or a night out.
I map and carve the crease with concealer, then pack the chartreuse above it over a white base so it stays vivid. A crisp wing anchors it.
Chartreuse is one of the boldest greens and looks incredible on deep skin under any light. It takes a steady hand, so it rewards practice or a pro. For a softer green, the sage wash earlier is the gentle end of the spectrum.
Teal-To-Green Gradient Lid
A teal-to-green gradient melts a blue-green teal into a true green across the lid, for a dimensional, mermaid-adjacent eye that still looks sophisticated. The shift in tone gives a single eye look real depth.
Blending Two Greens Cleanly
I place teal at the inner half and green at the outer, then blend where they meet so there’s no hard line. A shimmer top over both makes the gradient glow.
Use a clean blending brush between the two shades and tap, don’t drag, so they meet softly. Keeping both in the same finish, both shimmer or both matte, keeps it cohesive. It suits any eye color and pops against warm complexions.
How bold a green do you want?
1Subtle
A sage wash, olive crease, or forest liner
2Bold
Neon lime, a chartreuse cut crease, or emerald smoke
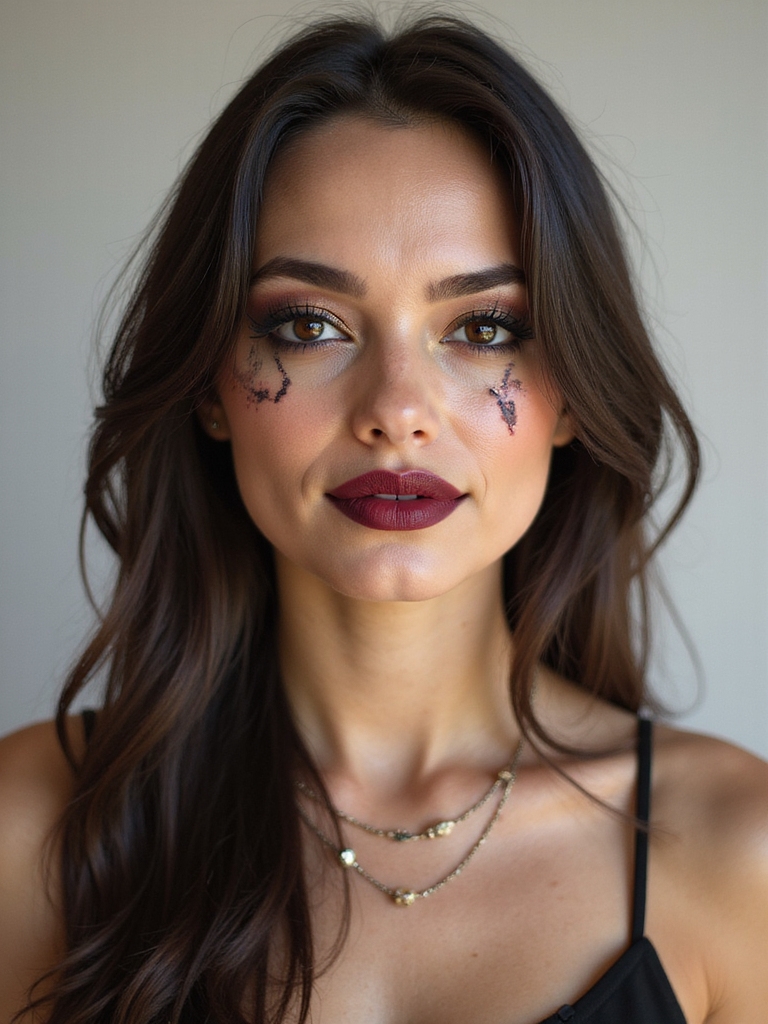
Soft Mossy Smudged Lower Line

Color on the lower lash line is an underused move, and a soft mossy green smudged there adds an unexpected hit of color while keeping the lid clean. It is subtle, modern, and quick, the green for someone who wants just a touch.
I smudge a mossy green along the lower line with a small brush, keeping the upper lid bare or just mascara’d. The low placement keeps it wearable for day.
Mossy green especially brightens brown eyes. Echo a little at the inner corner to tie it together, and on deep skin a richer moss looks beautiful.
Soft Mossy Khaki Wash
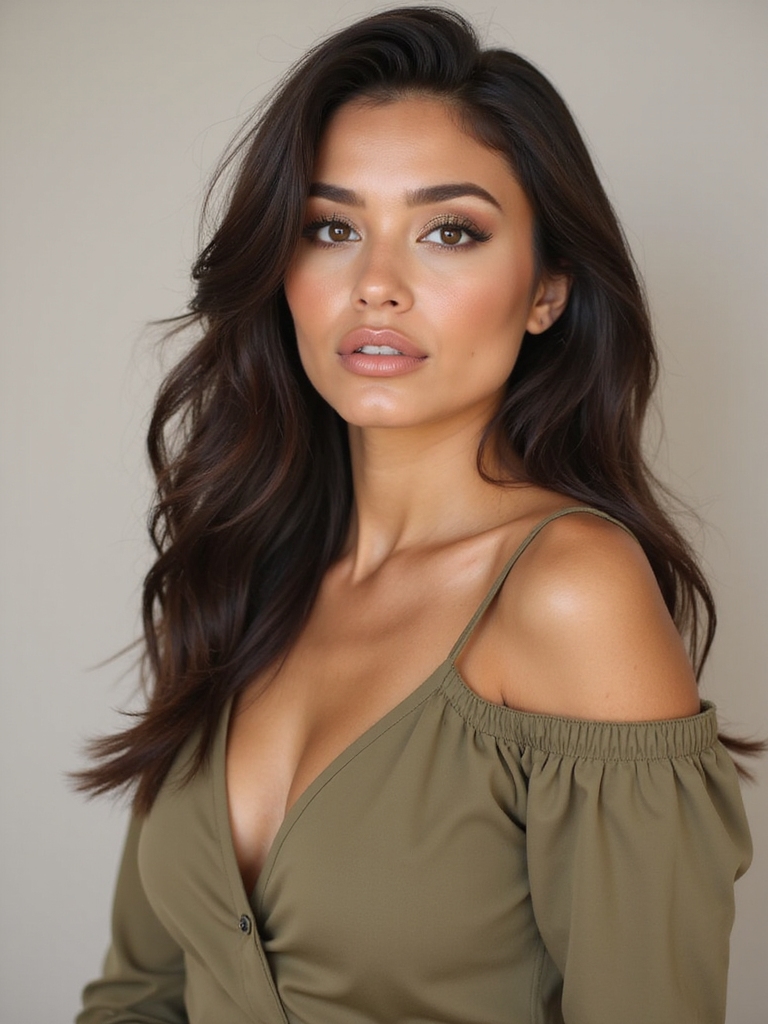
A mossy khaki wash is the most neutral green there is: a soft, brownish khaki-green that wears like a taupe with a subtle earthy tint. It is the green for people who think they don’t like green, because it looks like a warm neutral.
Green That Reads Neutral
I wash it across the lid and blend it into the crease for a soft, daily eye. A little bronze in the outer corner warms it up.
Khaki-green works on every eye color and skin tone because it’s so muted, sitting between green and brown. It’s the most office-safe green here. For soft daily eyes on any eye shape, hooded eye makeup covers placement.
Duochrome Olive Liner
A duochrome olive liner is the secret-weapon green: an olive base that flashes gold, green, and even purple as your eye moves, drawn as a simple liner. It looks understated head-on and surprises with color in motion. I tap-press the duochrome along the lash line, pressing, not swiping, so the shift stays intense, then layer it over a dark base for the strongest flip. It is a low-effort way to wear green with major dimension.
- Press the duochrome on so the color shift stays strong.
- Layer it over a dark base for the most intense flip.
- Keep the rest of the eye soft so the liner does the talking.
Soft Pistachio Pastel Eyes
A soft pistachio is the pastel green: a creamy, pale green that’s playful and sweet, perfect for spring and summer. It looks fresh and modern, softer than mint and warmer than sage.
I wash the pistachio across the lid, keep the edges clean with a flat brush, and add a tightline so it still looks like a defined eye. A pastel green needs a little definition or it can look washed out.
Pistachio pops especially against brown and amber eyes. On deep skin, a creamy opaque pistachio shows up best, since sheer pastels can disappear, so build it. Color-blocking it with another pastel feels current.
Crisp Hunter Green Graphic Liner
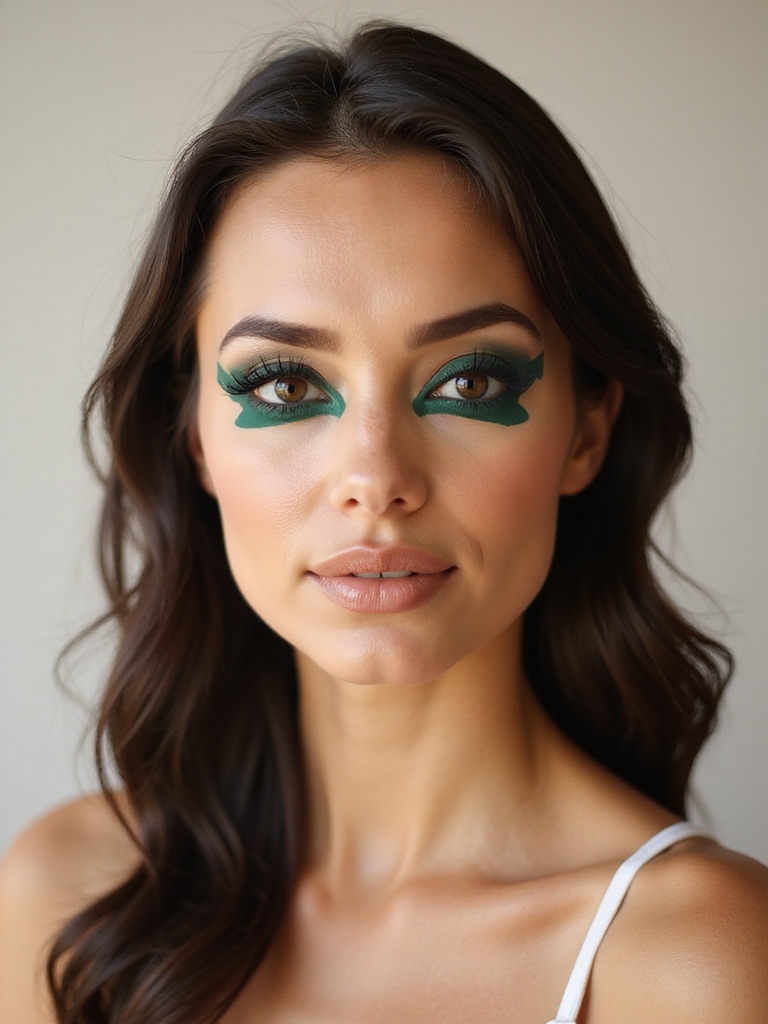
A graphic liner in deep hunter green is the modern, fashion-forward green: a floating line or sharp shape above the crease in a rich, dark green. The clean graphic shape keeps it editorial. Build it like this:
- Map a floating line above the crease with a fine felt tip in hunter green.
- Leave clean negative space below it, or wash the lid sheer.
- Keep the edges razor-crisp with a swab of micellar water.
Seafoam Shimmer Halo
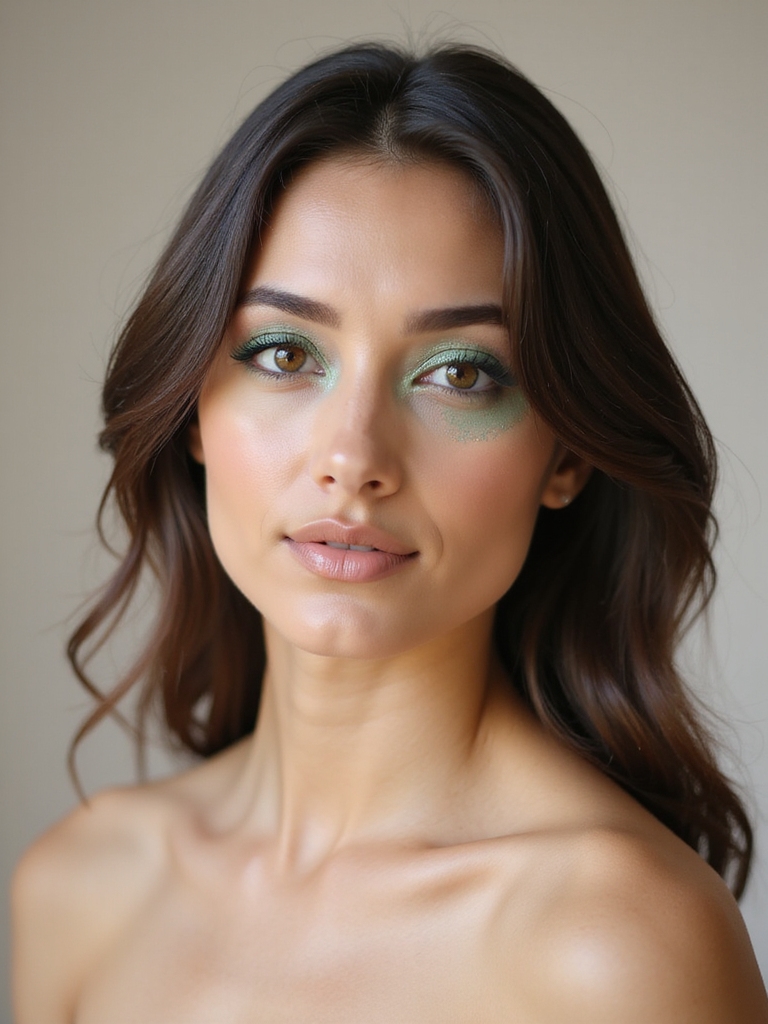
Seafoam is the coolest, most ethereal green: a pale blue-green shimmer that glows like sea glass. In a halo placement, with deeper green at the corners and seafoam in the center, it gives a soft, watery glow.
Seafoam Versus Mint
I deepen the corners with a teal or green, then tap shimmering seafoam in the middle and blend the edges. It’s dreamy and feels like summer.
Seafoam leans blue-green and cool, while mint is a truer, fresher green. Pick seafoam for a watery, ocean feel and mint for a crisp, springy one. Both flatter cool undertones especially, and both glow on deep skin with a shimmer finish. For a glowy base under either, glam makeup sets the stage.
Jade Glitter Topper
A jade glitter topper is the fastest way to dress up any green eye: a sheer green glitter pressed over an existing green lid for instant, jewel-like sparkle. It is the green for a party or a special night. Layer it like this:
- Build a base green first, sage, emerald, or olive, and set it.
- Press eye-safe jade glitter over the center with a flat brush.
- Seal the edges so there’s no fallout onto your cheeks.
Green Eye Makeup Questions, Answered
?Does green eye makeup suit brown eyes?
Especially well. Green sits opposite red and warm tones on the color wheel, so it brightens the warm flecks in brown and hazel eyes and makes them look more vivid. Brown eyes are the best canvas for green.
?Which greens flatter deep skin tones?
Bright and jewel greens, emerald, neon lime, chartreuse, and jade, glow on deep skin under any light. Muted sage and khaki work too; just build them opaque so the color shows clearly.
?How do I keep green eyeshadow from looking muddy?
Use a primer and, for neon or pastel greens, a white base underneath so the color shows true. Over bare skin, bright greens go dull, so the base is what keeps them vivid.
?What’s the most wearable green for everyday?
A soft sage wash, an olive crease, or a mossy khaki. All three read almost like neutrals, add subtle color, and suit work, since the green is muted rather than bright and busy.
?Can green eye makeup work with a green outfit?
Yes, if you avoid matching exactly. Pick a green a few shades off from your clothes, or pair a soft green eye with a neutral lip, so it looks intentional rather than head-to-toe monochrome.
Green Is For Everyone
Green has a reputation as a hard color to wear, but it’s really the opposite: there’s a green for every eye color, skin tone, and mood, from a khaki so soft it looks neutral to a chartreuse loud enough for a stage. The color theory does the heavy lifting, since green makes warm-toned eyes pop more than any neutral can.
If you’ve never tried green, start with a sage wash or an olive crease, the greens that wear like a taupe. Once you see how it brightens your eyes, work up to the emerald smoke or the neon lime. For green beyond the eyes, green makeup covers the full face.