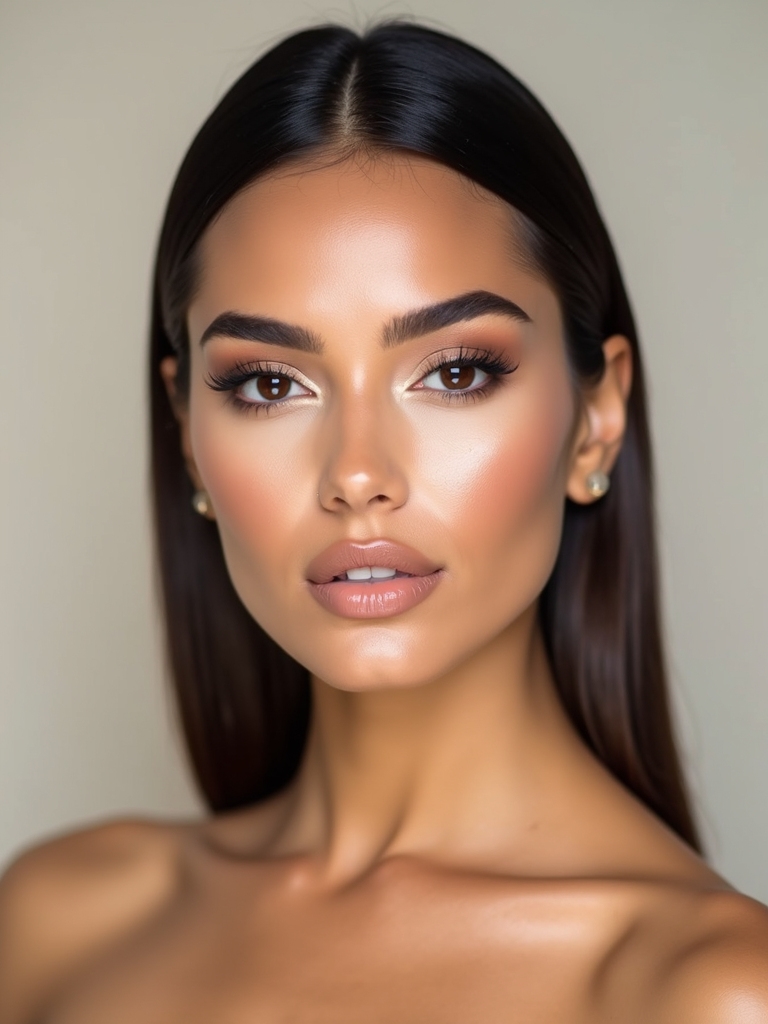
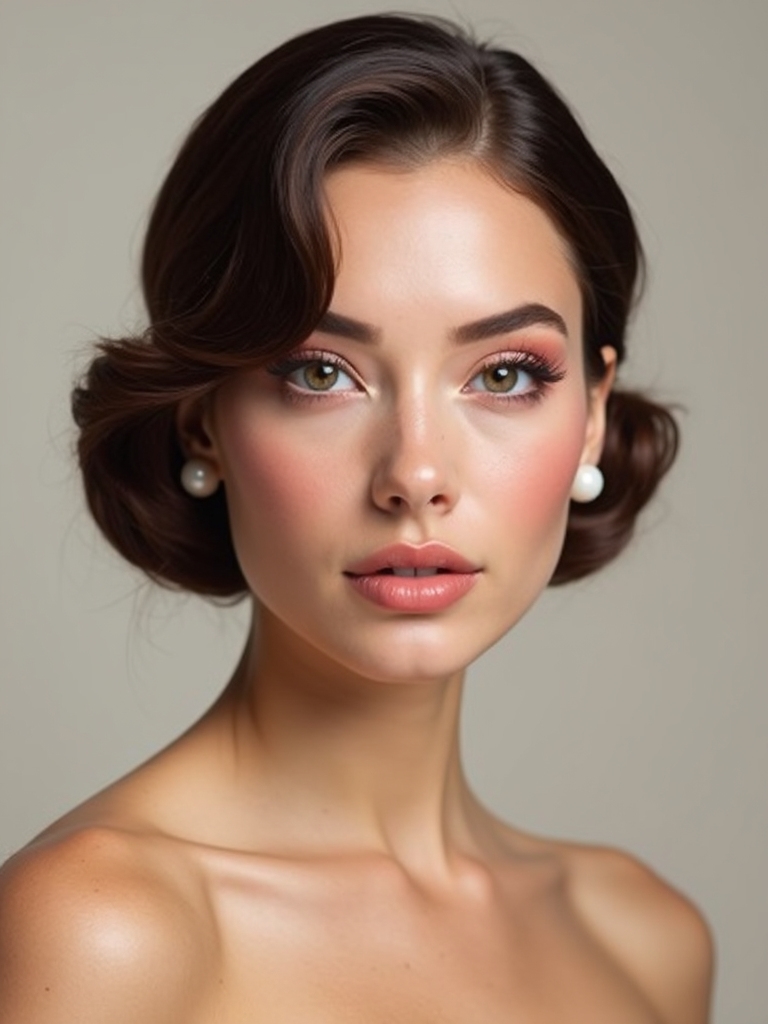
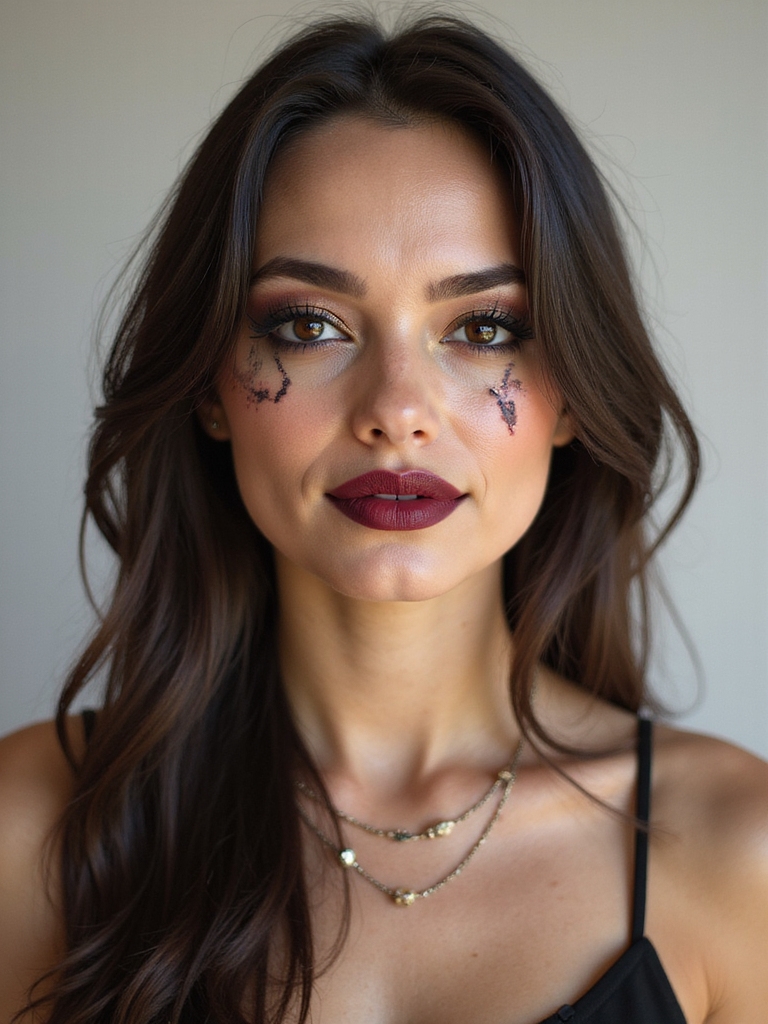
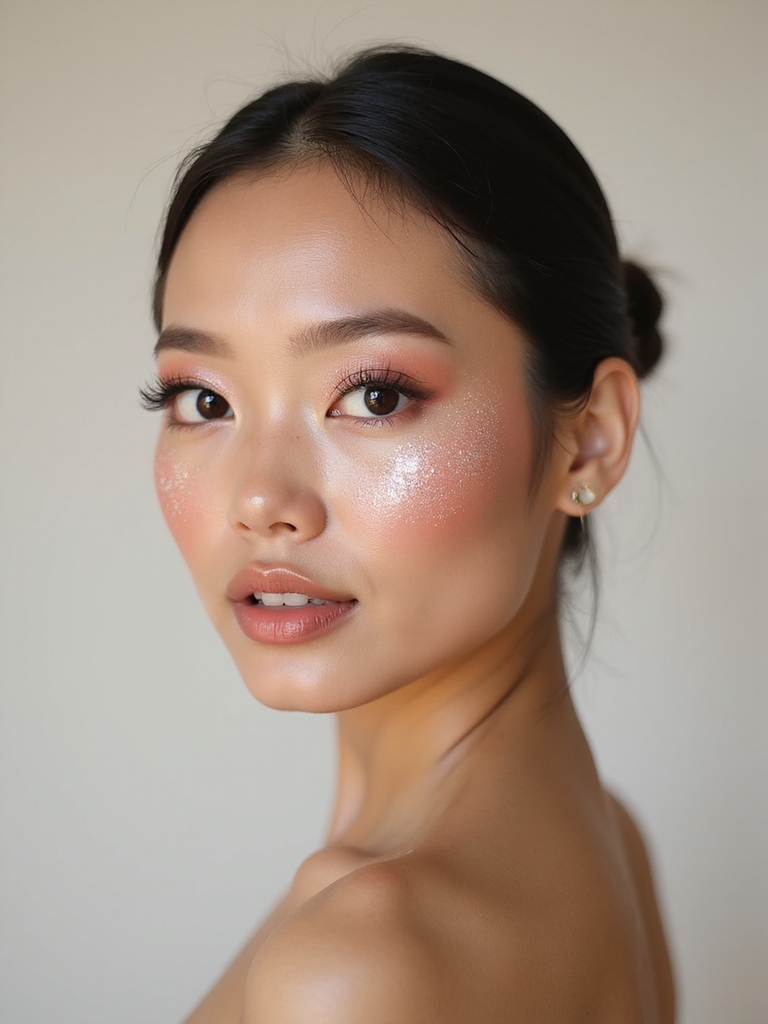
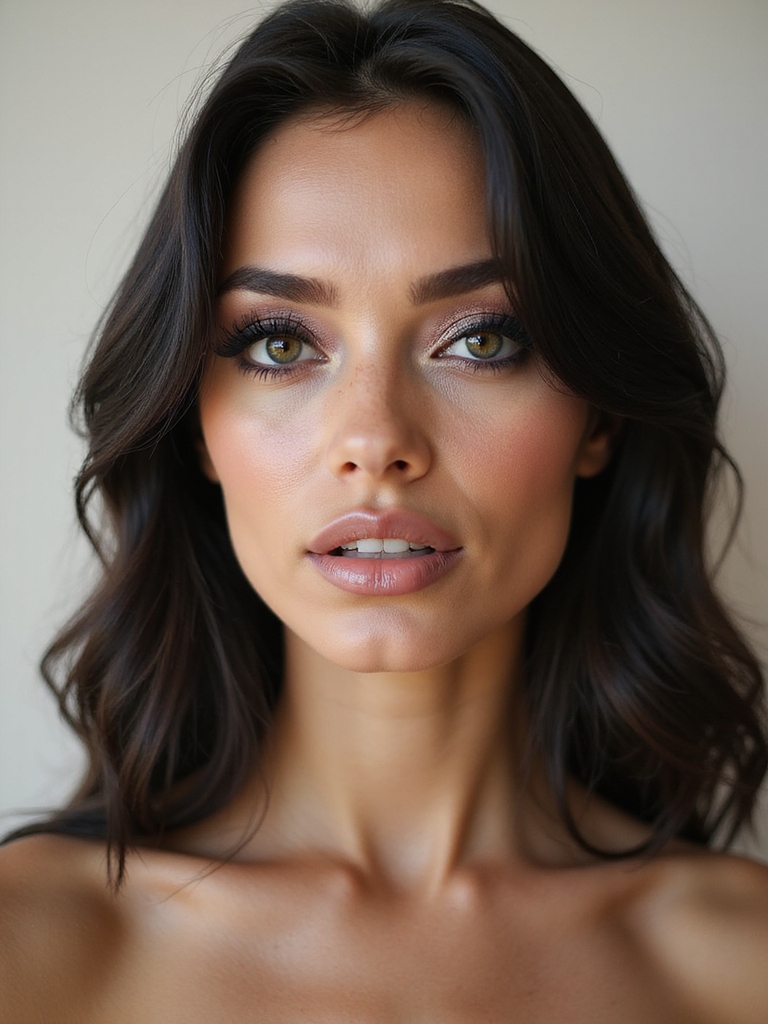
A convincing zombie is built on shadow, not blood. After years of doing zombie makeup on friends and clients every October, that is the first thing I tell anyone who asks. Beginners reach straight for the fake gore, but what actually sells the undead look is hollowing out the face first, sinking the eyes, graying the skin, and carving in cheekbones that look like they have not eaten in a week.
Get that base right and the wounds become the easy part. These zombie makeup transformations run from subtle sallow decay to full toxic-neon horror, with steps for each, plus the shading tweaks that make the look land on every skin tone, not just pale ones. Grab a cheap palette and let us raise the dead.
Zombie Makeup Essentials
- Shadow before gore: hollow the eyes and cheeks with cool gray and purple tones first, then add wounds.
- On deep skin, go ashen and gray-green rather than white; whitening the face looks like a costume, while graying the undertone looks dead.
- A basic kit covers most looks: a cheap gray-toned palette, liquid latex or gelatin for texture, fake blood, and setting powder.
- Patch-test any latex or face paint a day ahead, and remove everything gently with an oil cleanser, never by scrubbing.
Sunken, Sallow Peeling Decay
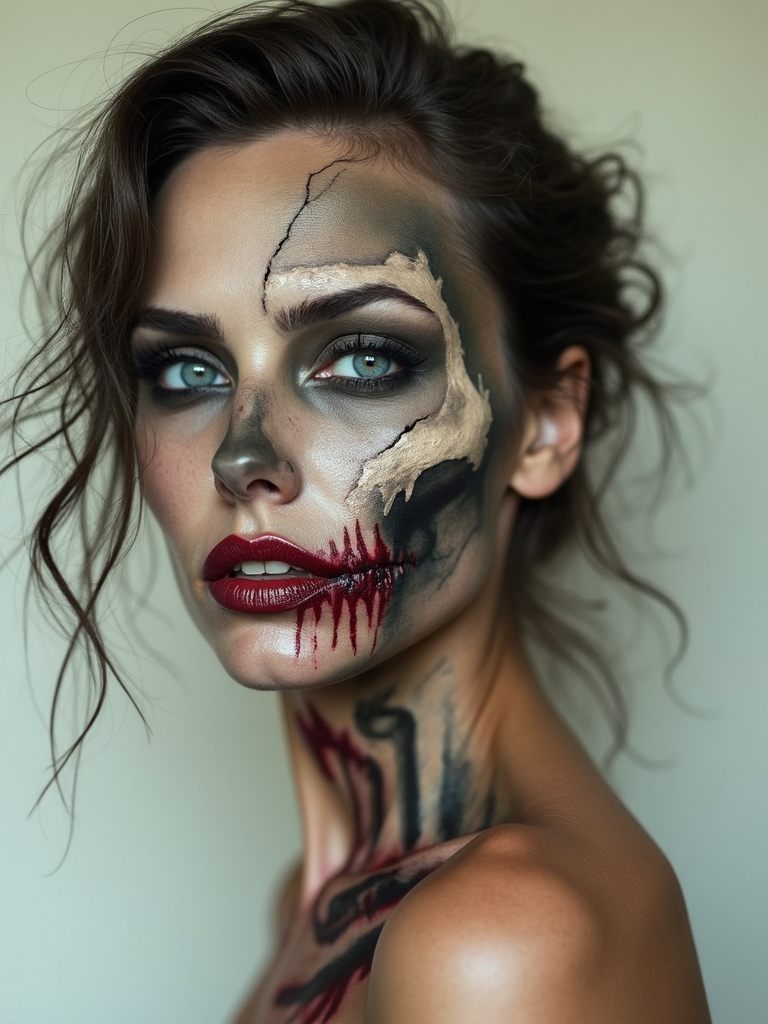
This is the textbook zombie, and the one I start beginners on. Sunken eyes, a sickly sallow tone, and peeling skin around the mouth and cheeks. It relies on shading and a little texture rather than buckets of blood. Build it in order:
- Hollow the eye sockets and under the cheekbones with a cool gray-brown shadow, blended deep.
- Wash a sallow green-yellow over the whole face to kill any healthy color.
- Lay thin pieces of liquid latex or tissue, then peel the edges up and color under them for raw, flaking skin.

Fresh Inflamed Bite Realism
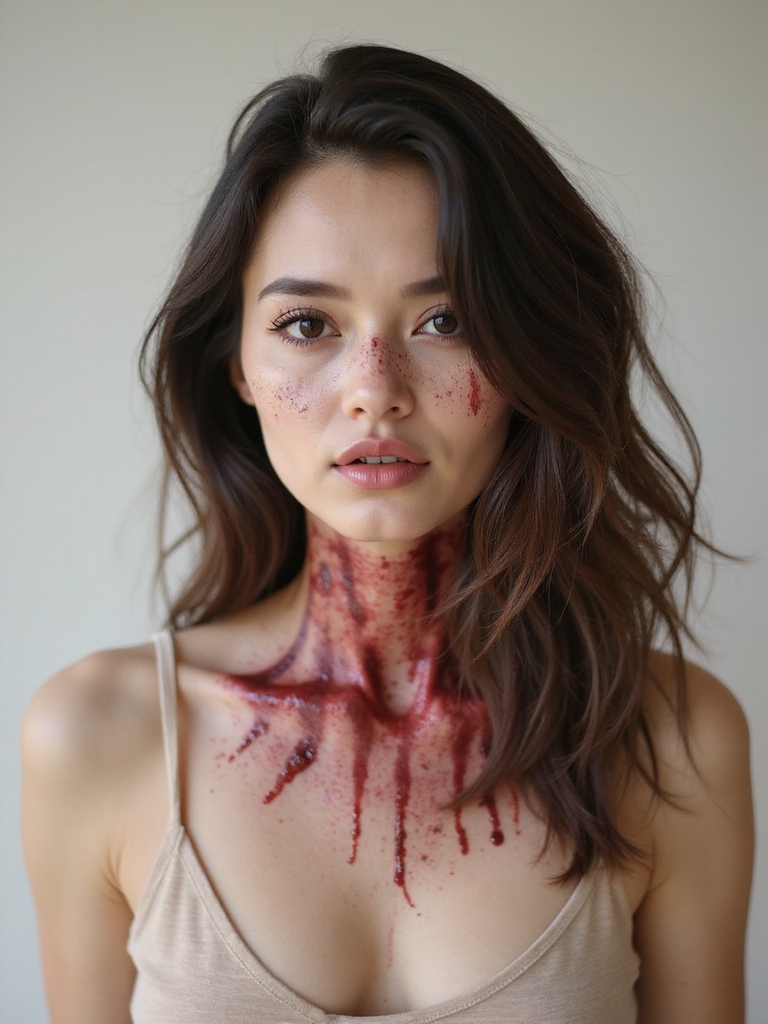
A single, believable bite beats a face full of sloppy gore every time, and it is the fix I recommend to first-timers who overdo the blood. The trick to realism is the inflammation around the wound, not the wound itself. Real injuries are angry and red at the edges, bruised purple-yellow further out, and only dark and bloody at the center.
Build the bite with a little liquid latex for raised, torn edges, then color the broken skin deep red and black. Stipple red and purple around it with a sponge so it looks swollen and recent. A touch of clear gloss in the center keeps it looking wet and fresh, which is what makes people wince.
The blood is the last five percent. A zombie that scares people is built on shadow, hollow bone, and dead, drained color long before a drop of red goes on.
Skeletal Hollow Contour
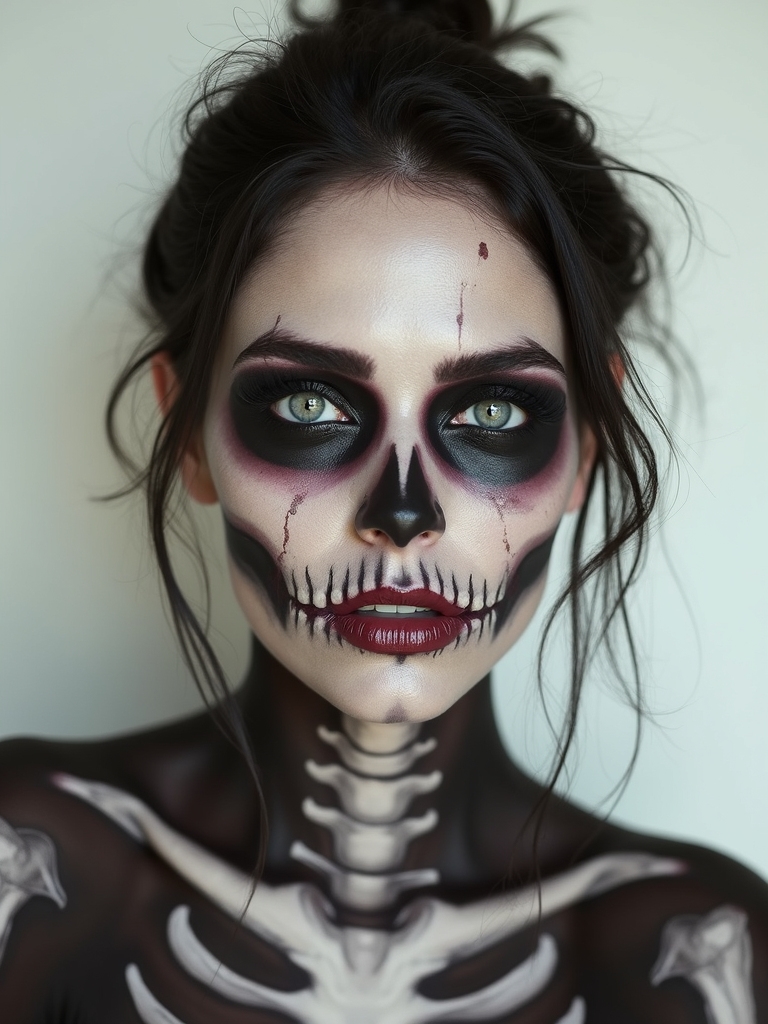
Clients ask me for buckets of gore, but the scariest zombie is often the most restrained one, all sharp bone and hollow shadow with barely a drop of blood, where every bit of the fear comes from how deeply you have carved the face into shadow. This editorial, skeletal take is pure contour skill, and it photographs beautifully:
- Deepen every natural hollow: temples, under the cheekbones, the eye sockets, the sides of the nose.
- Use cool gray and taupe shadows, since warm bronzers look healthy, the opposite of what you want.
- Highlight the high points of the bone, the brow, cheekbone, and brow ridge, to push them forward against the shadows.
Cracked Vein Undead Effect
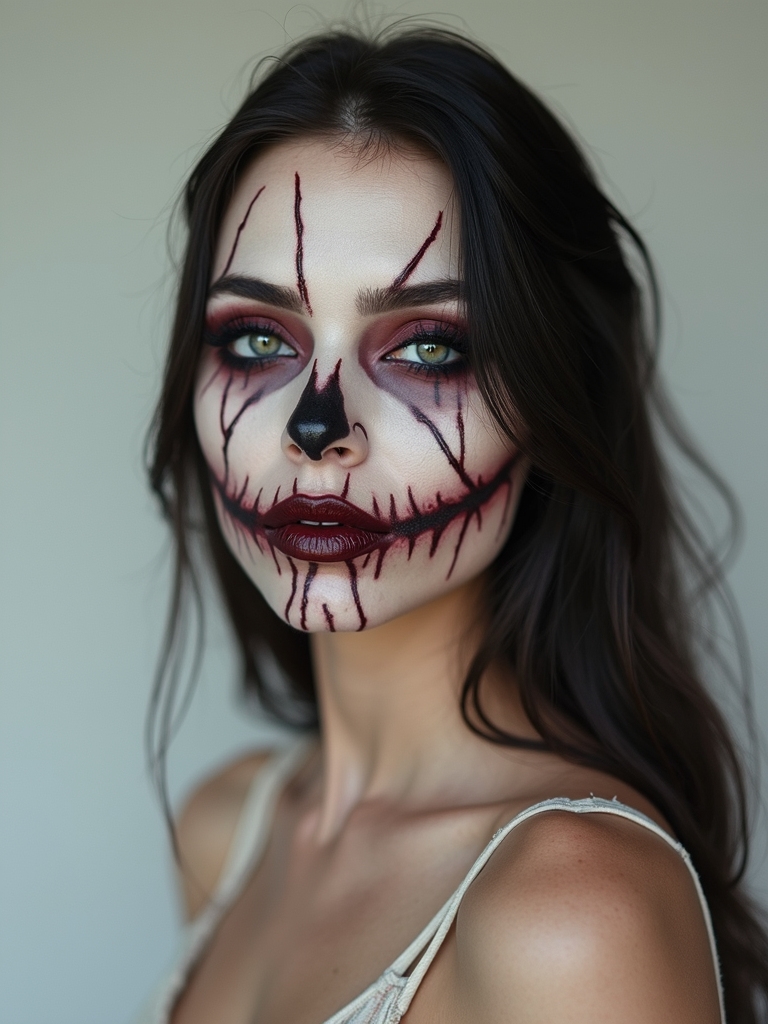
Spidery, visible veins are a delicate, creepy detail that suggests the blood has stopped moving. Done lightly, they look like decay creeping under translucent skin. Keep them subtle:
- Sketch fine, branching lines in deep purple, green, and blue where veins sit naturally, the temples, neck, and under the eyes.
- Pat over them with a thin layer of foundation or a pale wash so they sink under the skin.
- Less is creepier here; a few faint, branching veins beat a face scribbled with lines.
The most common zombie-makeup mistake comes from one wrong assumption.
❌ Myth: More blood means a scarier zombie.
✅ Reality: Gore without a sunken, grayed base just looks like ketchup. Shading and hollowing do the real frightening work; blood is the finishing touch.
❌ Myth: Zombie makeup means painting your face white.
✅ Reality: On deep skin a white base looks like a costume. Graying and desaturating your own undertone with cool tones reads far more dead and convincing.
Toxic Neon Zombie Glam
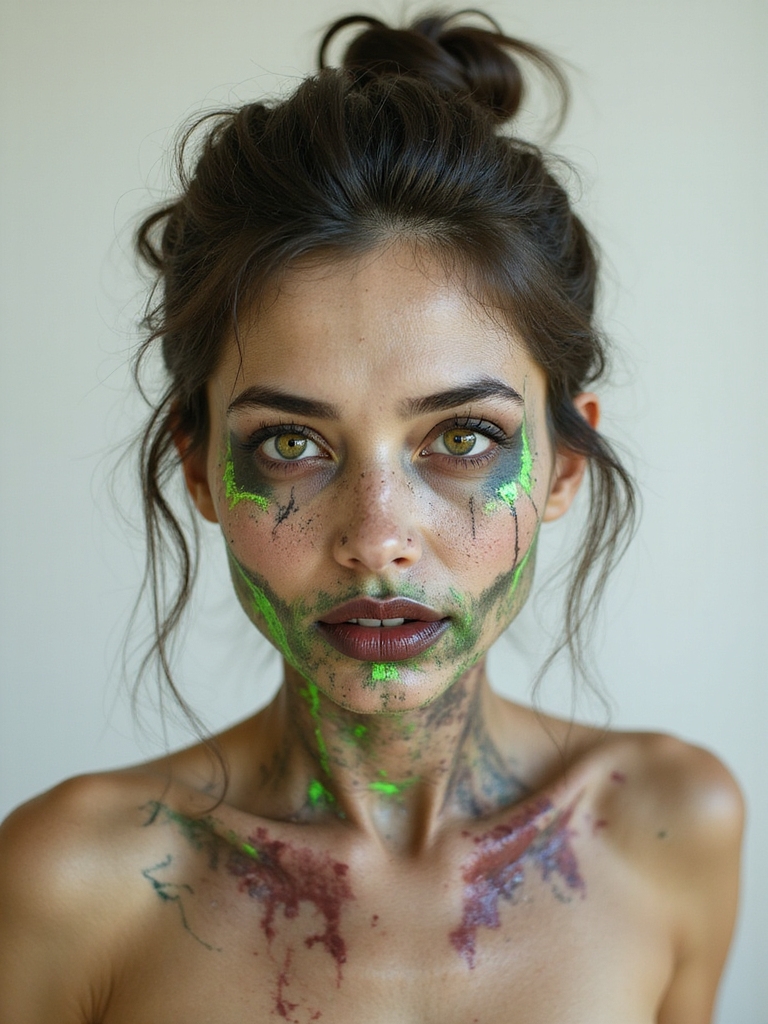
Gray decay too tame? The toxic zombie swaps rot for radioactive glow, with fissured skin oozing neon green and acid yellow. It is bold, fun, and shows up incredibly on camera. Here is the build:
- Carve cracks into the skin with liquid latex or a wax fissure, then line them with neon green or yellow.
- Glow the cracks with a UV or neon pigment so they look toxic and lit from within.
- Neon shades pop hard against deep and tan skin especially, so lean into the contrast rather than muting it.
Bloodied Hospital Patient
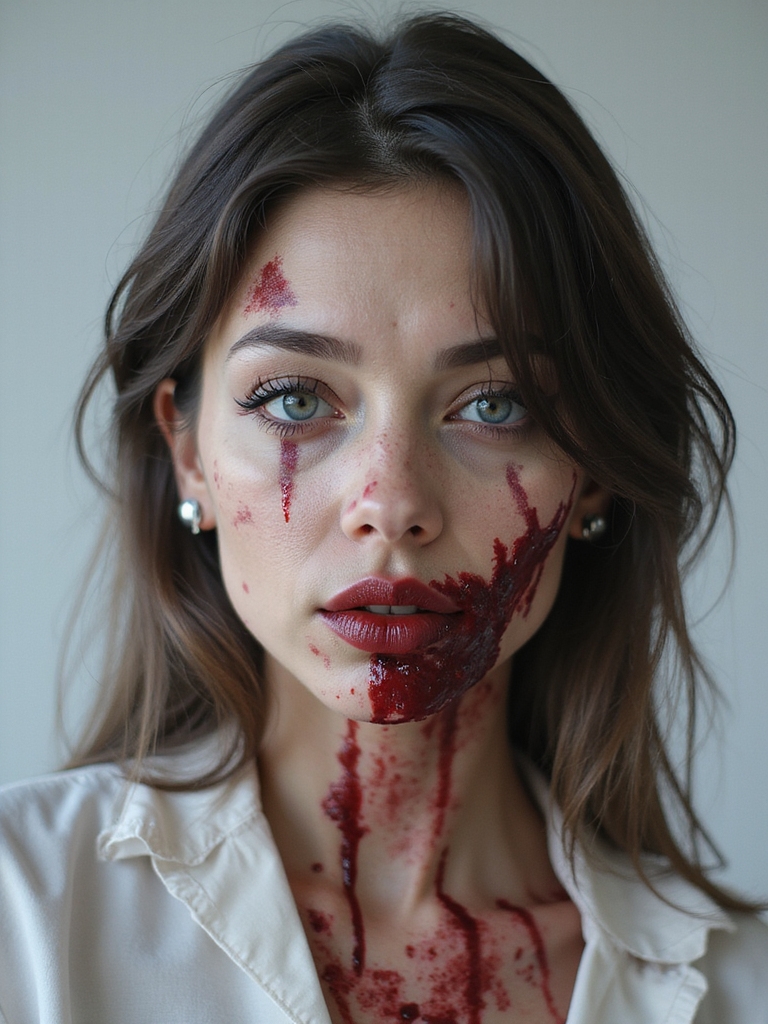
The infected-patient look tells a story, which is what makes it land. A hospital gown, a smudged IV bruise, and dried blood streaks suggest someone who turned mid-treatment. Costume does half the work, so the makeup can stay simple.
The key details:
- Sink the eyes and gray the skin for the sick base, same as any zombie.
- Add a fake IV bruise on the inner arm with green, purple, and a tiny taped-on tube.
- Streak old, browned blood from the mouth and nose, not bright red, since dried blood looks more unwell.
| Effect | What you need | Difficulty |
|---|---|---|
| Sunken, drained base | Gray-toned palette, sallow wash | Beginner |
| Raised wounds and cracks | Liquid latex or gelatin, fake blood | Intermediate |
| Toxic or frozen glow | Neon or iridescent pigment, gems | Intermediate |
Storm-Soaked Drowned Corpse
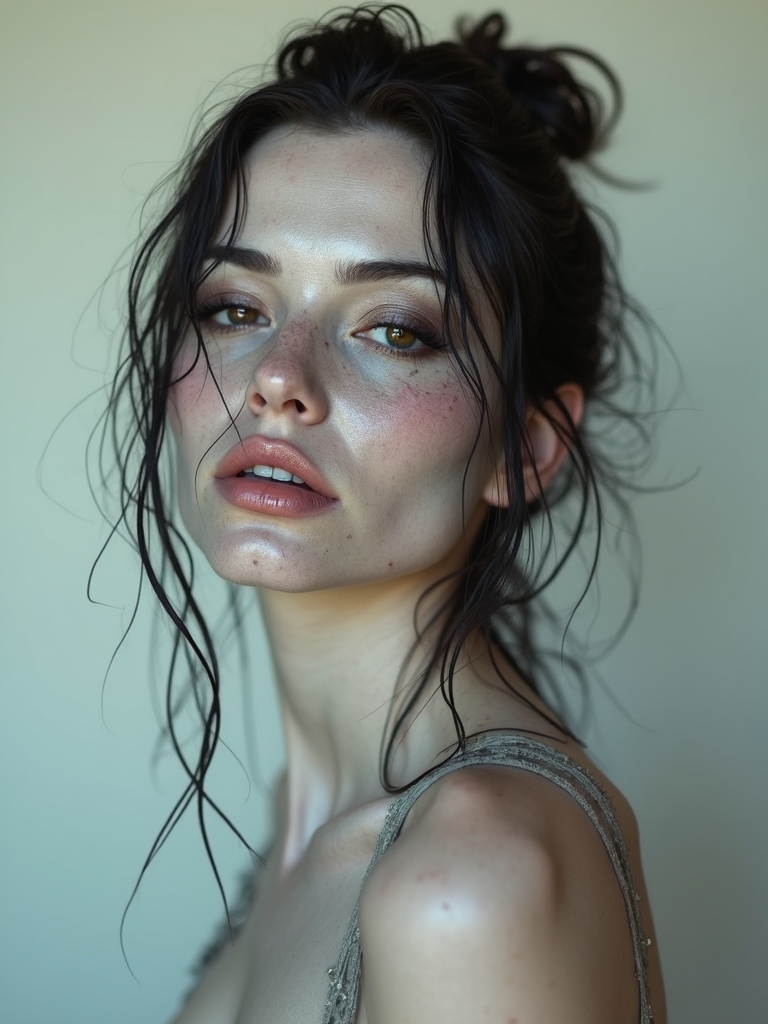
The drowned zombie is a damp, eerie twist, a corpse dragged up from a lake with algae and grime clinging on. The wet, mucky finish is the whole atmosphere, so commit to the slime. A few moves sell it:
- Base in a cold, blue-gray tone for that waterlogged, bloated pallor.
- Press green algae texture along the hairline, neck, and jaw with a sponge.
- Finish wet, not matte: a glycerin or clear gel keeps the skin looking permanently soaked.
Cracked, Charred Burn Wounds
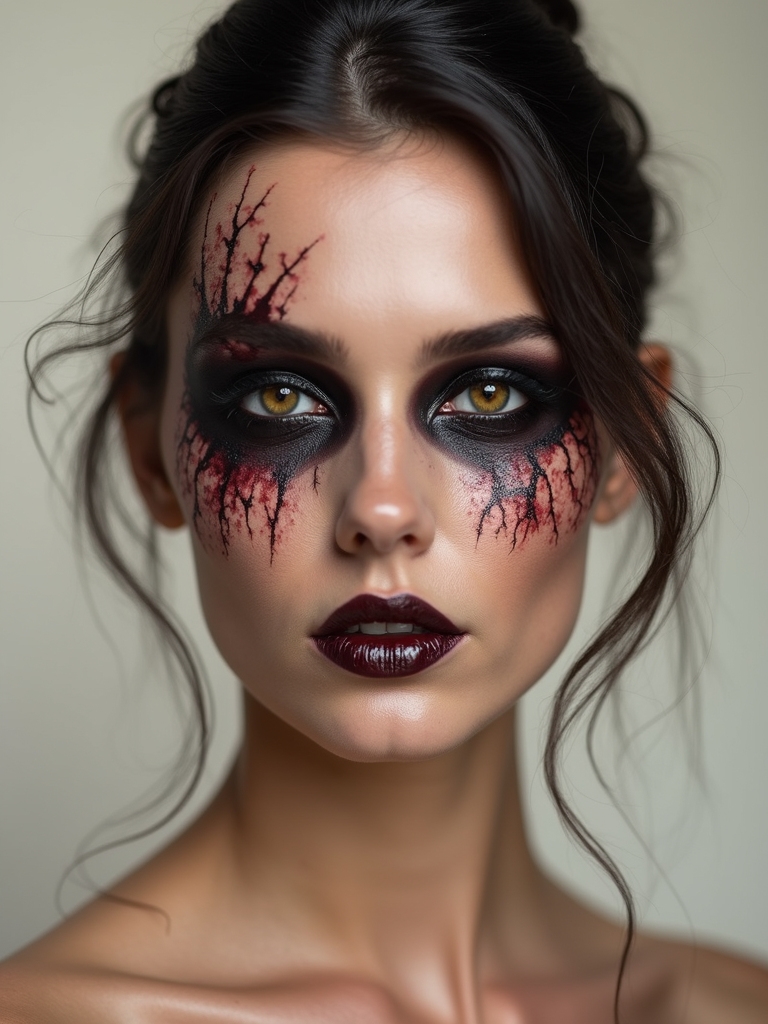
A charred zombie reads as something that came back from a fire, with cracked, sooty skin and glowing embers in the splits. It is dramatic and surprisingly forgiving, since soot hides messy blending.
How to char convincingly:
- Stipple black and deep gray unevenly over the skin for a sooty, burnt base.
- Crack the surface with latex or wax, then line the splits with red and orange for ember glow.
- Dust black setting powder into the creases so the char looks dry and ashy, not greasy.
A few terms you will see in zombie tutorials.
📖Stippling
Dabbing color on with a sponge for an uneven, textured, blotchy finish.
📖Liquid latex
A peelable liquid that dries into raised skin for wounds and texture; always patch-test it first.
📖Sallow
A sickly yellow-gray cast washed over the skin to drain it of healthy color.
Icy Frosted Crystalline Corpse
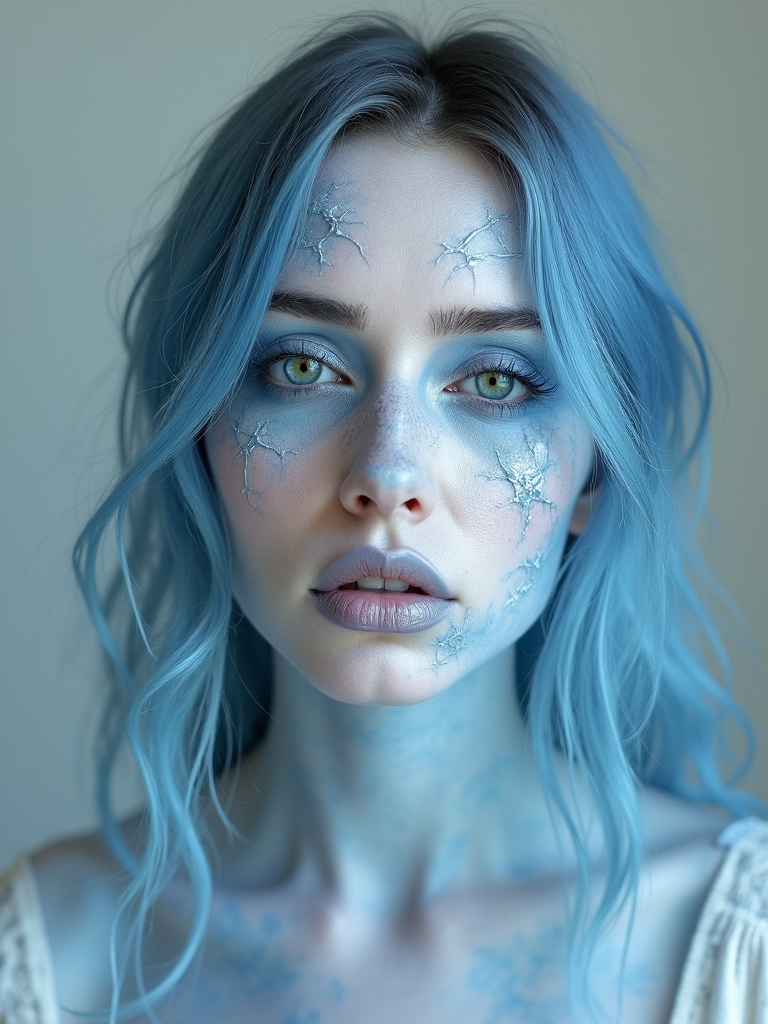
The frozen zombie is a striking, eerie idea, a corpse pulled from the ice, dusted in frost and pale-blue crystalline skin. It is more beautiful than gory, which makes it a fun change of pace. Build the chill:
- Base in pale blue-gray and gray out the lips for a frostbitten, bloodless look.
- Press iridescent or white shimmer along the high points like frost catching light.
- Add tiny gems or crushed cellophane at the temples and lashline for literal ice crystals.
Mossy Grave-Risen Look
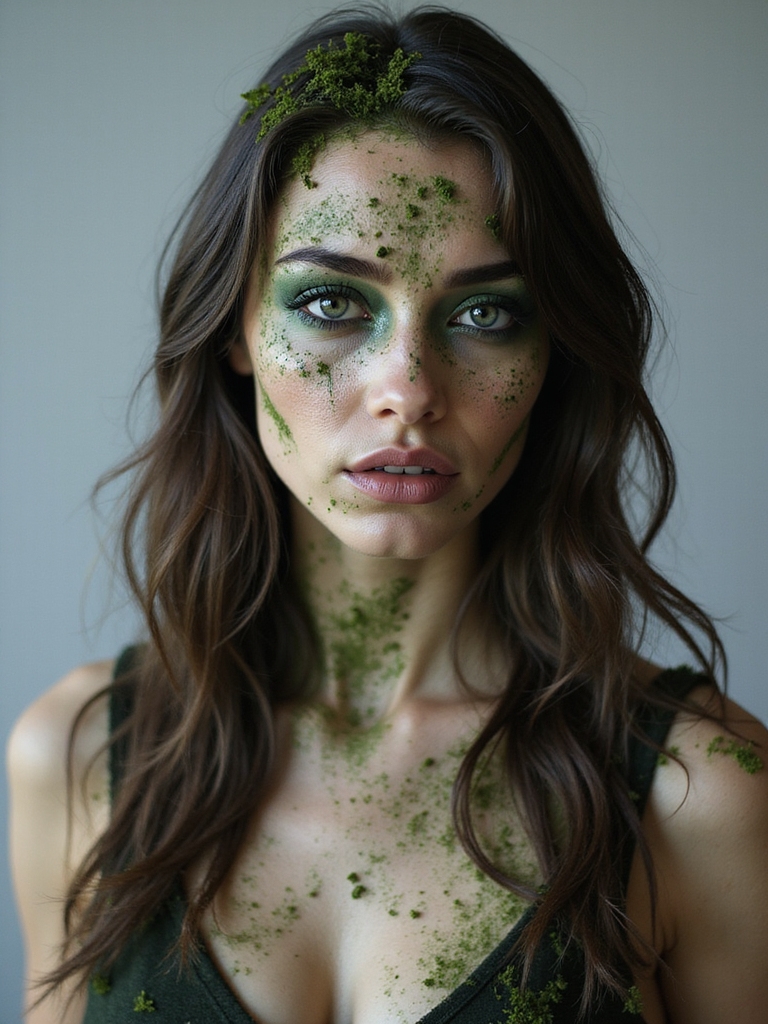
This zombie has been underground a while. Years, by the look of it. Mossy patches, dirt-stained skin, and a weathered, crumbling finish suggest a body that clawed its way out after years in the grave. It is one of the grungiest, most texture-heavy looks here, and a favorite for anyone who likes getting messy.
Base in a grayed, earthy tone, then press real-looking moss texture and brown grime along the jaw, hairline, and the hollows of the face. Crackle medium over the cheeks gives that dry, crumbling, long-dead skin. Keep the colors muddy and desaturated throughout, since anything bright breaks the buried-for-years illusion.
Ritual-Chic Decayed Glam
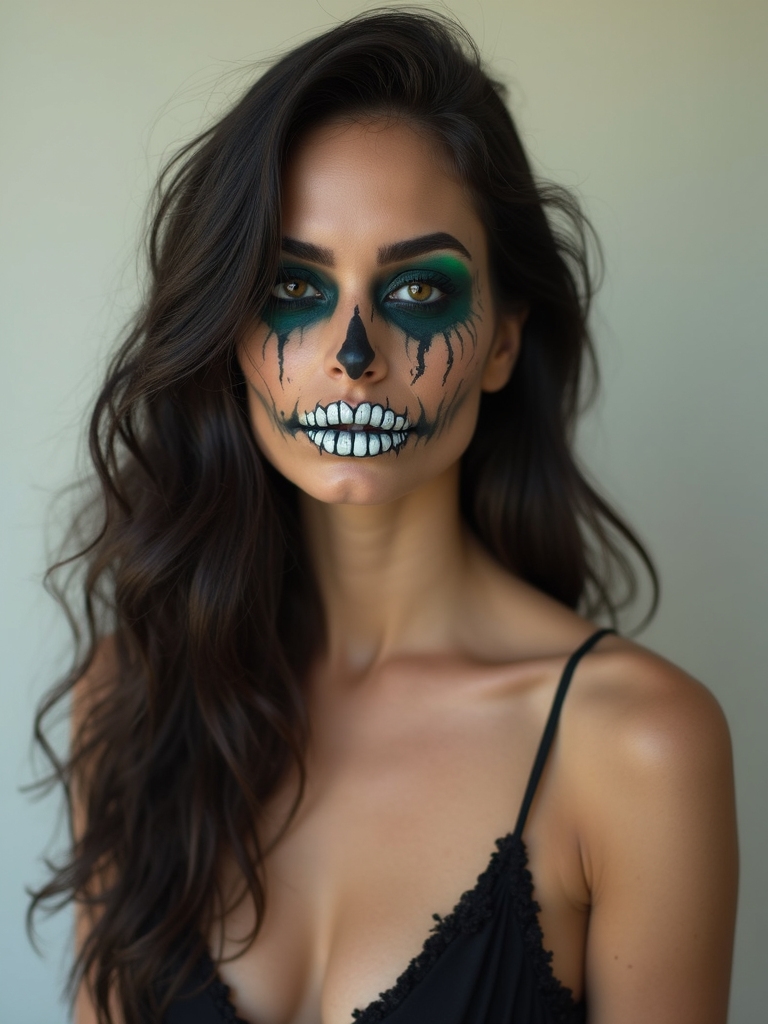
Not every zombie has to be ugly. Far from it. The decayed-glam look pairs full glam, sharp liner, lashes, a bold lip, with subtle signs of death underneath, like a ghost who got dressed up. It is the most wearable, photo-ready zombie on this list.
Beauty Meets Decay
Do your glam first, then add the decay on top: gray out the edges of the face, sink the eyes slightly, and add a cracked detail or two at the temple.
The contrast is the whole point. Polished, beautiful makeup with a creeping rot underneath is far more unsettling than obvious gore, and it suits a party where you still want to look good.
Grime-Coated Plague Victim
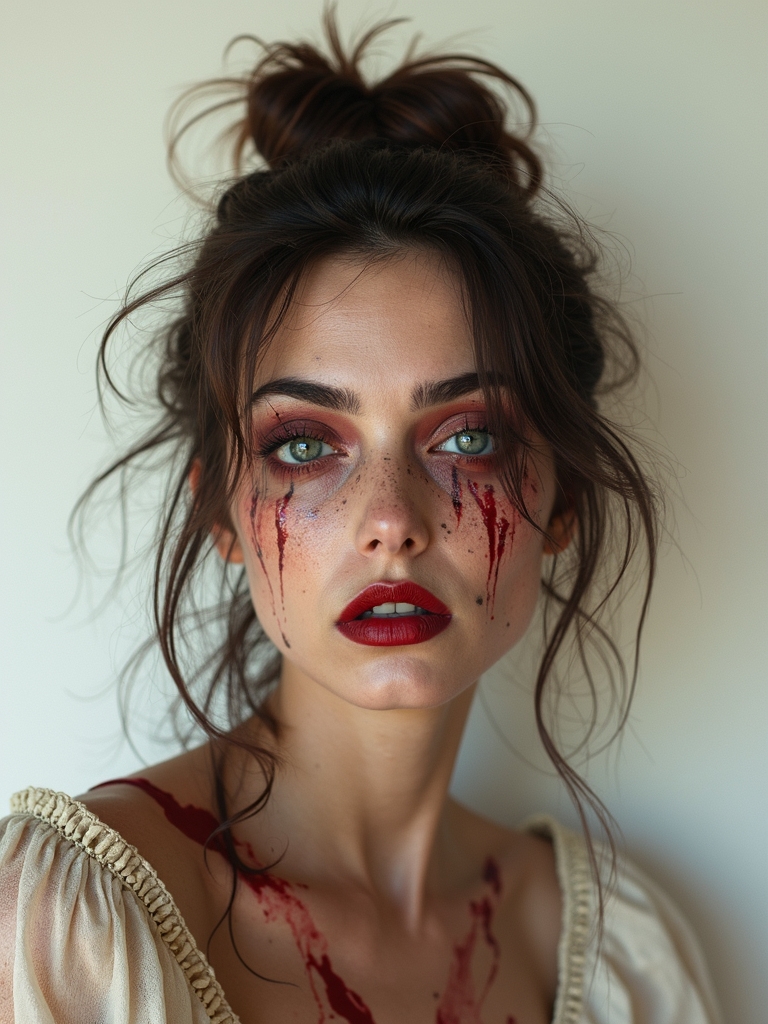
The plague-victim zombie leans historical, all sallow grime, fever sweat, and dark sores. It is grim, atmospheric, and pairs perfectly with a tattered period costume for a full-story look.
The building blocks:
- Wash a sickly yellow-gray over the skin for the feverish, unwashed base.
- Dot dark, bruised sores at the neck and jaw, blended at the edges so they look swollen.
- Add a damp, sweaty sheen with glycerin so the fever looks real and clammy.
Sunbaked Salvager Grit
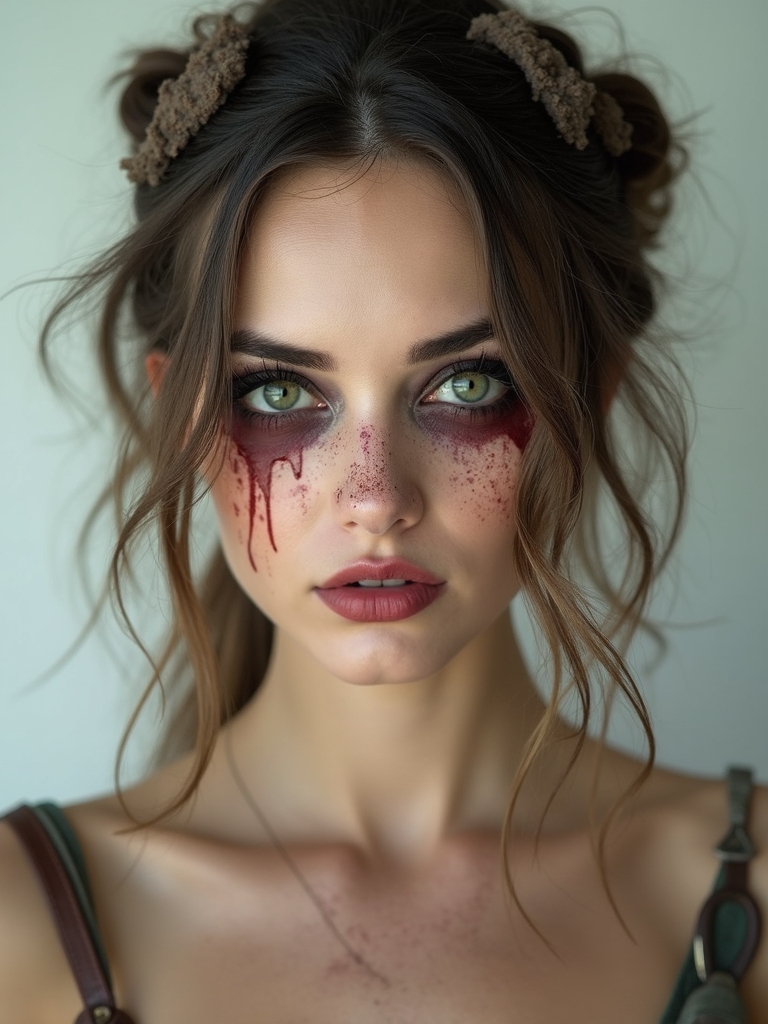
This is the post-apocalyptic, wasteland zombie, sunbaked, cracked, and coated in dust like it has wandered a desert for years. It is gritty and cinematic, more leathery survivor than fresh corpse.
Dust Over Blood
Base in a dry, weathered tan-gray and stipple brown dust over the high points, the forehead, nose, and cheekbones, where sun would hit. Cracked, parched lips and a few dry skin splits finish the dehydrated effect.
Keep the whole thing matte and dusty. A translucent powder pressed in at the end kills any natural shine, which is what makes the skin look starved of water.
Porcelain Victorian Decay
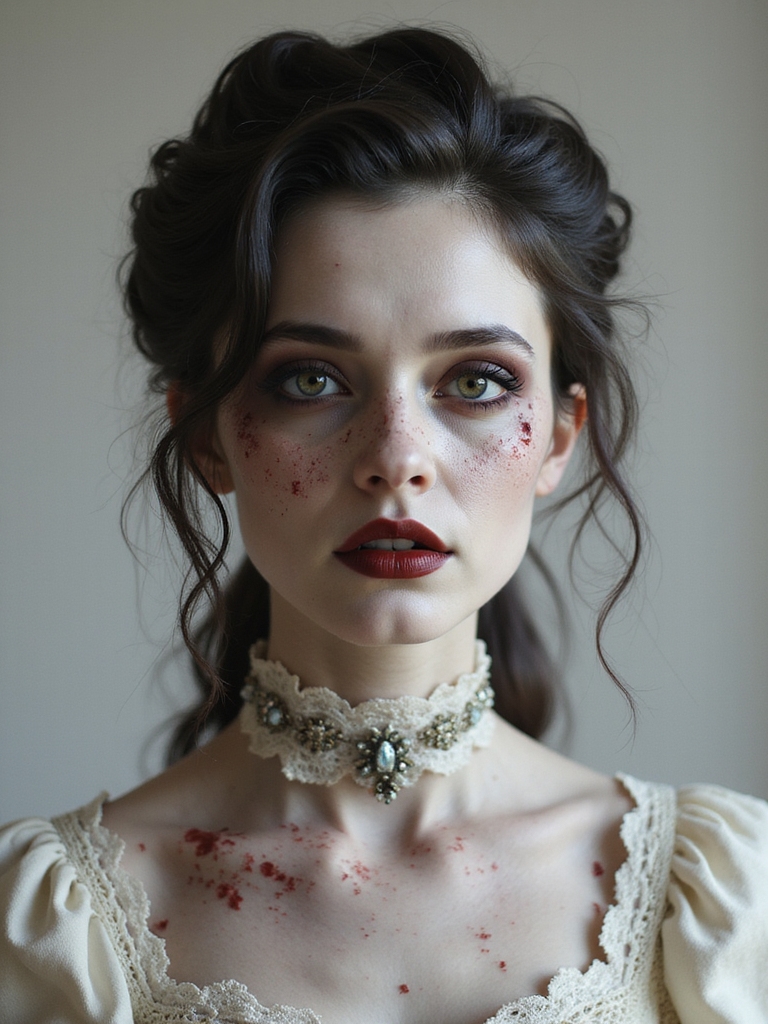
The Victorian zombie is aristocratic and refined, a porcelain-doll corpse with cracked, painted skin and a haunted, faded elegance. Think old portrait gone wrong, the kind of undead that still has manners.
Base in a smooth, pale porcelain tone, then crack the surface like aged ceramic with a thin liner drawn in fine, branching lines, deepened with gray. Keep the eyes hollow and the lips a faded, dusty rose. The whole look stays soft and powdery, more antique and eerie than gruesome, which is exactly why it unsettles people.
Half-Transformed Infected Look
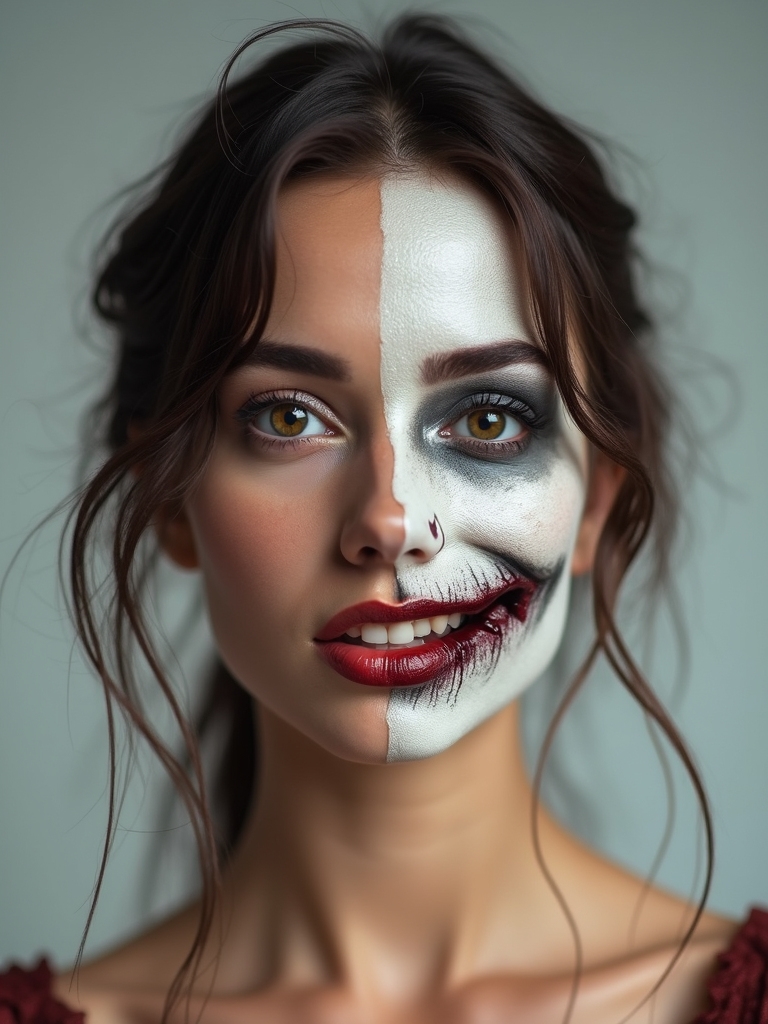
The half-transformed zombie is the most storytelling look of all: one side of the face still human, the other side fully turned. It captures the exact moment of infection, and the contrast is honestly chilling.
One Face, Two Stories
Keep one half of the face normal, maybe slightly feverish and sweaty, then go all-in on the other, with sunken eye, gray skin, veins, and a wound. The dividing line down the center is what makes it work.
It takes the most time of any look here, so start early and build the dead side slowly. The payoff is a transformation that tells a whole story in one face.
Zombie Makeup Questions
?What is the easiest zombie look for beginners?
A sunken, sallow base with browned blood at the mouth. It is all shading and one streak of color, no latex or wounds required, and it still looks convincingly undead.
?How do I make zombie makeup work on deep skin?
Gray and desaturate your own undertone with cool taupe, gray, and purple shades rather than whitening the face. A white base looks like a costume. A drained, ashen version of your own tone looks truly dead.
?Do I need special products?
Not really. A cheap gray-toned palette and fake blood cover most looks. Liquid latex or gelatin only comes in when you want raised wounds and cracked, peeling texture.
?How do I keep it from sliding off all night?
Set everything with translucent powder and a setting spray. Build in thin layers, since thick makeup creases and slides, and reapply blood to the wounds as it dries and dulls.
?How do I remove it safely?
Peel latex gently from the edges, never rip it, then melt the makeup with an oil cleanser or balm before washing. Patch-test any latex or face paint a day ahead in case your skin reacts.
Raise Your Own Dead
The throughline across every one of these looks is the same: build the dead, drained base first, and the gore takes care of itself. Whether you go full toxic neon or refined Victorian decay, the shadow work is what makes a stranger do a double-take.
Pick the zombie that matches your costume and your patience, then give yourself more time than you think you need on Halloween afternoon. If you want to keep the spooky season going, the Halloween makeup and skeleton makeup guides have plenty more to sink your teeth into.
Browse More Looks