There is a reason the manicurist’s busiest request, year after year, is simply ‘red.’ A red nail finishes a hand the way a red lip finishes a face: instantly, unarguably, no matter what you are wearing. It is the little black dress of manicures, the one that always works.
But ‘red nails’ is a whole spectrum, from a blue-based cherry to a warm fire-engine, a deep oxblood, a sheer ruby. These eleven looks show the range, plain and glossy to negative space, halos, bows, and brushstrokes, plus how to find the exact red that suits your hand.
Red Nails, the Quick Answers
What red should I pick? Match it to your skin: a blue-based or true red flatters almost everyone and brightens the hand, a warm orange-red suits golden tones, and a deep oxblood or wine reads elegant on any skin.
Plain or with art? Both work. A glossy solid red is timeless; small touches like negative space, a halo, or tiny hearts modernize it without much effort.
How long do red nails last? In gel, two to three weeks. Red shows tip wear sooner than pale colors, so capping the free edge and a glossy top coat help it last.
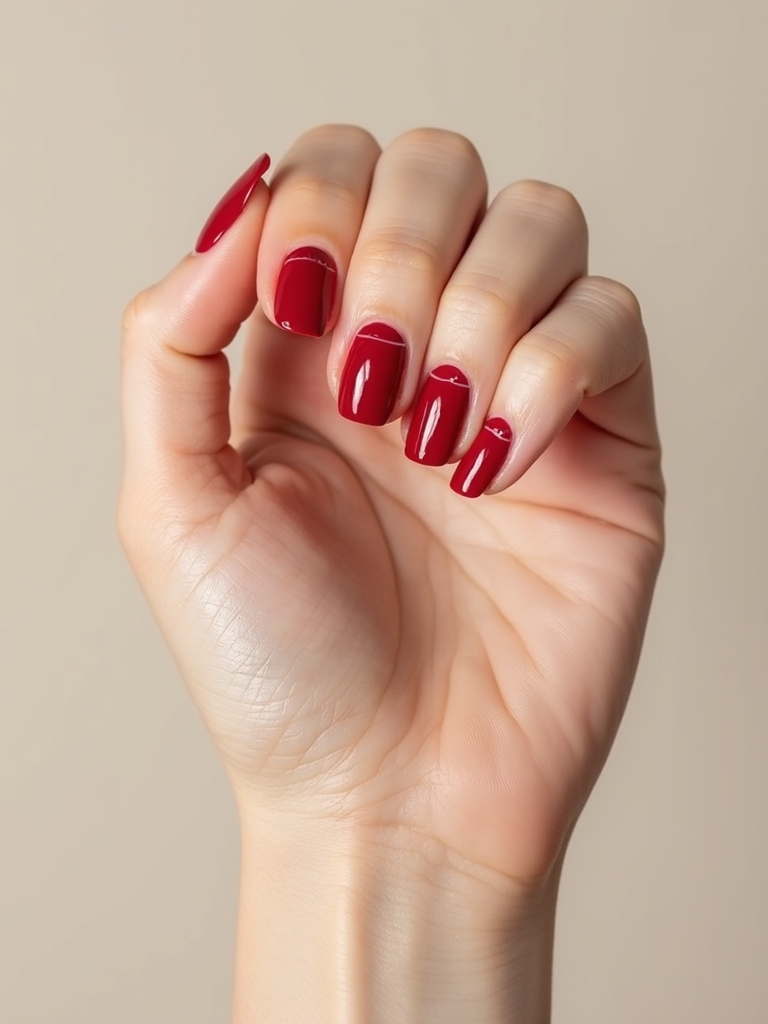
Blue-Toned Cherry Almonds

The most universally flattering red is a blue-based cherry, a true red with a cool lean that suits almost every skin tone and makes the hand look brighter. On an almond shape it is the cleanest, most classic red manicure there is, the one I point anyone unsure where to start toward first. It also pairs with anything, jeans or black-tie alike, which is what makes it the red worth owning before any other.
- Choose a blue-based cherry red for the most flattering result.
- Keep the shape almond or oval for an elongating line.
- Seal it with a glossy top for depth. See cherry red nails.

Oxblood Velvet Matte

At the deep end of red sits oxblood, a dark, brown-red taken matte with a velvet top coat for a rich, grown-up finish. It is the most elegant red of all, sophisticated and quiet where a bright red shouts.
Choose a deep oxblood and a velvet-matte top for the suede texture, keeping nails short to medium so the color leads. Oxblood and wine reds hold their depth on deeper skin tones, where they look saturated rather than washed out.
- Pick a brown-red oxblood for an elegant, deep red.
- Use a velvet-matte top coat for the suede look.
- For more deep reds, see wine red nails.
The most flattering red
A true red with a slightly blue base is the closest thing to a universal shade. The cool undertone flatters warm and cool skin alike and makes the hand look brighter, which is why it is the red most manicurists point the unsure toward. Warm orange-reds are striking but pickier, suiting golden and tan skin best.
Scarlet Chrome Shine

A scarlet chrome takes a bright red to a mirror finish, so the nail catches light like polished metal. It is the high-shine, modern end of red, the manicure that photographs like liquid.
Keep it plain so the mirror leads
Chrome a scarlet base to a mirror, which needs gel to hold the powder, and keep the nails plain so the shine is the whole statement. A short, square, or almond shape shows a chrome red off best of all.
It is one look here; for the full range of red chromes, from burgundy fades to opalescent, see red chrome nails.
Ruby Negative Space
A ruby negative-space manicure leaves parts of the natural nail bare, a ruby shape against clean nail, for a modern, architectural look. The bare gaps make a bold red feel light and current rather than heavy. Negative space also grows out more forgivingly than a full coat, since there is no solid edge to reveal a gap at the cuticle.
- Leave sections of bare nail around a ruby shape.
- Keep the lines clean so the negative space looks sharp.
- It works best on a longer nail with room to show.
Which red is yours?
1Want the safest, most classic red?
A glossy blue-based cherry, plain on an almond nail.
2Want something elegant and deep?
An oxblood velvet matte or a wine red.
3Want red with a modern twist?
Negative space, a ruby halo, or painterly brushstrokes.
Crimson With Micro Hearts

Glossy crimson nails dotted with tiny hearts are the sweet, romantic take on red, a classic red base with a small heart or two on an accent nail. It is subtle enough for every day but adds a little charm.
Paint a glossy crimson, then add tiny hearts in white, gold, or a deeper red on one or two nails. Keep the hearts small and few so it stays chic rather than cute. Drawn as an open outline instead of filled in, the hearts read even more modern and less sweet.
- Use a glossy crimson as the base.
- Add one or two tiny hearts on an accent nail.
- Keep it minimal so it reads grown-up.
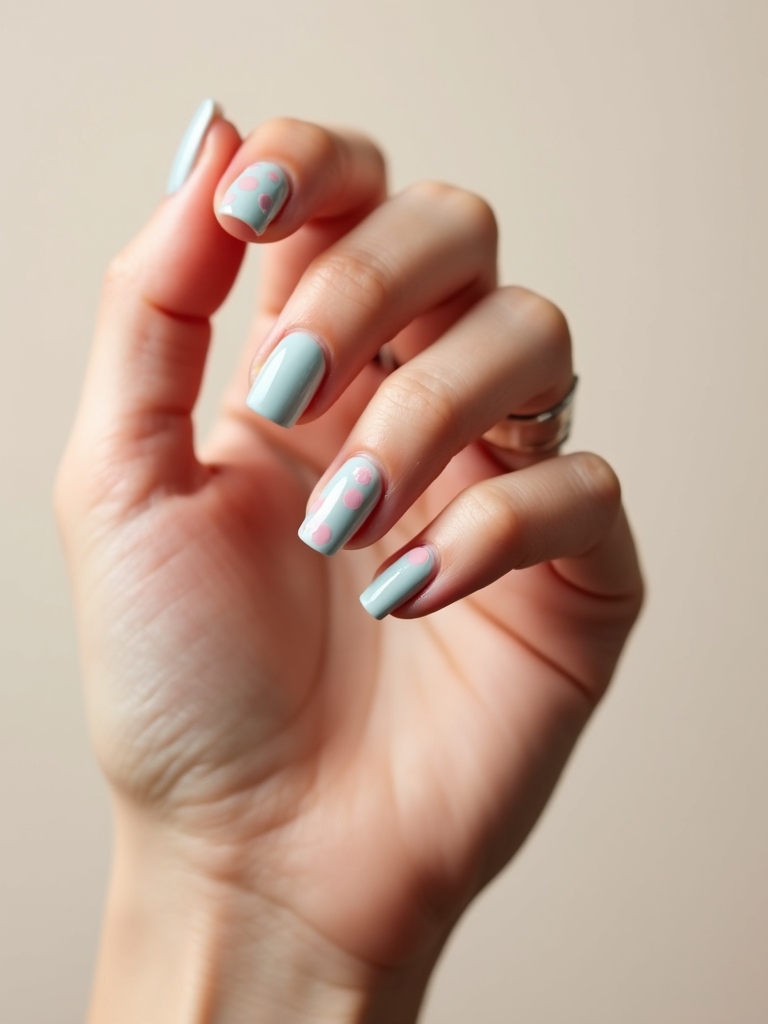
Translucent Ruby Halo
A translucent ruby halo builds a sheer, jelly-like ruby with a spot of glow at the center of each nail, so the color looks lit from within. It is the juiciest, most dimensional red, like stained glass on the hand.
Layer a sheer ruby in thin coats for that translucent depth, then add a soft shimmer at the center for the halo. The jelly finish is what makes it look so glassy and rich. It pairs beautifully with bare, glowy skin and looks expensive for how little it takes.
It is the red I love for summer, when a sheer, glowing finish feels right.
📋Red Nail Checklist
- ✓Pick your shade: blue-red, warm red, or deep oxblood.
- ✓Pick your finish: glossy, velvet matte, or chrome.
- ✓Decide plain or a small detail (halo, hearts, negative space).
- ✓Go gel and cap the tips so the red lasts without chipping.
Cherry 3D Bows

Cherry nails topped with little 3D bows are the playful, girlish red, a glossy cherry base with a small raised bow on an accent nail. It is the trend-forward, fun take, sweet without tipping into childish.
Keep the bow to one accent nail
Paint a glossy cherry, then add a small gel or charm bow to one or two nails. Keep the bow neat and to a single accent nail so it stays elegant. A clear top coat over and around the bow helps it sit flush and last without catching on things.
It is the look clients ask me for most when they want red with a little personality.
Fire-Engine Red Squiggles

A true fire-engine red painted in playful squiggles or swirls over a sheer base is the retro, fun end of red, all movement and energy. The bright warm red and the loose shapes feel young and a little nostalgic.
Keep the squiggles loose and irregular
Paint loose red squiggles over a nude or sheer base with a thin brush, keeping them irregular and relaxed. The imperfection is the charm, so there is no need for precision.
It is a cheerful way to wear a bold red without a full solid coat.
Crimson Half-Moons

Crimson half-moons paint a crescent at the base of the nail in deep crimson while leaving the rest sheer, the vintage reverse-French shape. It is the retro, old-Hollywood red, elegant and a little nostalgic.
Use a guide sticker for a clean crescent
Paint a crimson crescent at the cuticle with a guide sticker for a clean curve, and leave the rest of the nail bare or sheer. The negative space at the tip keeps it light.
Worn on short, neat nails it looks especially refined, the kind of detail people notice up close. It is a sophisticated way to wear red that nods to the 1930s without looking dated. See red french tip nails.
Painterly Red Brushstrokes

Painterly red brushstrokes leave visible, deliberate brush marks of red across a sheer nail, like a single stroke of paint. It is the artsy, abstract red, modern and gallery-like, for someone who wants red without a roundness to it.
Drag a loaded red brush across each nail in one or two confident strokes over a sheer base. The visible texture and movement are the point, so embrace the imperfection. Because every hand comes out a little different, no two nails match exactly, which is the whole charm of a painterly set.
- Use confident, visible brushstrokes of red.
- Leave sheer nail showing around the strokes.
- Embrace the texture rather than smoothing it out.
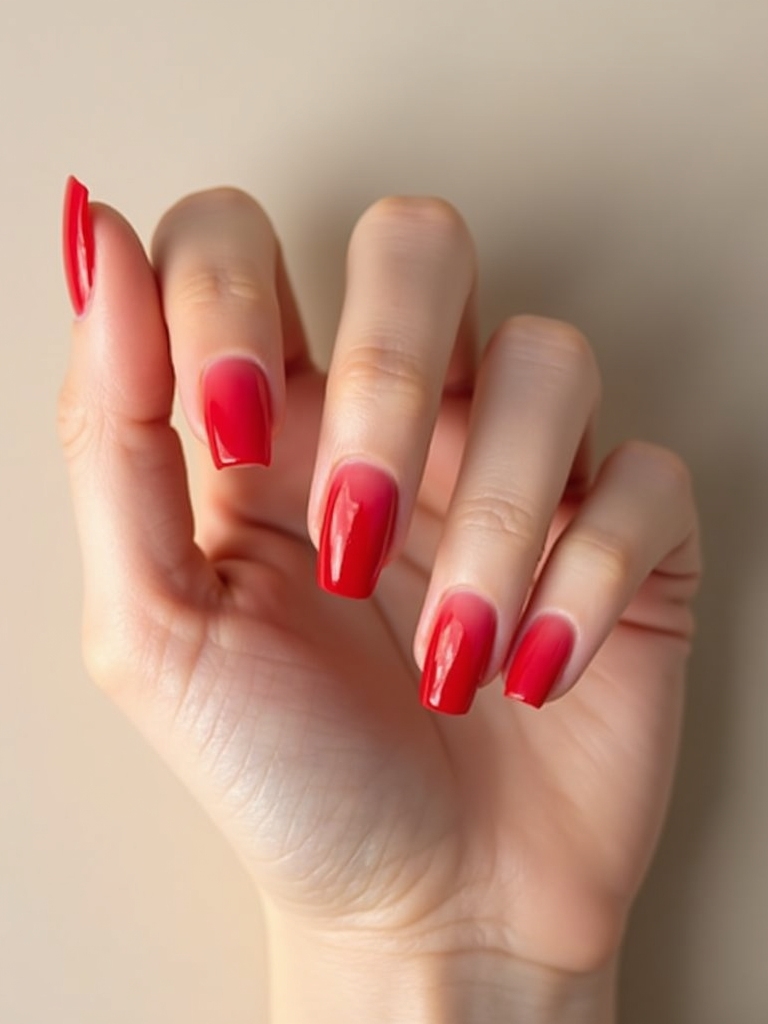
Sheer Glossy Red

A sheer glossy red is the barely-there red, a translucent wash that lets the natural nail show through for a soft, my-nails-but-better finish. It is the most low-key red, office-friendly and forgiving, since it grows out without an obvious line. It is also the easiest red to do at home, since a sheer formula hides the brush streaks a bold opaque red would show.
- Use one or two coats of a sheer red for a soft wash.
- It grows out gently, with no harsh regrowth line.
- Build it up for more color or keep it barely tinted. See dark red nails.
How to Ask Your Stylist
Walking into a salon and just saying ‘red’ leaves a lot to chance, since red covers everything from a sheer wash to an oxblood matte. I tell clients to name three things: the shade (cool blue-red, warm fire-engine, or deep oxblood), the finish (glossy, matte, or chrome), and whether you want it plain or with a small detail like a halo or negative space. Those three choices pin the look down.
Ask for gel if you want it to last, since a red gel set holds two to three weeks while polish chips at the tips within days, and a classic red set runs about $30 to $50, more with art. If you are unsure of your shade, a true, slightly blue-based red is the safe bet, since it flatters the widest range of skin tones. From there, the only question is how much red you want, a whole glossy hand or a single painted stroke.
Red Nail Questions, Answered
?What is the most flattering red for nails?
A true red with a slightly blue base flatters the widest range of skin tones and brightens the hand. Warm orange-reds suit golden and tan tones, while deep oxblood and wine reds look elegant on everyone, including deep skin, where their richness shows beautifully.
?Do red nails make hands look older?
A well-chosen red actually brightens the hand. The aging I see comes from a shade that clashes with the undertone, a very orange red on cool skin, say, or a muddy dark red; a blue-based red or a soft sheer is the most flattering and youthful.
?How do I stop red nails chipping at the tips?
Cap the free edge when you paint, choose gel over polish, and seal with a glossy top coat. Red shows tip wear faster than pale shades, so reapplying a top coat midweek buys you extra days.
?Plain red or red with art?
Both are timeless. A plain glossy red is the classic; small art like a halo, negative space, or tiny hearts modernizes it. Keep any art to one or two accent nails against solid red so it stays chic rather than busy.
The One Color That Always Works
Red is the manicure you can never really get wrong, only get more specific about. Once you know your shade, a blue-based cherry, a warm fire-engine, a deep oxblood, and your finish, glossy, matte, or chrome, the whole spectrum opens up, from a plain glossy hand to a halo, a half-moon, or a single painterly stroke.
So find the red that suits your hand and your mood, keep it gel so it lasts, and let it do what red has always done: turn an ordinary hand into something people look at twice. Whichever you land on, a good red is the easiest upgrade in the whole salon.