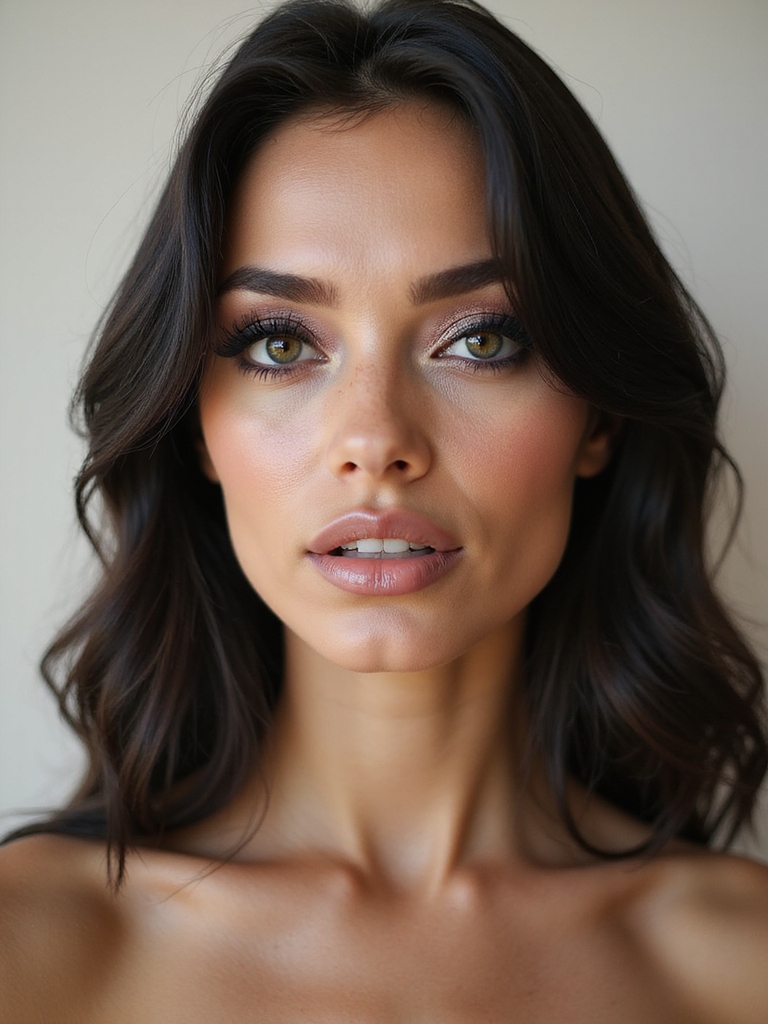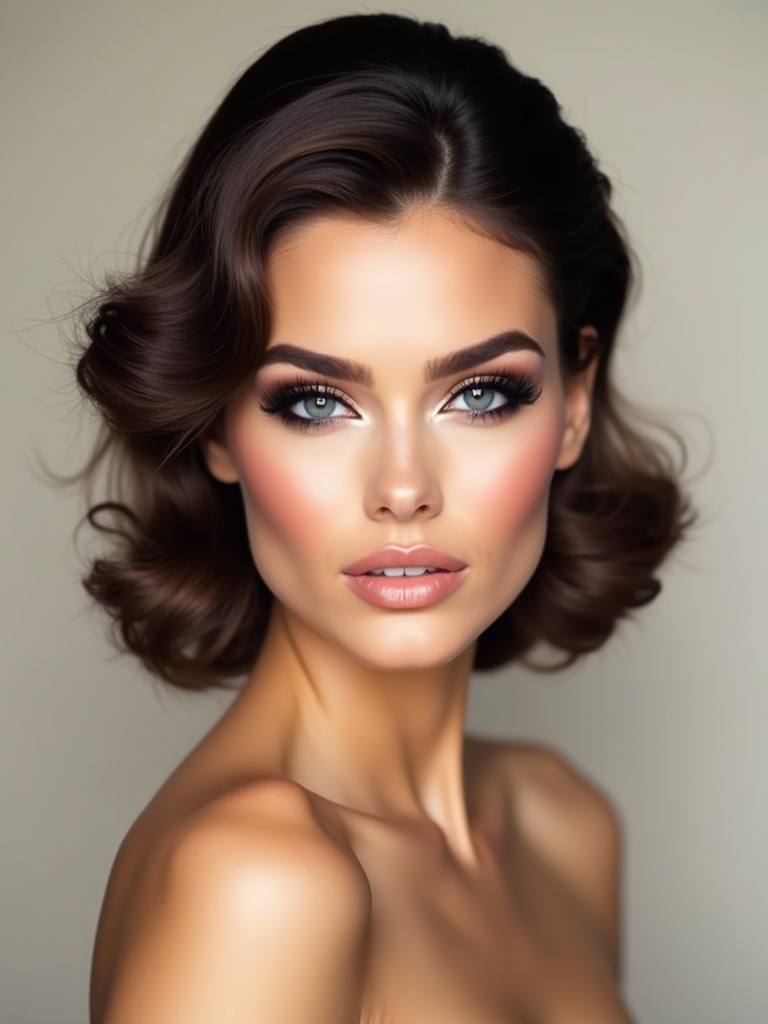
Back in 2009 we wanted everything to shine at once. Glossy lips, frosted inner corners, neon waterlines, and doll lashes all landed on the same face, and the front-facing cameras of the era recorded every glittery decision in unforgiving detail. It was a lot.
The looks themselves were good. The execution was heavy-handed. So this is my sleeker edit of the 2009 makeup worth bringing back, with the texture swaps and shade tips that keep each one current. Wear one at a time and you get the nostalgia without the costume.
The 2009 Cheat Sheet
| Look | Who it flatters | Modern tweak |
|---|---|---|
| Glossy vinyl lips | Any lip; great on full lips | Gloss the center, skip the overline |
| Neon waterline | Warm and deep skin pop most | Keep lids bare so color leads |
| Doll strip lashes | Rounder eye shapes open up | Trim to fit and press from the band |
| Bronzed body glow | Every skin tone, matched in depth | Sheer formula buffed, not painted on |
Cushiony Glossy Vinyl Lips

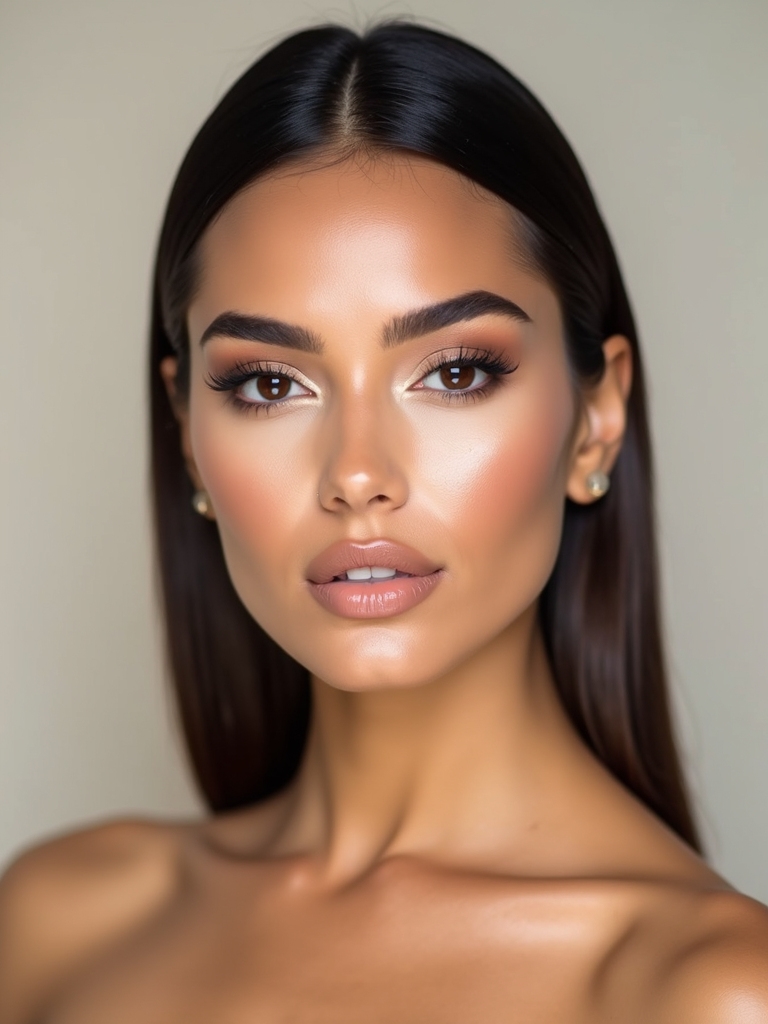
Sometimes a slick, high-gloss lip is the whole look, and it makes 2009 feel current the second you put it on. I layer a clear vinyl gloss over a rosy stain so the color lasts even after the shine fades, and that two-step base is the small professional trick that keeps a glossy lip from disappearing into your coffee cup by mid-morning.
- Skip the overline here and keep your natural lip line clean.
- Blot the stain once, then float gloss over the center for a juicy lift.
- A tinted gloss runs $7 to $16, and you refresh it every couple of hours.

Icy Inner-Corner Shimmer Highlight

After the gloss, I like to wake the eyes with a frosted inner corner. It is a tiny step. It changes the whole face.
Why The Damp Brush Matters
I tap a cool shimmer right at the tear duct, then blend it outward a few millimeters so the edge softens into the skin. A damp brush keeps it crisp instead of chalky, which is the difference between modern and 2009-literal.
On deep skin, a warm champagne or rose-gold catches the light brighter than an icy silver. Pair it with clean skin and fluttery lashes for easy weekend energy, and a small shimmer pot costs about $8 to $18.
Wondering if the frosted inner corner is worth the step? A quick check:
1Do your eyes look tired in photos?
Then yes. A champagne tap at the inner corner is the fastest wide-awake trick there is.
2Does shimmer usually crease on you?
Use a cream formula pressed with a damp brush and keep it to a pinpoint, so there is too little product to crease.
Neon Waterline Gel Liner
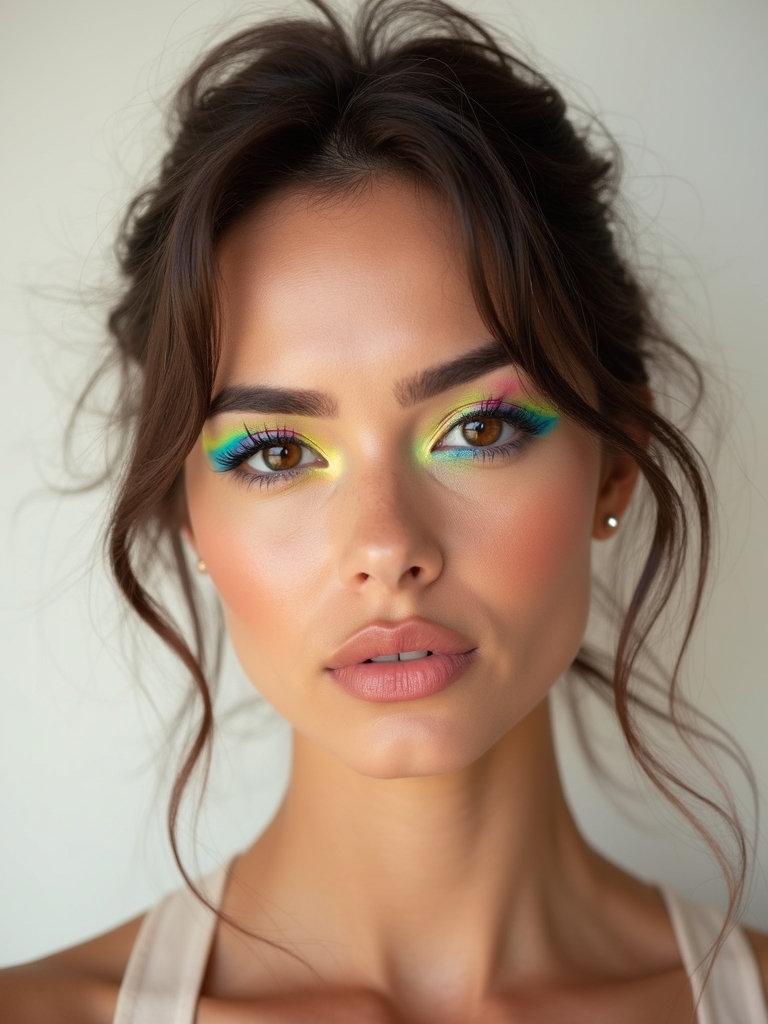
Neon waterlines were fearless in 2009, and they are a fast mood lift now. Electric lime, safety orange, or UV pink along the rim photographs like a dream and takes under a minute.
I keep the lids minimal, glide a gel pencil along the waterline, then press a matching shadow over it so the color holds. The bare lid lets the neon be the only loud thing on the eye.
These brights flatter warm and deep skin especially well, so it is a great place to play. If you want a softer version, a blue waterline reads bold without going full neon, and a colored gel pencil costs roughly $9 to $18.
Flirty Rounded Doll-Like Lashes

Doll lashes opened the eye wide in 2009, and the rounded, flirty style is back. The shape is the point. You want fullness in the center that tapers at the corners so the eye looks round and awake.
Getting A Clean Strip-Lash Application
Application is where people struggle, so go slow. Trim the strip to fit your eye, run clear glue along a flexible band, wait until it goes tacky, then press from the band with a lash curler or fingers. A firm hold for ten seconds sets it.
Balance the drama with sheer lids, soft diffused liner, and a muted lip so the lashes stay center stage. The doll makeup approach pairs them with the rest of the face, and a reusable strip runs $8 to $20.
A couple of lash terms worth knowing:
📖Lash band
The thin strip that holds a set of false lashes. A flexible band hugs the eye and presses on far more comfortably.
📖Tacky glue
The stage when lash glue turns from wet to slightly sticky. Pressing on at this point gives the strongest, cleanest hold.
Dewy Fingertip-Tapped Rosy Glow

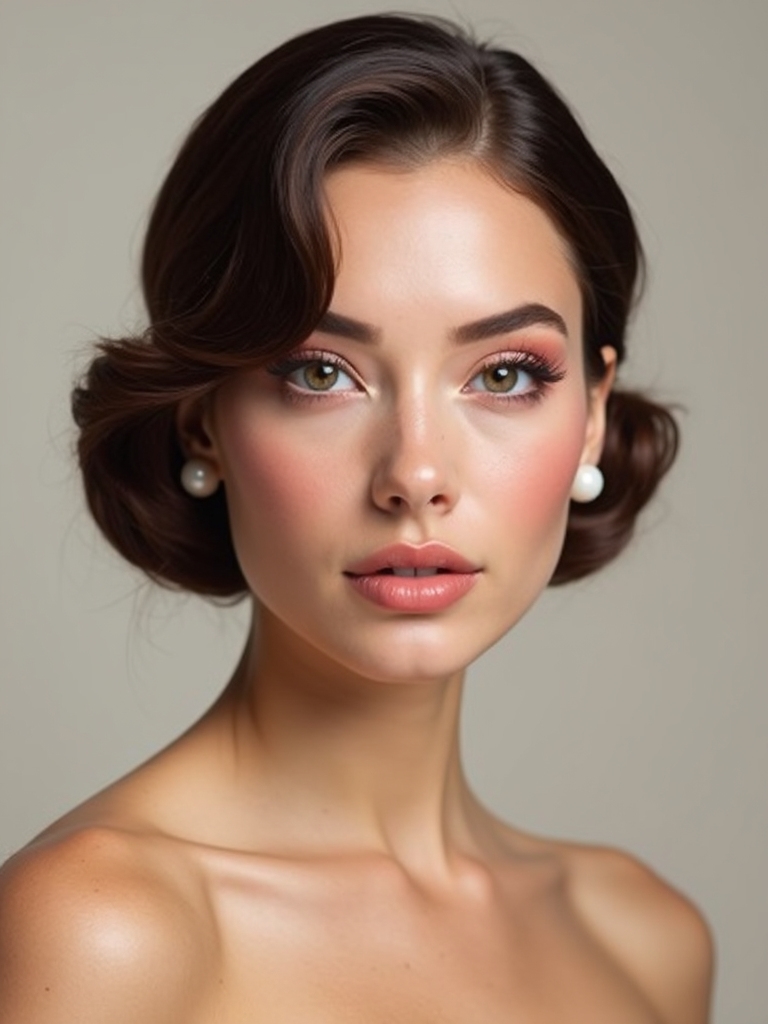
Creamy pink cheeks are the soft side of 2009, and dewy textures are what make them feel current. I tap a cream blush on the apples with a fingertip, then sweep slightly upward toward the temple so the color lifts the face.
The just-came-in-from-the-cold flush is the goal. Cream sticks, gel tints, and balmy formulas all melt into the skin and layer beautifully, and a cream blush costs about $8 to $20.
- Use fingertips for the first layer so body heat helps it melt in.
- Build slowly; two thin taps look more like skin than one heavy one.
- On deep skin, a berry or warm brick-rose glows where a pale pink can vanish.
Feathered, Softly Defined Brows

The 2009 brow found a sweet spot: shaped, yet whisper-soft. It frames the eyes without shouting, and it is the easiest brow to wear every day. I map the arch lightly and resist the urge to draw a solid block.
Then I feather in hairlike strokes with a skinny pencil and set everything with a clear gel so the edges stay clean but never stiff. Brush the hairs upward, soften the tail, and let your own density lead.
- Use a micro pencil for individual strokes that mimic real hairs.
- Brush up first, fill the gaps, then brush through again to blend.
- A clear brow gel costs about $7 to $12 and lasts for months.
“For a feathered brow, brush the hairs straight up before you fill. It shows you the real gaps so you only add product where a hair is actually missing, which keeps the brow soft instead of blocky.”
Sheer Champagne Shimmer Lids

Sometimes a sheer veil of light across the lid is all the eye needs to nod to 2009. A champagne or peach shimmer over the mobile lid catches light beautifully, and a cream texture keeps it modern instead of frosty.
- Tap a cream shimmer over the lid with a flat finger and diffuse the edges.
- Keep the rest soft: gentle mascara, glossy skin, and a tender blush.
- On deep skin, a copper or warm bronze shimmer glows brighter than a pale champagne.
Jet-Black Smoldering Eye Definition

When I want smolder, jet-black kohl along the waterline is the anchor only 2009 could pull off. The eyes look bigger, moodier, a little rebellious. It takes about a minute.
- Tightline the upper rim first, then blink to press the color into the lashes.
- Diffuse the outer corner with a stubby brush so it softens into a haze.
- A waterproof creamy kohl stays put and feels comfortable; pair it with fresh skin and soft lashes.
A smoldering jet-black eye in three moves:
1Tightline first
Press creamy black kohl into the upper lash base so the line looks dense from the roots.
2Pack the waterline
Glide the kohl along the lower rim, then blink once to set it in place.
3Diffuse the corner
Soften the outer corner with a stubby brush so the smolder fades out instead of stopping hard.
Softly Fuller Nude Lips
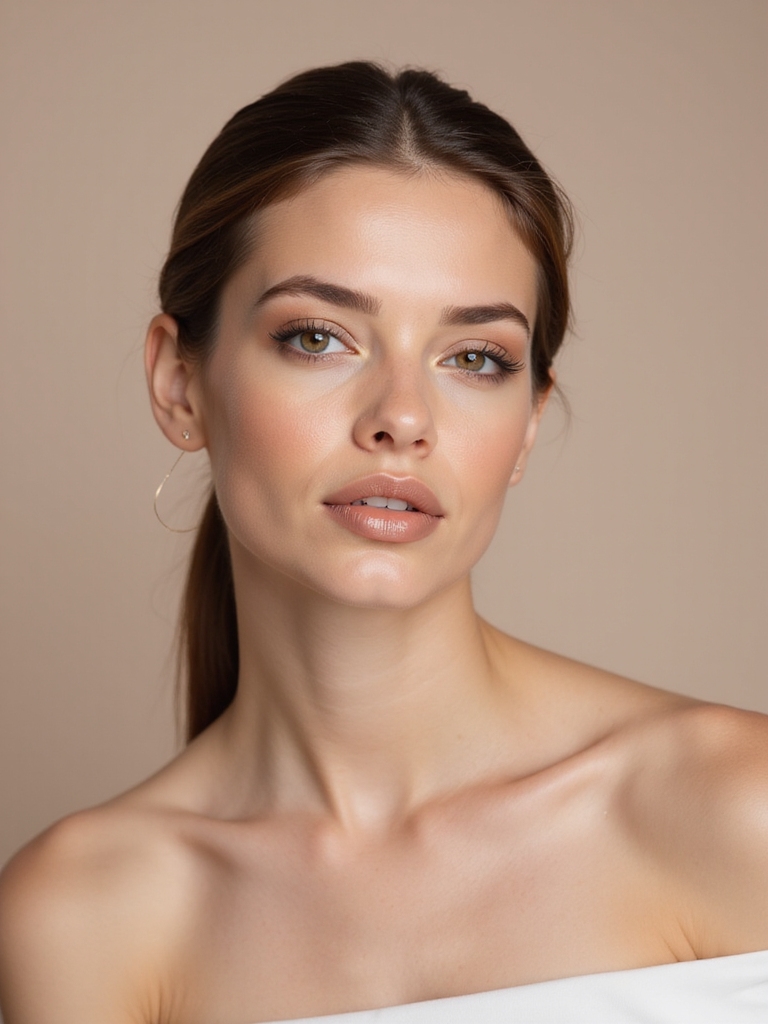
The overlined nude ruled 2009 runways, and the soft version looks plush without going cartoonish. The whole game is undertone. Match your liner to your natural lip color so it melts in, and the overline reads like your own fuller mouth.
- Pick the family that matches you: peach, pink, beige, or caramel, going browner on deeper lips.
- Overline only at the peaks and the center, then feather the edges so there is no hard ring.
- Set with a translucent powder for feather-proof wear, and the nude lip guide covers every depth.
Metallic Pewter Smoky Glam

A metal-kissed haze takes the classic smoky eye straight into 2009 glam, and it photographs beautifully under any light. The reflective finish does a lot of work for very little effort, which is why I keep a single pewter shadow in my kit at all times for last-minute evening looks.
- Blend pewter over the lid, tap bronze at the center, then deepen the crease with soft charcoal.
- Add a touch of champagne at the inner corner to keep the eye bright.
- Smudge the lower lash line lightly, curl, and add mascara. The smokey eye method has the full blend.
Bold Negative-Space Winged Liner
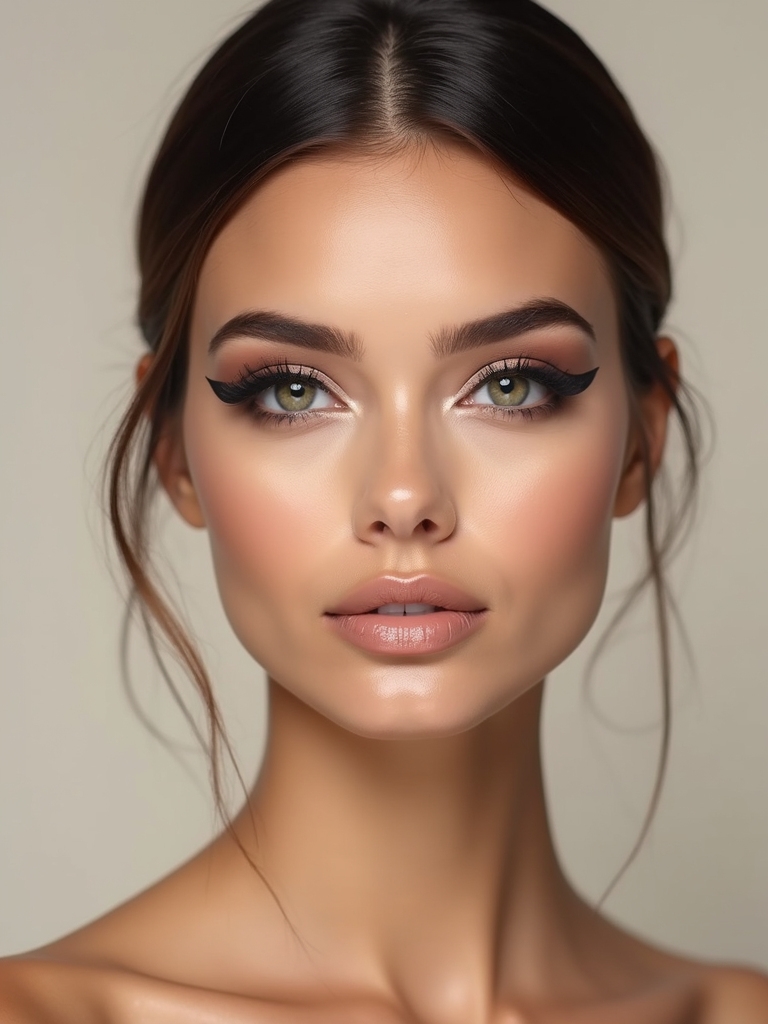
Where the rest of 2009 leaned smoky, the graphic wing went sharp. Negative space is the modern twist. You trace crisp lines, leave a gap of bare skin, and let the contrast carry the eye without piling on shadow.
I sketch the outline first so both eyes match, then fill only the parts I want solid. A felt-tip gives the cleanest edge. For extra drama, a thin neon accent traced along the wing brings instant 2009 energy, and a good liquid liner costs about $9 to $16.
Minimalist Blurred Pale Lip

While bold lips ruled the runways, the pale concealer lip quietly stole the backstage in 2009. I love its minimalist mood, and it lets the eyes and cheekbones do the talking. The trick is keeping it creamy so it never looks dry or gray.
Blur your natural lip line, tap a creamy concealer or pale nude over the center, then add a sheer balm for dimension. Pair it with softly defined brows and clean skin for a cool, understated finish.
- Choose a pale shade with a warm base so it does not turn ashy.
- Tap product only on the center and blot the edges soft.
- Hydrate first; a flaky lip is what makes this look go wrong.
Inner-Corner Champagne Glitter

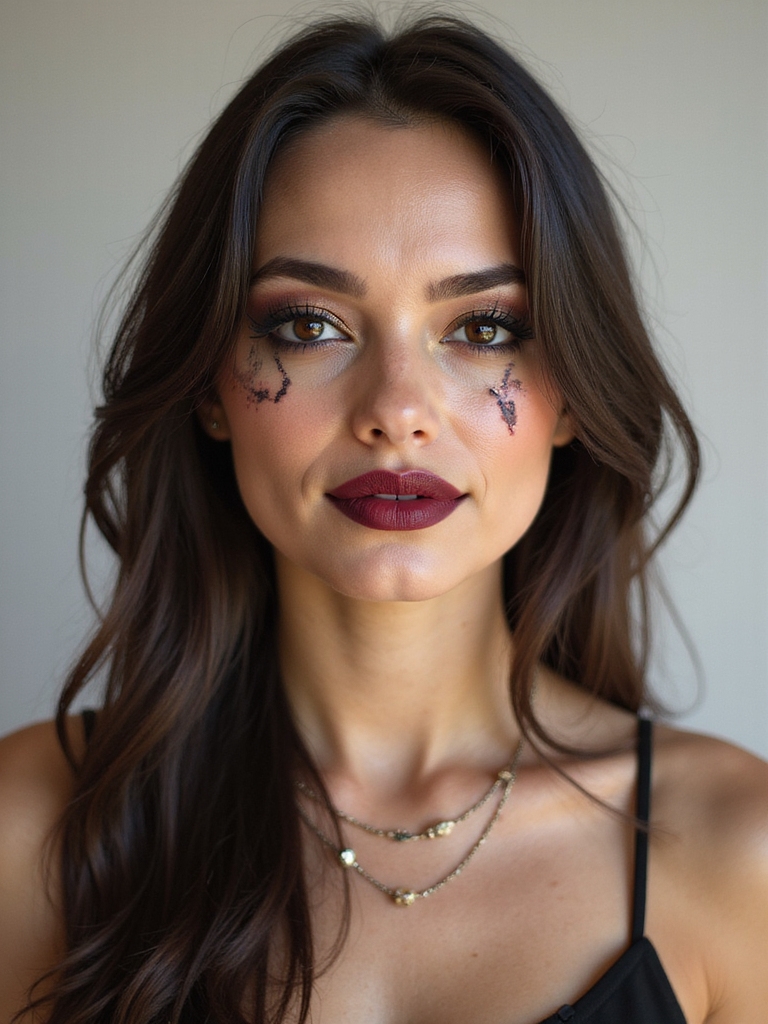
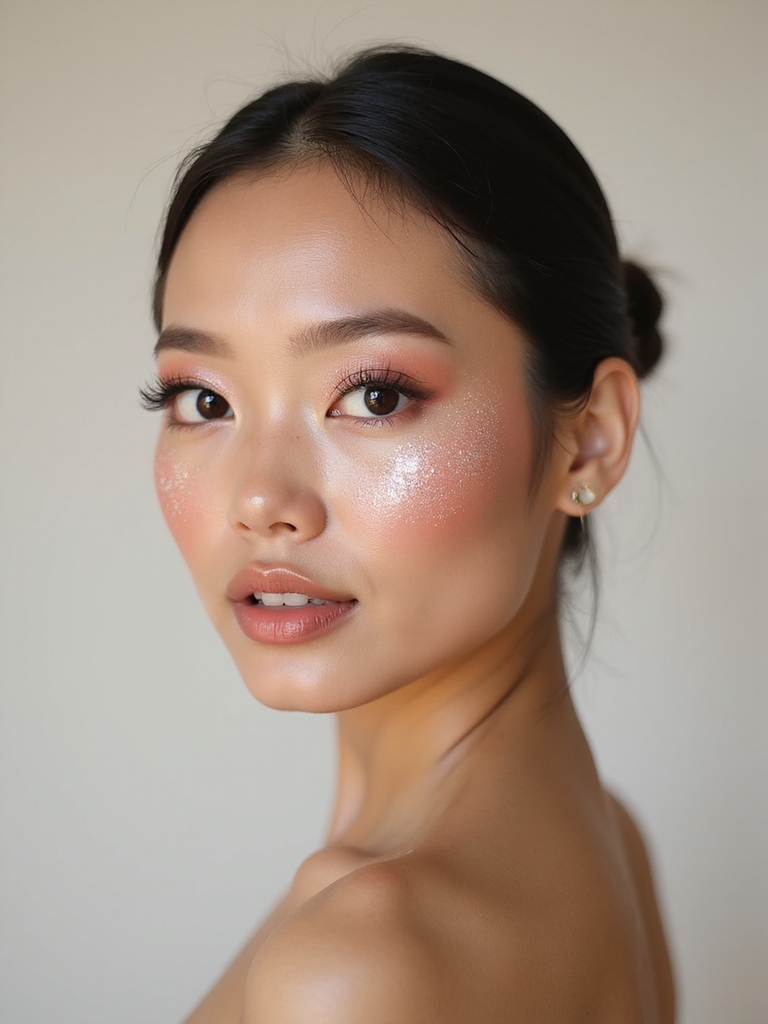
The smallest sparkle made the loudest statement in 2009, and glitter in the tear ducts was the stealthiest move in the kit. It brightens the eyes instantly and feels playful. A pinpoint is all you need.
Keeping Glitter Exactly Where You Put It
Use a small flat brush, tap fine glitter right at the inner corner, and let it catch the light when you turn your head. A pressing motion keeps the pieces in place so nothing migrates down your face.
Keep the rest soft: dewy lids, a flicked liner, a sheer peach blush, and clean brushed-up brows. A micro-glitter in champagne flatters every skin tone, and a pot costs about $6 to $14.
Sheer Sun-Licked Bronzed Sheen

The bronzed body glow looked like you just stepped off a late-2000s music video set, and it is the most fun finishing touch on this list. I buff a sheer body bronzer over the shoulders, collarbones, and shins, then tap a highlighter on the high points for a sun-licked sheen.
Blending A Body Glow That Looks Real
Buffing is the key word here. You want it to look like light on skin, so a sheer formula blended with a big brush beats anything you paint on thick. Layer a gel or dry oil first for slip.
Match the bronzer to your own depth so it warms your skin rather than muddying it, and blend carefully at the wrists and ankles. A body bronzer or glow oil costs about $12 to $30.
Neon Face-Framing Contrast Streaks

Scene-kid streaks sliced through soft hair like neon eyeliner for your strands, and the intentional version is back. The difference between cool and chaotic is restraint. You pick one bold hue and place it where it frames your face.
Placing Color So It Frames The Face
I keep the streaks sleek and glossy so they look deliberate, like cobalt peeking at the part or magenta slices near the cheekbones. Placement near the front does the framing, so you do not need them all over.
This is a salon job if you want clean, even color on darker hair, and it can lift quite a bit during bleaching. Expect to spend $120 to $250 and a few hours, and tone every four to six weeks to keep the color clean.
Bring 2009 Back, Just Quieter
Looking back, the beauty looks of 2009 had real range, from glassy lips and frosted corners to neon waterlines and a sun-licked glow. The pieces still hold up beautifully. The only thing worth leaving behind is the instinct to wear all of them on one face at the same time.
So which one speaks to you first? Pick the single 2009 look that made you grin scrolling through these, give it a clean face to sit on, and let the nostalgia feel fresh instead of dated. That is the whole secret to wearing a throwback well.
More Looks Worth Saving