Here’s a makeup truth that explains a lot of those my-makeup-looks-wrong moments: most of us aren’t high-contrast or low-contrast, we’re medium. Our coloring has some difference between skin, hair, and eyes, but not a stark one, which means full glam overwhelms us and a totally bare face can look washed out.
Medium-contrast makeup is the answer: the defined-but-natural sweet spot that flatters the most people. It’s enough to look polished and awake, never so much that it wears you. Here are fifteen steps and looks to build it, with the shade tweaks for every complexion. For the softer end of the scale, see our low-contrast makeup guide.
The Quick Version
- Medium-contrast makeup is the defined-but-natural middle ground, more than bare skin, less than a bold look.
- It suits anyone whose coloring has some, but not stark, contrast, and anyone wanting a polished everyday face.
- Lean on cream formulas, soft definition, and blended edges: brown over black, sheer over opaque.
- Keep the whole face in harmony, matching cheeks and lips and softening every line.
Sheer Dewy Skin First
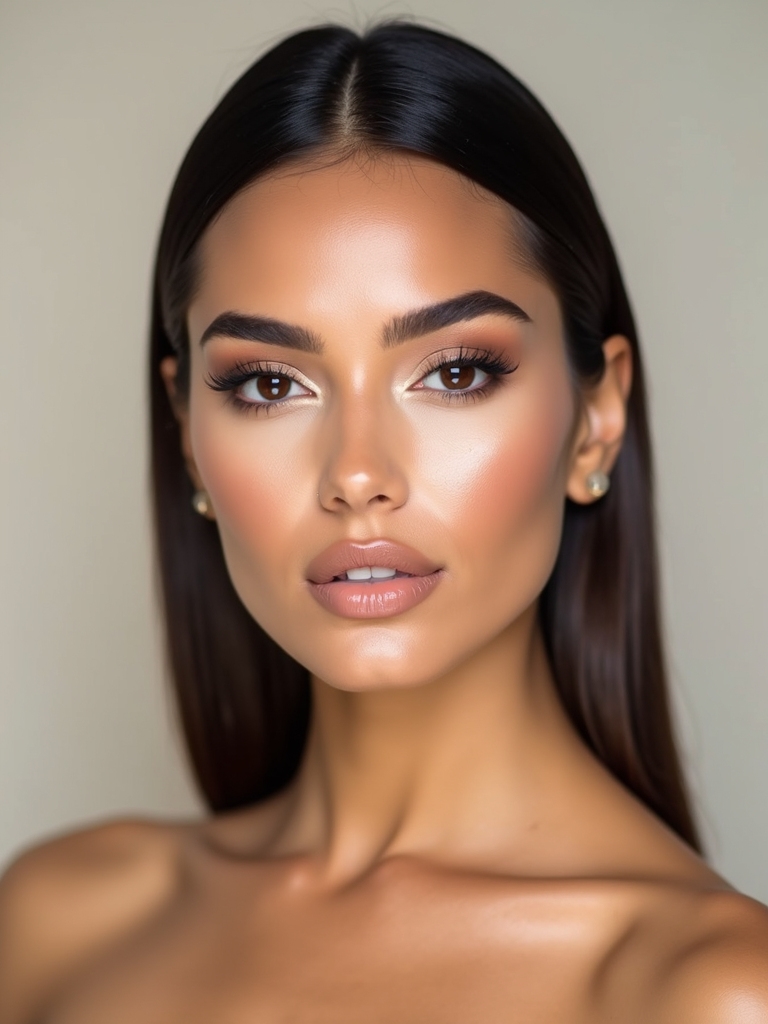
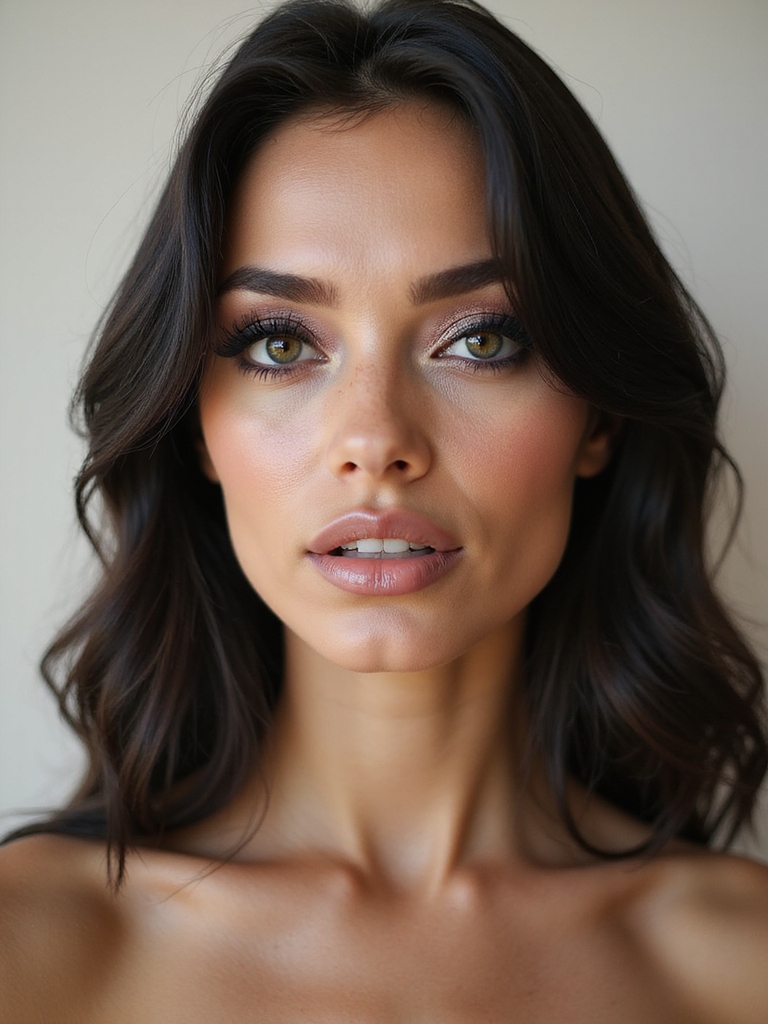
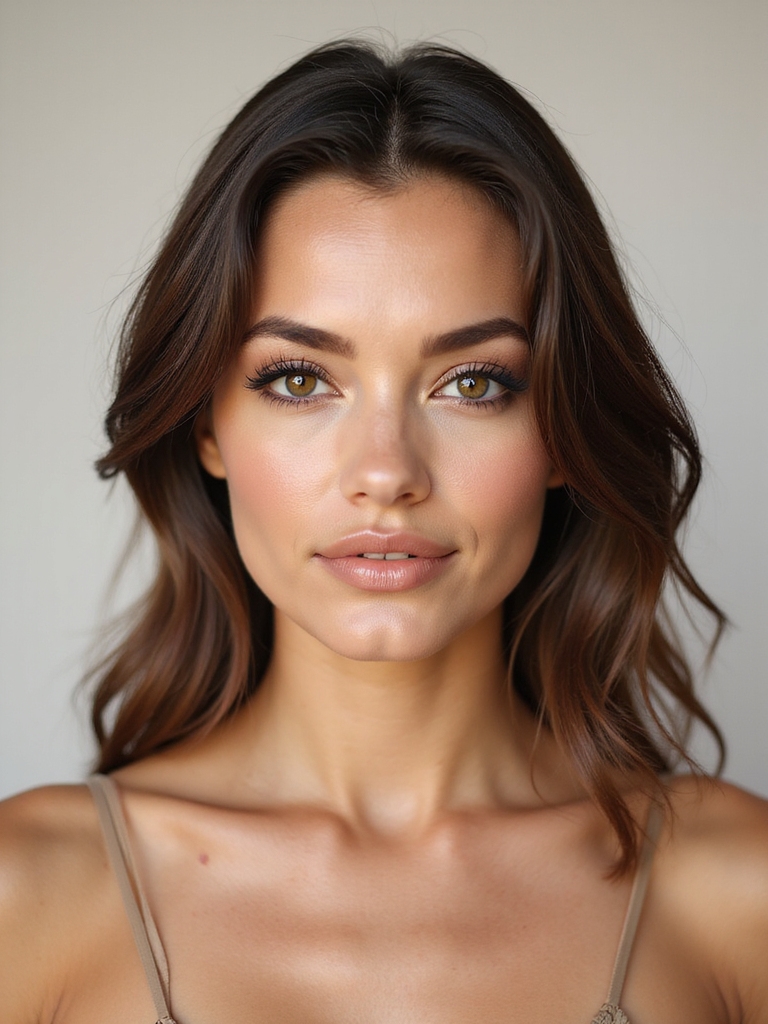
Every medium-contrast look starts with skin that’s sheer and dewy, not full and matte. The base should even your skin while still looking like skin, since heavy coverage flattens it and fights your natural softness.
Press a skin tint or light foundation over moisturized skin with a damp sponge, and spot-conceal only where you need it. Set just the oily zones. The goal is a lit, natural canvas that lets your features, not your foundation, do the talking, much like a natural makeup base.
- Sheer and dewy beats full and matte
- Spot-conceal, then set only the T-zone
- A natural base keeps the whole look soft

Pinpoint, Blended Concealing
Concealer is where medium-contrast makeup stays natural: you place it with precision, only where it’s needed. Pinpoint, blended concealing means dabbing a tiny amount exactly where there’s darkness or redness, then blending only that spot.
Place It, Don’t Paint It
Use a concealer matched to your foundation, or a shade up for under-eyes, tap it on with a fingertip or small brush, and blend the edges into the skin. The rest of the face stays bare.
This keeps coverage looking light and real, which is the heart of a medium-contrast face. Caking concealer everywhere looks heavy and ages the skin.
Find your contrast level:
🎯Soft, blended coloring
You may suit low-contrast makeup, even softer than this, with tonal washes and no hard edges.
🎯Some natural contrast
Medium-contrast is your sweet spot: defined but never harsh, exactly the looks here.
Soft Diffused Cream Contour
Medium-contrast sculpting is soft and diffused, warmth and gentle shadow over carved lines. Cream contour is the most natural way to do it, since creams melt right into the skin.
Use a cream bronzer or contour just a shade or two deeper than your skin, place it lightly under the cheekbones, at the temples, and along the jaw, then blend thoroughly with a damp sponge.
The blend is everything. A soft, blended sculpt adds dimension; a hard line tips you into harsh, high-contrast territory. On deep skin, choose a contour with a cool, true-deep undertone so it falls as a soft shadow.
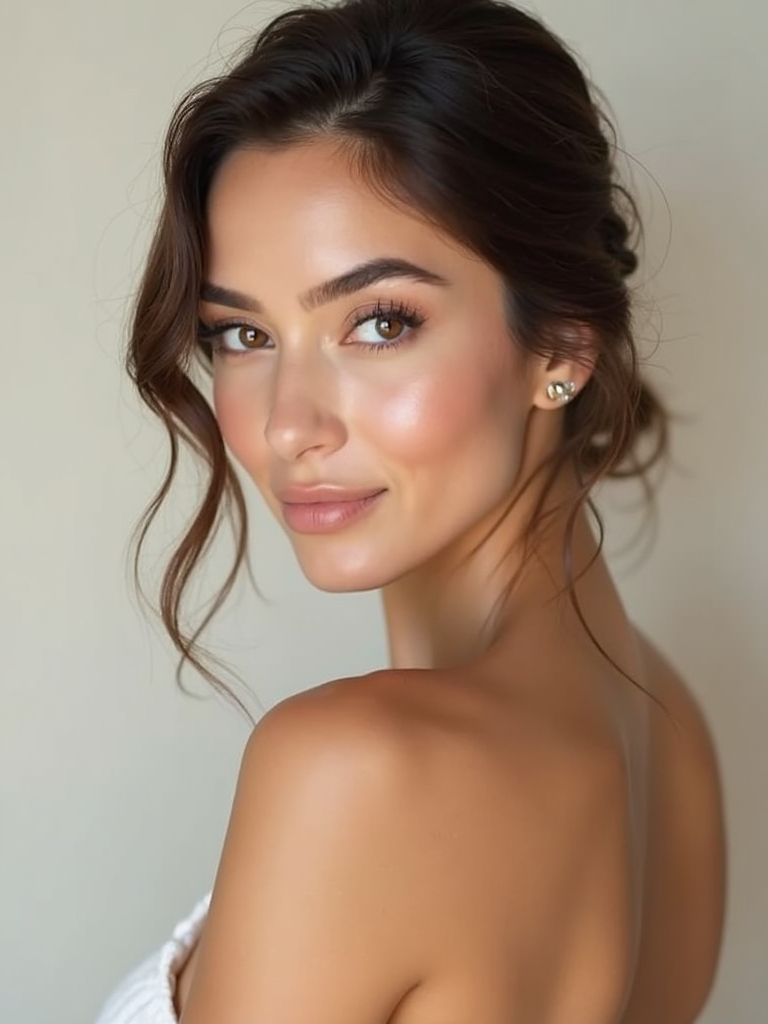
A Subtle Candlelit Glow

A subtle candlelit glow is the medium-contrast highlight: placed where light naturally falls, on the high points only. Here’s the method:
- Press a cream or balm highlighter on the tops of the cheekbones
- Add a touch on the brow bone and the inner eye corners
- Skip the forehead and nose tip to avoid an oily look
- Keep it soft and dewy, a glow rather than a frost
Most women aren’t high or low contrast, they’re somewhere in the middle, and that’s why a full-glam look or a totally bare face can both feel wrong. Medium-contrast makeup is the goldilocks zone: enough to look done, never so much it wears you.
Invisible Lash Definition
Invisible lash definition is the medium-contrast version of liner: defined eyes and no obvious line. Tightlining, pressing color into the base of the upper lashes, makes them look fuller and the eyes more awake, with nothing showing on the lid.
Use a brown or soft black pencil, work it into the lash roots, and smudge slightly. The eyes look defined and lifted, but no one can see the makeup, which is exactly the medium-contrast goal.
- Tightline the upper lashes for invisible definition
- Brown looks softer than black for medium contrast
- Defined, awake eyes with no visible line
A Taupe Crease for Definition
A taupe crease is the medium-contrast eyeshadow in a single step. A soft taupe blended through the crease adds just enough depth to define and lift the eye, stopping short of a full smoky look. It sits perfectly between a bare lid (low-contrast) and a dark smoke (high), and that’s why it’s the most useful eye shade you can own.
Blend it up and out with a fluffy brush until soft, keep the lid neutral, and you have a polished, awake eye in seconds. On deeper skin, a warm mocha or soft espresso does the same job; there are more soft-eye ideas in our makeup for brown eyes guide.
- A soft taupe crease for just-enough definition
- Sits between a bare lid and a smoky eye
- Mocha or espresso works on deeper skin
🅰️Brown definition
Soft brown liner, mascara, and crease shades keep a medium-contrast face defined but gentle. Best for everyday and softer coloring.
🅱️Black definition
Black liner and lashes push toward high contrast. Save them for evening or naturally high-contrast features, or they overwhelm.
A Soft, Hazy Outward Wing

If you want a wing in a medium-contrast look, it should be soft and hazy, a smudged shape at the outer corner. A smudged, diffused wing in brown or soft black adds shape and lift while staying gentle.
Draw a short wing at the outer corner and immediately smudge the edge with a brush so it blurs into the lash line. The hazy finish keeps it from looking bold, which is what separates medium from high contrast.
- A smudged, hazy wing, never a sharp line
- Brown or soft black keeps it gentle
- Blur the edge so it stays soft
Feathery Brows With Micro-Strokes
Brows set the contrast of the whole face, so for a medium-contrast look they should be feathery and natural, defined but soft. Build them with light, hair-like micro-strokes over a solid filled-in shape.
Brush the hairs up, fill only the sparse spots with short strokes in a shade close to your own, and set with a clear or tinted gel. Brows that are too dark or too sharp push you toward high contrast, so keep them soft and your features stay in harmony.
| Level | Coloring | Makeup approach |
|---|---|---|
| Low | Soft, blended (fair hair, light eyes, or tonal) | Soft tonal washes, no harsh edges |
| Medium | Some contrast (medium hair, brown eyes) | Defined but soft: brown liner, blended definition |
| High | Stark (dark hair, fair skin, or the reverse) | Can carry sharp, dark, graphic looks |
Curl and Brown Mascara
Mascara in a medium-contrast look is about curl and separation, with volume kept gentle. Here’s the approach:
- Curl the lashes first to open the eye
- Use a brown or soft black mascara for gentle definition
- Wiggle the wand at the roots and pull through to separate
- One or two coats is plenty; clumpy, spidery lashes read high-contrast
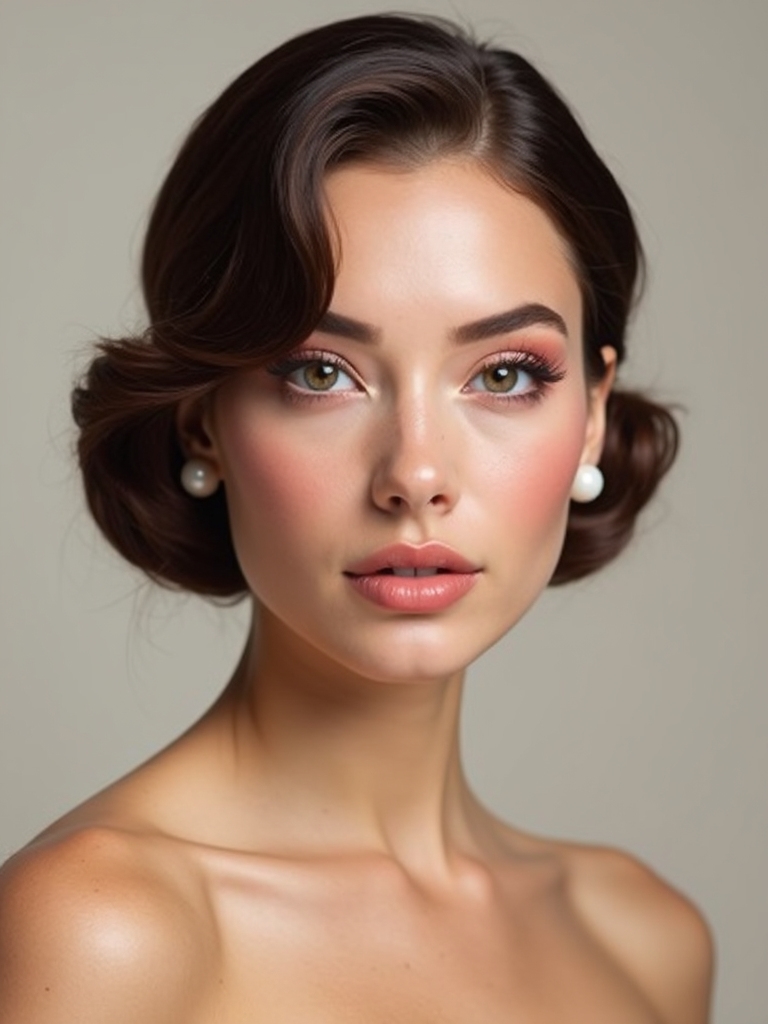
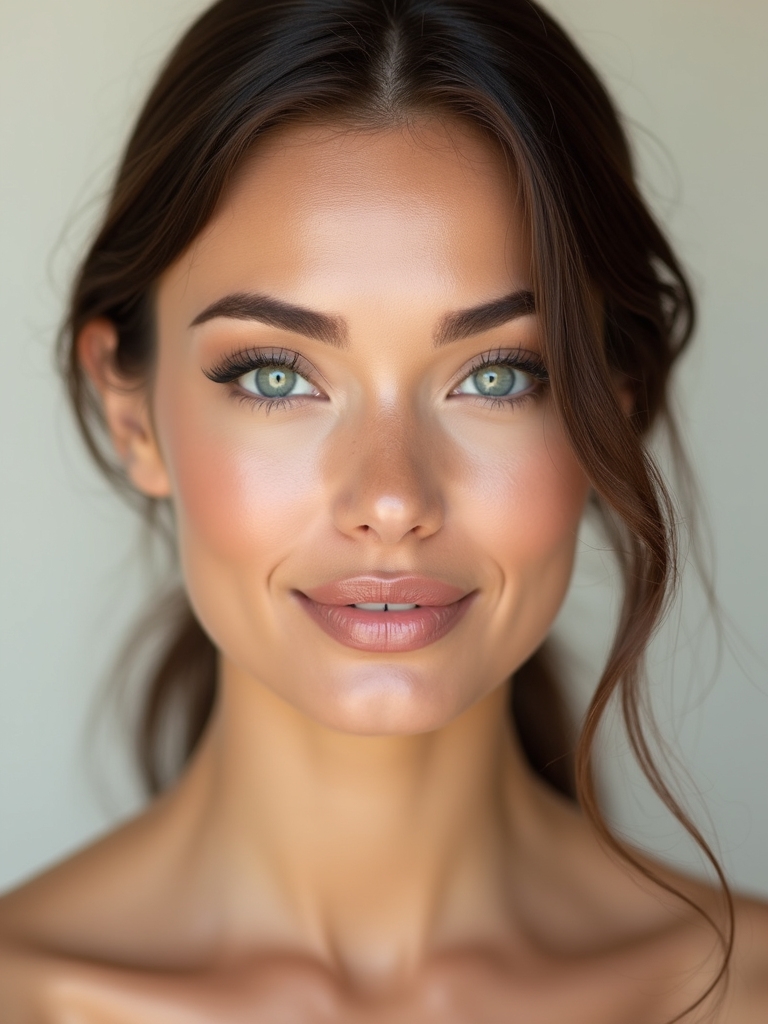
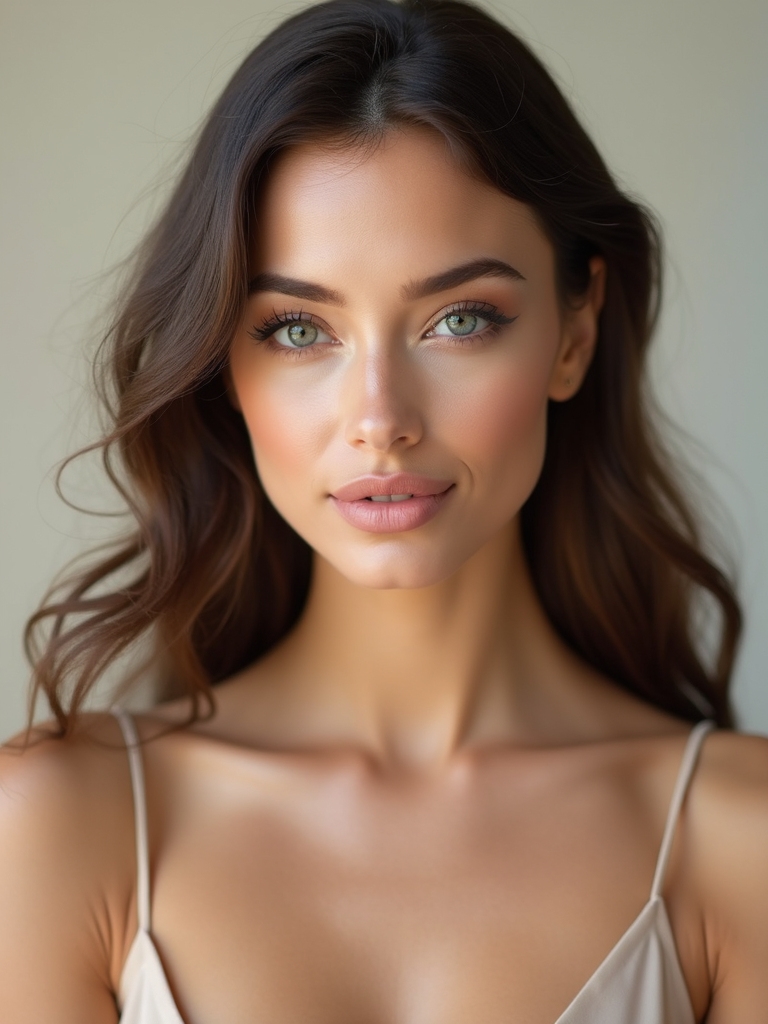
Harmonious Cheek-and-Lip Match
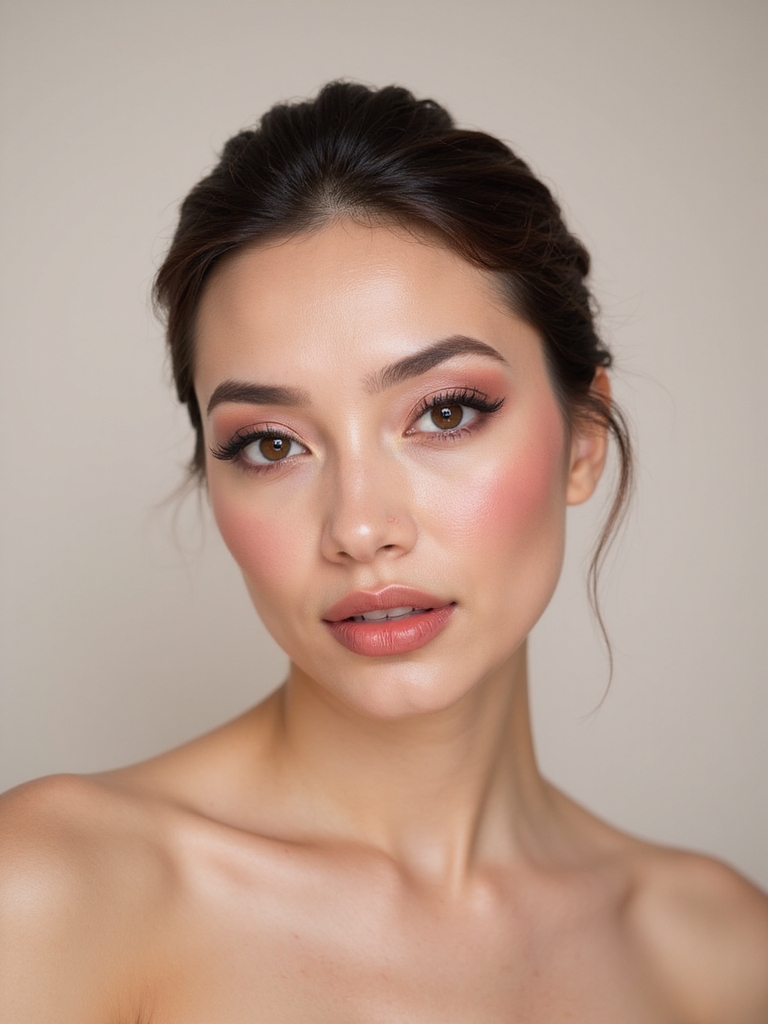
Harmony is the heart of medium-contrast makeup, and matching your cheeks and lips is the easiest way to get it. A monochrome cheek-and-lip, the same soft shade on both, ties the whole face together and keeps anything from standing out too much.
Match Cheeks and Lips
Choose one flattering tone, a soft rose, peach, berry, or terracotta, and wear it on both cheeks and lips. The repetition looks intentional and cohesive, the opposite of a mismatched, high-contrast face.
Match the depth to your skin: a soft rose on fair, a warm terracotta or berry on deep complexions, where the richer tones land as the same gentle wash.
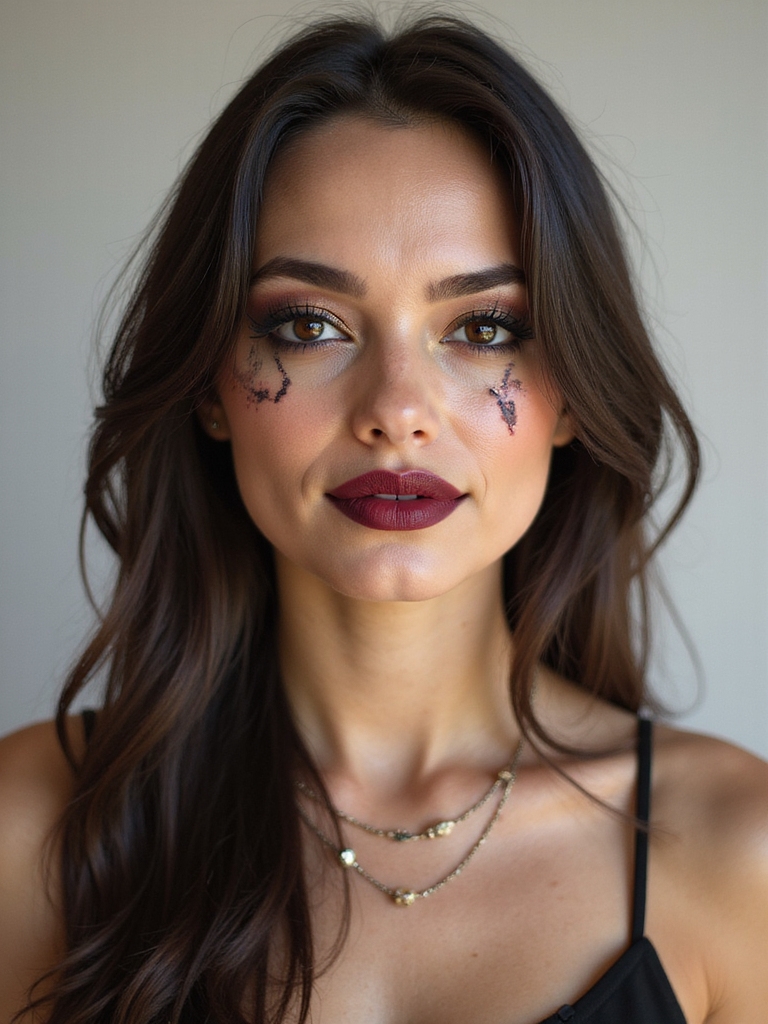
A Blurred, Center-Tapped Lip Tint
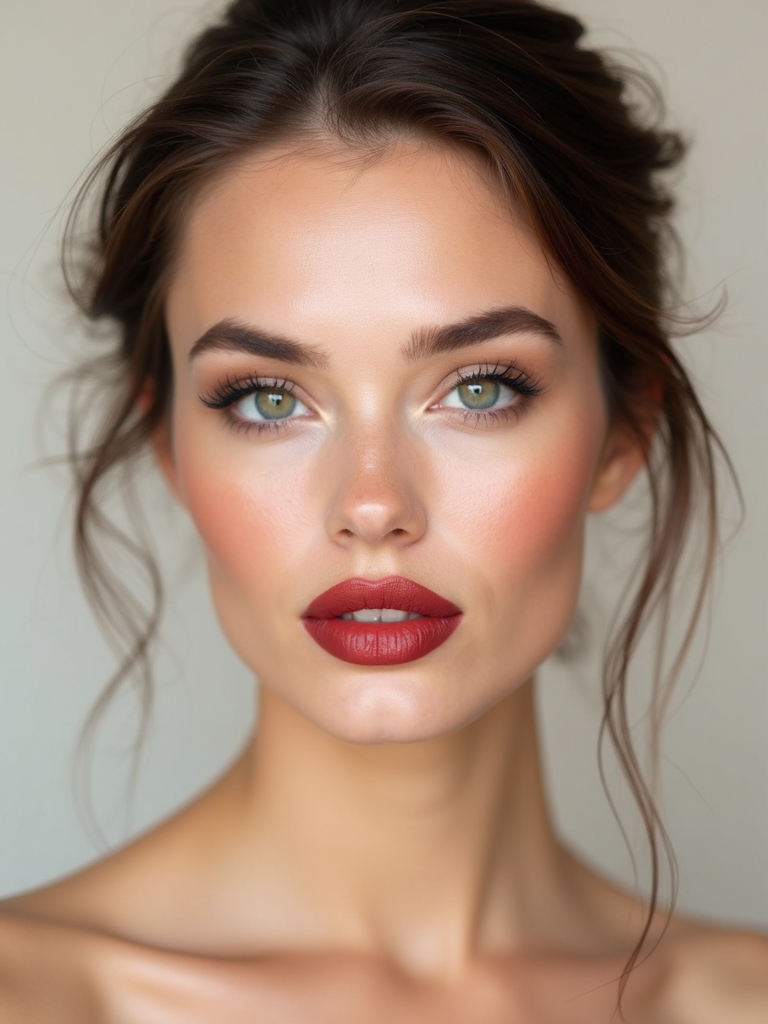
The medium-contrast lip is soft and blurred, a center-tapped wash of color. A lip tint tapped into the center of the lips and blended outward gives color that fades naturally at the edges, looking like your lips but better.
Press a tinted balm or stain onto the center and blur it out with a fingertip. Any soft berry, rose, or nude works, matched to your tone. The blurred edge is what keeps it from tipping into a bold, high-contrast lip.
Natural Sun-Kissed Bronzing
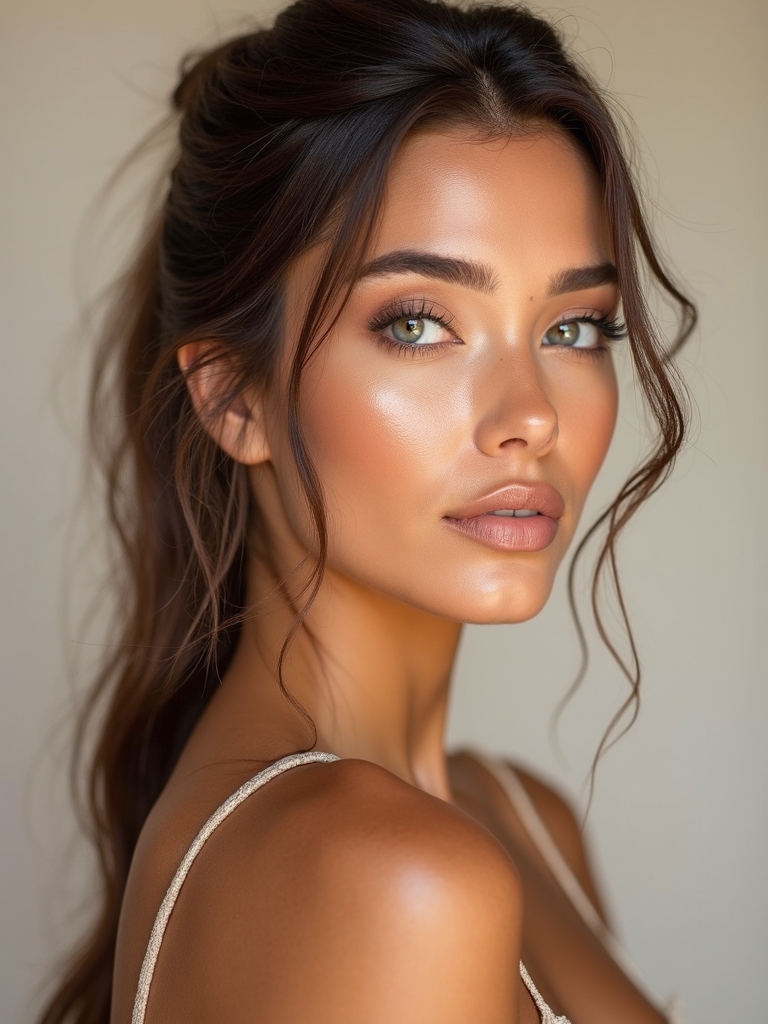
Natural sun-kissed bronzing adds warmth in the medium-contrast amount, sheer and placed where the sun would hit. How to:
- Sweep a sheer cream or powder bronzer on the temples, cheeks, and nose
- Keep it sheer so it warms rather than stripes
- Add a soft blush on top for life
- Match the bronzer to your depth so it warms the skin instead of streaking
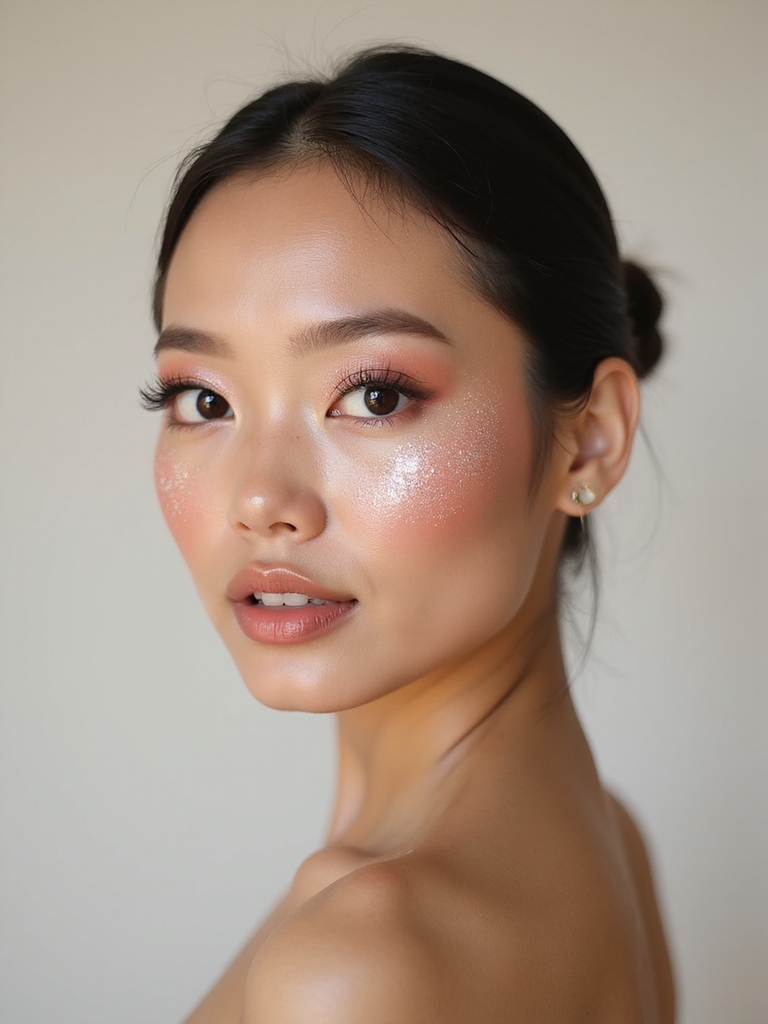
Sheer Coverage, Freckles Showing
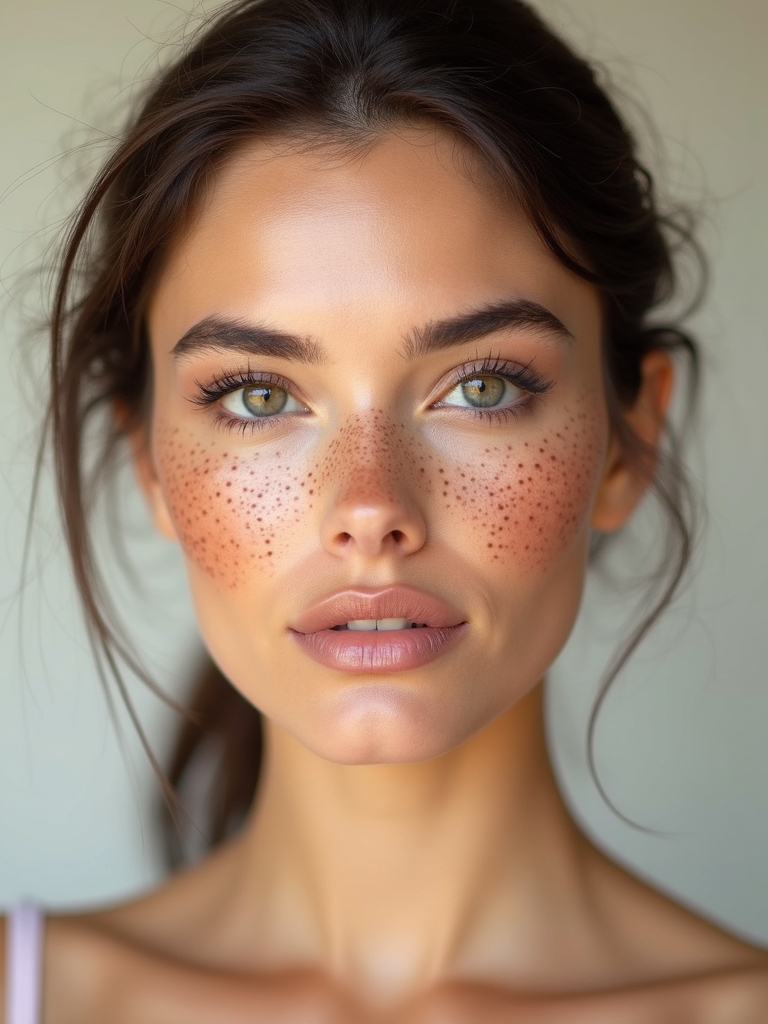
A defining feature of a medium-contrast face is that it lets your real skin show, freckles, texture, and all. Sheer, luminous coverage with your freckles still visible is the most modern, natural finish there is.
Use a skin tint or sheer foundation that evens the tone without erasing your features, and let your freckles peek through. If you love the look, add a few faux freckles with a brown pen. It looks fresh, real, and exactly the right side of polished.
A Fine-Mist Finishing Spray
A fine-mist finishing spray is the last step that pulls a medium-contrast face together. A light, even mist melds the layers, cuts any powdery look, and gives skin a cohesive, natural finish.
Hold the spray a little distance from your face and mist in an X and a T, choosing a dewy formula for dry skin or a natural one for combination. It locks the soft, defined look so it lasts the day.
A Subtle Champagne Glow
A subtle champagne cream glow is the final flourish, a soft champagne shimmer pressed onto the high points for a lit-from-within finish that suits the medium-contrast aesthetic. It’s brighter than a bare face but softer than a frosty highlight, which is exactly the balance you want.
Tap it onto the cheekbones, the cupid’s bow, and the inner eyes with a fingertip. A warm champagne flatters most, while a deeper gold or rose-gold champagne glows on deep skin. It’s the gentle sparkle that finishes the look without tipping it bold.
- A soft champagne cream on the high points
- Brighter than bare, softer than a frost
- Gold or rose-gold champagne glows on deep skin
Maintenance and Care for a Medium-Contrast Look
A medium-contrast face is low-maintenance by design, but a few habits keep it fresh. Blot, don’t powder, to handle midday shine, since adding powder flattens the dewy, natural finish. Keep a cream blush or tinted balm in your bag to refresh the color that fades first, usually the lips.
Because the look leans on cream formulas, it can move on very oily skin, so set your oily zones and carry blotting papers. For the full application order behind all this, see our makeup routine guide, and for current looks to adapt, our makeup ideas collection.
Medium-Contrast Makeup: Quick Answers
?What is medium-contrast makeup?
It’s a defined-but-natural approach for the many people whose coloring sits between high and low contrast. It uses soft definition, brown over black, blended edges, and harmonious color to look polished and awake without overwhelming the face.
?How do I know my contrast level?
Look at the difference between your skin, hair, and eyes. A stark difference like dark hair and fair skin is high contrast; soft, blended coloring is low; somewhere in between, common with medium-brown hair and brown eyes, is medium. It’s a guide, not a hard rule.
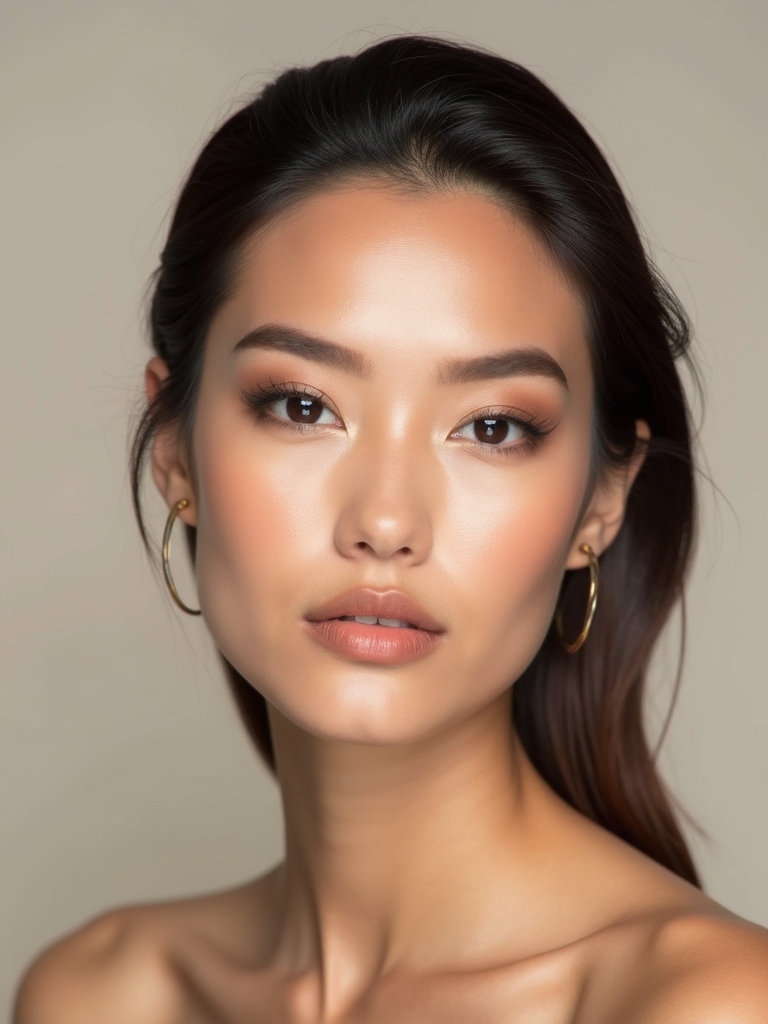
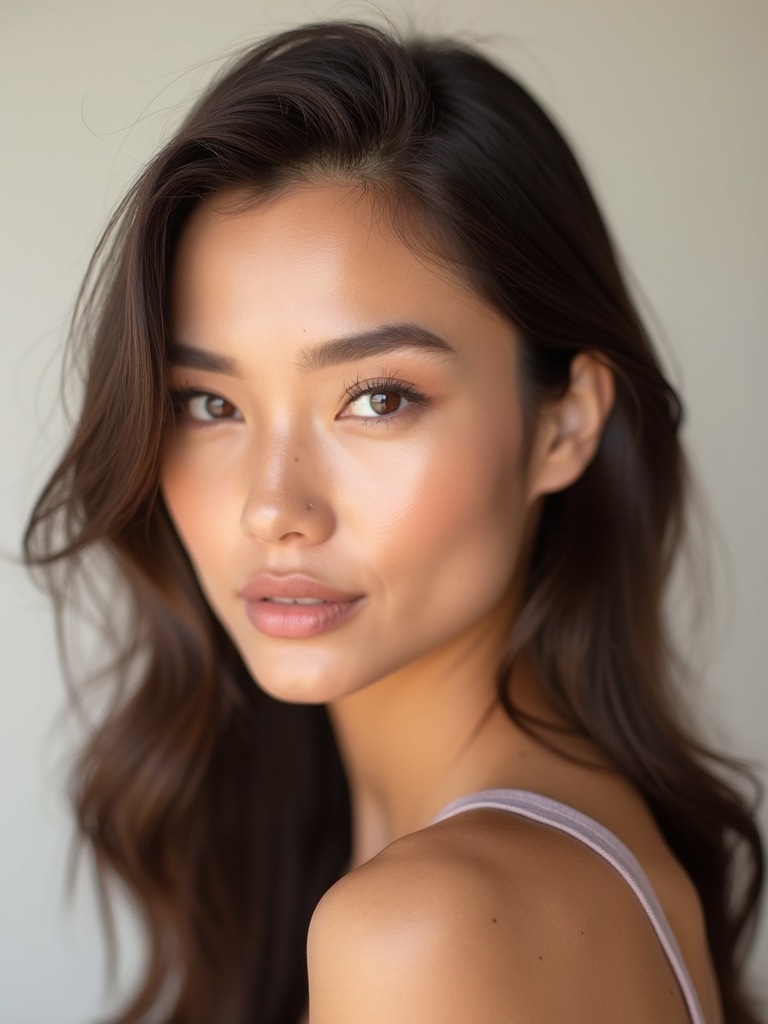
?Does medium-contrast makeup suit deep skin tones?
Yes; the principle is the same at any depth. On deep skin, use espresso instead of black for definition, rich-but-soft cheek and lip shades like terracotta and berry, and a warm gold champagne glow. Match the depth and keep the edges soft.
?Can I wear black liner with medium contrast?
Sparingly. A smudged brown or soft black keeps you in the medium zone, while a sharp black wing pushes toward high contrast. Save crisp black for evening or for naturally high-contrast features.
?How is this different from low-contrast makeup?
Low-contrast is even softer, a tonal wash with almost no definition, suited to soft, blended coloring. Medium-contrast adds a bit more, a defined crease, a hint of liner, so it looks polished and awake rather than simply soft.
The Goldilocks Zone
If your makeup has ever felt like too much or not enough, the reason is probably contrast, and medium is where most of us actually live. The whole approach comes down to one idea: define your features softly, keep everything in harmony, and blend every edge.
So try this first: do your usual face, but swap black liner for brown, match your cheeks to your lips, and blur every hard line. That small shift is the difference between makeup that wears you and makeup that just makes you look like the best-rested version of yourself.