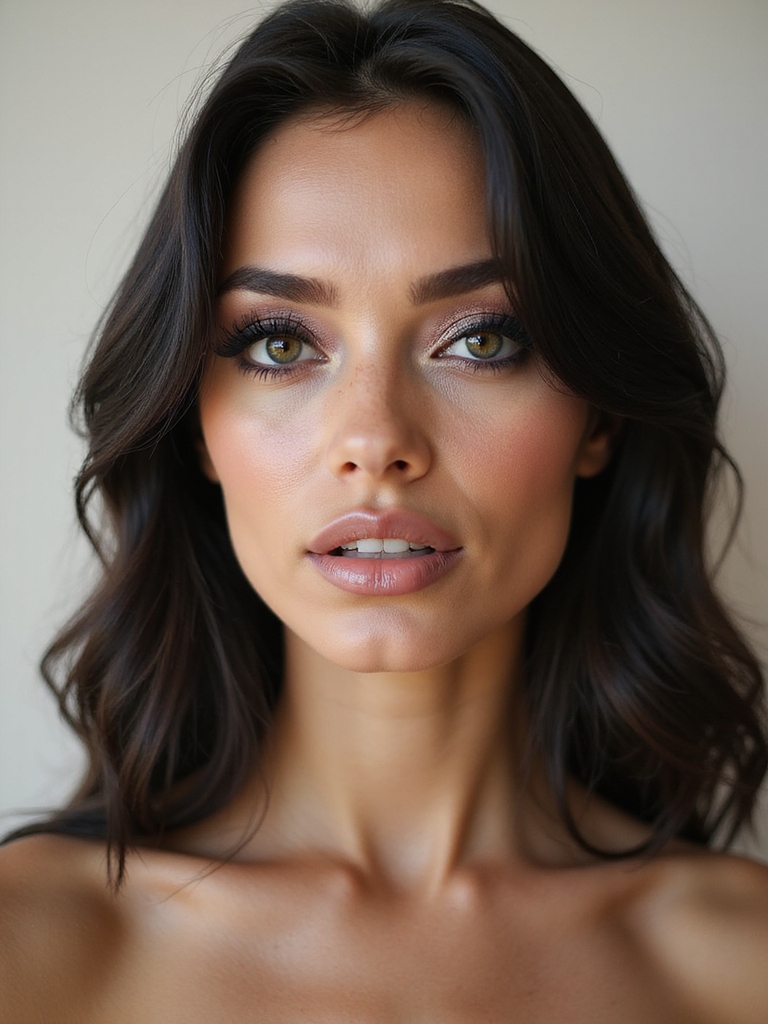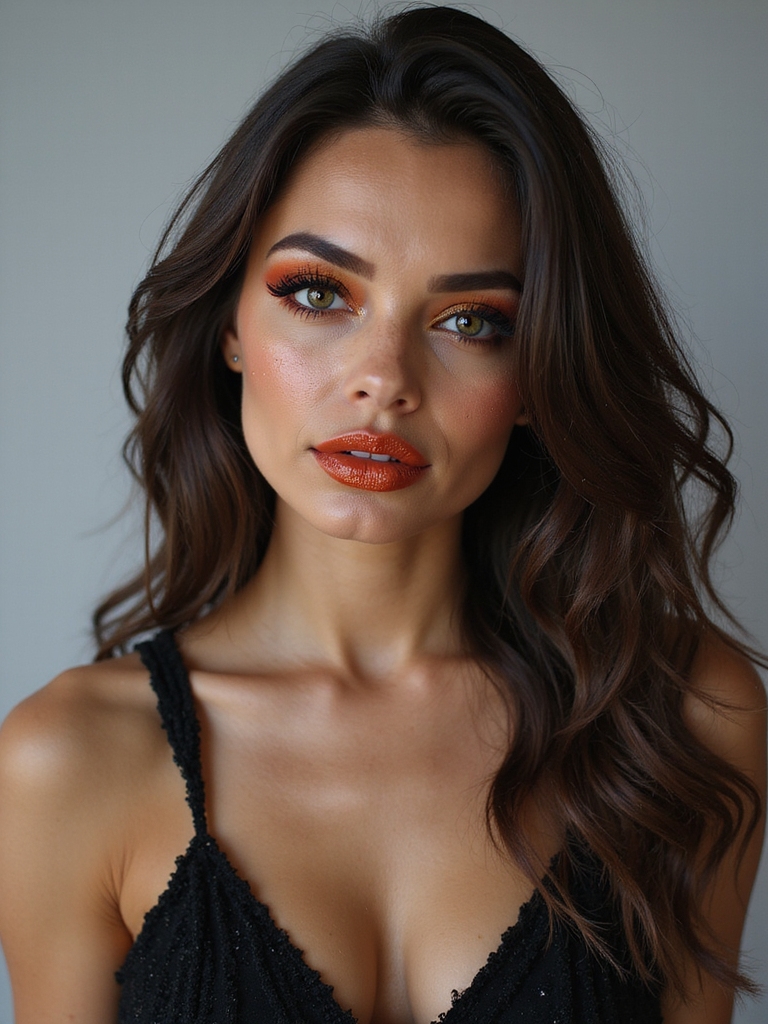
The best Halloween makeup idea is the one you can actually pull off under pressure, in a small bathroom, twenty minutes before you leave. Skill matters less than choosing a look that matches the hands you have. A complicated face you abandon halfway beats nothing, sure, but a simpler idea you finish always wins the night.
So these fifteen ideas are sorted by what they ask of you. Some need a steady hand, some need only a bright pigment and nerve, and a couple lean almost entirely on one product. Each comes with the steps, a rough cost, and the faces it flatters, so you can scan, pick one, and commit.
Quick Answers Before You Pick
Do I need special products for any of these? Mostly no. A normal makeup bag plus one or two cheap extras, a white liner, a pot of face paint, a sheet of rhinestones, covers nearly every look here.
Which idea is friendliest for a total beginner? The liquid cat-eye or the monochrome ghost. Both forgive shaky hands and need only two or three products.
How do I keep a bold look from sliding off? Prime first, dust translucent powder between layers, and finish with a setting spray. For anything with glitter or heavy pigment, mist once more over the top so it cannot creep down your face.
Sleek Liquid Cat-Eye
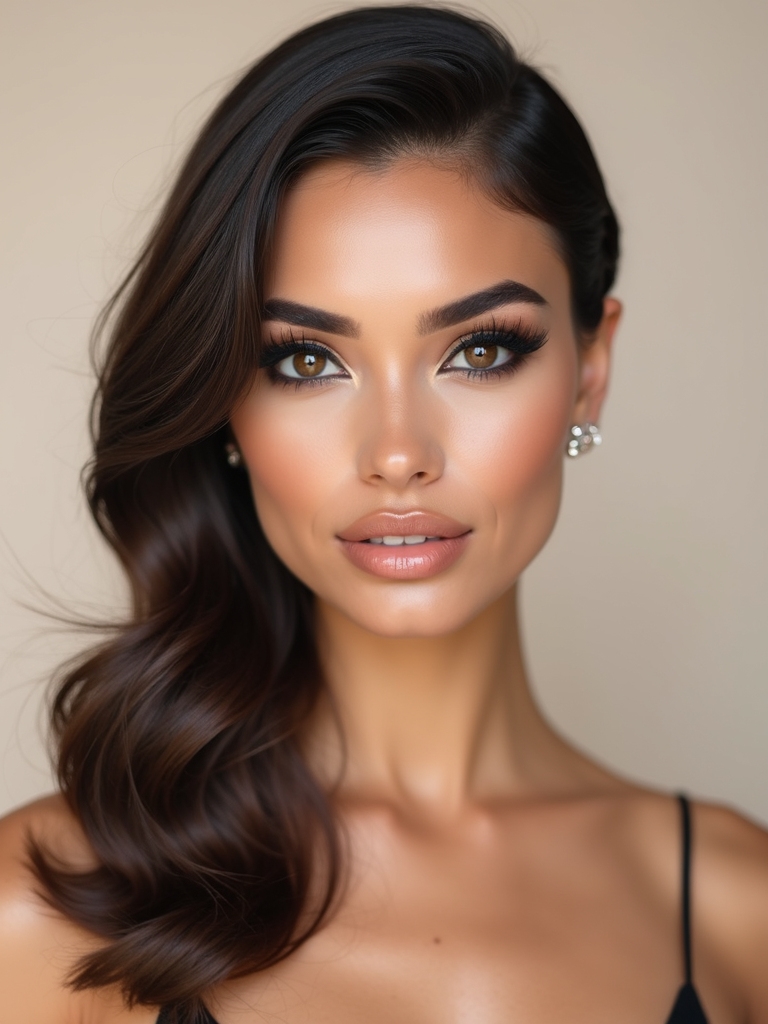
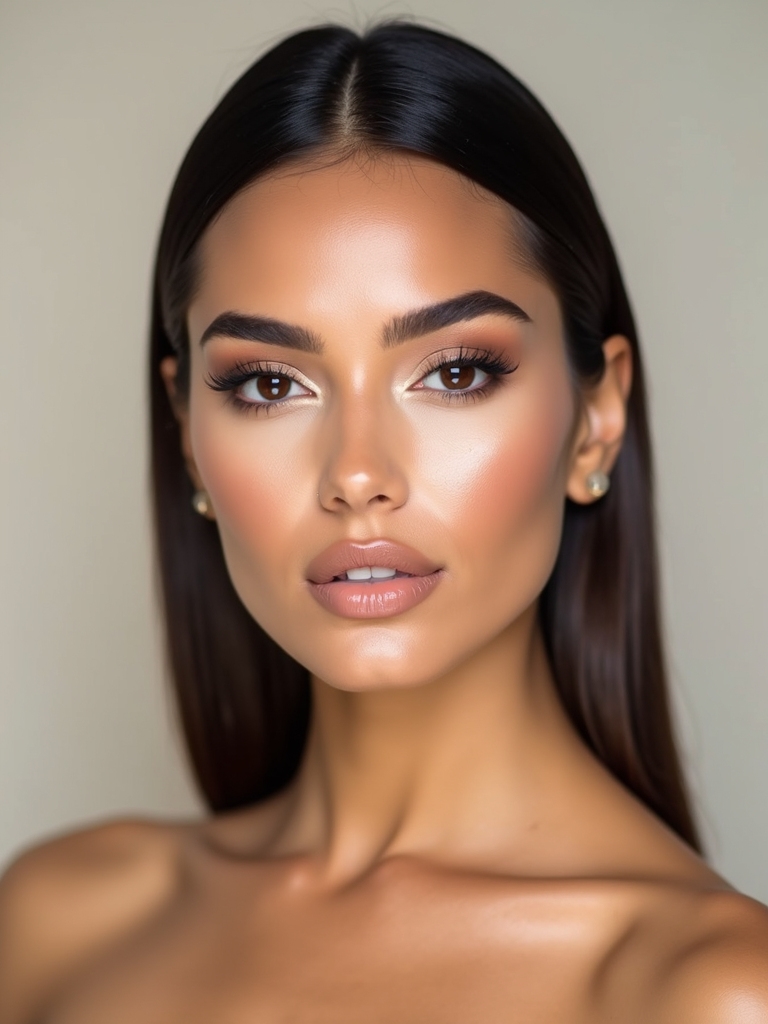
If you own one good liquid liner, you already have a costume. A crisp liquid cat-eye looks chic, witchy, or feline depending on what you pair it with, and it costs about $8 to 12 for a felt-tip pen that lasts the season. Build it in this order so both sides match:
- Draw the bottom line of the wing first, angling from the outer corner toward the tail of the brow.
- Connect that tail back to the lid to make a triangle, then fill it solid.
- Trace the upper lash line into the wing last, keeping it thin at the inner corner and thickening outward.

Blood-Red Smoky Vampire Glam
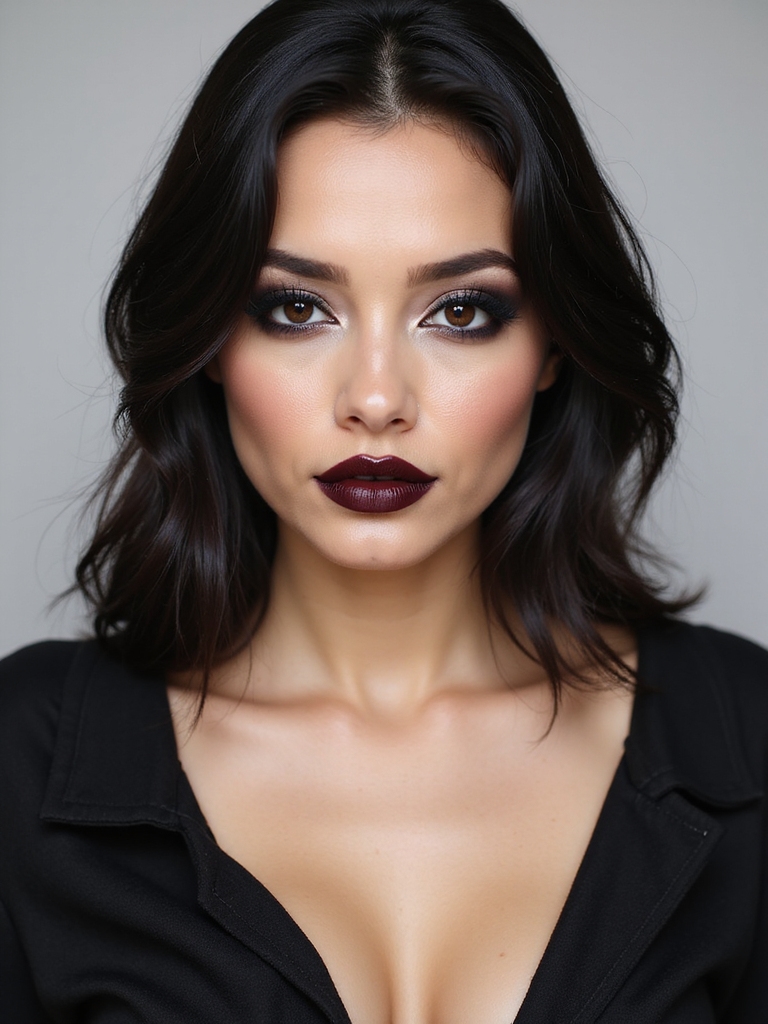
This is the grown-up cousin of the classic vampire face, trading a pale base for a smoldering one. The eyes carry it: a deep red smoked into black, blown out toward the temple for drama. On deeper skin tones this look is a gift, because brick and oxblood reds turn molten against richer depth. The vampire makeup guide covers the pale version if you want that route instead.
- Pack a brick-red cream over the lid, then deepen the outer corner and crease with black.
- Smudge the same red along the lower lash line so the eye looks rimmed in blood.
- Keep skin glossy and the lip a darker stained red so the whole face feels lit from within.
🅰️Liquid liner
Sharpest, most graphic wing; best for the cat-eye and pop-art looks where edges must read crisp.
🅱️Gel liner
More forgiving and blendable; better if you want to smoke the line out for vampire or grunge eyes.
Neon-Outlined Comic Pop-Art Portrait
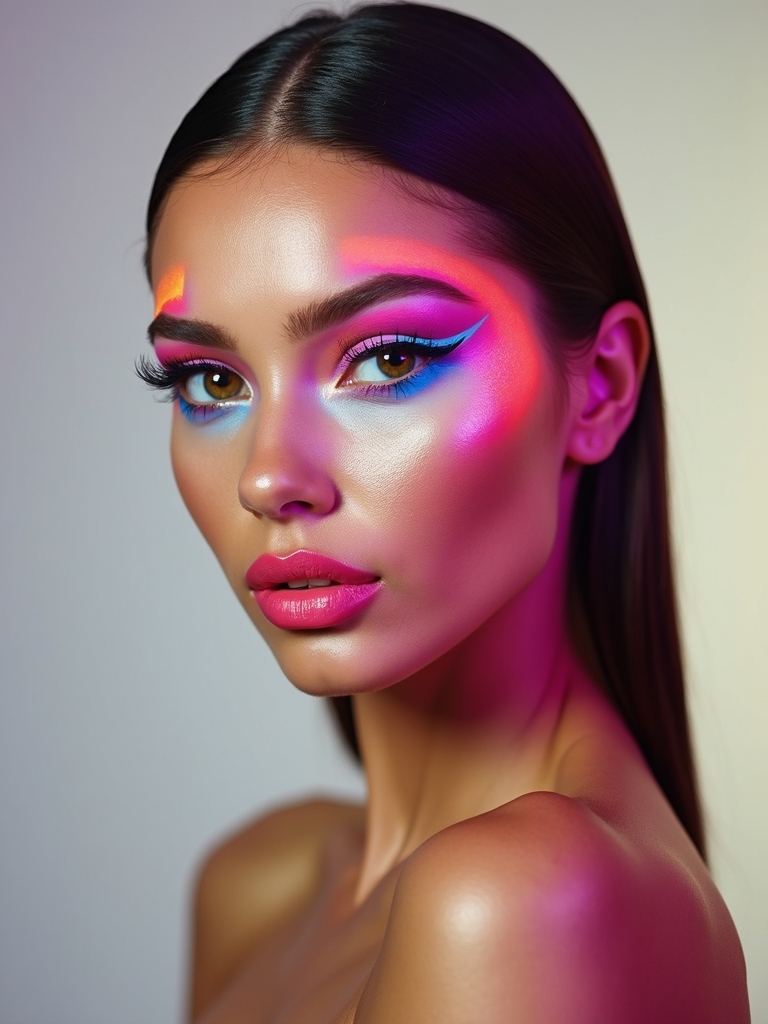
Pop art is the idea people underestimate, then it photographs better than anything else in the room. The whole trick is flat color and hard black outlines, so your face looks drawn rather than made up. It is forgiving up close because comics are supposed to look graphic:
- Block one flat, bright color across each lid, the cheeks, and the lips, keeping every edge hard.
- Trace a thick black comic outline around the face, jaw, and hairline so you look inked onto a page.
- Paint a small speech bubble on one cheek or a halftone shadow under the chin instead of any soft contour.
Glittery Cosmic Lavender Glam
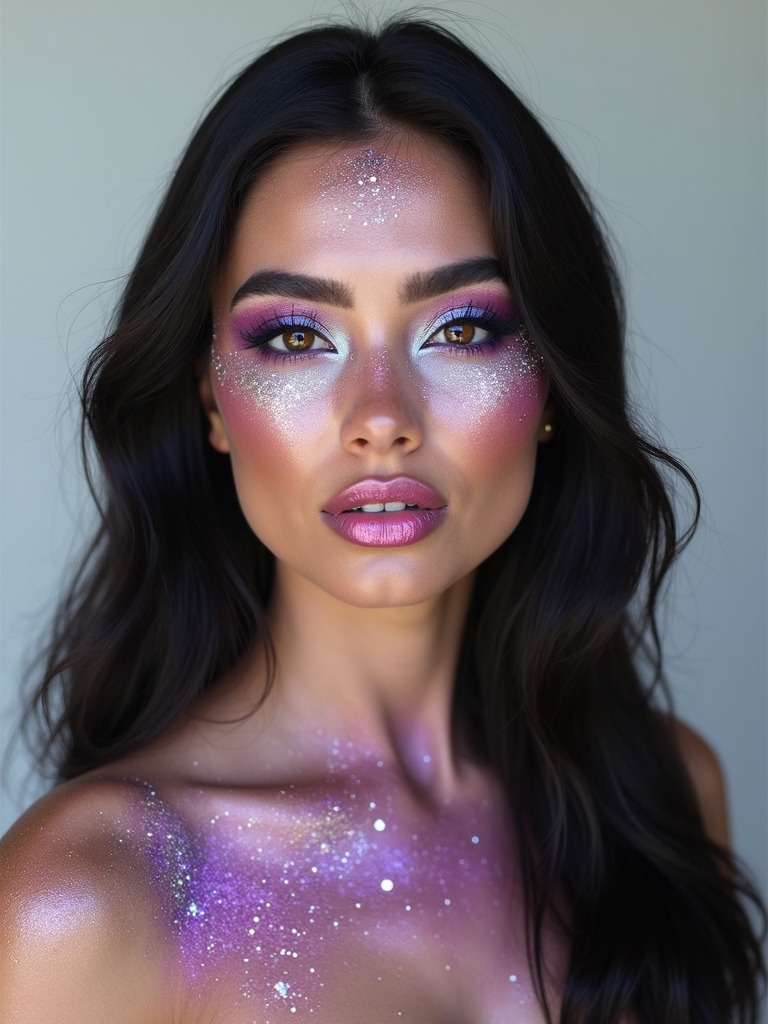
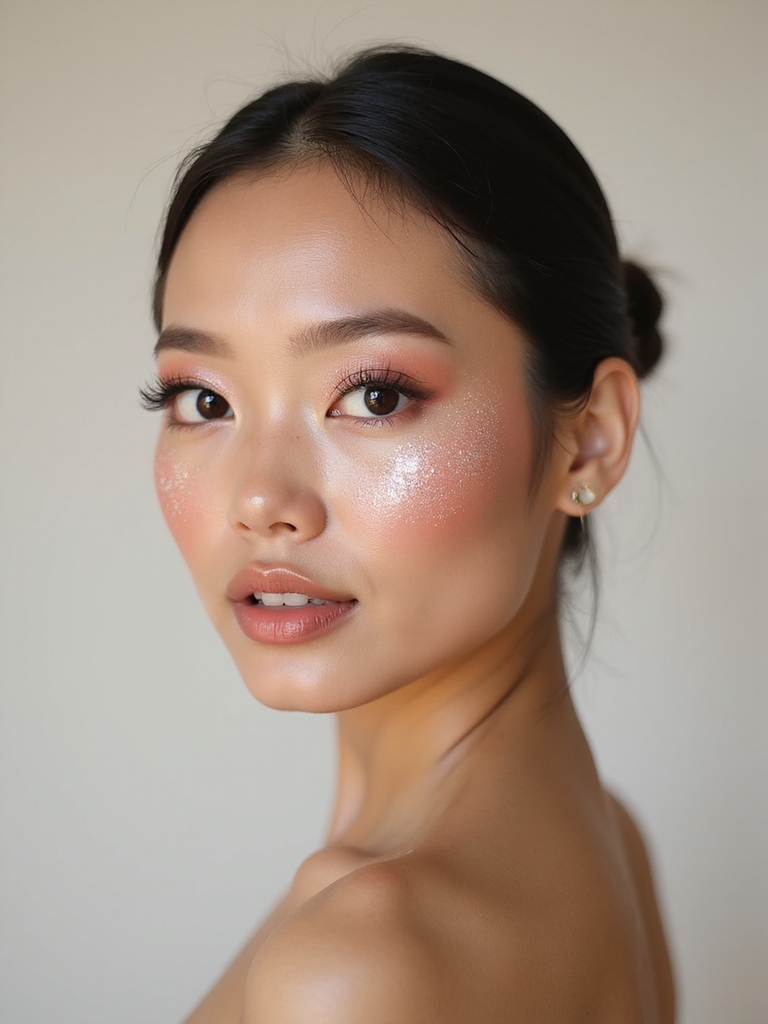
Want sparkle with not a drop of fake blood in sight? Cosmic glam is the answer, a soft lavender and amethyst eye loaded with fine glitter, the kind of look that doubles as party makeup if you skip the costume entirely. The base color does the mood work and the glitter does the magic.
Press loose glitter onto a sticky base, a dab of glitter glue or a cream shadow, rather than over dry powder, or it migrates down your face within an hour. A flat brush or a fingertip packs it on densest. Build the lavender out toward the temple so the glitter has somewhere to fade into.
I love this one on people who say they cannot do dramatic eyes, because glitter hides a multitude of blending sins. As long as the sparkle is dense and the edges are soft, it looks deliberate.
Heads-Up
Neon and face-paint pigments stain, especially over bare skin and on the lips. Patch test a day early, lay a white or pale base underneath, and keep true neon off the inner lip line where it lingers for days.
Grunge Undead Zombie
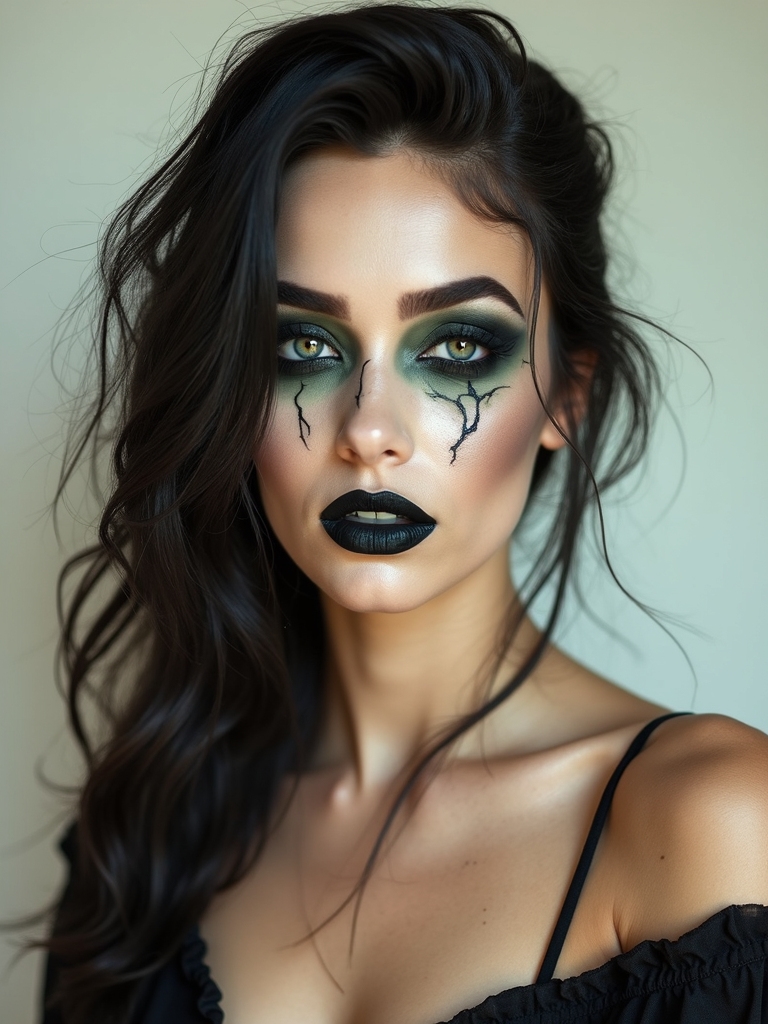
This is the lazy-genius look: it is supposed to be messy, so perfection actively works against you. Think nineties grunge gone undead, all smudged liner, hollow eyes, and a sickly pallor. The worse your blending, the better it lands.
Why Messy Wins Here
Start with a gray-green wash over the skin to drain the color, then sink the eyes with smudged charcoal and a touch of purple in the sockets. Drag everything downward with a finger so it looks worn and decayed. A bitten, grayish lip finishes the rot. The full zombie makeup breakdown has gorier options if you want them.
What makes it modern is restraint on the blood. A little crusty texture at the mouth or temple reads scarier than dripping red, and it survives a night out far better.
Fairy Glow With Iridescent Accents
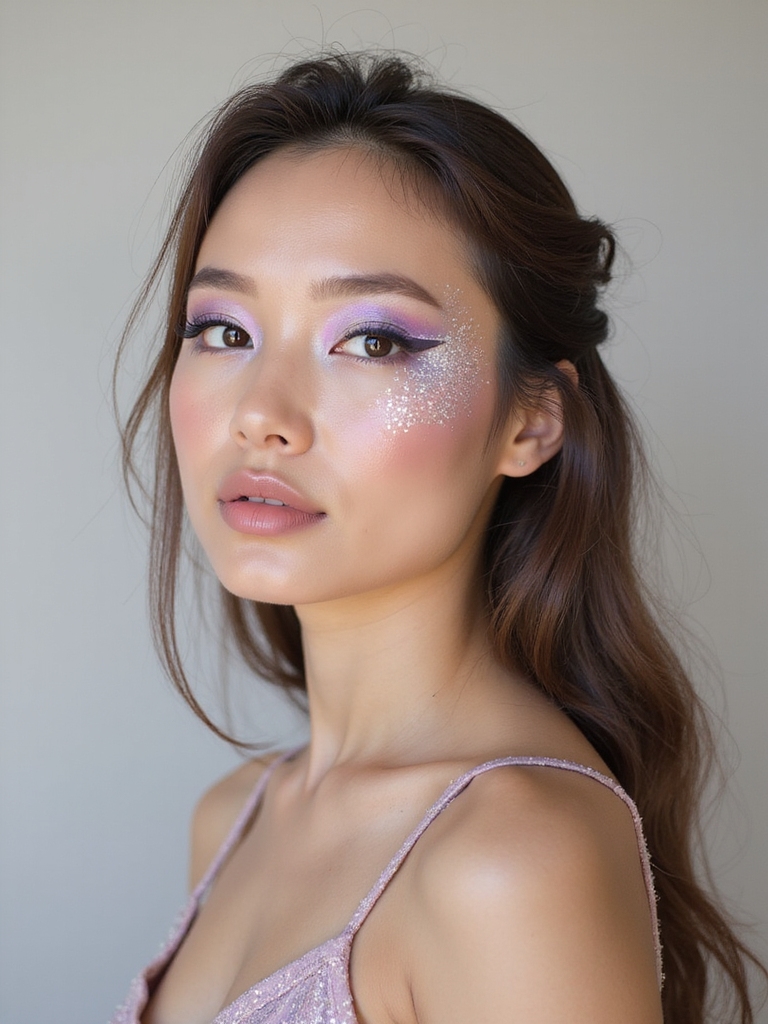
Of everything here, the fairy look is the one you could happily wear to brunch the next morning, and it works for anyone chasing magical over scary. It is built on glow: a dewy skin, a wash of pastel on the lids, and pearl or crystal accents dotted along the high points of the face.
Glow Over Gore
Keep the eye soft, a peach or pink with a duochrome shimmer over the center, then place small gems at the inner corners and the tops of the cheekbones. A highlighter with a real wet sheen makes the skin look lit from inside. Fine white speckles across the nose add the dusted-with-fairy-dust touch.
The faces I have done this on always photograph dreamier than they look in the mirror, because the pearl accents catch every bit of light. It is the rare costume look you would happily wear to brunch.
Three terms that show up across these looks:
📖Cut-crease
A sharp line carved with concealer along the crease so the lid color stands out clean and bright.
📖Duochrome
A pigment that flashes two different colors depending on the angle and light; the secret behind fairy and mermaid glow.
Spiderweb Glossy Glam
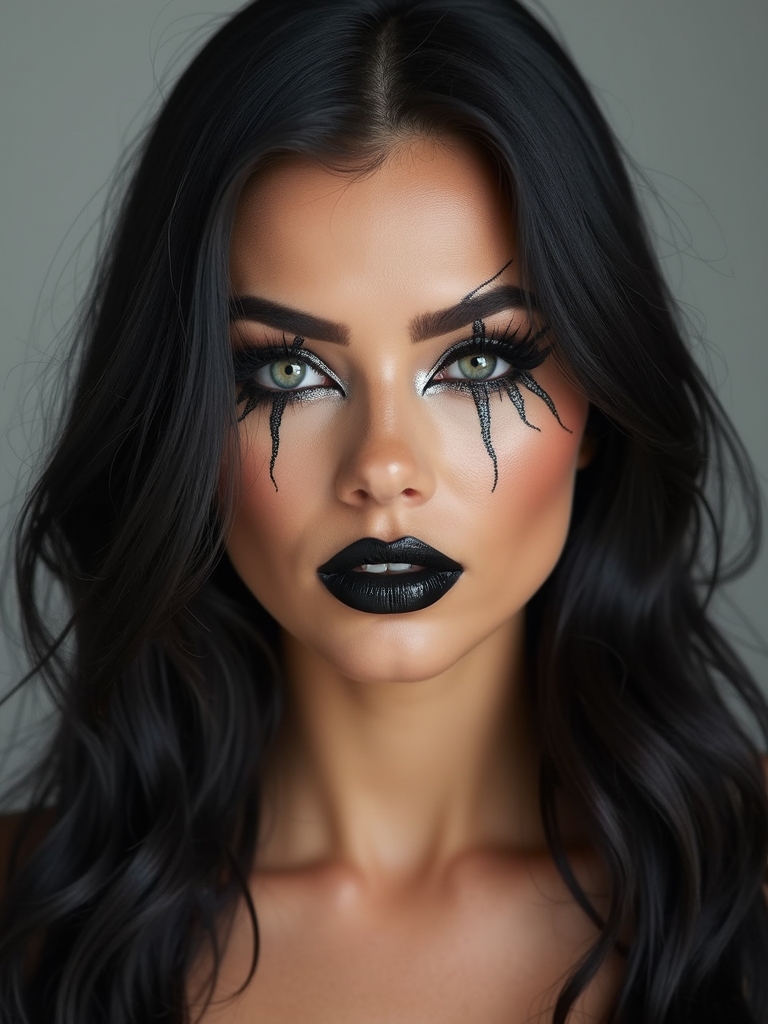
A spiderweb is the smallest possible commitment to a Halloween look, which is exactly why it is so useful. You keep a full glam face, a clean glossy eye and a nude lip, then trace one delicate web at the outer corner or across the temple in thin black liner.
The web only works if the lines stay fine and a little irregular, like real silk. Start from a center point and pull straight spokes outward, then connect them with shallow curved threads. A single small spider near the brow finishes it. Glossy lids underneath keep the whole thing from sliding into kid territory.
Hollowed-Cheek Monochrome Contour
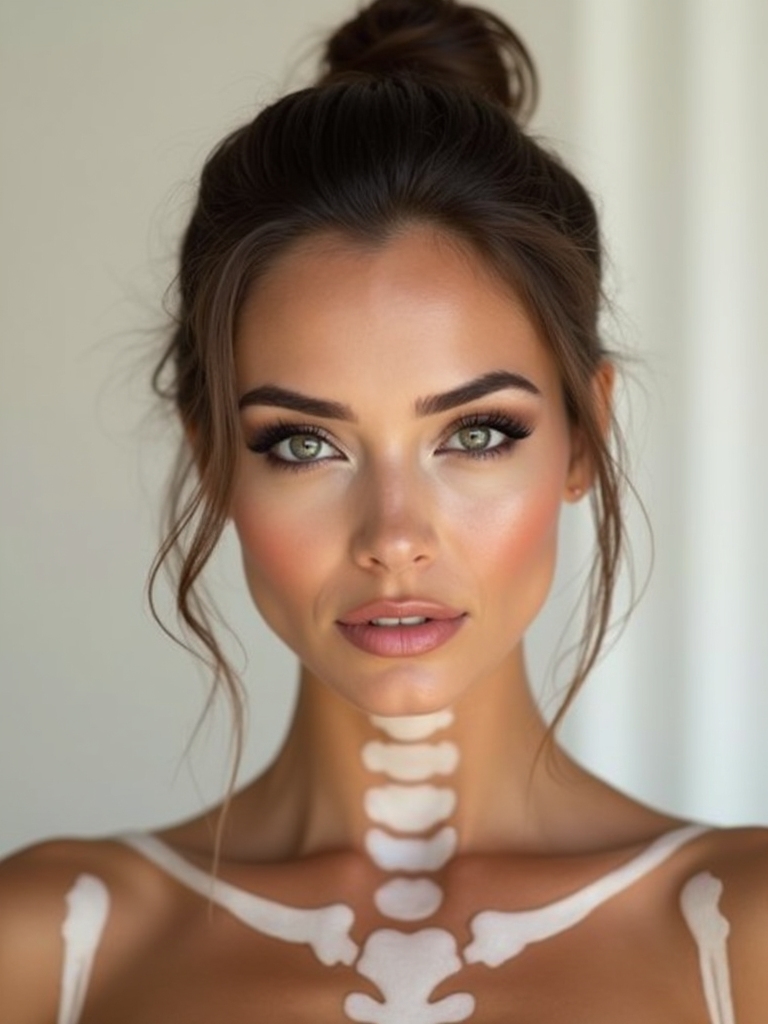
Monochrome contour is the cheapest scary look there is, because it uses only gray and black to turn a healthy face gaunt. No color, no glitter, just shadow placed where bone should show through. It is startling in person and even stronger on camera.
Shadow Does All the Work
Suck your cheeks in to find the hollow, then carve a cool gray contour deep into it and up the temples. Darken around the eyes and down the sides of the nose so the skull starts to read through the skin. Powder it matte; any shine breaks the illusion that this is bone, not makeup.
Clients ask me for this when they want maximum impact with minimum product, and it delivers every time. A single gray palette and a pale base will do the whole face.
“For any pale or gaunt look like the monochrome contour, set your base with a tiny bit of powder before you add the gray. Shadow grabs unevenly on a dewy base and skips on a slick one, and a lightly powdered face takes the contour smooth and even.”
Emerald Vines and a Glossy Ruby Lip
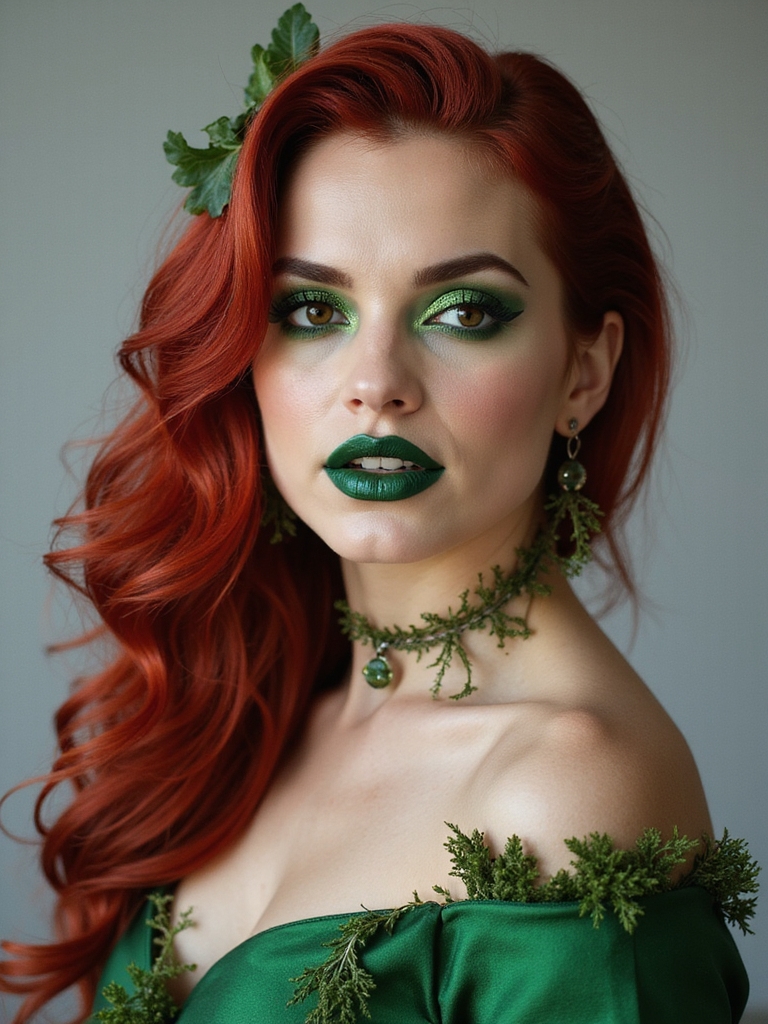
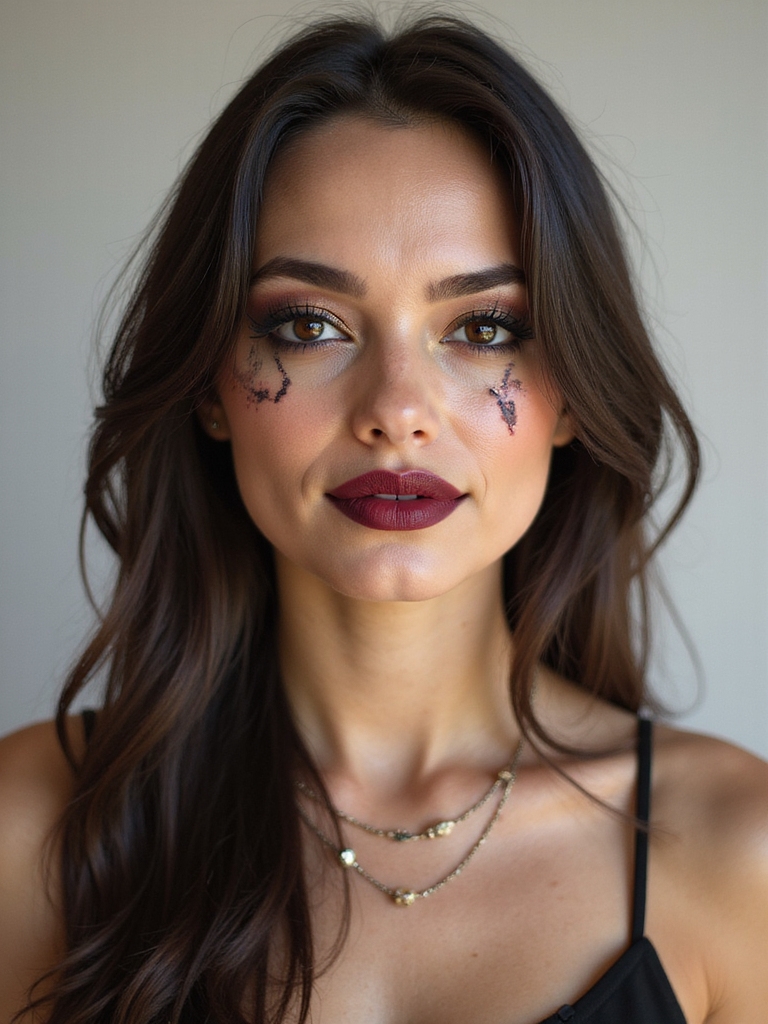
This is poison-ivy energy: trailing emerald vines climbing from the eyes, anchored by a deep, glossy ruby lip. It is romantic and a little dangerous, and it flatters cool and deep complexions especially well because jewel green and true red both sing against them.
Draw the vines with a fine green liner, starting at the outer corner and curling up toward the brow with tiny leaves branching off. Keep them asymmetrical so they look grown, not stamped. A wash of green shimmer on the lid grounds the vines so they do not float.
The ruby lip is the anchor, so build it properly: line, fill, blot, gloss. Without that weight at the mouth, the vines read unfinished, like you ran out of time.
Midnight Constellation Eye Look
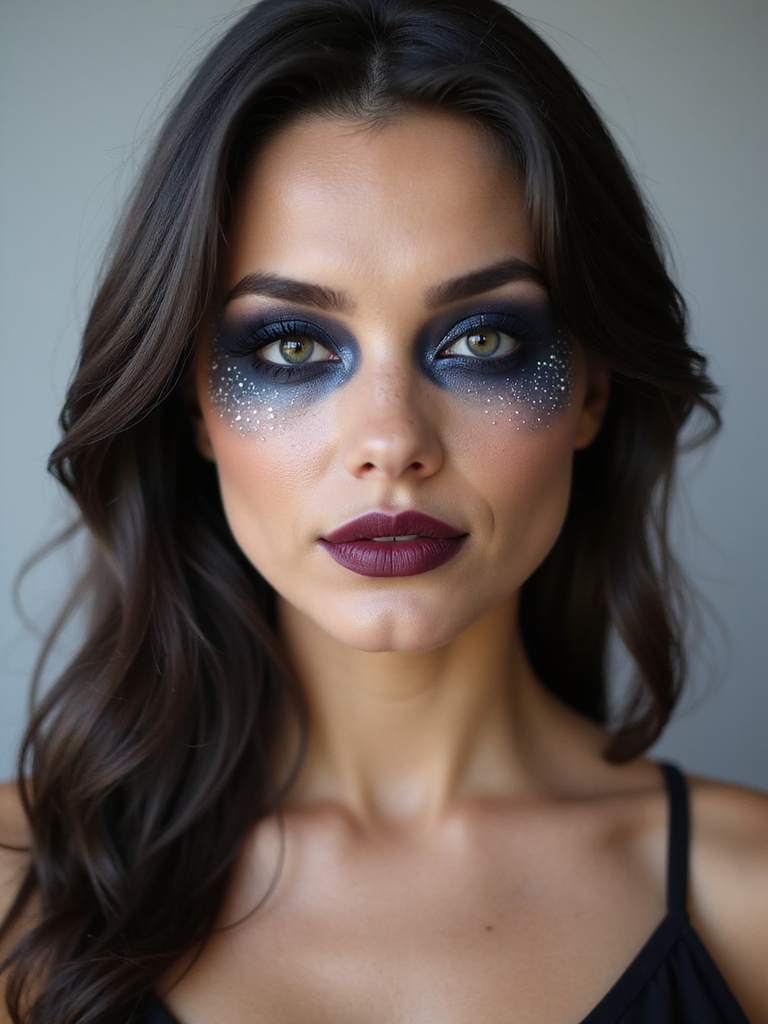
The constellation eye is the look I lean on for someone who wants something artistic without a costume in mind. It is a deep velvet-navy eye scattered with tiny silver stars, like a patch of night sky sitting on the lid. It needs patience more than skill:
- Blend a matte navy and black across the lid and into a soft halo around the socket.
- Use a tiny brush or a toothpick to dot silver stars in clusters, varying their size.
- Connect a few with the faintest hairline of silver liner to suggest a real constellation.
Glossy Runway-Ready Ghost
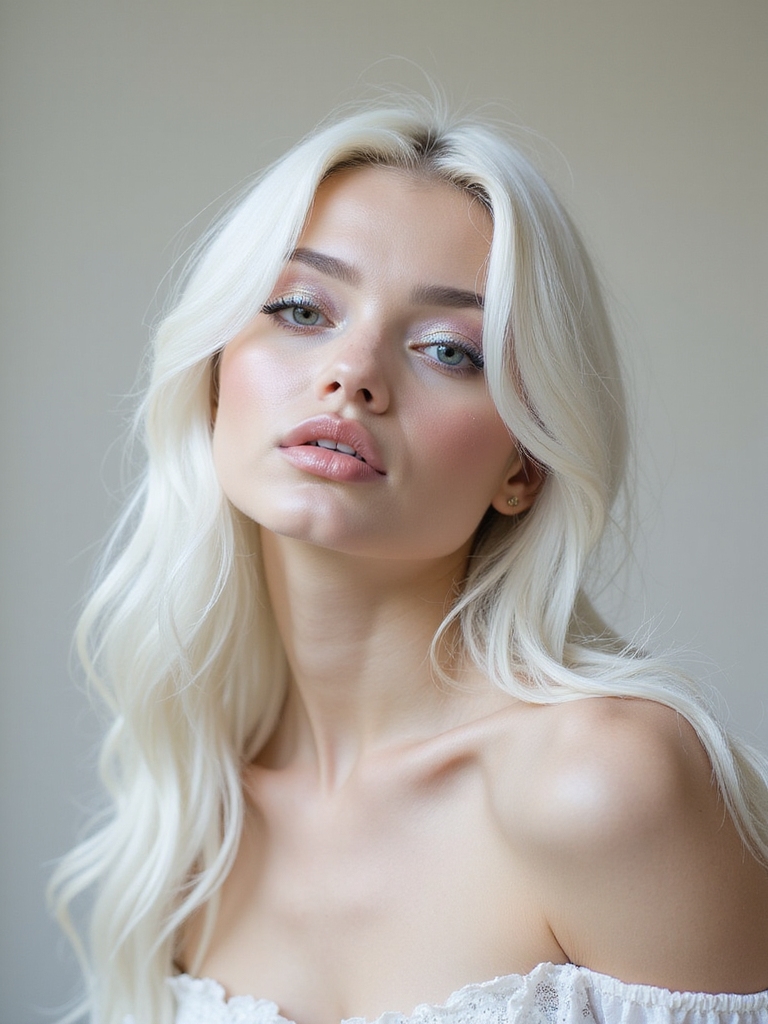
Forget the bedsheet. The modern ghost is pale, glassy, and high fashion, a face drained of color but polished to a runway sheen. It is one of the chicest ways to do Halloween with almost no products.
Pale, But Polished
Take the complexion pale and cool with a white-gray base, keeping it sheer so skin still looks like skin underneath. Then add a faint blue-gray under the eyes and along the hollows so you look beautifully drained. The finishing move is gloss: a wet balm on the lids and lips so the whole face looks otherworldly and slightly frozen.
Skip strong color anywhere. The power of this look is the absence of it, a ghost that wandered off a fashion shoot rather than out of a graveyard.
Iridescent Mermaid Scale Glow
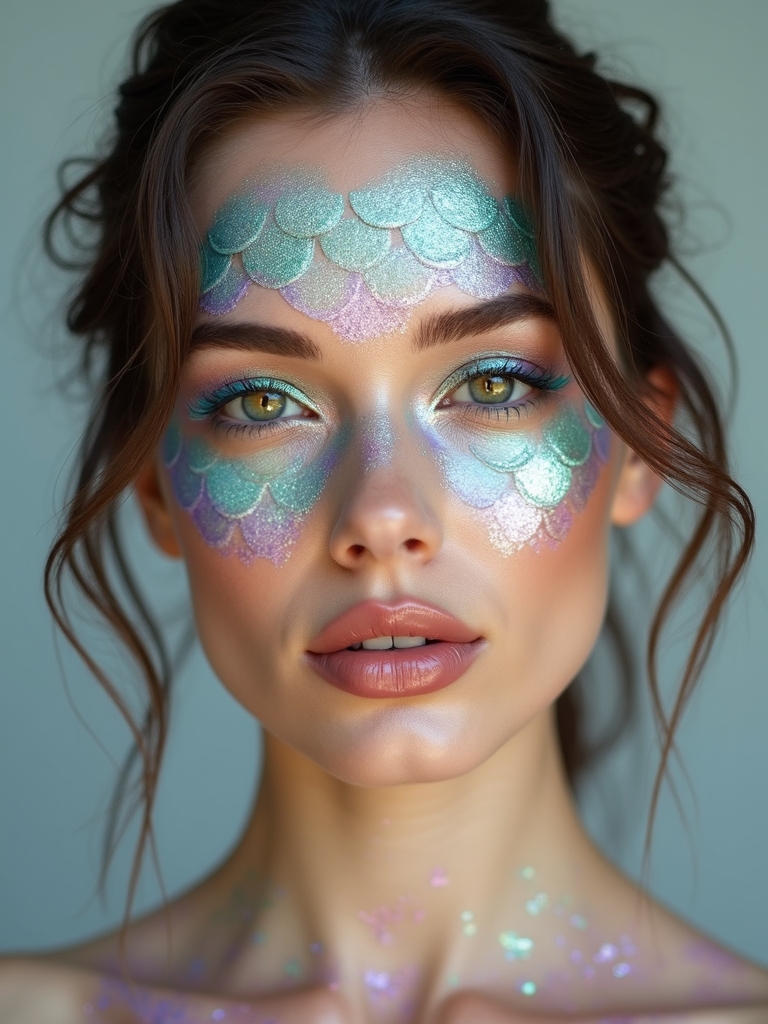
Mermaid scales fool people into thinking you spent an hour, when the pattern is really just pressed on with a scrap of mesh. Hold fishnet or a produce bag taut against the skin, sweep shimmer across it, lift it away, and the scales appear in one move. A teal and lilac eye plus a wet, glassy finish complete the underwater glow. The mermaid makeup guide goes deeper if you want a full-body version.
Two notes keep it from looking like craft glitter gone wrong:
- Stamp scales only along the temples and tops of the cheekbones, fading toward the center.
- Use a duochrome or iridescent shimmer so the scales shift color as you move.
- Add a couple of gems at the brow and a swipe of teal liner to tie the scales to the eyes.
Pumpkin Spice Cut-Crease
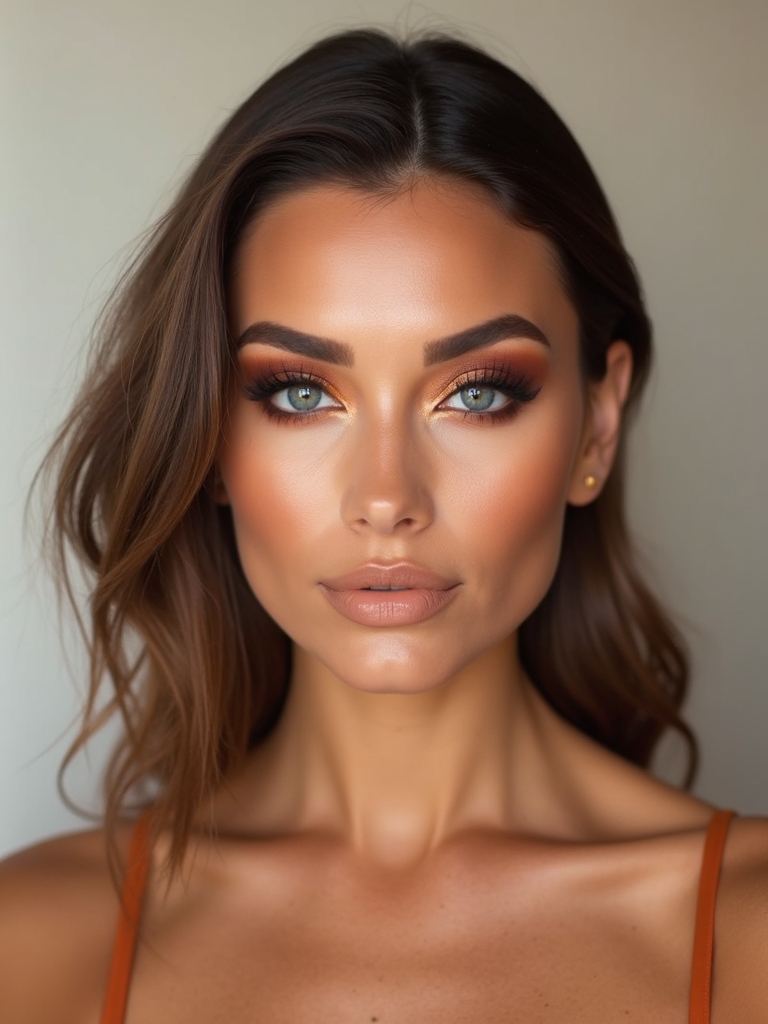
Not every Halloween look has to be spooky. A pumpkin-spice cut-crease is pure autumn glam: warm cinnamon, burnt orange, and a sharp cut line, the kind of eye you would wear to a fall wedding and just happen to debut on the thirty-first. It flatters warm and deep skin tones beautifully, since the whole palette lives in their natural undertone.
Cut the crease with concealer to carve a clean line, then pack burnt orange below it and a deeper rust into the outer corner. A touch of gold at the center of the lid catches light. The sharper the cut line, the more polished the whole eye looks, so take your time carving it clean.
Holographic Chrome Glow
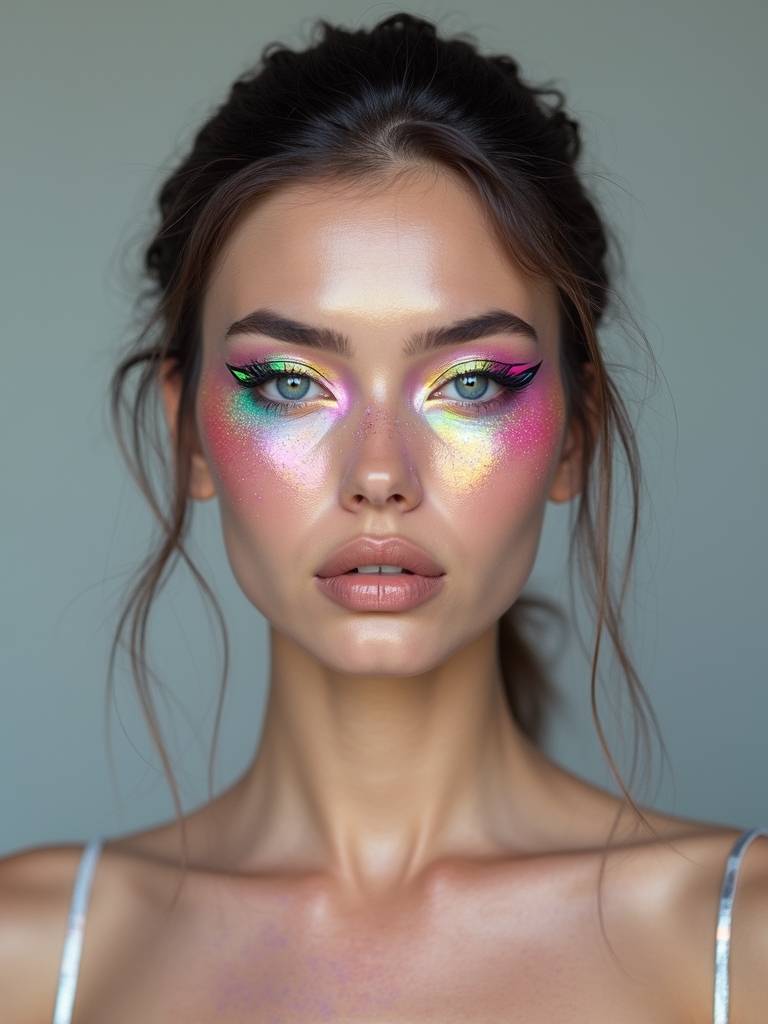
Holographic chrome is the futuristic, alien-adjacent idea, all shifting metallic color that changes as you turn. It is loud, modern, and surprisingly quick because chrome pigment does the heavy lifting on its own. A rough cost here is $10 to 15 for a small pot of multichrome flakes that lasts ages.
Apply it with a fingertip over a tacky base so the chrome reads liquid-metal instead of dusty:
- Press multichrome pigment over a dab of cream shadow or setting spray on the lids.
- Drag it slightly onto the cheekbones and brow bone for an alien sheen.
- Line with a sharp metallic or neon liner to keep the edges futuristic and crisp.
Gemstone-Glossed Smoky Eyes
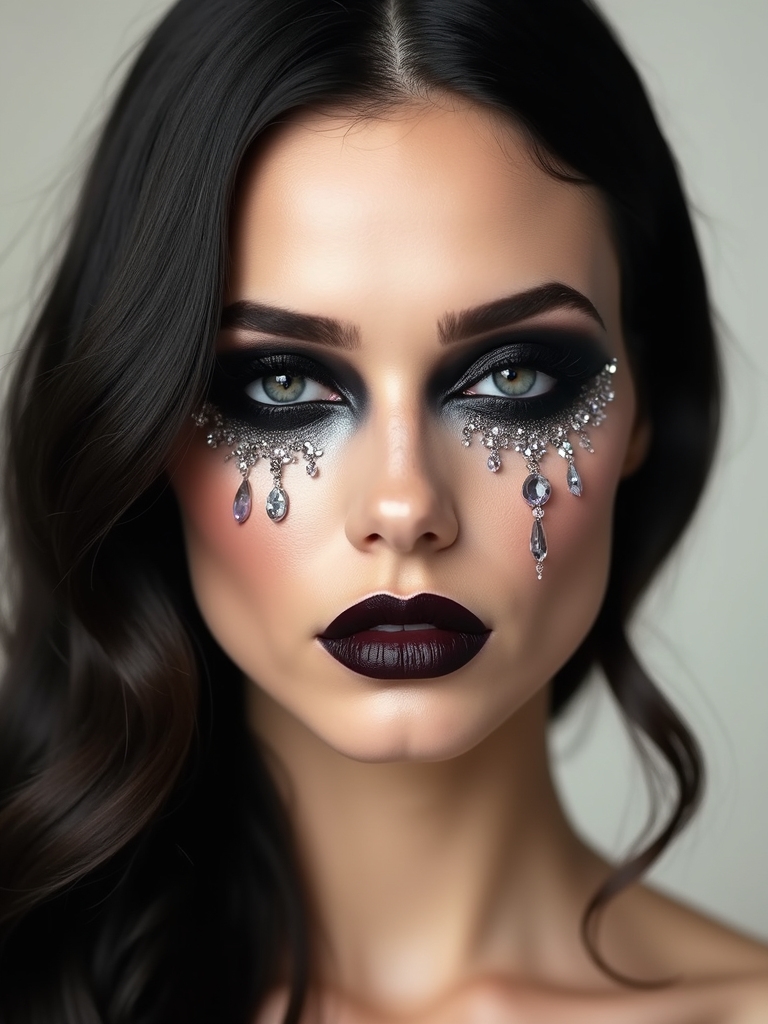
The gemstone smoky eye is where a classic look gets a Halloween upgrade, taking an ordinary smoky eye and encrusting it with scattered rhinestones. It is glam, a little extra, and only as hard as the smoky base underneath. A sheet of mixed-size gems runs a few dollars and reshuffles for future looks. Build the base, then bling it:
- Lay a clean smoky eye in charcoal and bronze; the smokey eye makeup method is the foundation here.
- Use lash glue or gem adhesive to place rhinestones clustered at the inner corner, scattering outward.
- Gloss the lid between the gems for a wet, jeweled finish that catches the light.
Make the Idea Your Own
The whole point of an idea, as opposed to a strict tutorial, is that you can bend it. Swap the lavender cosmic glam for emerald, turn the constellation navy into deep plum, push the chrome warmer or cooler to suit your costume. Once you understand why a look works, the structure under the glow, you can adjust it to your coloring and the products already sitting in your drawer.
So pick the one idea that sparks something and make it yours. Shift the color, dial the drama up or down, and let it fit the night you are actually having. That freedom to riff is exactly what separates an idea from a face you copied off a screen, so start with whichever one you cannot stop thinking about.
More Styles to Try