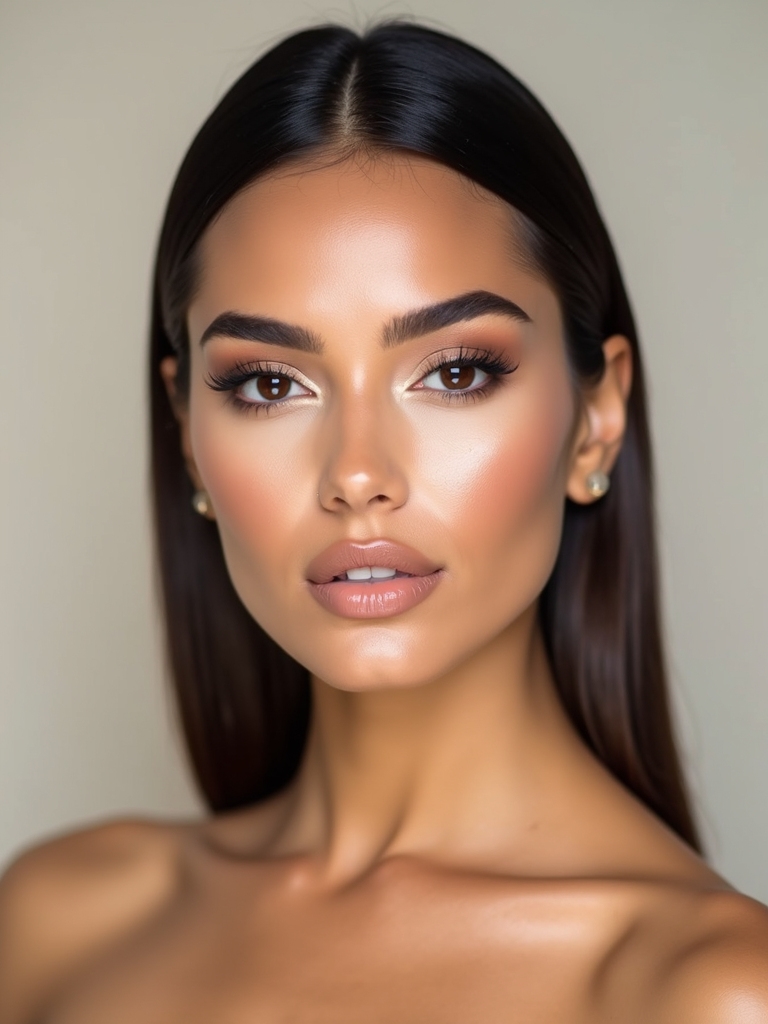
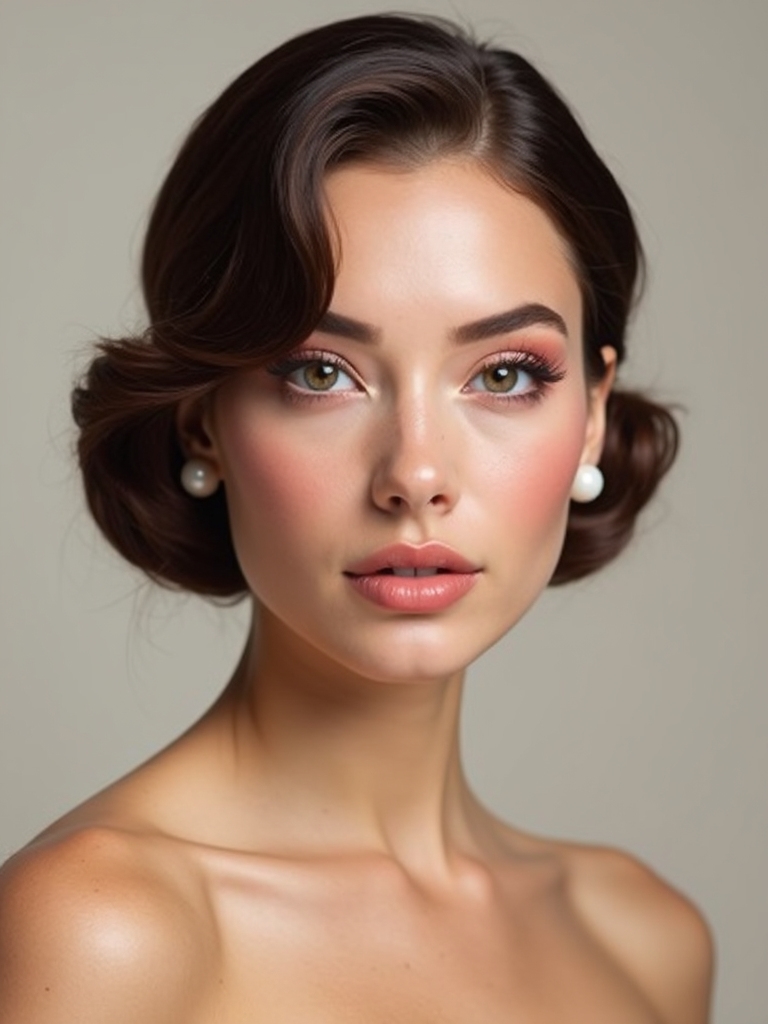
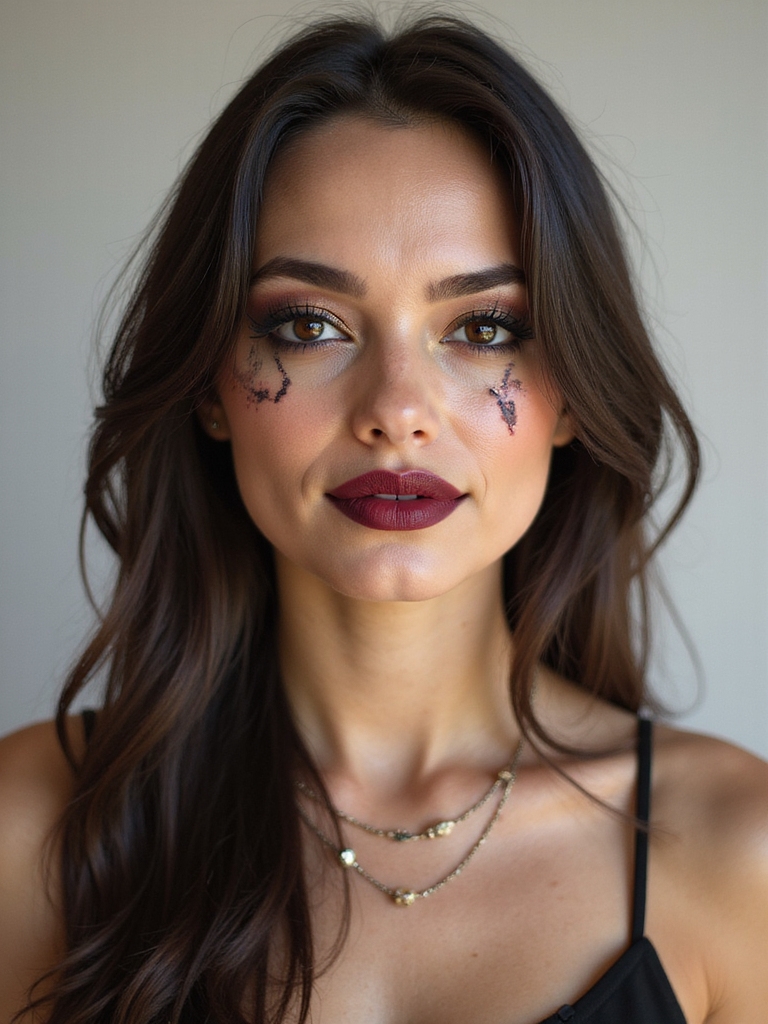
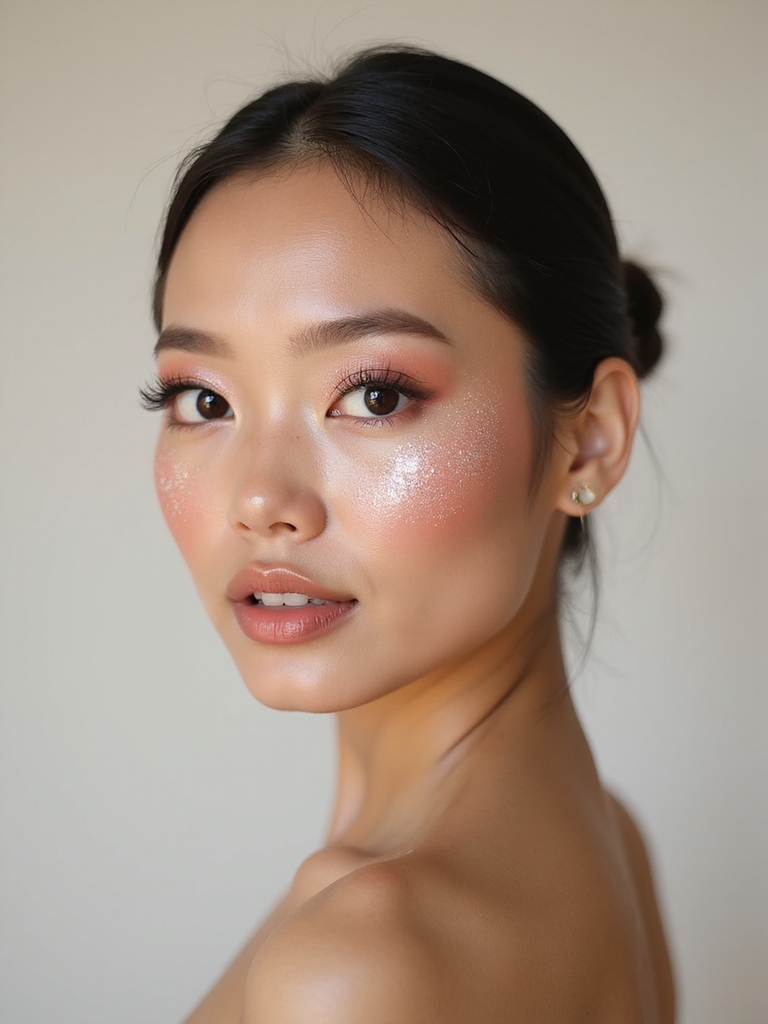
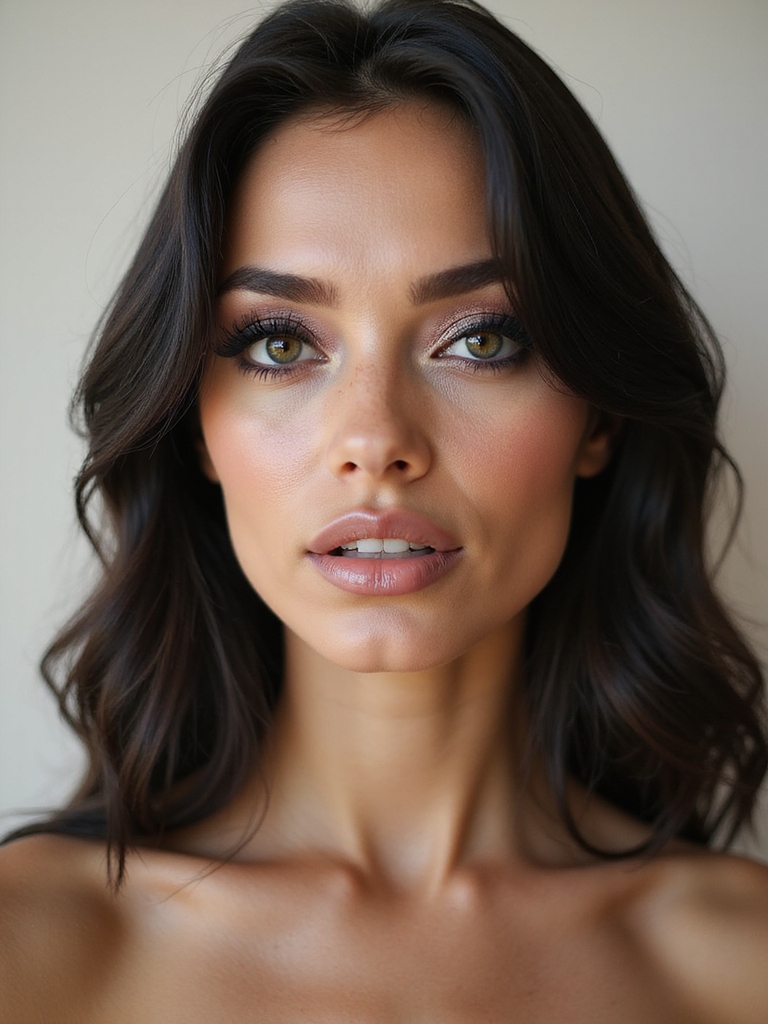
On paper, igari makeup sounds like a mistake: you place blush high on the cheeks and right under the eyes, the exact spot most of us spend concealer trying to hide. The first time a client asked for the drunk-blush look, I will admit I braced myself. Then it went on, and her whole face lifted into this fresh, just-came-in-from-the-cold flush that took ten years off. I have been a convert ever since.
Named for the Japanese makeup artist who popularized it, igari is all about a soft, tipsy flush, the warmth you get after a glass of wine or a brisk walk. Here you will find fifteen versions, running from a barely-there peach to a glossy ombre, each with where to place the color and how to keep it looking like skin rather than a stripe. The trick is always placement and blending, never more product.
Quick Answers First
What actually makes a look igari? Placement. The blush sits high on the cheeks and dusts under the eyes across the nose, mimicking a natural flush rather than the usual swept-back contour-style cheek.
Will under-eye blush make me look tired? Not when it is sheer and blended. A soft, diffused wash looks flushed and youthful; the mistake is too much pigment in one spot, which is what tips it into looking bruised or unwell.
Cream or powder? Cream and liquid blushes give the dewy, lit-from-within finish igari is known for. Powder works for a softer, matte version, but cream melts into the skin best. A good cream blush runs about $10 to 18.
Creamy Diffused Youthful Cheek Flush

The foundational igari look starts with a creamy blush placed high on the apples and blended up toward the temples until it looks like it grew there. The cream formula is what gives it that melted-in, skin-like quality, the opposite of a powdery stripe. It is the version I start every igari client on, because the placement and the blend teach you everything.
Tap a cream or liquid blush onto the high points of the cheeks with your fingers, then press and roll it outward until there is no visible edge. The warmth of your fingertips melts it into the skin for that lit, flushed effect. Keep building in thin layers rather than one heavy dab, since igari lives or dies on a soft, diffused finish.

Dewy, Lit-From-Within Glow

Igari is inseparable from dewy skin, since the flush only looks youthful against a hydrated, glowy base. The skin underneath should look like glass, plump and slightly wet, so the blush sits on a luminous canvas rather than a flat one. This base is half the look.
Build the glow before you touch the blush:
- Prep with a hydrating moisturizer and a dewy primer so the skin looks plump and fresh.
- Use a sheer, glowy foundation or skin tint rather than a full matte coverage that flattens the dew.
- Add a liquid highlighter on the high points, then layer cream blush on top so everything melts together.
Two things people get wrong about igari:
❌ Myth: Under-eye blush always looks like you are sick
✅ Reality: Only when it is too heavy or the wrong shade. Sheer, well-blended, in a tone that suits your skin, it reads flushed and youthful, not unwell. Placement and restraint are everything.
❌ Myth: It only works on fair, East Asian skin
✅ Reality: Igari flatters every skin tone; deeper complexions simply need more pigmented berry, coral, or brick shades so the flush actually shows, rather than the palest pinks.
Sheer Peach Under-Eye Blush
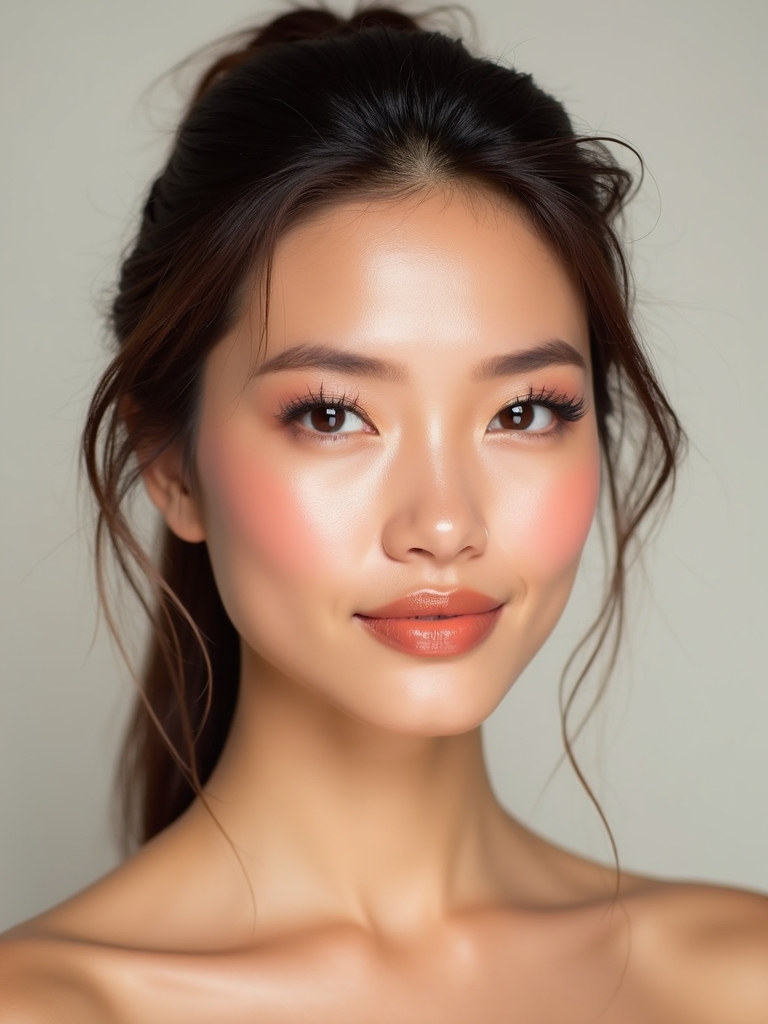
This is the signature igari placement at its gentlest: a sheer peach blush dusted right under the eyes and across the top of the cheeks, the spot that creates that flushed, slept-well look. Peach is the most forgiving shade to start with because it warms the face without going too pink or too bold. It suits almost everyone.
Tap a small amount of sheer peach high under the eyes, blending it softly toward the cheeks and just over the bridge of the nose. The key word is sheer, since this placement shows every bit of excess. Build slowly and keep it diffused, and the result is a soft, rested flush rather than anything that looks sunburned or tired. The natural makeup crowd loves this one.
Soft Petal-to-Rose Blend

Layering two shades gives the flush real dimension, blending a soft petal pink into a deeper rose so the color looks gradient and natural, the way a real blush deepens at its center. It is a slightly more advanced igari that looks expensive and dewy. Build the gradient in this order:
- Wash a light petal pink across the high cheeks and under-eye area as the base layer.
- Tap a deeper rose into the very center of the flush, right on the apple, for depth.
- Blend the two together with a fingertip or sponge so they melt without a visible line.
The simplest way to build a soft petal-to-rose flush:
1Lay the base shade
Tap a light petal pink across the high cheeks and under-eye area, blending it out with a fingertip until soft.
2Deepen the center
Press a deeper rose onto the apple only, then blend the two together so the flush graduates with no visible line.
Soft Nude Under-Eye Flush

For the subtlest possible igari, a soft nude-rose flush gives the placement and the glow without any obvious color, perfect for a no-makeup-makeup day or the office. It looks like healthy skin rather than blush, which is exactly the point of the quietest version. The effect is just-woke-up-glowing, not made-up.
Keep it impossibly soft:
- Choose a your-skin-but-better nude-rose or muted mauve close to your natural flush color.
- Tap a whisper of it high under the eyes and on the cheeks, building in the thinnest layers.
- Blend until there is no defined edge, so it reads as your own warmth rather than product. See no-makeup makeup for the full approach.
Soft Pink Gradient Glow
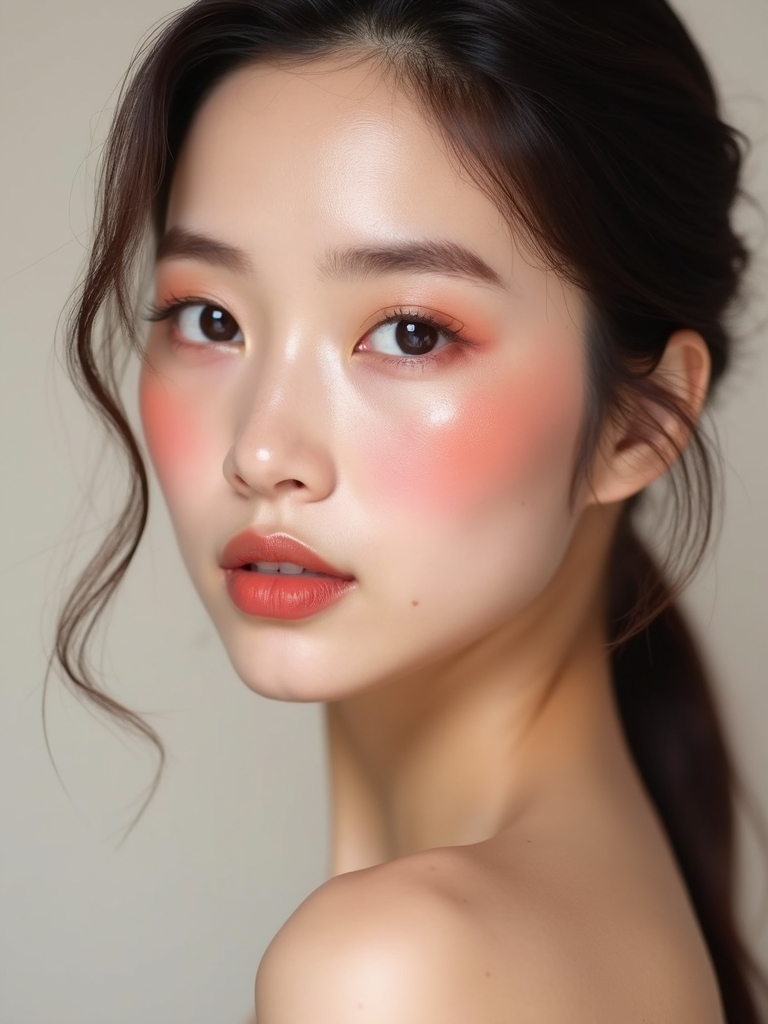
A pink gradient is classic igari sweetness, the most-photographed version of the trend, with a clear pink flush at the center fading softly outward. The gradient is what keeps it looking like a natural blush rather than a flat circle of color. It is fresh, girlish, and universally flattering. Build the fade carefully:
- Concentrate a soft pink at the highest point of the cheek and just under the eye.
- Blend outward and upward so the color fades to nothing toward the temple and the ear.
- Keep the edges feathered, since a hard line is what separates a flush from a stripe.
📋Keep your flush from looking overdone
- ✓Start sheerer than feels like enough, then build in thin layers.
- ✓Blend until there is no hard edge anywhere around the color.
- ✓Check in natural light, since indoor light hides how strong the flush really reads.
Soft Mauve Monochrome Glow

Taking one soft mauve and echoing it on the cheeks, eyes, and lips gives igari a pulled-together, monochrome polish. The single tone across the whole face feels intentional and modern, and mauve is a beautifully grown-up choice that flatters cool and deep skin tones especially well. It is igari for someone who wants a complete look.
Build the look tonally so it stays cohesive:
- Wash the mauve high on the cheeks and under the eyes for the igari flush.
- Sweep the same shade softly over the lids and a touch on the lips to tie it together.
- Keep everything sheer and dewy so the monochrome reads soft rather than heavy.
Sun-Kissed Coral Flushed Glow

Coral takes igari somewhere warm and summery, a sun-kissed flush that looks like an afternoon outdoors rather than a glass of wine. The warmth of coral is beautiful on golden and deep skin tones, glowing against richer undertones, and it brings an instant healthy radiance to any complexion. Build the sunny flush like this:
- Tap a warm coral cream high on the cheeks and lightly across the nose for a sun-flushed look.
- Add a touch on the tip of the nose and the chin, where the sun would naturally hit.
- Finish dewy so the coral looks like warmth rising through the skin, not a powder layer.
Two terms worth knowing for this trend:
📖Igari
A Japanese makeup style named for artist Shinobu Igari, defined by a flushed blush placed high and under the eyes for a youthful, tipsy glow.
📖Drunk blush
The English nickname for igari, describing the rosy, just-had-a-drink warmth the placement creates across the cheeks and nose.
Cool-Toned Berry Tapped High

A cool berry shade gives igari a more dramatic, editorial edge, tapped high on the cheekbones for a striking flush with real depth. Berry is bolder than the usual soft pinks, so placement and blending matter even more, but the payoff is a sophisticated, almost windswept flush. It is the version for someone who wants igari with intensity.
Handle the deeper color with a light hand:
- Use the tiniest amount of a cool berry cream, since deep shades grab fast.
- Tap it high on the cheekbones and a touch under the eyes, building gradually to avoid patches.
- Blend thoroughly with a sponge so the berry diffuses into a soft, rich flush rather than a stamp.
Sheer Layered Igari Dewy Flush

The secret behind every great igari look is layering sheer washes rather than applying one opaque coat, and this approach deserves its own spotlight. Building the flush in thin, buildable layers is what creates that lit-from-within depth, where the color seems to come from under the skin rather than sit on top of it.
Layer Sheer, Never Opaque
Start with the sheerest possible application, blend it out, then add another thin layer only where you want more warmth, usually the center of the apple. Two or three whisper-thin layers give a far more natural, dimensional flush than a single heavy one. This is the technique I drill with every client, because it is what separates a believable flush from a clownish one.
The bonus is longevity and control: sheer layers are almost impossible to overdo, and they wear more gracefully than a thick application that can go patchy. Patience with the layering is the whole craft of igari.
Soft-Focus Matte Igari Glow

Not everyone wants full dew, and a soft-focus matte igari proves the look works without shine. Using a powder or matte cream blush gives a velvety, soft-focus flush that suits oily skin and humid days, when too much glow can slide. It keeps the signature placement while trading the wet finish for a blurred, photo-soft one.
Build the matte version so it still looks like skin:
- Set the base lightly first, then tap a matte or powder blush high on the cheeks and under the eyes.
- Use a fluffy brush and a light hand, building the soft-focus flush in gentle layers.
- Skip heavy highlighter, letting the blurred matte flush be the whole effect for a softer, diffused finish.
Feathered Lashes With Under-Blush
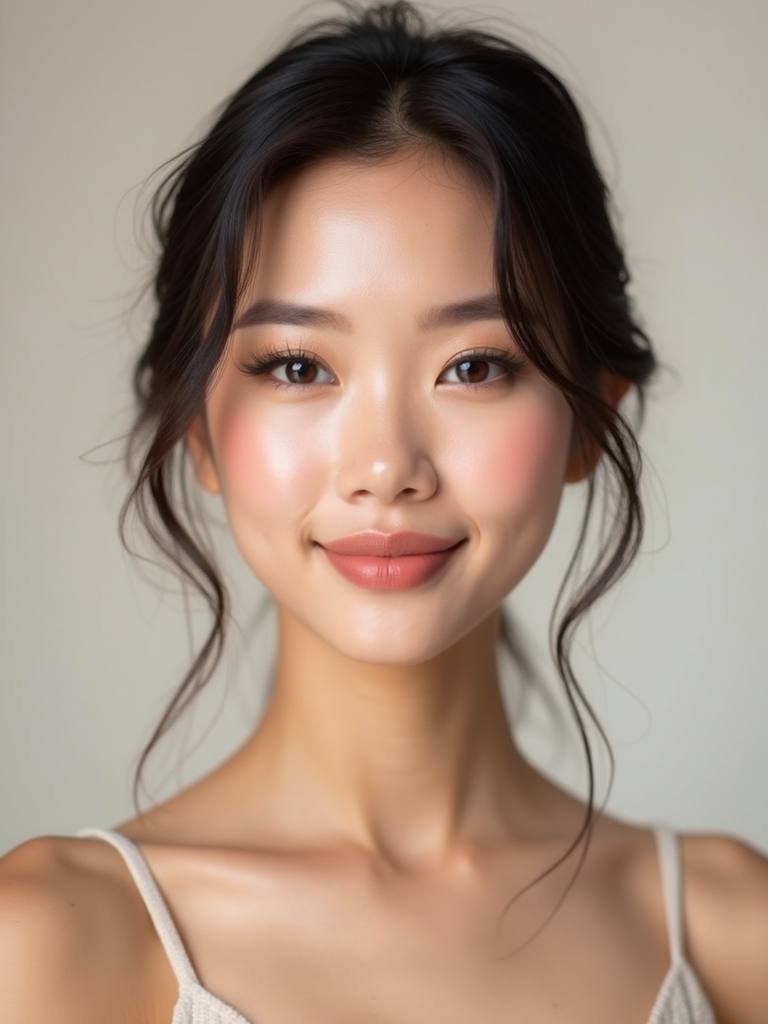
Igari pairs beautifully with soft, feathery lashes rather than heavy false ones, since the whole aesthetic is fresh and youthful. Lightly separated, wispy lashes over the under-eye flush keep the eyes looking bright and natural, complementing the soft cheeks without competing. Keep the eye look light:
- Curl the lashes and apply one coat of a lengthening mascara, wiggling at the roots and combing through.
- Skip heavy liner and dramatic shadow, letting the flush and the fresh skin lead the face.
- Add a few individual lashes at the outer corners only if you want extra flutter without heaviness.
Soft Freckled Dewy Igari

Adding soft faux freckles over an igari flush is peak fresh-faced charm, the kind of look that seems like sunshine and good skin rather than makeup. The freckles scattered over the flushed cheeks and nose enhance the youthful, natural effect, making the whole face look kissed by the outdoors. It is sweet, current, and truly flattering at every age.
Build the freckled flush gently:
- Lay the dewy base and the igari flush first, keeping everything soft and glowy.
- Dot faux freckles with a fine brow pencil or a freckle pen across the nose and cheeks, varying the size.
- Tap over them lightly with a sponge so they soften and look like they belong to the skin.
Tinted-Balm Drunk Blush
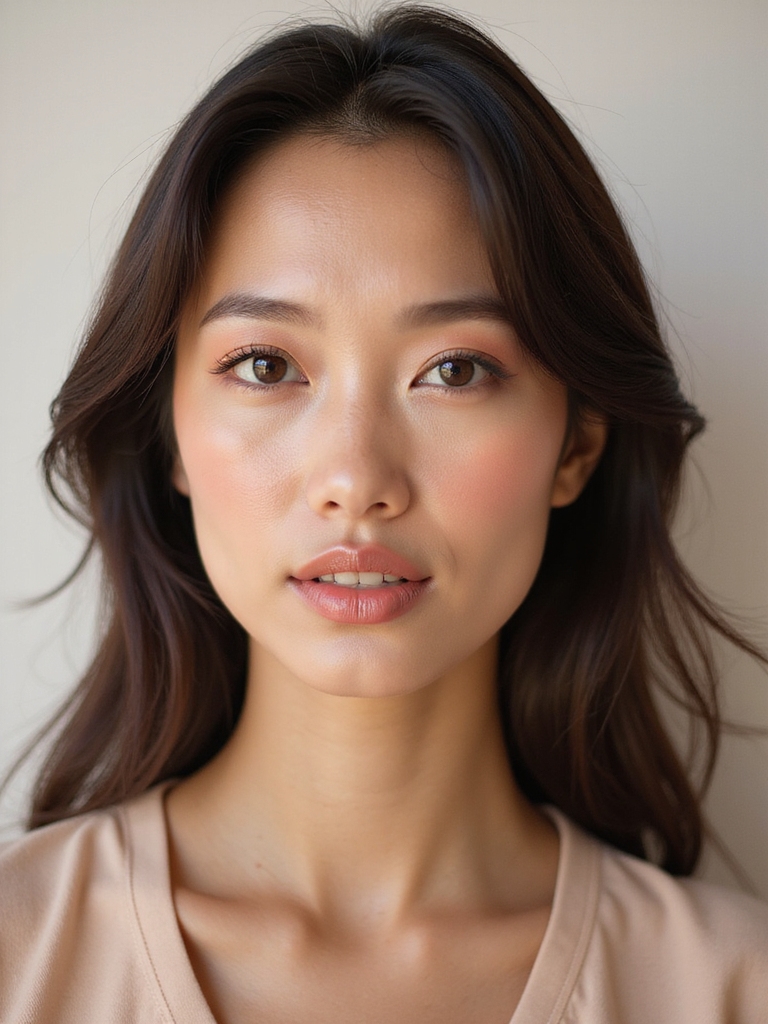
For the dewiest, most low-effort igari, a tinted balm gives both color and a wet, glossy sheen in one step. The balm texture melts into the skin for a sheer, juicy flush, which is exactly the tipsy, glowing quality the drunk-blush look is named for. I love a tinted balm for clients who do their makeup on the train, since it is the easiest version to do on the go. Build the balm flush like this:
- Warm a little tinted balm on your fingertip, then press it high on the cheeks and under the eyes.
- Pat rather than rub, so the balm leaves a sheer, glossy wash instead of moving your base around.
- Add a dab of the same balm to the lips for a quick, cohesive flushed-and-glossy finish.
Glossy Ombre Igari Blush

The most editorial version here, a glossy ombre igari layers a gradient flush and tops it with a clear gloss for a high-shine, almost wet-looking cheek. It takes the trend to its most fashion-forward, the kind of glassy flush you see on runways and in beauty editorials. It is bold, modern, and surprisingly wearable for a night out.
Build a soft gradient flush first, deeper at the center and fading out, then press a tiny amount of clear or tinted gloss over the apples of the cheeks for the wet sheen. The gloss is what makes it editorial, so use it sparingly and only on the high points where light would naturally catch.
This finish photographs beautifully but needs a setting mist around it to keep the rest of the face in place, since gloss attracts everything. I save the full glossy ombre for shoots and events rather than a long, warm day, since the wet finish does move. For the soft glam makeup base beneath it, set everything but the cheeks.
What to Expect From Igari Makeup
The first time you try igari, the placement will feel counterintuitive, because you are putting color exactly where you usually conceal. Trust it, start sheerer than you think you need, and check your face in natural light, since the flush can look stronger indoors.
Expect to use your fingers more than brushes, since the warmth melts cream blush into the skin far better than any tool, and expect to build slowly. Igari is a layering game, not a one-swipe one.
Adjust the shade to your skin, since igari belongs to every complexion. Fair skin glows with soft pinks and peaches, while deeper skin tones come alive with richer berries, warm corals, and brick-rose shades that show up against the skin, so reach for more pigmented cream blushes rather than the palest pastels.
Whatever your tone, the goal is the same: a soft, healthy, just-flushed warmth that looks like you, only fresher. Once the placement clicks, it becomes one of the fastest ways to look instantly more awake.
Igari Makeup Questions, Answered
?Where exactly do I put igari blush?
High on the apples of the cheeks and softly under the eyes, extending just across the top of the nose. This placement, higher and more central than a traditional cheek, is what creates the signature flushed, youthful look.
?Does igari blush make you look tired or sick?
Only if it is too heavy or the wrong shade. Kept sheer, well-blended, and in a tone that suits your skin, it looks like a healthy flush. Build it slowly in thin layers and you avoid the bruised look entirely.
?What blush formula is best for igari?
Cream and liquid blushes give the dewy, melted-in finish the look is known for, applied with the fingers. Powder works for a softer matte version on oily skin, but cream melts most smoothly into a glowy base.
?Does igari work on deeper skin tones?
Absolutely. Deeper complexions look radiant in igari with richer berry, coral, and brick-rose shades that show up against the skin. The placement stays the same; you simply choose more pigmented colors than the palest pastels.
?Is igari good for everyday wear?
Yes, especially the sheer nude and soft pink versions, which read as healthy skin rather than makeup. A quick tap of cream blush high on the cheeks is one of the fastest ways to look more awake on a busy morning.
A Flush That Looks Like You, Only Fresher
Igari proves that where you place color matters far more than how much you use. Set high on the cheeks and softly under the eyes, blended sheer and kept dewy, a simple blush turns into the freshest, most youthful flush in your routine. Whether you go barely-there nude, sweet pink, warm coral, or glossy ombre, the principle never changes: sheer layers, soft edges, and a shade that suits your skin.
Start with the gentlest version that appeals to you, master the placement and the blend, then play with bolder shades and finishes as your confidence grows. It is one of the easiest ways to look instantly more awake, so have fun with it and let your own warmth come through.
Don’t Miss These